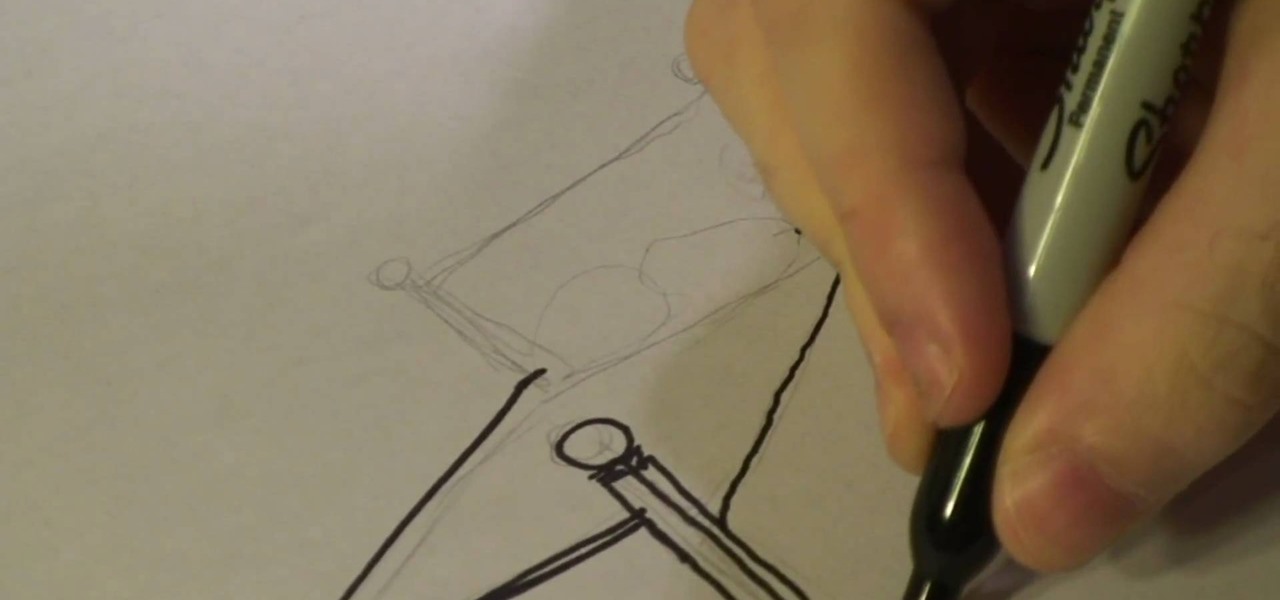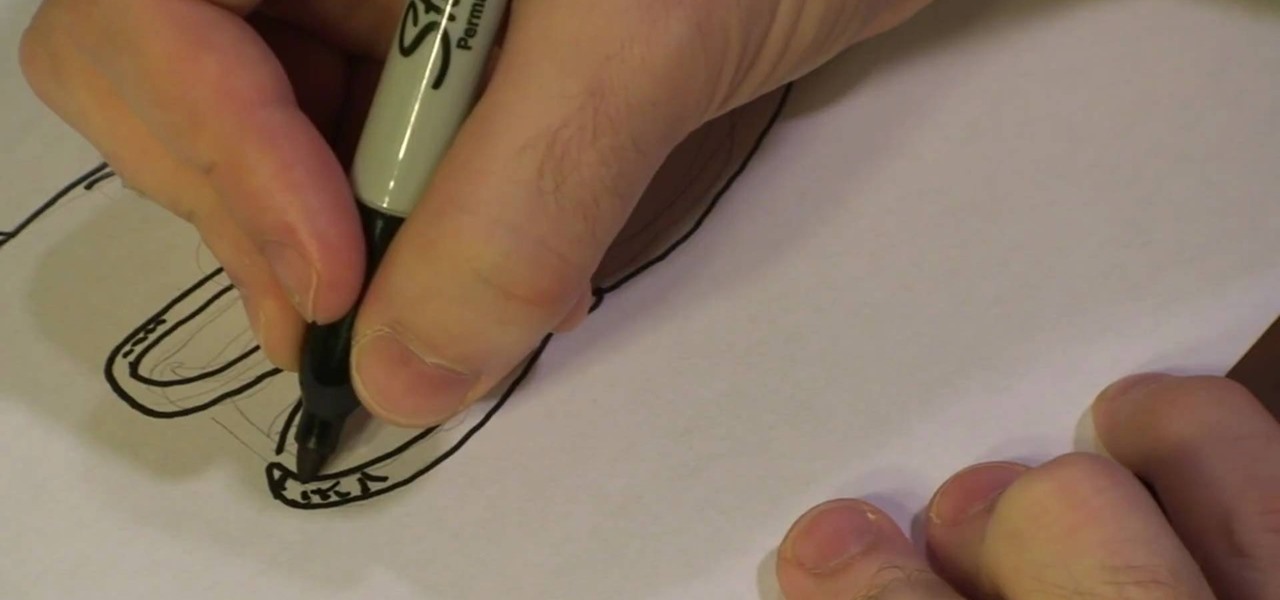
In this tutorial, we learn how to draw a sports logo. You will need: paper and a writing utensil to do this. Do a rough draft of the logo with a light pencil before beginning. When finished, draw a basic helmet shape with a Sharpie marker. Trace around the lines that you made and make sure to draw the face guard when you are finished with the helmet outline. Next, add on a grille to the mask and then add more detail to the helmet as it would look in real life. When you are finished, add color...

In this tutorial, we learn how to increase your Wi-Fi signal with a coffee can. Materials you will need are : a knife, a coffee can, tape, USB Wi-Fi adapter, and marker. First, measure 1 inch from the bottom of the coffee can then trace your USB around that mark. Now, cut a hole in that shape in the can. Next, cover the hole with your tape. Next, hook your USB up to your cable adapter, and then place it in the coffee can. Now, plug your USB into your computer and you should have more signals ...
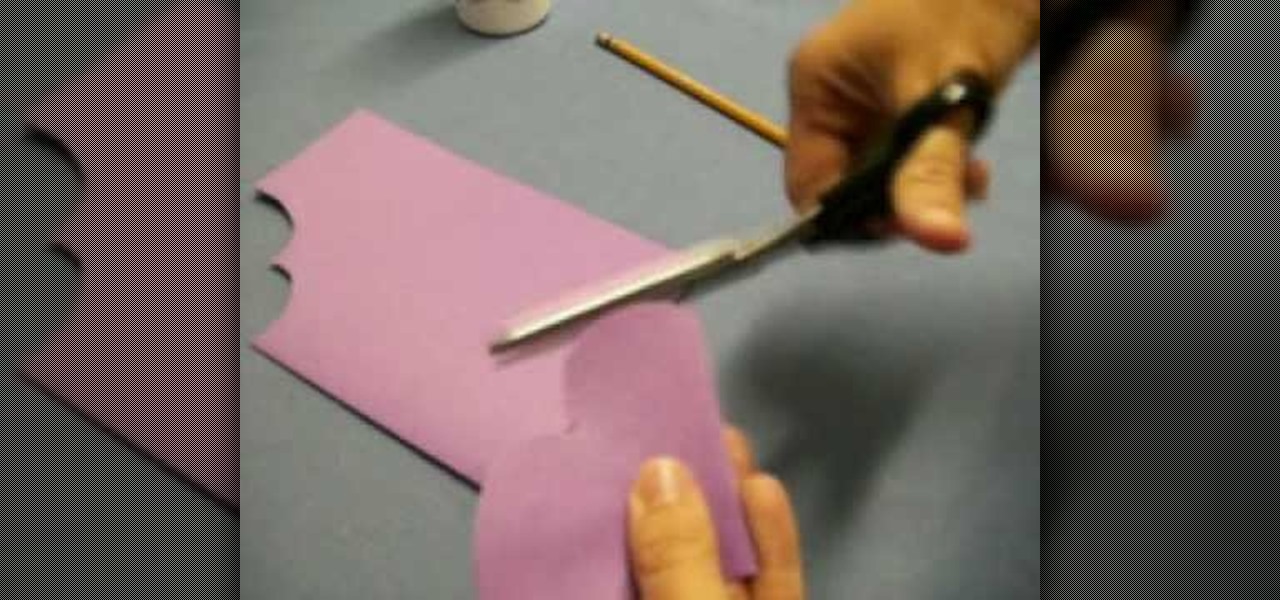
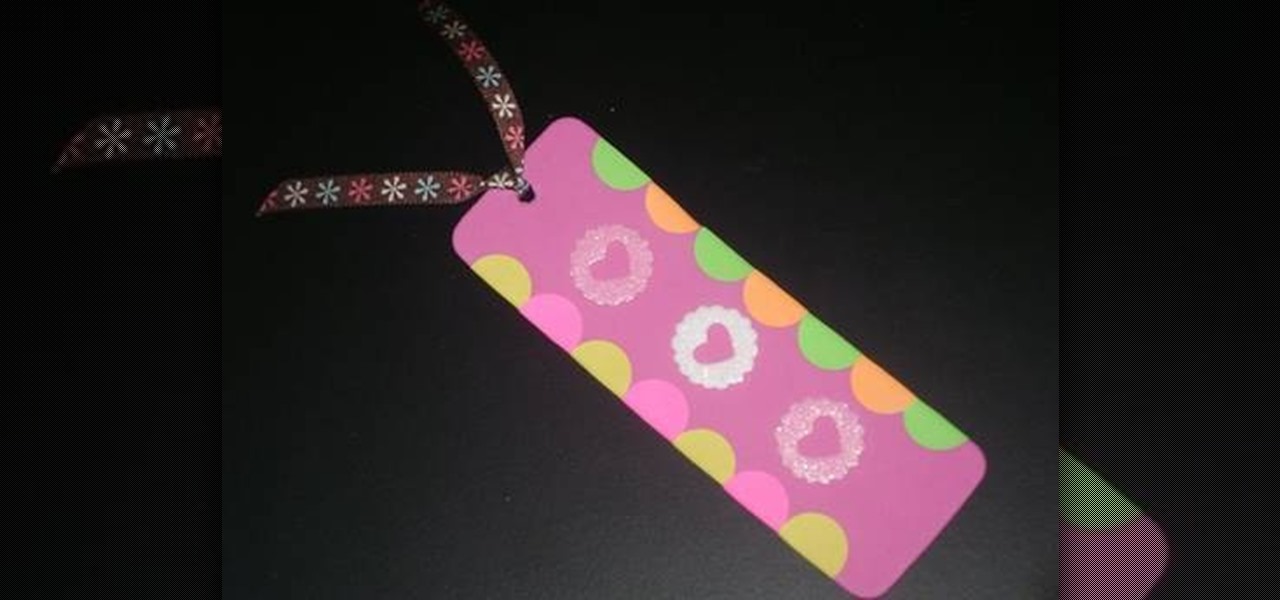
In this tutorial, we learn how to make a heart bookmark. First, take a sheet of paper and fold it in half, folding the crease. Now, take a pencil and draw two heart humps from one edge to the next. After this, cut them out, leaving the fold together. Trim any edges that aren't round, then add glue to the edge of the heart, and fold it over and let it dry. You can now decorate this will markers and ribbons. To use as a bookmark place your page in the center of the heart. This is a great craft ...

In this tutorial, we learn how to make a bikini bottom. First, measure the widest part of your bottom area, then write this number down. Next, place your fabric where the measurement device just was, then mark where you want your underwear to fit. Mark this spot, then measure the lines out on the fabric. After this, use a pen or marker to mark the underwear shape. After this, cut out the shape of the underwear and pin all sides together. Now, sew the sides of the bottoms together, then flip t...
In this video tutorial, viewers learn how to make a sawed0off shotgun. The materials required for this project are: hot glue gun, duct tape, cardboard, utility knife, black marker, spray paint and 2 paper towel rolls. Begin by tracing a shotgun outline onto the cardboard. Make 6 layers and glue all the layers together. Then smooth the edges with sandpaper and tape the outside with some duct tape. Now tape the 2 paper towel rolls together and tape it on top of the shotgun. Finish by painting t...
In this video tutorial, viewers learn how to draw curves like an architect. The first way is to use circle and oval shaped templates. When using the template, push down on it firmly and carefully picking the template back up to not smear the pencil marks. If the template does not come with a raised backing, use some built-up tape for leverage. Never use permanent markers with the template, work with dirty hands or cut with the template. Users can also use French curve templates and compasses....

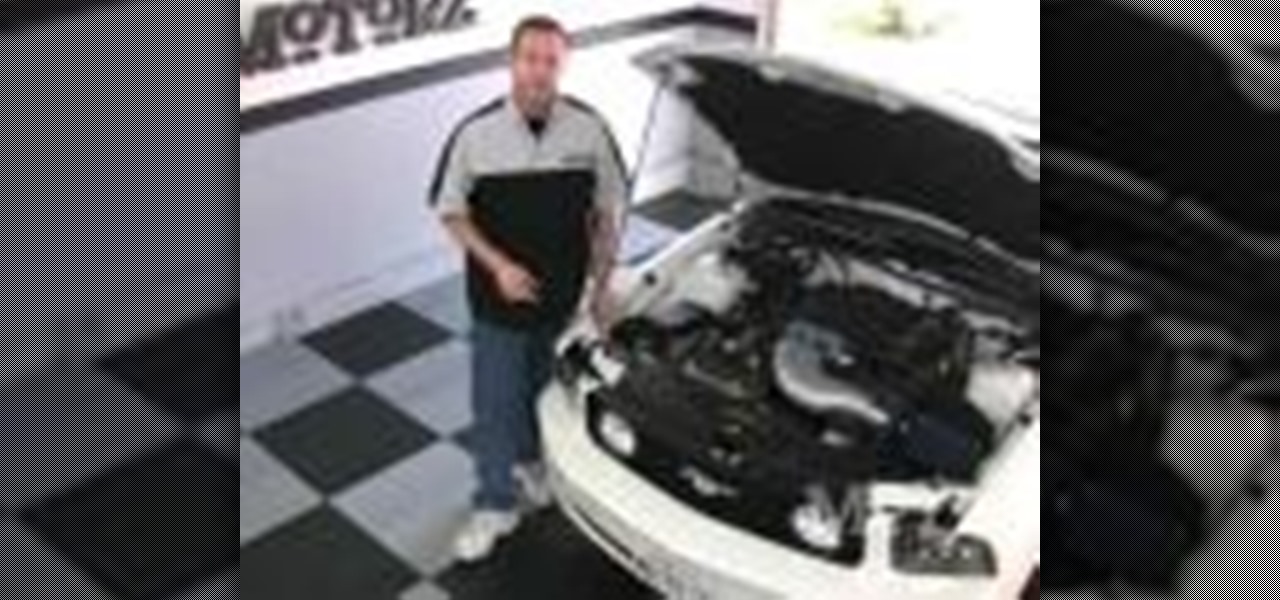
In this tutorial, we learn how to install a headlight upgrade on a Ford Mustang GT. To start, remove the radiator cover and the clips around it. Now, take a 10 mm socket and remove the bolt next to the headlight. Now, turn your wheel to remove the screws around the headlight. Next, there will be 2 (10mm) bolts you will have to remove, as well as a fender lining. Disconnect your marker lights by pressing on the tabs on both sides of the car. Lay out a blanket to lay your bumper on. Now, remove...

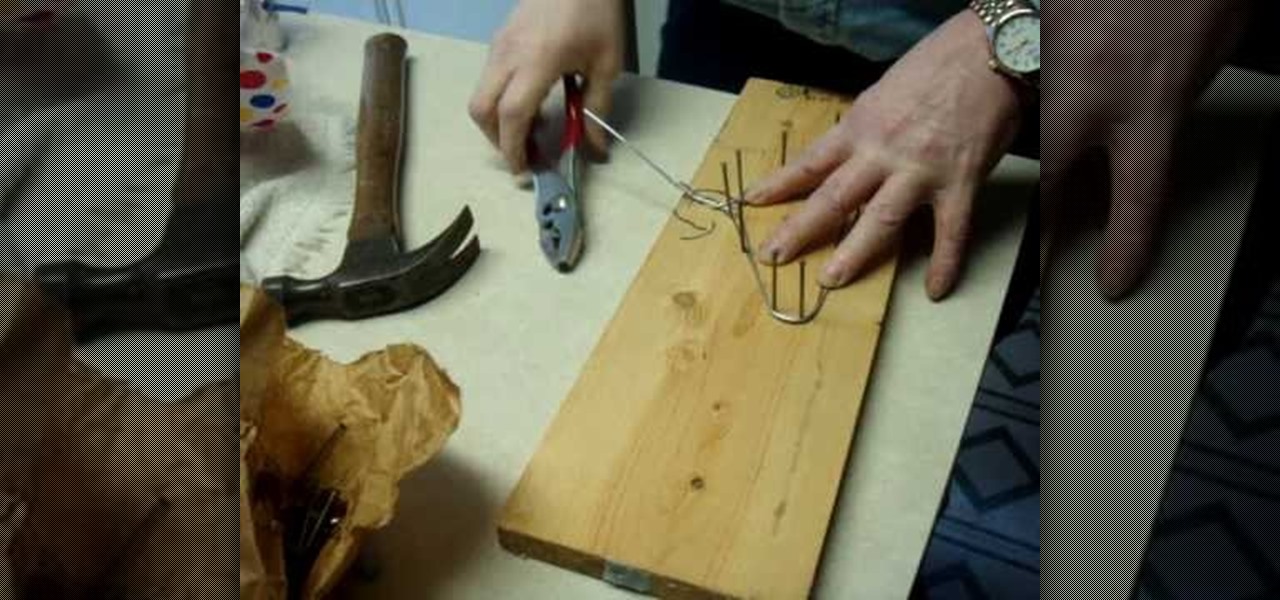
In order to make your own hangers for your American Girl Dolls' clothes, you will need the following: wood, nails, a hammer, a marker, one American Doll hanger (to be used as a pattern), 14 gauge wire, pliers, and wire cutters.

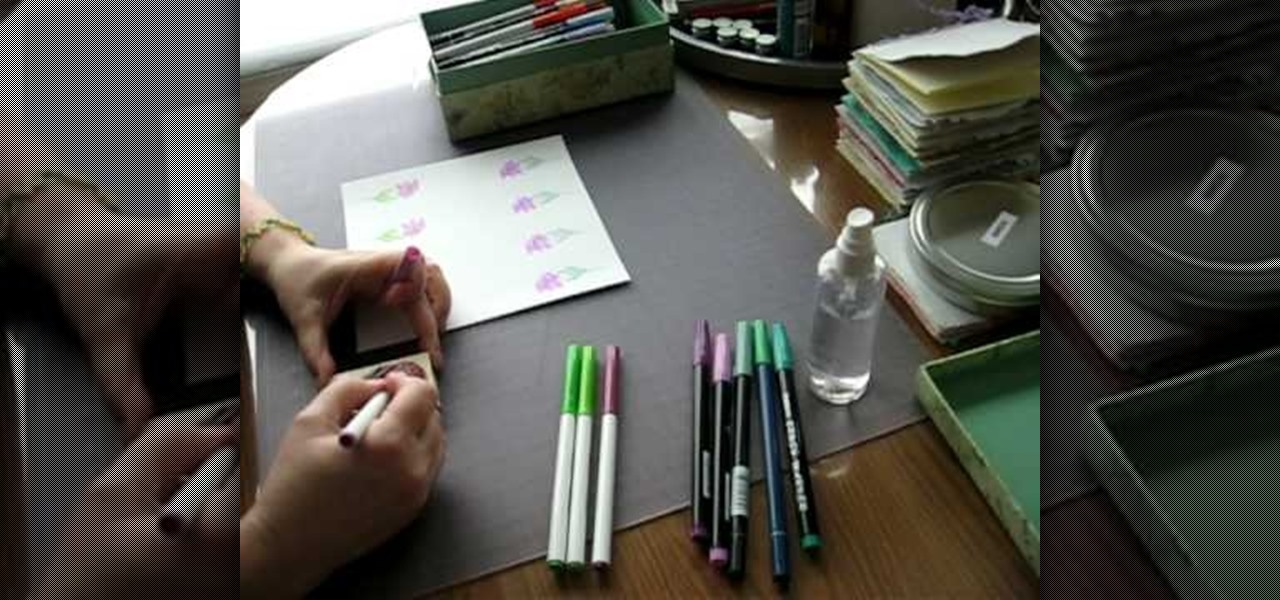
Even as early as first grade art class, you learn that watercolor/painting is an entirely different category from stamping, which basically requires a stamp pad and rubber stamp. But this tutorial blurs the line between the two art forms in the most attractive way possible.

In this Family video tutorial you will learn how to make a spiral sun catcher. Take a contact paper and draw a spiral on it starting at the center and drawing out wards. Now remove the backing of the contact paper and lay it down sticky side up. With markers, color in the spiral. Then take the contact paper and lay it on top of the backing and smooth it out. Now cut along the line of the spiral with scissors. Tie a piece of ribbon to the inside end of the spiral and now you have a spiral sun ...

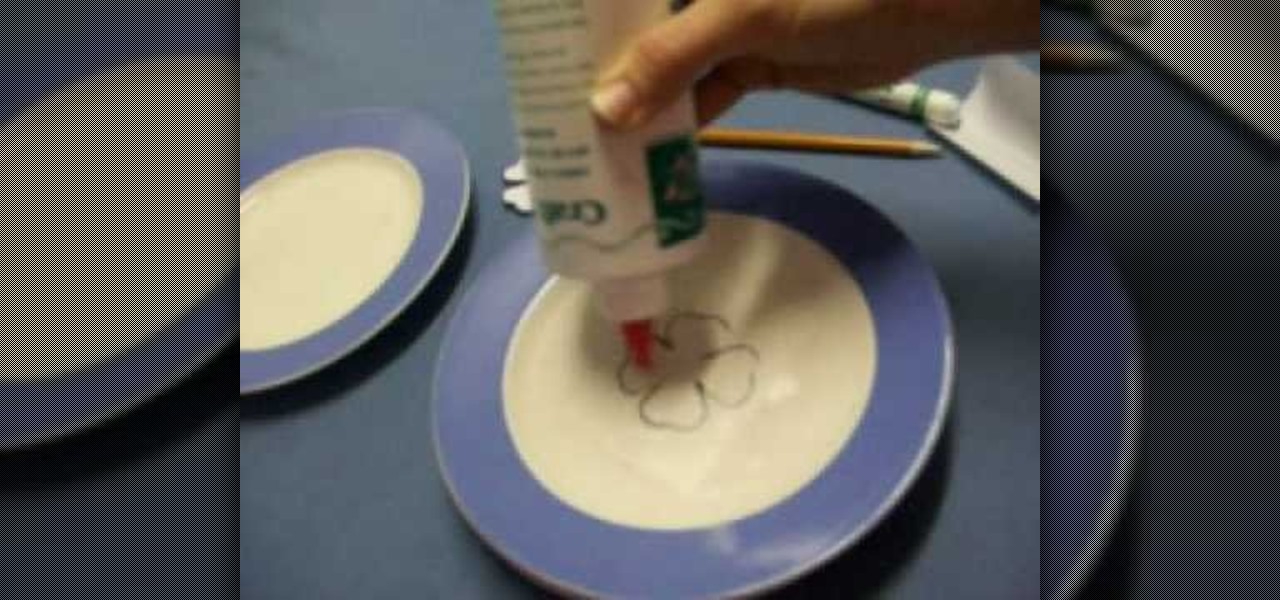
In this how-to video, you will learn how to make a four leaf clover pendant. Start off with contact paper and place it on a smooth flat surface, such as a large plate. Trace a four leaf clover shape onto the paper using a pencil or pen. Fill the entire shape in with glue. Once it dries, you can color the pendant with a green marker. Finally, you can peel off the contact paper. The four leaf clover shape will come right off with it. Viewing this video will show you the fastest and easiest way ...

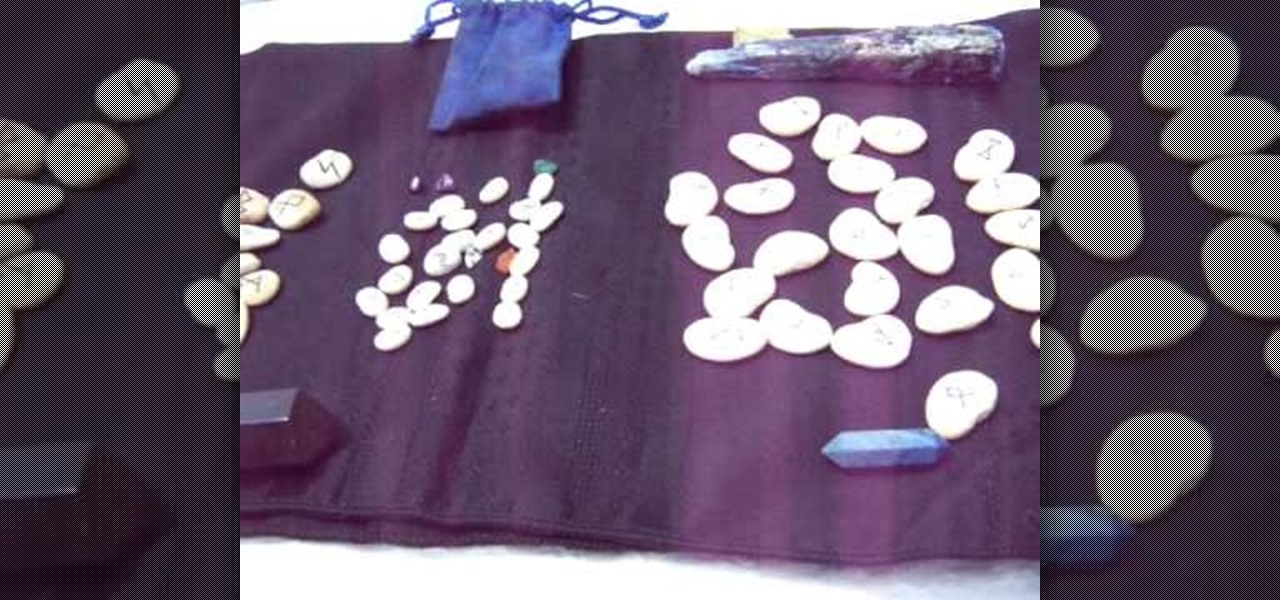
This video demonstrates how to make your own Wiccan runes. You need ordinary, commercially grown lima beans. You can also make smaller ones using smaller beans or you can use river stones. Use a rune chart. These can be found in most New Age shops or you can download one for free online. Choose beans without cracks. Use a marker pen, or a "Sharpie" to mark each rune on one stone or bean. Copy the whole chart. When you have done this you can bless the runes. They can be kept with some sacred s...

This video shows how a piece of glass can be cut using a pair of scissors into the shape that you want. First, use a permanent marker to draw the outline of the shape you want on the glass. Next, submerge the part of the glass that you want to cut into a basin of water. Using a pair of scissors, start cutting the general outline of the shape on the glass. After you are done with the general outline, you can then trim the glass with it still submerged in the basin of water. Remember to be care...

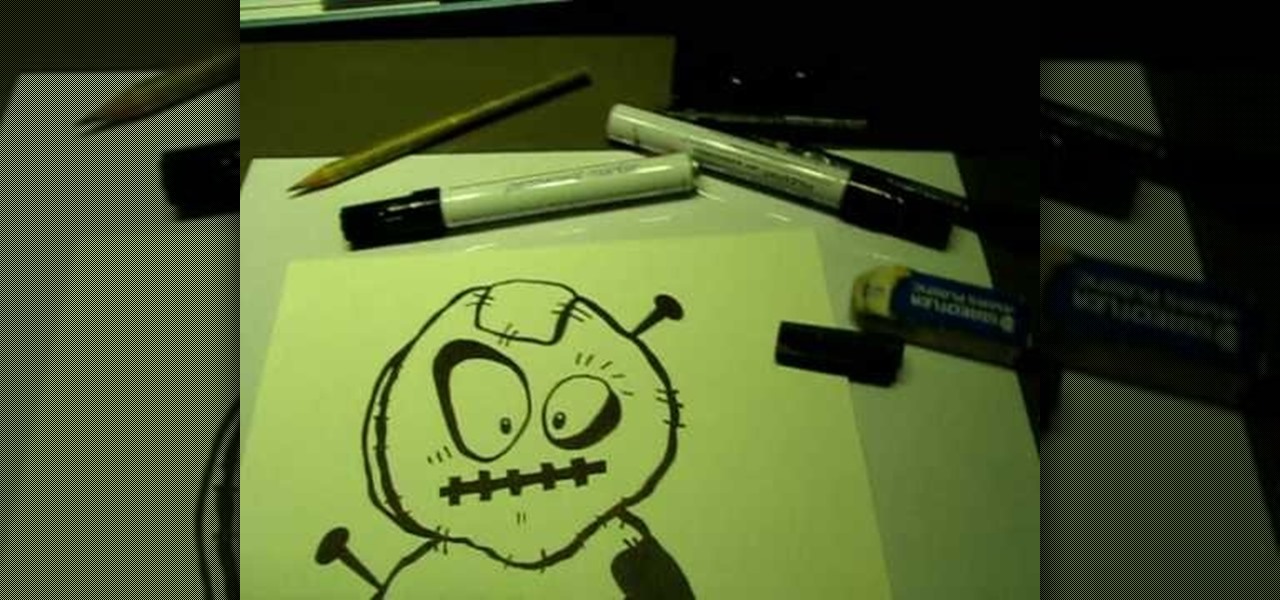
In this video you will learn how to draw a graffiti version of "Slimer" from the movie "Ghostbusters". The materials you will need are a writing utensil (the artist in the video uses a permanent marker) and some paper to write on. The artist begins by drawing the eyes and the pupils (the pupils appear cross-eyed). Then you draw the nose, the mouth and start outlining the area around the top of the eyes. Then draw the outline of the ghosts body then continuing around the left arm to the hand. ...

This video shows us a fun science project to do with our kids; it teaches us how to make flubber out of glue and cornstarch. In one container pour a small amount of liquid starch. You can find this in most laundry aisles in the store. Next in another container, pour in an equal amount of white school glue. Mix the two together by pouring the liquid starch into the glue. If the mix is real sticky, add more starch and if it is real runny, add more glue. To color your flubber you can dab it over...

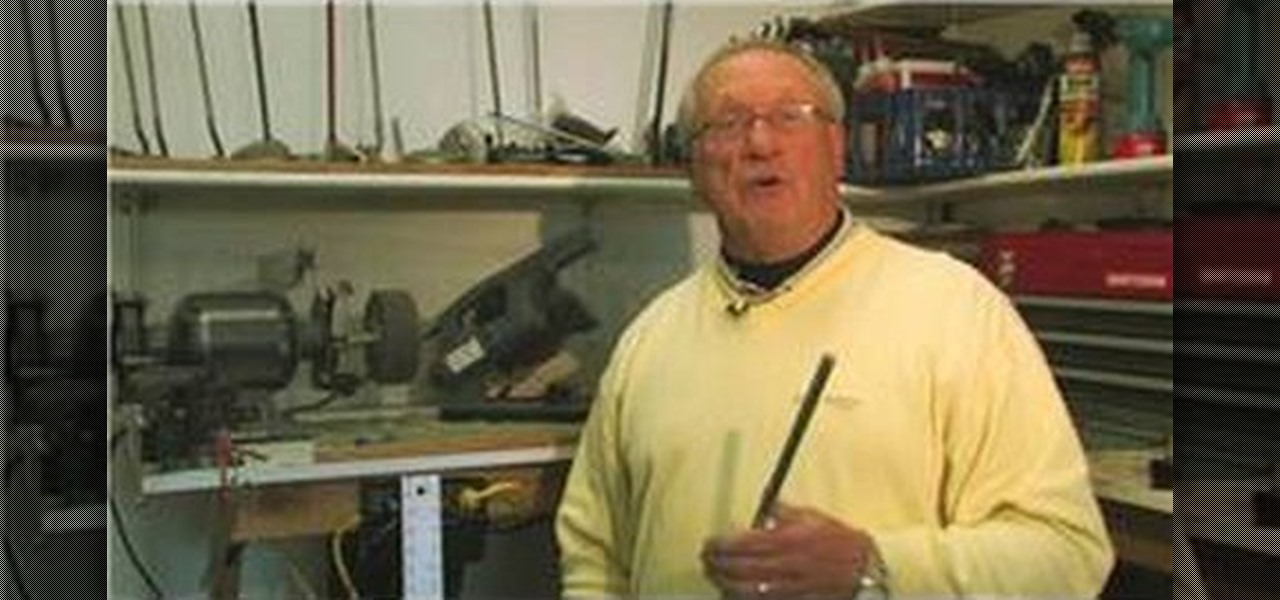
In this video tutorial, viewers learn how to trim golf club shafts. The materials required are: a golf club, yardstick, marker, chop saw and grinder/buffer. Begin by determining how long you want your golf club to be. Measure and mark where you want it to be cut. Now place the shaft in the chop saw holder and tighten it. Make sure that it's lined up with the blade and cut the shaft using the chop saw. Now smooth the rough edge with the grinder/buffer. This video will benefit those viewers who...

Teresa demonstrates how left-handed people can complete a crochet project. The project is a round cap for a toy Ogeechee bear. Using her left hand to hold the crochet needle, she starts with a circle of crochet stitches to form the crown of the cap, and counts out the number of stitches needed for each row. A yarn marker is used to keep the rows organized, and Theresa shows how to utilize a slip stitch to make turns in the crochet to complete partial-rows that form a brim to the cap. She ends...

If street art is your thing, maybe you should make and print your own stickers to post around. Well this user shows us a pretty sweet way to do so. This video shows us how to make, import, edit, and then print our own stickers

This instructional video shows us how to make a Japanese flag fan. The materials required are: Foamy (Red and white), four popsicle sticks, glue and scissors. First cut two circular shapes (with one straight edge) from the white foamy, then glue on the popsicle sticks to the straight edge of one of the circles to make the handle. After this, glue down the other white circular piece of foamy to cover the tops of the popsicle sticks. Then cut out two smaller circles from the red foamy and glue ...

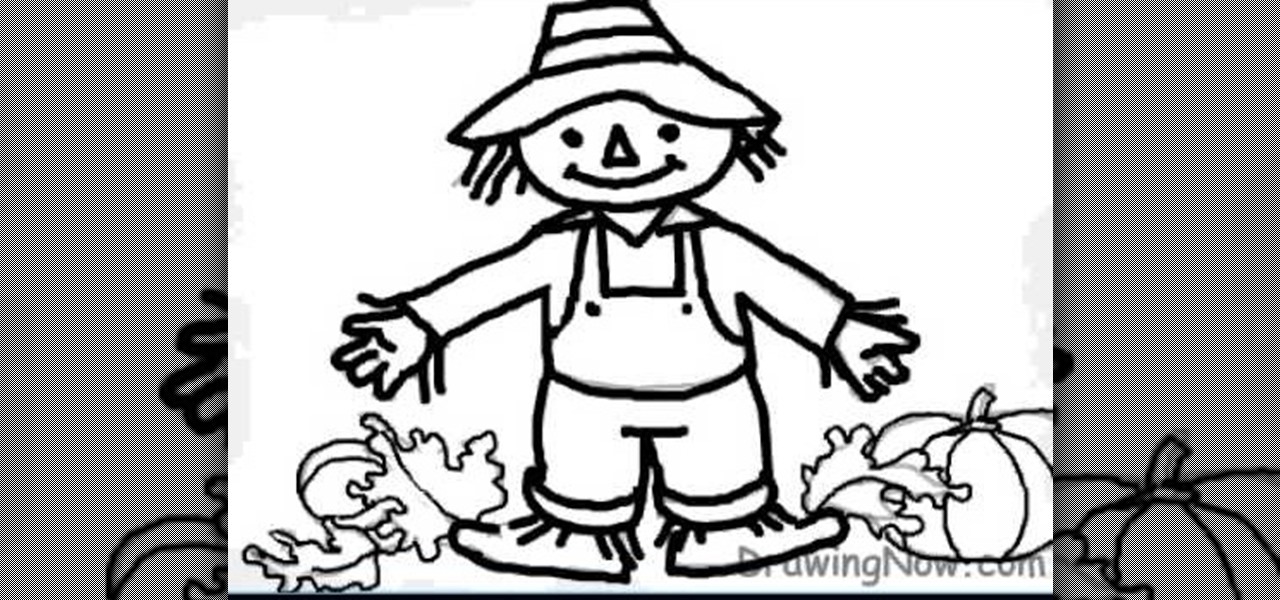
This silent video clip shows step by step how you can easily draw a cartoon scarecrow right rom scratch. First you sketch in the outline. Then you can go over the initial lines with a marker pen or similar. The design even includes some vegetables from the farm! Once you've got the whole thing drawn, you can start coloring in or painting your scarecrow. This design shows him in a checked flannel shirt and blue dungarees, but you can ring the changes if you like. You can add detail - like pock...

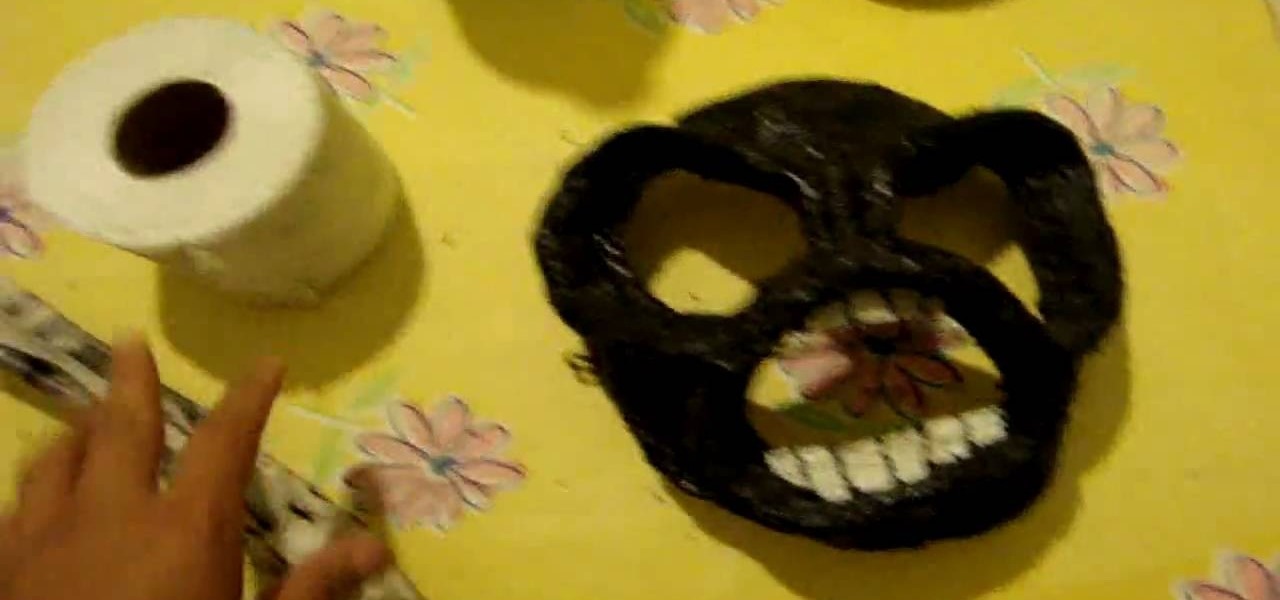
In this video, user mudvayne200 teaches you how to make a Sid Wilson from Slipknot mask. You will need a roll of toilet paper, a newspaper, water, a balloon and scissors. You will want to fill up the balloon and then cut strips of newspaper. Put water on the strips of paper and place them on top of the balloon. Do this a few times to have a few layers. Once it's dry, you can cut it in half and cut holes for the eyes and mouth. You can also add a layer of toilet paper and let it dry. Color it ...

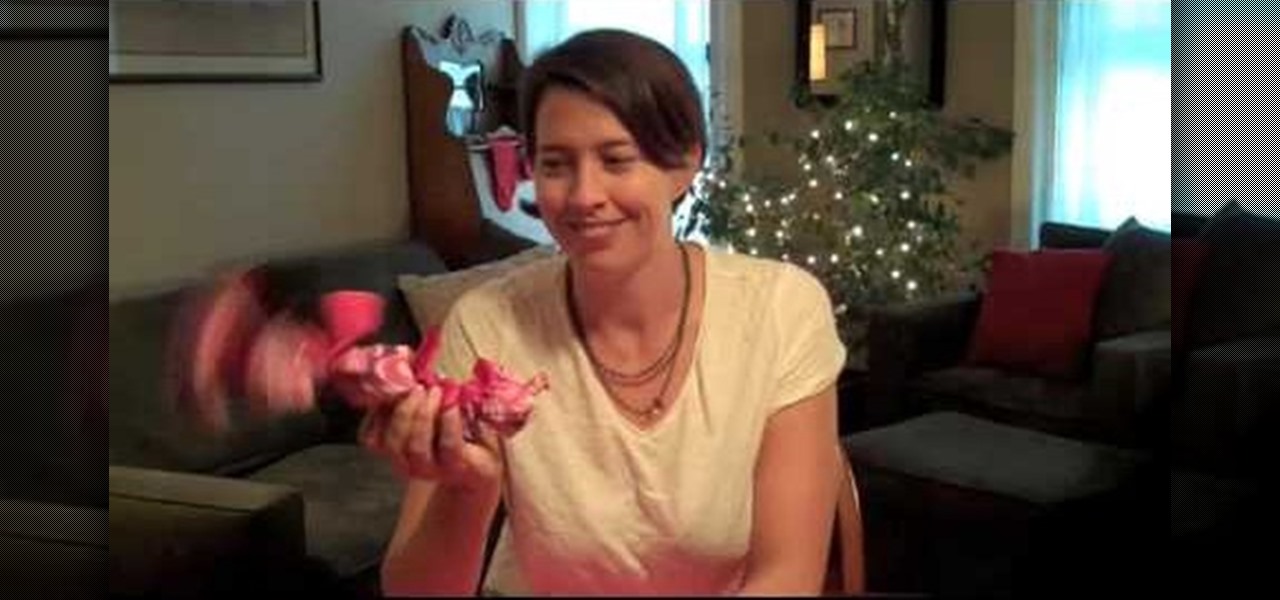
NiftyButton teaches you how to make a simple baby toy. You dig out an old pair of brightly colored stockings and snip off one leg. You want to have a section of about 15 inches. You then stuff this with crumpled paper. Take the open end and make a tight knot. Cut and tie ribbons into knots. Place each ribbon between two pieces of paper. You can also add eyes to the small toy by adding buttons or simply using a marker to draw the eyes on the part that should be the head. Finally, give the toy ...

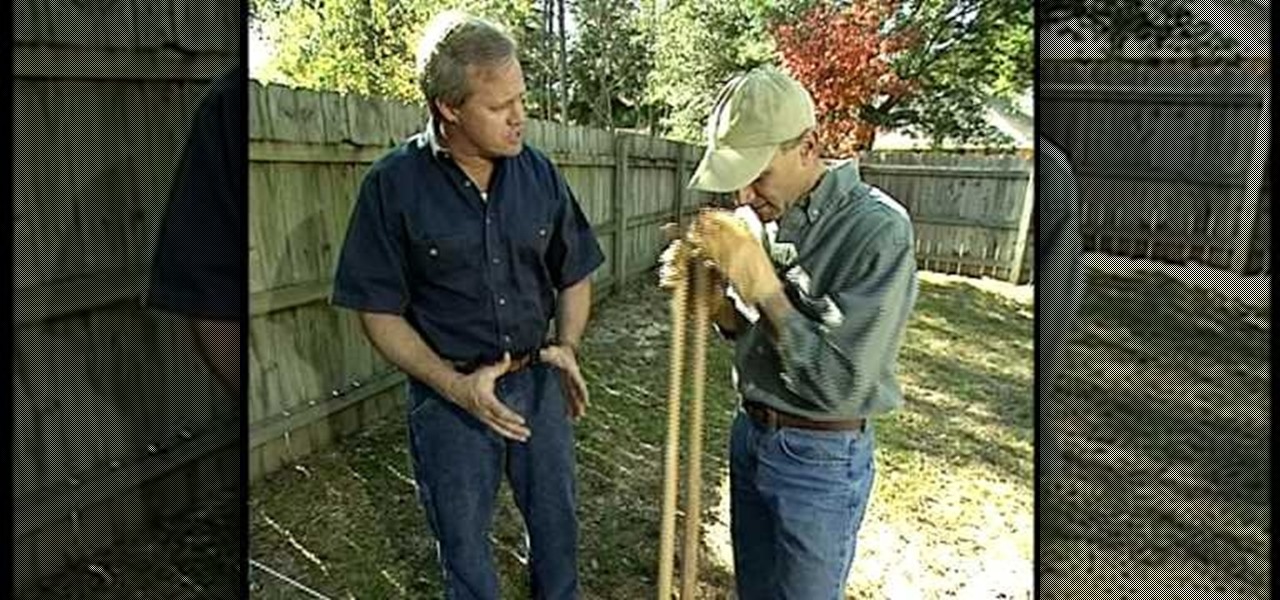
Here is a simple technical to measure hole you dug with a post hole digger. Take measuring tape. Place it with the post hole digger from bottom to the end of the post hole digger. Mark each foot division on the post hole digger with a marker. So now you can measure depth of the hole you dug with post hole digger without the need of a measuring tape. If you want to dig 2 feet deep down the earth and you could not find a measuring tape to measure, but markings on the digger will help you to mea...

You start off with a printed design on your doll. Use regular paper, but you have to print the doll in individual pieces - body, hands, legs, head. You stick those on the front of hard materials like thick card stock or some thick fabric. Now you can putt the doll together and make adjustments. You put the doll together by using small thumb tacks. It's even better if you have ones that have a rhinestone on them. Once you've done the joints, you can also add a little tutu or some fairy wings. ...

This video shows how to draw the comics character Spawn, a former CIA operative killed by his own men and afterwards recruited to be a general in Hell's army. Running at a 6x speed, you will find it easy to replicate. To accomplish this task, you'll need a sheet of paper, a pencil and red, grey and black markers. In less than 10 minutes, without any special drawing skills and simply by following the tracing and coloring shown in this video, you will finish a fully colored entire body drawing ...

Take a colored foam and cut it to a bookmark shape. Mostly the bookmarks are tall rectangles. Decorate the foam bookmark using markers. Now design it for looking more beautiful. Use stickers to add additional decoration. Collect stickers from a craft store that offers a large variety of scrapbooking stickers. Cut the foam sheet and be sure to get along with the theme of the bookmark. For example, if a child drew horses on his bookmark, cut out horseshoe. Decorate the cut-out if necessary. Add...

In this video you learn how to make fun, creative, and cheap decorations for Halloween. You learn how to make Halloween "Koozies" and how to make a Halloween tree. This video shows the materials you'll need to make each one. The materials you'll need for the "Koozies" are 1/4 yard fabric, ribbons and boas, a glue gun, candy and craft bags. The materials you will need to make the Halloween Tree are parchment paper, craft glue, raffia, ornaments, small branches, a black marker, and a vase. The ...

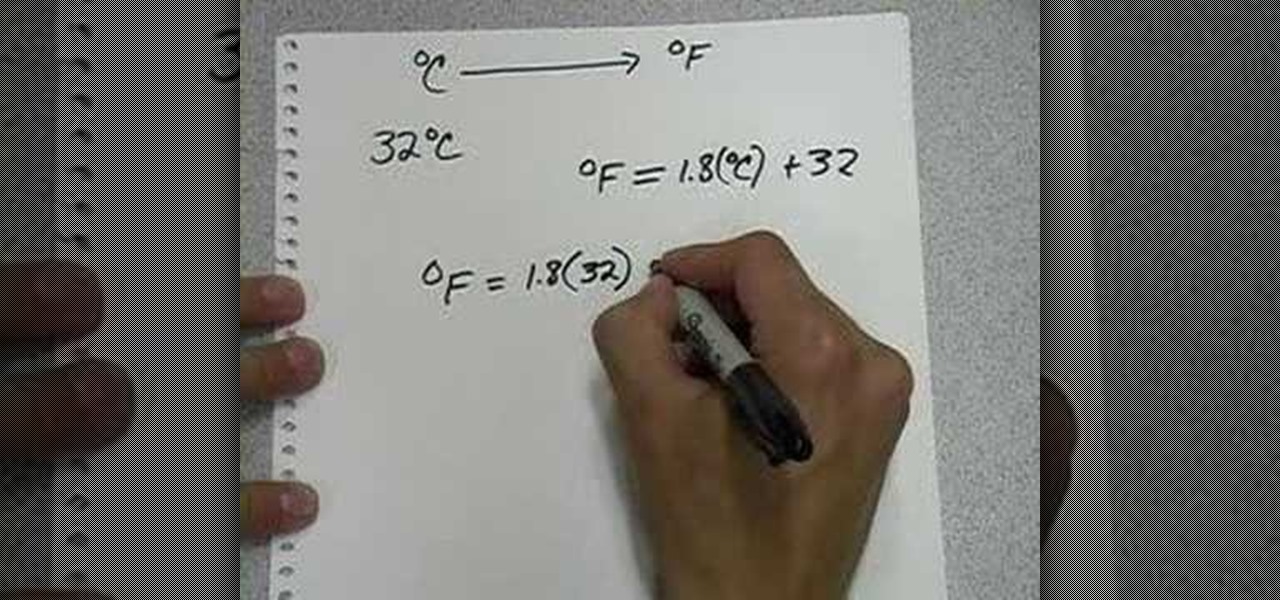
This video teaches how to convert a value in Celsius to Fahrenheit in simple steps. First take a paper and marker and keep in mind a Celsius value (e.g-32) to convert into Fahrenheit. Now use the formula to convert Celsius to Fahrenheit which is F=1.8(32)+32. Use a calculator to calculate the formula and you will get the result as 89.6 Fahrenheit. Now round it off the and your final result will be 90 degree Fahrenheit.

Michael Weisner teaches us how to draw a cartoon bed. His credentials boast of him to be a computer animator. He starts the video off in a rather creative way with him as a cartoon. He slowly draws a cartoon bed by hand. He does this step-by-step, starting from the base up. Going rather quickly, he draws a bed and outlines it in marker. As Michael is drawing, he narrates the process and explains what he is doing and how it is done.

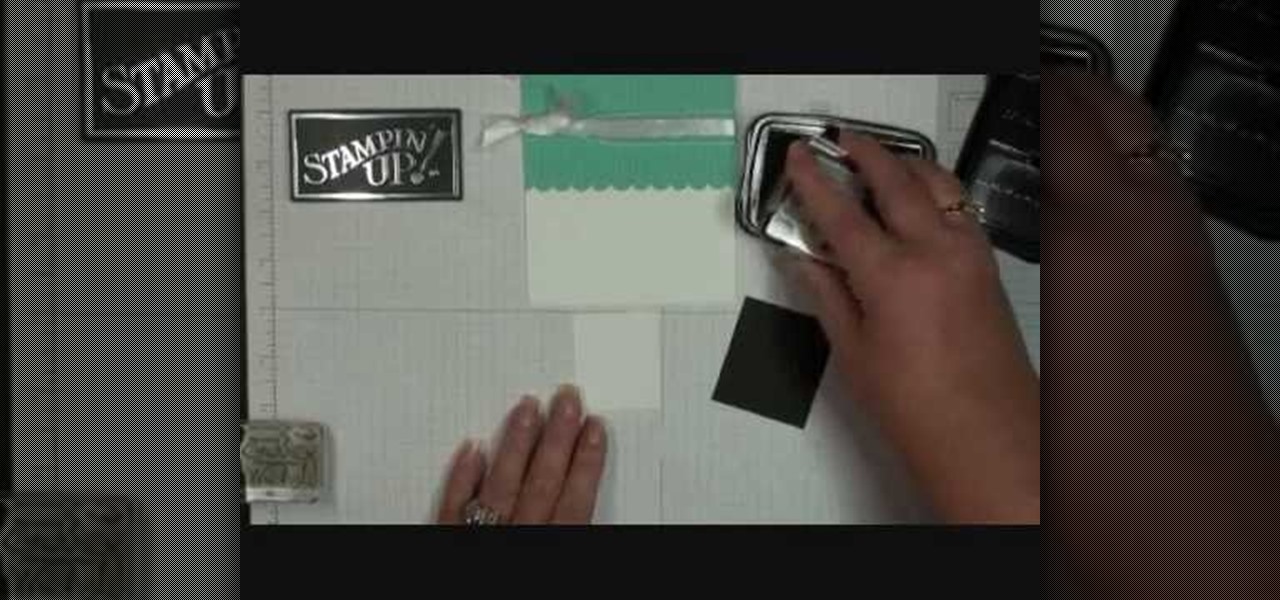
Demonstrator Dawn Griffith offers a short tutorial on how to make a simple and cute birthday card. First you will use white paper to make your base card. Then use a scallop edge punch to scallop some green designer paper, which you will glue to the top of your card. Tie some white ribbon around the top and trim for a clean look. Use a greeting stamp to stamp a message onto the bottom right front of your card. Create a center image by adhering white paper on black card stock, stamp the white p...

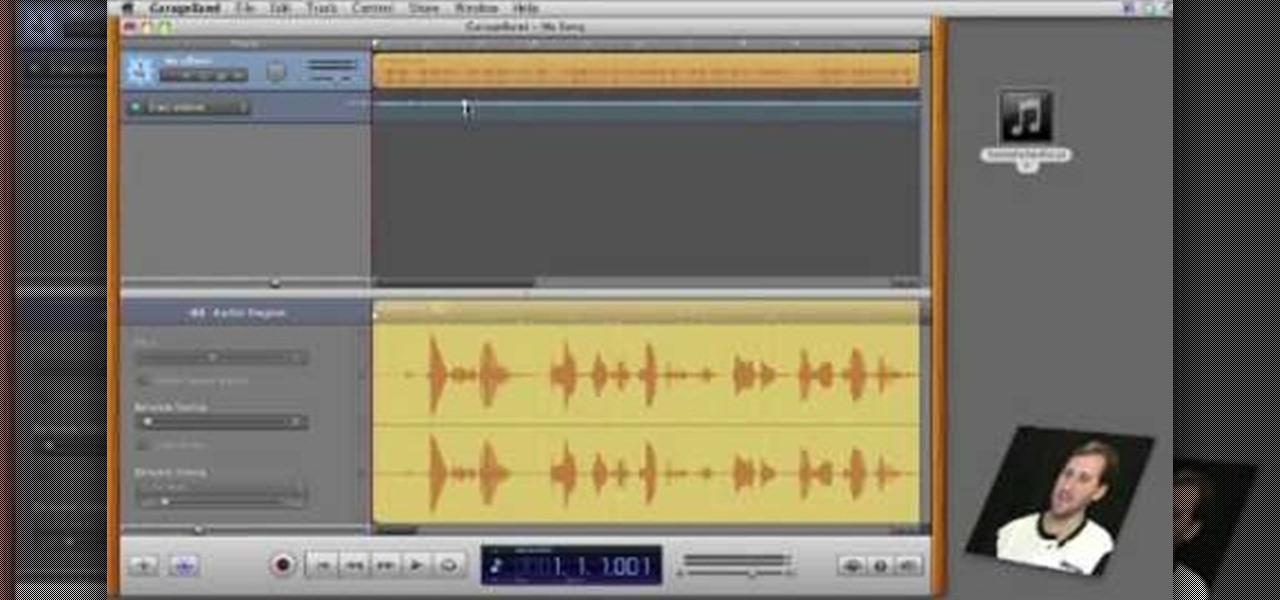
In this video, Gary from MacMost demonstrates how to use GarageBand to edit audio. He creates an empty GarageBand project,and then imports an audio file by dragging it in. He demonstrates how to move to any point within the audio file and view the waveform. To edit out a part, he moves the marker to the place he wants to split it,and then chooses "Split" from the Edit menu. He can also delete the section from the audio region editor. He shows how to select an area by dragging over it, and the...

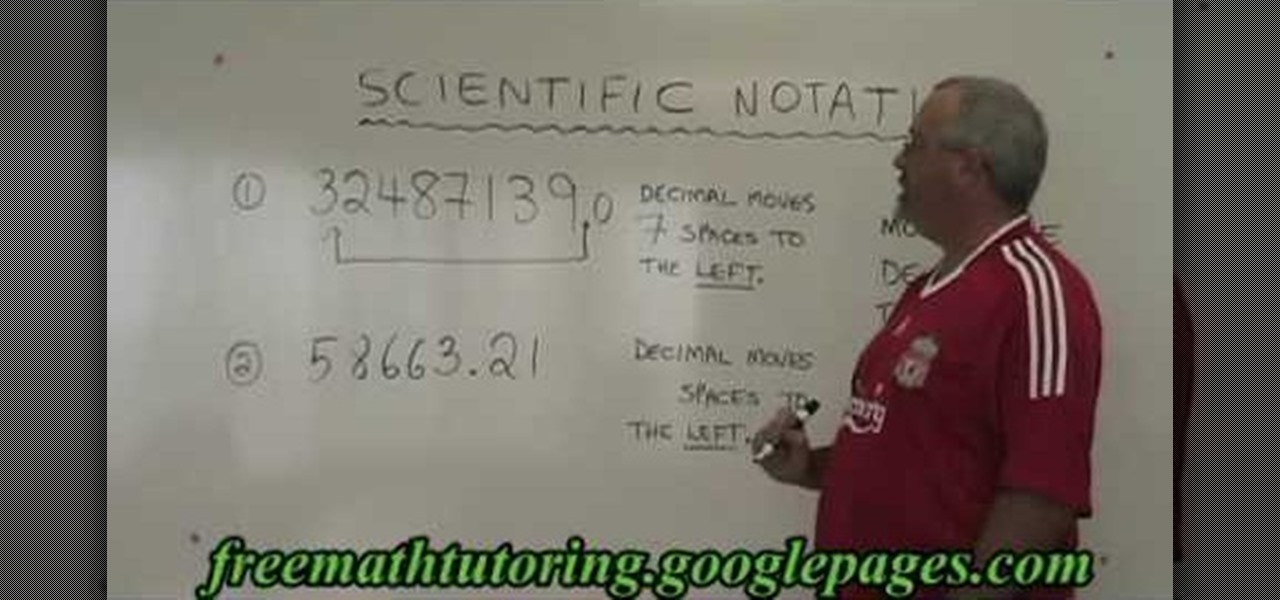
Confused about scientific notation? In this informative video, Doug Simms from free math tutoring helps you work with large numbers more efficiently by converting them into scientific notation. Let this expert walk you through easy to understand marker board examples covering all of the basics of scientific notation, including exponents, decimals, and how to convert numbers back and forth between different notation forms. Don't let confusing science problems get you down when Doug Simms is ar...

Michael Weisner, 2D illustrator and animator will take you through the easy process of drawing a basketball shoe. All you will need is some paper, a pencil, and a marker. Follow along with Michael in this easy to make drawing that will increase your artistic abilities. In a matter of minutes you will be left with your own creation of a basketball shoe that you can later incorporate into other drawings. You will gain artistic knowledge and learn from a professional animator.

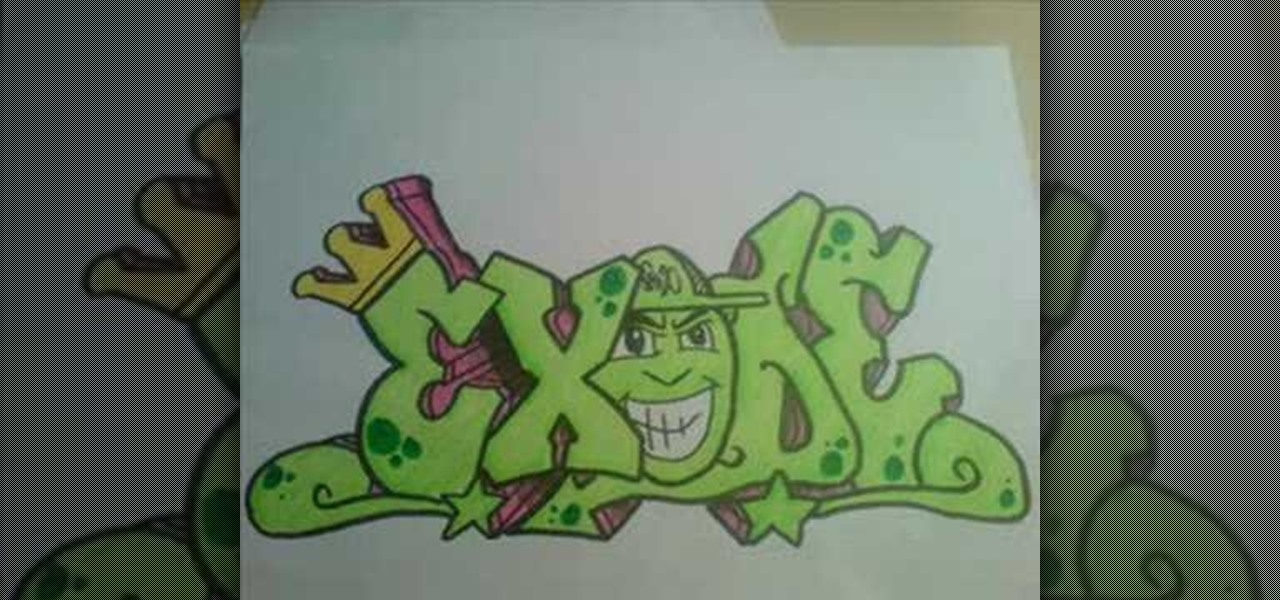
Have you always looked at graffiti and wondered how they got such perfect lines and great color with just a spray can? Watch this video tutorial set to funky music and learn how to create a sketch of the finished product. Draw it on paper first and, with this easy to follow guide, learn how to make the finished product "Exode" with just a set of markers. Each picture shows the progression of the piece, from just a simple sketch to the fully colored product. In almost no time you will be makin...

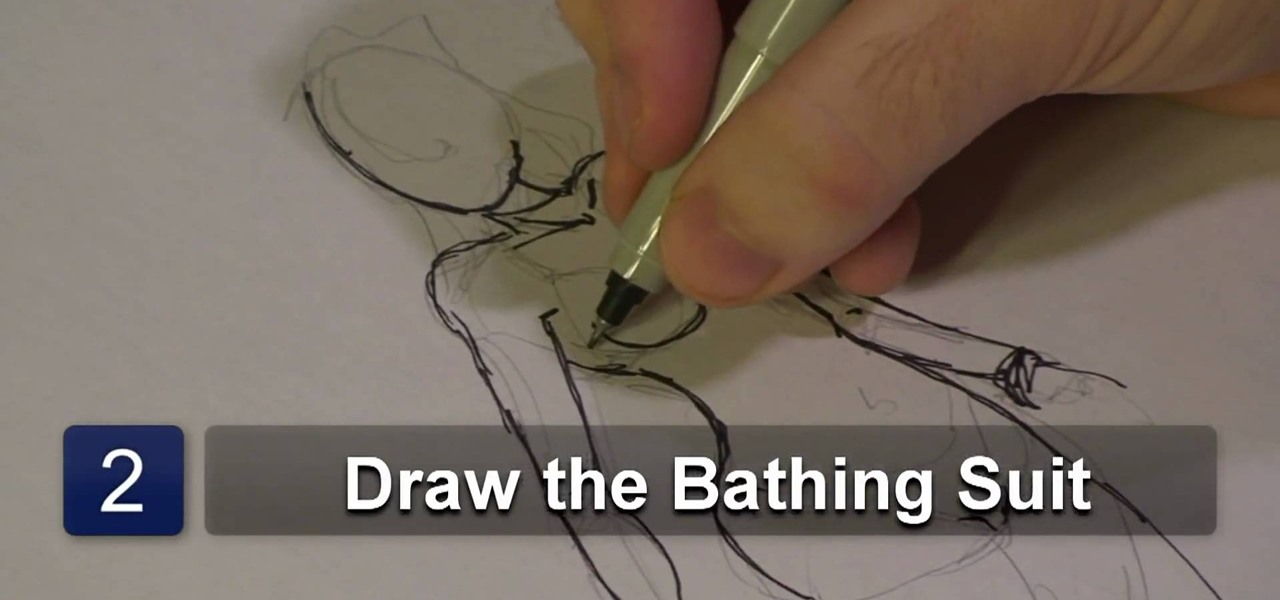
Michael Weisner, a graphic designer and computer animator teaches us how to draw a one piece bathing suit. He starts off by drawing the basic body shape of the bikini. He drew a basic outline of the bathing suit in order to save time, and for the rest of the video he uses a marker to highlight his strokes. In this video, Michael does not narrate much but rather he slowly draws his strokes as to make it easy for the viewer to follow.

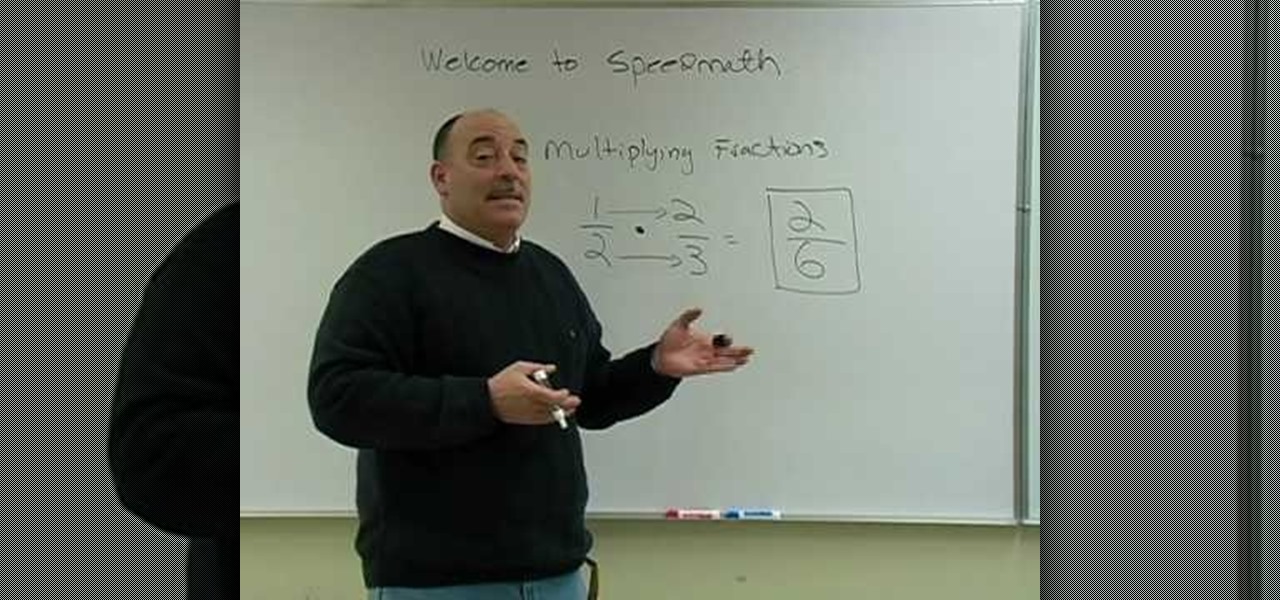
Are you slow in multiplying and dividing your fractions? Let Mr. Rider from Speed Math 101 walk you through an easy to follow marker board math lesson that will have you managing those numerators and denominators like a pro. With a simple and easy to remember process, Mr. Rider walks you through common examples, misunderstandings, and problems. Improve your speed and accuracy in math class with the Speed Math 101 method. Avoid the usual pitfalls of improper fraction reduction that might you l...

This video shows you how to draw a track shoe. The instructor begins the video by telling you that he has already started the basics for the drawing. He has already used pencil to make the basic outline of the shoe. He then shows you how to draw the heel, fitting with a marker first. He then moves onto the laces and tip of the shoe. A lot of detail goes into the shadowing of the shoe. The instructor is a professional artist.

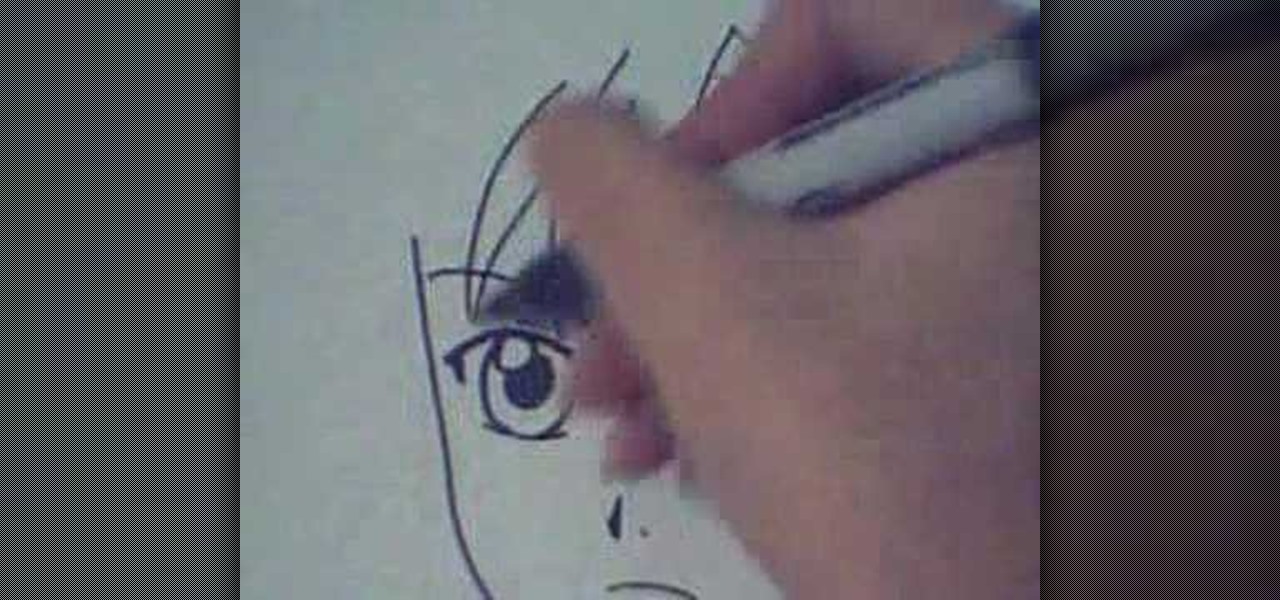
Manga is a popular form of comics and print cartoons that dates as far back as the 1945 U.S. occupation of Japan. This video tutorial shows how to draw a basic anime manga boy using a marker. Start with the eyes making sure to include white circles to imply glossy pupils. Next draw a slight nose and mouth within the shape of a face. Add the left ear and include spiky disheveled hair. After including a slight neckline, base the head in a collared shirt.

Stumped on what to get your makeup-loving best friend this holiday season? In this tutorial, makeup artist Koren shows us how to make a handmade mini makeup palette in the comfort of our own home! By following this tutorial and adding your own bling or personalized message to the palette using markers and glitter, you have a special, personal gift to give a loved one.

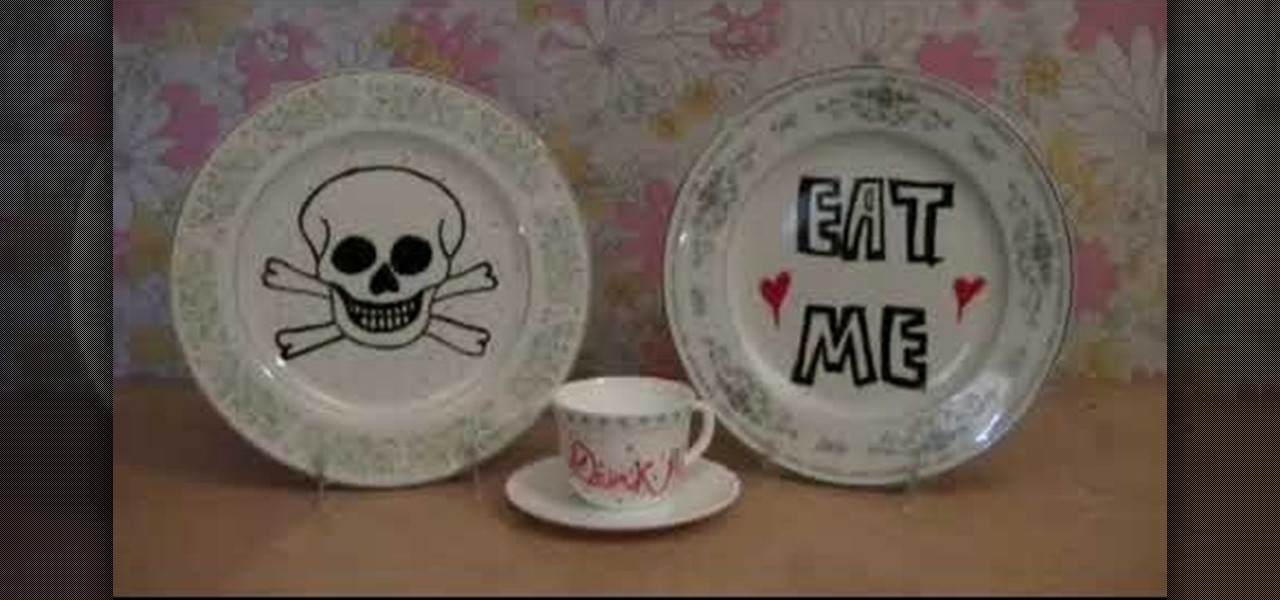
Raid the thrift stores and the hardware stores and turn something that's old and useless into invaluable works of art. Armed with markers and your own artistic skills you can change fussy old dinner plates into something worth eating on. Watch this video to learn more about how to make painted plates and tiles with ceramic paint pens. Give the gift of your genius, and spread the smiles around.


