Tired of plain solid colors? In this Fireworks 8 video tutorial you will learn how to work with gradients. Learn how to edit gradients, tweak, change and animate gradients. Make sure to hit "play tutorial" in the top left corner of the video to start the video. There is no sound, so you'll need to watch the pop-up directions. Work with gradients in Fireworks 8.
In this Adobe Premiere Pro video tutorial you will learn to create a custom sized document for a video web banner. Learn how to change to the values for Timebase, video frame, and audio rate. Their values will determine the quality and delivery speed of your video banner. Make sure to hit "play tutorial" in the top left corner of the video to start the video. There is no sound, so you'll need to watch the pop-up directions. Create a video web banner in Premiere.

In this Bryce 5 video tutorial you will learn how to multi-replicate animated objects. You learn about beginner-level keyframing, and how to animate a rotation. This video also shows you how to use time scrubber and add frames. Make sure to hit "play tutorial" in the top left corner of the video to start the video. There is no sound, so you'll need to watch the pop-up directions. Multi-replicate animated objects in Bryce 5.

Do you already have an image file that you want to include in your Flash project?. In this Flash 8 video tutorial you will learn how to add and import it into Flash. Yes, it's much easier than you think! Make sure to hit "play tutorial" in the top left corner of the video to start the video. There is no sound, so you'll need to watch the pop-up directions. Add and import images in Flash 8.
In need of an eye-catching banner? In this Flash 8 video tutorial you will learn how to create an animated Flash banner. Learn how to export your work as a flash file and an animated gif file. Make sure to hit "play tutorial" in the top left corner of the video to start the video. There is no sound, so you'll need to watch the pop-up directions. Create an animated banner in Flash 8.

You don't have to build everything from scratch in Flash! In this Flash 8 video tutorial you will learn how to import .fla files and organize Flash libraries. Make sure to hit "play tutorial" in the top left corner of the video to start the video. There is no sound, so you'll need to watch the pop-up directions. Import libraries in Flash 8.

In this Dreamweaver 8 video tutorial you will learn how to utilize the file tab menu. Learn how to locate and open the files palette, work in local view, work with assets and with snippets. Make sure to hit "play tutorial" in the top left corner of the video to start the video. There is no sound, so you'll need to watch the pop-up directions. Utilize the file tab menu in Dreamweaver 8.
Email is not, and shouldn't be, the only way your site visitors could contact you. In this Dreamweaver 8 video tutorial you will learn how to create a simple contact form. Learn how to add form elements,text boxes, and style buttons using CSS. Make sure to hit "play tutorial" in the top left corner of the video to start the video. There is no sound, so you'll need to watch the pop-up directions. Create a simple contact form in Dreamweaver 8.
Macromedia offers you a variety of templates for building accessible websites both from within Dreamweaver 8 and by download. In this tutorial you will learn how to edit, save and update template pages. Make sure to hit "play tutorial" in the top left corner of the video to start the video. There is no sound, so you'll need to watch the pop-up directions. Edit templates in Dreamweaver 8.
A rollover status message can be quite helpful to the user. In this Dreamweaver 8 video tutorial you will learn how to create one. Make sure to hit "play tutorial" in the top left corner of the video to start the video. There is no sound, so you'll need to watch the pop-up directions. Create a rollover status bar message in Dreamweaver 8.
You can use the Check Plugin action to send visitors to different pages depending on whether they have the specified plugin installed. For example, you might want visitors to go to one page if they have Shockwave and another page if they do not. In this Dreamweaver 8 video tutorial you will learn how to check for plugins, and redirect user to display the correct page. Make sure to hit "play tutorial" in the top left corner of the video to start the video. There is no sound, so you'll need to ...
This is a brief introduction to the new Spry features for Adobe Dreamweaver. You can now easily click one of the 12 or so Spry widgets and they are instantly embedded into your page with the required javascript and cascading style sheet to go along with them. In this Dreamweaver 9 video tutorial you will learn how to create collapsible content boxes with the Spry framework. Make sure to hit "play tutorial" in the top left corner of the video to start the video. There is no sound, so you'll ne...
In this 3ds Max video tutorial you will learn how to add background images to your viewports. The background can be either still images or animation. Make sure to hit "play tutorial" in the top left corner of the video to start the video. There is no sound, so you'll need to watch the pop-up directions. Add a background in 3ds Max.
In this 3ds Max video tutorial you will learn how to create a tank track piece. The video shows you how to attach multiple objects and use path deform. Make sure to hit "play tutorial" in the top left corner of the video to start the video. There is no sound, so you'll need to watch the pop-up directions. Create and animate a tank track in 3ds Max.
If you plan to produce animation for television, then you have to watch this video. In this 3ds Max video tutorial you will learn how to use Video Safe Frames. This feature helps you make sure your animation fits on a TV screen. Make sure to hit "play tutorial" in the top left corner of the video to start the video. There is no sound, so you'll need to watch the pop-up directions. Use video safe frames in 3ds Max.
Good lighting can make your animation look more realistic. In this 3ds Max video tutorial you will learn how to add a simple spotlight to your scene. Also, you'll be taught how to edit light range and apply shadows to lit objects. Make sure to hit "play tutorial" in the top left corner of the video to start the video. There is no sound, so you'll need to watch the pop-up directions. Add a simple spotlight to your scene in 3ds Max.
In this 3ds Max video tutorial you will learn how to create a dummy object (an object that doesn't render). You'll also learn how to link the dummy object to a light and a camera for animating. Make sure to hit "play tutorial" in the top left corner of the video to start the video. There is no sound, so you'll need to watch the pop-up directions. Create a dummy object in 3ds Max.
A camera determines what you will record as you animate a scene in 3ds Max. In this 3ds Max video tutorial you will learn how to add a simple camera to your scene. You'll also learn how to navigate the viewports. Make sure to hit "play tutorial" in the top left corner of the video to start the video. There is no sound, so you'll need to watch the pop-up directions. Place a simple camera in 3ds Max.
In this 3ds Max video tutorial you will learn how to render a single image or a frame sequence. You learn how to assign the output format, choosing compressor, and render both animations and still images. Make sure to hit "play tutorial" in the top left corner of the video to start the video. There is no sound, so you'll need to watch the pop-up directions. Render in 3ds Max.
In this Illustrator CS2 video tutorial you will learn to create a picture clipping mask. In another words, you will learn how to clip a picture with any closed vector path. Make sure you select both objects when applying the Make Clipping Mask command. Make sure to hit "play tutorial" in the top left corner of the video to start the video. There is no sound, so you'll need to watch the pop-up directions. Create a picture clipping mask in Illustrator CS2.
In this Illustrator video tutorial you will learn to create a print-ready postcard. Learn how to add crop marks, outline text, and save documents for print. This example uses CMYK and PMS colors. Make sure to hit "play tutorial" in the top left corner of the video to start the video. There is no sound, so you'll need to watch the pop-up directions. Create a print-ready postcard in Illustrator CS2.
In this tutorial you will learn how to create glossy web icons in Illustrator CS2. Very often you will be able to download royalty-free icons from the Internet, but the problem is they are not customized to fit in with your existing web site's design. So creating your own icons is always a good way if you have the time to do it. Make sure to hit "play tutorial" in the top left corner of the video to start the video. There is no sound, so you'll need to watch the pop-up directions. Create glos...
To create great looking 3D text in Bryce 5 all you need is a paint program and Bryce. In this Bryce 5 video tutorial you will learn how to create 3D text by making the text in Photoshop, importing it into Bryce as terrain, using a boolean, and adding texture. Make sure to hit "play tutorial" in the top left corner of the video to start the video. There is no sound, so you'll need to watch the pop-up directions. Create 3D text in Bryce 5.
In this Bryce 5 video tutorial you will learn how to create footprints in sand. Learn how to use Photoshop to create footprints, and then import the image as image height map in Bryce 5. You will then be shown how to edit terrain, apply edits, and create footprints! Make sure to hit "play tutorial" in the top left corner of the video to start the video. There is no sound, so you'll need to watch the pop-up directions. Create footprints in sand with Bryce 5 and Photoshop.
For video post-production, Photoshop CS3 Extended now includes video-format and layer support to edit video files frame by frame. The resulting video can then be exported to a variety of formats including Flash. In this Photoshop CS3 video tutorial you will learn how to create a simple animation in Photoshop CS3 Extended. Make sure to hit "play tutorial" in the top left corner of the video to start the video. There is no sound, so you'll need to watch the pop-up directions. Create basic anima...
In part one of this two part Photoshop CS3 Extended video tutorial you will learn how to import Poser 3D models direct into Photoshop as .obj files. When you export from Poser, make sure you have one folder with a .obj file, a .mtl file, and the textures. Make sure to hit "play tutorial" in the top left corner of the video to start the video. There is no sound, so you'll need to watch the pop-up directions. Import & texture Poser characters in Photoshop.
Photoshop CS3 Extended has support for popular 3-D formats, which allows users to render and incorporate rich 3-D content into their 2-D compositions, including texture editing on 3-D models. In this video tutorial you will learn how to edit texture on a Poser 3D model. This tutorial is part two and follows "Import and texture Poser characters in Photoshop". Make sure to hit "play tutorial" in the top left corner of the video to start the video. There is no sound, so you'll need to watch the ...
In this Photoshop CS2 video tutorial you will learn how to select and cut with the Freehand Lasso tool. This tutorial is aimed at new users. Make sure to hit "play tutorial" in the top left corner of the video to start the video. There is no sound, so you'll need to watch the pop-up directions. Use the Freehand Lasso tool in Photoshop CS2.
Photoshop's History Brush is great for fixing an image, but it also lets you use previous states of the image to create new effects. In this Photoshop CS2 video tutorial you will learn to use the history brush. Make sure to hit "play tutorial" in the top left corner of the video to start the video. There is no sound, so you'll need to watch the pop-up directions. Use the history brush in Photoshop CS2.
In this Photoshop CS2 video tutorial you will learn how to use Vector Path tools. Learn to draw a path, select points on the path, and refine it. This example involves cutting an image from the background using clipping paths. Make sure to hit "play tutorial" in the top left corner of the video to start the video. There is no sound, so you'll need to watch the pop-up directions. Use clipping paths in Photoshop CS2.
You need to digitize your images before you can use them in Photoshop. In this Photoshop CS2 video tutorial you will learn to import images from a scanner and a camera and how to touch up the image with the Curve feature. Make sure to hit "play tutorial" in the top left corner of the video to start the video. There is no sound, so you'll need to watch the pop-up directions. Import images from a scanner & camera in Photoshop CS2.
It is easy to find out the RGB value of a color using Photoshop. In this Photoshop CS2 tutorial you will learn to use the colour sampler toolset. This example shows you how to sample colours, read RGB %, and measure image width. Make sure to hit "play tutorial" in the top left corner of the video to start the video. There is no sound, so you'll need to watch the pop-up directions. Use the color sampler toolset in Photoshop.
If you have a group of large files that need to be sent to a client, you might want to compress it into one single file for easy access or even protect its content from outsiders with a password. This video will teach you how to create password-protected zip files with WinRAR. WinRAR provides full RAR and ZIP file support, and can decompress CAB, GZIP, ACE and other archive formats. Make sure to hit "play tutorial" in the top left corner of the video to start the video. There is no sound, so ...
Moving the camera back and forth between different positions can be a troublesome task. In this Poser video tutorial you will learn how to use camera dots to record camera positions and then remove the dots. Make sure to hit "play tutorial" in the top left corner of the video to start the video. There is no sound, so you'll need to watch the pop-up directions. Use camera dots to record camera positions in Poser.
In this video tutorial you will learn how to perform single-frame head morphing. Learn to use the face room, adjust facial features with morph, fine-tune the adjustments, and apply it to the current model on stage. It's easy... and fun to do it too! Make sure to hit "play tutorial" in the top left corner of the video to start the video. There is no sound, so you'll need to watch the pop-up directions. Perform "face sculpting" in Poser.
You can manipulate other objects beside human figure objects in Poser. In this Poser video tutorial you will learn how to link imported objects to models using the Change Parent menu. Make sure to hit "play tutorial" in the top left corner of the video to start the video. There is no sound, so you'll need to watch the pop-up directions. Link imported models to Poser figures.
Advances in technology continue to make our lives easier and more convenient. If you want to send fax, for instance, you no longer need to own a fax machine. You can easily and quickly send fax directly from your computer in one of several methods, including via an Internet fax service provider or using Windows built-in Fax and Scan tools. Read on how to use an Internet fax service, one of the faster faxing methods, to send fax messages from your PC.
After years of being a PC technician and Windows System administrator, I had the blind hatred for Apple that I thought I was suppose to have. I swore that I'd never even touch an iPod, let alone buy an Apple product. But I found a new career that drug me out of the Windows server/PC tech room dungeon, and into the bright modern office of a web development firm. Then it happened. After a couple weeks with all this Apple stuff around me, my love for gadgets and (closet) Apple curiosity got the ...
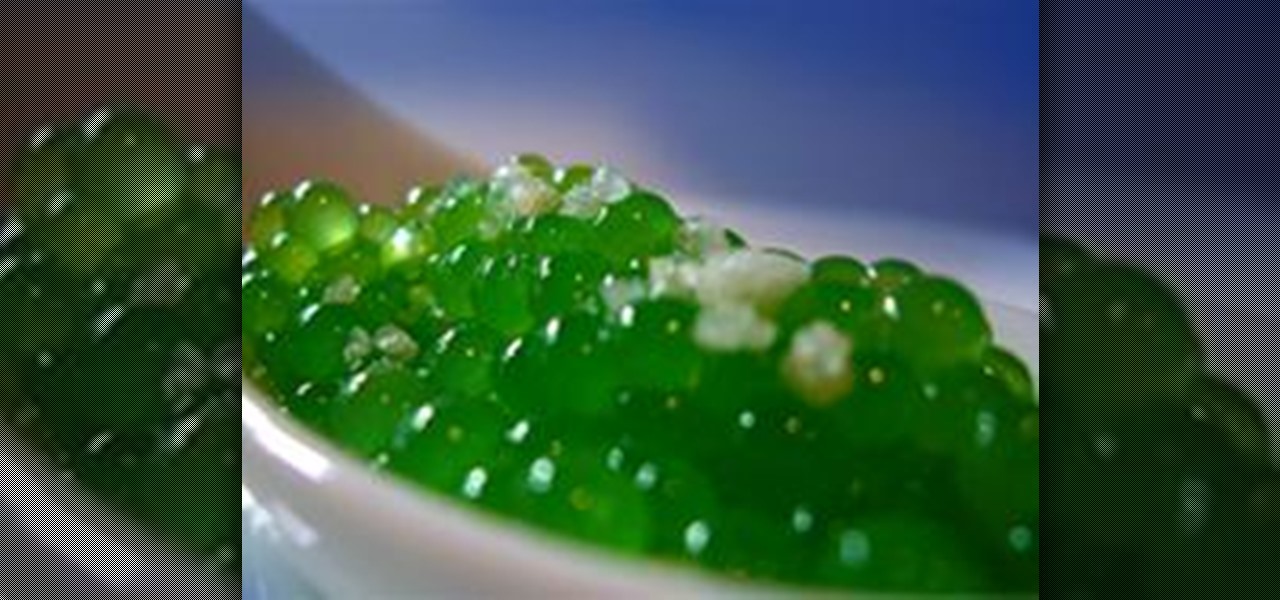
I first heard the term molecular gastronomy while watching an episode of Bravo's Top Chef a few seasons back. Intrigued by the concept, I sought to find out more about this modern, deconstructed type of cookery. If you happen to be around foodies and the topic of molecular gastronomy comes up (which very likely will at some point) you'll want to have a few points to contribute and maybe even give them a run for their money.
So You're New to Counter Strike Source? So you're new to Counter Strike Source and you want to improve your gameplay? Great. You've come to the right place.