
How To: Tape and butt joint on drywall
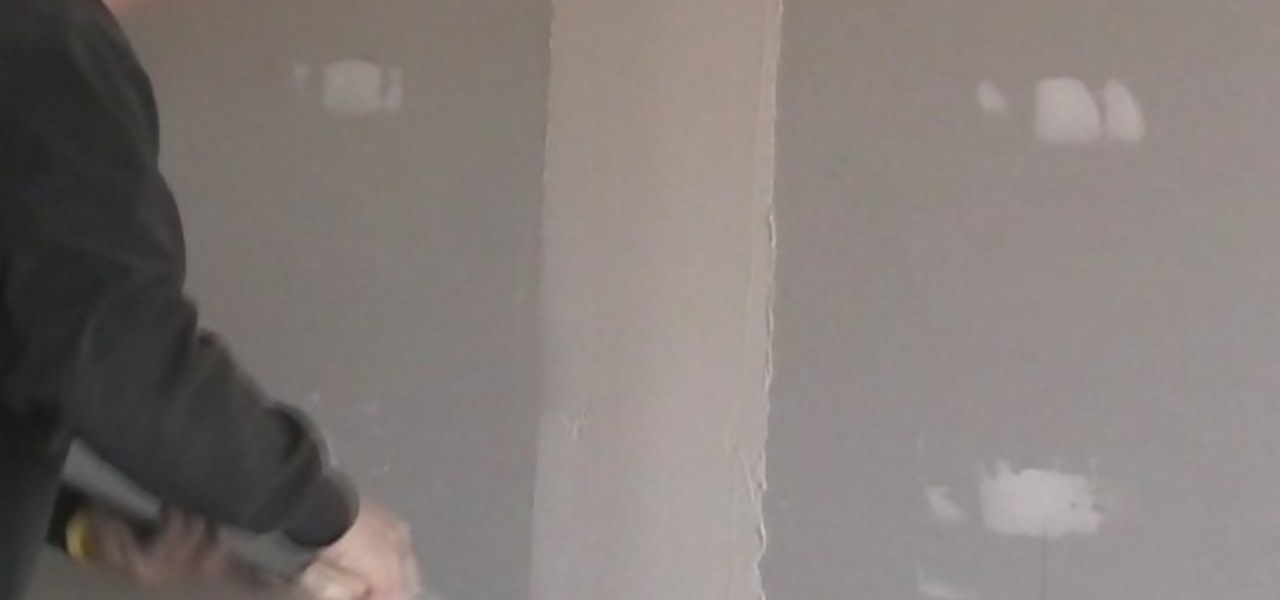
This video illustrate us how to tape and butt joint on drywall.Here are the following steps: Step 1: First of all take a wet tapering knife,tape,mud and cement to coat.

This video illustrate us how to tape and butt joint on drywall.Here are the following steps: Step 1: First of all take a wet tapering knife,tape,mud and cement to coat.

SOLOMATION Cy Porter, the owner of the mentioned website demonstrates how to draw a hand from the thumb perspective. He says that this tutorial is to bring out the thumb's measurement and relation to the rest of the hand. First he draws the palm and the wrist, giving as a square shape to the palm. The he draws the first joint of the thumb saying that the center point of the line joining the knuckles and the wrist and the center point of the thumb's first joint forms an arc. Then he draws the ...
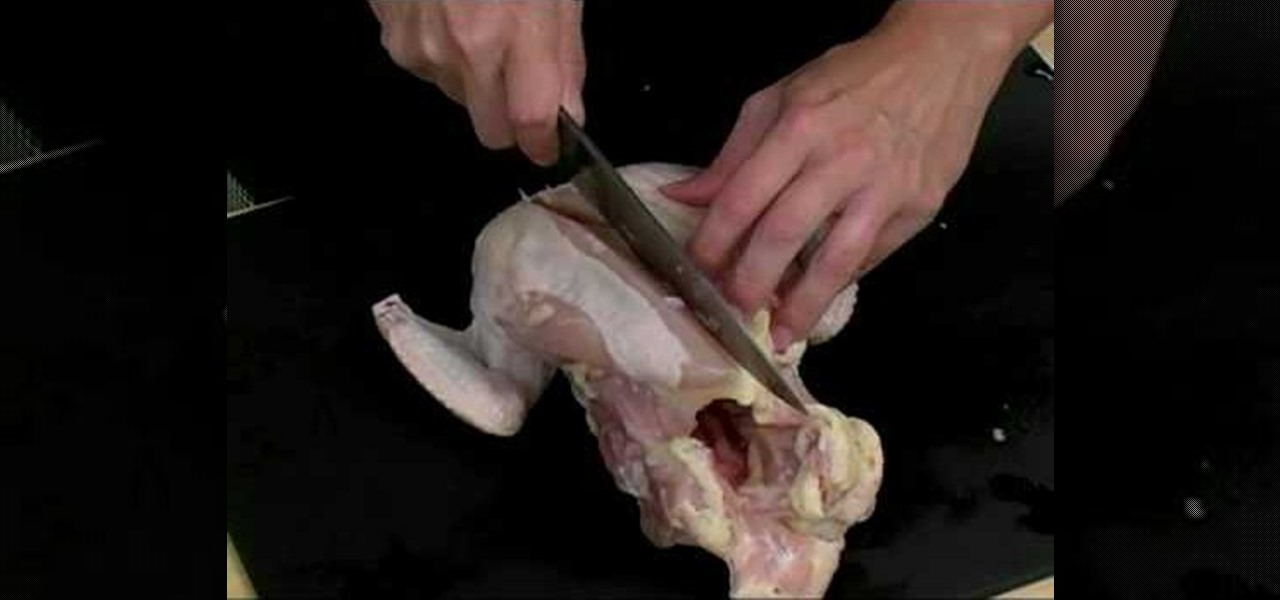
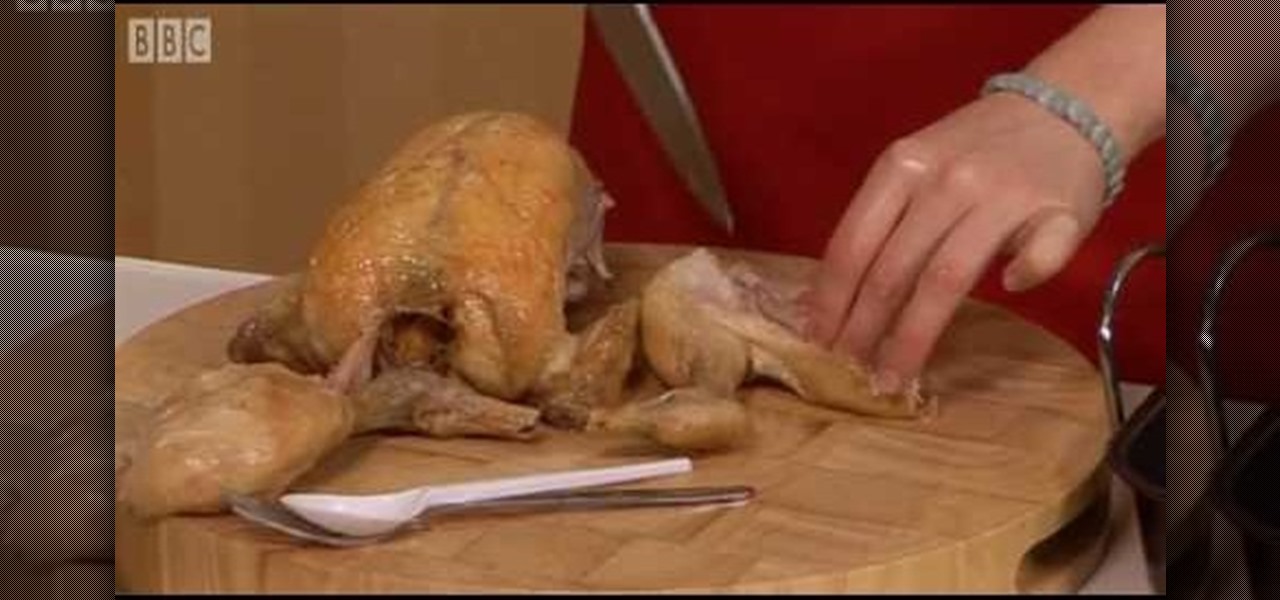
Place the whole chicken on the cutting board breast side up with the wings facing away from you. You will need a sharp heavy chef's knife to cut up the chicken because you will be cutting through bones. Start by finding a joint in the wing and cut off the wing at that joint. Then do the same thing with the second wing. Next, cut off the chicken legs by running your knife down on the side of the chicken toward where the leg joint is. Bend it back until the joint pops. Cut through the joint and...
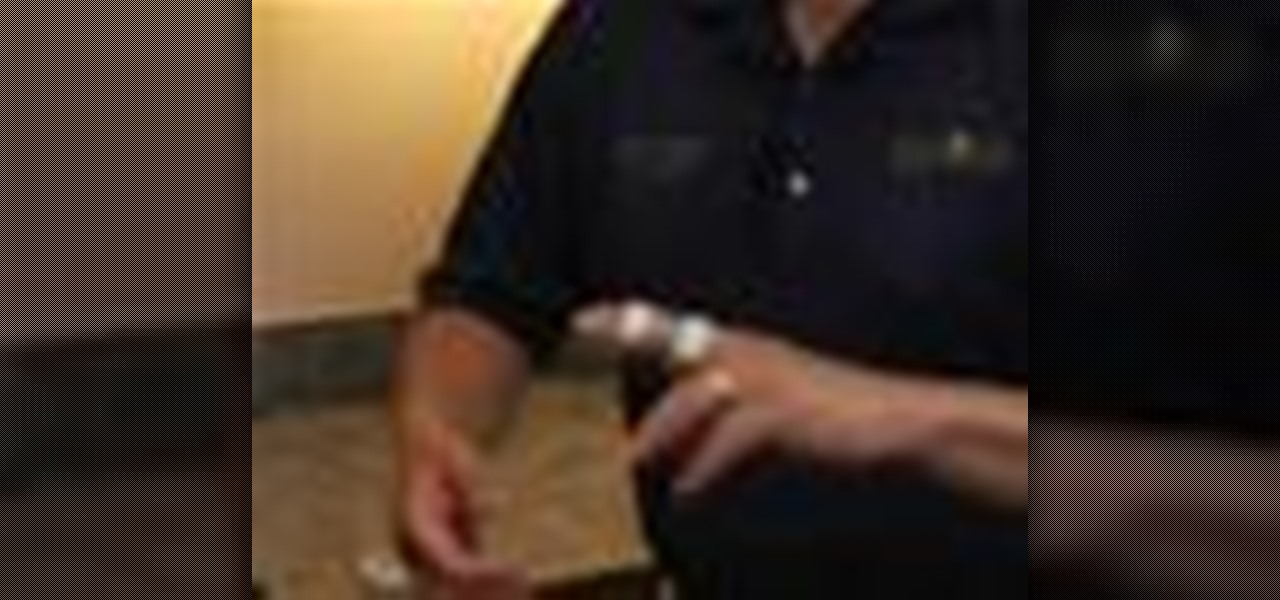
Taping fingers is good for minor injuries of the middle joint because taping supports the injured area without preventing motion. Learn how to tape fingers and stay fit in this sports medicine video. Take action: injuring the middle joints of fingers is common, try to support above and below joint but allow flexibility in the joint, check for deformities, while ice and anti-inflammatories can help. Mike Vera, the instructor in this how-to video from Live Strong, is an athletic trainer the Rog...
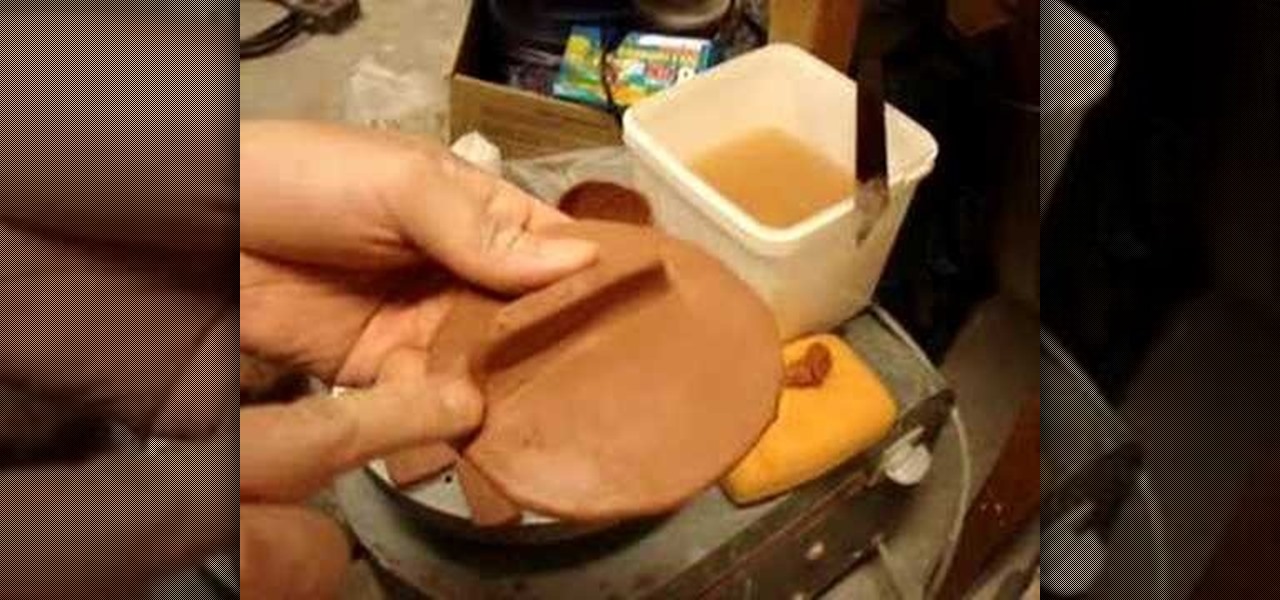
Check out this video to learn a technique for attaching soft clay to soft clay. No scoring or slip is needed. By just applying firm pressure to get a good strong joint. The small clay coil is used to reinforce the joints, and the blending is to make sure both parts are joint securely. Finally give a little pull to the new piece of clay that was attached, to test how good the joints are. If it comes loose than you are not applying enough pressure in joining the two pieces together. Finally, if...
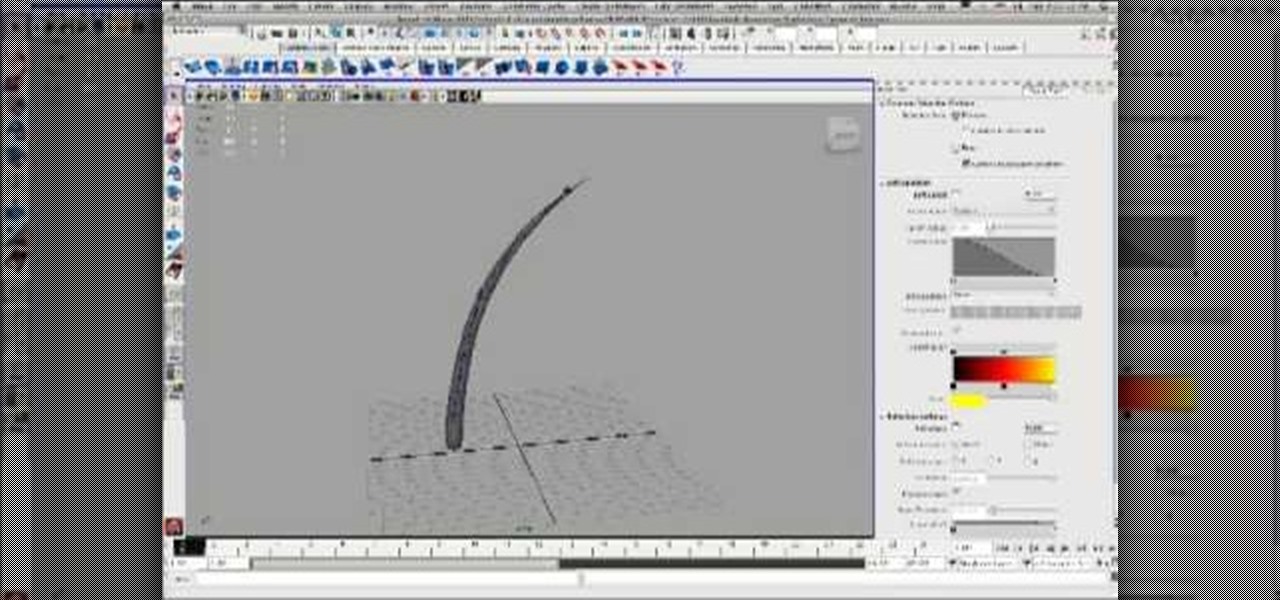
This video from accredited Maya instructor Andrew Klein of the Art Institute of San Francisco will teach you how to use just one of the innumerable powerful features of Autodesk's Maya 3D modeling software. It covers how to use a spline IK and a dynamic hair curve to drive a joint chain and geometry for wiggly objects like hairs and antennae. Hair is a really tough thing to model well, so watch this video and master the art.

Osteoarthritis can affect every gender and at any age but it commonly occurs in women than in men. In America there are approximately 27 million Americans aged over 25 who live with osteoarthritis.
Make sure your vehicle passes inspection. If you feel any play in the steering wheel of your car, jack up the vehicle and try jostling the tire from side to side. If there is play, it may be time to replace a bad ball joint.
Want to learn how best to cut a roast chicken into joints? Watch this great BBC clip featuring chef Jane Hornby.
Using joints spacers to lay bricks makes things a lot easier and perfect. You'll get that perfect 3/8" mortar joint every time. Watch this video tutorial to learn how to lay bricks with joint spacers.
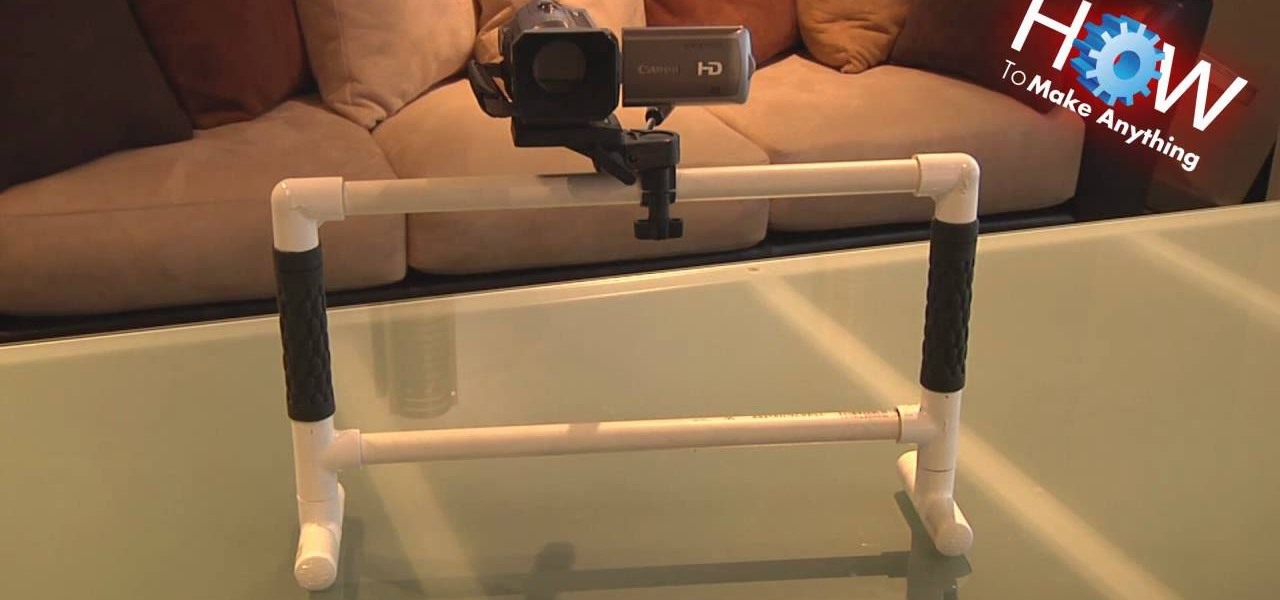
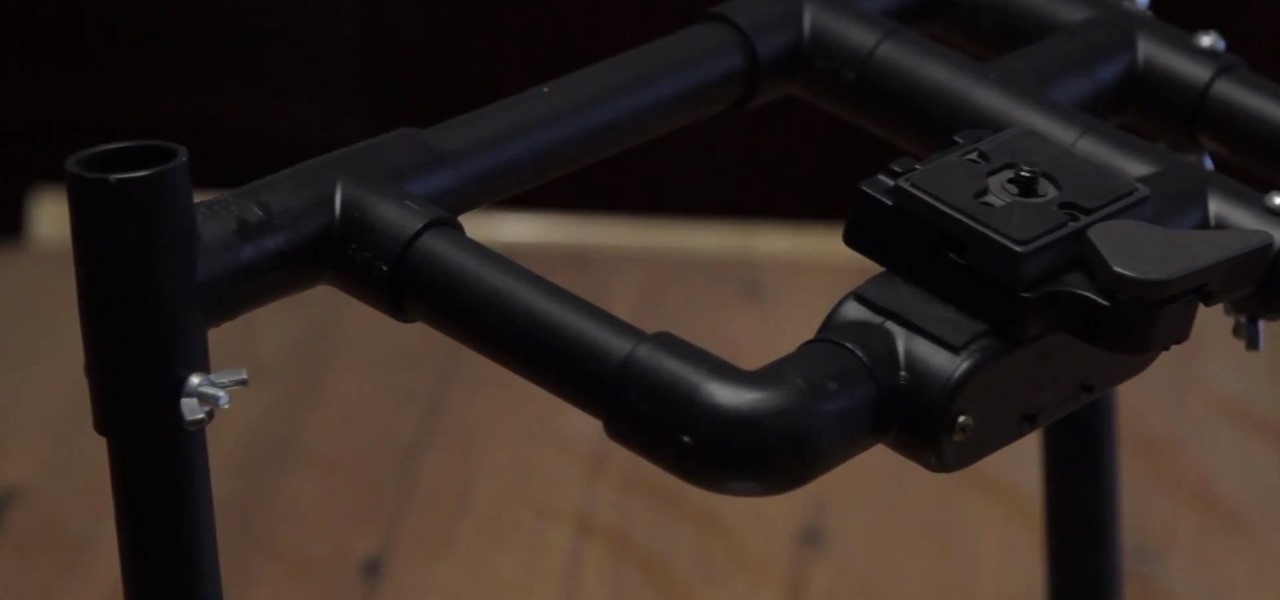
This video tutorial is going to show you how to steady your shots with a homemade fig rig. The camera is mounted right in the middle of the top bar and it uses the iron as the balancing mechanism. The official fig rig is about $300. But, the one shown in the video will cost you around $10. Cut a PVC pipe about 2 feet in length and glue on two T joints on either end parallel to each other. Now fix the two feet into the T joints as shown in the video. The larger the camera, the longer will be t...
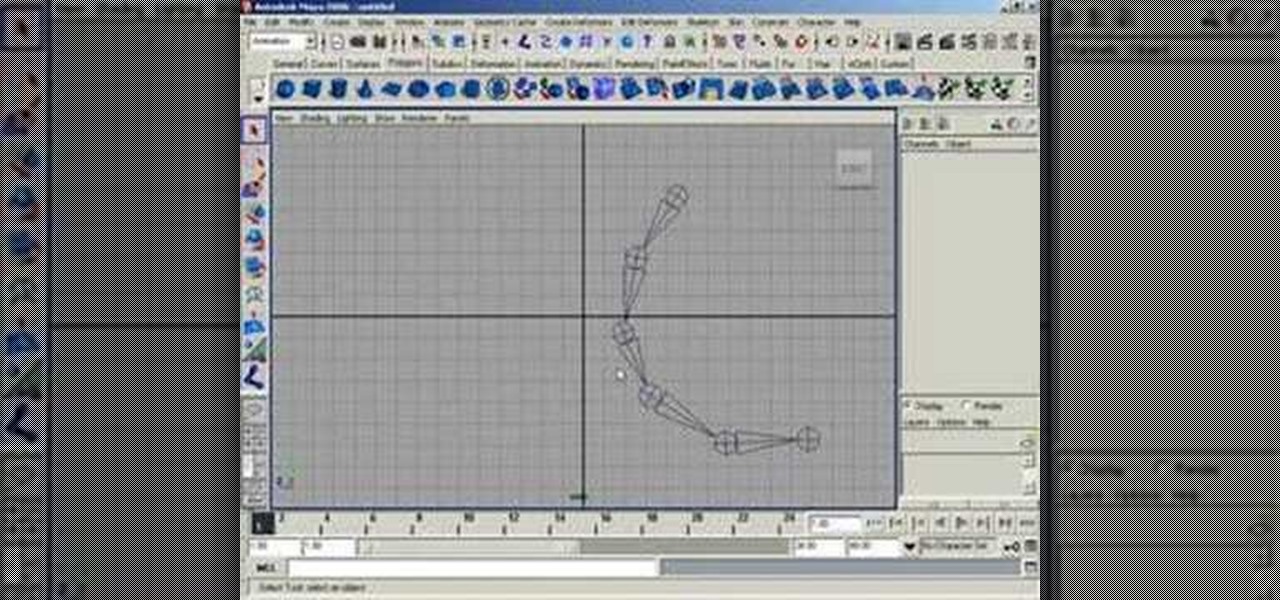
This tutorial shows you how to remove joints from an existing joint chain in a Maya skeleton.
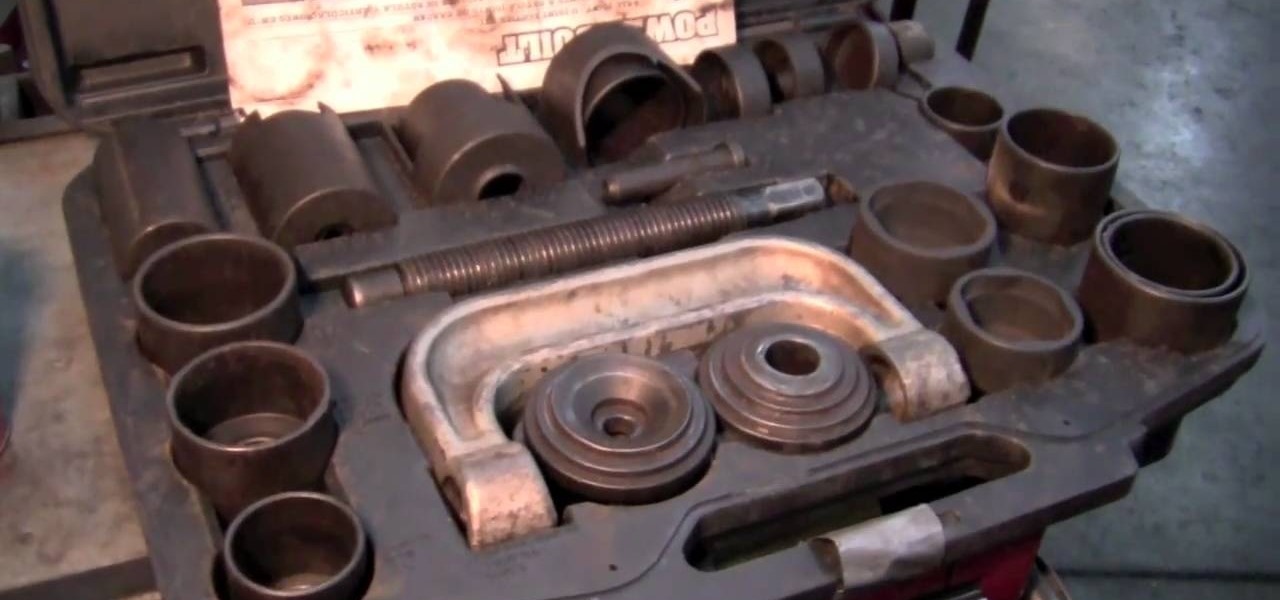
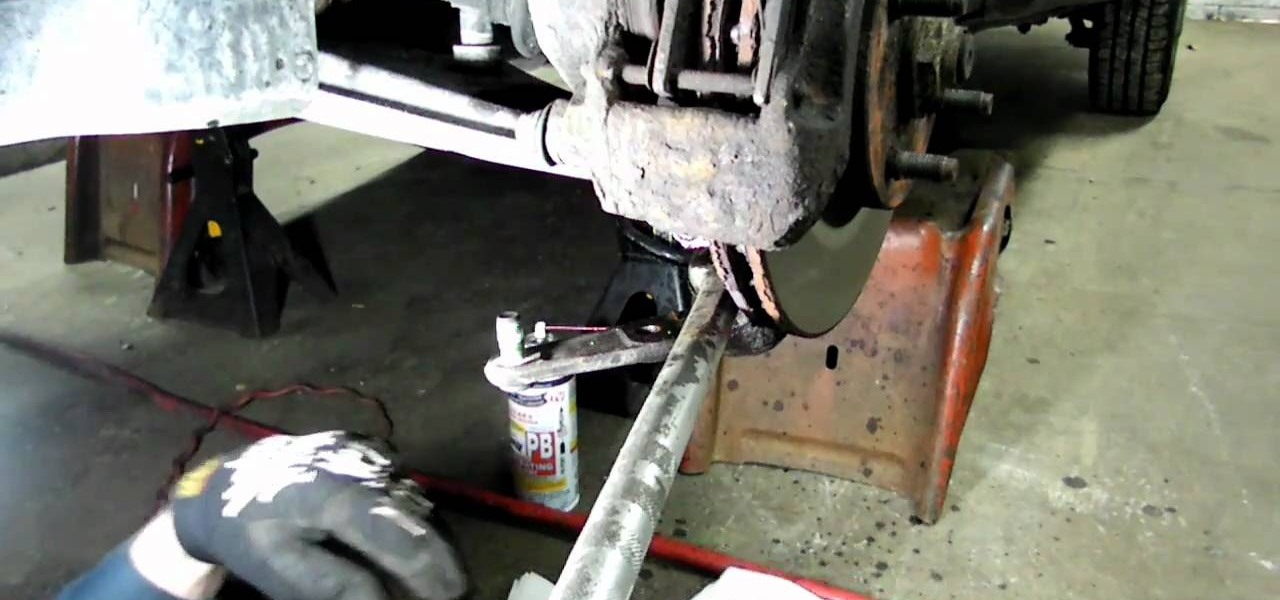
Want to replace the lower ball joint on your two-wheel Ford F150? It's easy! So easy, in fact, that this repair video can present a complete, step-by-step overview of the process in about 13 minutes. For all of the details, and to get started yourself, take a look!
Suspect you might have suffered a sprain? In this video, Dr. David Geier explains that a sprain is an injury to a joint, in which you may tear or stretch the ligaments that hold the joint together. Dr. Geier also covers treatment options.
Watch this instructional video on how to coat detail work around boxes and pipes with joint compound. Spackling drywall is a delicate art, but anyone can create a perfectly smooth surface with a metal putty knife and a fresh bucket of spackle. Learn how to lay dow thin coats of putty around details and box shapes to avoid heavy sanding in the second stage of prepping a room for painting.

This is a video demonstration on how to coat cornerbeads with join compound. Spackling is a delicate art, but anyone can create a perfectly smooth surface with a metal putty knife and a bucket of fresh joint compound. Learn how to spackle a corner in thin coats to avoid heavy sanding in the second stage of prepping a room for painting.
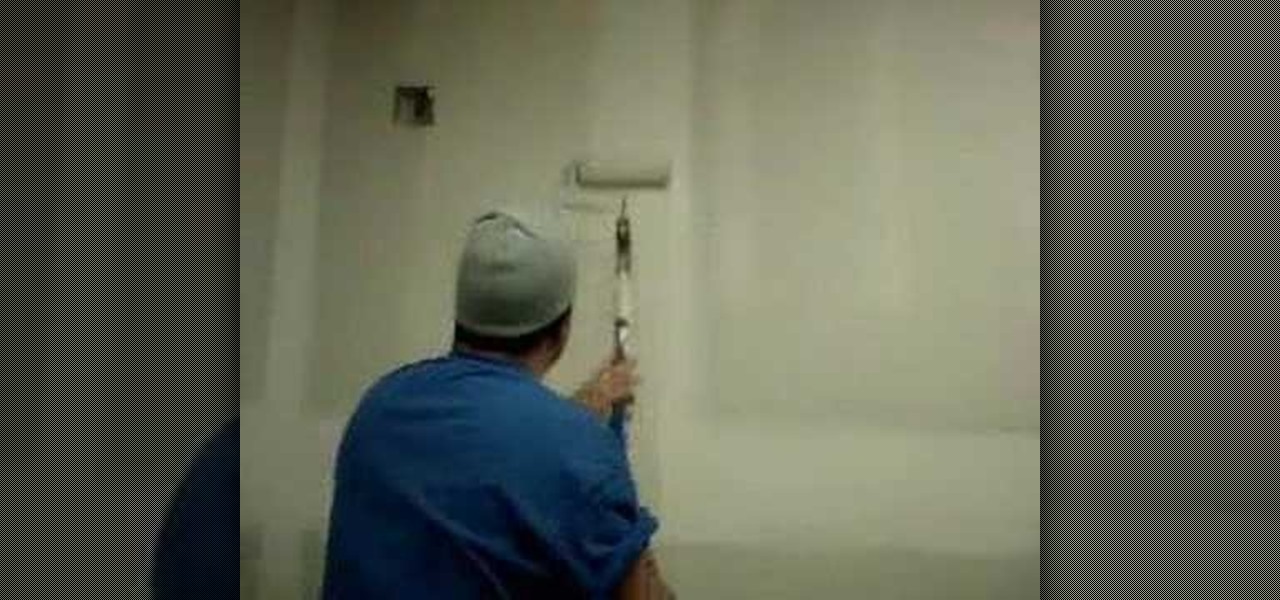
Here's a way to make your drywall project perfect. Mix up some thin joint compound, using more water than normally required for spackling holes in the wall. You can roll the putty onto the wall with a think rolling brush. After the joint compound dries, it only requires a light sanding. Watch this instructional video to create perfectly smooth drywall surfaces with liquid spackle.
Tim Carter, of Ask the Builder, demonstrates an easy way to get smooth corners with a joint compound in your drywall remodel work in your house. Home repair has never been easier.

Learn how to make stronger corner joints in your K'NEX structures without using blue and purple connectors.
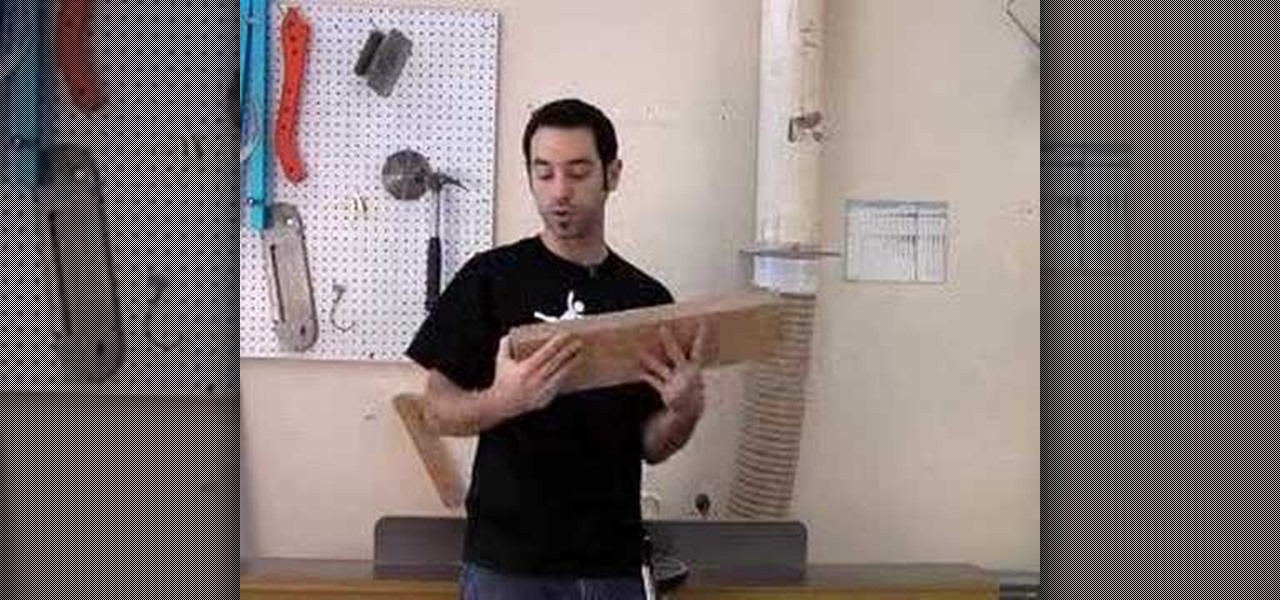
This video explains one of the most critical and fundamental aspects of woodworking: milling lumber. The Wood Whisperer reviews his 4-step milling process, which requires some big tools. Since many folks don't have a fully outfitted shop, he also presents numerous alternative methods for jointing edges and flattening faces. The jointer's jumpin'!!!
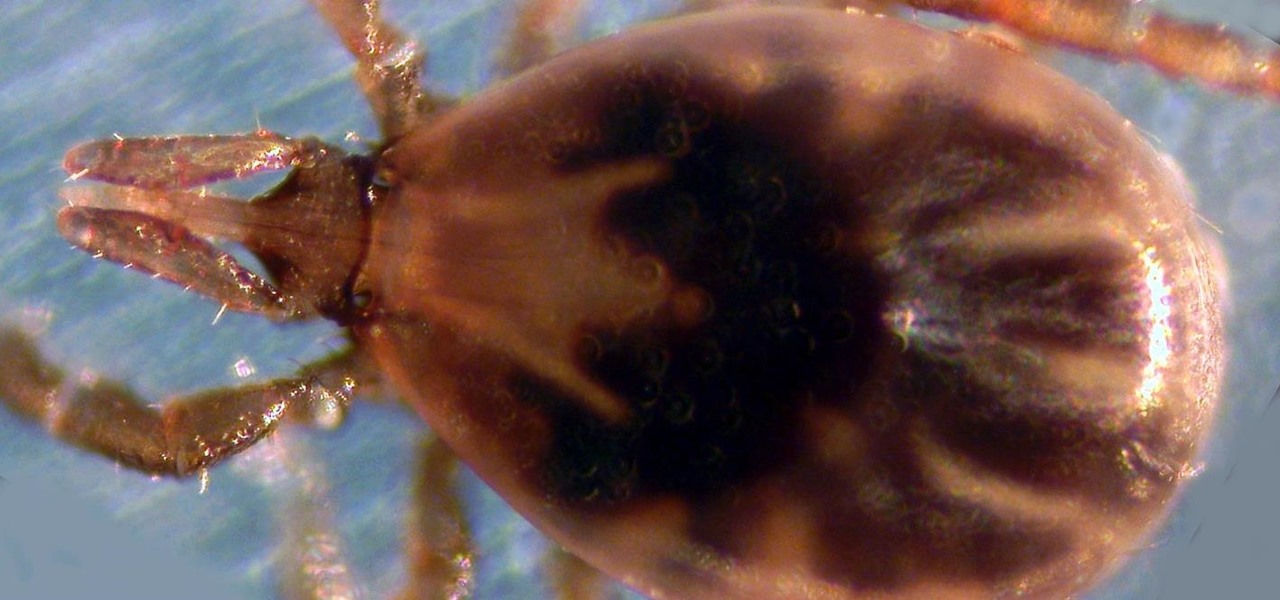
Transmitted by ticks, Lyme disease is a serious infection that is probably headed your way. A recent study confirms the pathogen that causes Lyme disease is now established in nine national parks in the East, including Acadia and Shenandoah National Parks.
This video is going to teach you how to Create a DETACHABLE DIY Pvc Shoulder Rig Video: .
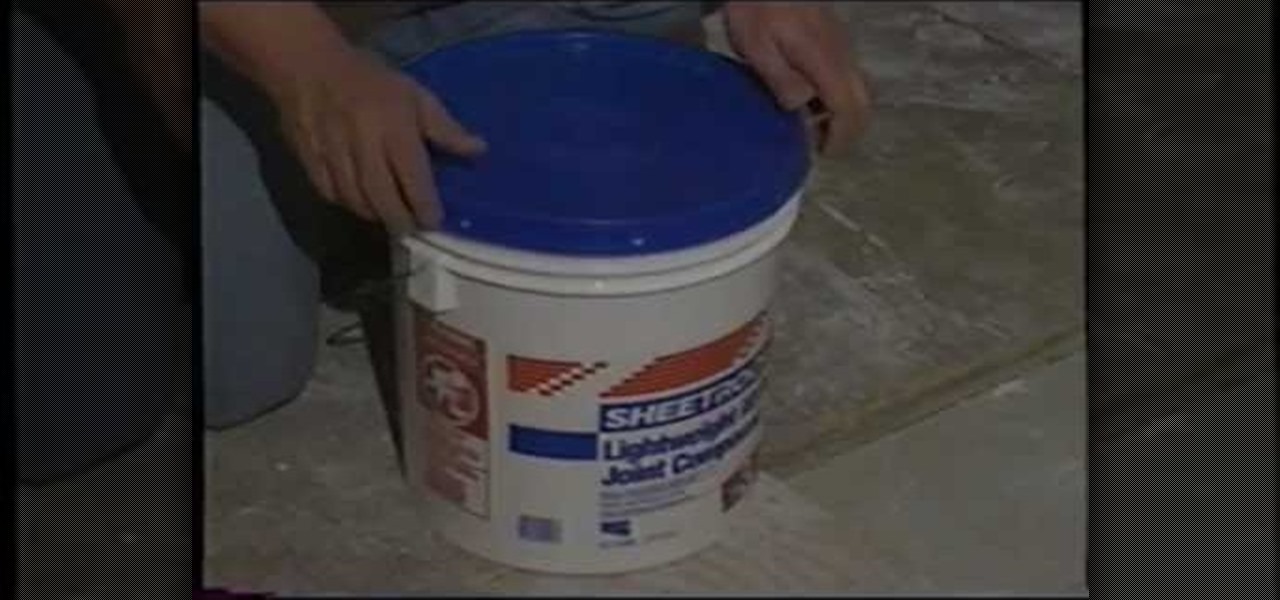
How to mix joint compound: Uncle Knackers demonstrates the perfect way to mix plaster / cornice cement / joint compound for plasterboard / drywall without making a great big mess and along the way creating a beautiful creamy mix. Speaking of creamy, he also shares with us one of his award winning recipes.

In this Home & Garden video tutorial you will learn how to unclog a sink in the bathroom or kitchen. It's extremely simple. Put a bowl under the U joint. Unscrew the plunger rod located under the sink and pull it out. Then remove the sink blocker and remove any dirt from inside the pipe. Now unscrew the PVC U joint at both ends and remove it. This can be done with your hands. Most of the time this part is clogged. Clean it up. Then clean up the pipe coming down from the sink. Look from top an...
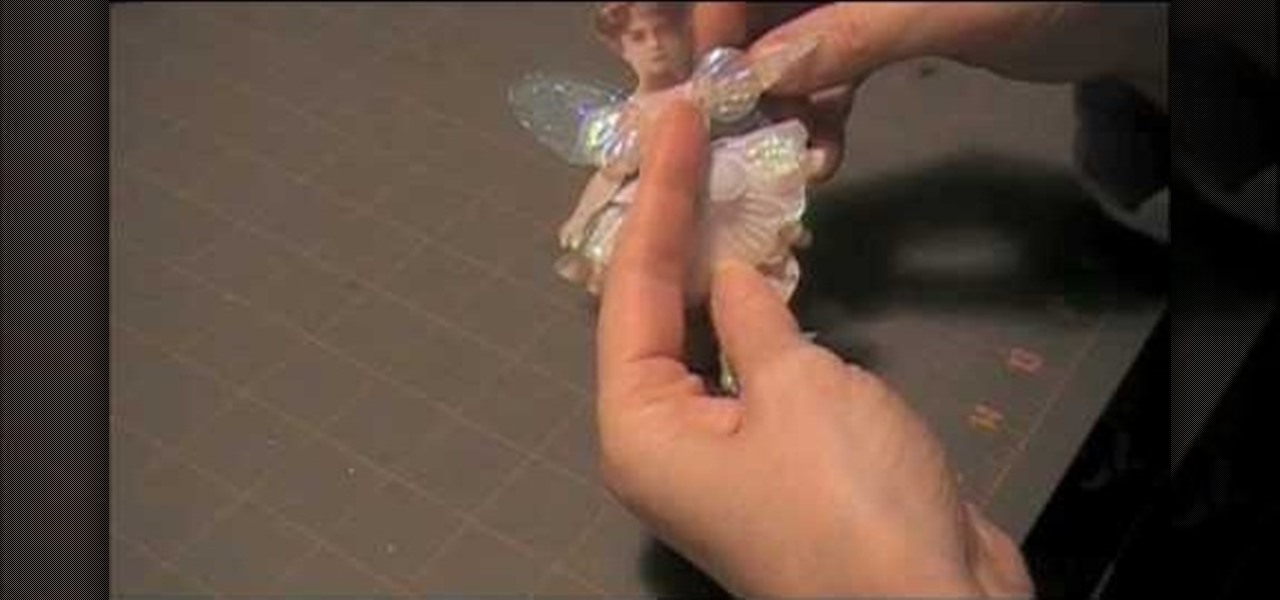
In this video tutorial learn how to make a jointed flower fairy paper doll sitting on top of a trinket box. You will need three strips of paper and two circles cut out of paper. To create the box, curl the strip with a pencil. Then adhere scotch tape to the strip and tape the strip to the circle to create a box-like structure. Cover the perimeter with a larger strip of paper in whatever design you want to use. Follow these same steps to create a larger box. Fit these two pieces together and a...
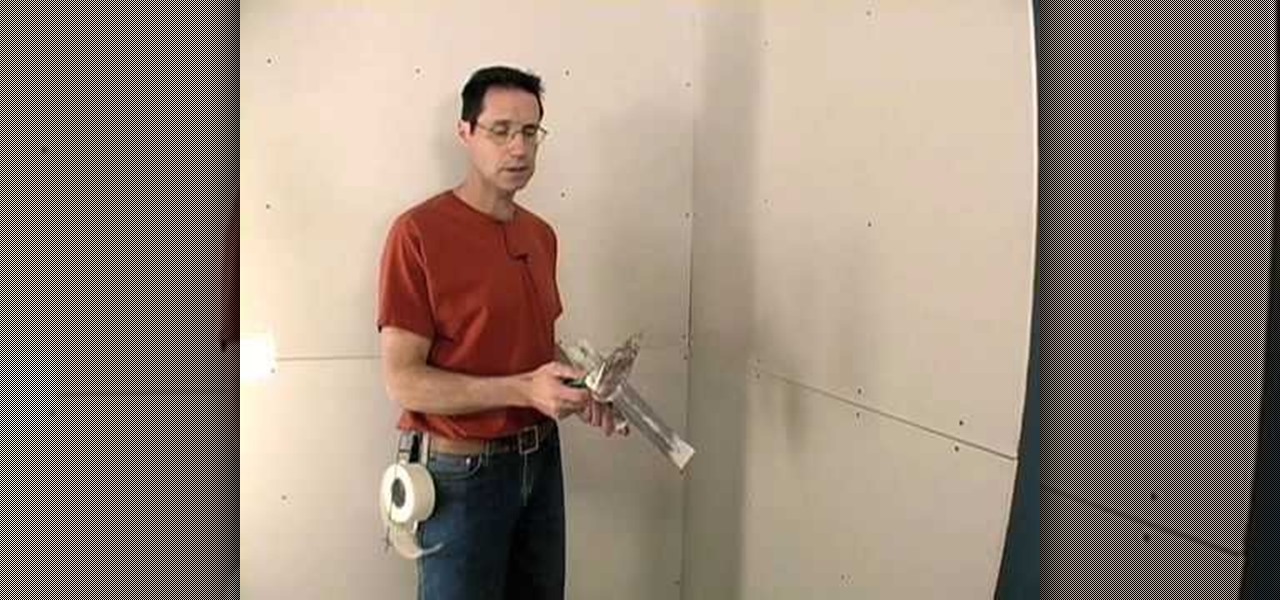
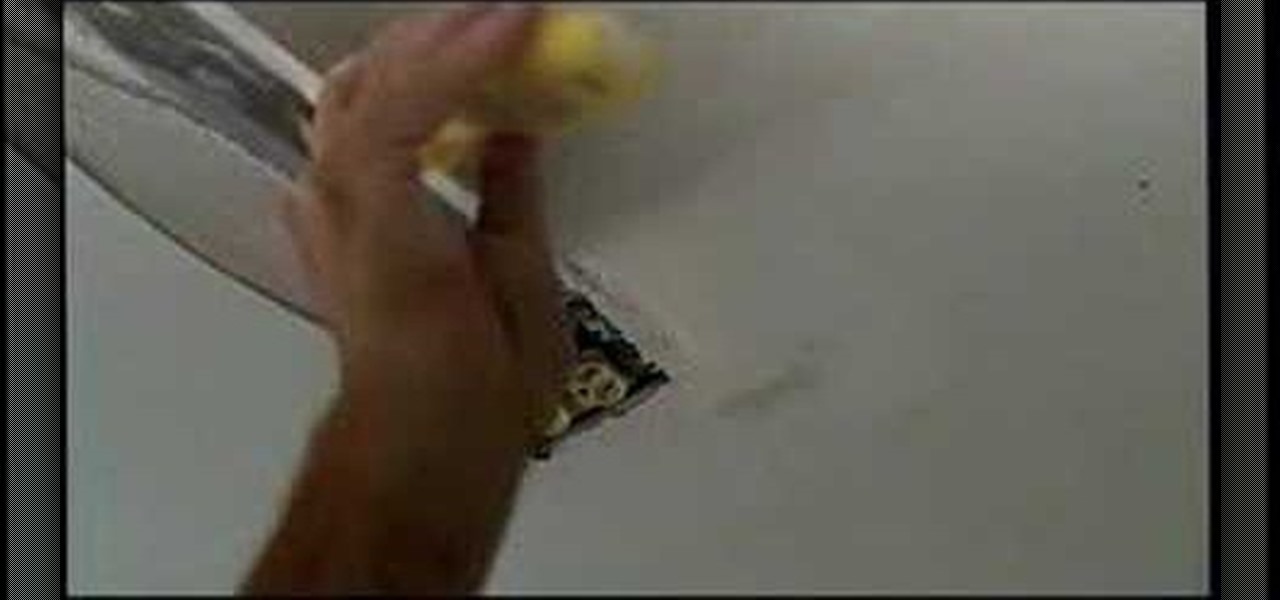
This video shows the viewer how to use paper tape to cover the joint between panels on a dry wall. The creator of the video does this using a 6-inch dry wall knife and a curved trowel. He first applies standard compound to the joint using the trowel. The compound should be applied evenly and the thickness shown is said to be around 1/8 inch. After applying the compound he then gently presses the tape over the joint. He then smoothes the tape on the wall, using a dry wall knife. While doing th...
Ball and socket joints can get tense and can need to be relaxed. This is why it is imperative to know how to massage the ball and socket joints of the shoulders and hips. Get expert tips and advice on massage and other treatments in this diet and health how to video.
When installing baseboards, crown molding ("moulding") and chair rails, it's tempting to cut 45-degree miters at the corners and hope for a sure fit. The problem is that most walls aren't square. Joining two 45-cut molding pieces may give you a square joint, but a square joint may not work for your crazy corner. In fact, it seems like every wall is just a “hair” out of square. This problem could be due to a framing error or a buildup of drywall compound in the corner. But even a perfect miter...

Backyard FX shows how to build a real lightsaber. Erik Beck unearths the original lightsaber blueprints from the special effects creator for Star Wars, and show you how to buy parts to a real lightsaber so you can have your own custom Star Wars weapon. In the test film you'll see our rotoscoping technique on how to complete the effect with some simple computer animation. You will need chrome plated slip joints, black vinyl rubber, a nylon slip joint, a rubber slip joint, rubber O rings, and m...

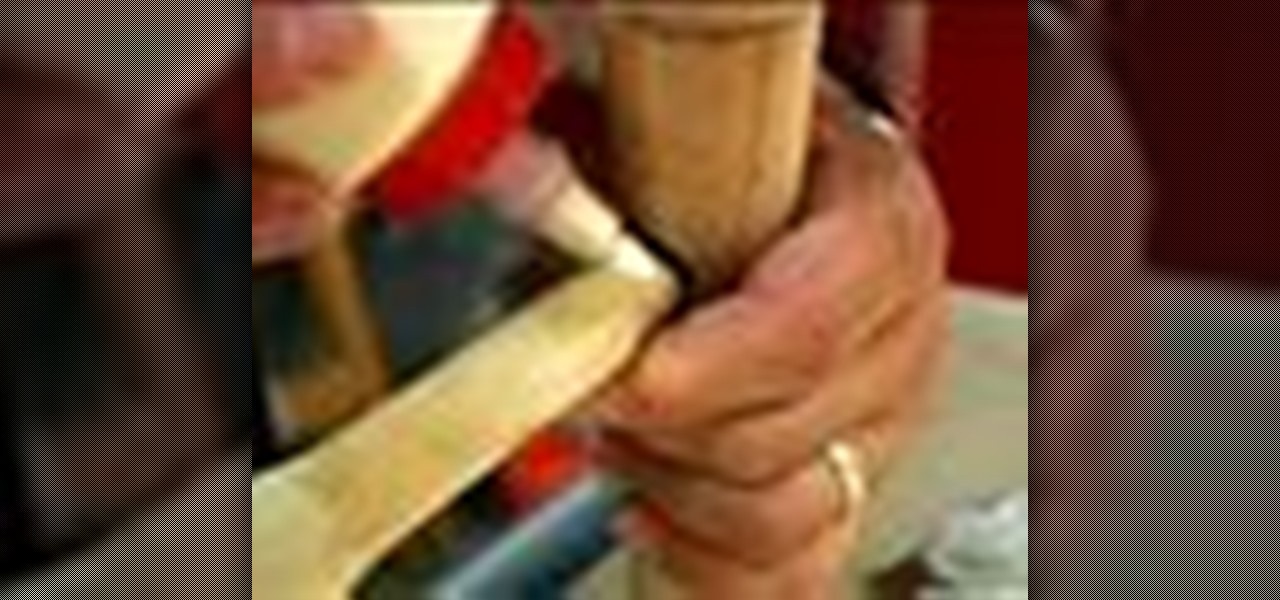
This video describes how to solder a wire. The first thing you have to remember is that the wires should be cleaned, shiny, and bright. Then trim about 1/2-inch of the insulation of the wires and then make a secure mechanical connection. Next, put some soldering pencil clean and shiny 60/40 rosin core solder. Do not use 50/50 core solder. Start by making sure that the soldering iron is tint. Put the soldering iron underneath the joint. Heat tends to rise and then touch the solder to the joint...
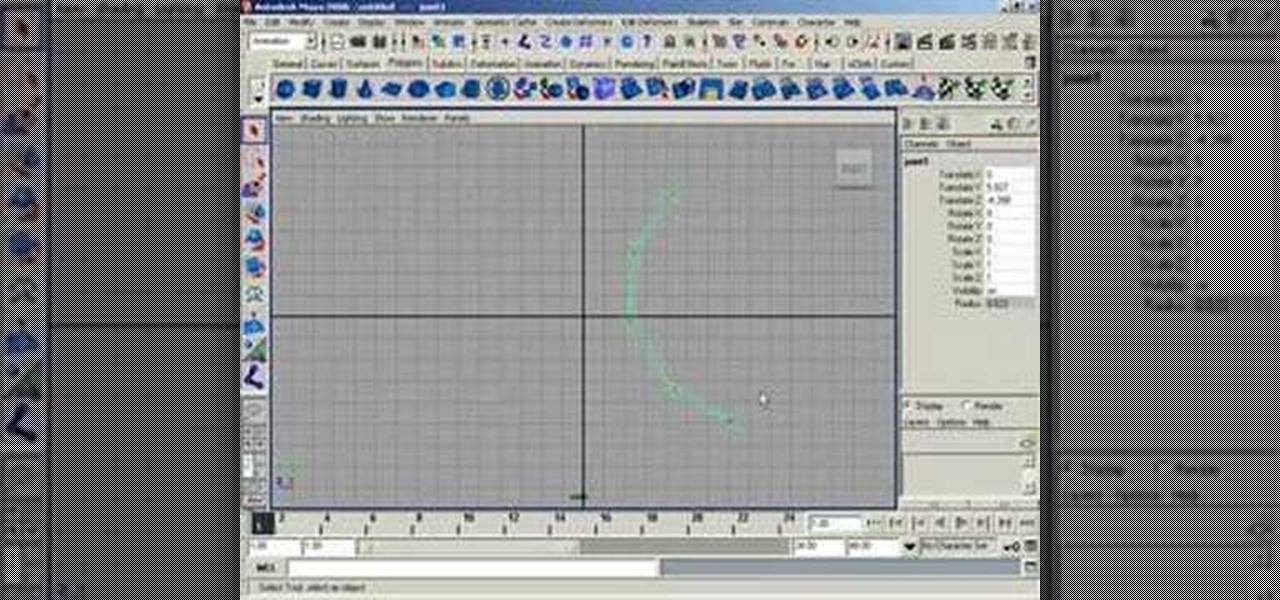
Learn how to control and change the size joints are displayed in the Maya viewport.
Learn how to repair a broken or loose joint on your chairs or other furniture for long-lasting stability. Chairs take a real beating over time and it's only natural that over time one of those glue joints is going to fail. What do you need? Well to start with you need some common, everyday carpenters' glue.
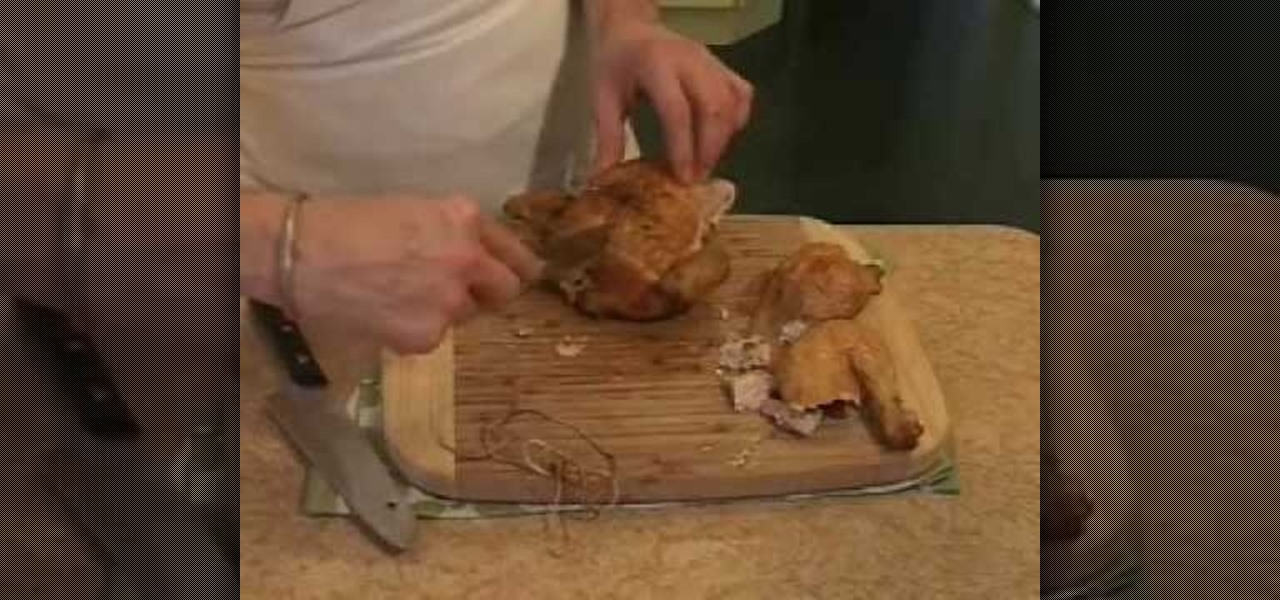
In order to Carve a Whole Roasted Chicken, you will need the following: a cutting board, a fully cooked roasted chicken, and very sharp knives.
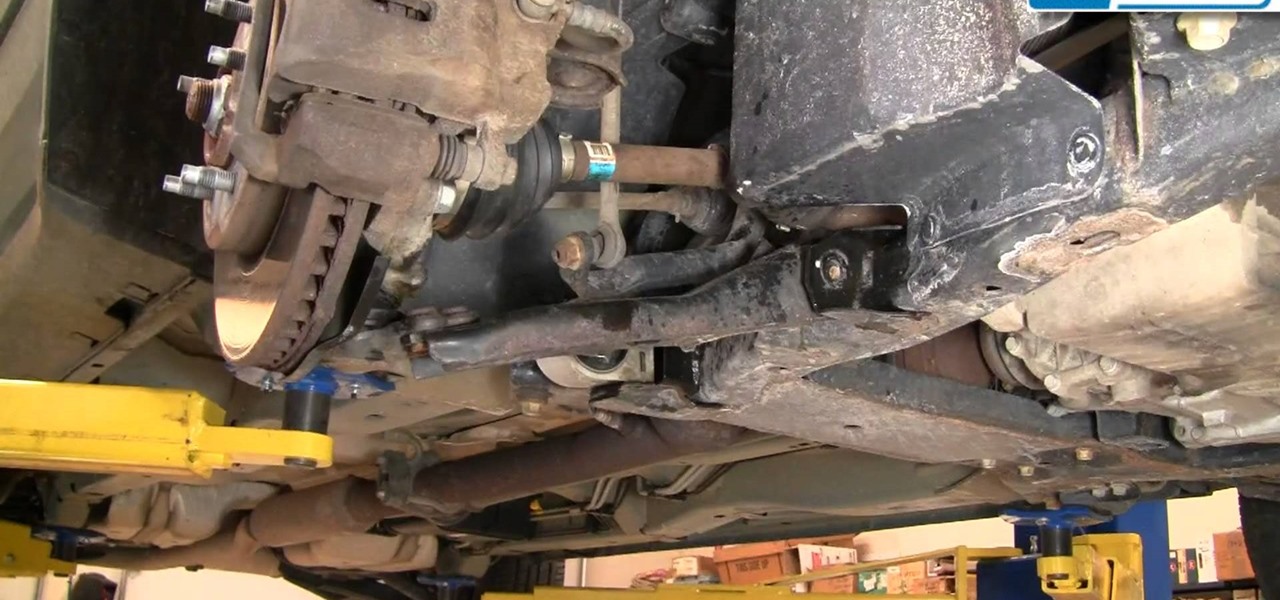
In this auto repair video we will show you how to replace the lower control arm and ball joint on a 2005-2010 Chevy Equinox, this process is also the Saturn Vue.
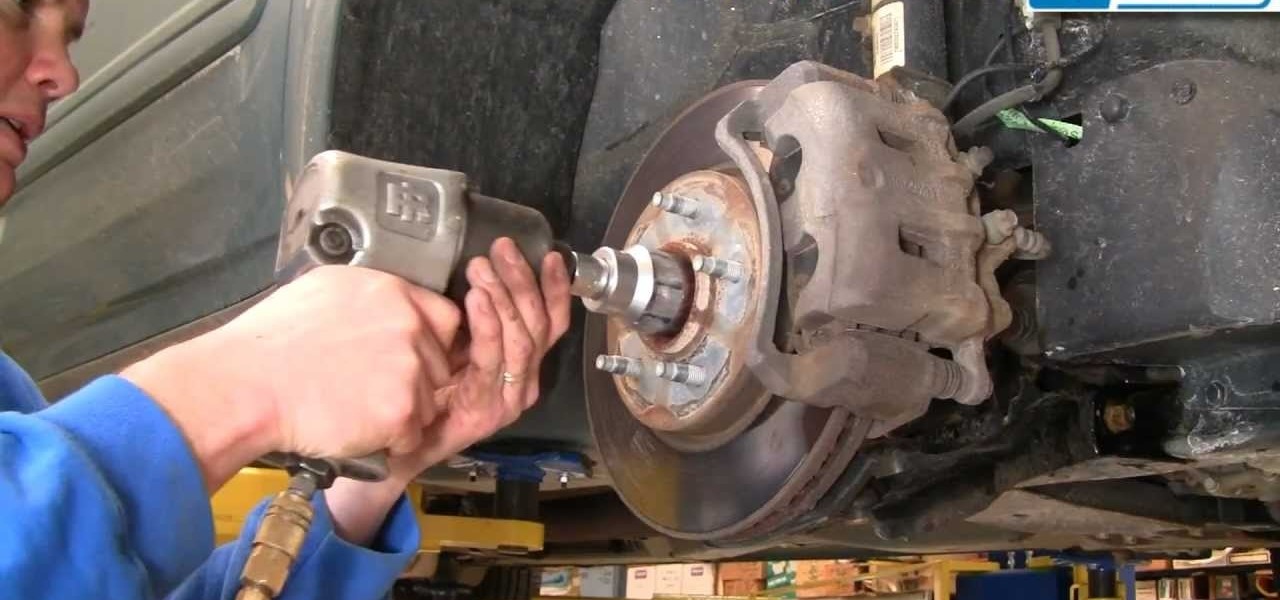
In this video we will show you how to replace the CV Axle joint on your 05-10 Chevy Equinox, this process is also the same for the Saturn Vue.
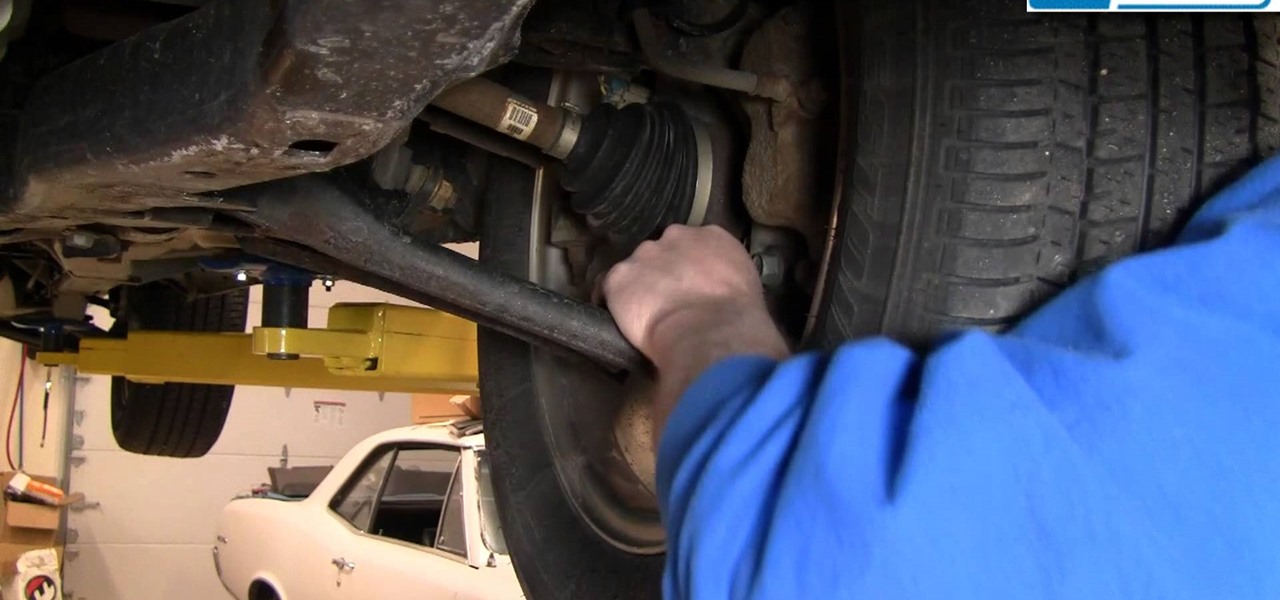
In this video we will show you how to diagnose or detect a loose or worn ball joint in the front suspension.
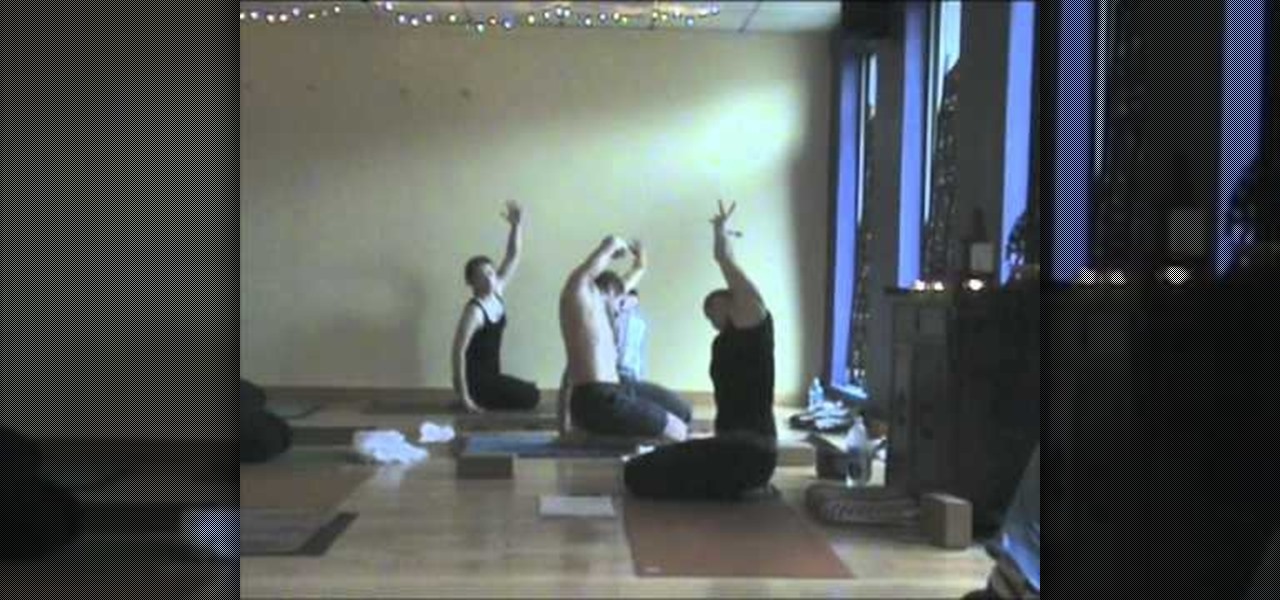
When it comes to yoga, none other than Gumby himself should be your flexi hero. Unlike the rest of us, who suffer from stiff joints, lack of flexibility, and aches in our muscles, Gumby is like a human (or toy?) pretzel, able to contort his way out of any stressful situation.
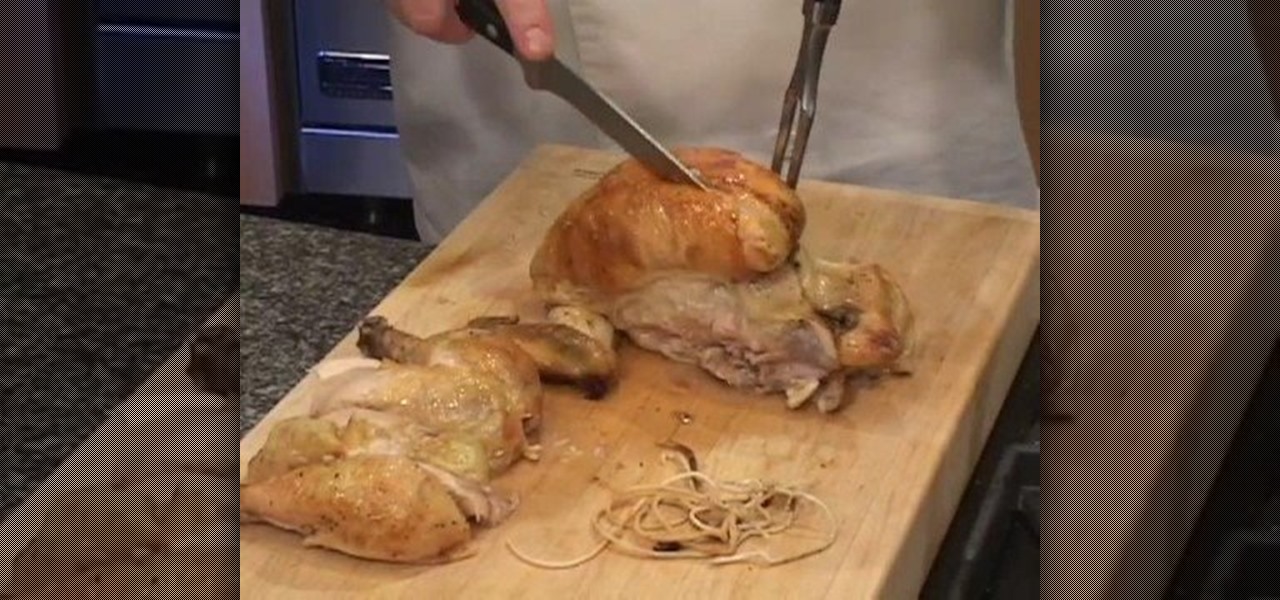
Kat Malone shows how to carve a roasted chicken. Once you remove the twine, set the chicken on its side on the cutting board. To accomplish this, use a chefs fork and a sturdy knife. Stick the fork at the point where the thigh and drumstick meet. You'll then pull on the fork and cut around the leg. Twist your wrist and the leg should fall out of the socket. Cutting through the joint of the leg will seperate the drumstick and thigh. Repeat the same steps on the other side. turning the chicken ...
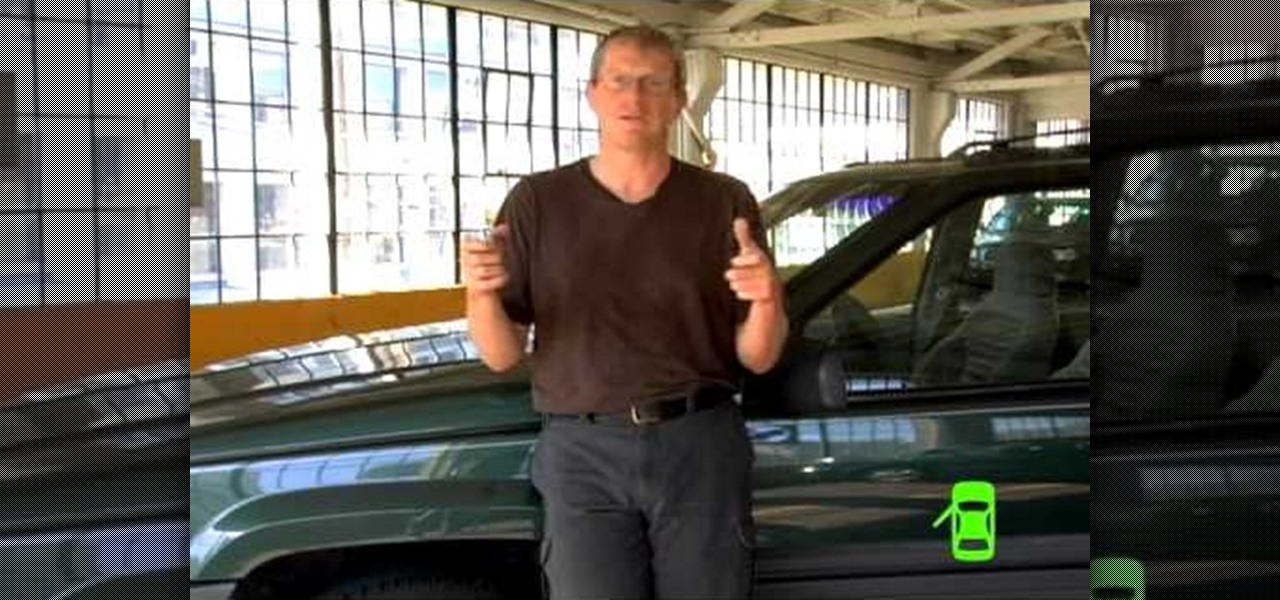
Kim Parent from Drivers Side answers questions received about the diagnosis of sounds your car may make. 1. Squealing sound-Typically means brake pads need to be replaced. 2. Mechanical sound with steering wheel looseness-Probably means you have loose joints in the front of your car. Kim advises that this is a safety issue. 3. Mechanical knocking sound without steering wheel looseness-If you hear this sound when you're making turns this could mean you have a CV Joint that's worn out. Kim reco...
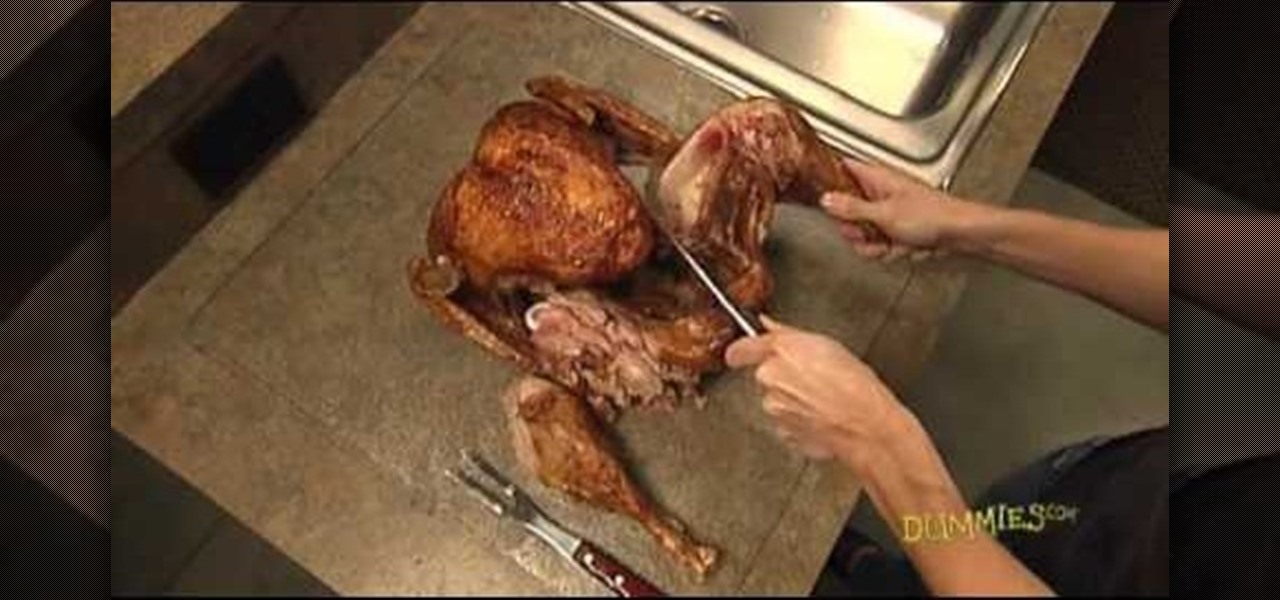
Learn how to carve a whole roasted turkey into serving sizes from this video in simple steps. Place the roasted turkey with its breast side up and the drumsticks facing you. Take the knife in your dominant hand and the fork in your other hand. Start on one side by cutting the leg from the joint where it meets the breast and repeat on the other side. Carve out the meat on the drumsticks on either side by holding it with the fork. Find the thigh bone using your knife and cut the meat off. Slice...