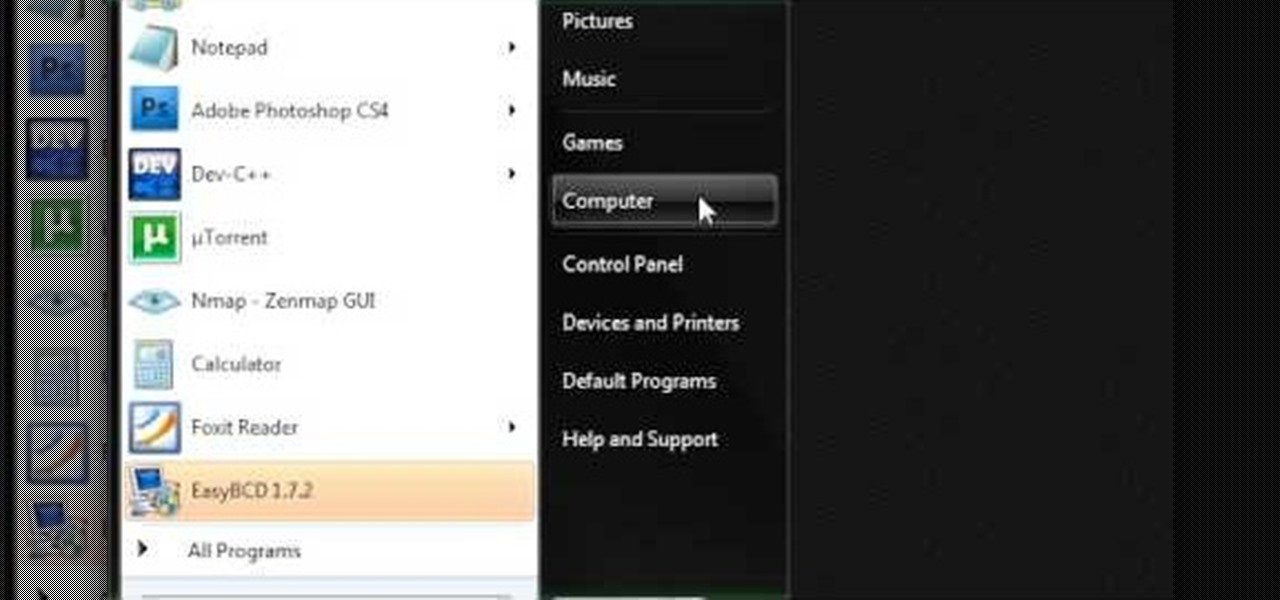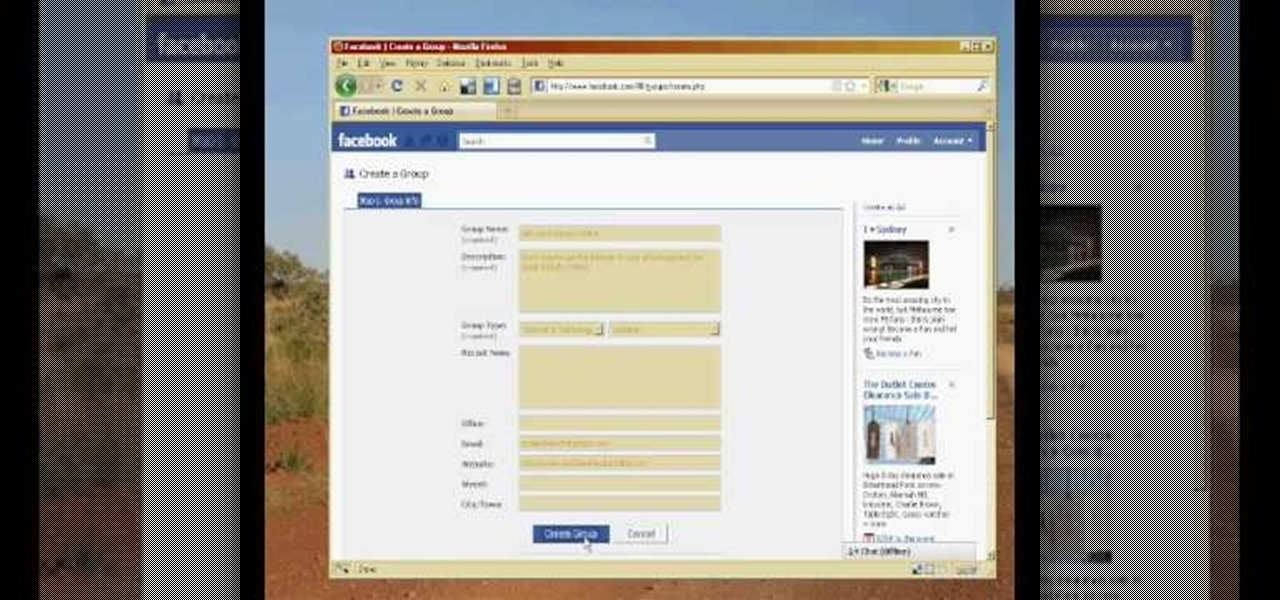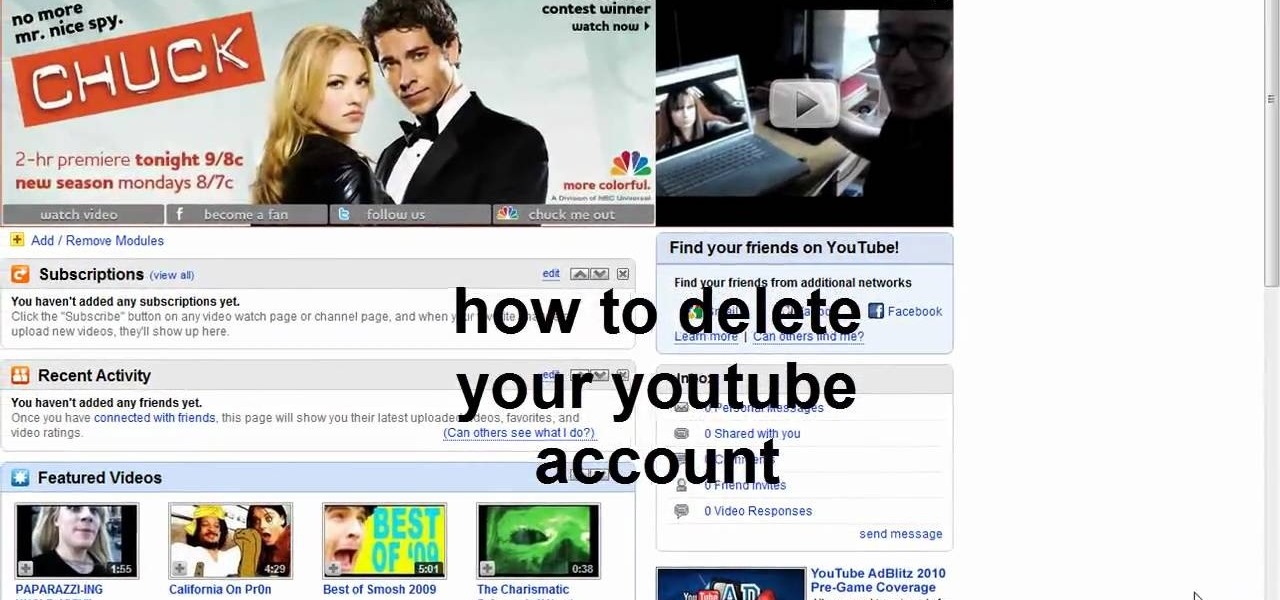
This video teaches us to delete our YouTube account and permanently disable it. Click on the account name and choose 'Account' from the menu. Click on 'Manage Account' at the left bottom of the screen. Click on 'Delete Account' from the options present there. Type anything in the space provided for the reason for deleting the account. Click on 'Delete Account' button. Click the button again in the window that appears. Now the message appears that 'Account deleted. You will now be logged out'....
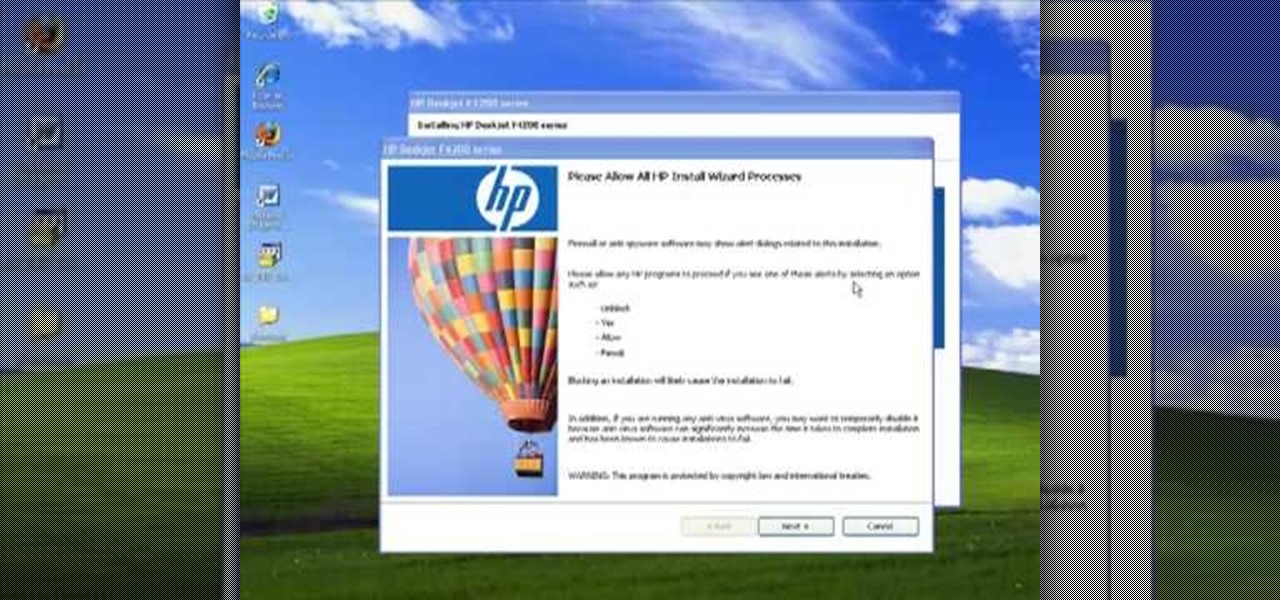
In this Computers & Programming video tutorial you will learn how to install HP printer drivers in Windows XP. Go to www.hp.com and click on ‘support and drivers’. Choose ‘download drivers and software’, enter your product name and click GO. On the next page click on the specific product link then choose the operating system on the following page. Next choose the basic driver and click on ‘download only’. Then double click on the icon on your desktop and click ‘run’. If you ha...

In this how-to video, you will learn how to connect a USB hard drive to your Xbox 360. This will be useful if you want storage for additional media and do not have enough space for it. First, turn on your system and then go to disk management and delete the partition. Back up any data before doing this. Next, create a new partition on the drive. Set it to FAT32 and enter a name for the label. Your USB drive will now be used on your Xbox 360. This video shows how easy it is to connect a USB ha...
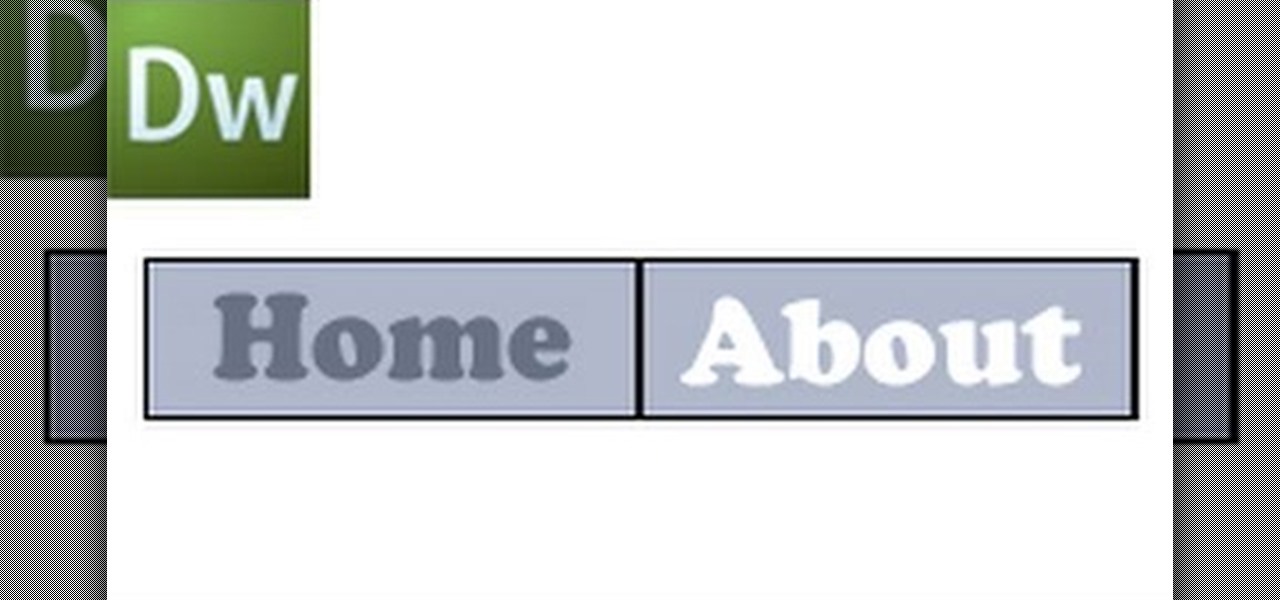
This video shows how to create a menu with rollover images in Dreamweaver. Open a new document and create a table with one row and one column. To add your rollover images, go to the "Image" tab and select “Rollover Image”. In the “Insert Rollover Image” box, give the image a name, then click “Browse” under “Original Image” to find your images. You can select your rollover images in the same window. Then enter your alternate text and click OK.

This video teaches you to sync Google Calender with the Apple iPad Calender app. The first step involves going to 'Settings' and then to 'Mail Contacts Calenders'. Add an account to the application. For doing this, go to Microsoft Exchange. Type in your email ID in the space provided for it and skip domain. Type in your username and password. Click on 'Next' and 'Accept' in the resulting box. Then a box named 'Server' appears. For the server type 'm.google.com' and click 'Next'. Turn off the ...

In this how-to video, you will learn how to create flashy pictures and animated gifs for your profile pictures. This is useful if you want to put an animation as your facebook or myspace default photo. First, find and open the image you want to use. It should open in MSpaint. You can go to image and select invert colors. Save this new file with a different name. Now, go to the gifninja website. Click on Create an Animated Gif. Now, upload both of your files to the page. You can select the spe...

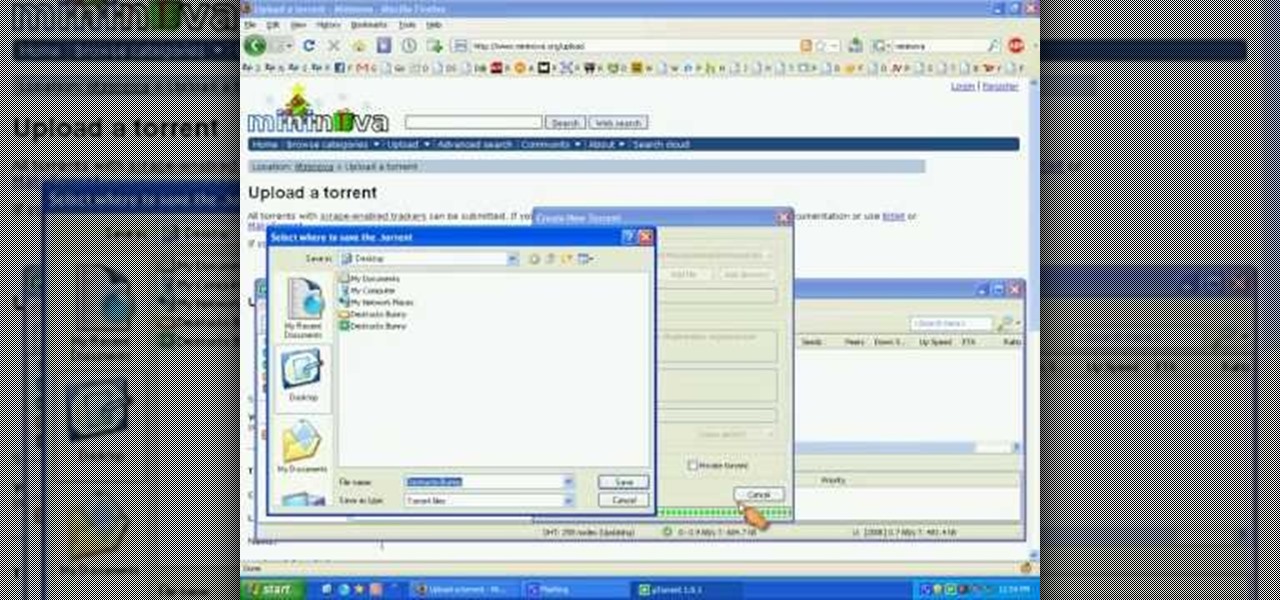
In this how to video, you will learn how create a torrent using uTorrent. First, download the program uTorrent. Next, find a tracker on a website such as Mininova. Open up uTorrent and go to file and create new torrent. Next, select the folder in which the files you want to upload are located. Paste the tracker in the form shown. From here, press create and save us. Choose a name and then close. Now your tracker will be created. Next, upload to the site by going to the website and uploading t...

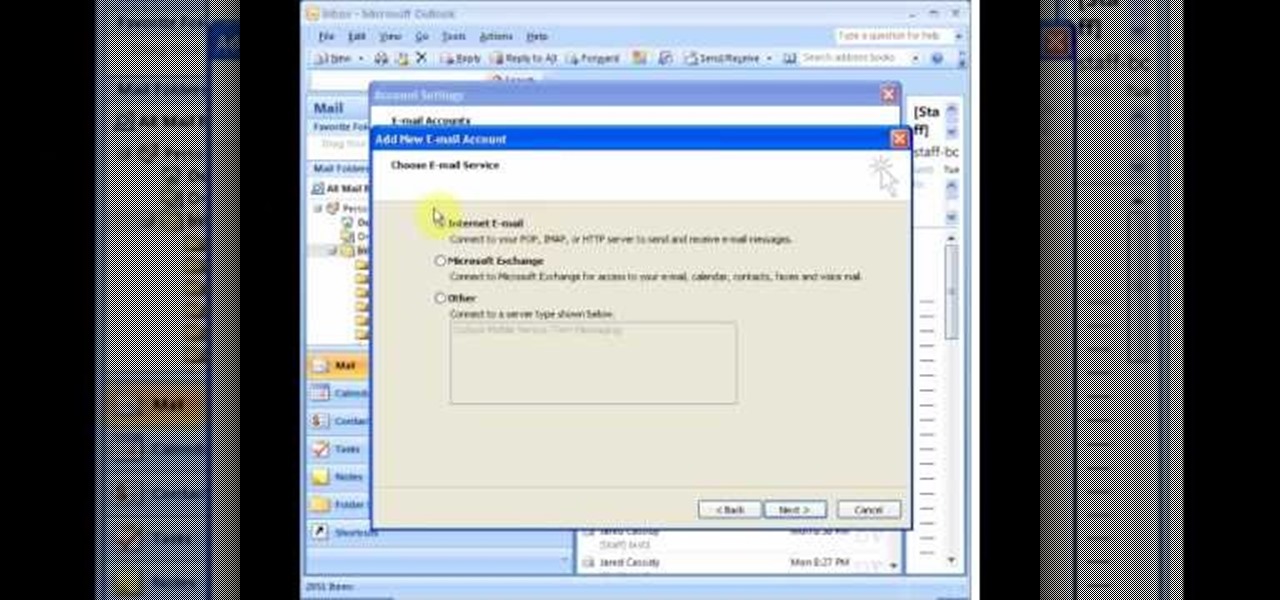
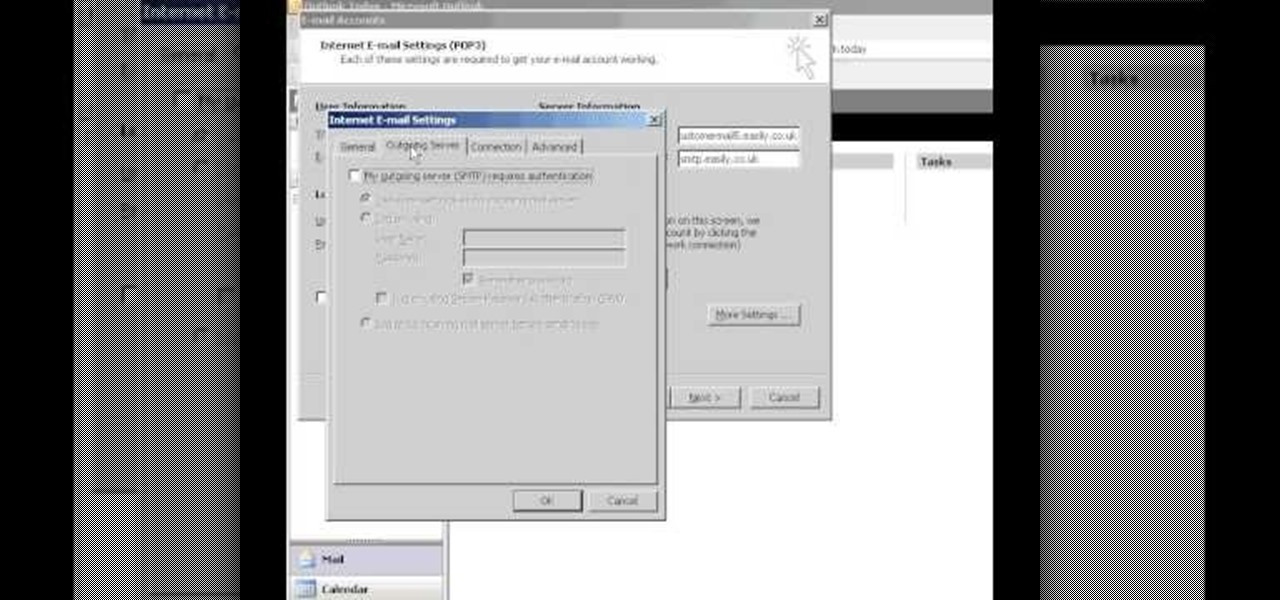
In this how to video, you will learn how to set up an email account in Microsoft Outlook. First, open up your program. Go to tools and select account settings. From here, click new. A new window will open up and you should press next. Click on the check box at the bottom and click next. Make sure Internet Email is selected and click next. Now type in your name, email address, incoming mail server, outgoing mail server, and login information. Click on more settings and tick the first option in...

To sort data in Excel spreadsheets, have each category (for example, first and last names) in a single column. Click on any cell in the column you wish to sort. Be careful not to highlight the entire column, or results will be sorted only in that column. Click on DATA on the ribbon at the top. To sort in descending order, click on the z-a button. For more detail, click on the main SORT button, and you can specify which columns you want sorted and how. For instance, you can sort by descending ...

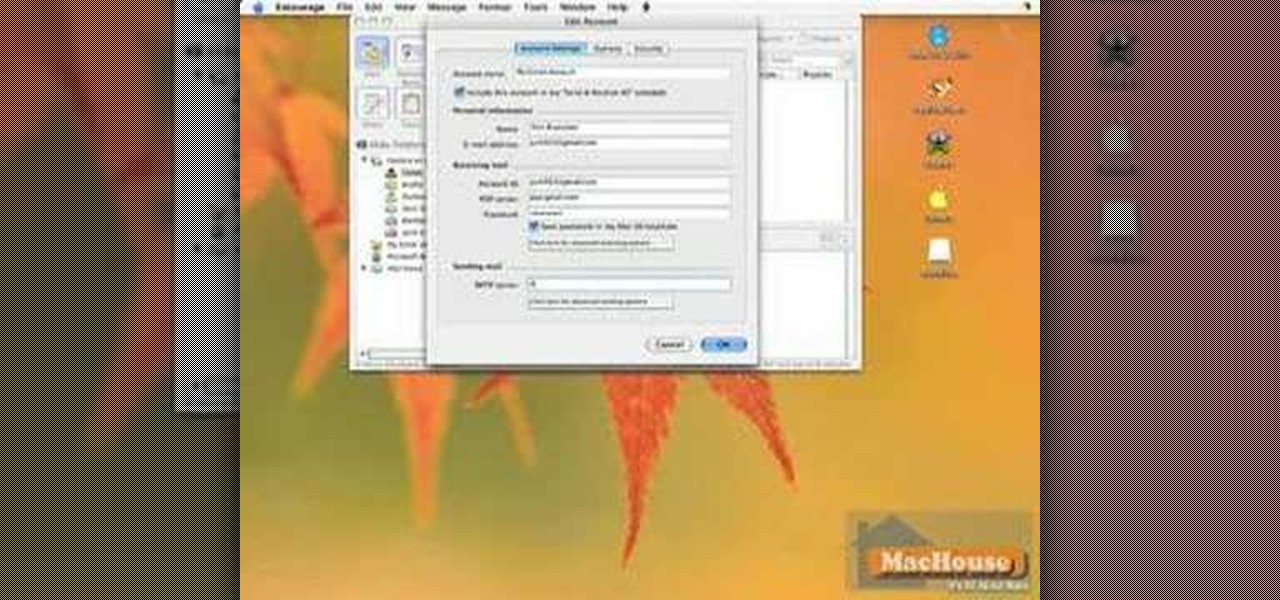
Log in to your account. Go to settings, then go to Forwarding and POP. Then, check in the box for enable POP for all mail. Next, save the changes. Then go back to the settings page and check the first box (to include the mail that has already been downloaded). Save your changes again. Next, select tools>account. In the box that pops up, select POP for the account type and hit OK. Name the account and fill in your email address and POP address. For the SMTP server, put in smtp.gmail.com. Then,...

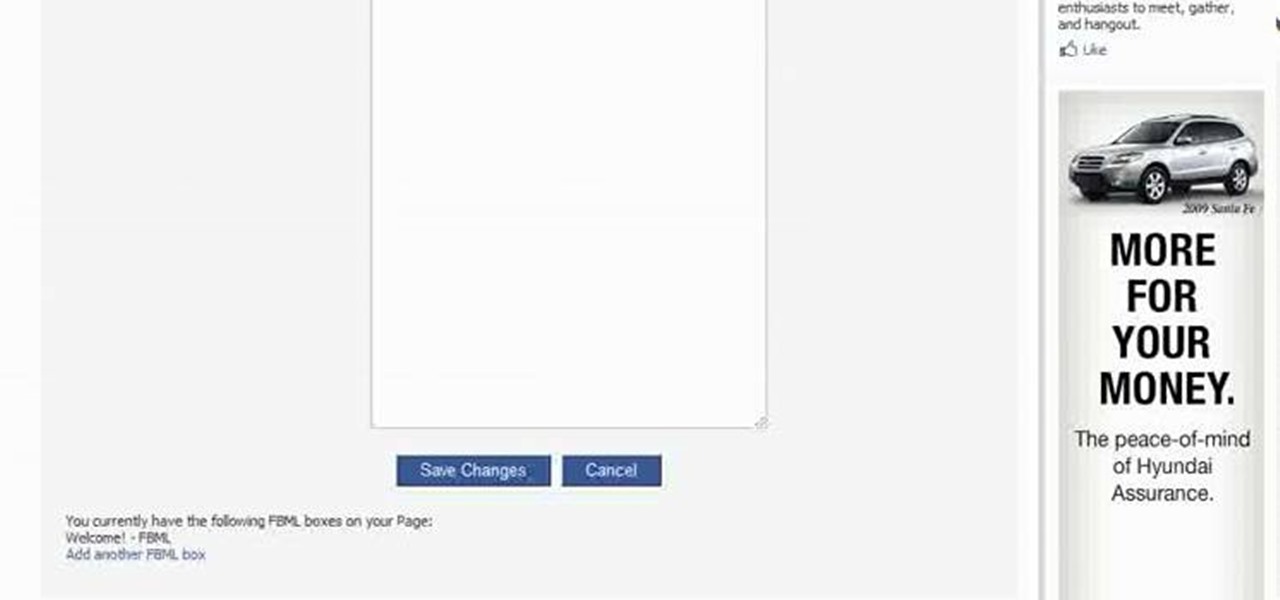
This videos is a tutorial for using custom FBML coding on facebook fan page.The video begins by logging into facebook account.Then go to the search bar at the upper right hand corner and tpe "static fbml" and hit enter.This takes to the application page and click on "add to my page" below the default fbml picture.A window opens up showing a list of user pages and after selecting the page click on "add to page".Close the window and go to your fan page and click on "edit page".This shows a list...

Easilycouk shows viewers how to set up an email account using MS Outlook. First, you should open up MS Outlook. Go to Tools and go to Email Accounts. Choose the option to add a new one. Click next and click the POP 3 option. Click next and Fill in your information such as name, the email address you are using and choose your log on information. Now, you need to fill in your Server information by copying and pasting your email into this. In the SMTP type smtp.easily. Go to internet email setti...

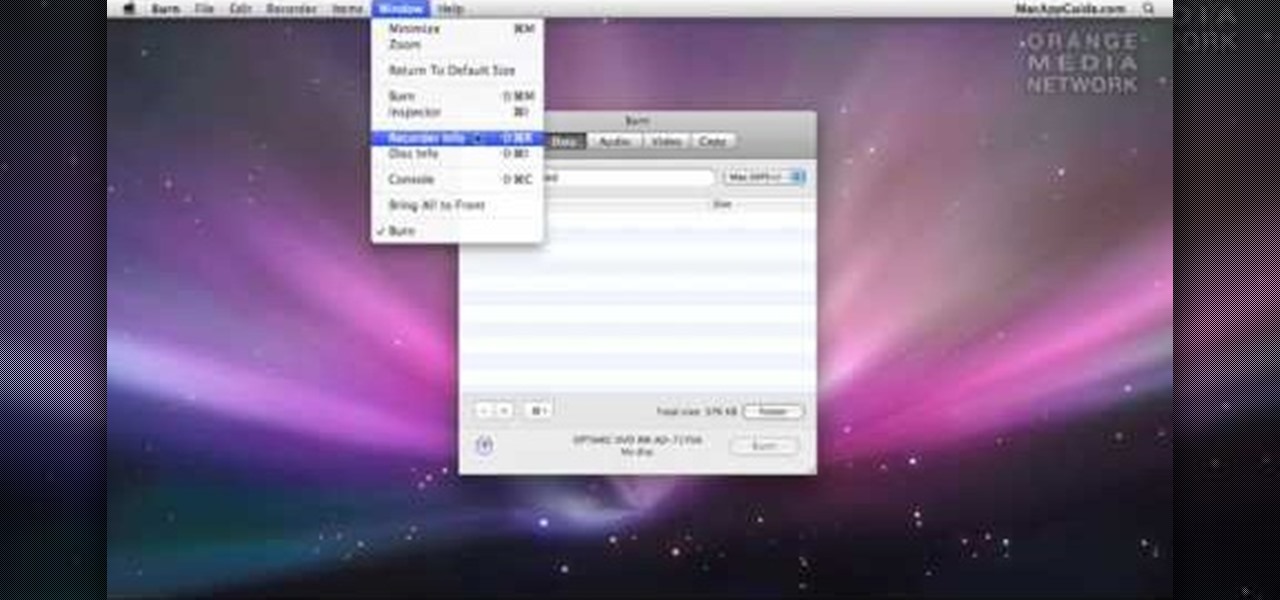
In this video tutorial, viewers learn how to burn a CD or DVD on a Mac computer with the Burn application. Burn is able to create data, audio and video discs. The Inspector window allows users to edit extra information about the disc. To open Inspector, press the Command and I button. It is also able to create disc copies. To burn a disc, name the disc and select a format. Them simply drag the file(s) into the program and click Burn. This video will benefit those viewers who have a file on th...

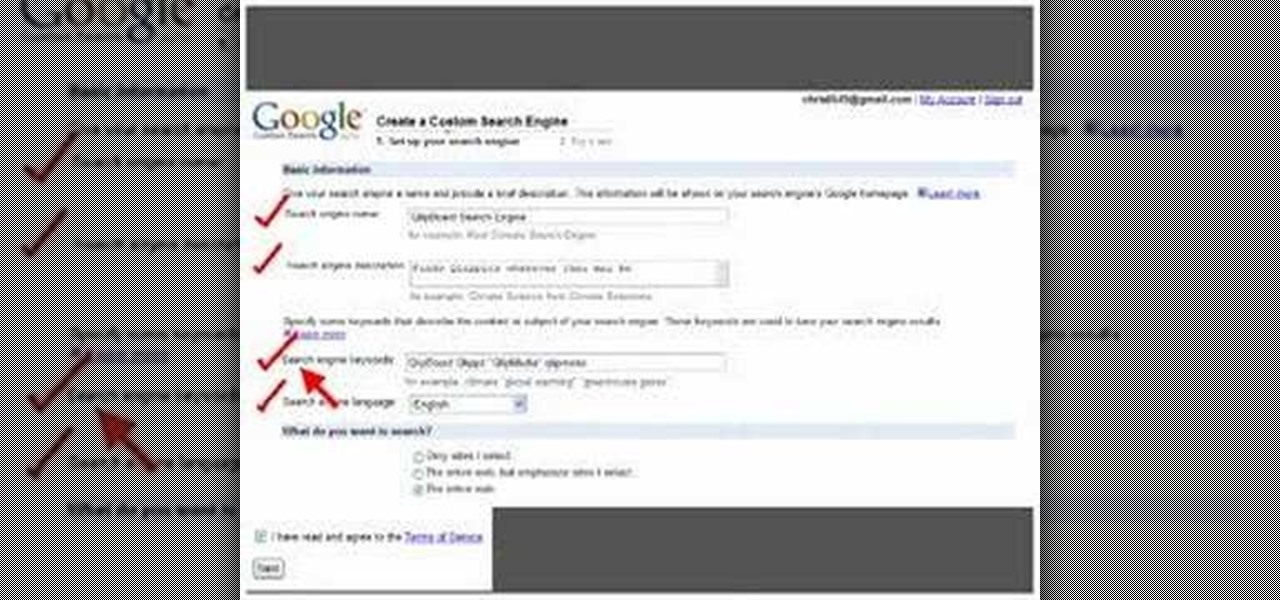
This video shows how to make a Google Custom Search Engine. A Custom Search Engine safely searches only the sites you want, and gives you relevant results. To set it up go to the Google home page and sign in. If you don’t have a Google account, you can easily set one up by following the directions. Sign in, then enter in your browser “www.google.com.coop/cse”.

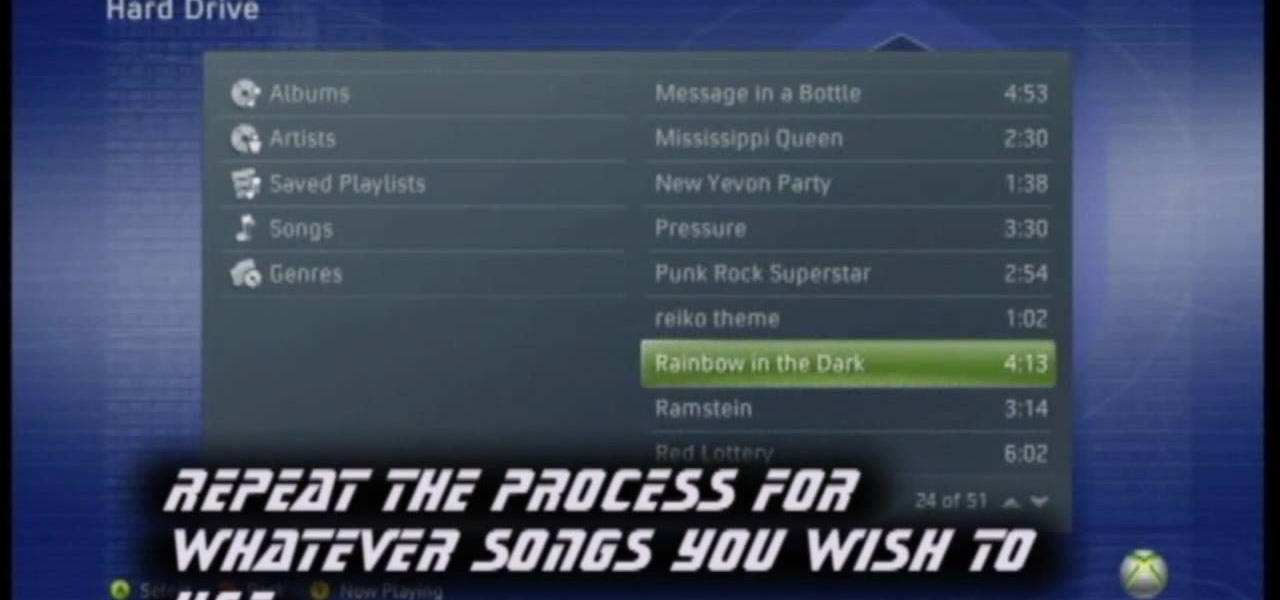
In this video tutorial, viewers learn how to add custom music in the game, WWE Smack Down vs. Raw 2009. Users will need a blank recordable CD and cannot use MP3s or any other audio format. Begin by recording all the music files into the CD and the insert it into the Xbox360. In the Xbox360 dashboard, go to My Xbox and select Play CD. Click on Rip CD and name the information of the CD. Now select the song that you want and add in into a play-list. Now to select the song in the game, select use...

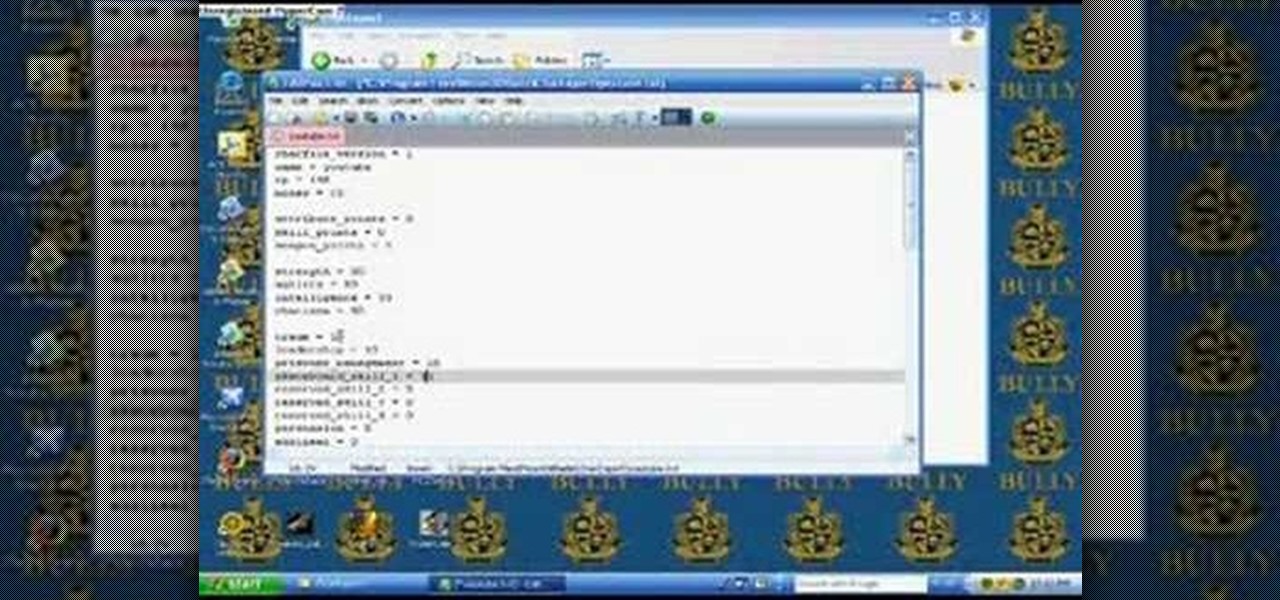
This video shows you how to change your skill levels in mount and blade. Go to the character menu and click on the statistics button, then click the export button. Exit Mount and Blade. Go to My computer, your local disk drive (usually C), program files, mount & blade, CharExport. In CharExport you should see a file with your character's name, open the file and you will see every stat that your character has. Change them however you want, save the file and close it. Restart Mount and Blade, l...

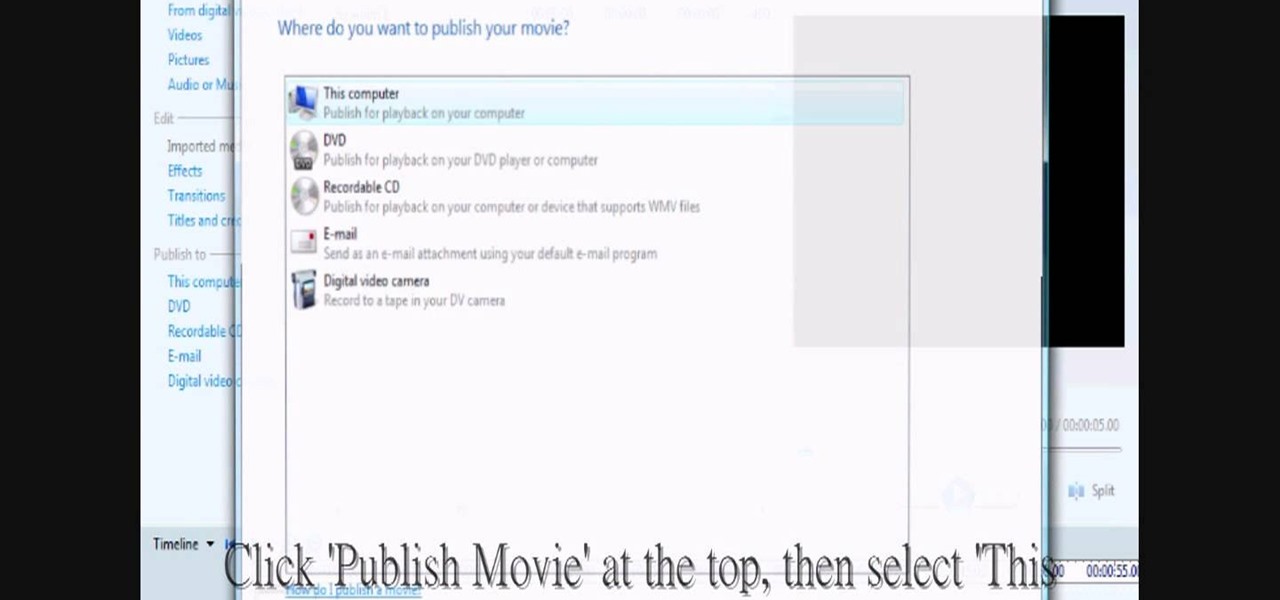
In this video tutorial, viewers learn how to change/convert a pivot animation into an AVI video format. Begin by loading the animation in the Pivot program. Now click on File and select the Save as type to Animated gif. Nam the file and click on Save. Then open Windows Movie Maker and add the pivot animation into the time line. click on Publish Movie and select This Computer. Name the file and select the save location. Click on More Settings and select DV-AVI (PAL) and click on Publish. This ...

In this how to video, you will learn how to change the home screen icons on an iPhone or iPod Touch. First, go to the website to download the icons you want. Once these are downloaded, download and install WinSCP. Open this program and select edit. Find your IP and wi-fi address and place your IP, user name, and password in. Log in and then go to your Applications folder. Go to mobile slide show and look for the icon files for the application you want to change. Drag and drop the new icon fil...

In this Software video tutorial you will learn how to make a copyright brush using Photoshop. Open up Photoshop and open a new document by clicking ctrl+N. Create a new text layer on the right side and type in your text. Right click on the text layer > rasterize type. On the left side select the ‘rectangular marqee tool’ and draw a rectangle around the text. Go to edit > define brush preset. In the next box, give it a name and click OK. Then go to file > open and select a picture on which...

In this video tutorial, viewers learn how to import music from i-Tunes into a Adobe Final Cut Pro project. Begin by right-clicking the song and select Show in Finder. Then drag the song from the Finder into the Final Cut Pro program. Users will not be able to drag songs directly from i-Tunes to Final Cut Pro. If the song is not compatible with Final Cut Pro, right-click and select Show in Finder. Then right0click the song and select Open with Quick time player. Now click on File and select Ex...

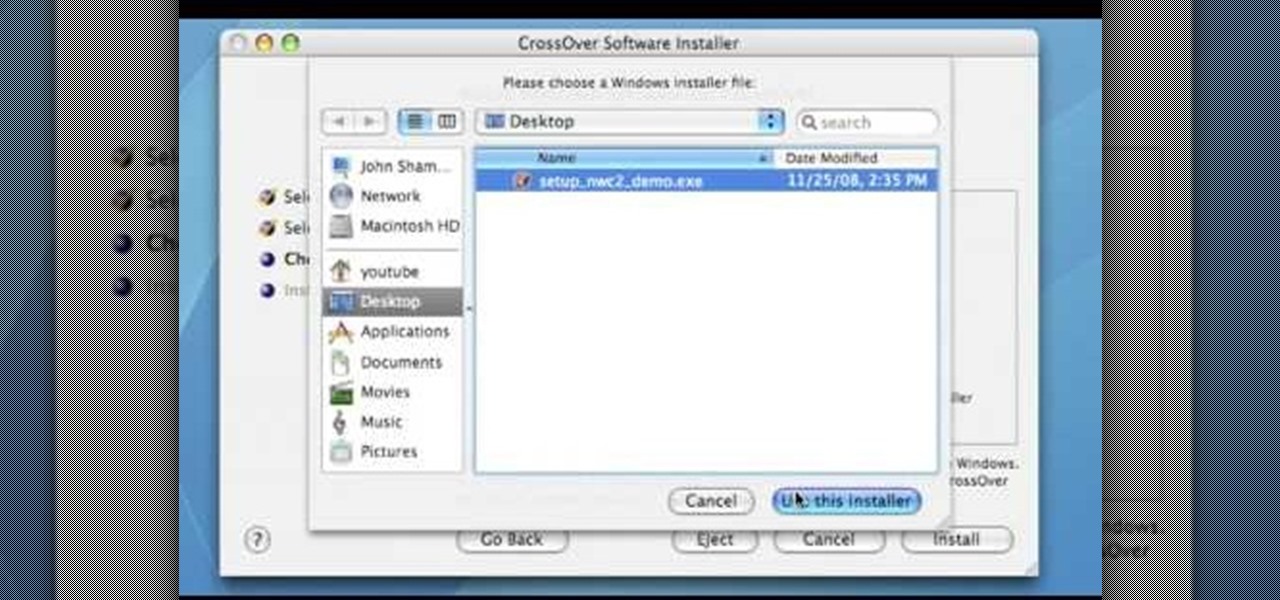
In this Computers & Programming video tutorial you will learn how to run a Windows app on a Mac OSX using Crossover. Search for the program, download and install it. Open the program, go to configure and then to manage bottles. Then click on the little ‘+’ button, name your bottle, select a version of windows and click ‘create’. This will take a few minutes to create the bottle. Now click on applications > install software. In the crossover software installer window, click on ‘insta...

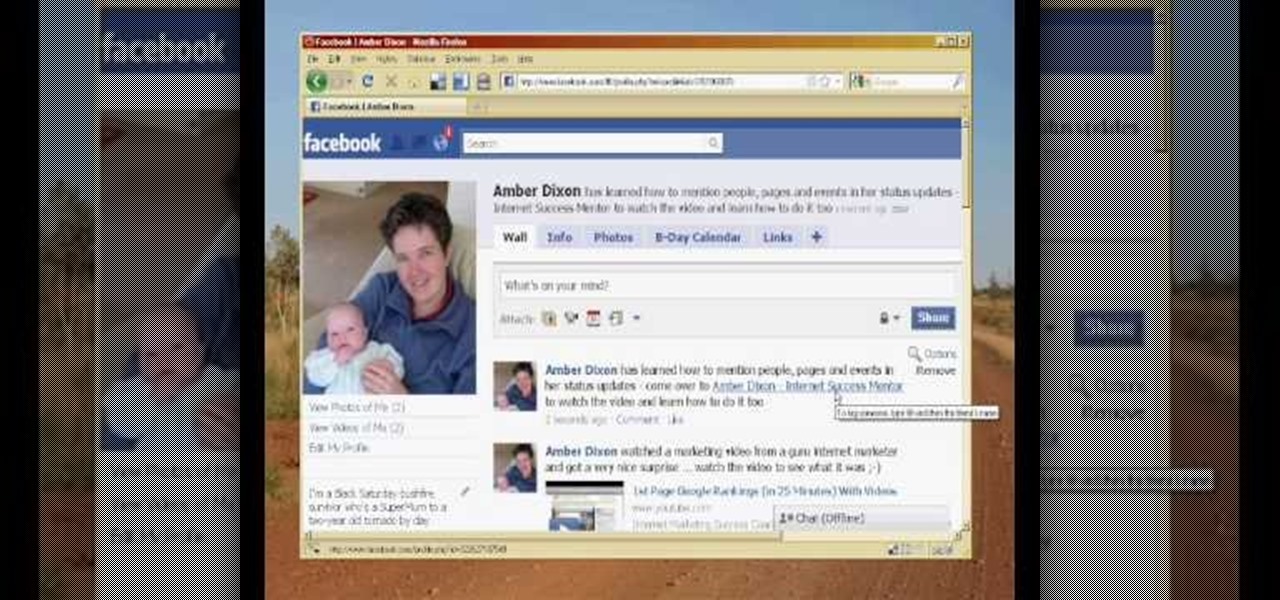
When you tag someone in your Facebook status, you can show everyone activities you are doing together! This is incredibly simply, simply type the @ symbol when writing your status. Your Facebook account will immediately prompt you; showing you different people on your friend's list. It will also ask if you want to tag groups or events in your status. As you keep typing the name, simply select the friend, group or event you wish to tag. Now, your status update has a link to this person, group ...

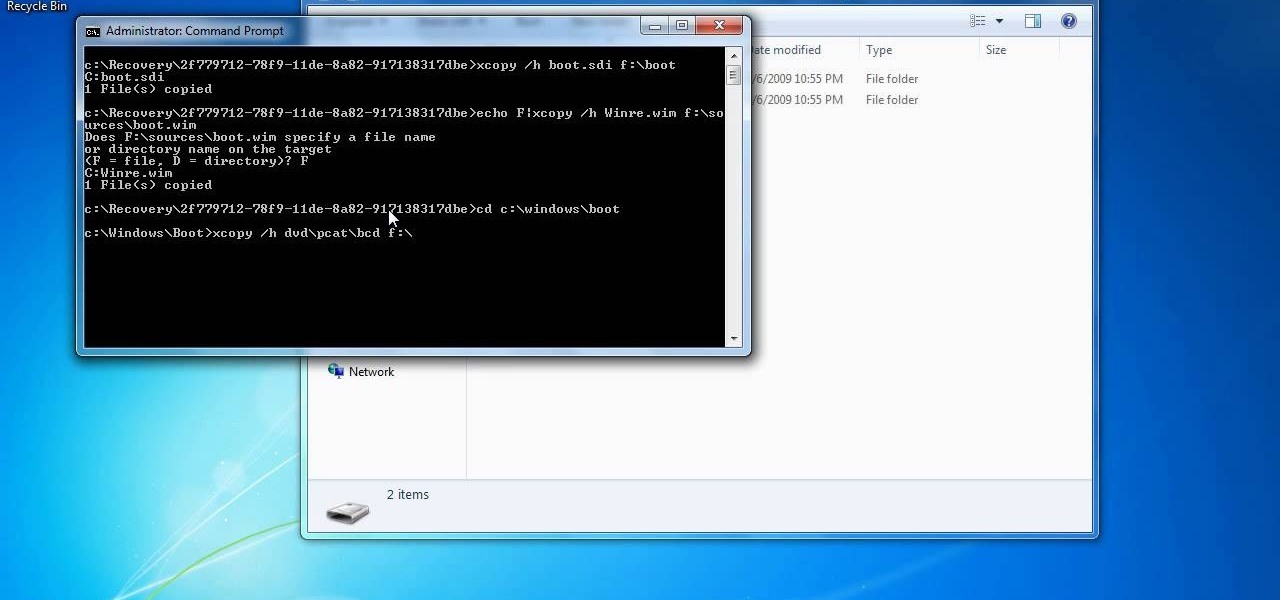
In this how to video, you will learn how to create a system repair disc on a bootable USB flash drive without having to burn a CD for your Windows 7 system. First, plug in your USB drive and create new folders in it. Name the first folder boot and the second sources. Next, open a command prompt and type in the cd c:\recovery, dir /a:sh, and so forth as shown. Once you have typed in the proper commands in the prompt, eject the flash drive. Restart the computer with the drive plugged in. Boot f...

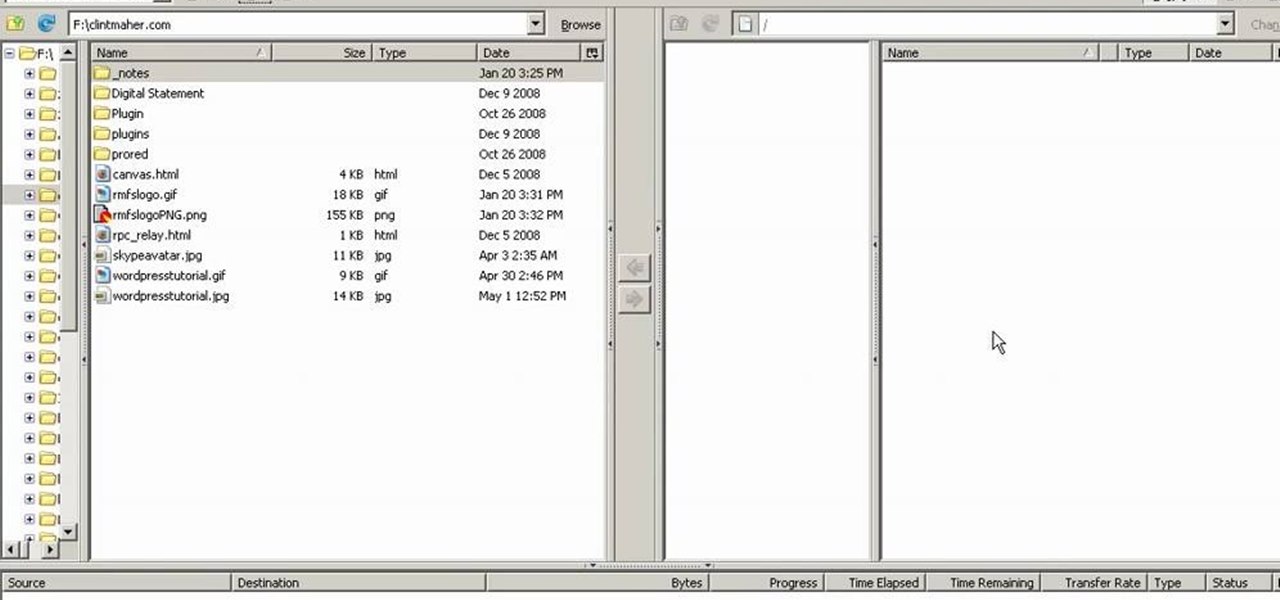
In this Computers & Programming video tutorial you will learn how to update websites from Firefox with the FireFTP add-on. Go to the Firefox add-ons page, search for FireFTP, add it to Firefox and install it. Restart Firefox to activate the add-on. Go to tools and click on FireFTP and that will open up a new tab with the FTP client. To configure the FTP to your account, create a new account by giving it a name. The host will be your domainname.com and use the login and the password for the ho...

In this how to video, you will learn how to make bag tags. You will need a tape runner, embellishments, elastic, a plastic bag, letters, cloud 9 rain dot eyelets, a trimmer, bits of card stock, and hole punches. First, cut the card stock and make it a square shape. Next, decorate the card stock with embellishments and the name of the child it is for. You can use the adhesive to stick these on. Next, cut more card stock and wrap it the piece around the decorated card stock. From here, place th...

This video describes how to make a system restore point. First we have to go to click the start on the keyboard. Next select the computer and go for the properties. Next go to system protection. Next go the protection settings and highlight the operating system and give option of “on” on the protection and just click the create. Then you will get a box of system protection. Next you can give a name and then click ok to that it will take some time. Next if you go for system properties you ...

In the homepage at the left handside of the facebook account, a click is made on group. The name, description, group type,email address and website information of the group are filled in. A click is then made on the "create group" button. The security details which appear on the window appear after the "create group" option was selected and saved by clicking the "saved" option. The group is published to the facebook wall, after which the group is customized . The group can be personalized and...

You can use your Ipod touch to SSH from windows. To do this go to Cydia and download Open SSH and Toggle SSH. Download and install these two applications. You will need to download and install Win SCP on your windows computer to work with the SSH. Now go to your Ipod applications and open the Toggle SSH application. From the welcome screen you can either enable or disable the SSH. Go ahead and enable it. Now close the application and open Win SCP on your desktop. From the first screen in the ...

To create and upload a torrent file using uTorrent v.1.7.5 you will begin by clicking the create torrent button. Clicking this button will open the dialogue box where you can click "add file" and select the file which you would like to create your torrent from. After you have selected your file click "open," this will bring you back to the original dialogue box. Now add the tracker URLs making sure you have a blank line between each tracker URL (some tracker URLs can be found at http://torren...

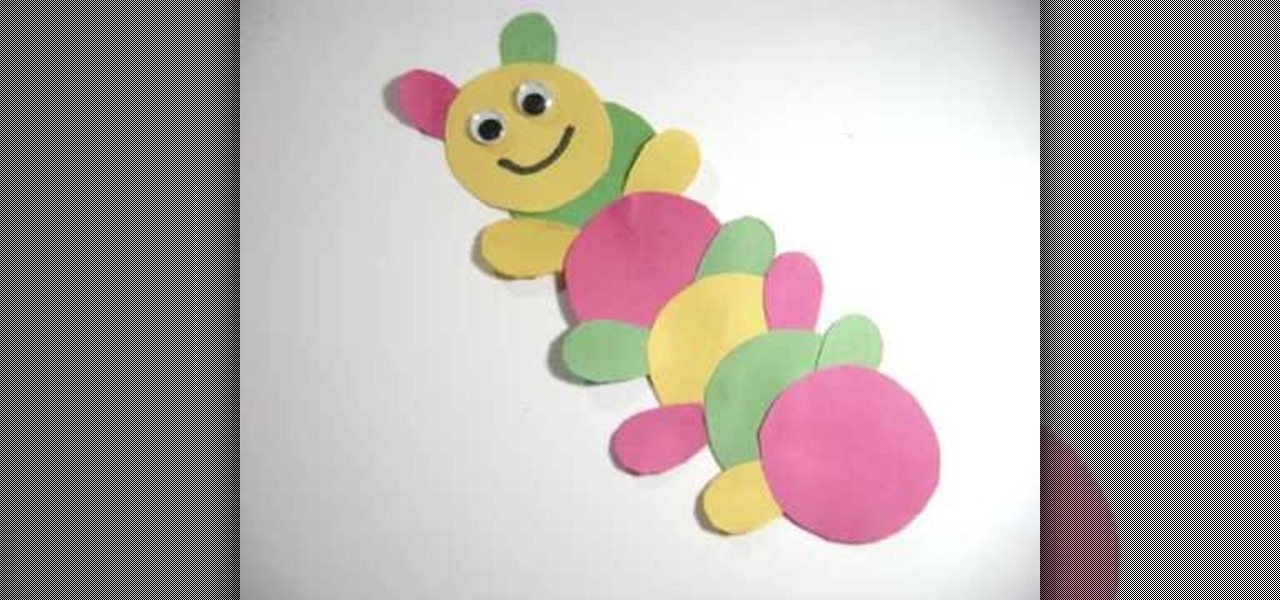
Another adorable craft you can make with your little ones is a paper caterpillar. The best part about this little guy is that he's flat and perfect for hanging on the refrigerator with all of your kids' other masterpieces!

New to Microsoft Excel? Looking for a tip? How about a tip so mind-blowingly useful as to qualify as a magic trick? You're in luck. In this MS Excel tutorial from ExcelIsFun, the 240th installment in their series of digital spreadsheet magic tricks, you'll learn how to create a dynamic range with the OFFSET function and a named formula when new records are added at the top instead of the bottom.

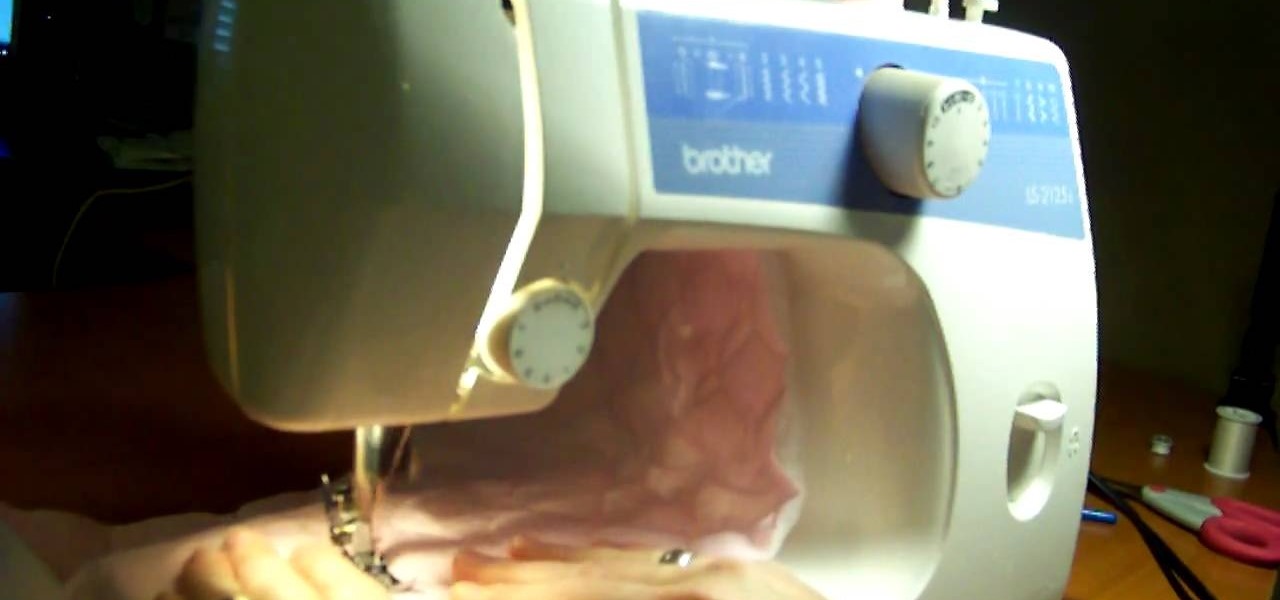
This video will show you how to use your sewing machine to create a buttonhole stitch. The buttonhole patter is very useful when making clothing because it does exactly what it’s name implies. It is the stitching used to sew a hole for your button. The pattern is not as hard as it looks. You follow an ABC sewing pattern to create the four sides of your buttonhole and if you go slowly and follow the pattern with appropriate height adjustments your will be butting stuff up in no time. To finish...

First you draw a triangle then you attach lips to the triangle then you go up and over to make his head. make two half circles to make two eyes. Draw two ears on the top of the little dogs head. Then from the head you draw down to proceed to make his body. You can make him a little fatter if you like fat dogs. Draw his tail. And for a little extra look you can add a spot over his eye. You can also draw a collar on him and if you draw a circle at the center of the collar you can even name him ...

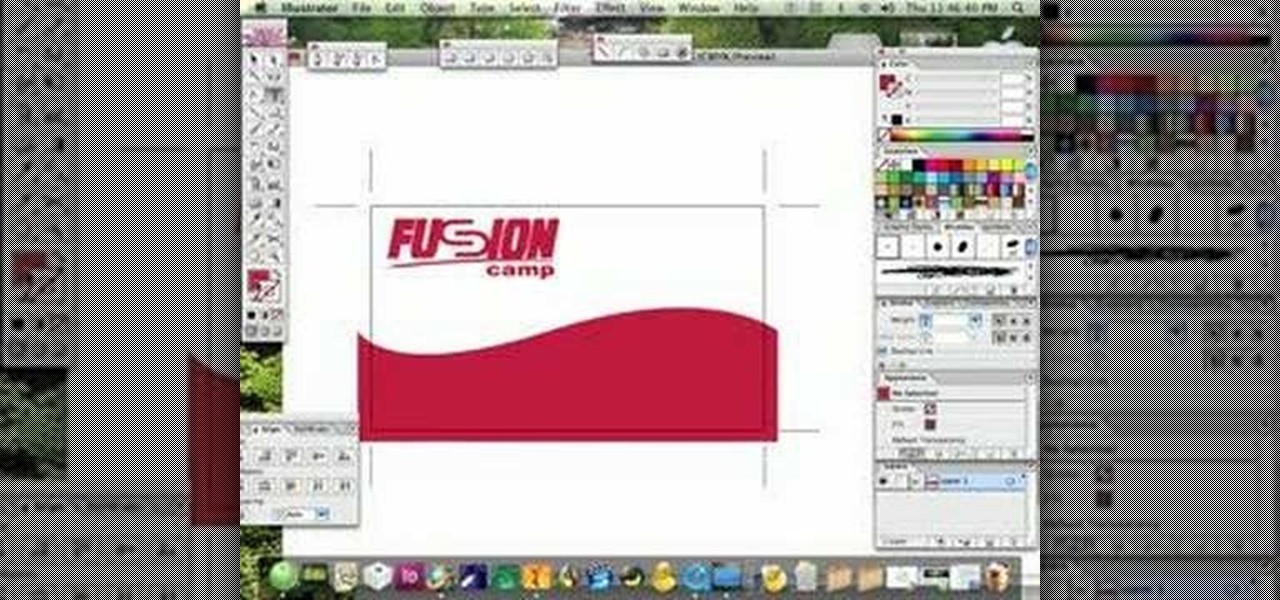
If you’re an entrepreneur or in need of a little more professional marketing then you will need a business card. This video will show you how to create your own business card using Adobe Illustrator. You will need to make sure you are keeping your work with in the standard card size. You can make your own logo or a name title. You will see tips and helpful advice for how to have the best results for your card. You will see an example card which is print ready. Once you get this process down i...

Layers are very important component of Photoshop. Without knowing how to use the layers correctly, one can not utilize the maximum what Photoshop offers to designers and digital artists. For a beginner, this video provides a good basic knowledge about Photoshop layers. Layers enable you to arrange different parts of a picture and manipulate them without effecting the content of other layers. Layers are added by using layers panel. Each layer is named accordingly. We can change the order of la...

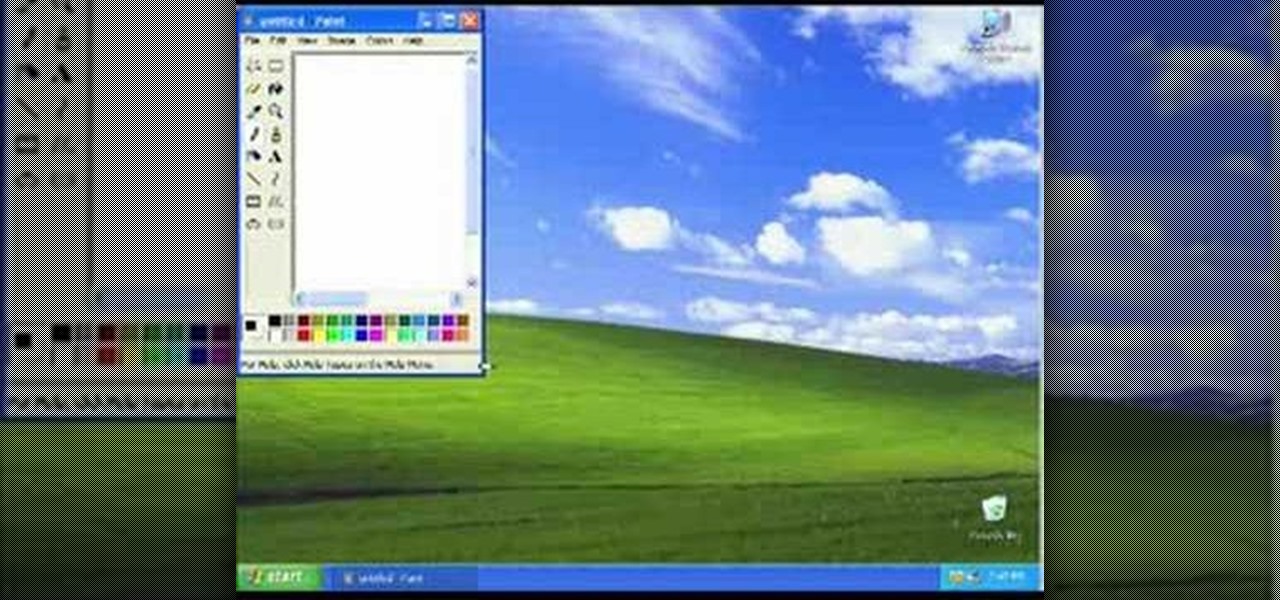
In this video, the instructor shows us how to take a screen shot off of Windows XP. First, you will want to pull up the screen that you want to take a screen shot of. After you have this up, you will hit the "Alt" and "Prnt Scrn" button at the same time. Nothing will show up on your computer, but it will have saved the image. Next, open up the program "Paint" and click "edit" on the top toolbar, then click "paste". The image will then show up on your screen. To save, click "File -> Save As", ...

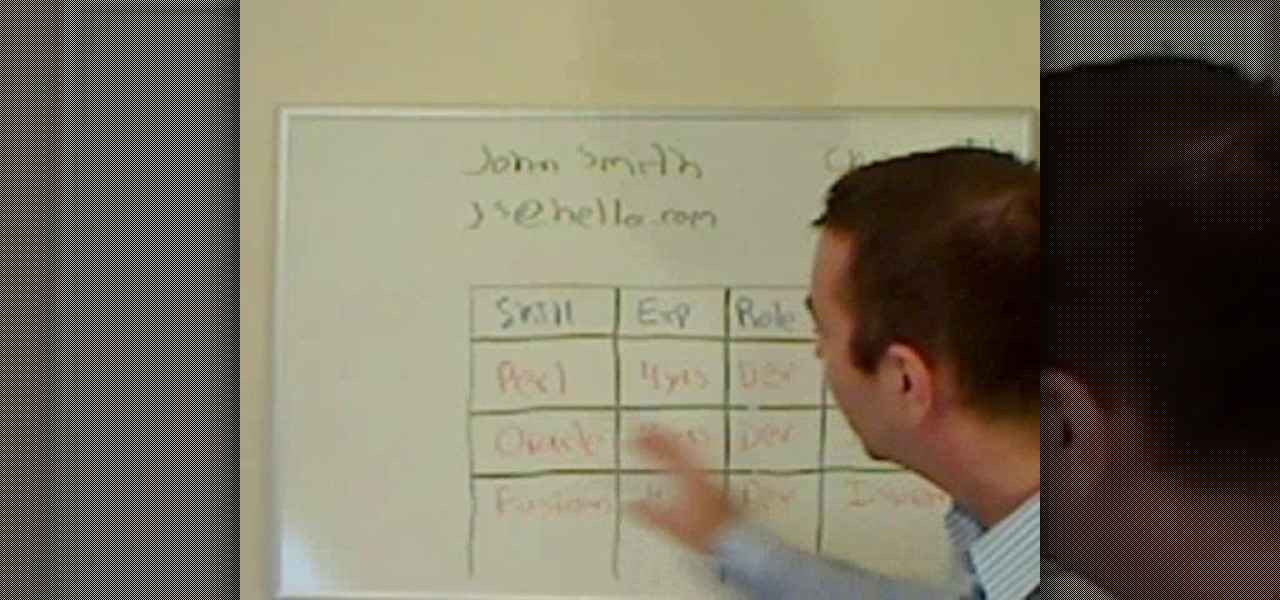
In this video tutorial, viewers learn how write a resume in the table format. A table formatted resume is one of the most effective formats. It highlights metrics in a particular field that potential employers are looking for in a presentable quick overview. At the top of the table, provide your name, contact information and location. In the table, list your skill, experience, role and products from each of your previous jobs and experiences. This video will benefit those viewers who are sear...

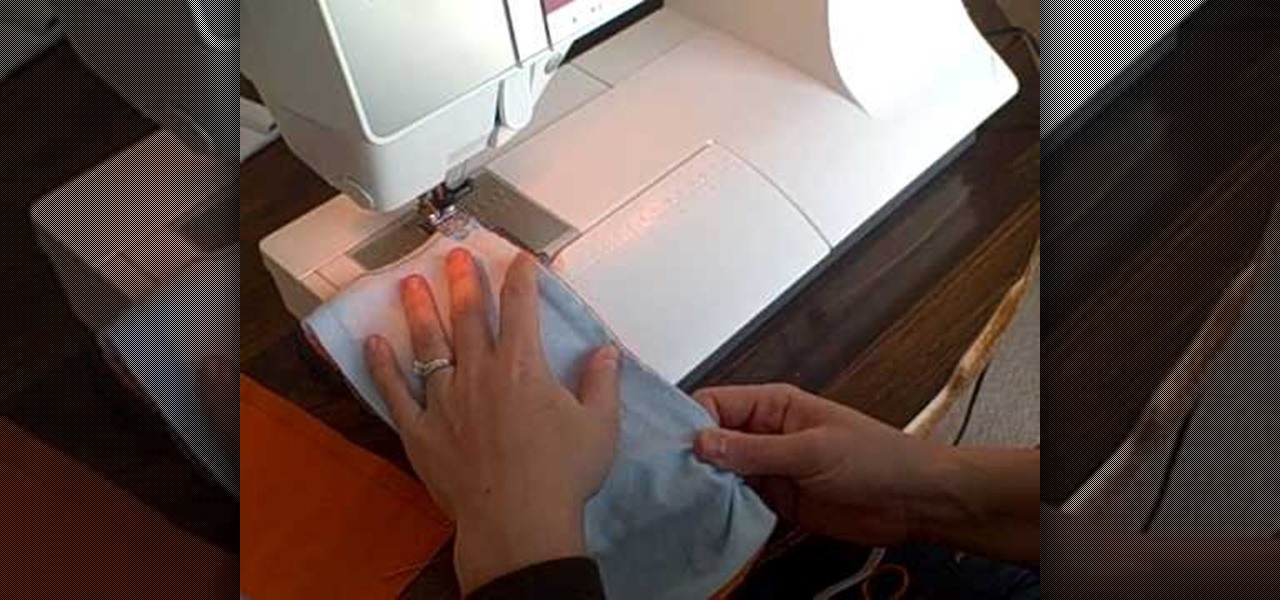
This video is a tutorial on sewing both polybraid elastic and lastin elastic. Polybraid is a very sturdy fabric elastic, while lastin is a thin, clear, very stretchy elastic, good for use in diapers. It is important to buy name brand lastin elastic to ensure good quality.

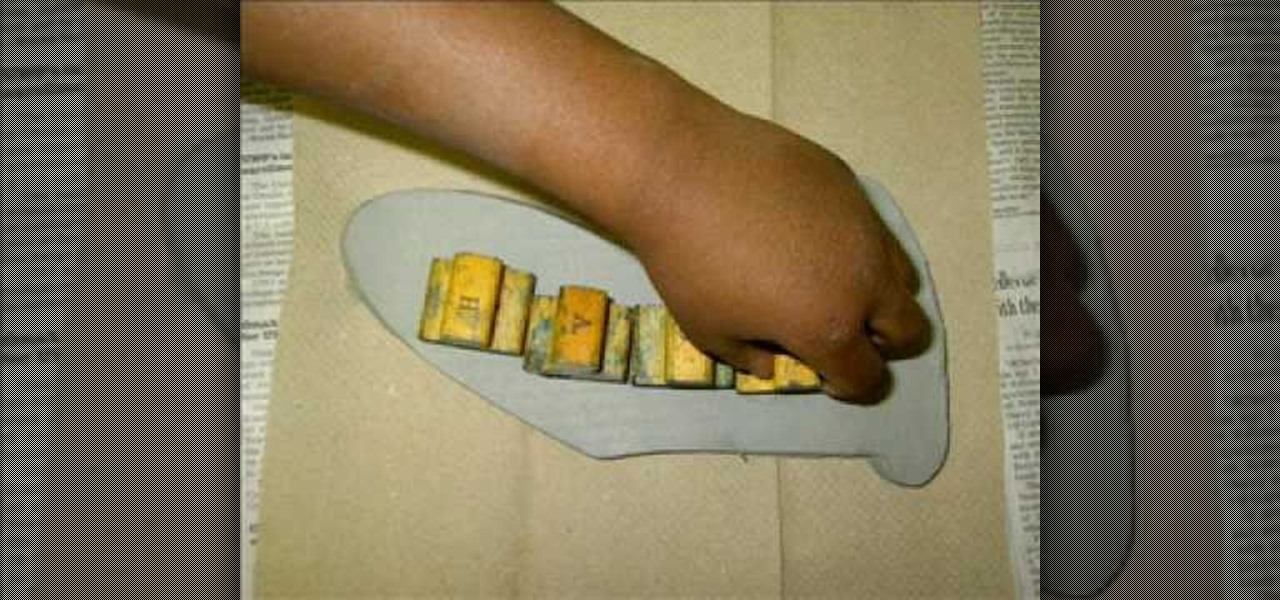
To make a Clay Christmas stocking you need to slice a slab from a block of wedged clay using a wire and two rulers. After you slice the slab trace the shape using a needle and a template. If you want you can add the child's name using stamps. Add decorative stamping. Using a clay extruder, squirt out a clay rope to accent the opening of the stocking. Glue down with slip. Punch out two holes with a straw for hanging. Now you are almost done with your Clay Christmas stocking. You can vary the p...

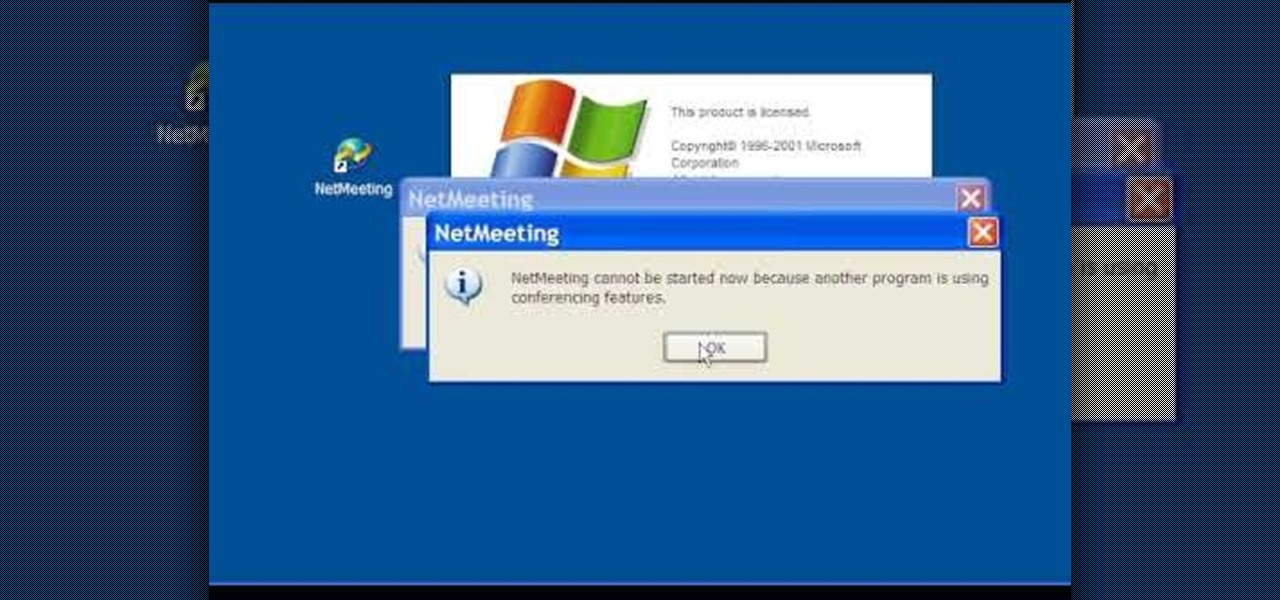
In this Computers & Programming video tutorial you are going to learn how to configure Windows Netmeeting. It is very easy to do. This video is from Fix PC Freeze. Go to start > all programs > accessories > windows explorer. Now click on SA(C:) > program files > Hewlett-Packard > Netmeeting > conf. On the NetMeeting installation dialog box click next and type in your name, email and other details and click ‘next’ twice. On the following box, select ‘local area network’ and click ‘next’ thrice...


