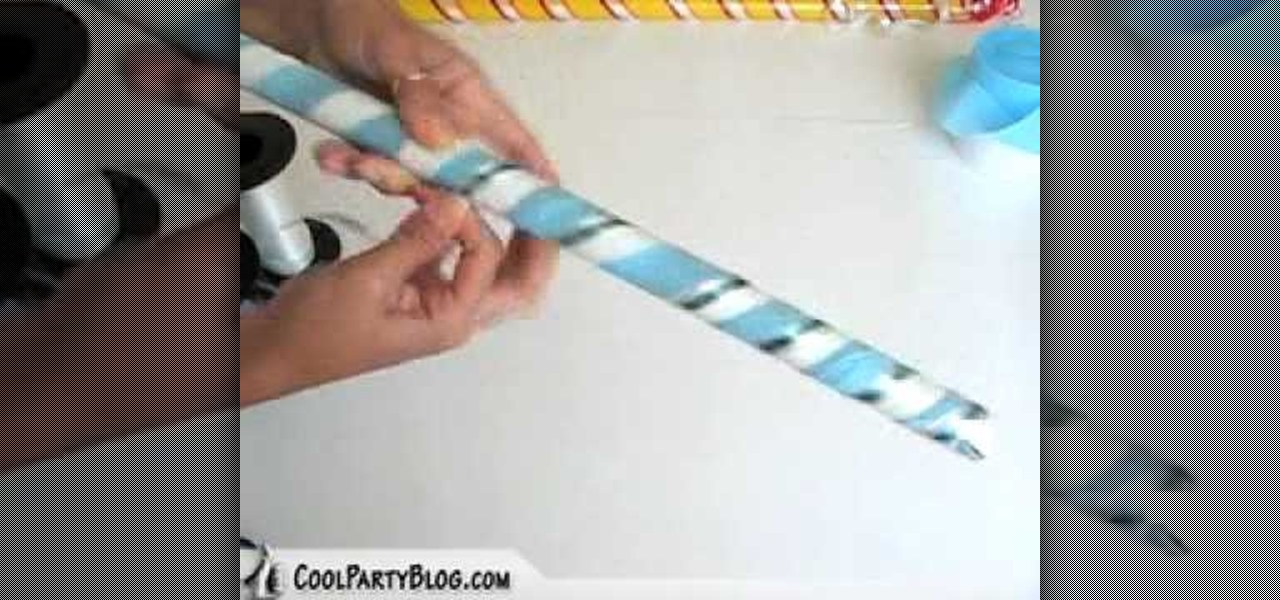
In this tutorial, we learn how to customize a pi–ata buster stick. First, choose a couple streamer colors that match the theme of your party. Next, roll the streamer around the stick, covering the entire stick. Tape down the end on both sides so the streamers stay on. Next, wrap a different color streamer around the stick and tape that down as well. You can also add on ribbon around the stick to make it more decorative. When finished, make sure everything is taped down at the end and you will...

In this tutorial, we learn how to make a Christmas style wreath bow. First, cut a piece of holiday ribbon and pin it into place. After this, make a bow out of the ribbon. Next, curl the ends of the ribbon and pin them into the wreath as well. Use your fingers to make curls and waves in the ribbon to make it look like it's moving in the wind. Pin these securely into place. Once you are finished, hang up your wreath and enjoy the decorations! This is a great project to do that will save you a l...

In this tutorial, we learn how to make a file folder organizer. First, you will need to apply double sided tape to paper, then apply a thicker cardboard paper over it. Now, cut most of the excess paper off, except around 1/2". After you have this cover made, apply tacky glue to some manila folders, and stick them into the cover you just made. After you complete this, you will be able to apply the backing to the folder as well. When you are finished, you can add different decorations to your f...
Everything is so much cuter - and tastier - in edible form. Take dogs, for instance. Whether you miniaturize them to top a cupcake or make them out of buttercream to top your cake, they becomes instruments of decoration and pleasure once they get adapted to cakes.
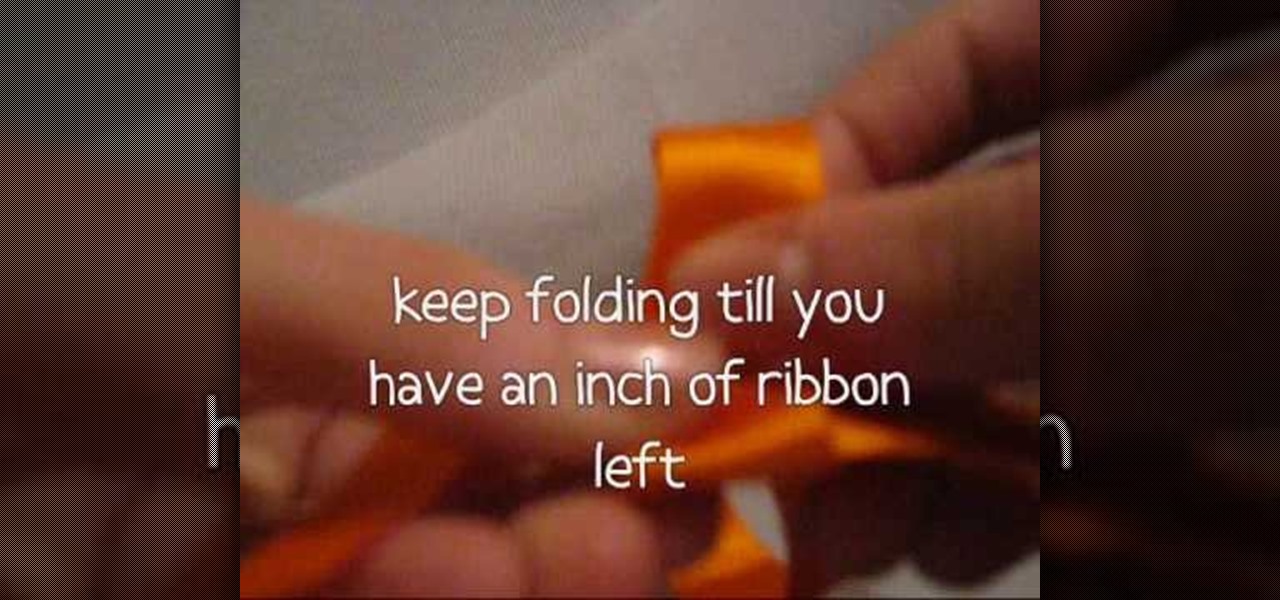
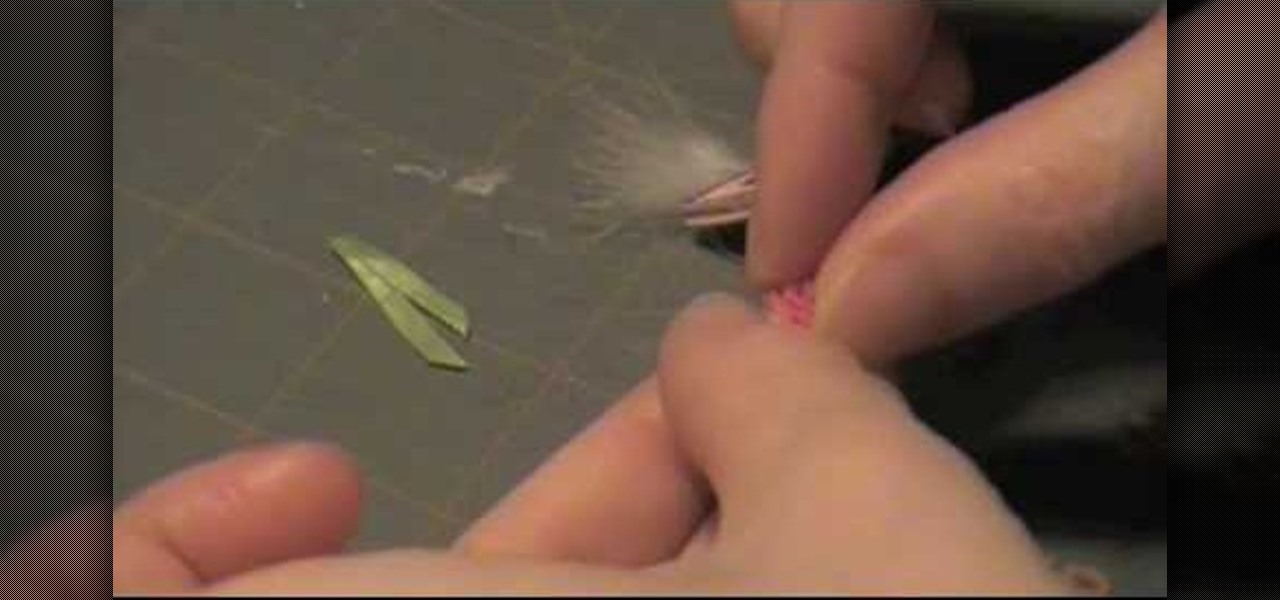
In this video tutorial, viewers learn how to make a ribbon rose. Users will need approximately 60 cm of 16 mm of satin ribbon. Begin by folding your ribbon in half and then pinch fold the end. Now fold the front half sideways and pinch it in place. Then turn it over and fold the ribbon to the opposite side. Keep folding until there is only about 1 inch of ribbon left. Users should end up with a pile of little folds. Pinch the two ends together and let go of the pile. As you pinch the ends tog...

Have you ever wanted to graffiti your name? We definitely have (maybe something to do with the street cred?). Either way, learning how to do graffiti is a fun way to get into drawing and urban art styles.

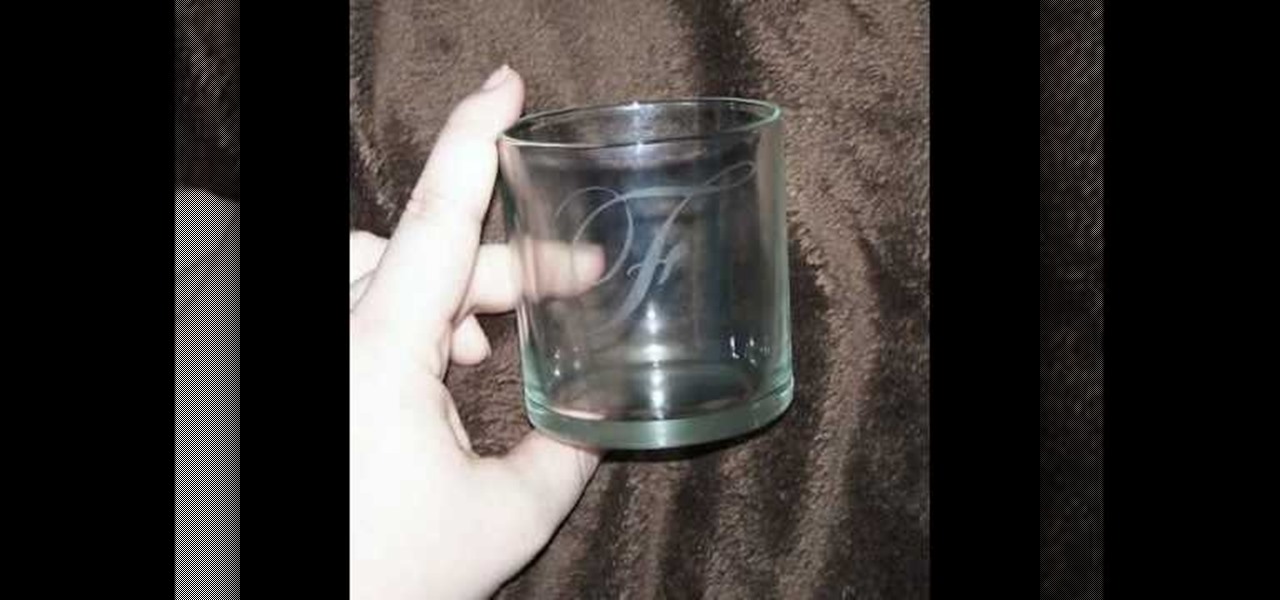
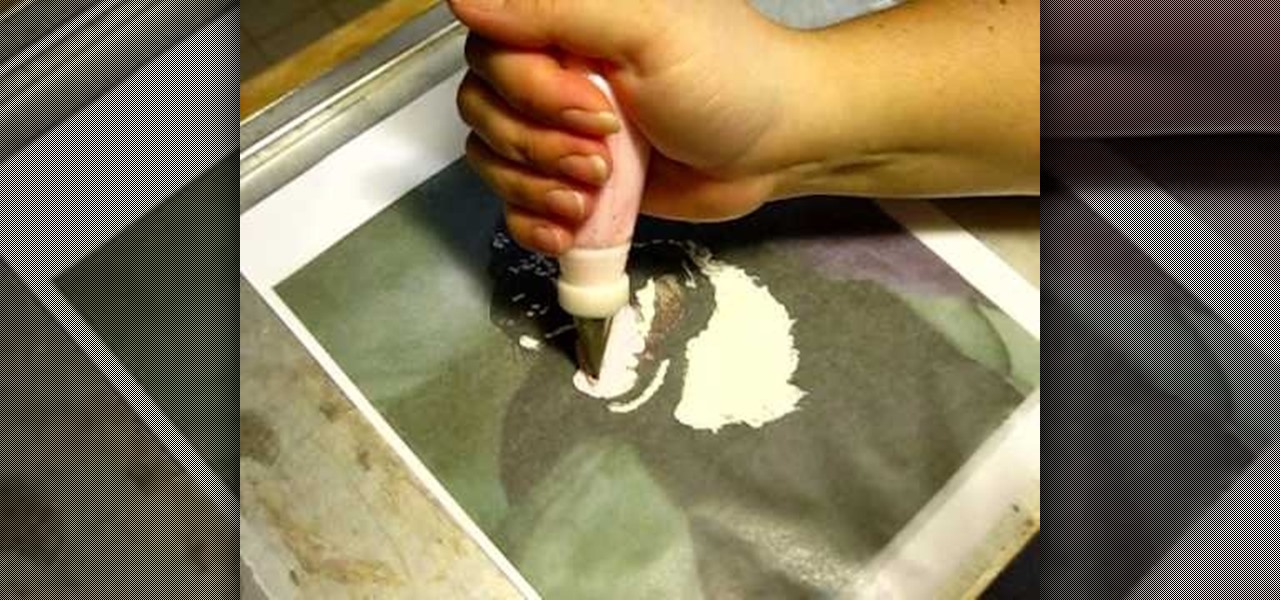
In this video tutorial, viewers learn how to etch glass in 5 minutes. The materials needed for his procedure are: contact paper, Armour Etch and a paintbrush, glass and a sink. Begin by cutting the contact paper face up on a circuit mat. Cut it on medium speed and pressure. Then put the contact paper on glass. Work carefully to prevent any wrinkles and bubbles in the design. Now put the etching cream on in a dabbing motion. The etching cream will not run into areas that are not stuck down. Fi...
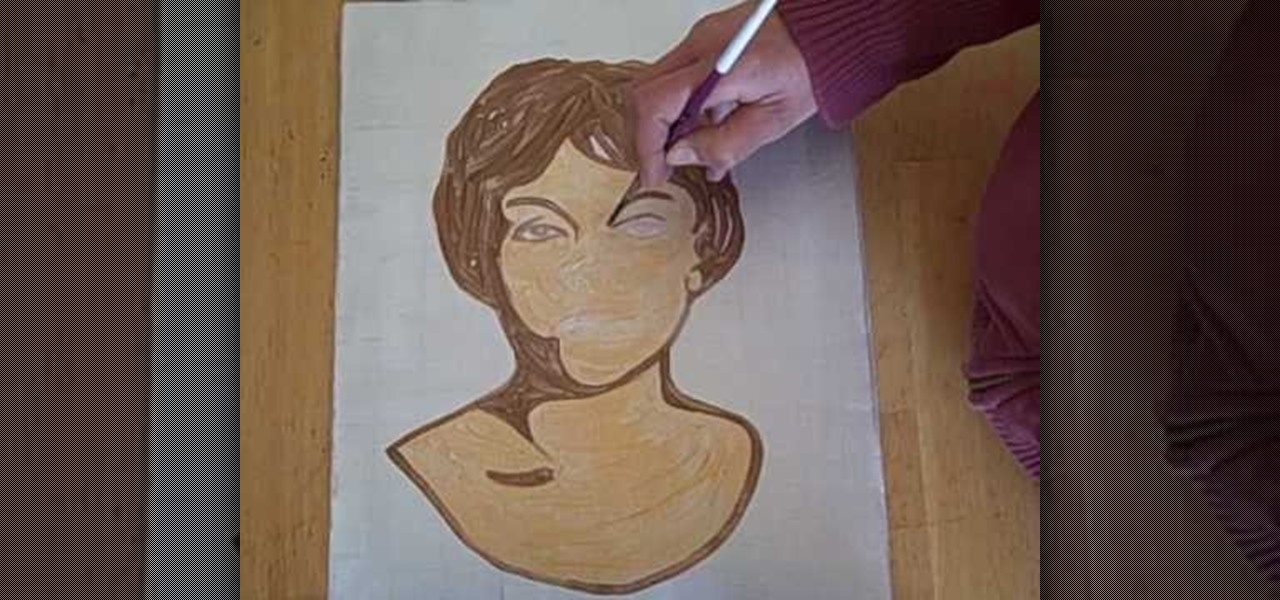
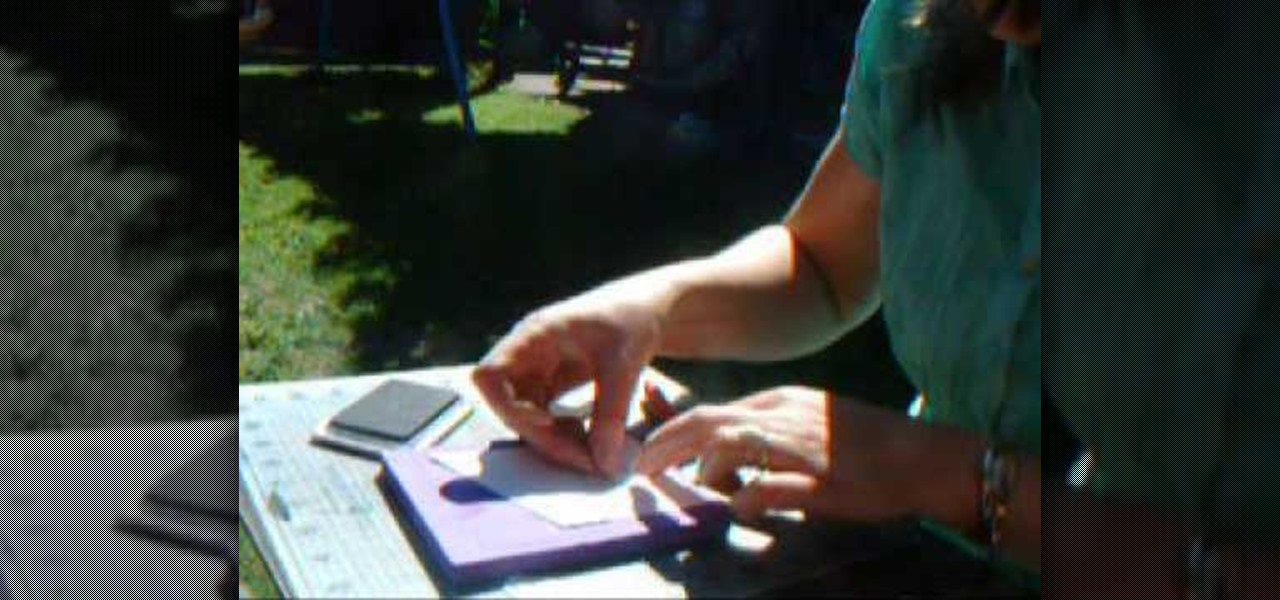
When Halloween comes around it's easy to give in to the rampant orange and black decor paraded at every drugstore and mass retailer. But if you truly want a unique decoration for the spooky holiday, consider watching this tutorial to learn how to make a glow-in-the-dark portrait.
In this tutorial, we learn how to make a fall wreath for a door. First, find a basic wreath that has no decorations on it. Next, add leaves onto the wreath, around the entire circle, but don't fill it in the entire way. Now, add on fall leaves to the wreath with a hot glue gun or with pins if that is easier for you. If you need to cut the flowers, cut them from the base not from the stem, or you will have to purchase new flowers. After this, the final step is to add some fall flowers that mat...
If you need to add some decoration to your keys, a key fob is the way to go. Key fobs are decorative items that many people carry with their keys. There are many different ways to go when creating a key fob, but one of the best ways is to make your own using fabric from the store.
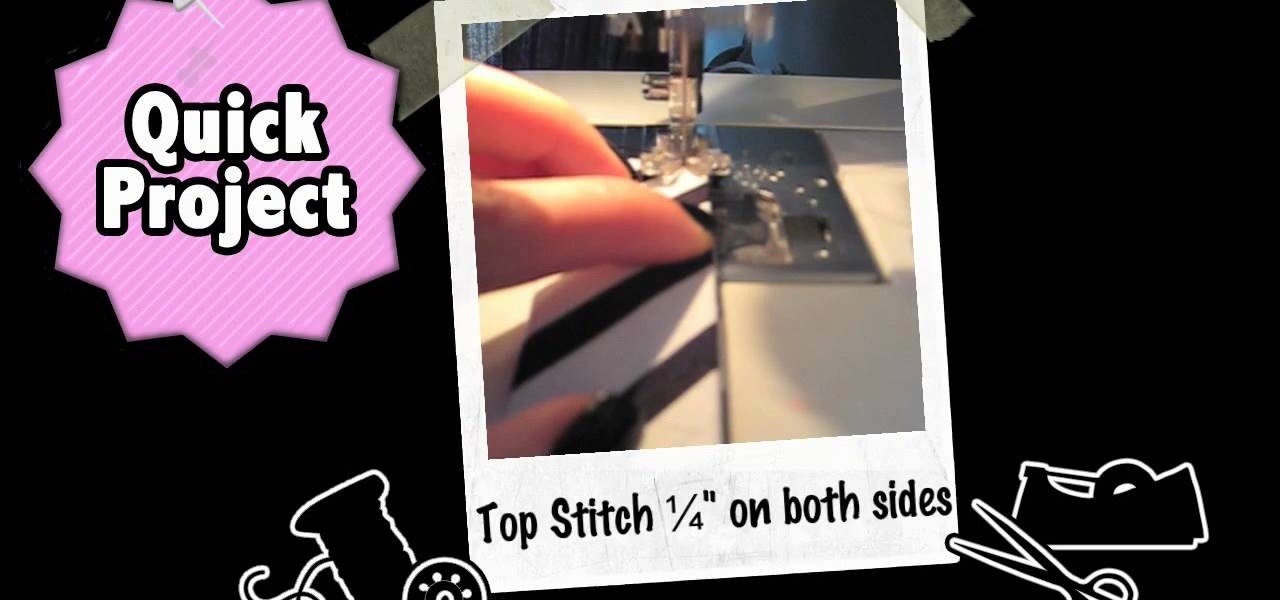
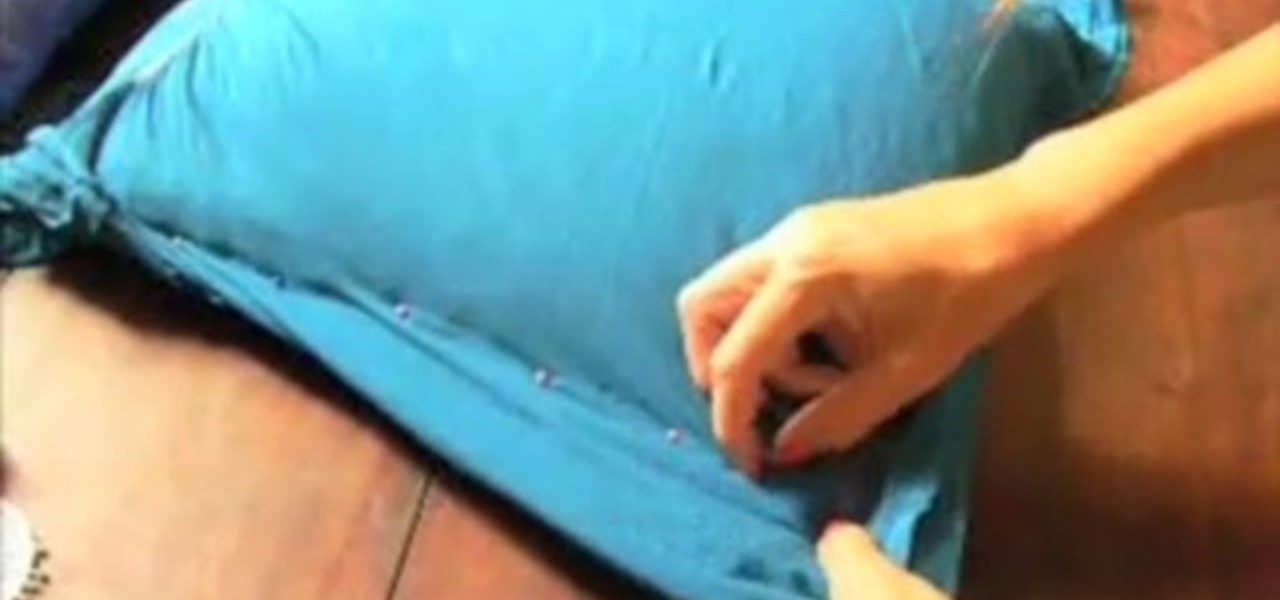
In this video tutorial, viewers learn how to turn a t-shirt into a pillowcase. The materials required for this project are: a pillow, a shirt (that fits over the pillow), pin, needle, thread, decorative trim and a sewing machine. Begin by flipping the shirt inside out and slip in the pillow. Position the pillow to how you want it and pin down along the sides to hold it. Now stitch the shirt together along the pin points. Trim off the extra fabric, leaving a 1/2" at the seam. Fold the bottom a...
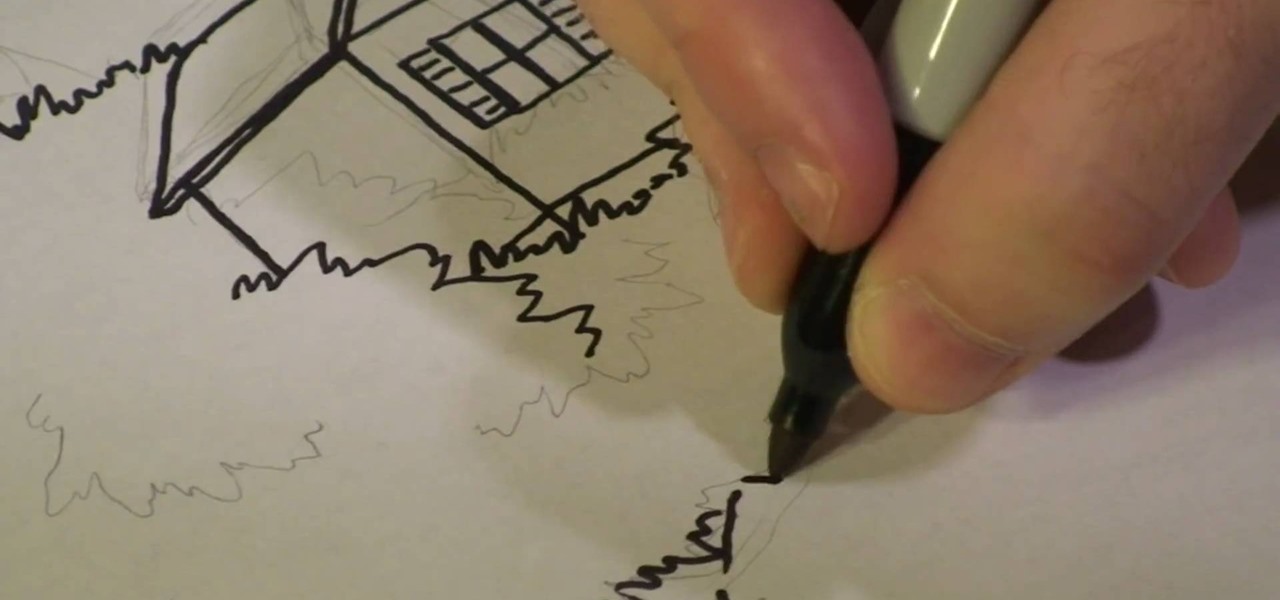
This video by Michael Weisner will show viewers how to draw a tree house using a white piece of drawing paper and a writing utensil. In order to save time, the drawing had been roughly outlined in pencil. A rough outline of the desired picture may help before you begin your drawing, otherwise, you may proceed without it. First, you should begin by drawing the base of the tree, which is a simple trunk with roots. Make sure to leave some space along the trunk in the form of missing pieces along...
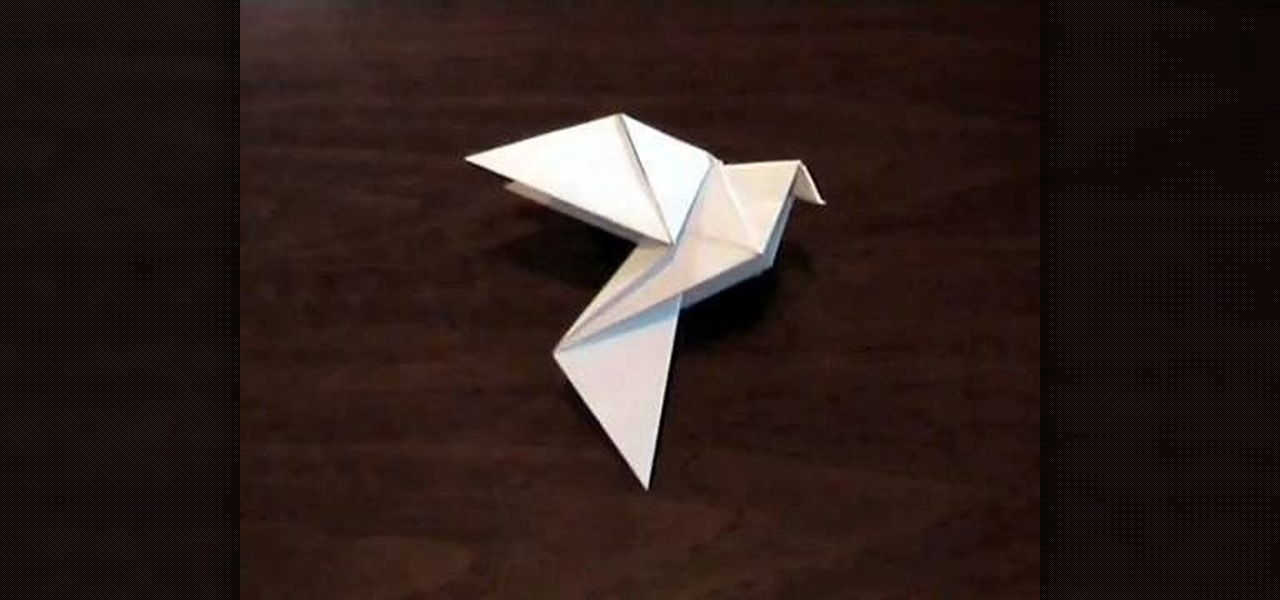
Doves are peaceful symbols of the spiritual rebirth that Easter centers itself on, and are springtime animals that herald the coming of a new season. Celebrate these cute springtime birds by crafting an origami dove.
If you happen to live somewhere where grapevines are prevalent or know someone who does, you are one step closer to making a truly unique piece of home decor.
With just eight little pieces of paper, each the size of tea bags, you can make a card embellishment to make your greeting cards more beautiful and elegant. This video series provides you with four different techniques for folding a card embellishment from tea bag bits of paper. The stars and other designs are perfect for any card or scrapbooking flair, also it could be great for Christmas decorations. Check out all four videos for all four techniques.
Do you own a bunch of old looking books and have no idea what to do with them? Are you looking to spruce up a door in your home with some kind of decoration? Do you enjoy arts and crafts and want to tackle a project that is easy to make and results in something cool to look at? Have you done the math yet? Well if not, this video tutorial will show you how to make a awesome door wreath using old book pages. Enjoy!
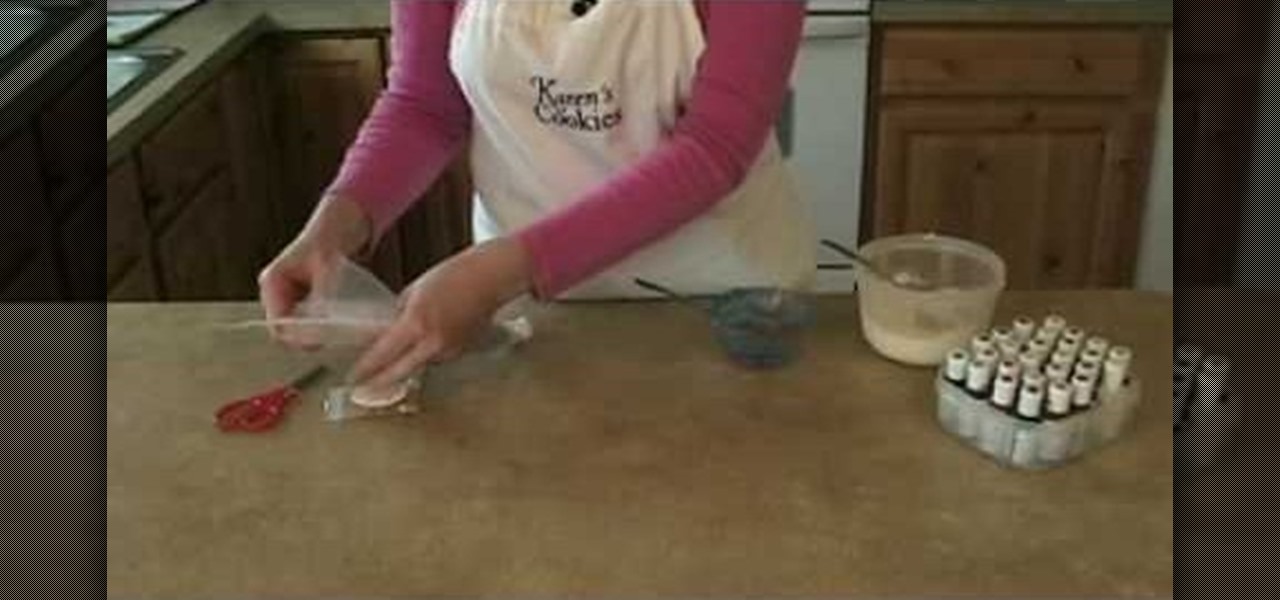
Karen shows you how to mix your colors and fill your bags. This example uses red blue and black. Begin by mixing blue. Start with royal blue coloring and add it to your frosting and mix it well. Dump the colored frosting into the middle of a sheet of plastic wrap. Roll it up in the plastic wrap, twist the edges, and now you have a little pouch with your frosting. Now take a bag with a coupler, and stick the plastic pouch of frosting in it. Pull it tight and rubber band the top of the bag, the...
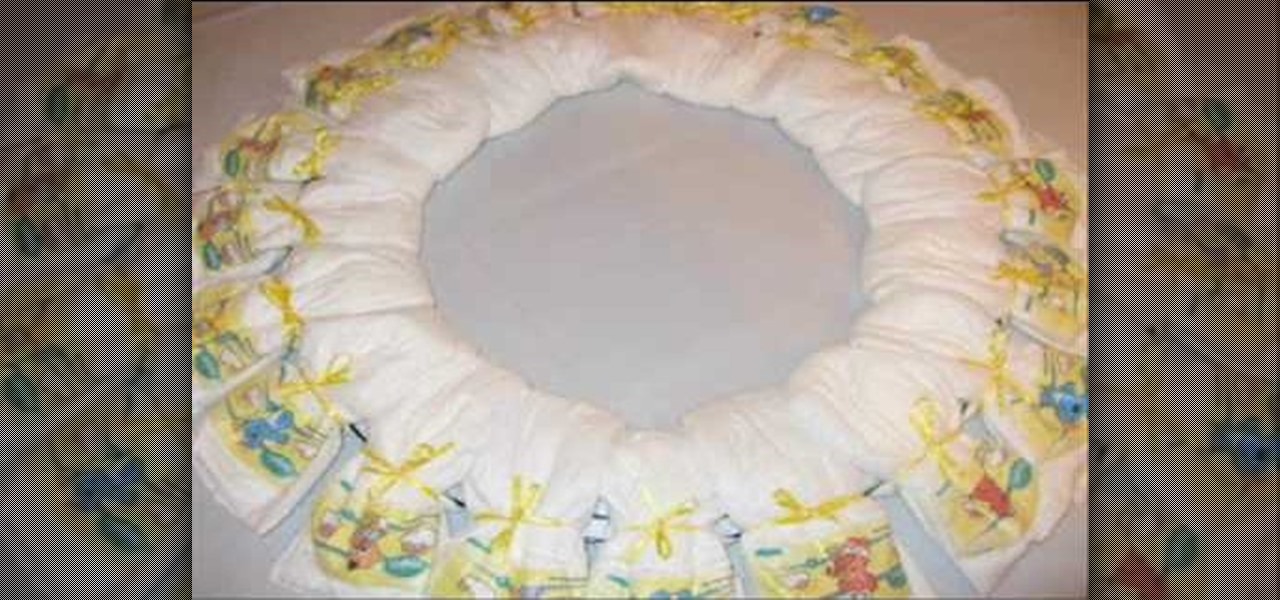
In this how-to video, you will learn how to make a disposable baby diaper wreath. You will need 20 size 1 disposable diapers and a wreath that is 12" to 18". Scissors, ribbon, and bows will be needed. Purchase some baby accessories such as pacifiers and toys. First, open the diapers. Put them in a sandwich shape around the wreath. Time them to the wreath with the ribbon. Do this until the entire wreath is filled. Make sure they are tied on tight. Place a toy on every three or so diapers. Tie ...
In this video tutorial, viewers learn how to make decorative wreaths from garden plants. Users will need a wreath thorn. Users may choose to make the wreath or purchase it. Then add on some greenery such as bay leaf. Now place the greenery onto the thorn wreath and secure it by wrapping it 3 times around with wire. Continue doing this for the rest of the wreath. This video provides a visual demonstration for viewers to easily follow along. This video will benefit those viewers who are interes...
In order to make an accordian- fold style greeting card, you will need a piece of card stock, glue or adhesive, scissors, markers, and stencils/stamps. Cut the cardstock in a diagonal. Fold the card into 3rds, lengthwise. Cut a 5 x 3 ¼” panel at an angle. Use Masking Magic and stamp the excess card stock. Cut out your stamp designs. Color in your designs with Sharpie brand permanent marker pens. Glue the 5 x 3 ¼” cut piece to the card, or you could use 2 sided tape. If you have addition...
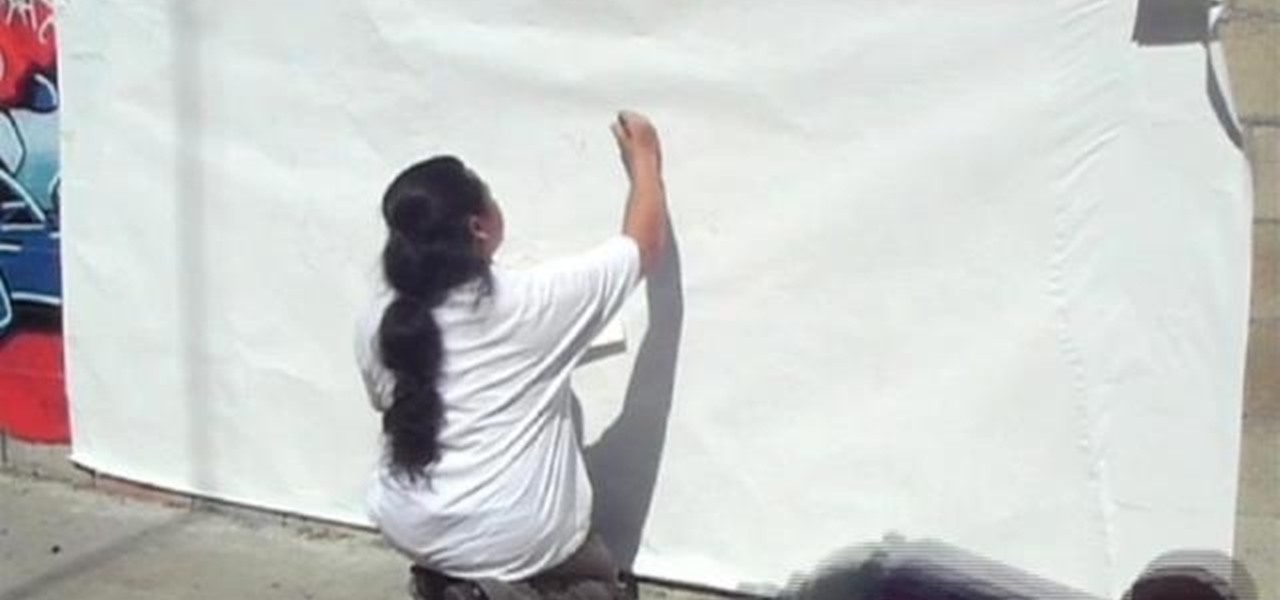
This is your basis step by step on how to do graffiti on walls - in your house for decoration, of course, not on the streets for vandalism! The best spray paint is made with krypotnite added into the paint. While you will want to paint directly on the surface, you don't want to be exposed to excessive winds or temperature when doing your graffiti, so you may be somewhat at the mercy of mother nature. Start by sketching your design with pencil, making sure that it takes the maximum amount of s...
Cymbidium orchids are beautiful flowers. They are perfect decorations for spring time, Easter and many other occasions. If you are thinking of using these lovely flowers around your home or garden, check out this tutorial and learn how to care for them properly so that they last a long time.
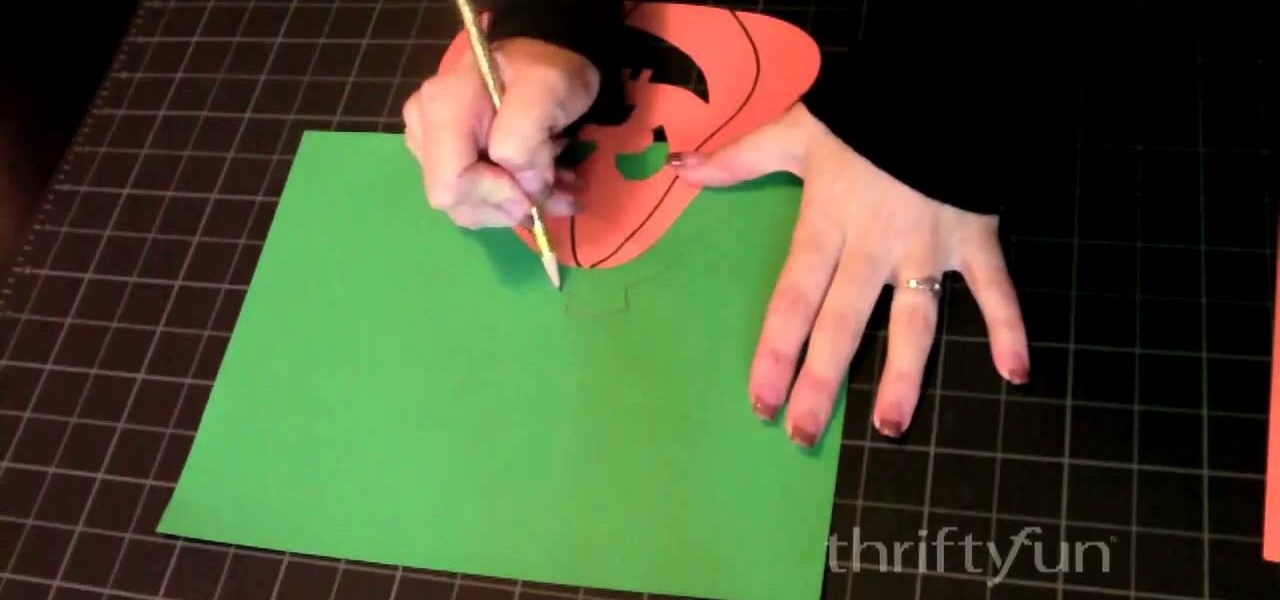
This is a fun and easy craft demonstration that shows how to make a paper jack-o-lantern with orange, green and yellow construction paper, scissors, tape, a pencil, a black Sharpie and an X-acto knife. Begin by drawing a jack-o-lantern on the orange paper. Use the knife to cut out the eyes, nose and mouth. Cut a top out of green paper and attach it with tape on the back. Cut out a piece of yellow paper and tape it to the back, to show through the holes on the front of the jack-o-lantern. Add ...
In this video tutorial, viewers learn how to make a natural and inexpensive Christmas wreath. The materials required for this wreath are: some greenery, garden wire, pair of pliers, ball of string, scissors and ribbon. Begin by cutting the wire into 120 cm and bend it in half. Now weave the strands together and bring the ends to each other. Hook them and twist it together. Now weave the greenery along the wire. Tie down the greenery with some string to secure it. Finish by trying the ribbon o...
Watch this video and teach yourself how to make an easy and cheap clutch wallet using duct tape. The materials required for this are a pair of scissors, a rod, Velcro sticky tacks and duct tapes of different colors and you can use as many colors as you want. Cut out 12 inch strips of duct tape and stick five of them slightly overlapping one over the other. Then stick five more of the duct tape strips as in the above procedure so that the sticky sides of the two layers will be stuck together. ...
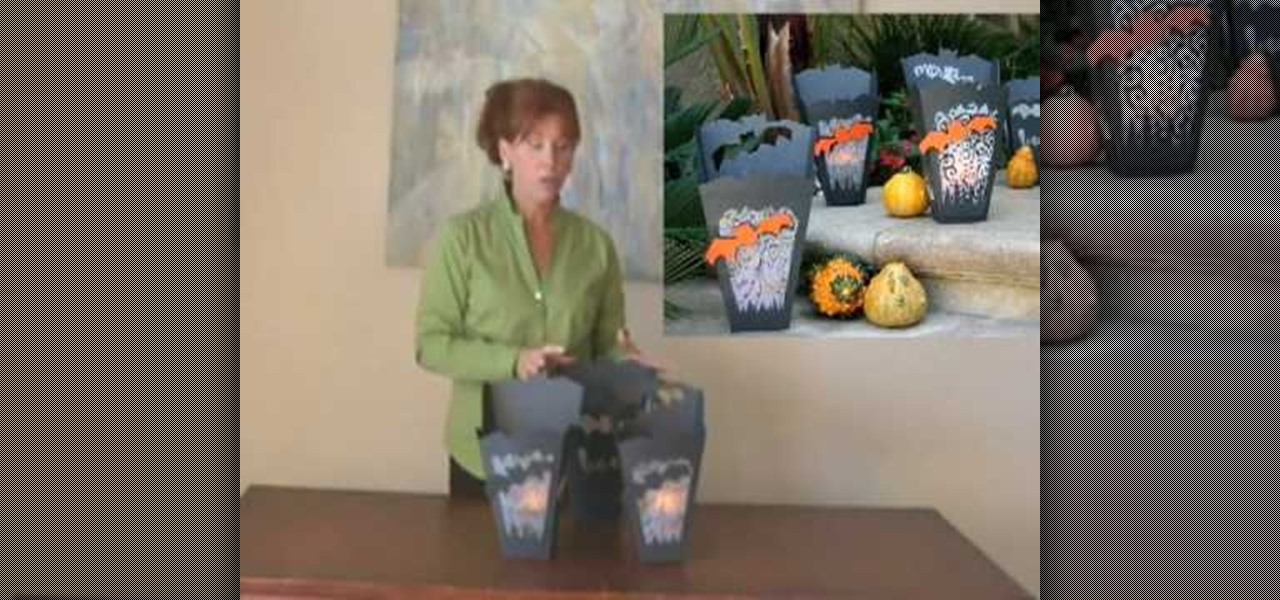
In this video tutorial, viewers learn how to make a Halloween lanterns. Users will need to visit this website: jennadeangeles/] and download the Halloween template. The materials required for this project are: download template, vellum, poster, rubber stamps, metal ruler, glue and orange card stock. Begin by cutting out the lantern with the openings as well. Now stamp the vellum with some black acrylic paint. Finish by closing the lantern with glue. This video i...
To make mini cupcake earrings first take a piece of sculpey and make a cylinder. Make vertical indentations around the cylinder, similar to those an the edge of a quarter. this forms the bottom of the cupcake. Next take another small piece of sculpy and role it into a line like a piece of yarn. starting at the edge of the top of your cylinder coil the line of sculpy around the edge and up, similar to a piece of novelty poop. this forms the cupcake. stick a earring finding through the top of t...
To make a carnival themed paper doll follow these steps. First cut out all of the body parts for your paper doll. You may use any type of patterned paper that you would like. Next decorate the paper by adding more paper, sequins, drawings, etc. Next punch holes into the body parts so that you can put them all together by using string. Next you can make the dolls clothes out of paper, small flowers, sequins, glitter, etc. Finally you should add the clothing to the finished doll body and finish...
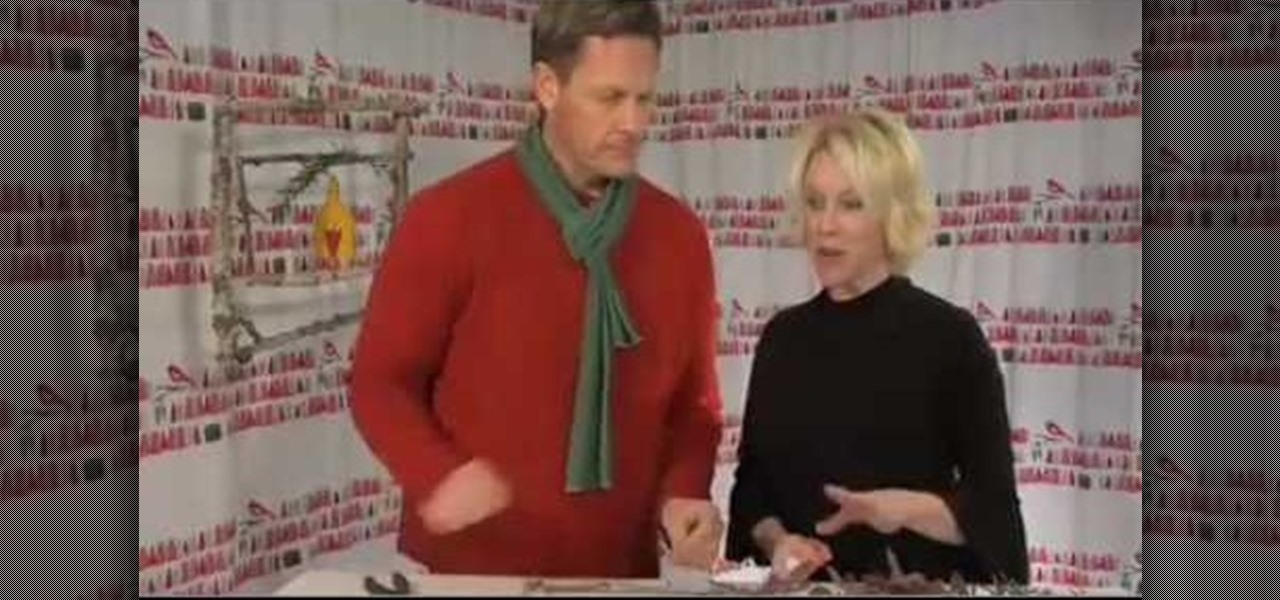
Six Minute Style host Susan Doherty is on location in Montana at the Nine Mile School house with Kurt Seer who shows how to create a 3 dimensional wreath mobile. He uses birch as his base. You can use any wood you choose. Make a square out of four branches. Knot, tie and twist floral wire at cross sections of the wood frame. Leave a little tail for the decorations. Tie dried rosemary in the wire tail. Tie leaves and greenery around the frame using wire. Not only for Christmas, you can create ...
AMICLUBWEAR created a tutorial on how to host a tea party based on "Alice in Wonderland". The video begins with a step by step instructional on how to make tissue paper "flowers" as decorations for your tea party. The tissue papers are layered in opposite colors, after which the tissue paper is accordion folded and tied together using a pipe cleaner. Afterwards, the tissue paper is carefully extended layer bay layer and shaped into a flower. Next, there was a tutorial for making the "EAT ME" ...
In this how-to video, you will learn how to make and decorate cookie pops and bright bouquet cookies. First, you must have your cookie already baked and ready for decoration. Take a star tip and decorate the cookie in a zig zag formation with the icing. Go around the edge until it is entirely complete. You can do a straight star if you want instead. Once that is done, fill in the inside for the center with another color. Fill in the empty area with the icing used for the edges in spots. Conti...
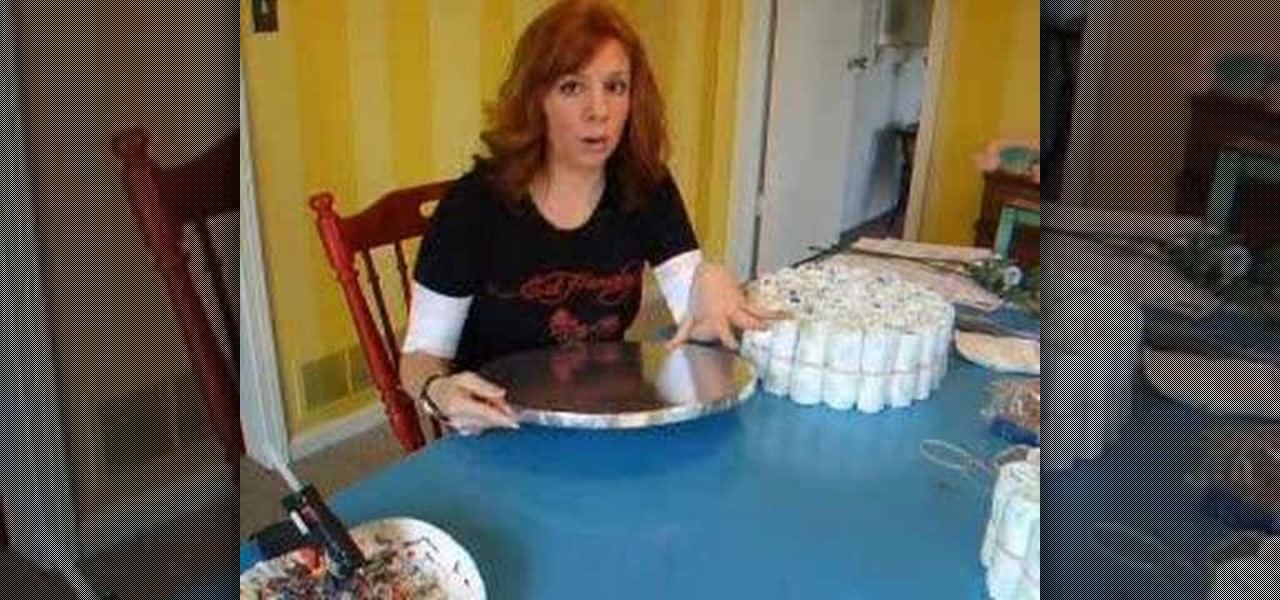
This video is a tutorial on how to make a baby diaper cake. To begin, you will need to roll all your baby diapers from the waist down and secure them with rubber bands. Your top tier will have 8 diapers, the middle tier will have 19 diapers, and the bottom tier will have 40 diapers. Use rubber bands to secure all your tiers together. Next, glue thick ribbon around the tiers over your rubber bands. Follow up with decorations such as bows and extra ribbons. Use a cake stick to secure the tiers ...
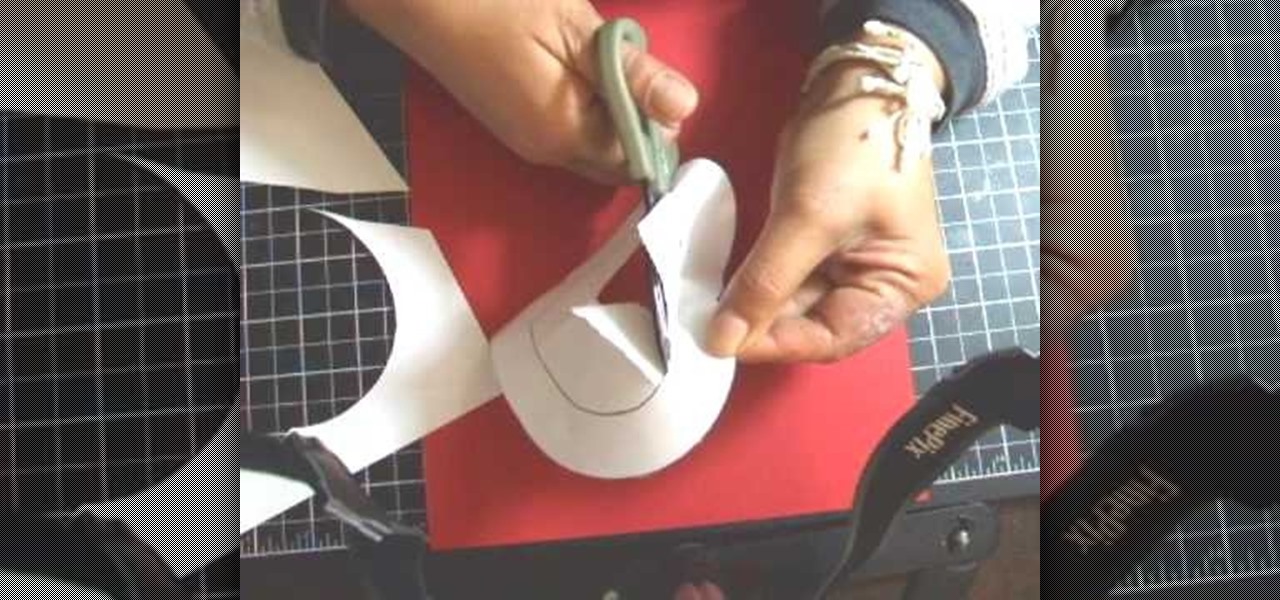
This instructional video shows us how to make a Japanese flag fan. The materials required are: Foamy (Red and white), four popsicle sticks, glue and scissors. First cut two circular shapes (with one straight edge) from the white foamy, then glue on the popsicle sticks to the straight edge of one of the circles to make the handle. After this, glue down the other white circular piece of foamy to cover the tops of the popsicle sticks. Then cut out two smaller circles from the red foamy and glue ...
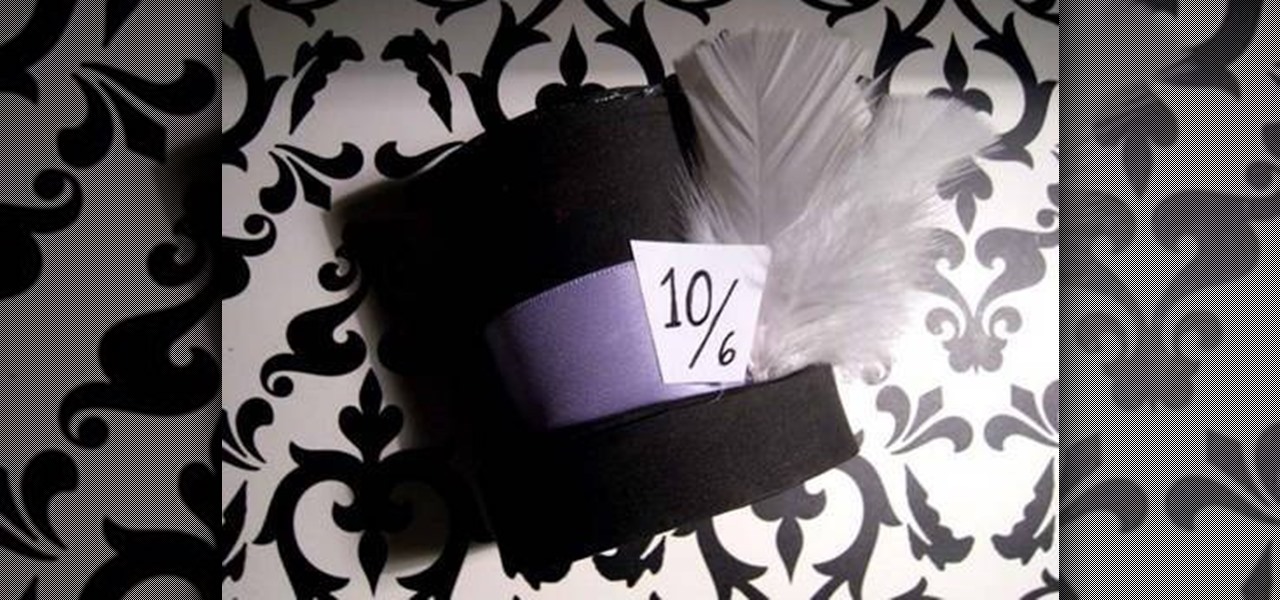
In this video tutorial, viewers learn how to make a mini Halloween top hat. This video provides all the materials required to make the top hat. The materials required include: a Styrofoam cup, X-acto knife, scissors, 2 8x10 sheets of craft foam or felt (choice of color), ribbons, feathers and any other embellishments. This video provides a visual demonstration and step-by-step narration that allows users to easily understand and follow along. This video will benefit those viewers who enjoy do...
This video is about staging a home for sale. Bridget Kiene, a real estate broker, describes home staging and its significance. Bridget starts with defining home staging and mentions that 92 percent of people advertise their house for sale on the internet. This video also has some tips on home staging, such as, always stage an empty house, create a neutral color palette, eliminate clutter and modernize your decorations. Bridget clearly explains the basic steps we need to follow to sell a house...
The template for this heart-shaped window card can be found at [www.stampininspirations.blogspot.com stampininspirations.blogspot.com]. You will need the template and cardstock and the other usual materials needed to make a card. You can re-size the template to about 5 1/2 inches across by about 5 1/2 inches high. Cut out the heart and remove the center heart as well. Take an 8 1/2 by 11 inch piece of red card stock and fold it in half, then trace the inside and outside of the heart-shaped te...
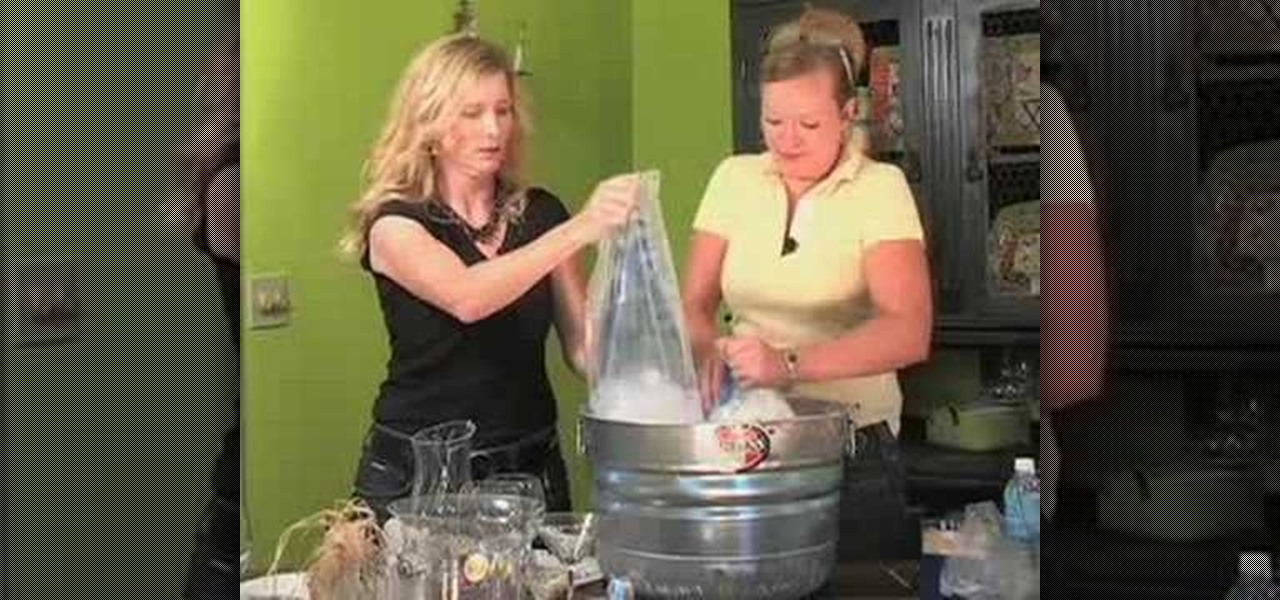
In this video tutorial you will learn how to decorate for a party using household stuff. The materials you will according to the hosts are wires of all sizes and colors (whatever you'd like), beads (the bigger the easier), a drill, an ice bucket, and indoor outdoor lights. With these materials you can learn how to decorate a ice bucket, and your stemware. Its very fun and easy according to the hosts and they will guide you step by step sharing there ideas and ways to decorate these items so t...
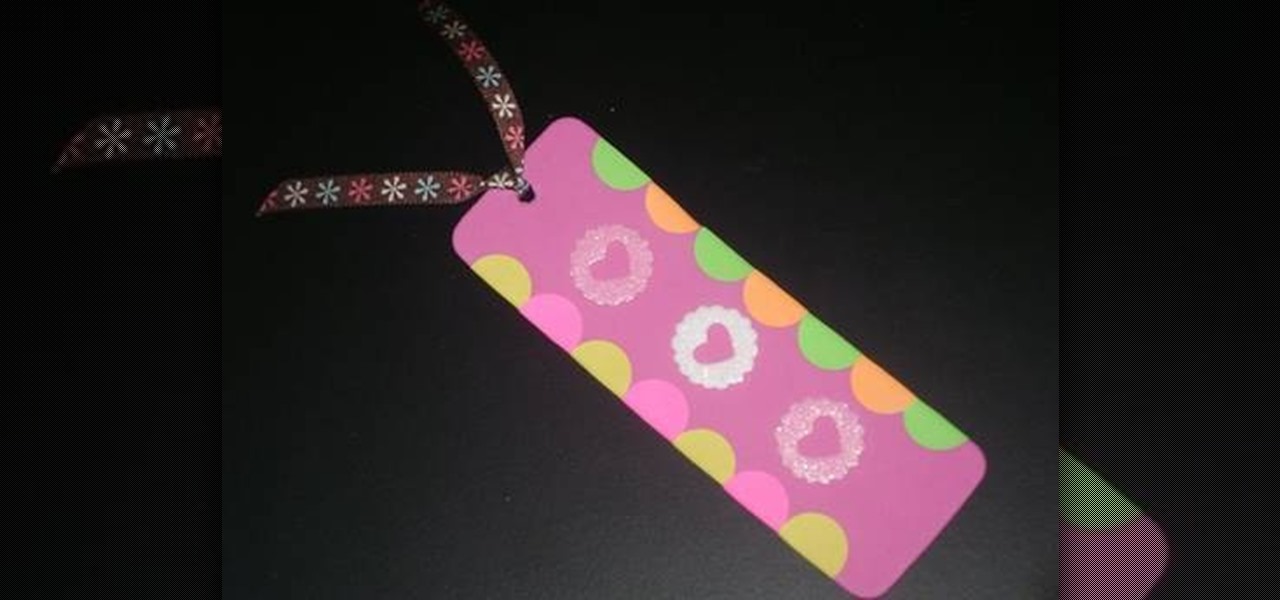
Take a colored foam and cut it to a bookmark shape. Mostly the bookmarks are tall rectangles. Decorate the foam bookmark using markers. Now design it for looking more beautiful. Use stickers to add additional decoration. Collect stickers from a craft store that offers a large variety of scrapbooking stickers. Cut the foam sheet and be sure to get along with the theme of the bookmark. For example, if a child drew horses on his bookmark, cut out horseshoe. Decorate the cut-out if necessary. Add...
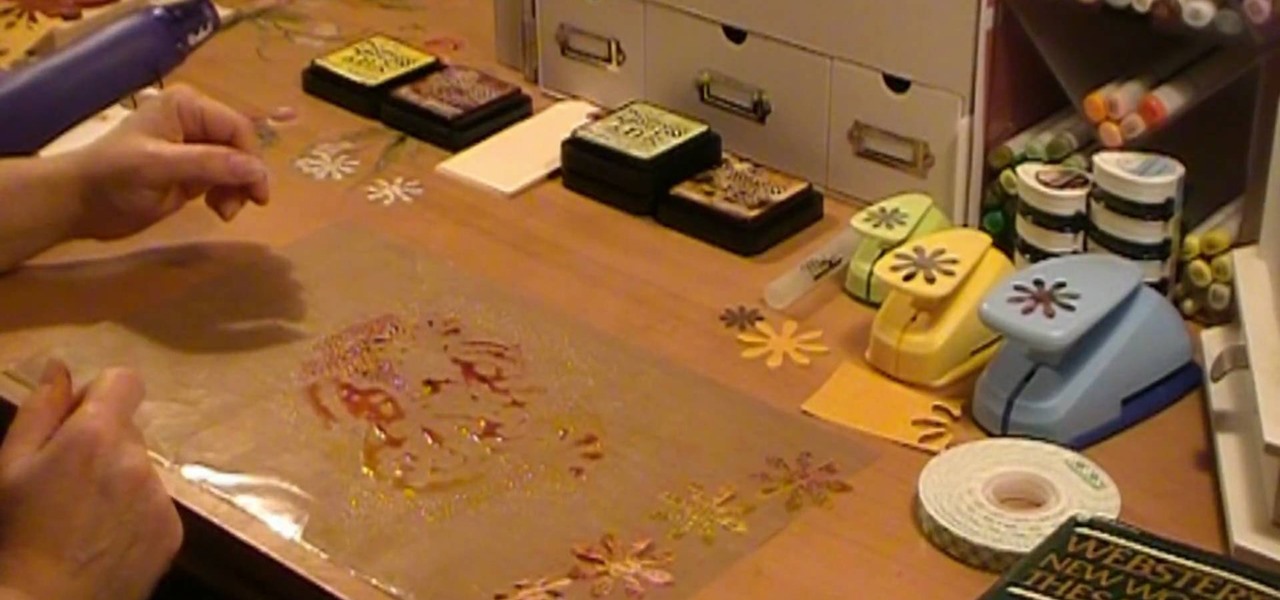
This video demonstrates how to make paper flowers. She lays a silicone mat on the table. She shows how to use distress inks by stamping some red and yellow ink onto the mat, sprays water onto the mat with a mister, and lays punched-out paper flowers into the wet ink. She turns them over and uses a heat gun to dry the ink. After the flowers are dry, she layers them on top of each other, putting a piece of foam tape in between the layers. She shows how she used the layered flowers to decorate a...
Learn how to make a simple paper box with this short video. You will need some strong paper like construction paper or light cardboard, a pair of scissors, and tape. For a neater box you will also need a ruler. First you will draw the shape of the box, which looks like a plus sign. Use a ruler for straighter edges. Then you will need to cut out the shape and fold along the lines. Add decorations to your box if desired. Last, you will be taping it to form a box shape.