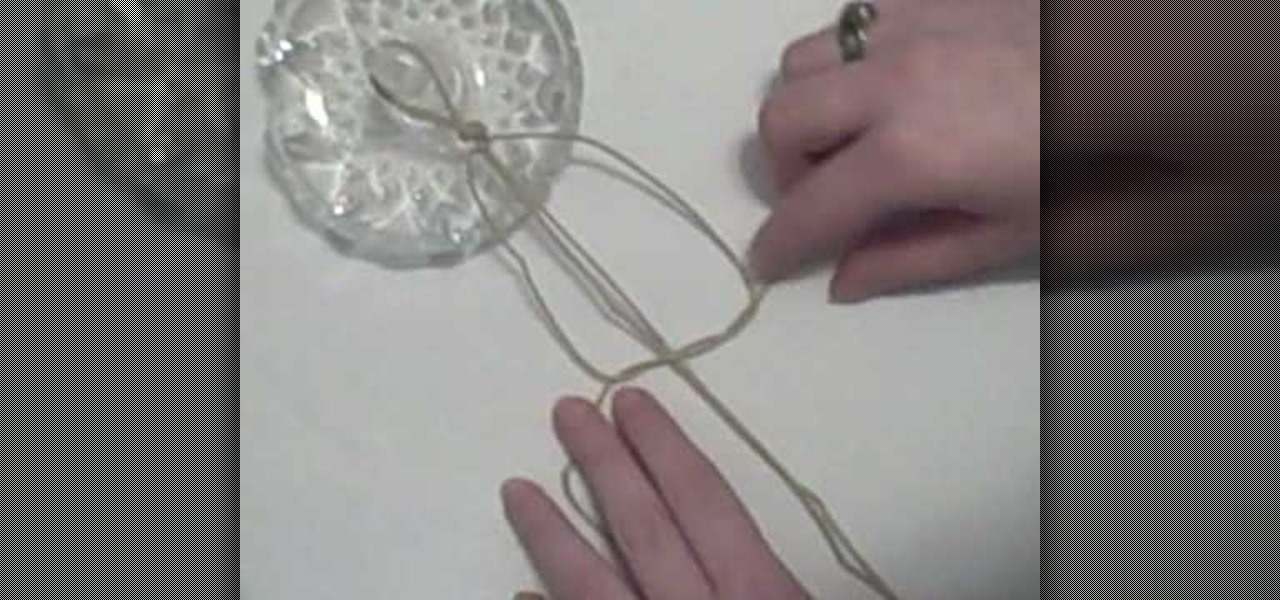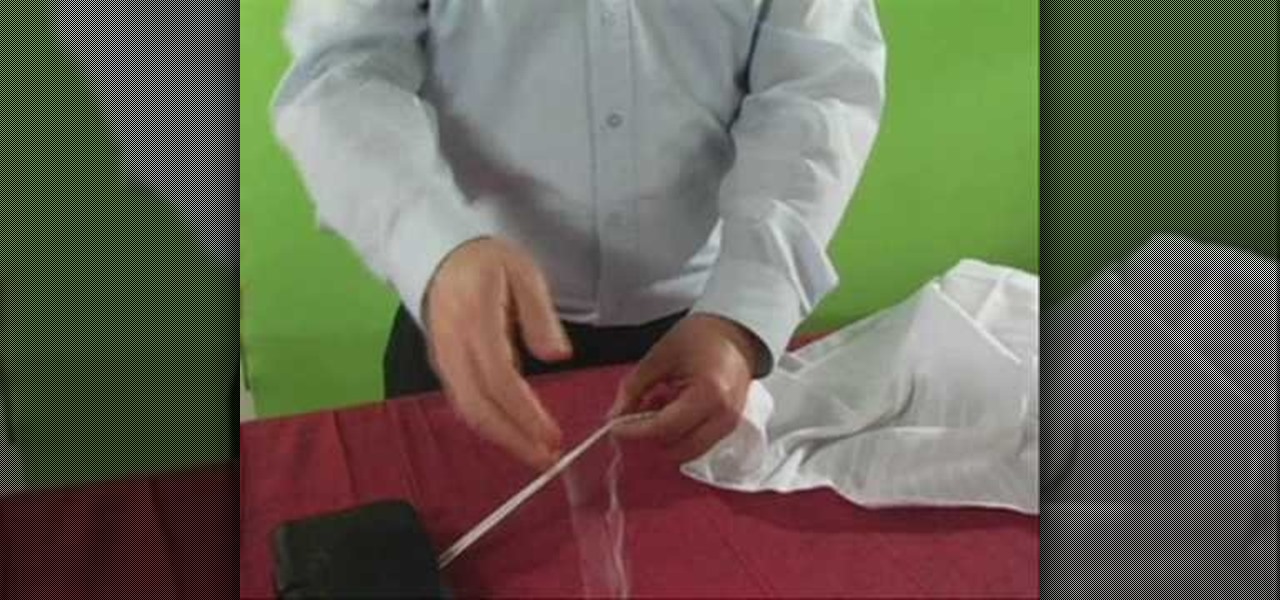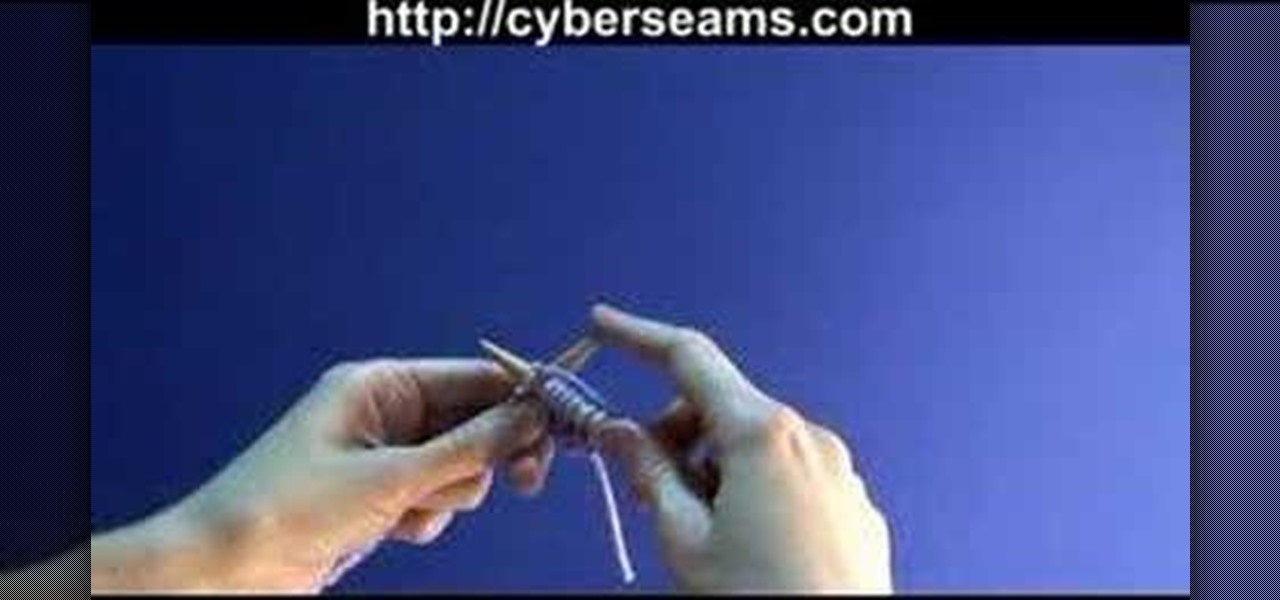
Ever wonder how to do the long tail cast on for knitting? Well, wonder no more with this knitting demonstration video! Begin by measuring out a length of yarn for the tail. (Search video "Estimate the length of tail when knitting" on WonderHowTo)

Watch this knitting instructional video for tips on mastering the twisted cord knitting technique. This is a fast, easy cord, and, with a sturdy fiber, it makes a durable bag handle.
A recent trend in freshwater fishing is adding a fluorocarbon leader to your braided fishing line. The benefits of this are mainly allowing for some more absorbtion of pull, resulting in less twist and potential tangling. This how-to will show you how to tie this knot yourself, so when you're in the middle of that beautiful pond, and you feel the bite, you'll be able to successfully land that big one with less stress on you or your gear.
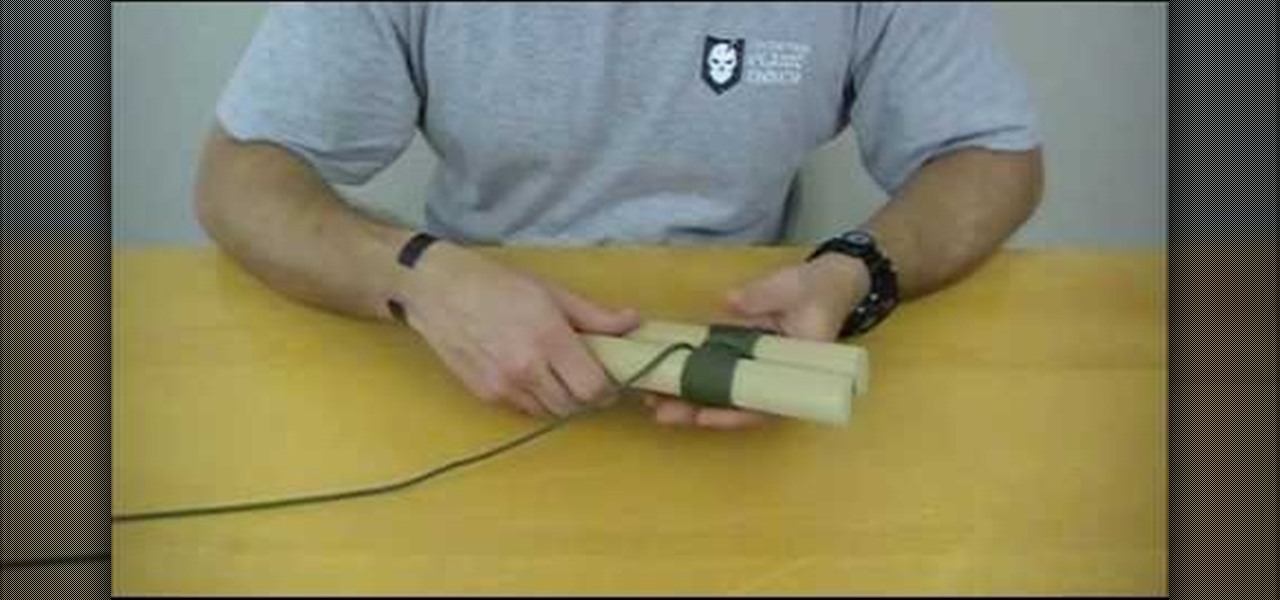
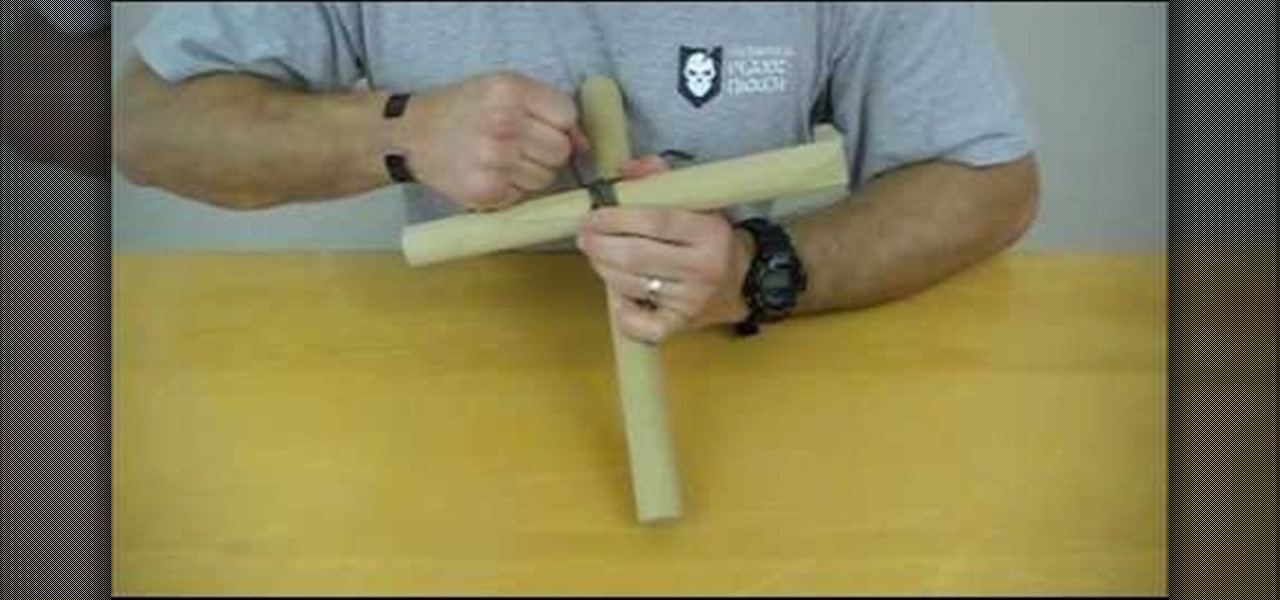
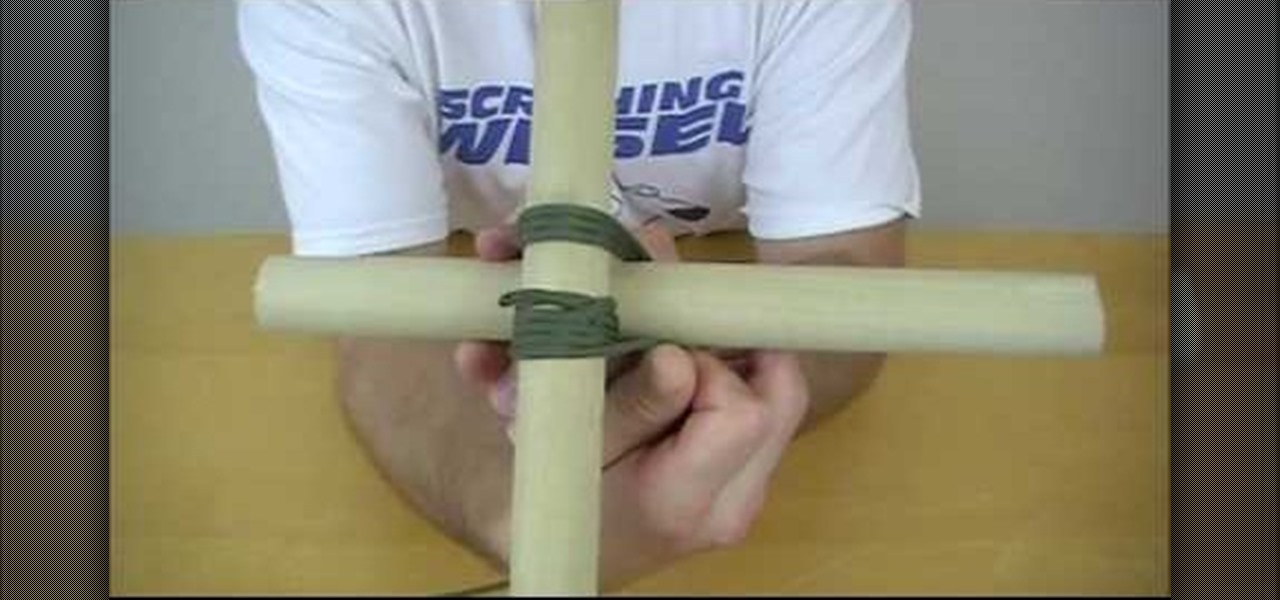
Round lashing refers to a knot that you can use to hold two poles together easily and securely. This is useful for constructing a flagpole, as the creators of the video did here and building a-frames. This video will show you how to use round lashing quickly and easily for your next outdoor project.
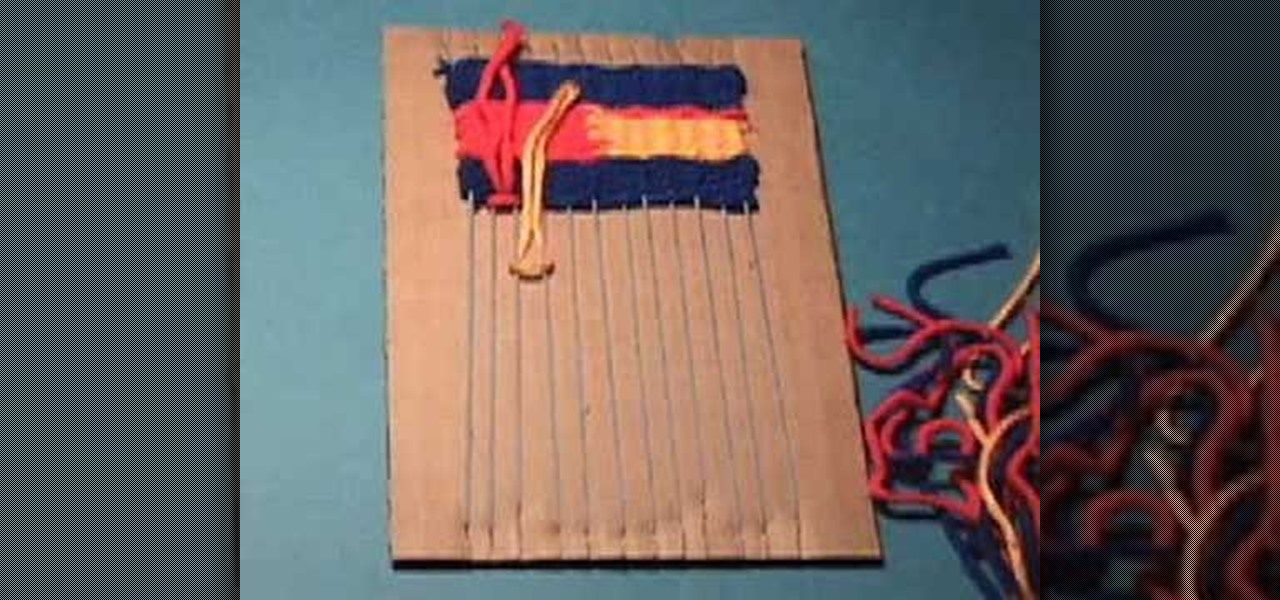
Learn about the basics of weaving with this stop motion weaving tutorial video. Several different weaving and knot techniques are demonstrated, even showing common mistakes in the weaving process. Watch and learn a simple technique for weaving on a cardboard loom.
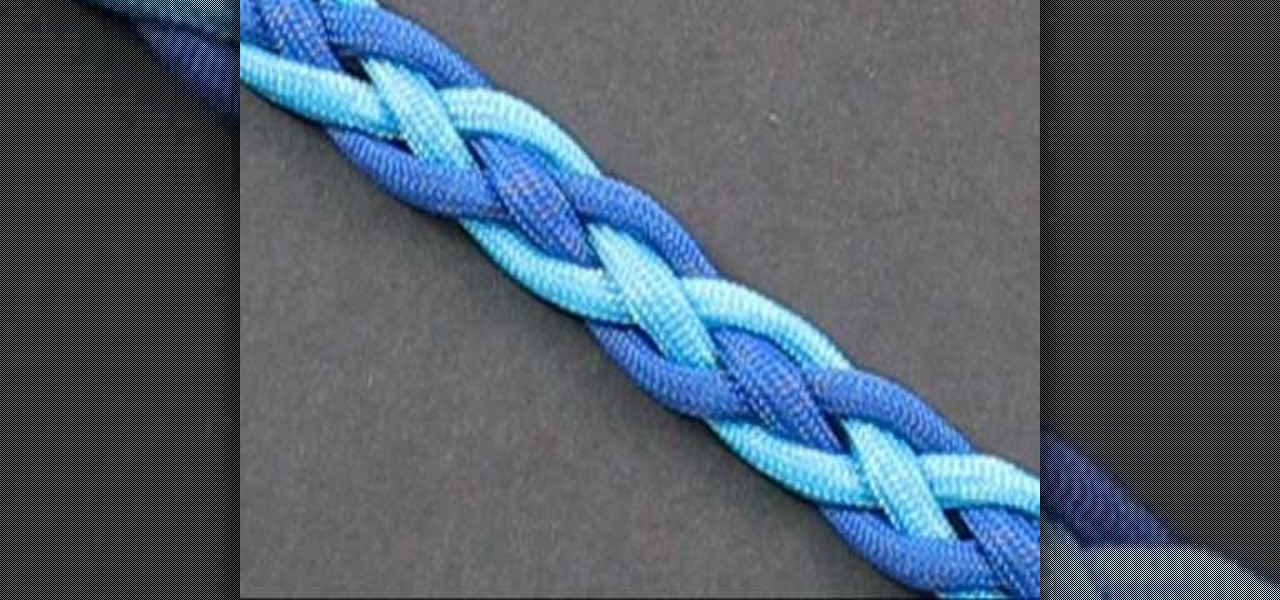
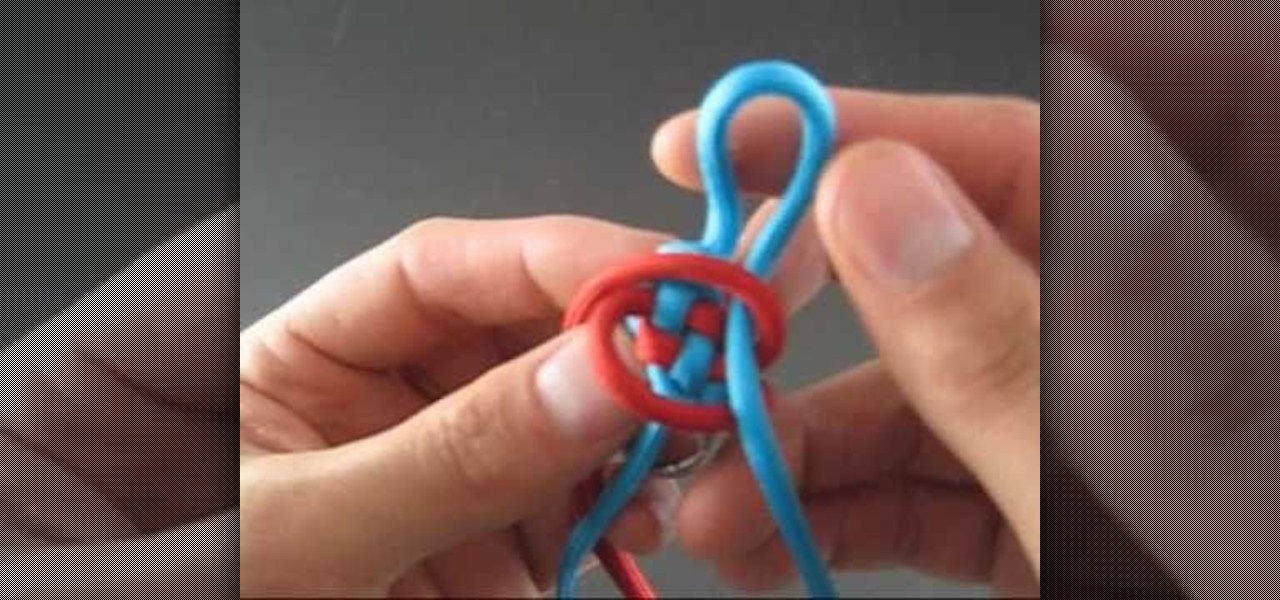
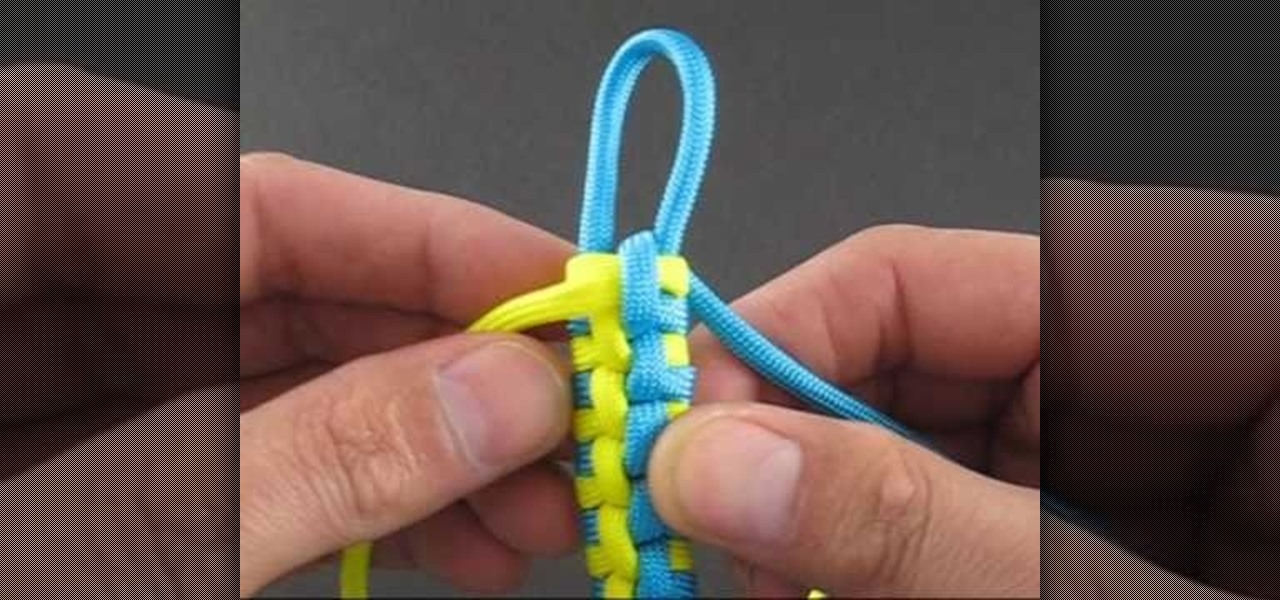
The great thing about weaving, is not only can you make something that is fun to look at, but can be used in certain situations. This next tutorial is going to show you how to tie a two color snake weave. The weave is basically a celtic knot that is perfect to use as bracelets and straps. This weave is different from an original snake weave in that it adds something extra and can't wrap around itself. So check out the tutorial and good luck!

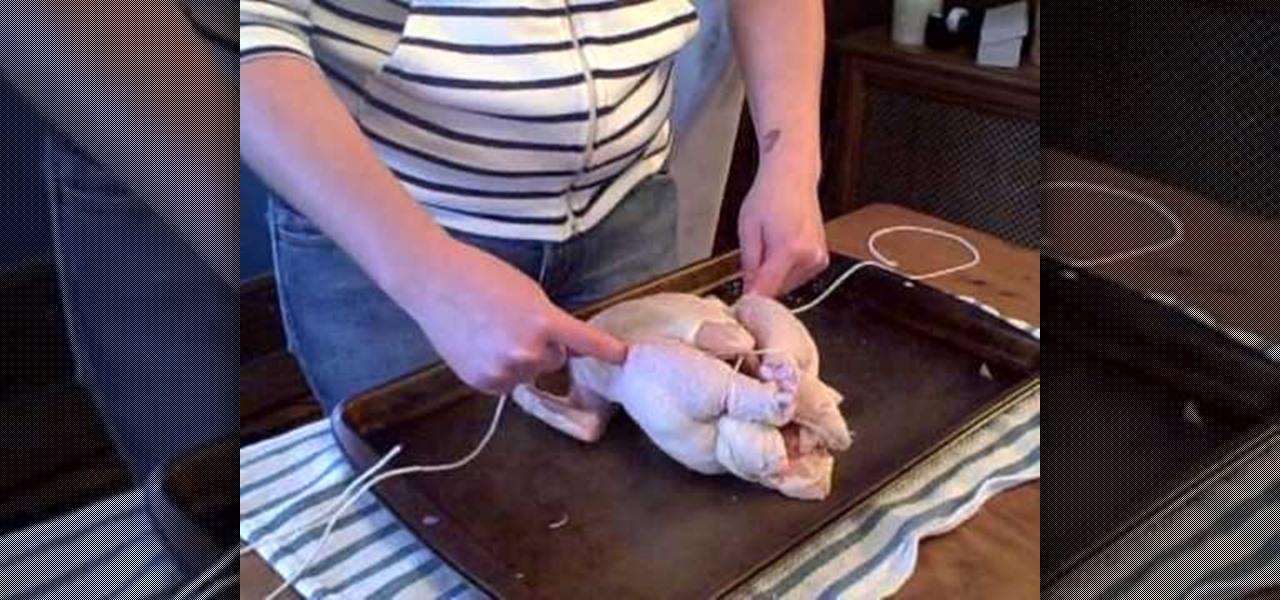
To truss a chicken start with a long piece of cotton twine. Place the chicken with the breast up and the legs pointing away from you. Run the twine under the butt of the chicken with equal amounts of twine on each side. Pull the twine between each leg and cross it over the middle. Then wrap the twine around the legs and cross it over again. Pull the twine over the thigh bones and hold it over each of the wings. Flip the chicken over and wrap a knot multiple times to hold the wings in tight. W...

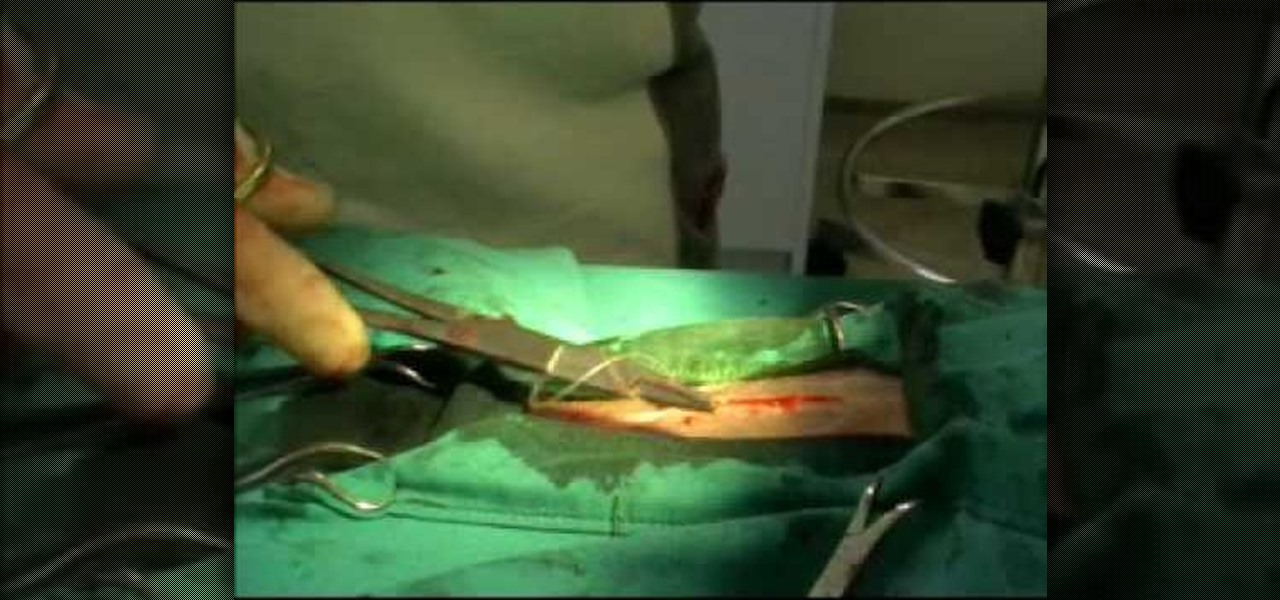
This video illustrate us how to preform a simple interrupted suture in surgery. Here are the following steps:

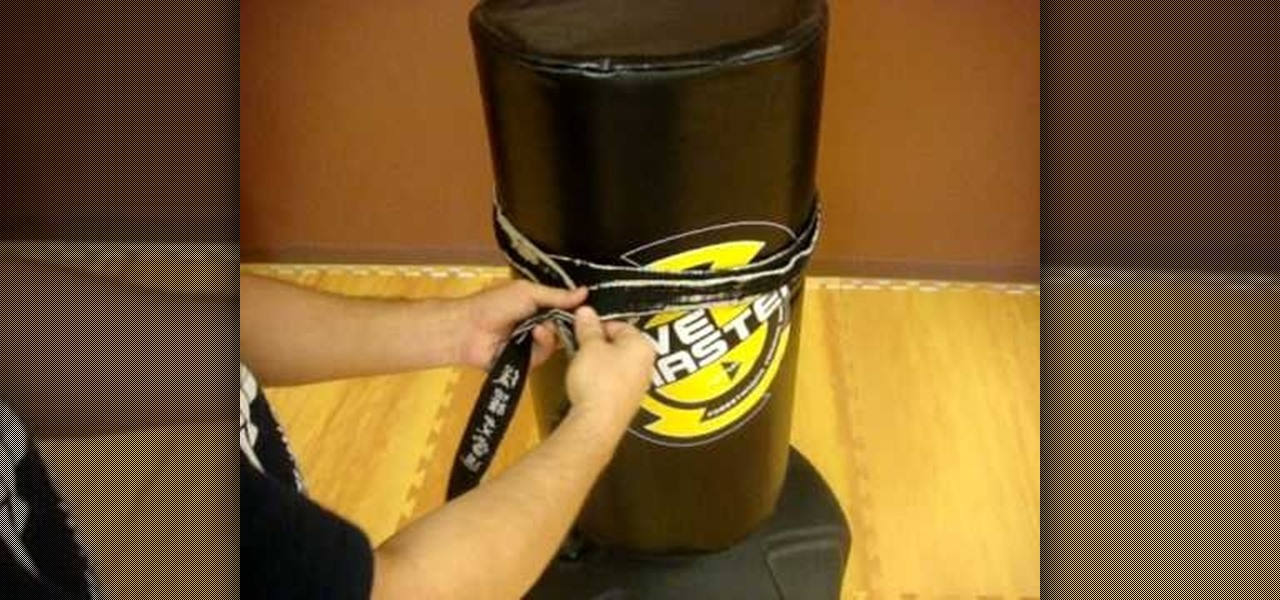
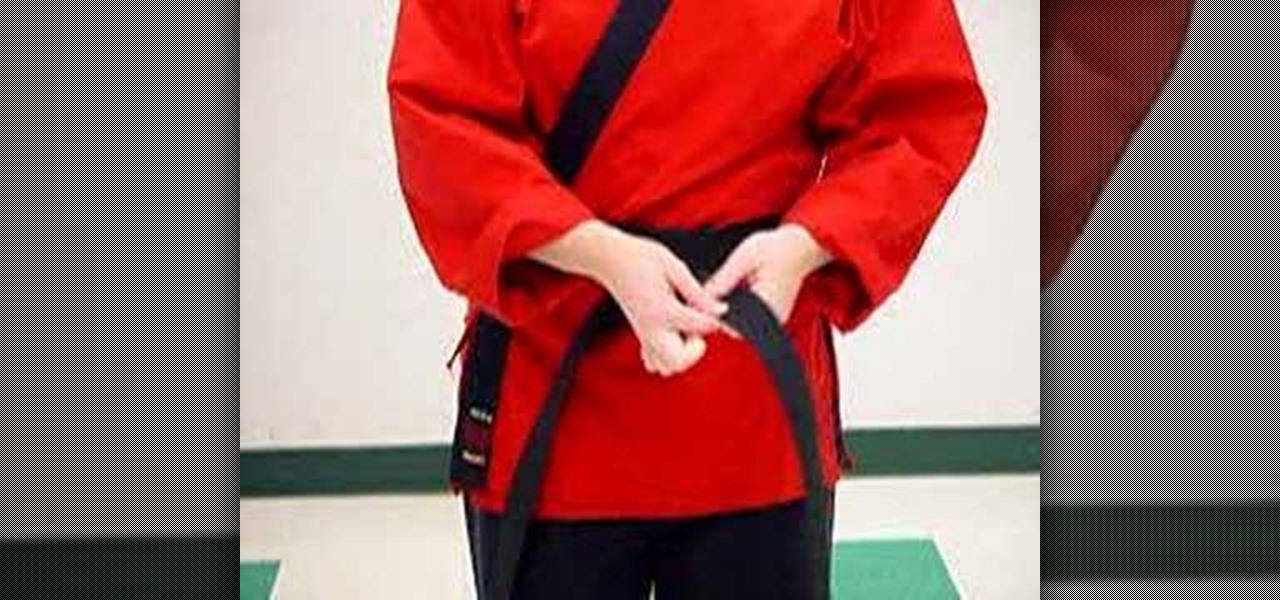
In this how-to video, Sensei Paul Adams will teach you how to tie your belt on your karate kid. The belt will be very stiff at first, but will loosen up over the years. Take the middle of the belt and place it on their belly. Take the ends and pull them all the way around until they reach the belly again. Make sure the belt is snug the whole time. Place the right side over the left and pull that end under both layers of the belt. Once this is done, pull the left end over the right and tie a t...

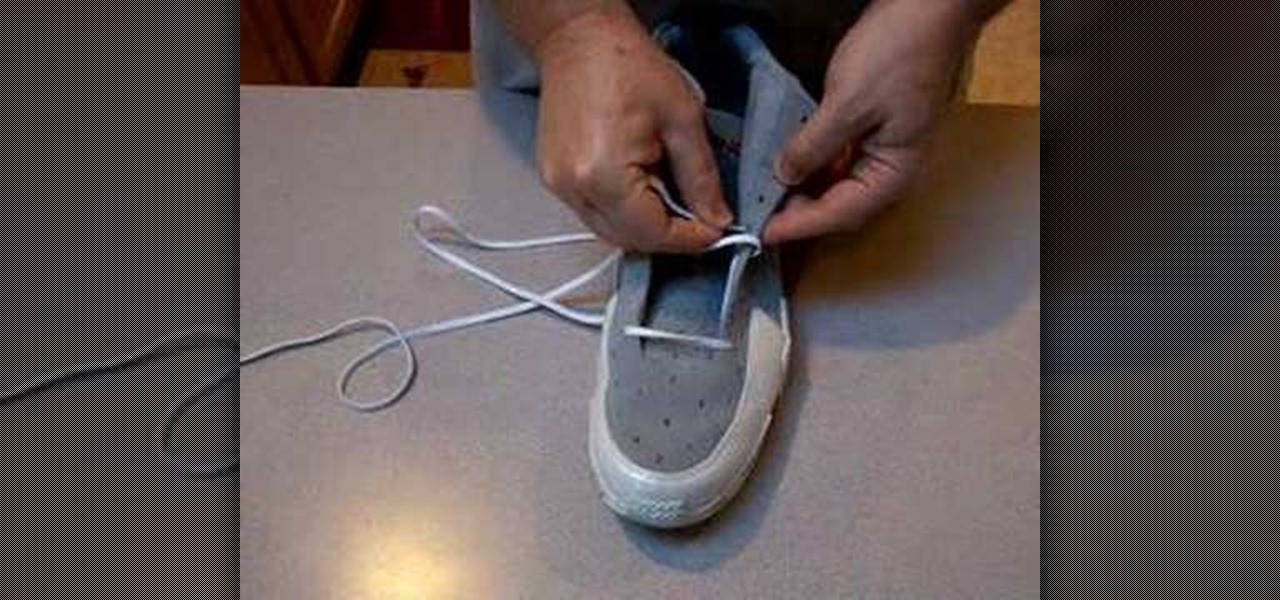
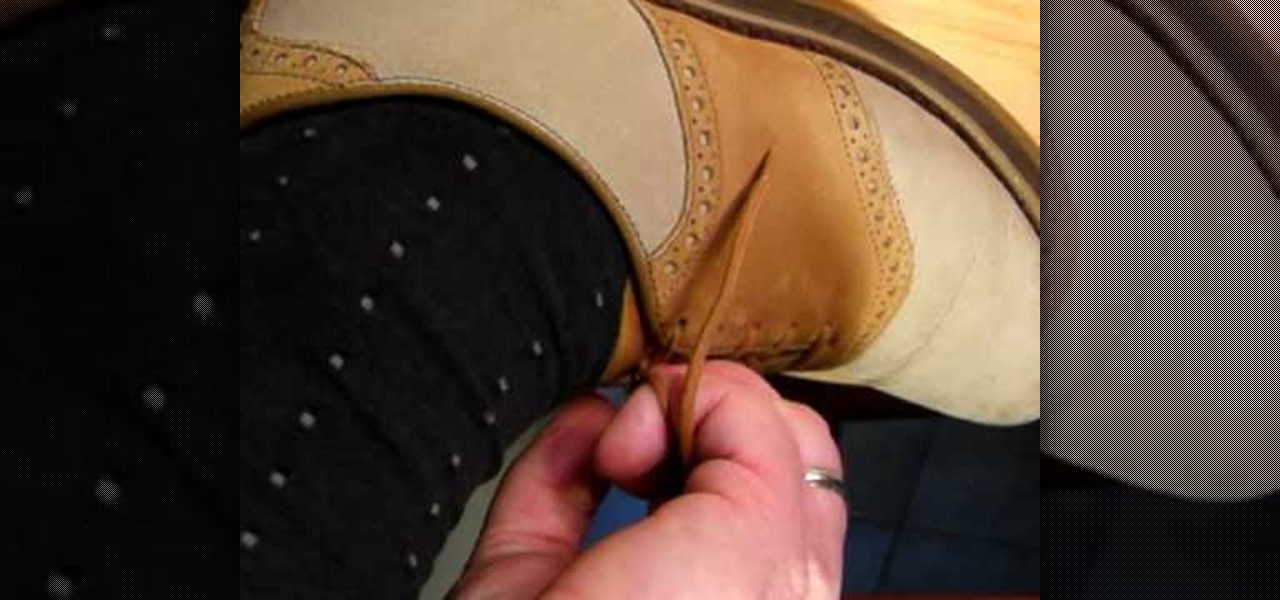
In this video tutorial, viewers will learn how to lace up and tie your shoes to relieve pressure on the foot. There are two techniques shown in this video. The first technique helps to relieve pressure on the top of the foot. If the top of the foot is under pressure, it can cause your toes to go numb. The second technique is the runner's knot. This technique will tighten the top of the shoe and prevent your heel from slipping. This video will benefit those viewers who have foot problems with ...

Watch this knitting instructional video to learn how to do the knitting cable cast on. Start by making a slip knot with a 6" tail and place it on the left-hand needle with the working yarn coming from the back.

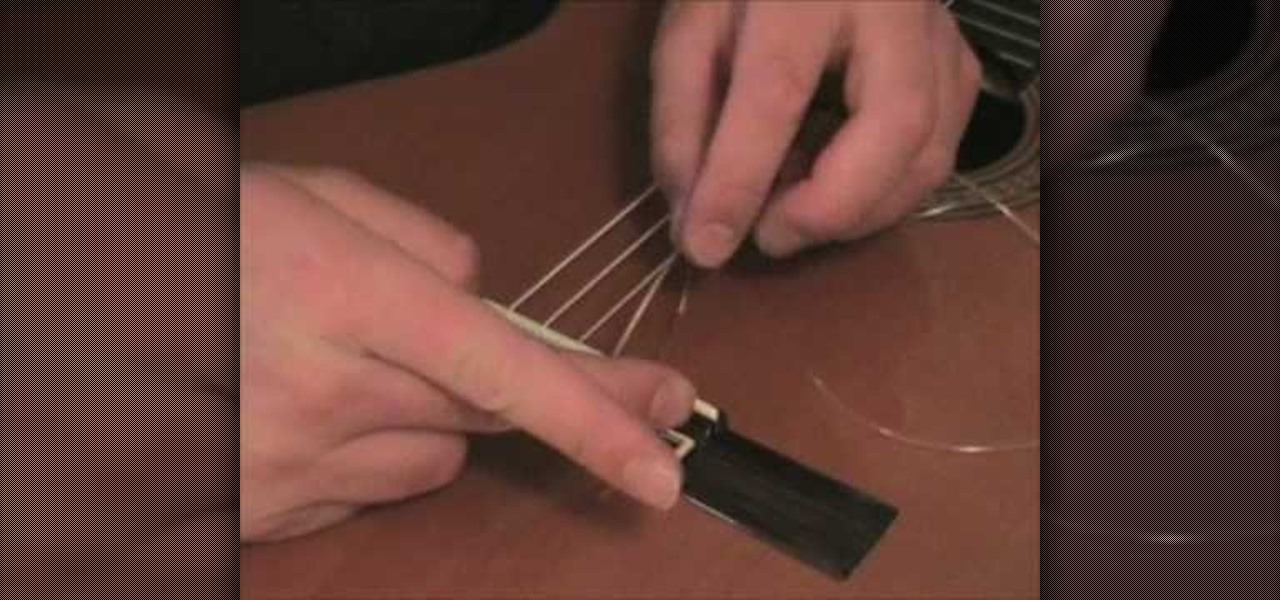
In this Music & Instruments video tutorial you will learn how to change the nylon strings on a classical guitar. Take the peg winder and unwind all the old strings. Then unravel all the strings from the bridge. Make sure the bridge doesn’t fall off. Take a new string and insert the finished end in to the sixth hole passing it from the hole of the guitar towards the end of the body. Then tie a knot and pull the string tight over the bridge as shown in the video. Now pass the unfinished end o...

A demonstration on how to make a lucky star from folded paper with origami is shown in this video. For this you need to get a strip of paper. Attractive papers are available at the stores for this. First to start up take an end of the strip of paper and tie a knot, flatten it and bring it as close together as you can. Then with the small free end fold it in, flip it over fold the long free end in such a way as it gets a pentagon shape. Next flip the free end over the edges. Continue to turn i...

Benson Trenh and Mark Norris show viewers how to build a bottle rocket using common household items. To build this creation you will need tape, a hole puncher, scissors and string. Also use a black plastic bag, or any color, for the parachute! Cut the black plastic bag into a square, any size you would like! Next, take the square and punch a hole at each edge of the square and string the string through the hole tying a knot. You should now have the parachute! For the body of the rocket, get a...

This tutorial will show you how to take something simple like brown paper bags and curl you hair with them.

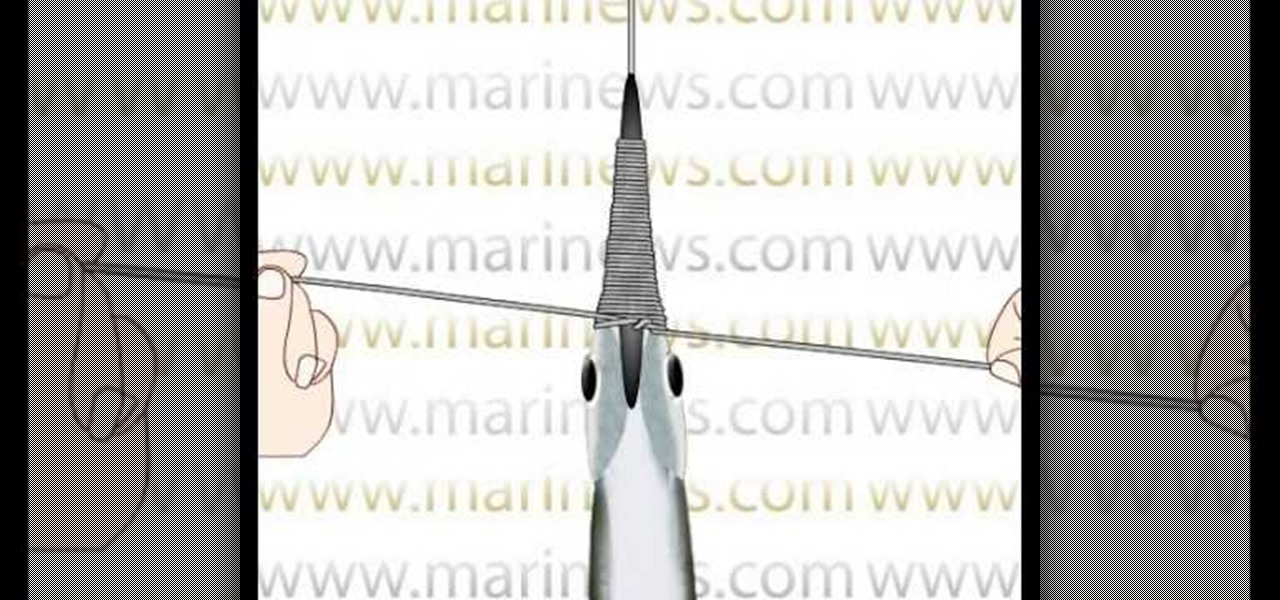
So, you've mastered the knot tying process for fishing, and you already know how to catch bait, so now what? You need to put that live bait to good use... this animated tutorial from Marinews will show you how to rig skip baits using a whole fish for fishing. Catching bait might just be as hard as baiting fish, but it's all in good fun when you kick back with a brewsky in your hands. You can learn by simply watching the bait rigging animation at a moderate speed, or if need be, click on "lear...

This tutorial by the Floral Design Institute demonstrates how to create a hand-tied Calla bridal bouquet. The key to creating this bouquet is to make sure your flowers are properly prepared. The flowers should be fully hydrated (in water for at least two hours). Take each flower and mold each stem to to reflect the natural curve of the flower. Lay them side by side so they are lined up in a parallel fashion. Give even pressure on the stem to prevent bends or kinks. Some stems may be straight ...

So, you've mastered the knot tying process for fishing, and you already know how to catch bait, so now what? You need to put that live bait to good use... this animated tutorial from Marinews will show you how to rig a garfish for fishing swimming bait. Catching bait might just be as hard as baiting fish, but it's all in good fun when you kick back with a brewsky in your hands. You can learn by simply watching the bait rigging animation at a moderate speed, or if need be, click on "learn by s...

Clam Shell end tips, or knot covers, are normally used when you are stringing pearls or other beads on silk or nylon thread. They cover the knots on the ends of the thread so they can't be seen.

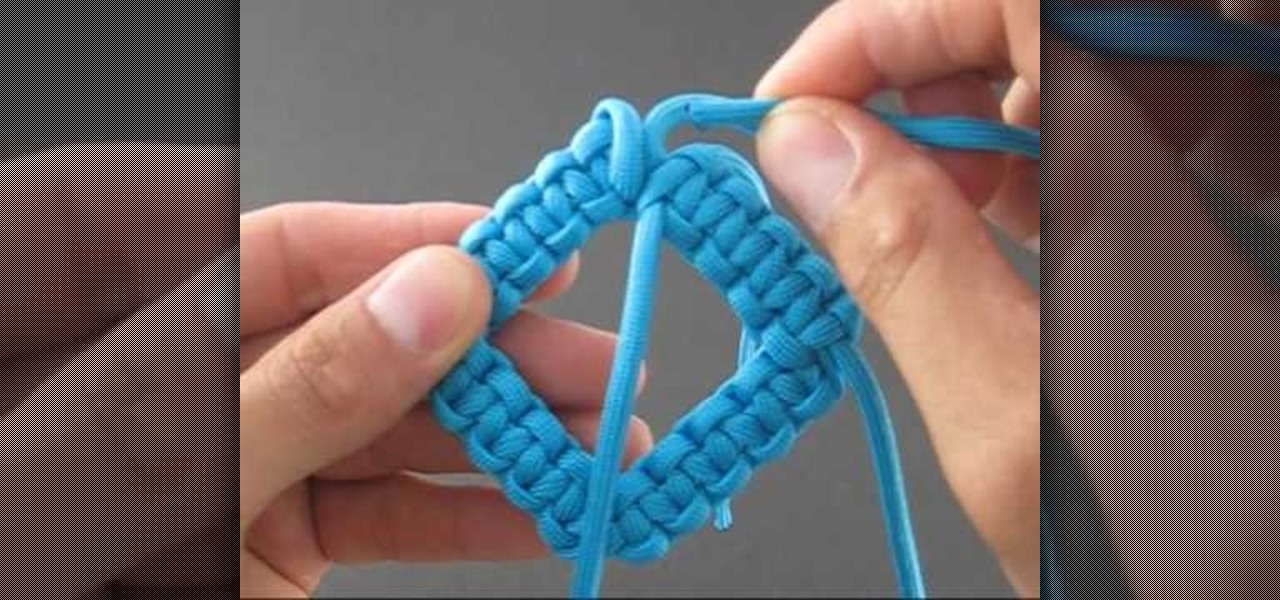
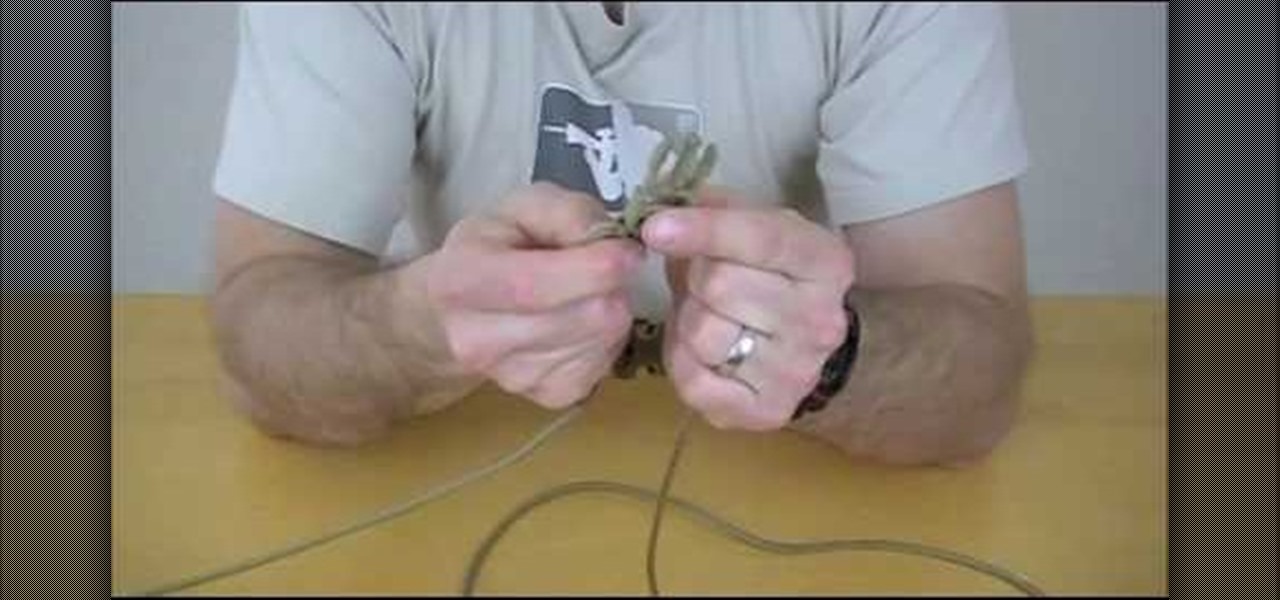
The Solomon Bar is one of the more versatile ties in the paracording genre of knot tying. Although most prefer the straight line, in this video you will learn how to tie a bent line in your knot. You will get a full tutorial of the entire process with each step shown up close with extreme detail.

In order to make a macramv© choker necklace, you will need the following: string, scissors, and beads.

The world of decorative knot tying is a compelling place and few sinnet cords are as compelling and beautiful as the corkscrew crown sinnet. This elegant step-by-step video shows you how to achieve one of the most desired knot cords out there.

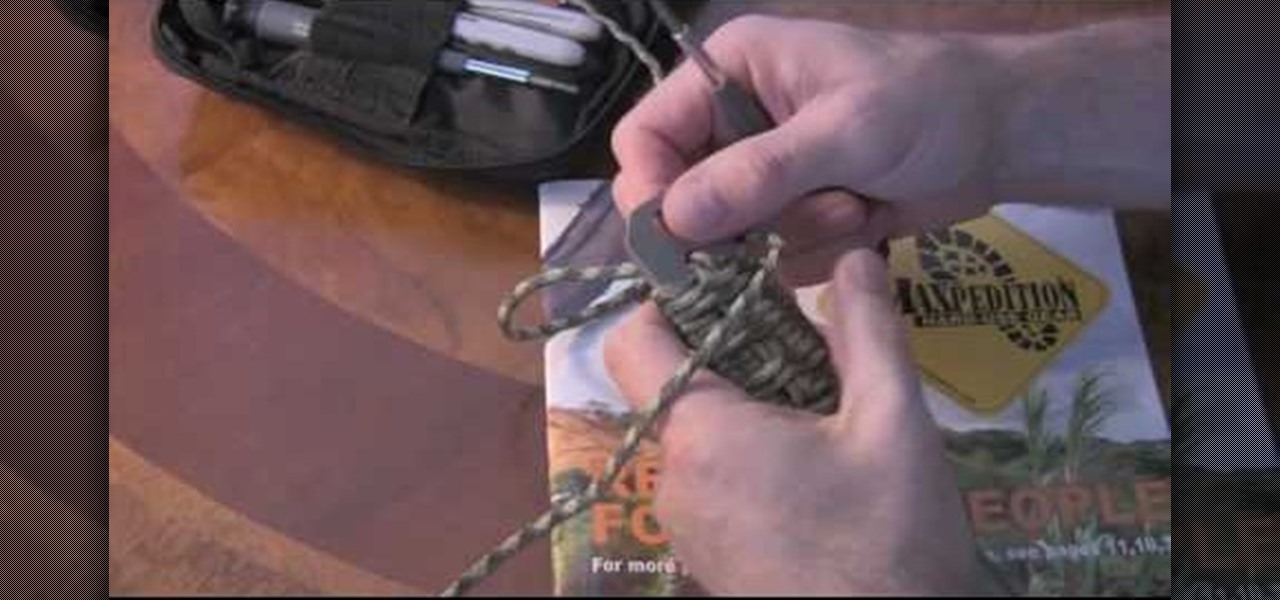
This video will show you how to make a very useful bracelet with 550 paracord. Once you watch this video, you'll have no excuse not to have any paracord on you. You'll always be prepared; after all, you never know what you could use this for! Just follow these steps:

To tie your karate belt tightly and efficiently you only need to follow a few simple steps. First, find the center of the belt; do this by putting the two ends together. Put the center on your belly button, and wrap completely around yourself, now finding the two ends in front of you. Bring the left end over the right, and grab both pieces with your left hand. Now tuck the left end under. From there, place the right side over the left. Now take the bottom flap and wrap it around the right pie...

This video tutorial is in the beauty and style category and it is going to show you how to tie your shoe laces with only one hand. First you need to tighten up the laces and then you will have to tie the laces with the overhand knot. Take the lace on the side of the hand and hold it between your thumb and the forefinger. The distance you go is equal to the size of the hand. Pull the lace and grab it with the first joint of the little finger. Now you got to free your thumb and the forefinger g...

This video shows how to tie a karate belt. Take a double wrap belt, place the middle of it on your belly button and pull it around on to the back and cross the belt on the back. Take the layer on the bottom and tuck it underneath the top layer all the way around to the front side. Thus you can get a single layer of the belt on the back. In the front there are two layers-one coming up from the bottom and the second one is the top layer. Take the top layer and push it up from underneath the bel...

Square lashing is a great way to hold two things together at a perpendicular with rope or cord. Like most any knot, there is more than one way to tie it, and in this video you'll learn how to tie the Japanese MKII version of square lashing.

Diagonal lashings are a popular type of knot for building structures with wooden poles that allows you to join two poles at a 45-90 degree angle. It can replace a square lashing, but not vice versa. This video will show you how to tie a diagonal lashing yourself, which can be used in all sorts of outdoor construction projects.

Square lashing is a knot-making technique that has been made famous by the Boy Scouts of America's massive pioneering projects, and is really integral to any structure made out of poles like the one you see in the thumbnail. This video will teach you how to use square lashing to bind two poles together perpendicular to one another. You will need to know how to tie a clove hitch to make this work.

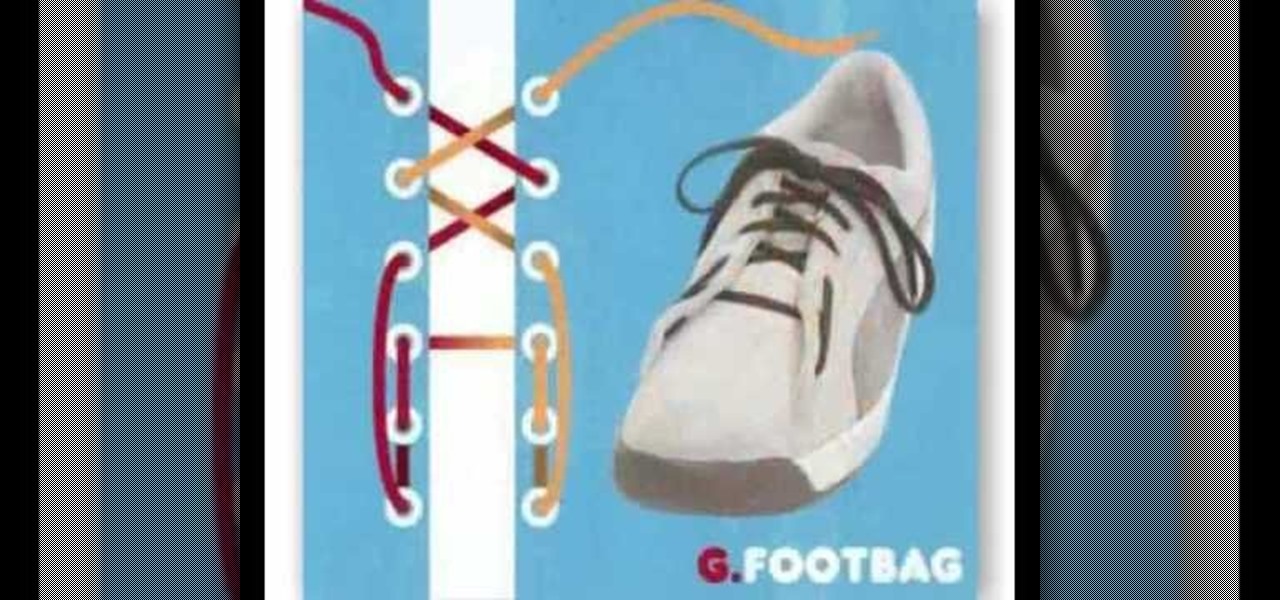
Looking to get super creative with your shoelaces? In this video, fifteen different shoelace styles are gone over with diagram as to how they were done. Such styles include the checkerboard, the double back, loop back, sawtooth, riding bow, twistie, lattice style, footbag, ladder, bushwalk, bi-color, display, hidden knot, and the zipper style. Use two different colored laces when doing these styles to jazz things up!

This instructional video, produced by Jewish Pathways, demonstrates how to tie your own tzitzit (or tzitzis). Tzitzis are fringes or tassels worn by observant Jews on the corners of four-cornered garments, including the tallit (prayer shawl). They are considered a time-bound commandment, which means they are worn only by men. This Judiasm video will help you learn how to tie, knot and twist strings - tzitzit - to a garment.

This how to video tutorial will show you the basics of knitting. Follow along and see how easy it is to actually knit. Anyone can learn to knit and it's a great craft to know if you want to give handmade gifts! Learn how to do a slip knot, cast on, and how to bind off.

Watch this video to check out how to make a home made rabbit snare. If you can't find stainless steel wire, brass or copper will work just as well. Make sure your string is very strong. Consider using a braided twine that is treated with a non-slip coating to prevent knot slippage.

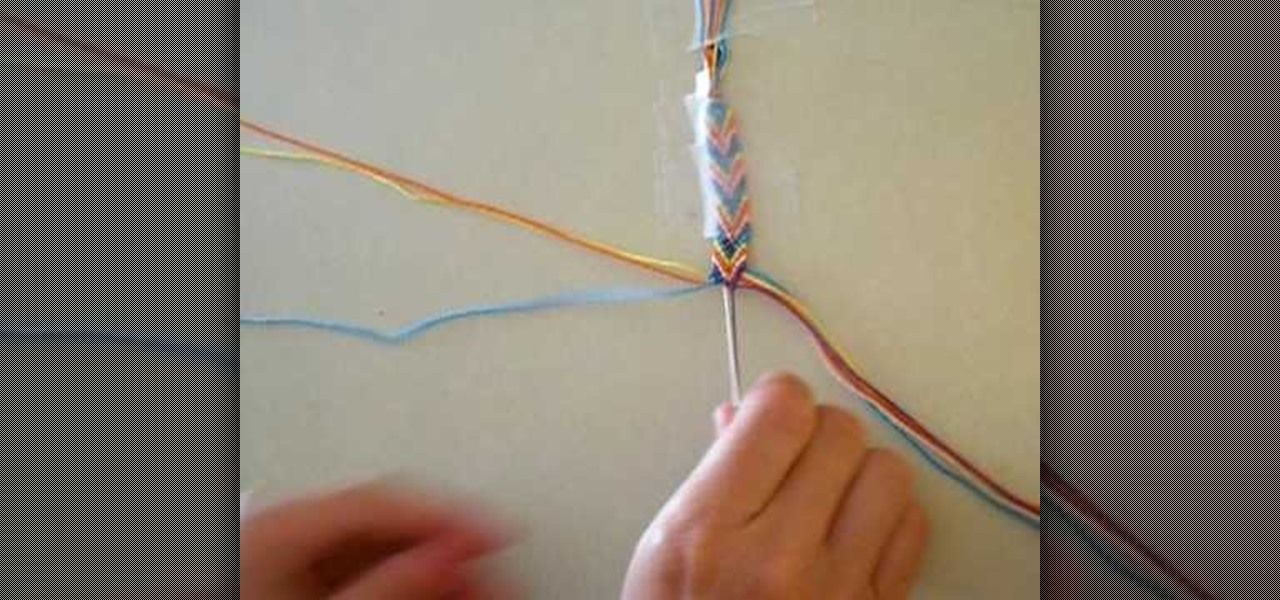
This video teaches you how to make an arrowhead friendship bracelet. The first step is to pick five colors of string. Then cut 2 pieces of string of each color. All 10 strings should be of the same length. Lay out strings adjacent to each other on the table in this color 1, color 2, color 3, color 4, color 5 and then repeat in the same order. Then knot the strings evenly. Now tape the knot onto a hard surface. Separate the strings into two sections, each section should contain 1 of each color...

Breacher bars are like the much cooler older brother to the swiss pocket knife. In fact, there's little comparison between the two. A breacher bar, which is a rectangular shaped knife, is used by SWAT teams and bomb techs to easily and quickly cut through and pry open just about anything. But safety comes first.

If you've ever gone sailing, then you know that aside from knowing the tides, calculating the weather, and steering the ship, knowing how to tie different types of functional knots is one of the most important assets to maintaining a safe ship.

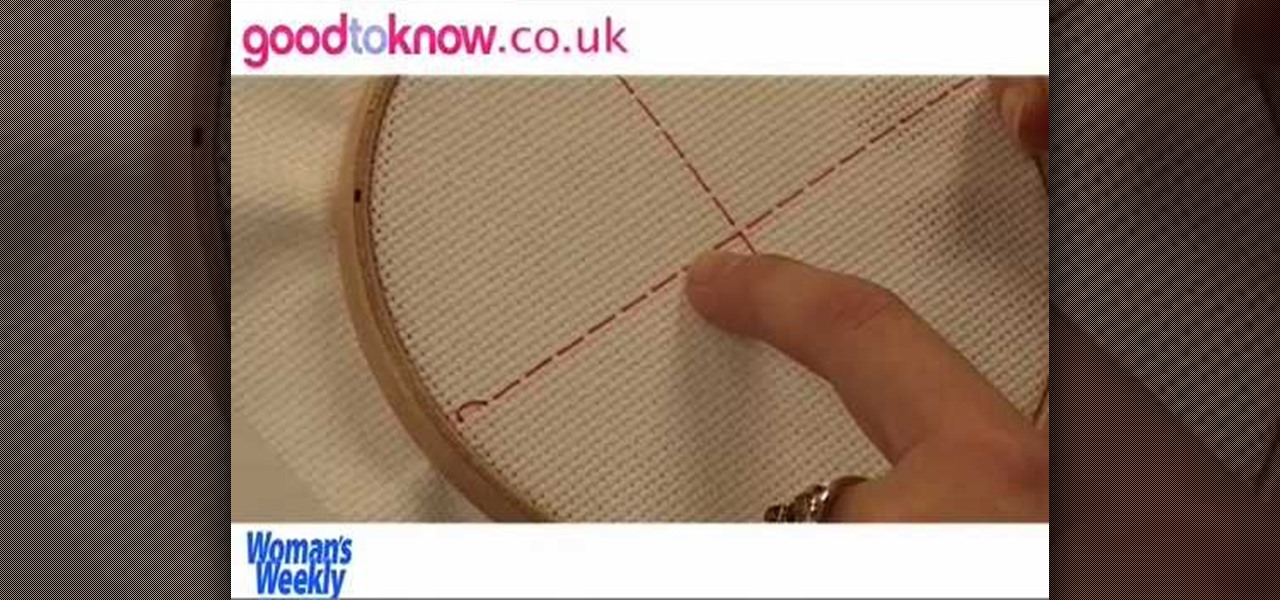
In this tutorial, we learn how to cross stitch. This is easy to master and just involves using one stitch. To start, you will first need to line your fabric up with the needle and mark the center. From here, secure it to the back with a small knot. Next, you will put this around an embroidery circle and then tie the thread to the needle. From here, start with the center point and count out how many spots you need to go on the design. After this, create a diagonal stitch across one block of th...

In this video, we learn how to crochet a headband for winter. You will need yarn and a size 10 crochet hook to do this. To start, make a slipknot, then hook your needle into it. Start making a simple chain stitch, after you finish this row, stick your needle into the first stitch and make a single crochet all the way down. Continue to do this for several rows, until the headband is thick enough to go around your head the way you want it to fit. When finished, tie it off with a knot at the end...

In this video, we learn how to tie a Shemagh scarf for fashion. First, tie the scarf by folding it in half then throwing it over your neck. Place your hear over it and you're done! Now, fold the scarf in half again and wrap it over your back, then create two small knots on the front. Place your hair in front and you're ready to go out. The last way to do this is to roll it up and then roll it twice over your neck and create a small knot at the end. Place your hair over this, then you are fini...

In this tutorial, we learn how to recycle plastic grocery bags into a dog leash. To begin, you will cut the plastic bags in half, then cut off the handles of the bags. Next, apply glue to the entire bag, then roll up into a straight line. Continue to do this for several different bags, depending on how long you want your dog leash to be. When you finish this and the glue is dried, tie several bags together end to end, and have three rows of these. Now, take the bags and tie them in a knot aro...


