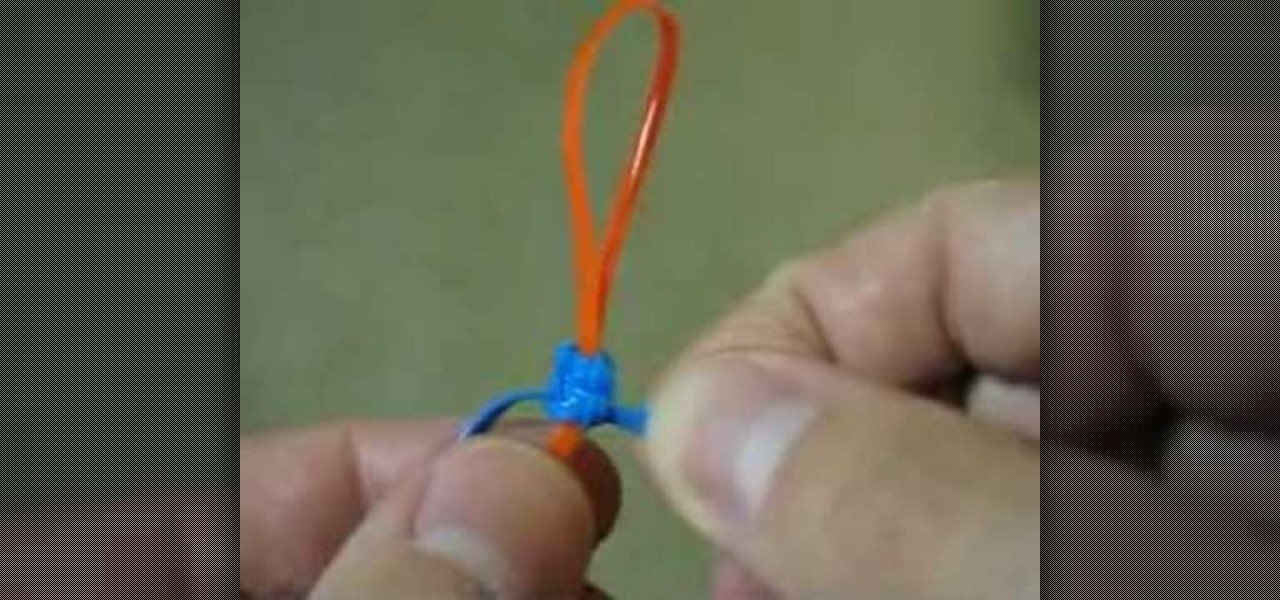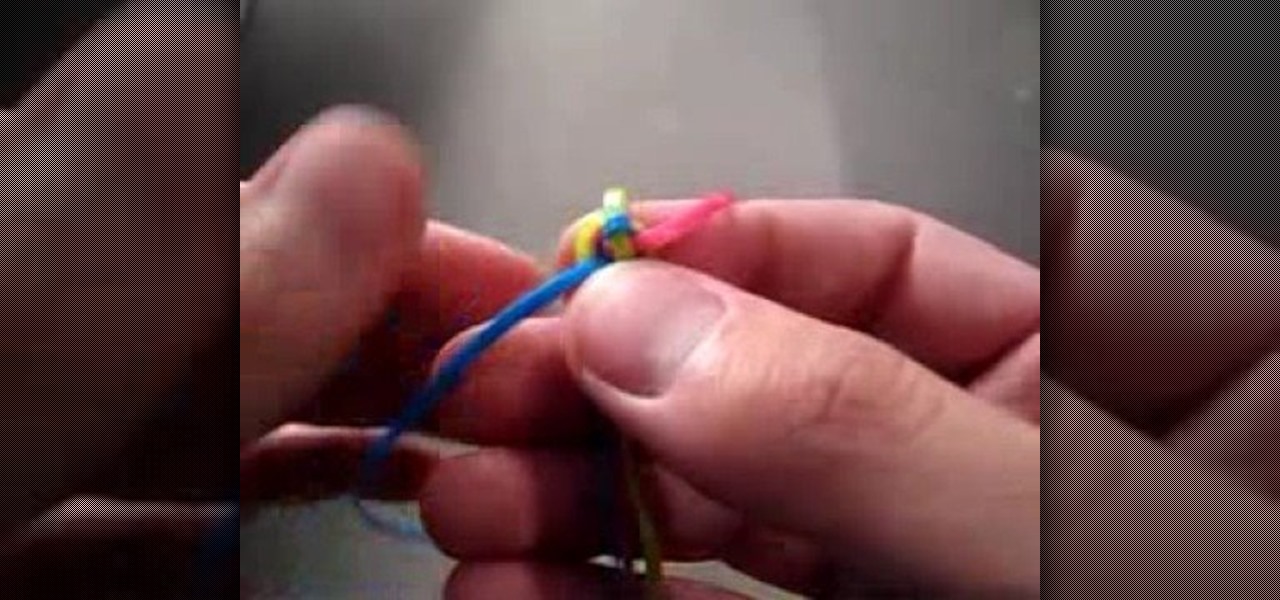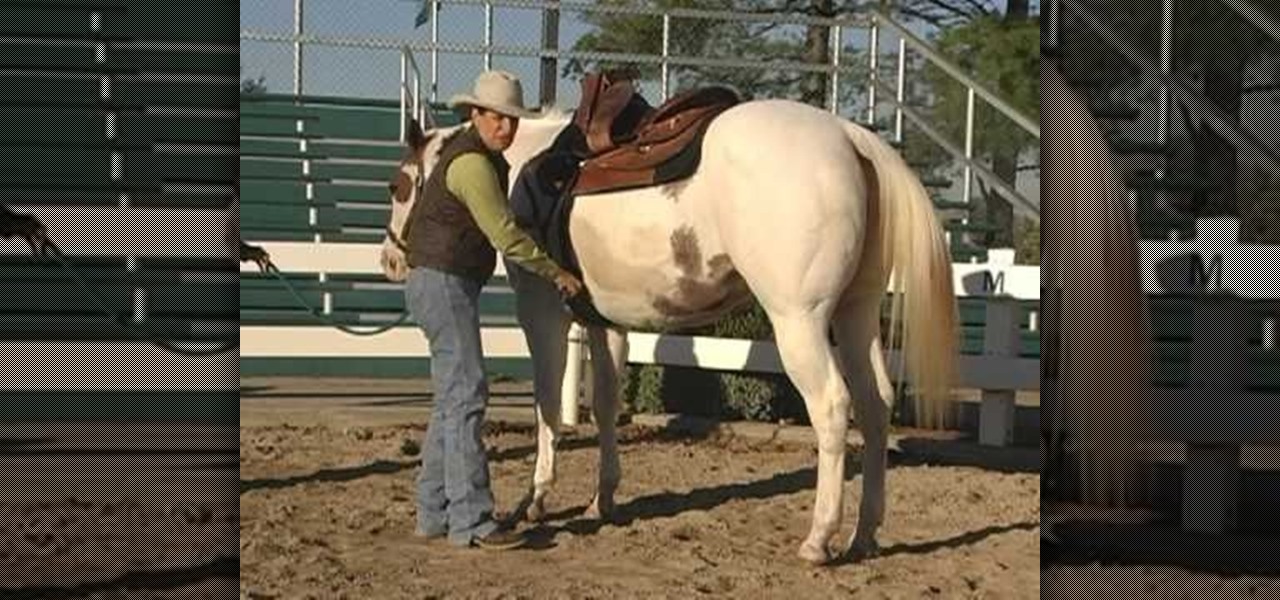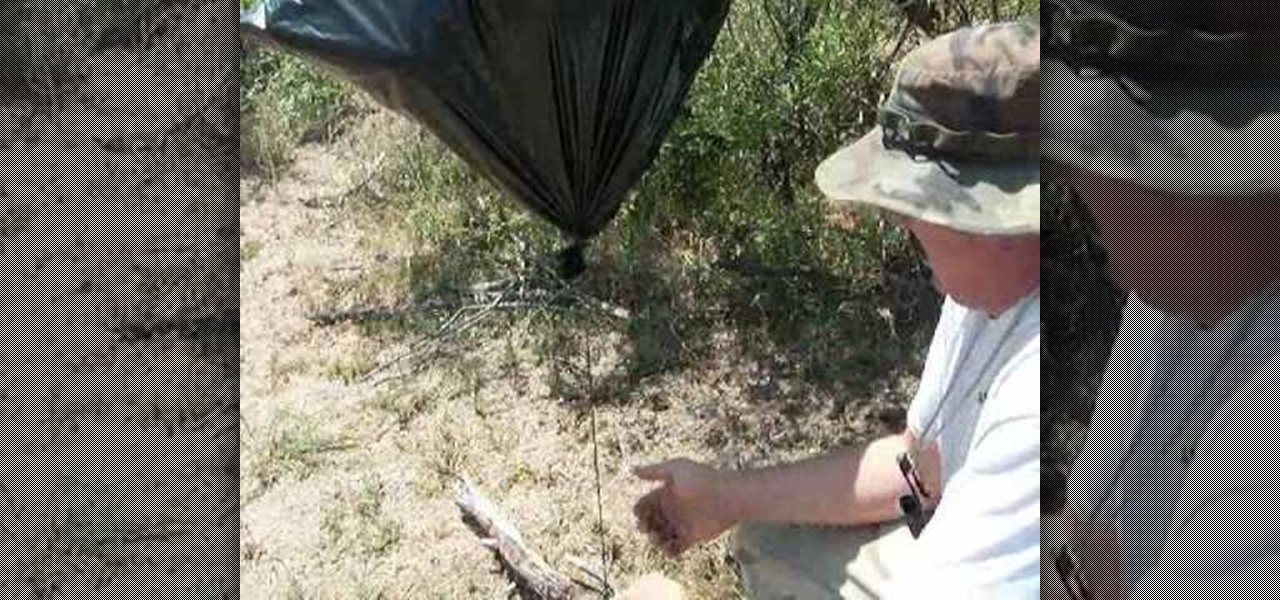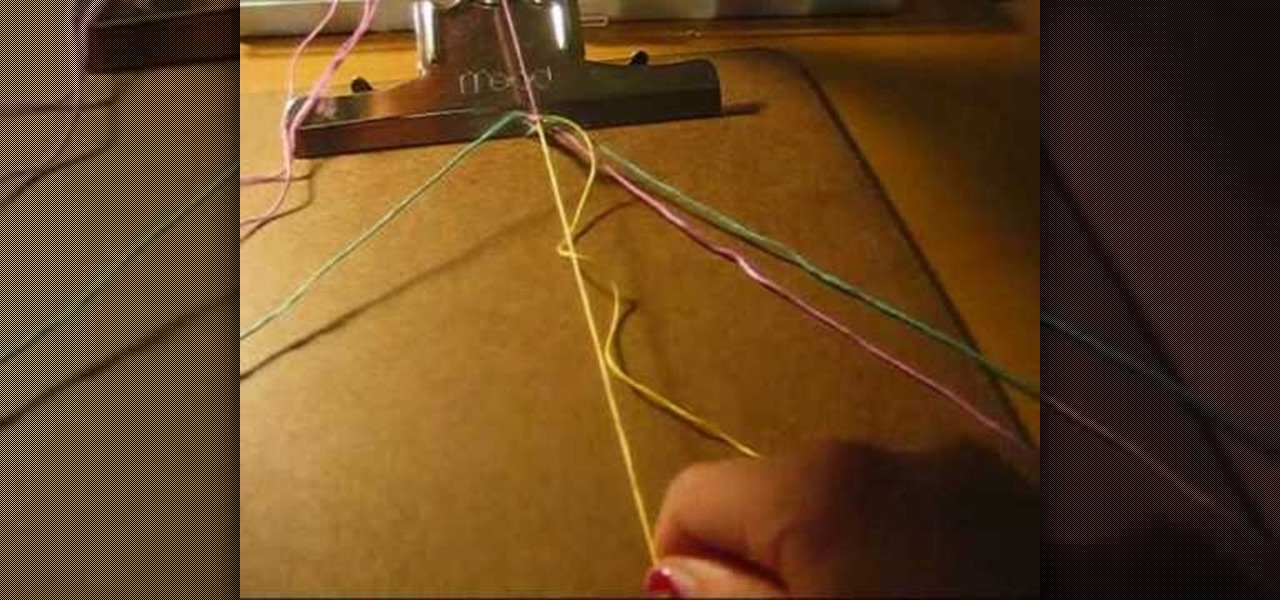
In this video we learn to make a zigzag Chinese staircase friendship bracelet. You can go wild and make it all different colors or all one color. You start off with 5 strings about a yard long and fold then in half. Then you make a knot creating a loop for the end and to hold to a nail or clip while you make it. Take a strand and make 5 forward knots. With the same strand you then do 5 backward knots. Repeat this one time, so in all are 20 knots and then switch color, or to another strand. Do...
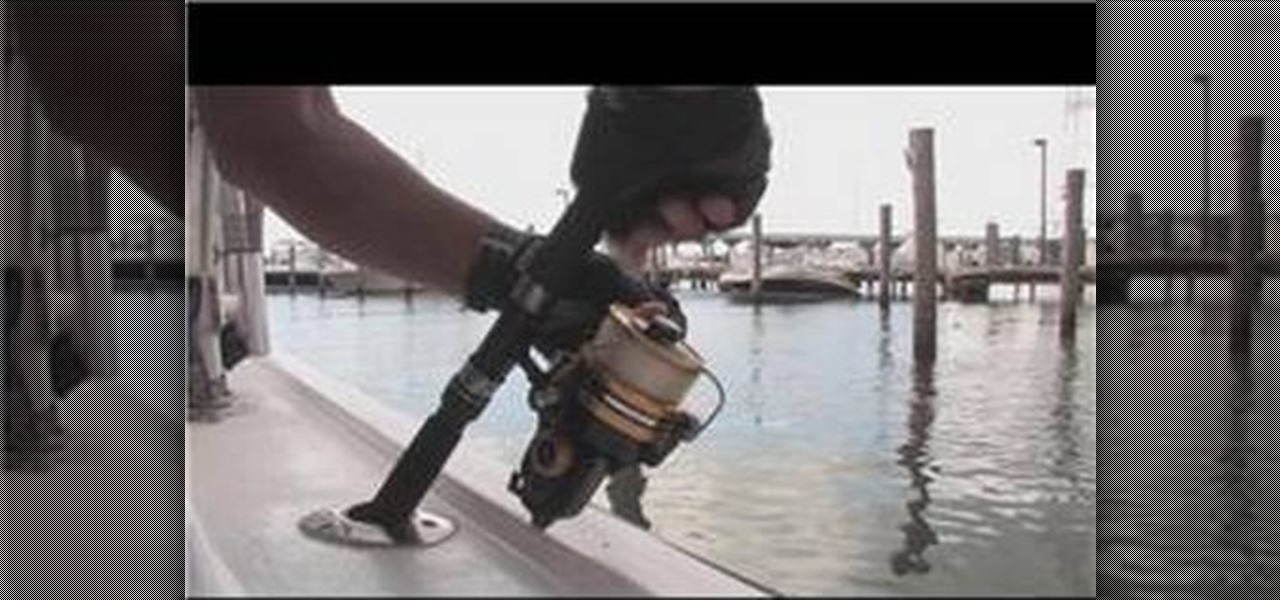
This Outdoor Recreation video tutorial shows how to spool a line on a deep sea spinning reel. This video is from marktheshark. First get the end of the line, put it through the guide at the top end of the rod, and then pass the line through all the guides making sure that you don’t miss a guide. Open the bell, go around the spool twice, twist the line six times, put a knot and tighten the knot fully. Cut off the excess. Close the bell and now add line to the spinning reel by rotating the spoo...

This video shows the viewer how to tie a scarf in an ‘Ascot’. Allegedly this is a preppy look and should appeal to young people. The knot is tied by placing the scarf around your neck, one of the lengths should be slightly longer than the other. Wrap the longer length three times around the shorter one before taking it behind the shorter length and pulling it over the ‘knot’. This end is usually the spread out to display the pattern of the scarf. It is suggested that this look is unisex and t...

MRTV demonstrates how to make a scarf necklace. Making a scarf necklace is very easy and doesn't require cutting, sewing or altering. If you know how to tie a knot and you have a scarf then you can make a scarf necklace. Fold a square scarf into a triangle. Take the tip of the triangle and fold it in. Roll the scarf up and knot it loosely in the middle. Make knots in the loose ends of the scarf, using your desired length to determine how many knots to make. Tie the ends of the scarf together ...

Lucky Levinson of Brittons of Columbia demonstrates how to tie a bow tie. First drape the tie around the neck. Make one side shorter. Cross the longer side over the shorter side, then bring the longer side back through to make a basic knot. Take the short end (which emerges from the bottom of the knot), and make a loop with the indentation under the chin. The long high side comes straight down the center of the indentation, the back trough the hole. Tighten both loops, then adjust the flat en...
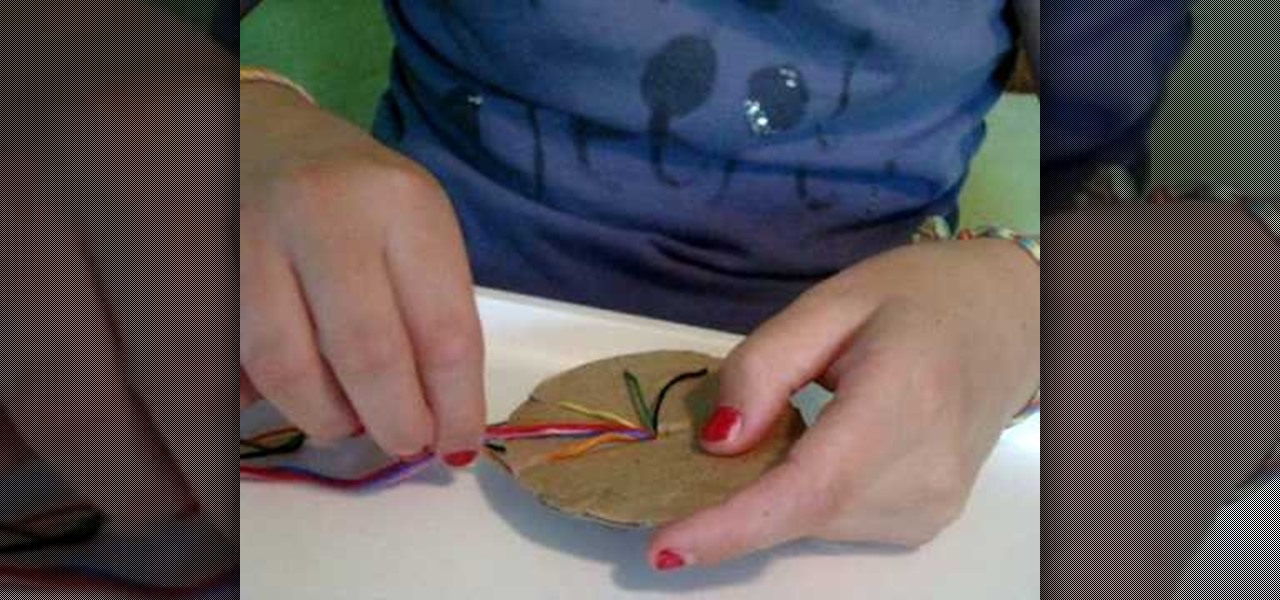
A little girl from Live Love Embroidery explains, in this video, how to make a circle woven friendship bracelet. The process involves seven strands of embroidery thread tied at the end with a simple half-hitch knot. The knot is fed through a small hole in the center of a circle of cardboard. The strings are then individually latched through seven of eight notches located at the end of the cardboard. After that, rotating in a circle pattern around the cardboard, the strings are exchanged aroun...

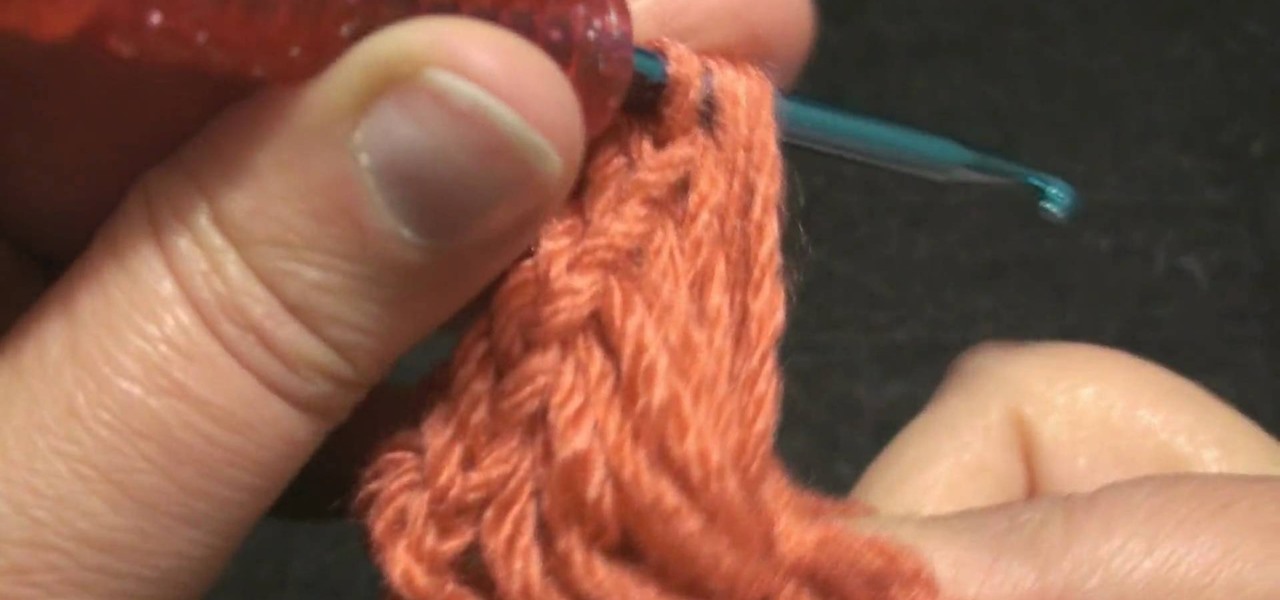
Place slip knot on hook. Hold yarn taut with 2 sets of 2 of fingers placed about 1½” apart, with tail in other hand. Create loop that crosses over bottom of 1st strand with loop toward right side. Fold loop over main strand going past tail. Insert hook below at tail strand. Pull up a loop using main strand for this loop. Pull 2 ends of yarn taut while leaving slip knot on hook. In 1st chain work 1 single crochet. Skip 2 chains; work 1 double crochet in 4thchain. Picot stitch by chaining 3 & a...

A short tutorial on achving the infamous flip of the knot when tatting (lacemaking)

As the clove hitch knot is adjustable and slipper, it can be useful attached to a carabiner, allowing the load to move fluidly up and down the rope. However, the clove hitch is not particularly useful or advisable as a securing knot. Watch this video survival training tutorial and learn how to tie a clove hitch knot on a carabiner.

In this tutorial, we learn how to make a double point needle holder. First, you will need to grab four of your needles, two small objects that have holes in the bottoms, stretchy bead cord, crimp beads, and pliers. Then, you will drill the holes in the bottom of your objects if they aren't already taken out. After this, poke a hole through them and thread the stretchy bead cord through the ends of one and around the other. This should make a circle. Then, you will tie a knot and use a crimp b...

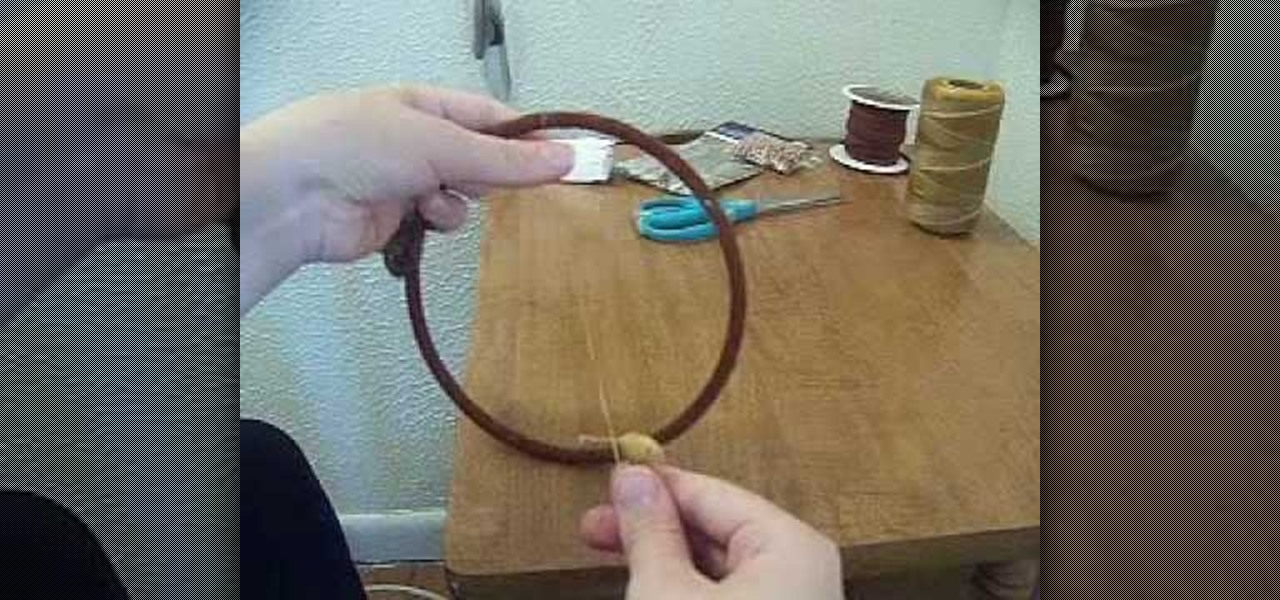
In this tutorial, we learn how to make a dream catcher. You will need: 1 metal ring, leather, sinew, decorations, scissors, and a clothes pin. First, wrap the leather tightly around the ring. Clip the clothes pin on the top so you don't have to hold it as you go around the circle. After this, remove the clothes pin and cut the leather off. Then, tie it at the bottom with a double knot. Next, measure the sinew to 3 yards, then pull it apart. You will be left with very thin strings. use a folde...

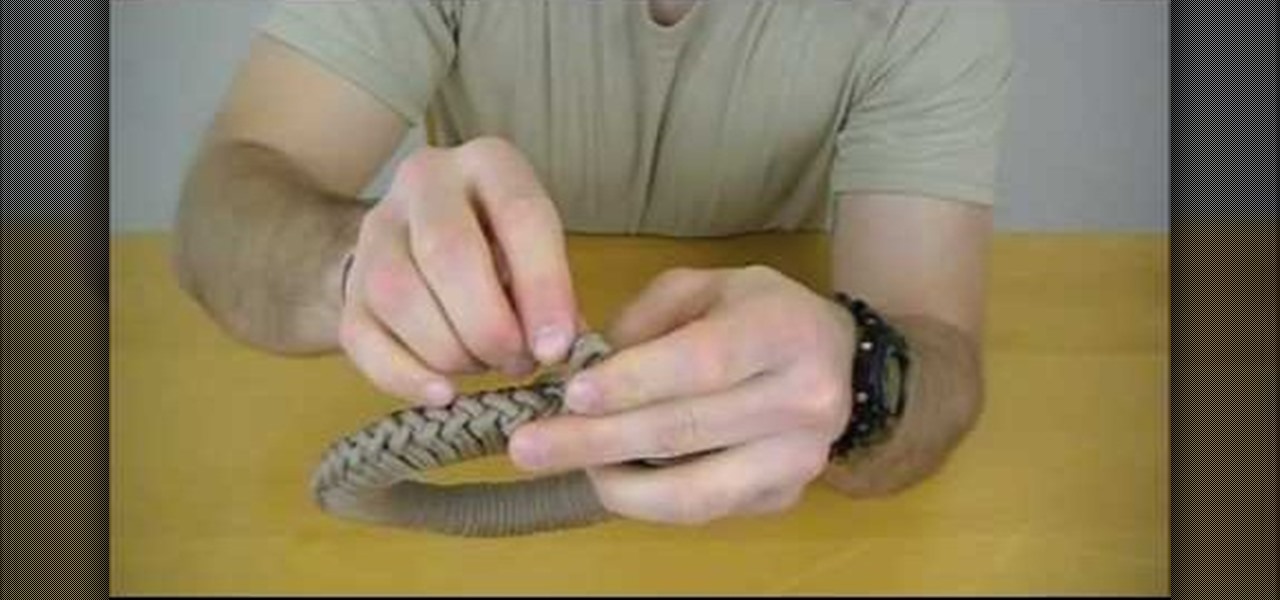
In this video, we learn how to tie a paracord storage sinnet. First, coil up the paracord and then form a bight with the working part at the top of the coils. Next, create a loop from the bight and pull the loose part underneath this and pull it underneath the loop you created. Now, tighten the new loop up and then take the loose part and place it underneath to create a new loop. Push this through the other loop, then tighten with the loose end. This is a very difficult knot to do and is not ...

In this tutorial, we learn how to make a neck knife survival kit. This is good to have so you can use it for eating and making shelter as well as protect against wild animals. The neck knife should be a small kit and able to hide underneath a shirt. It should be adjustable with a paracord knot so you can make sure it doesn't snag against something. The knife should be a simple one that has a decent point on it. Make sure the pouch that the knife is in is thick enough not to let the knife poin...

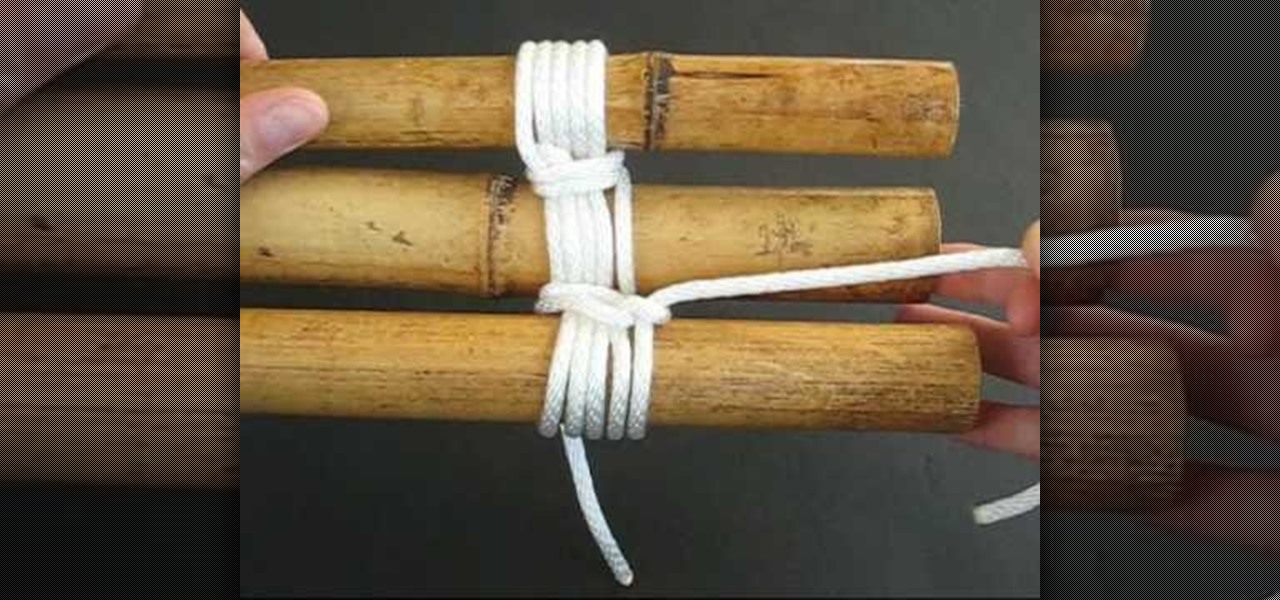
In this tutorial, we learn how to lash a bamboo tripod. First, you will tie a clove hitch by taking one piece of bamboo and wrapping the rope around it, then crossing the two sides of the string together to make a hitch. Next, you will secure the clove hitch around the third piece of bamboo. Now, you will rap all the pieces of bamboo together with the rope. Continue to do this until all the pieces feel secure together. Wrap the rope several times around each of the pieces, then wrap it in the...

In this tutorial, we learn how to make a pendant and adjustable cord necklace. First, grab your pendant and guide a small metal ball onto the bottom of it with a needle. Next, place a spacer through the top and another ball on the top of that. Now, take your pliers to bend the needle to keep the balls in the same place. Keep twist it until you make a loop shape with it. Now, place a string into the loop and then make a knot with the two ends of the string. This will now become your necklace a...

In this video tutorial, viewers learn how to suture. Begin by lifting up the skin on the far side of the laceration with the tissue forceps and insert the needle with some distance far away from the wounded edge. Then lift up the skin with the near side laceration and mirror the course of the needle. Now move somewhat to the right of the subsection of this stitch, parallel to the incision line. Place the second subsection of the horizontal macro-suture like the first part. But this time from ...

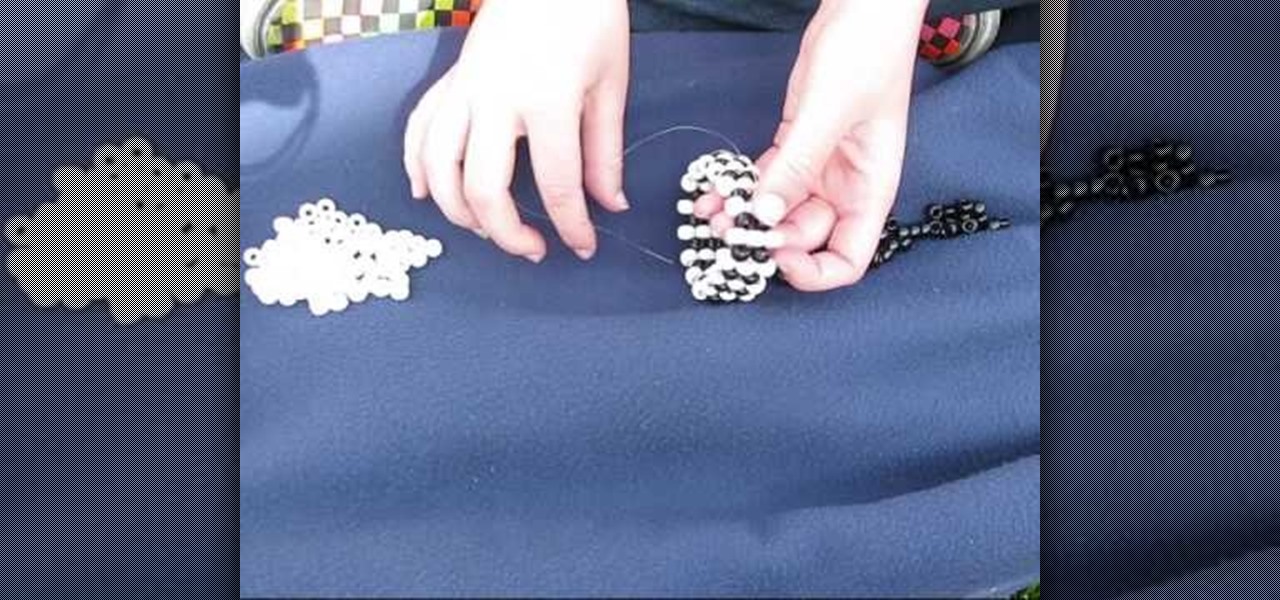
In this video, we learn how to make a vertical striped bracelet cuff out of beads. Start with a long piece of string and string on your beads until you have a length that fits well around your wrist. After this, tie the ends together and cut the tails off the excess string on the short side. now, start to thread through new beads around the entire bracelet. At the end of every few rows, tie it to keep it tight at the end. When you are finished, tie the string and make a knot, then cut off any...

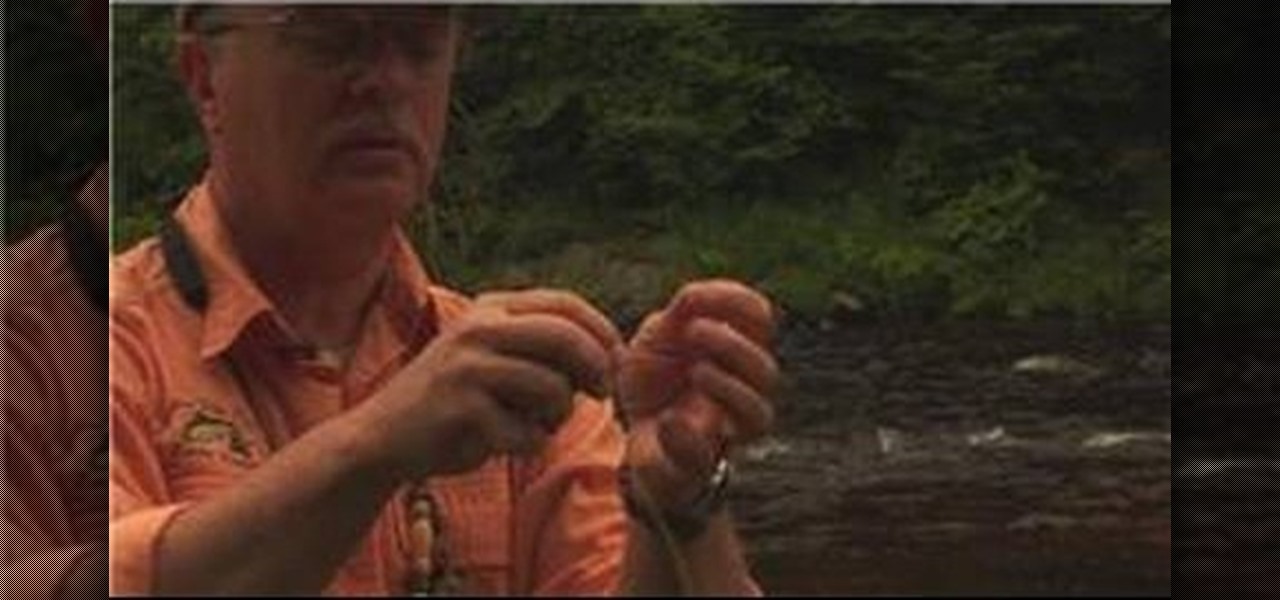
In this tutorial we learn how to rig a fly line. Start by preparing the floating line or sinking line to accept the fly. Carefully unwind your leader, then fasten it over the perfection loop and thread it through the fly line perfection loop. This should make a nice tight knot so you have a nice tight fly. When finished, you can remove the leader then coil it back up and make three loops and save for use later on. It's also smart to carry a pack of weighters in your vest so you can throw them...

In this video, we learn how to crochet a left hand radiant butterfly. First, attach the slipknot to the crochet hook and chain four. Next, work four chain four loops. Slip stitch through the center of the chain four, then chain four again. Continue to do this until you finish one side of the butterfly wing. Next, continue on to create the next butterfly wing by chaining seven, then cut off the additional string after you knot it off. Now, use a pipe cleaner to shape it into the shape of the b...

In order to sew on a missing button, you will need the following: a needle, thread, scissors, and a button.

In order to poach an egg, using plastic wrap, you will need the following: eggs, a bowl, plastic wrap, and a saucepan.

In this Outdoor Recreation video tutorial you will learn how to decoratively wrap a wooden staff in rope. First make the clove hitch at one end of the wooden staff, and tighten it firmly. Pass the rope around the staff and take the working end of the rope above the standing end, take another turn and pass it under itself. Push the knot to the end of the staff and tighten firmly. Next step is making a spiral hitch. Take the other end of the rope to the other end of the staff, put a half clove ...

This trick works great in pretty much any bar or restaurant. All you need is a cloth napkin to achieve this funky trick. Bet someone that they will not be able to tie a napkin in a knot without crossing their arms or lifting their fingers. Those suckers will tie themselves in a pretzel before they are able to accomplish this and you can laugh and laugh because you know the secret!

Several Tanzanian girls demonstrate how to tie a kanga (an African sarong). The first method is to wrap the kanga around the waist and tuck the end in at the waist to secure. The second method is to wrap the kanga into a cylinder to use it as a base for carrying a parcel on the head. Another way to wear the kanga is to wrap it around the neck like a shawl or wrapped under an armpit and tied over the shoulder for a fancier look. To wear the kanga as a scarf, fold it into quarters the long way,...

Wilton Cake Decorating demonstrates how to do a ruffle and a ruffle bow cake decorating techniques. Use a #104 petal tip to create this effect. Also use a medium icing consistency and hold the bag at a 45 degree angle. A petal tip can be used to make ribbons and bows. The icing tip has a narrow end and a larger end. Place the larger end down and move your hand up and down to create the ribbon. Make a figure eight to make the bow. Add a knot in the middle, if desired, and add strings. Star tip...

This video shows us how to do a lanyard cobra stitch. Here are the following steps. Step 1: First of all take two threads and make a loop of one thread.

In this video tutorial, viewers learn how to do a lanyard twisted triangle stitch. Users will need 3 pieces of gimp with the same length. Take all 3 strings and tie a knot at the end. Now separate all 3 strands from each other and select one of the strands to be the top strand. Put the top strand over the second strand and bring the second strand over the third strand. Now run the third strand through the loop of the first strand. Pull on all 3 strands to make the stitch and repeat for the re...

How to saddle your horse for riding

This video is about how to supplement water in the desert using a trash bag. You find a tree that is edible and not poisonous and you open the trash bag and place it over a few of the branches with leaves and seal the opening off. Then you take a little cord and tie off the corner of the bag and find something heavy to weigh the branch down. You want to make sure the corner of the bag is down so that all of the water will run down to that corner. When you feel some water in the bag you can cu...

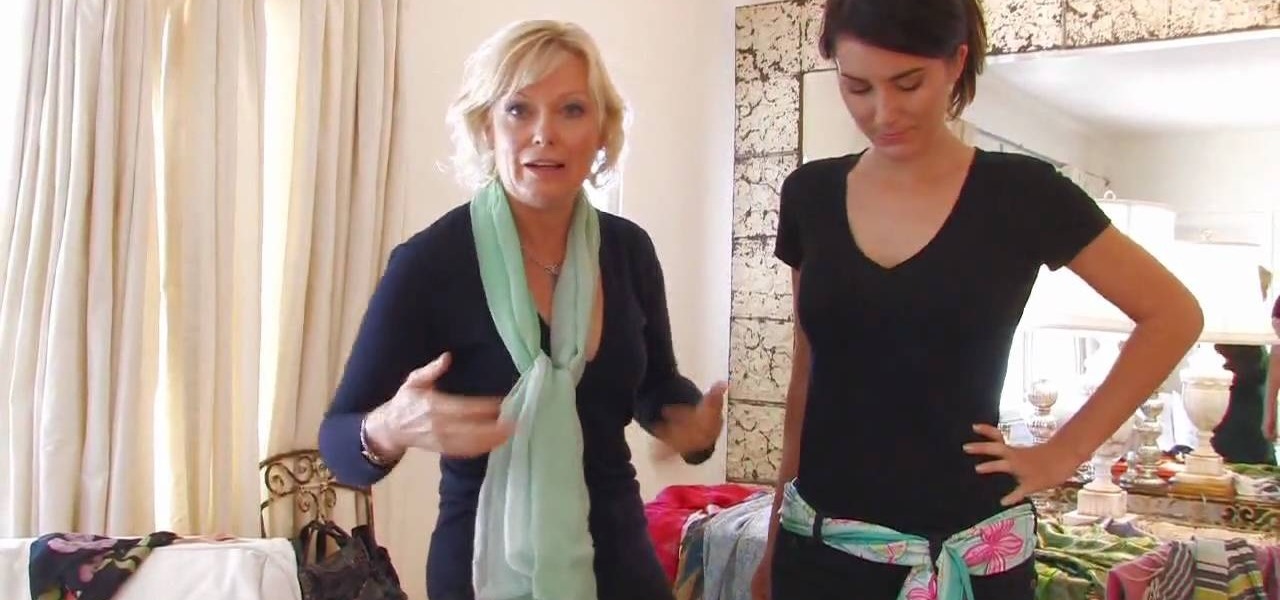
In this Modern Mom video, costume designer and fashion consultant Cate Adair shows how to wear a spring scarf. She shows how to use a long thin scarf as a belt. She threads the scarf through belt loops and tying it in a simple knot around the belt loop at the end. During the video, she discusses using fabric as a scarf, or changing the width of the scarf depending on body shape. Finally, she uses a large square scarf folded in half from corner to corner to tie a "sarong" style splash of color...

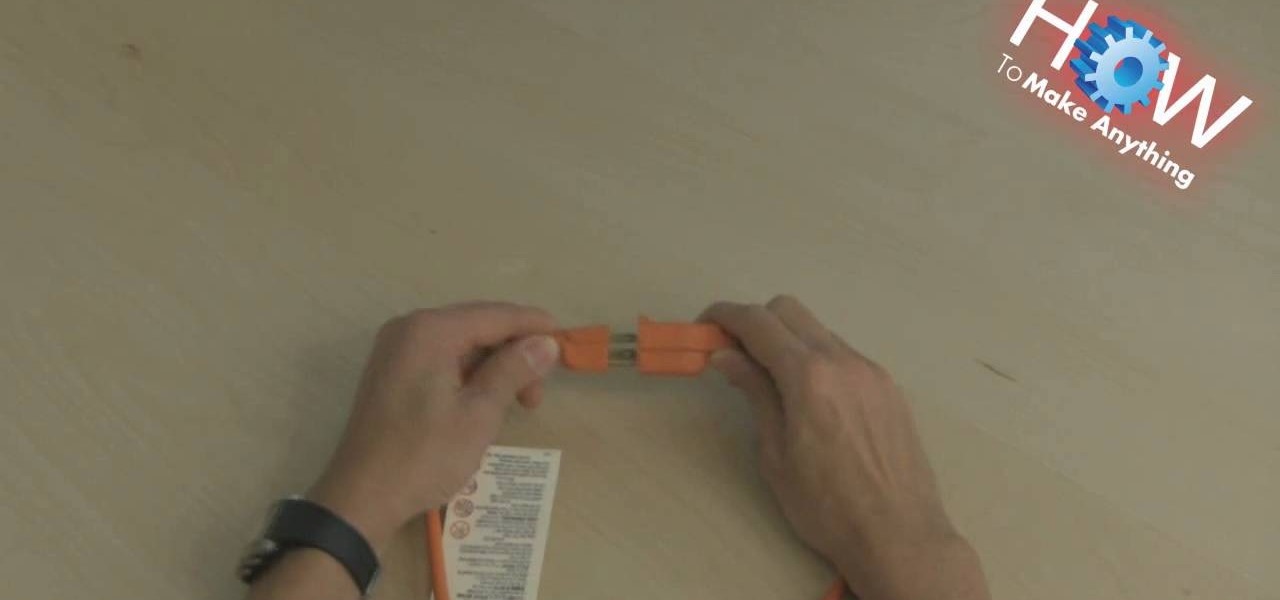
This video tutorial is in the electronics category and it is going to show you how to lock and prevent an extension cord from unplugging. When you plug in an extension cord, there is always a chance it getting undone accidentally. There is also the possibility of the pins getting slightly bent. So, you need to lock the extension cord. There is a real simple way to do this. All you got to do is just tie a simple knot before plugging in the cord. Now even if someone pulls at both the ends of th...

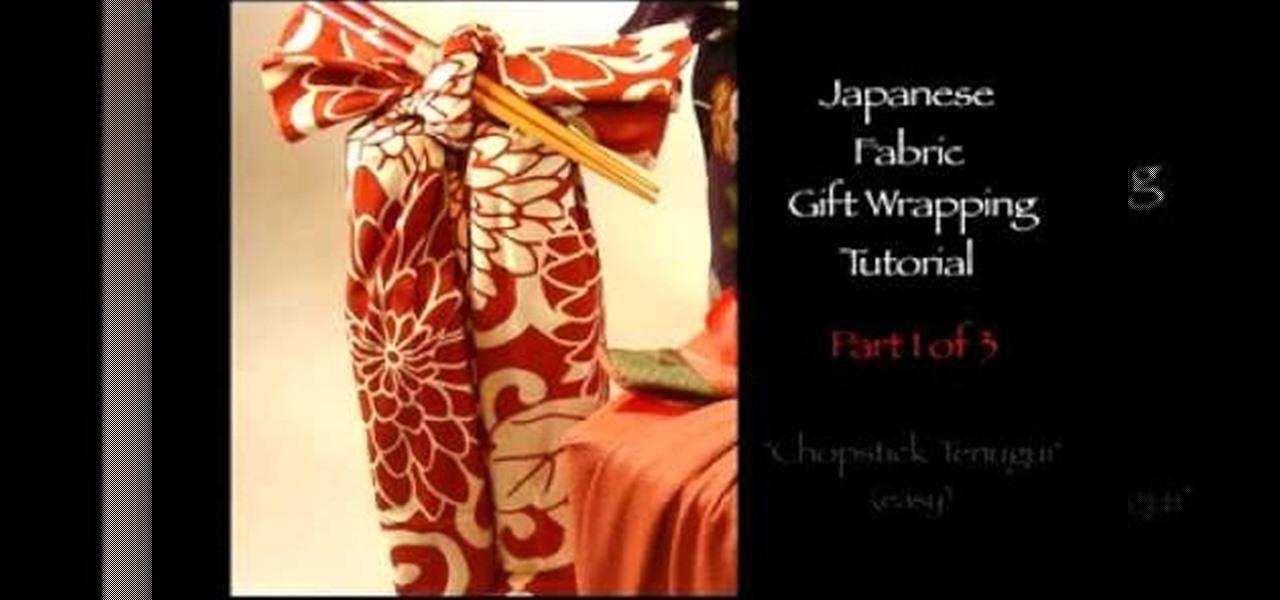
In this video tutorial, viewers learn how to gift wrap two bottles using the chopstick tenugui wrap technique. Tenugui is a thin Japanese hand towel made of cotton. The materials needed for this gift wrap are: a tenugui, chopsticks and two small bottles. Begin by laying the bottles horizontally as the bottom bases touch on the tenugui. Roll the tenugui and fold it up. Tie the ends with a double cross and add the chopsticks in the knot. This video will benefit those viewers who are planning to...

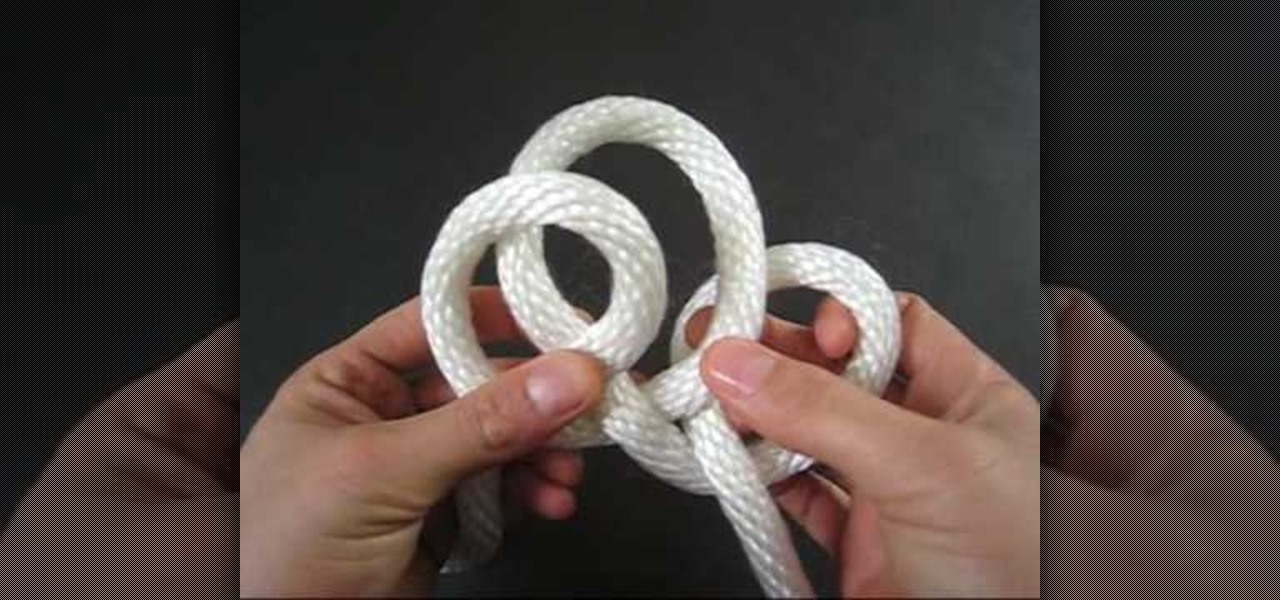
To tie a quick rope shackle, take a flat thread to make this knot. Take the thread and hold it in your hand fold it from right to left and hold it at the cross hold it once again catch both the crosses and fold it once again. Insert the send fold into the first hole and the third hole. Now pull the middle of the thread to make a tight. Pull the loose ends of the thread to make it tight. Now hold the two circular holes and insert a round stick or a bamboo stick and pull the loose ends of the t...

Dissolve yeast and 1 1/2 teaspoonful of white sugar in lukewarm water. Mix until bubbly then set aside.

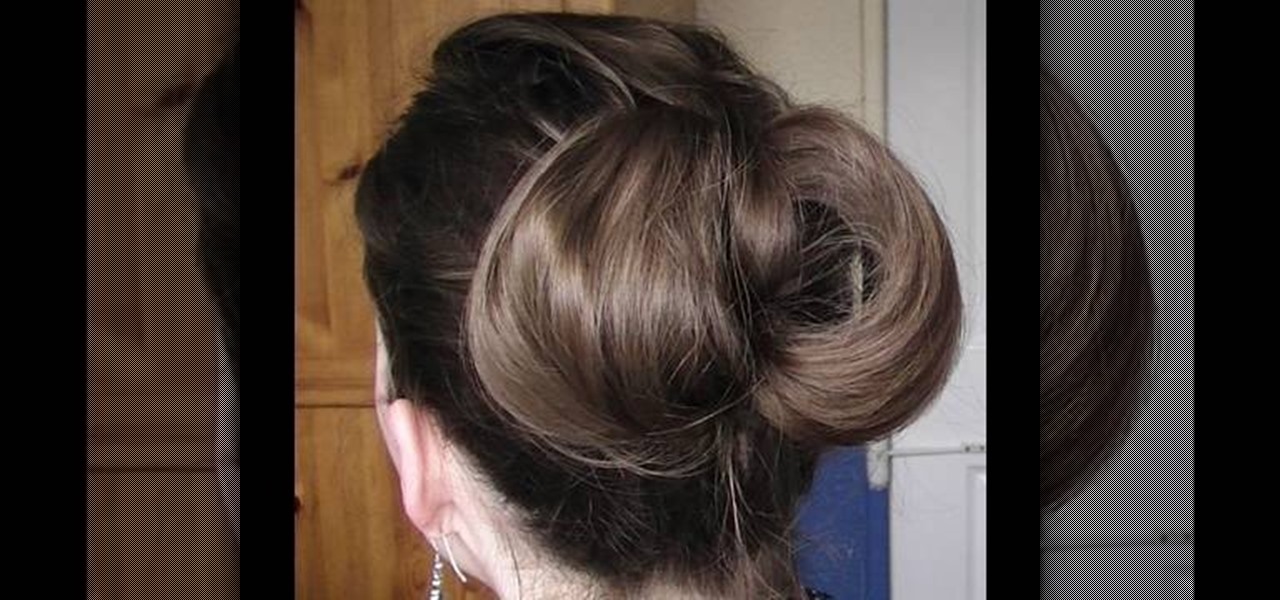
A "hair bow" is a very interesting and unique up do which can be made fairly easily. After making your hair manageable with conditioner and other hair products, take a portion of your hair from the front and separate it from the rest. Make a tight, high ponytail with the rest of your hair and use a hair styler to carefully pull your hair through, making a tight knot. Separating your pony tail in half, tuck first one side and then the other into the pony tail, making two loops. You should then...

EFT "tapping" is a self helping movement in a sequence of tapping across the hand, face, head, chest and arm that will allow you to alleviate a specific pain, problem or stresses in your life. This video shows you how to tap away your problems with acupressure.

See how to make a friendship bracelet. They're the perfect gift for that special friend. Not everybody wants to show off their friendship to everyone, but if you do, this video tutorial will show you how to make a friendship bracelet, specifically the "V" chevron friendship bracelet. This bracelet has a "V" pattern, and the finished product looks awesome! And this bracelet uses the forward and the backward knot.

To make your own journal with household items you need a hole punch, scissors, yarn needle with string, some beads, a piece of construction paper, and at least 4 pieces of printer paper. Take your piece of construction paper, fold it in half and then unfold it. Do two hole punches in the crease of the fold at the top and bottom of the paper. Then do a half hole punch in the middle of the paper. Do the same fold, unfold and punches to the printer paper. Be sure to match up the holes in the pri...

This video shows how to wear a Pashmina, also called ladies muffler, in several different style of fashion. First, with a Pashmina, half fold it, then wear it around your neck accordingly, and pass it from the closed end as tie. Then, stretch to close around the neck. Now, for the second way, open it again, wear it from the center, in a way, that it hangs from the back of the neck, give it two folds and stretch it in opposite directions, so that it is tied around the neck, then make a knot fr...

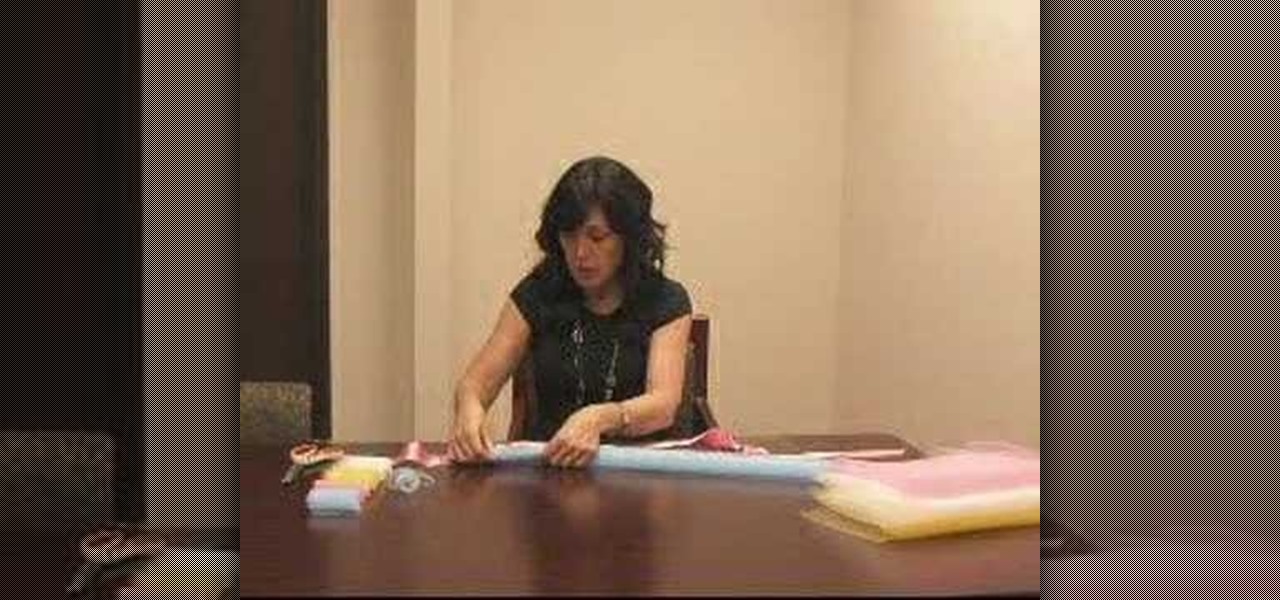
Julie Figuera shows how to make a no-sew ballerina or princess tutu for little girls. 1. Get a 1/2-inch wide satin ribbon. Cut the ribbon about 20 inches long. 2. Measure 20 inches from each end of the ribbon. Tie a knot on the 20-inch mark. 3. Unfold a yard of tulle and roll, making sure there is no wrinkle. Cut the ends of the tulle to make it even. 4. Measure every 3 inches and cut. 5. Take each cut piece of tulle. Fold it in two and cut. 6. Take the smaller piece of the tulle, fold it in ...


