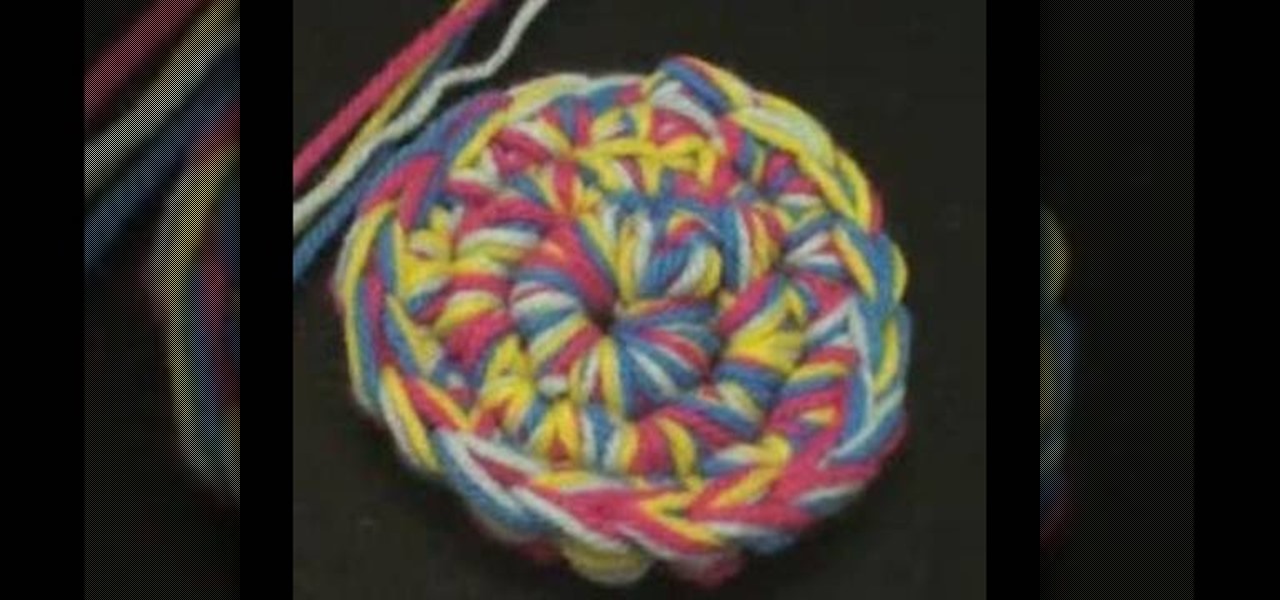
The Art of Crochet by Teresa explains how to sew together crochet ribbing. Thread a tapestry needle and align the edges of the crocheting project. Sew the first stitch together and secure with a knot. Sewing through the top of the stitch on the edge will help prevent distortion and create a neater look for the ribbing. Pick up the back loop and align it with the stitch on the opposite side. Continue all the way across, sewing through the same stitch. It will push the top of the stitches up, c...

1. To tie a bow tie, one end should be longer than the another one. 2. Take the longer end above the smaller one.
Cut your ribbon or lace into two evenly sized pieces. This can easily be done by folding the ribbon or lace in half and cutting it on the fold.
Your dog doesn't care how much you spend on their toys – they just want to play! Here's how to provide some homemade fun.
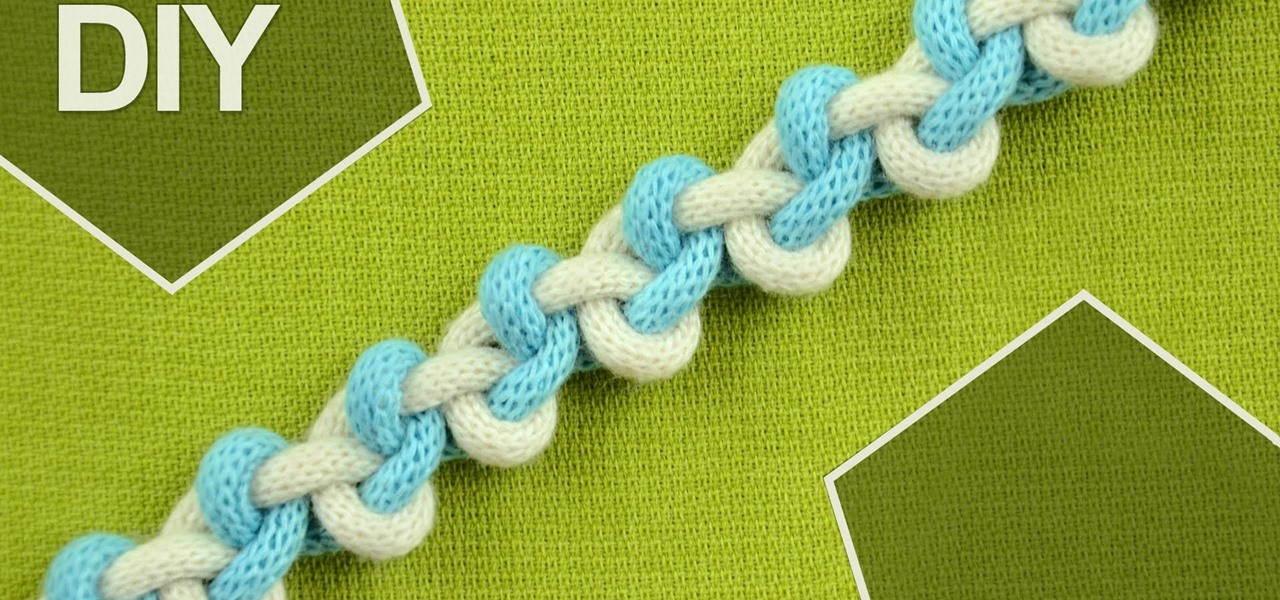
The Alternating Half Hitch is tied to form a chain, also called a sennit. Other name of this knot is the Chain Stitch or Zig-Zag braid. This knot can be used to make a simple bracelet or necklace and other items can also be made with this knot.
Risa from Makeup by Risa makes an altered t-shirt for summer. She recommends starting with a t-shirt that fits, but is not too loose. Line up the seams on the bottom of the t-shirt and the sleeves so there is a line straight down the back. Cut a strip off the bottom of the t-shirt, just above the seam. Then cut strips that are one half inch about three quarters of the way through the back of the t-shirt. Start cutting the strips from the bottom to the top. Determine where to stop cutting the ...

First of all you need a handkerchief or a cloth napkin. Make sure that it is clean for use. Now start by folding the two opposite corners together. This shall make a triangle. Now you have top fold the two middle bits so that they overlap at the center. Now start rolling them together upwards. It is very important that you are rolling them very tightly. This shall make the body of the mouse solid otherwise it may fall apart. When you have made a solid roll then fold the two ends upwards as sh...

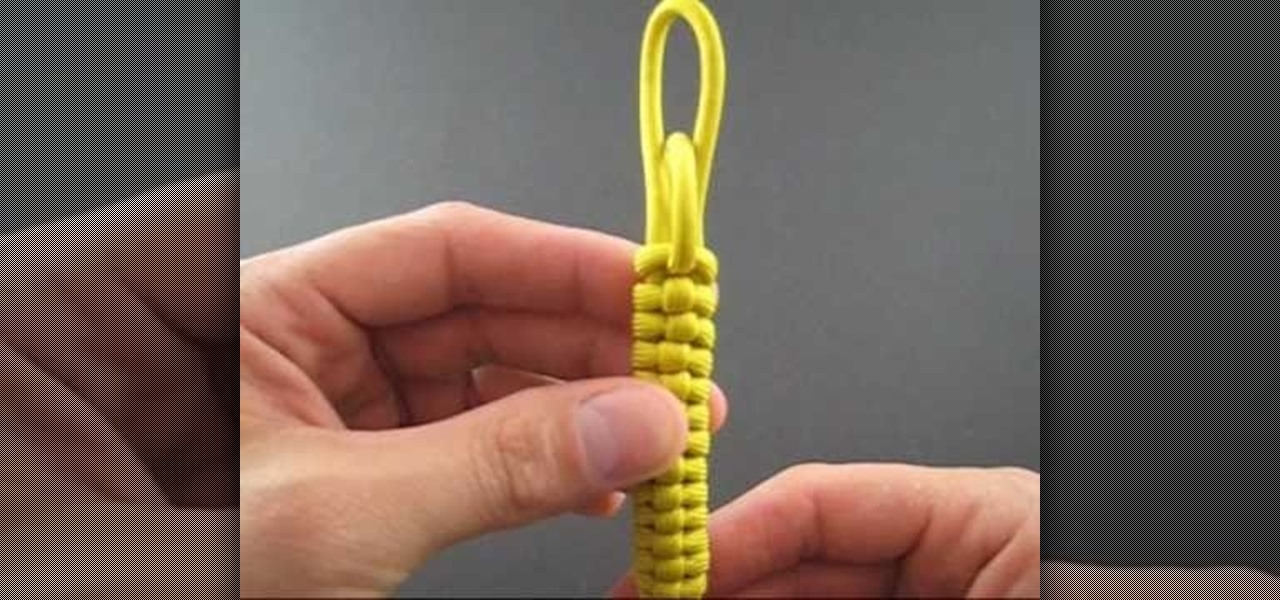
In this Arts & Crafts video tutorial you will learn how to do a lanyard super cobra stitch. For this you will need two pieces of gimp cord; one piece about 15 times longer than the other. Start the same way as you would with a regular cobra stitch. Make a loop on both the cords and pass the loop on the shorter piece through the loop in the longer piece. Then pass the upper end of the longer cord around the shorter cord and pull it up from under through its own loop. Now pull both ends to make...

This video shows you how to create a continuous, daisy-chain necklace. The materials used include: size 11 rock eyes in yellow, red and purple, a toggle clasp , 9mm thread and a size 10 beading needle. Start by sewing on one half of the clasp, tying a knot to hold it in place. Be sure to leave the tail ends long enough to be able to re-thread it later with a needle to sew the tail ends. The video then shows the precise order in which the various beads are threaded through to produce a chain i...

This tutorial describes how to make a Hershey Kiss holder. This is a quick and easy project that you can make to use as little gifts in your kids' lunches, for co-workers, party favors, place-holders at holiday meals and more.

This how-to video is about how to repair a leaky faucet. One of the most common problems with the faucet is the replacement of the rubber washer, which is located on the bottom of the valve unit. First, stop the water supply by turning off the stop valve at the bottom of the sink. Then, turn on the faucet until the water stops flowing. Next, remove the handle. To do this, we first need to remove the decorative cap using a screw driver or sharp pointed knife to expose the screw. Then, remove t...

Ever wanted to find out who stole the cookie from the cookie jar? Take a page from crime scene investigators and get the proof you need.

Watch this knitting instructional video to learn how to do a knitting provisional cast-on. A provisional cast-on is usually worked in a contrasting waste yarn so the cast-on stitches can be easily removed later. The live stitches are then recovered so you can knit down from that point without the joining line you'd have if you picked up stitches along the edge. There are several provisional cast-ons; this is the one I like the best, because I find it to be the easiest to work. You'll need a c...

In this how-to video from projectink we are shown how to make a lamp out of a tequila bottle. There's no need to spend 100 bucks on a lamp when making your own is cheap and easy and fun. These are the supplies you'll need: A bottle (we're using a Jose Cuervo tequila bottle), a plastic bag, super glue, a hot glue gun (or you can use epoxy), a screwdriver, a lamp kit (you can get these at the hardware store for about 12 bucks), and a glass-cutting drill bit. For the glass-cutting bit, try and f...

Materials Needed: - Use a Size K Crochet Hook - 2 strands of 4 Ply Yarn Round 1: Start with the Chain 4, then join and wrap. Pull a loop up. Work 12-Full Size Half Double loops through the loop. Then join in the beginning Half Double crochet. Round 2: Start with a chain (1 loop). then work 2-Half Double crochets, in each stitch around for a total of 24-Half Double crochet on round 2. At end of round 2 join in beginning Half Double crochet. Round 3: Start with a chain (1 loop). Do 1-Half Doubl...

You will need marking pencils or chalk, scissors, seam ripper, pins and good quality matching thread. Mark desired length on each pant leg. Option 1: Stand on pants and place a pin where fabric hits the floor. Option 2: Fold pants up to desired length & pin. Take pants off; turn the leg inside out. Note original hem size after it is 1 1/4 to 1 1/2 inches. Mark pin position/finished length. Rip out original hem stitching using seam ripper or point of scissor. Find right loop to pull & it will ...

This tutorial is a concise tutorial on the basic embroidery stitches. Learn how to do a French knot, flower, chain stitch, back stitch, outline stitch, satin stitch, and a cross stitch. All you need is some fabric, an embroidery hoop, floss and needle.

In this handy knot-tying tutorial from JD of Tying It All Together, we learn how to tie an elastic Solomon bar bracelt with parcord. For more information, including detailed, step-by-step instructions, and to get started tying round stitched switchback yourself, watch this video guide.

In this handy knot-tying tutorial from JD of Tying It All Together, we learn how to tie a round crown sinnet. For more information, including detailed, step-by-step instructions, and to get started tying round crown knots yourself, watch this video guide.

In this handy knot-tying tutorial from JD of Tying It All Together, we learn how to tie a stitched switchback strap. For more information, including detailed, step-by-step instructions, and to get started tying round stitched switchback yourself, watch this video guide.

This is a basic crochet tutorial for those of you just starting off on the road to granny square and Afgan bliss. Using four strings of four ply yarn, you'll learn how to knot and loop your way into a circular, almost snail-like pattern.

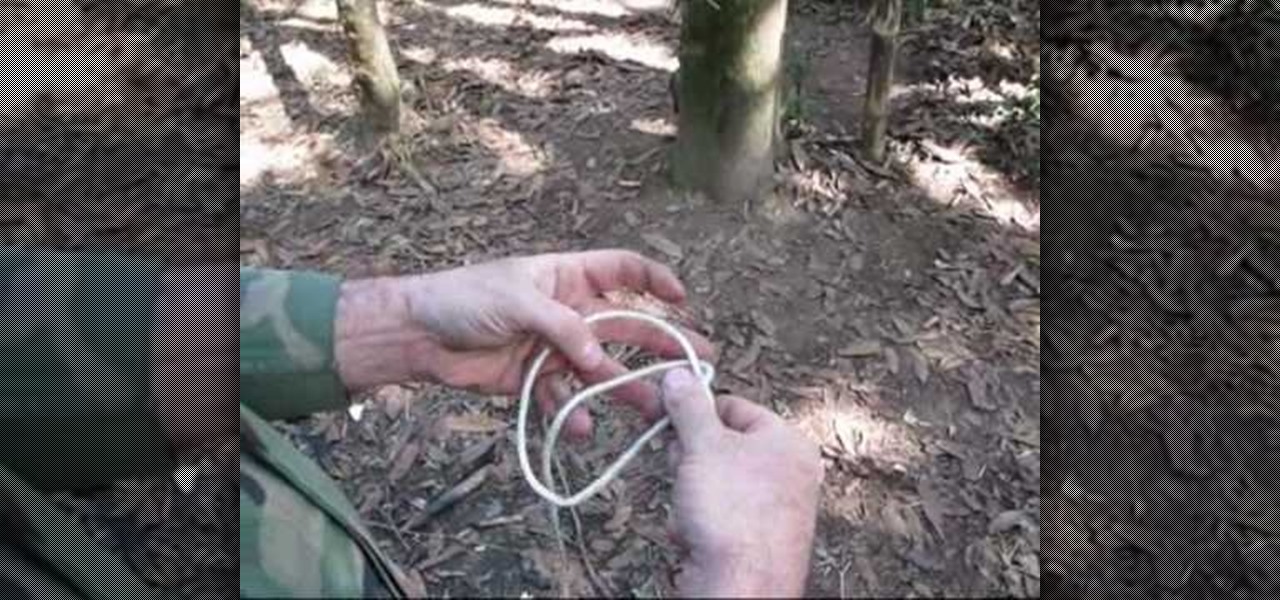
Tying knots and hitches can be an important survival technique. Having the right kind of knots made can make sure you're able to hold on to whatever it is you need. An artillery hitch or loop, is something that is used because it does not bind under tension and can be removed easily afterwards. This is a very complicated knot to perform so pay attention to this tutorial above and good luck!

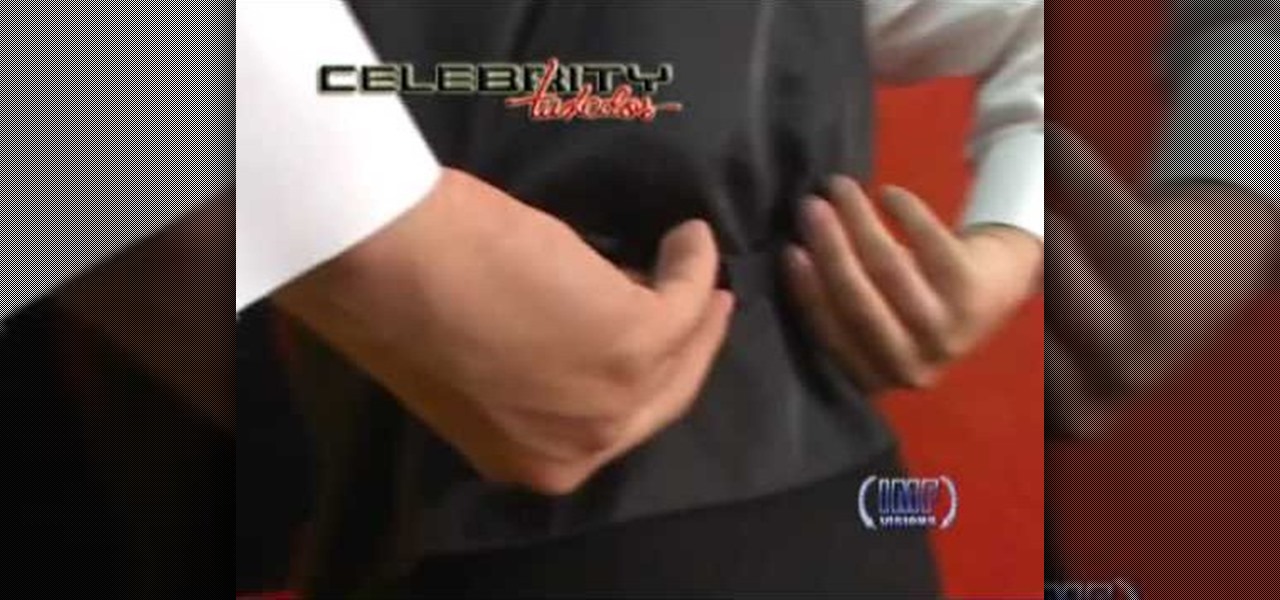
This video shows everything about how to put on a rented tuxedo. When you get your tux, the shoes will be hanging in a bag on the outside of the bag. Inside the bag will be the coat, shirt, vest or cummerbund, tie, pants and studs and links. Socks will be in the inside coat pocket, and the pocket square should be on the outside pocket of the coat. Remove the studs and links from the bag. Leave the collar button alone and start with the next button hole. Put the studs through the holea. Insert...

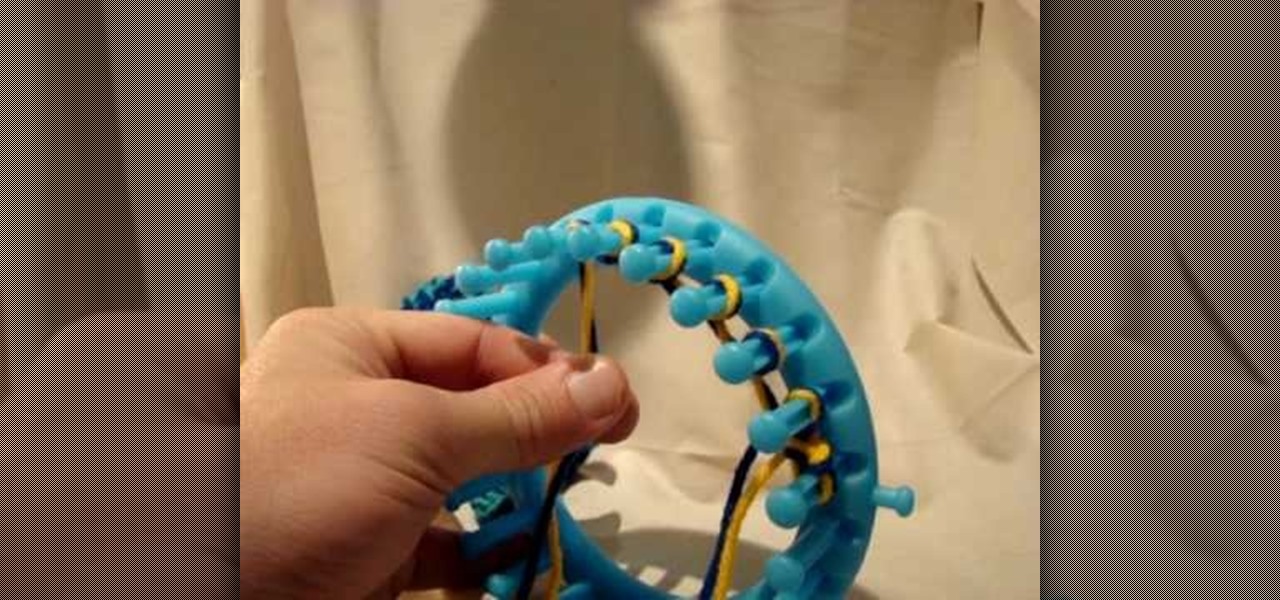
When making these knit newborn mittens use 2 strings at the same time for warmth. Wrap the string around your finger twice to create a slip knot (back loop over the forward, and then pull it down to leave the loop). Use only 7 pegs from the 24 peg loom. Use the anchor as the starting point. Put the slip knot over the first peg. If you're right-handed, work towards the left; and likewise, if you're left-handed, work towards the right. Now, wrap over and back down the peg beside your first peg....

Learn how to use a fishing jig which recreates the motion of a fish swimming in simple steps. First connect the fishing jig to a fishing rod and tie a knot in it. Throw the jig in the water by holding the rod properly in your hand. Control the rod carefully and pump them in slowly. Keep the fish in the line of your reel and slowly bring them in.

A very classy man named Matt from the Bow Tie Report begins this video by explaining that bow ties are making a stylish comeback especially among college students. He demonstrates the sort of complicated, yet easy to learn, standard method of tying a bow tie onto himself. After completing the process, which requires a bit of finesse and a lot of practice, Matt shows that a good bow tie needs a lot of tweaking to make the knot just right and looking good.

Stay warm this winter with your own "MIY" (make it yourself) scarf! Learn to knit a scarf for a relaxing pastime and to engage in a constructive and creative activity.

Want to give your best buddy something to show them how much they mean to you? Why not a friendship bracelet? Friendship bracelets are made through a form of macramé, a textile-making knotting process. Very simple once practiced. In this tutorial "Nana" takes us through the knot process of making this symbol of friendship, while her two adorable grandchildren look over.

Learn how to sew a button by hand. Not wearing your favorite shirt because it’s missing a button? Don’t worry—sewing on a new one is simple and fast.

Loop here, and then there, and then here again. It's easier when you watch it. Pancetta is pork tied and roasted. Tying pancetta is a complex process. Spread with pepper corns. You will use a butcher's knot to prevent it from untying. This rolls the pork before you cook it.

Leanr how to tie a Bowline on the Bight - This is a means of tying a bowline in the certer portion of a rope. This knot can be used in sailing, boating, general use, camping and bondage.

Stay warm and look chic this winter with a few simple scarf-tying tricks. You will need a rectangular scarf or a pashmina. Tip: If you are using a pashmina as a scarf, fold it in half width wise first. When tying the scarf, experiment with the placement of the knot until you find a place you like. Watch this howcast video to learn how to stylishly tie a scarf this winter.

Warm up your pitching arm and be patient—you might just be playing “Throw” for a while before your dog catches on.

When you need a sling, and you need it now, this how-to video shows a way to make an emergency sling out of a sheet. Take a sheet and fold it in half lengthwise and wrap it around the shoulders. Tie a slip knot in the sheet. Then grab your baby. Watch this video infant care tutorial and learn how to make a quick and easy sling out of a sheet.

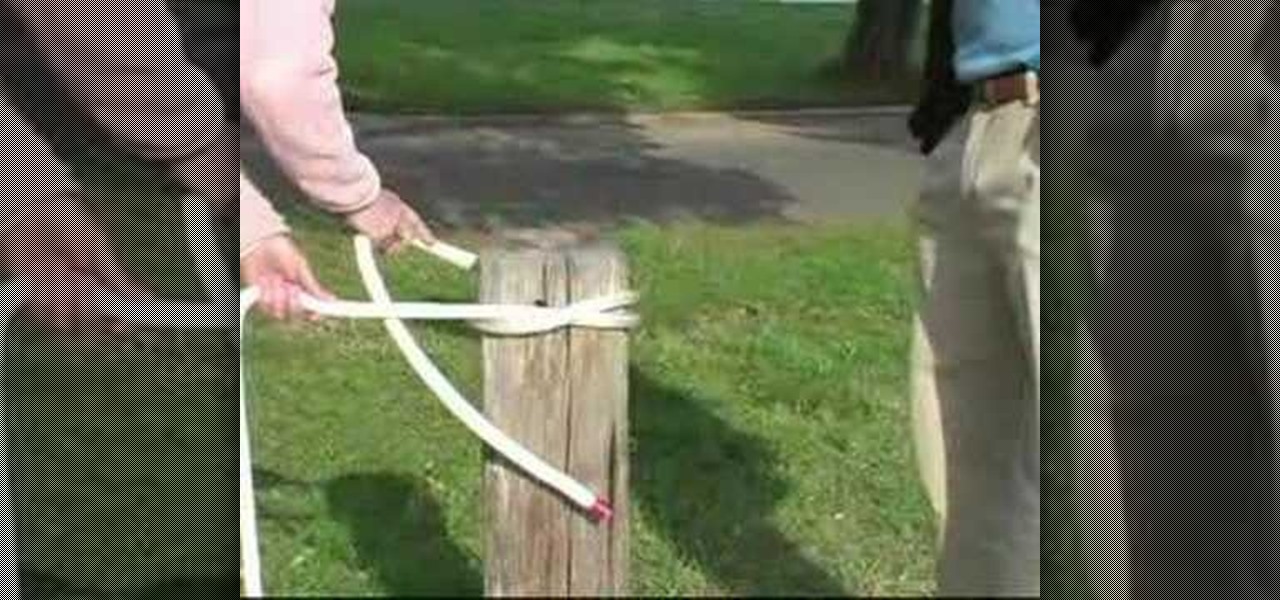
What happens when you arrive at a dock and can't find a cleat to tie your boat onto? Matt and Ann of BoatUS demonstrate how to tie your boat to a piling using a clove hitch. Know your knots by learning how to tie a clove hitch with this instructional knot tying video.

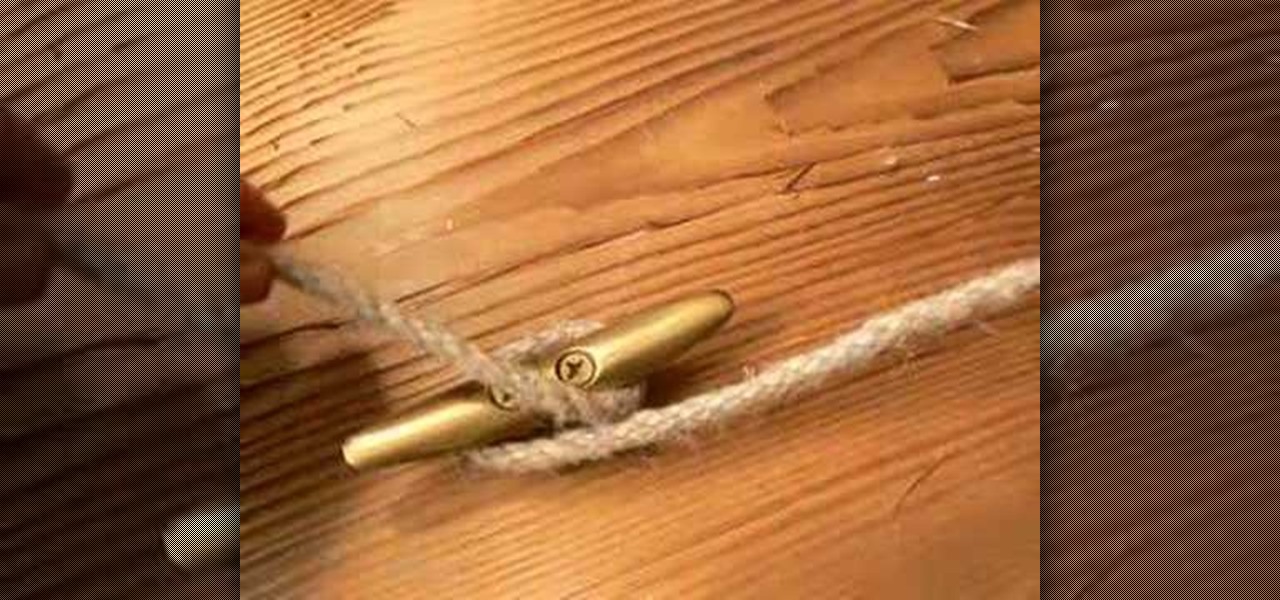
Check out this instructional boating video that demonstrates how to tie a cleat hitch for boating. This is a type of hitch used to tie a line to a cleat. All you have to do is make one full turn then a figure 8 with the last turn reversed and you've got your cleat hitch tied. Learn how to tie a cleat hitch or a cleat knot with this boating tutorial video and keep your boat secure to a dock.

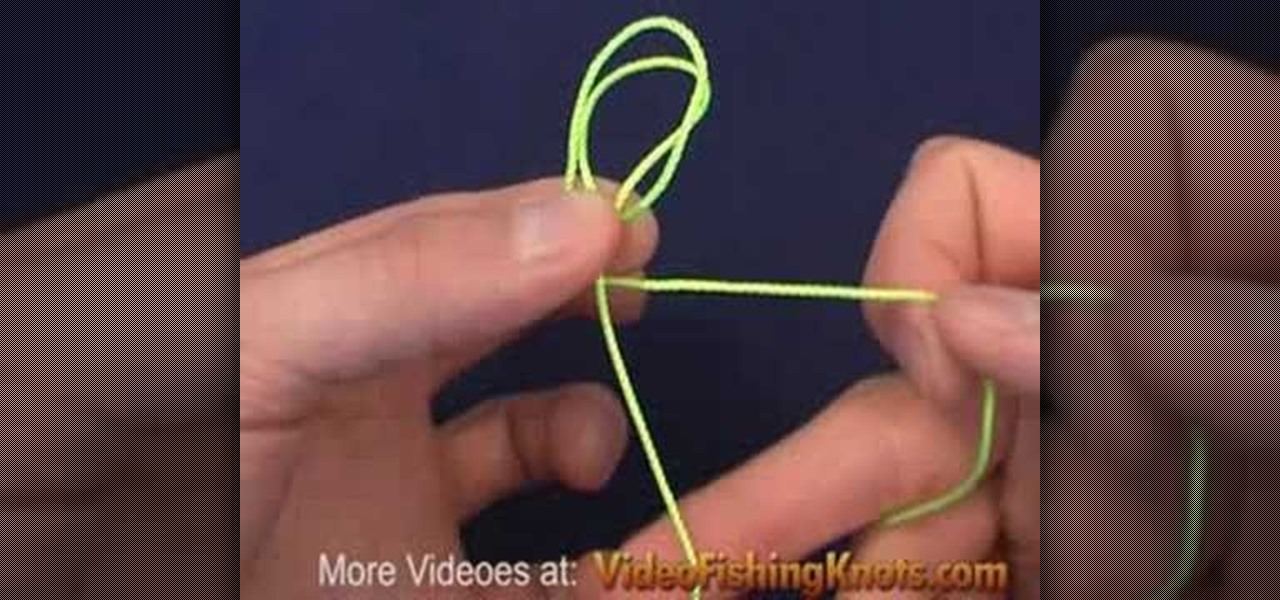
The Perfection Loop is a great knot for tying a small loop at the end of the line. The Perfection Loop is perfectly in line with the standing part of the leader and it is both quick and easy to tie. Follow along with this how to video to learn how to tie the perfection loop for fishing.

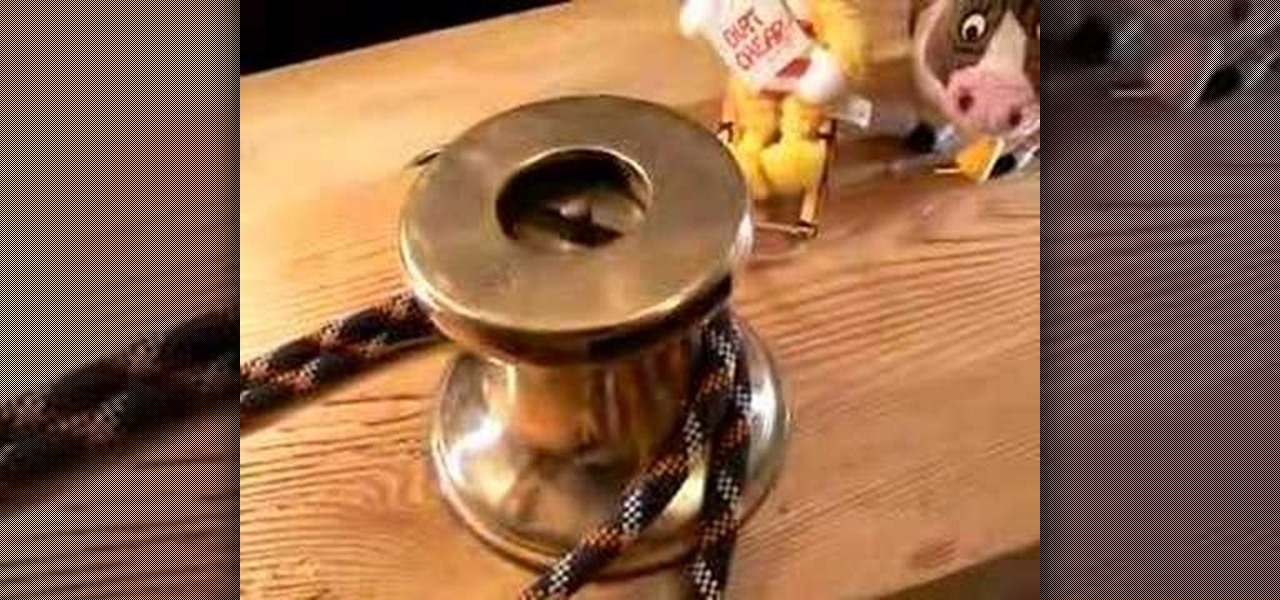
The pole hitch, demonstrated in this how-to video, is used on a marling spike or rack quite often but it is also a great way to tie off to a winch to bolster your mooring. The Winch Pole Hitch can be tied in the bight, meaning that neither end of the rope needs to be accessed in order to be tied, making it idea for tying up animals. Watch this video knot-tying tutorial and learn how to tie a Winch Pole Hitch.

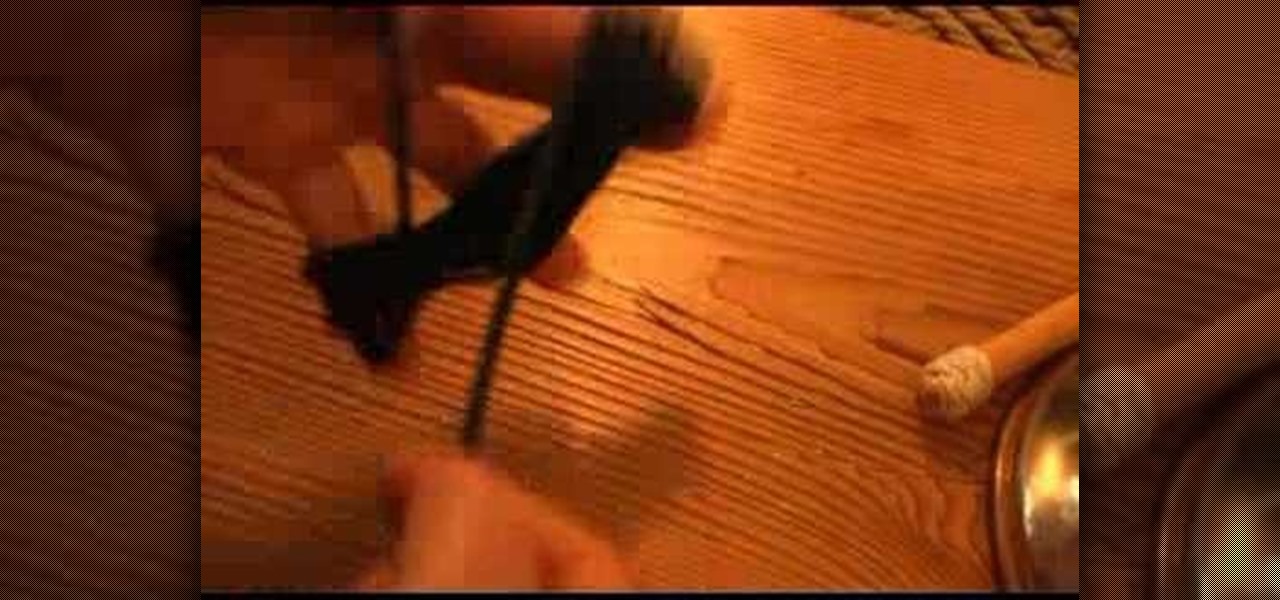
The method of rope handling demonstrated in this how-to video came from the Japanese. Pirates during the warring states period used such bundles to secure prisoners among other shipboard duties and the bundle stays alive today in hojujitsu. A few fathoms of paracord in a pocket and a handier tool aboard a boat would be hard to find. Watch this video knot-tying tutorial and learn how to tie a paracord bundle.

Watch this video tutorial to learn how to tie several different types of neckties. Try tying the the four in hand knot, the half Windsor, the Windsor, the Shelby, and the traditional bow tie.


