
How To: Tie a thin tie with the 4-in-hand method
You don't need to do any fancy knots to tie a basic thin tie. This fashion how-to video demonstrates how to tie a tie with the the 4-in-hand method. Its a slim knot for slim or thin ties.


You don't need to do any fancy knots to tie a basic thin tie. This fashion how-to video demonstrates how to tie a tie with the the 4-in-hand method. Its a slim knot for slim or thin ties.
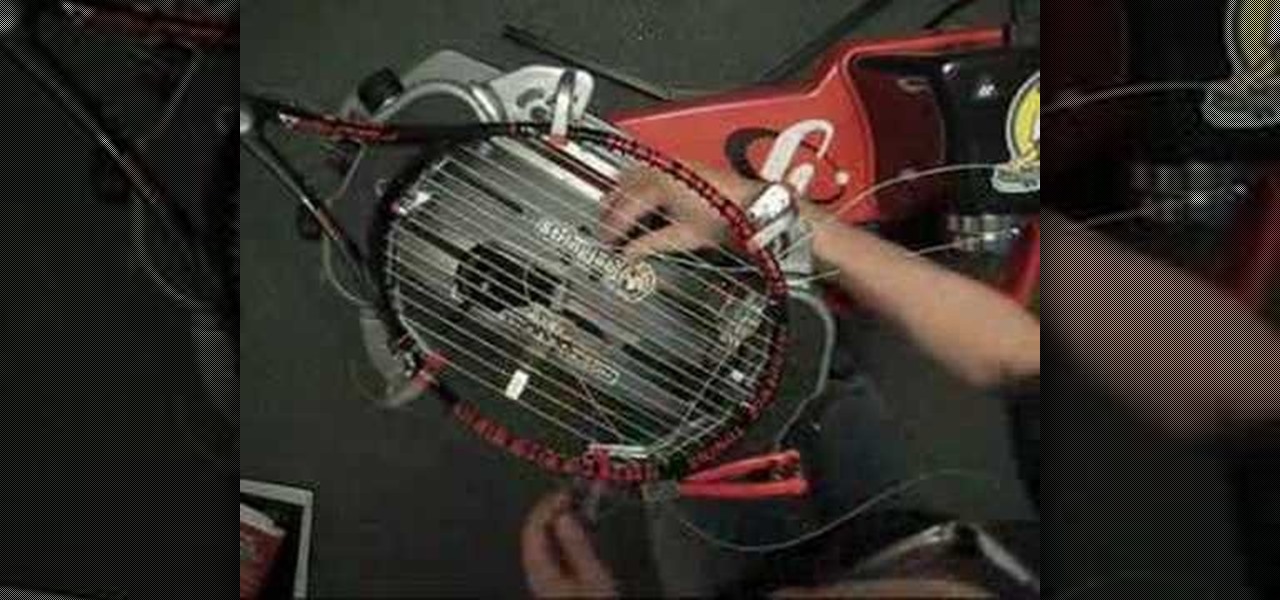
Take a look at this instructional video and learn how to start your crosses(two-piece) with a starting clamp when stringing your tennis racket. Keep in mind that when you get to the other side where the knot's going to be, make sure that there's enough string sticking out to get through your tension head and then clamp it on the outside with the starting clamp.
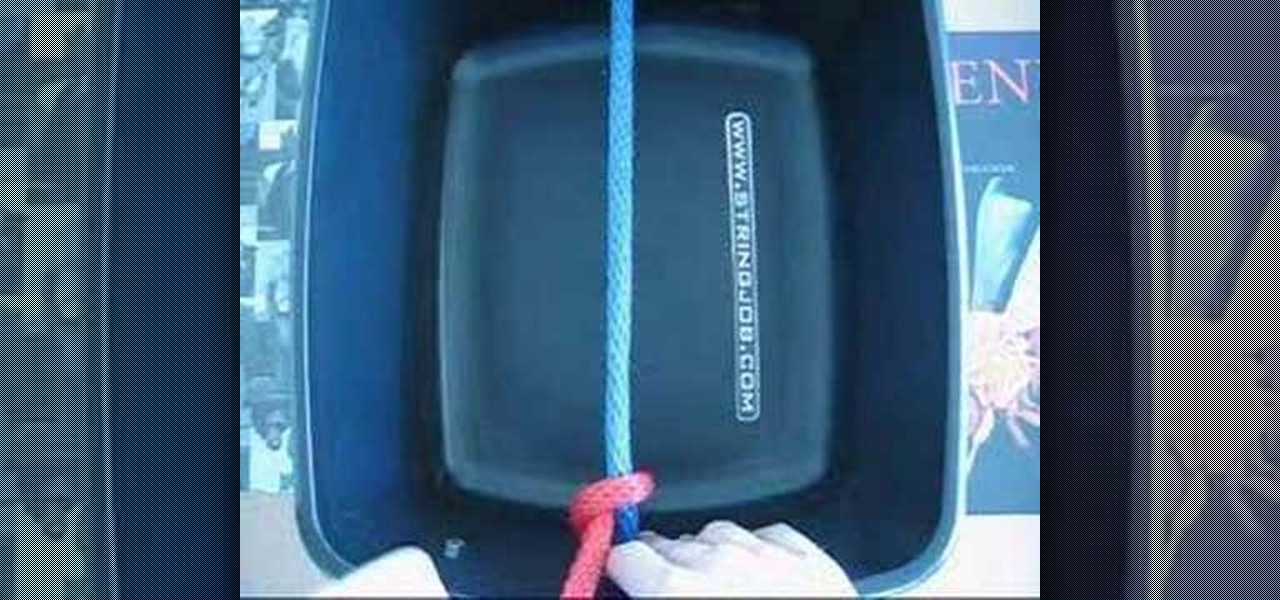
Take a look at this instructional video and learn how to tie a double half hitch while stringing your tennis racket. Keep in mind that this knot should only used to finish off mains or crosses. Because of this, tension should not be pulled directly to it.

This video tutorial shows how to do the straight stitch, padded straight stitch and also how to pierce the tail instead of using a knot. Watch this sewing and embroidery instructional video and learn how to do these simple moves.

Welcome to the hairpin crochet tutorial video! This method of crocheting was popular during the Victorian era. It's VERY EASY. You should know how to single crochet in order to do this technique. There is a video tutorial on how to start up the lace. First, remember to make a slip knot to successfully crochet with a hairpin.
This how to video is a tutorial on how to introduce a new color into a crochet project. Changing to a different color yarn is very simple with this instructional video. All you have finish your last row with a slip stitch, pull it through and secure it. Follow by adding you new yarn color with a simple slip knot.
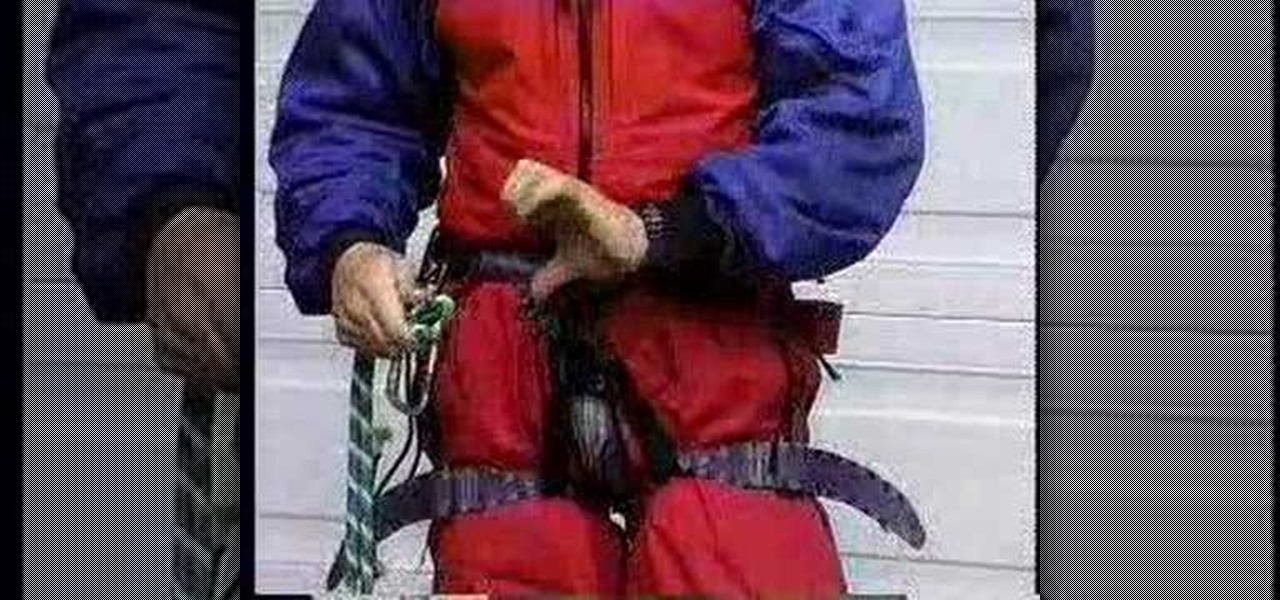
This knot is handy is you are saving on gear. Quite often I will choose to tye in over clipping in with biners. I often tyed clients in because I did not want them unclipping and running away without paying their bill.

The dropper loop is a classic loop knot which is often used on multi-hook fishing lines and bait rigs. It can be created in the middle of the fishing line and forms a loop which is off to the side of the line.

The perfection loop is used for attaching lures or sinkers to a heavy monofilament leader. The Perfection Loop knot is designed to easily create a loop at the end of the fishing line. The perfection loop is also often used by fly fisher men use the perfection loop to connect the fly fishing line and leader in a loop to loop connection.

In this tutorial, we learn how to tie a necktie on someone else. First, pop the collar and drape the tie around the neck with the wide end on your right. Then, tug the wide end down, so it hangs 12 inches below the narrow end. After this, cross the wide end over the narrow end, and bring it up through the neck loop and down the front. Swing the wide end to the right, pass it under the narrow end, then cross it back over the right. After this, push it up through the neck hole. Now, tuck it thr...

In this tutorial, we learn how to make a left handed crochet wide headband. First, make a slip knot on the crochet hook and then make a chain of two. Next, wrap the yarn over and pull through once. Repeat this and then wrap the yarn over the hook, then wrap over and pull through once. Repeat this fourteen times to make the entire foundation for your headband. Once you have made this, you will need to repeat this on top of the first foundation several times until you have made several rows so ...

In this tutorial, we learn how to knit a scarf for an American Girl doll. First, make a slip knot on one knitting needle. Next, case on the stitches. You may do this as many times as you want to create a thicker scarf. Do this by grabbing the loose yarn, wrapping it around your finger and needling through it once. Then, pull one on your finger and then up and over the needle. Repeat casting on the stitches as much as you need to. Do this for each of the stitches, then when you are finished ti...
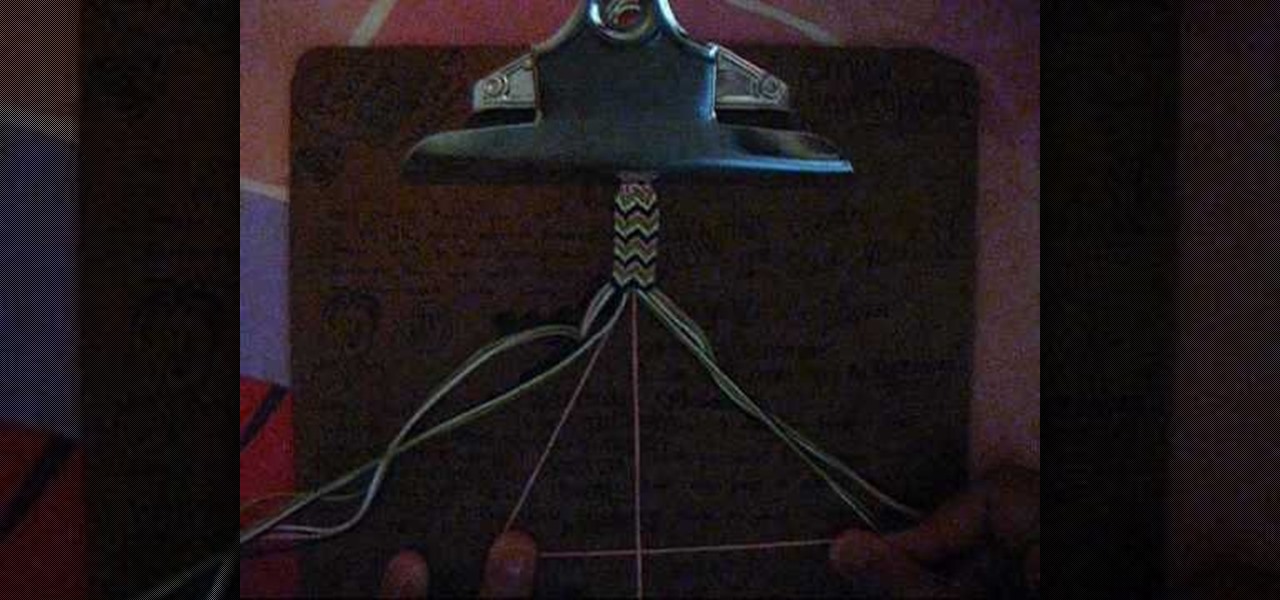
In this tutorial, we learn how to make a double arrowhead friendship bracelet. First, you will need two strings of the color you want that are 70 inches long. Then, tie these into a knot and put it underneath a clipboard. Now, separate these into four groups, then start to separate into colors. After this, find the color in the middle and start to braid and pull twice. Then, you will start to braid the other pieces of string in together so you are making to arrowheads right next to each other...
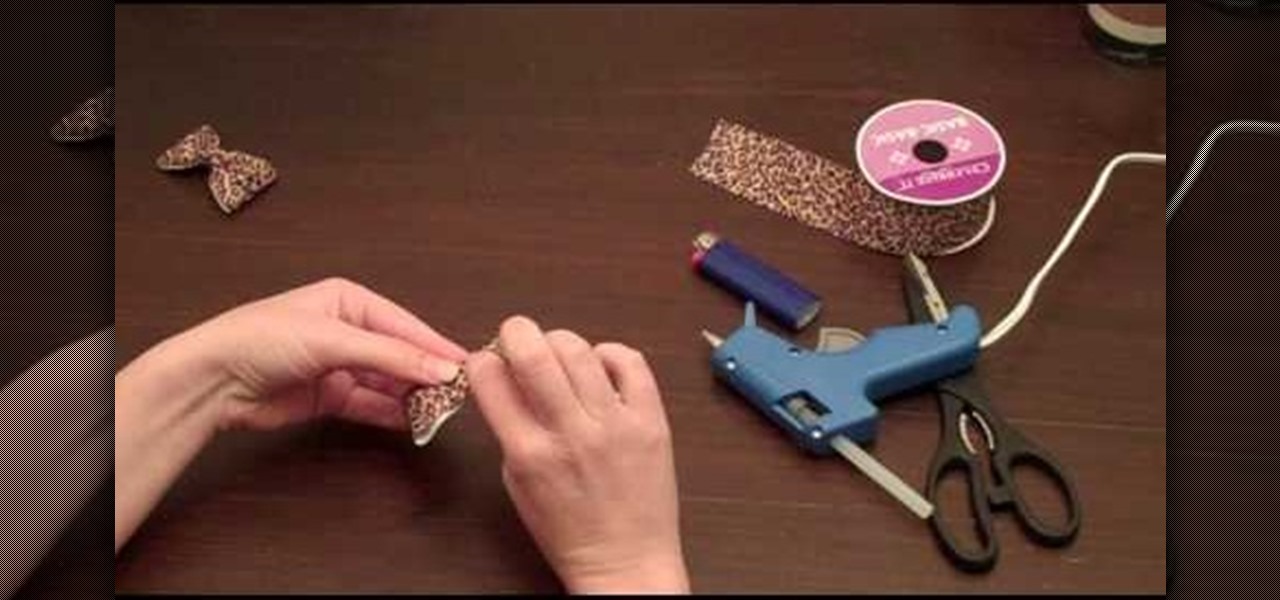
In this tutorial, we learn how to make an easy hair bow. First, grab some thick ribbon in any color or material that you want to have. Use more ribbon if you want a larger one and less if you want a smaller one. Measure it out or use your eye to measure. After this, heat seal the ends so they don't fray by passing them through a lighter quickly. Now, fold the ribbon in half length wise, then place a crease there. After this, use a hot glue gun to fold down the two sides of the ribbon with a k...

In this video, we learn how to perform a cable cast-on. Start this with a slip knot, then grab your working yarn and create your first stitch. After this, go between the two stitches with your other needle, then tighten the last stitch that you just made. Now, go in between the last two stitches and tighten up the yarn again. Continue to do this by making different stitches and as you go down you will have a cable cast-on. As you finish, you will have a longer and longer row, so tie off when ...
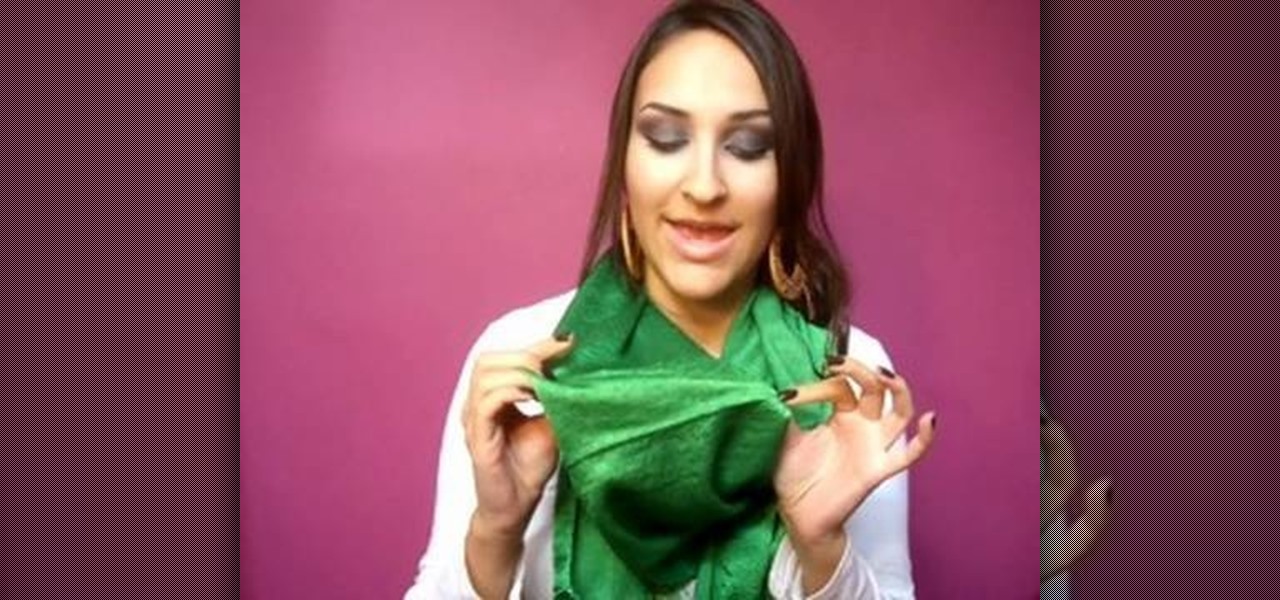
In this video, we learn how to wear a scarf by creating contrast and texture. A squared shaped scarf with contrasting patterns will look great with anything that you are wearing. To wear this, make it into a triangle, then tie the ends together around the back of the neck. Then, you can let the scarf hang down on the front to add a texture to your look. A solid color scarf is also great if you are wearing a simple top to add a splash of color. You can tie this around the neck one, then let th...
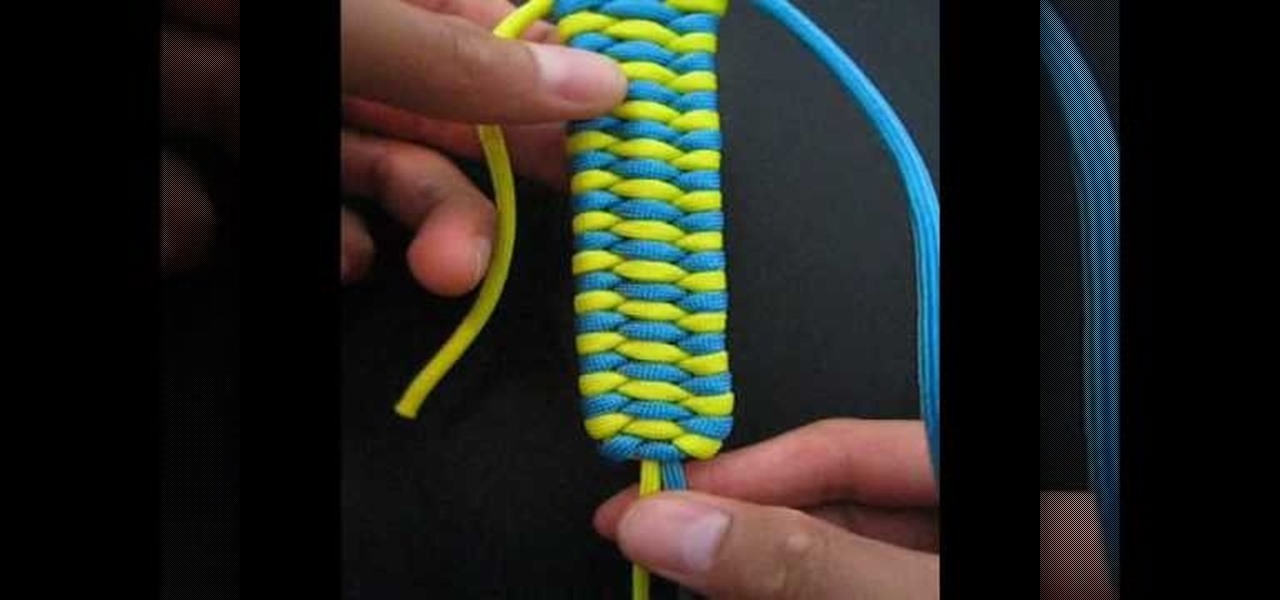
Who knew that knots could be their very own art form? According to TIAT, or Tying It All Together, knots can be sexy, sensual, and beautiful. And we're totally getting that by the looks of this pretty triobite bar.
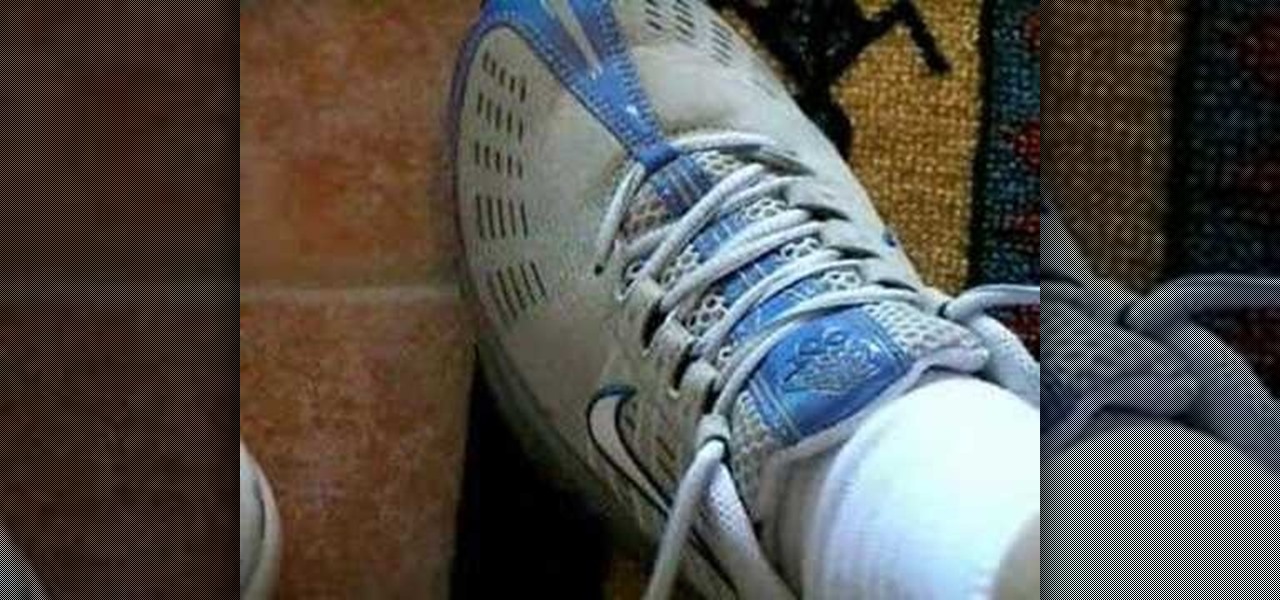
In this video, we learn how to tie your shoes. First, tie a knot at the base by crossing the laces over each other. Then, make a loop with one lace and wind the other one over it. Come underneath with a loop and then grab both loops and pull. To do this with the other hand, you can do the same thing just use your dominant hand to make the loops. This is only one of the many different ways to tie your shoes. It will take practice, but it can be done and once you do it it's very simple!
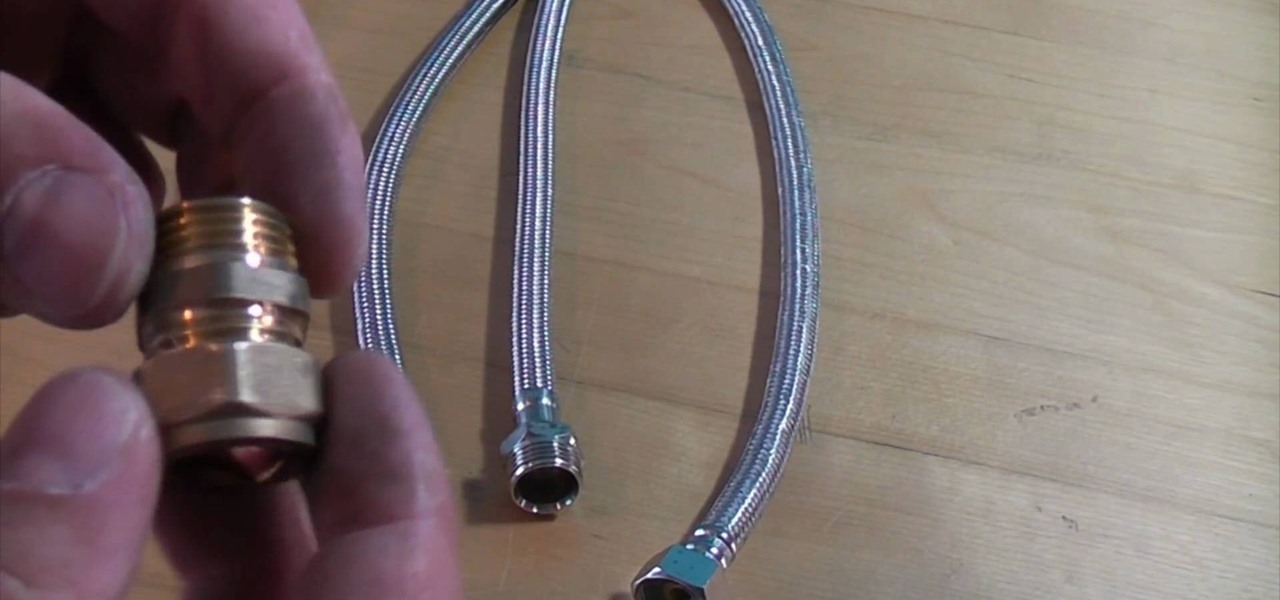
In this video, we learn how to connect flexi-tails properly. First, take your flexi-tails and grab one with a female end that will screw onto the end of a male. After this, use an isolating valve to fit the compression onto the valves and then tighten it up. Screw the flexible tail onto the end of this. Be careful buying this off Ebay, because a lot of fittings will not screw onto a compression knot. It is very simple to make this, you just have to connect the two tails and make sure they are...
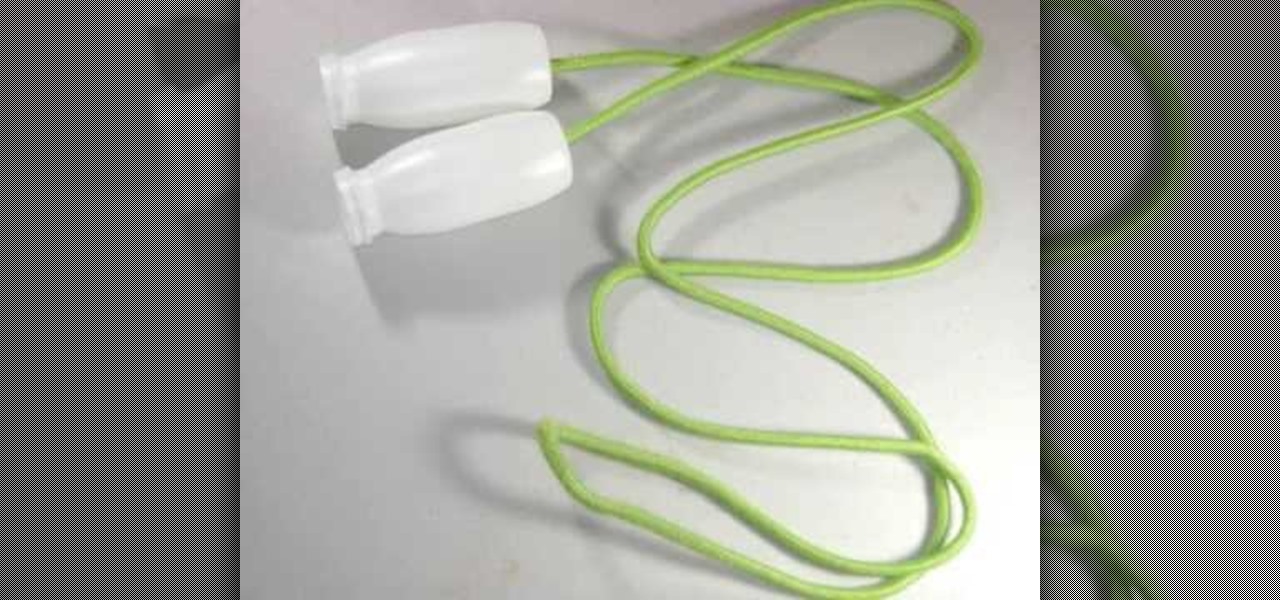
In this video, we learn how to craft a homemade jump rope with your kids. You will need: 2 think plastic containers, a heavy rope, and scissors. First, take your plastic containers and cut a hole in the bottom of each of them with the scissors. After this, place your rope through the inside of each one. Tie a knot at the end of each side of the rope so it's thick enough that it won't go through the hole you just made. After this pull the rope down and now you will be able to use it as a jump ...
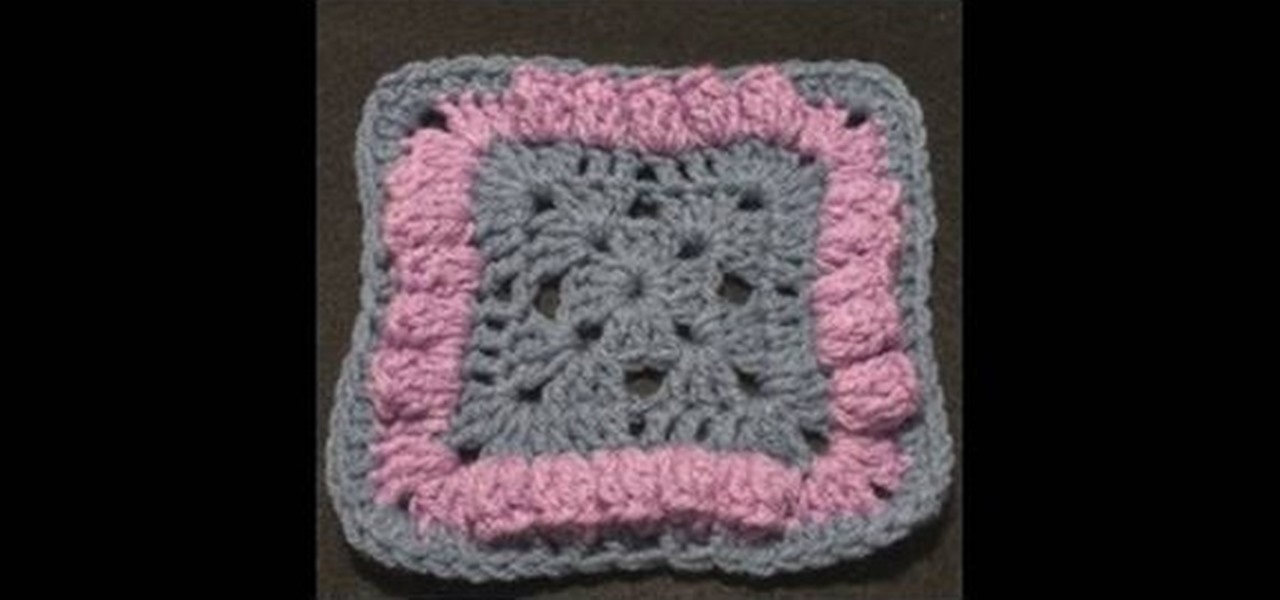
In this tutorial, we learn how to crochet a Bellevue granny square. Start by adding the slipknot to the crochet hook. Work a chain of four and join with the beginning chain. The first two rounds are going to be a traditional granny square. Chain, pull up, then work three double crochets. Continue doing this for all of them. Chain two, then work three more double crochets. Work the last three double crochets and you will have the base of the granny square complete. Continue doing this, but end...
In this tutorial, we learn how to tie a Texas rig. First, get your worm and your side hook, then hook the worm to the fishing rod and hook. Tie a knot around the fishing line so it stays in place then you will be ready to use! This is great to use when you are out fishing, and will bring in a lot of fish. Make sure when you hook the hook into the worm, you thread it through so the hook doesn't obviously show. Fish will be attracted to the worm, then get caught on your hook because they won't ...
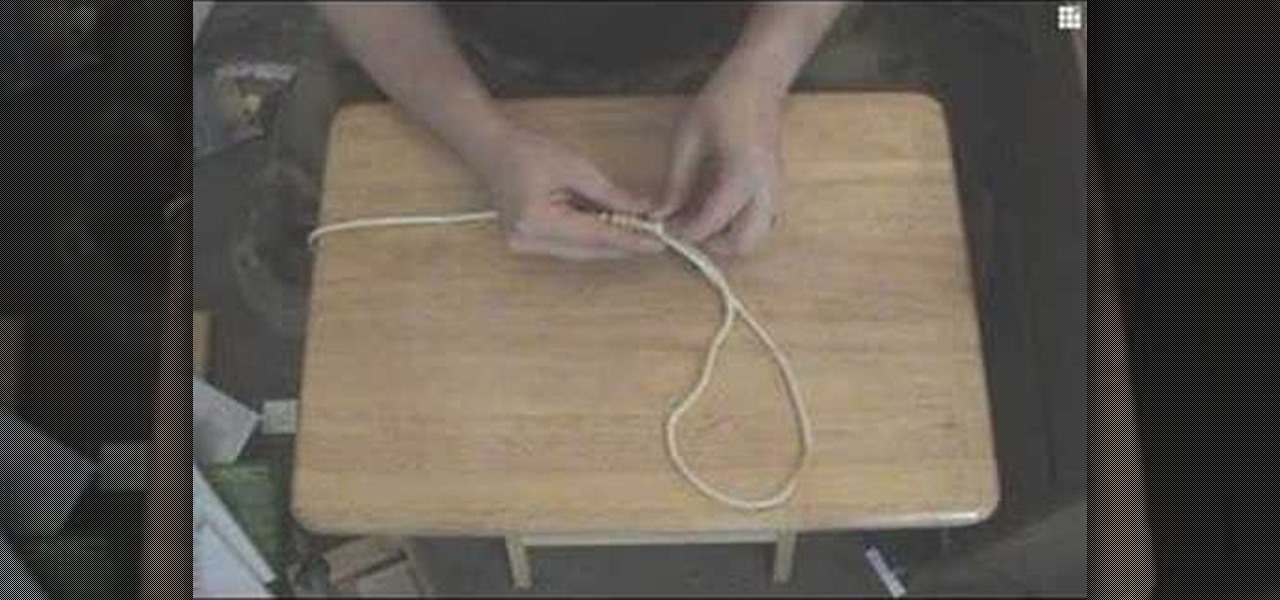
In this tutorial, we learn how to tie a decorative noose. First, form a loop and then and wrap the end around the loop thirteen times. Next, take the loose end and stick it into the coils you just made. Use a pencil and long scissors to help you do this. After you are done with this, tie a knot at the end and pull so the loop is tight. You can also clip off the loose end and pull the loop to make it larger if you prefer. When finished, use this as you wish but do not use it for violent activi...
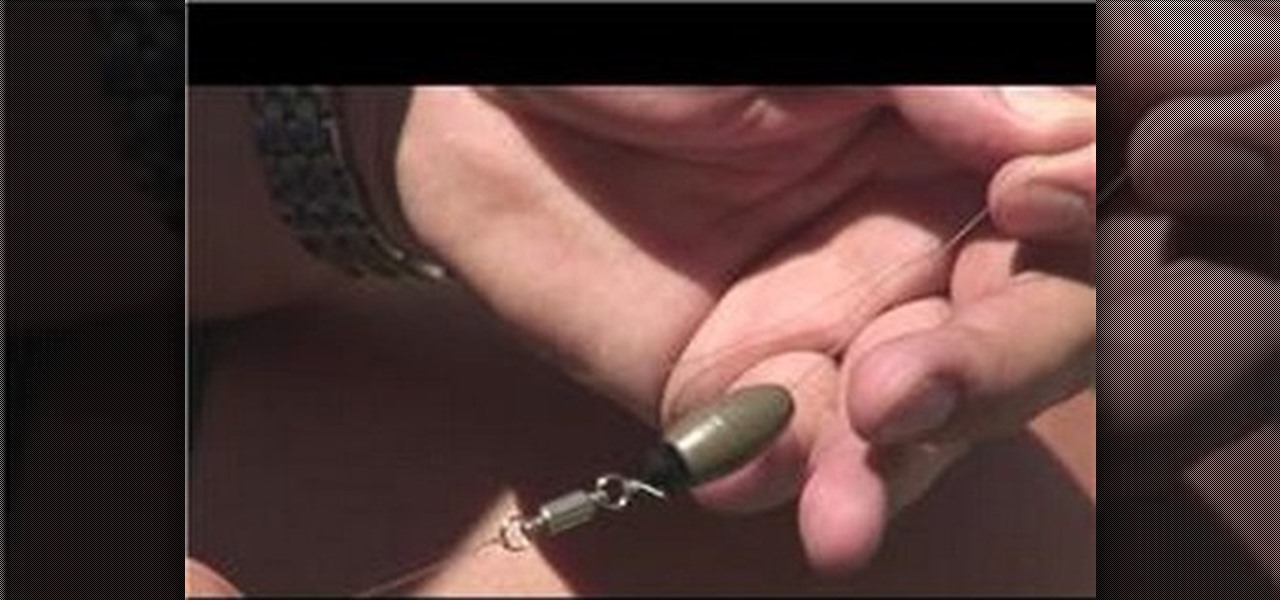
In this tutorial, we learn how to tie a Carolina rig fishing line. First, grab your favorite type of hook, then apply it to a Carolina rig that has a bead on it to protect the knot from sliding up. You can also use a giant worm on your Carolina rig to have better results while fishing. Push the hook into the worm, and thread it through so it's secure. This type of fishing line is used to fish on the bottom and can be used to catch more fish and a different type. Use this as often as you'd lik...
In this tutorial, we learn how to thread a cord lock. First, tilt the cord lock up and find the two different wheels on the inside of it. Now, push your lift cord up through the two wheels that are on the inside of the lock. After this, pull the thread up through the top and then slide the thread through the smaller hole on the lock. Now, you will repeat this again for another piece of string, but thread it through the larger hole once you reach the top. After this, thread another cord throug...
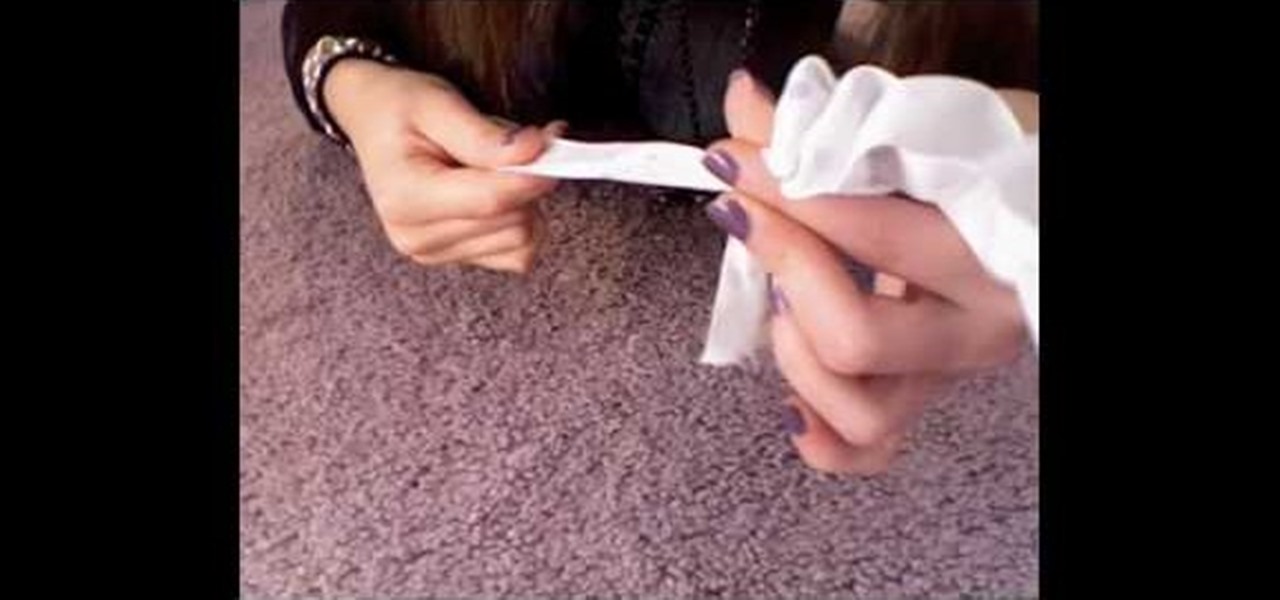
In this tutorial, we learn how to make a flower headband for Valentine's Day. To make this, you will need: rubber band, elastic band, and ribbon. First, take your ribbon and fold it in half, then make one side a little bit longer than the other. Now, make a flower with the ribbon so it lies on the very top of the headband. After this, use your elastic to tie it around the base of the flower so it stays in place. Now, tie your rubber band to the bottom of the headbands and make a knot with the...
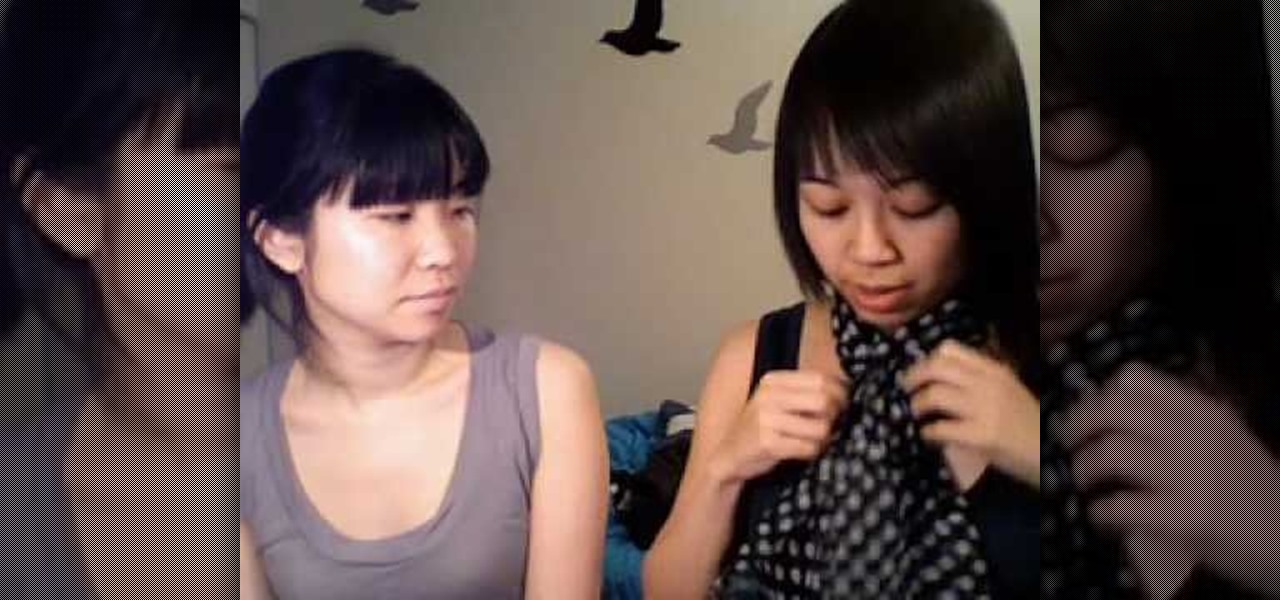
In this video, we learn how to tie scarves. The first way is to wear a scarf with tassels that is wrapped once around the neck with it's sides hanging down in front of you. With a skinny scarf, you can tie it around your head to make a headband or fold it in half and wrap it around a pony tail. If you have a rectangular scarf, you can tie it in a loop around your neck, or make a loose knot on your chest in front of you. If you want a polished look, tie a bow in front with the scarf. A square ...
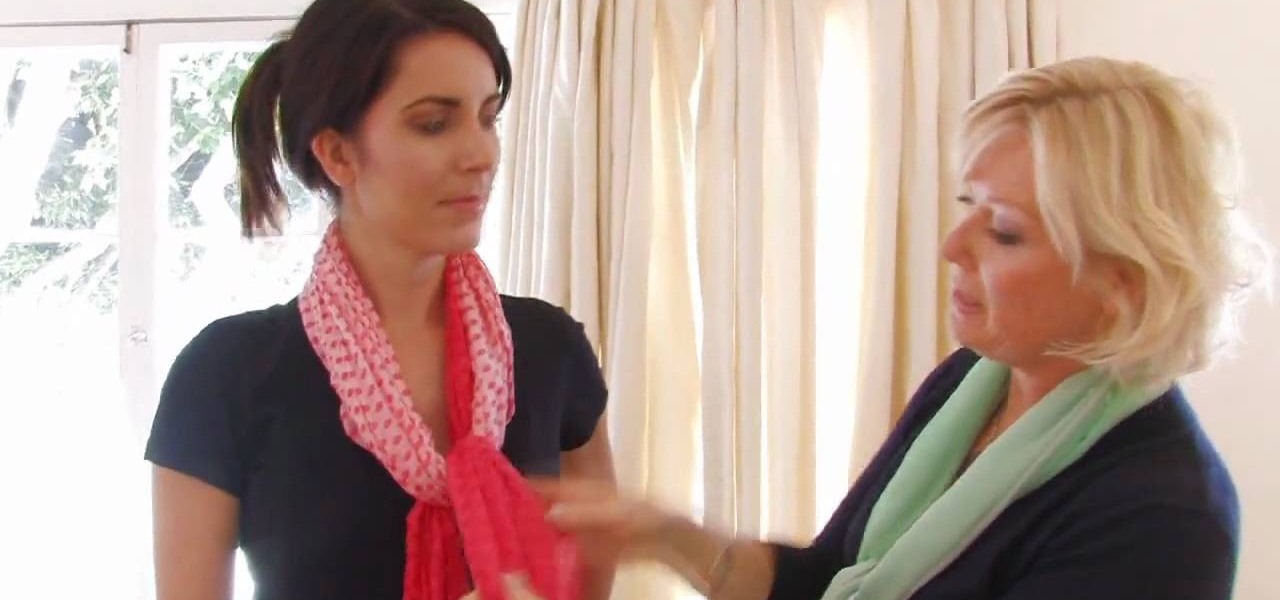
In this tutorial, Cate Adair shows us how to wear a long scarf and look fashionable. First, remember to style the scarf with something you like to wear and style it how you feel comfortable doing. The first way you can wear a long scarf is to wrap it around your neck once, then tie a knot around where your cleavage starts. This will look great with a v-neck short sleeved top. Another way to wear a long scarf is to tie it around the waist to create a look that will slim you if you have a round...
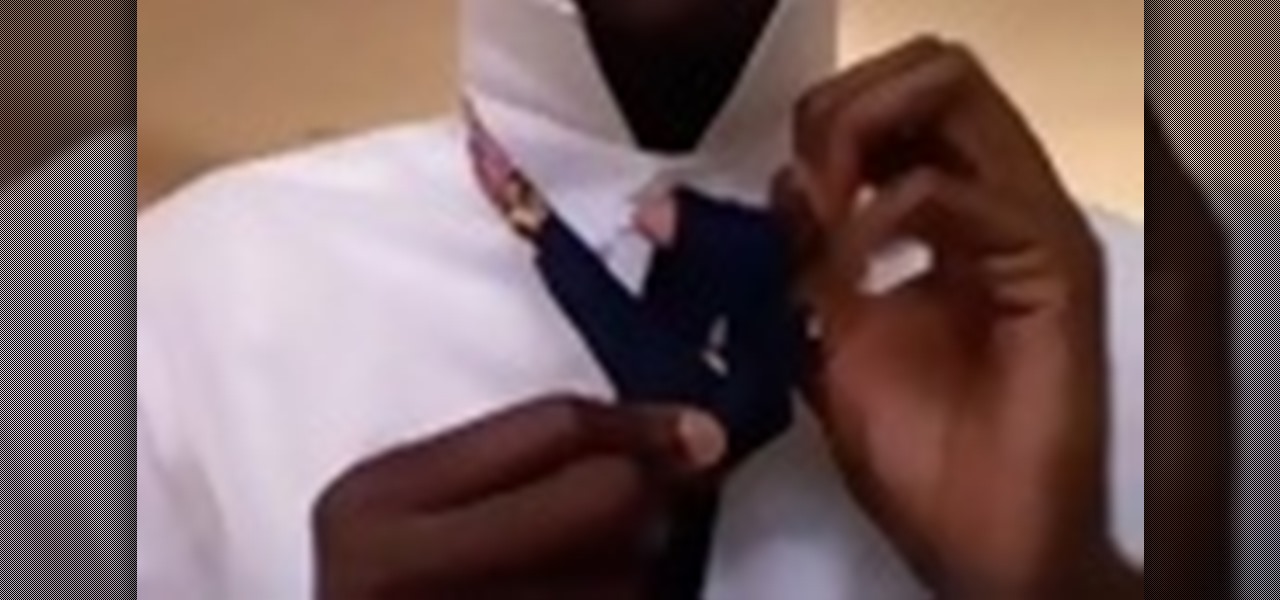
In this video tutorial, viewers learn how to tie a necktie the British way. Begin by putting the tie around your neck. Cross the wider end of the tie over the narrow end. Then bring the wide end of the top up through the loop between the neck and tie. Pull it back down and slightly tighten it. Now bring the tie over and through the loop once again. Then bring with tie around the unfinished knot, under and through the loop one more time. This video will benefit those viewers who need to dress ...
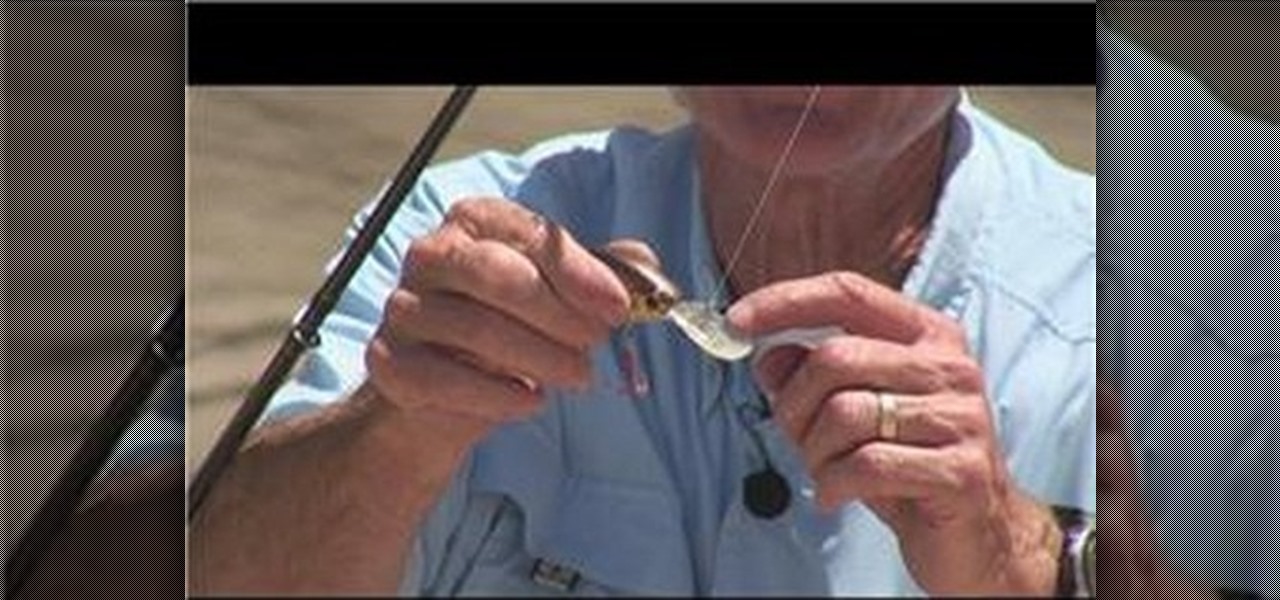
In this Outdoor Recreation video tutorial you will learn how to rig a crankbait. It is so named because it floats on the water and does nothing until the crank is turned. The turning of the crank provides the action to the bait and attracts fish to it. To rig it, there is an attachment point on the diving lip of the crankbait; it can be a small hole for the line to be passed through or a split ring to attach the line. Tie the line to the lip with a clinch knot and you are in business. In case...
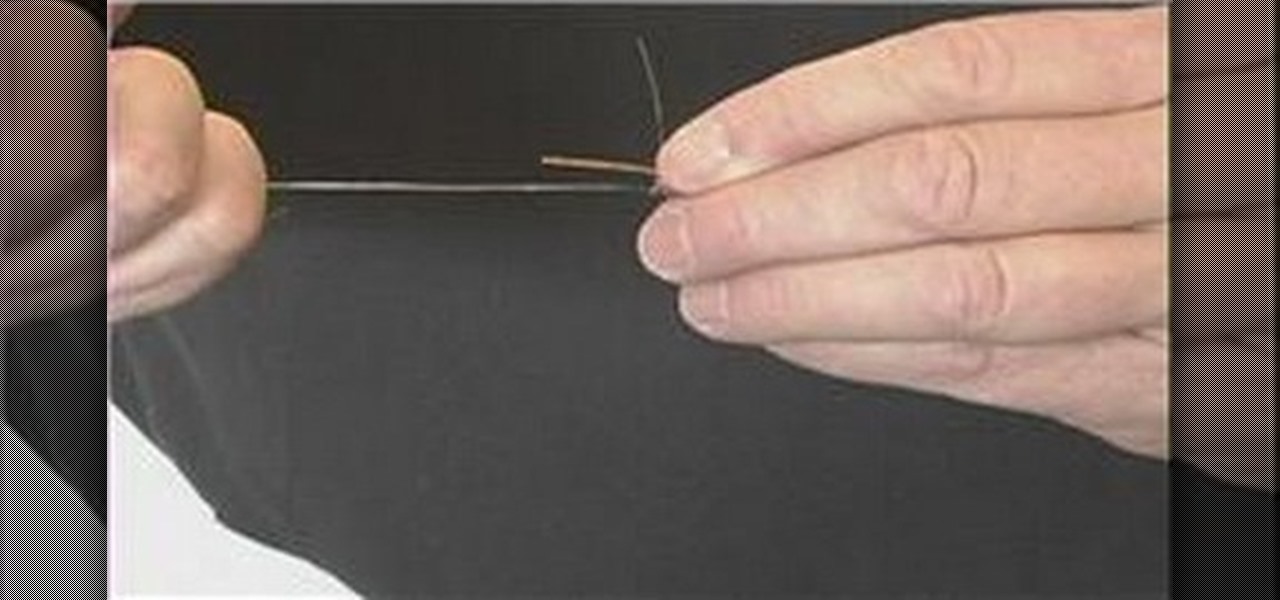
The most important aspect of fly fishing is the fly! In this tutorial, learn how to tie a fly to your line for fly fishing. You will learn how to attach a fly to the leader on your line. A fly isn't attached to a fly fishing line because the leader is attached to the fly line, and the fly is attached to the leader. Find out how to moisten fly line to reduce friction and strengthen the knot with help from an experienced fly fisherman in this instructional video on fly fishing equipment.

When hunting for trout, you will need to know how to set up your rod. Different types of fish require different set ups. In this tutorial you will learn to master the technique behind rigging a fly fishing line for trout.
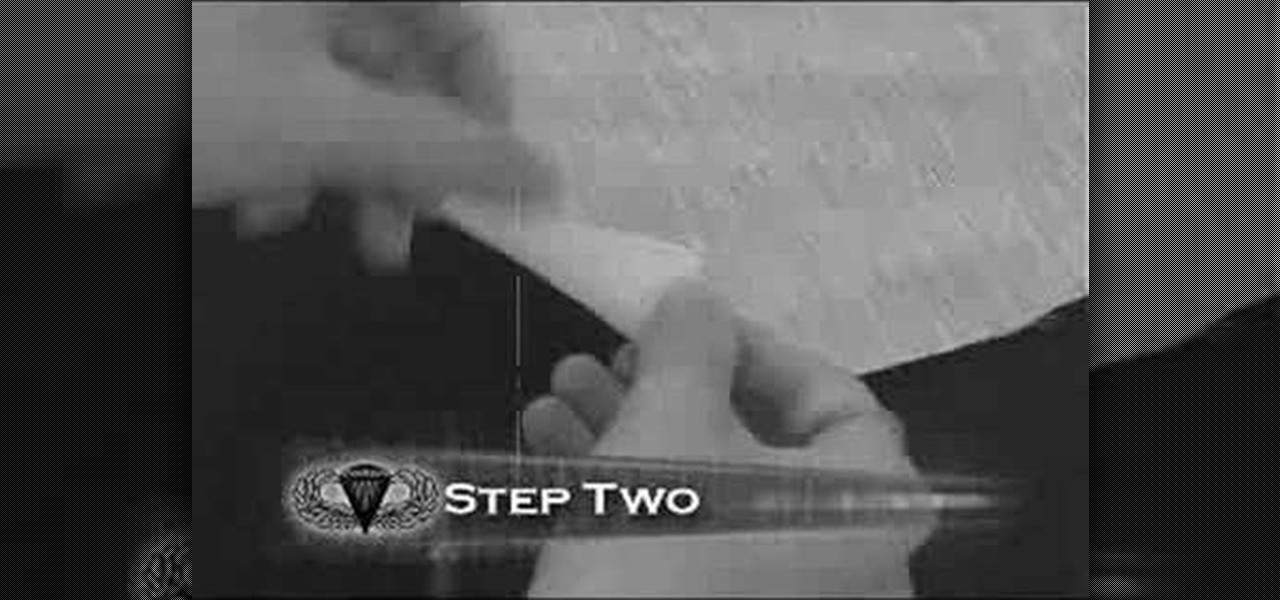
In this video tutorial, viewers learn how to make a toy parachute. The materials required are: lightweight fabric, ruler, scissors, string, 4 hole button and a toy army man. Begin by measuring a 10x10 inch square on the fabric and cut it out. Fold over each of the 4 corners and cue a small hole. Measure and cut 2 lengths of 36 inch string. Take the string and tie it to one end of the hole on the fabric. Run the other end through the button hole and tie it to the diagonally opposite hole on th...
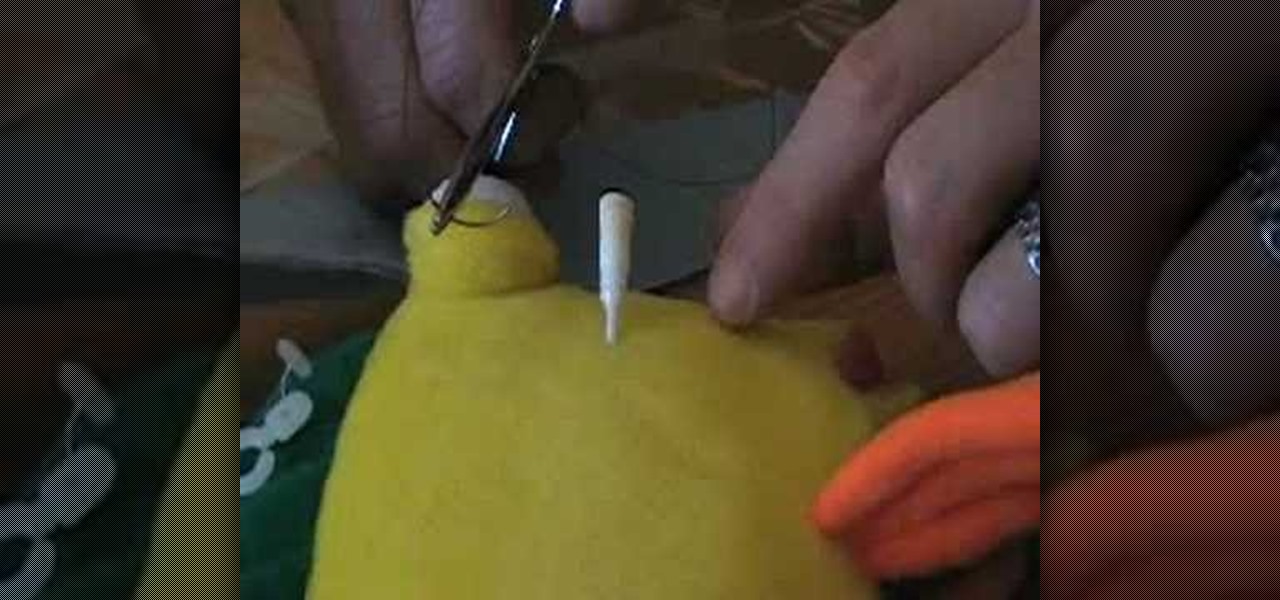
This video shows the method to suture arterial lines using a curved needle. We will use the new arterial line kit for our demonstration. We will use a curved needle as it is safer than the straight needle. Hold the suture with the hamostat at about sixty percent from the tip of the needle. Do the turn the key method to bring the needle out from the other side. Unclamp it and re-clamp it at the tip of the needle. Continue the turn the key method. Pull the suture up and through. Cut the suture ...
In this video tutorial, viewers learn different ways to wear a Pashmina scarf with a bridesmaid dress. The first way is to wear it on the shoulders for those who are uncomfortable with strapless dresses or are cold. The second way is to simply wear it around your arms. The third way is to put on the shoulders and tie it at the back. The fourth way is put it around your neck and wrap it. If it's cold, you can wrap the end in a knot. The fifth way is to double the scarf then tie it around your ...
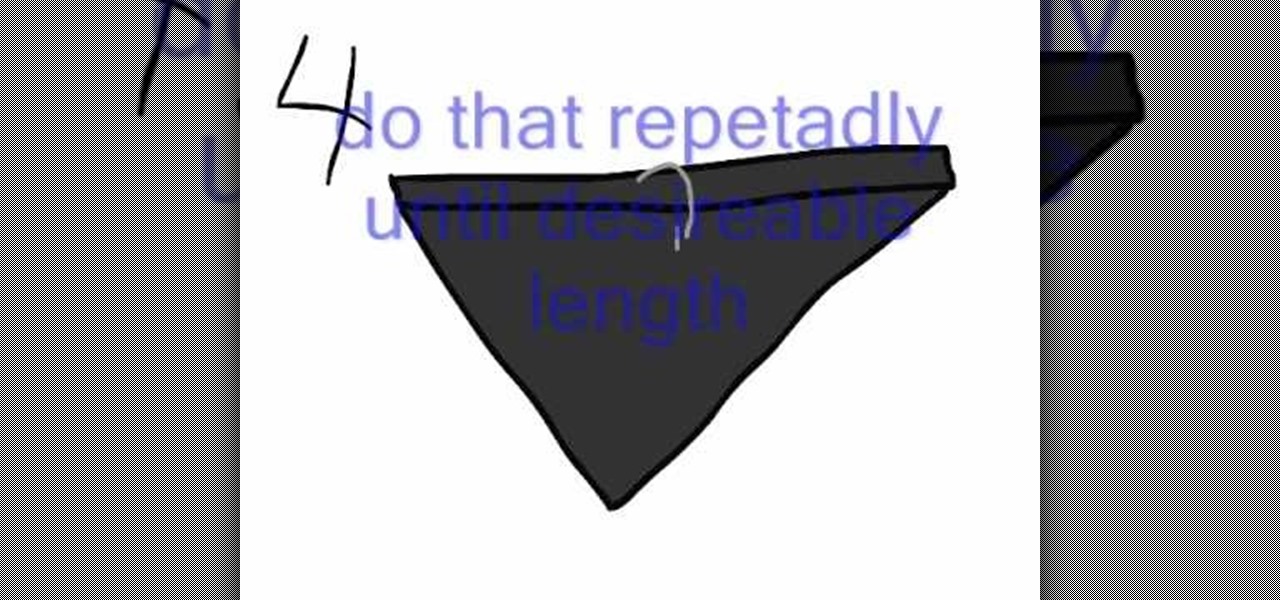
In this video, we learn how to fold a bandanna. First, place your bandanna flat, then fold it diagonally. Once you've done this, you will have an upside down triangle. Now, fold the top of the triangle down as many times as you desire, it can be as wide or as thin as you want. Now, you should have a rectangle with a triangle hanging out from under it. You can now tie the bandanna around your head, butting the triangle part around your mouth. Tie a knot behind your head tight enough to where i...
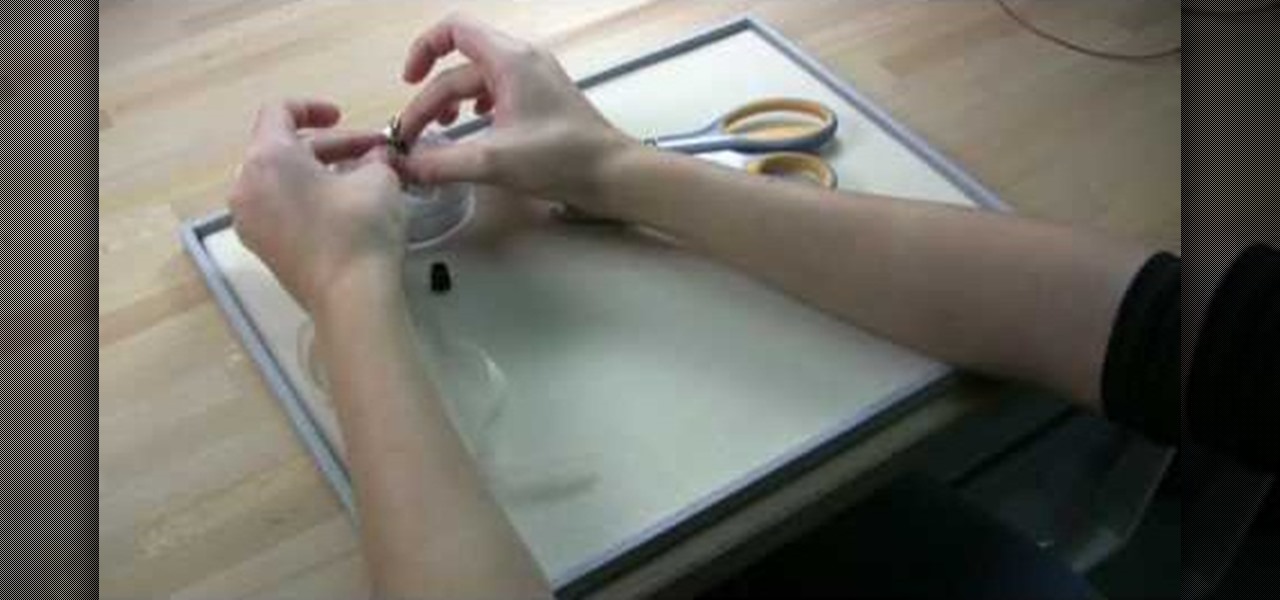
This video shows the method to use glue-in bails and caps and Morano glass bead to make a simple Christmas tree ornament. Apply adhesive to the post on the glue-in cap. Apply enough adhesive so that the cap makes good contact with the Morano bead and does not ooze out from the sides. Insert the cap into the Morano glass bead and put it upright until adhesive sets on the bead. Put adhesive to the post on the bail. Put it into the bead and leave the adhesive to set. Put the ribbon through the b...
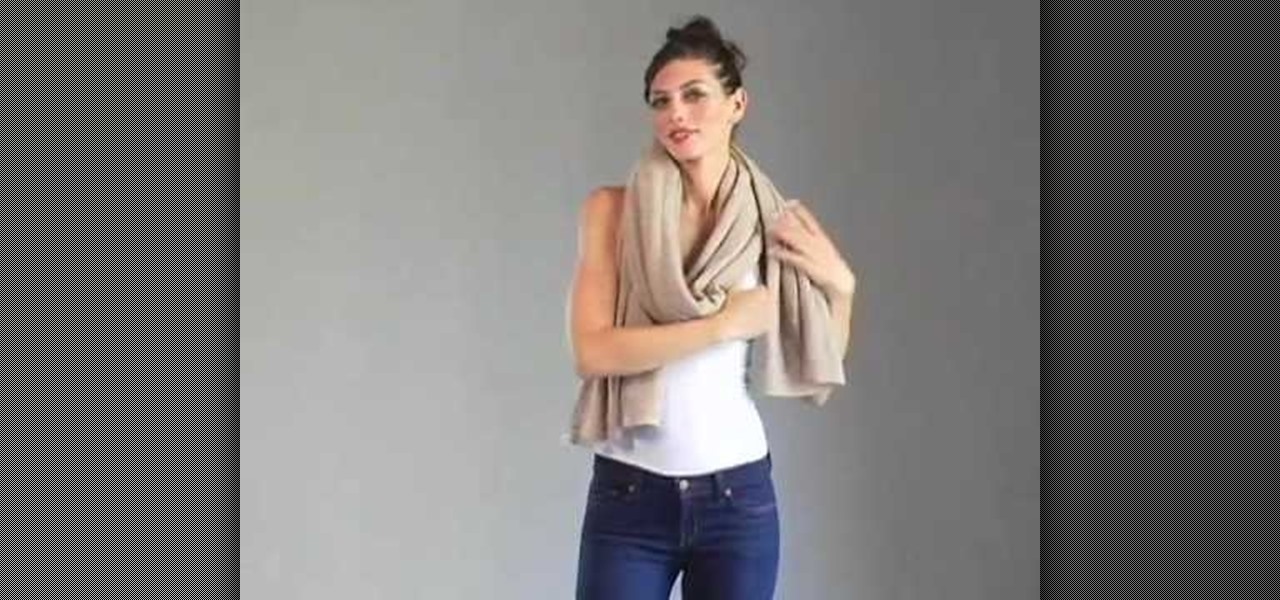
In this video, you will learn how to wear your White + Warren Cashmere Travel wrap. There are four different ways to wear this wrap. The first way involves placing the wrap around your neck. This is similar to a scarf. The second way involves wrapping the cloth around the back of your neck and having the ends go across your chest. Tie the ends behind your back. The third way involves a fancy loop and knot, similar to a fancy scarf. Lastly, you can wear the cloth behind your neck with the ends...
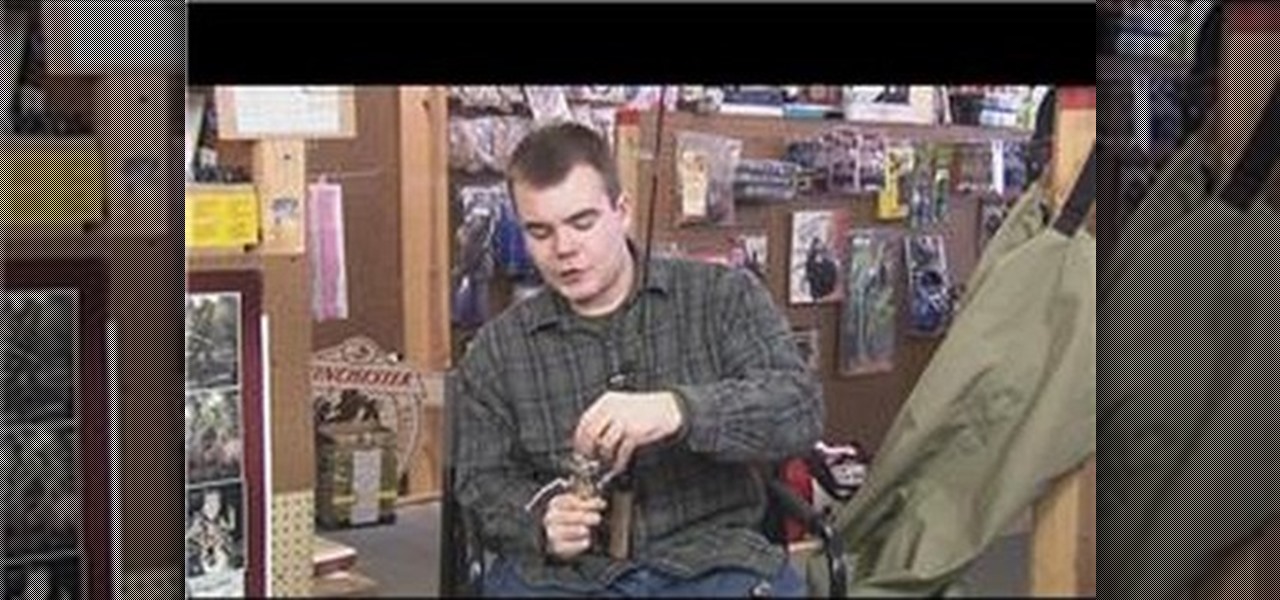
In this video tutorial, viewers learn how to restring a fishing pole. Begin by twisting off the drag cap and take off the spool. Take your fishing line and run it down the rode holes. Flip your bail up and tie a quick knot. Put it on the spool and reel it in. Hold the rope with some tension and reel it in slowly. If you reel it in too fast, the line will easily get tangled and you will have to remove or cut off the line. This video will benefit those viewers who are interested in fishing and ...
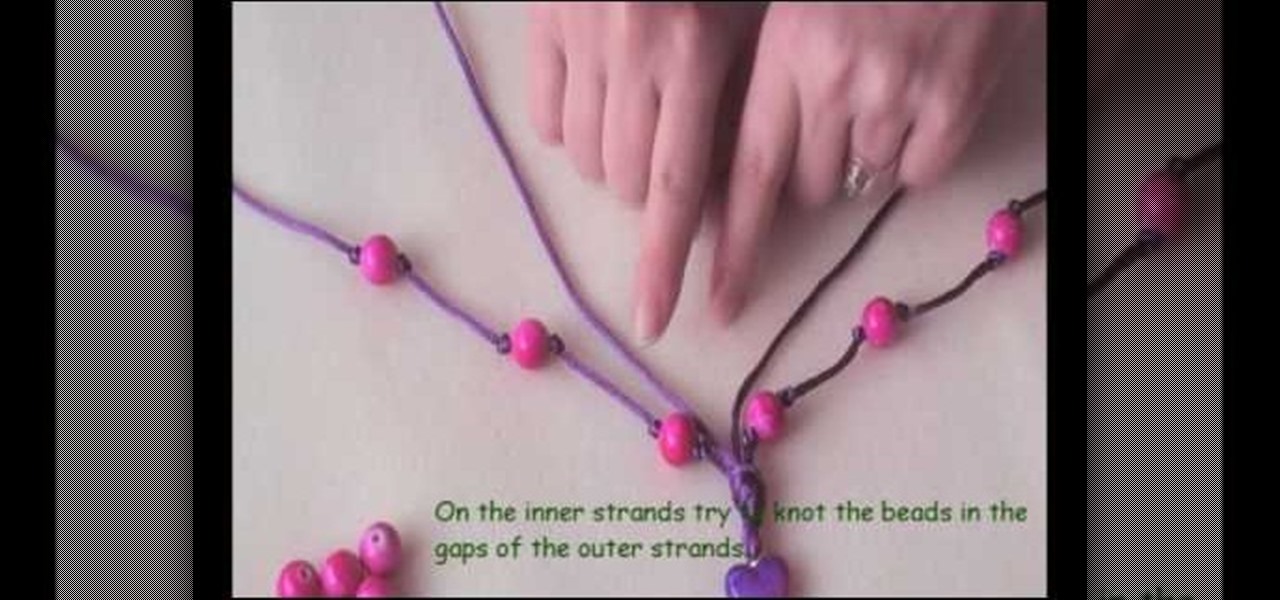
In this video the demonstrator shows how to make an alternative style rock star bead necklace. She uses purple cording, pink round beads, and a pink and purple heart bead to construct this fun, original piece of jewelry. By using a headpin and pliers, she shows how to turn the heart bead into a charm to use in the center of the necklace. She also shows us how to knot the beads in place for a polished look. Follow her unique tips including using nail varnish to sting beads easier, seed beads t...