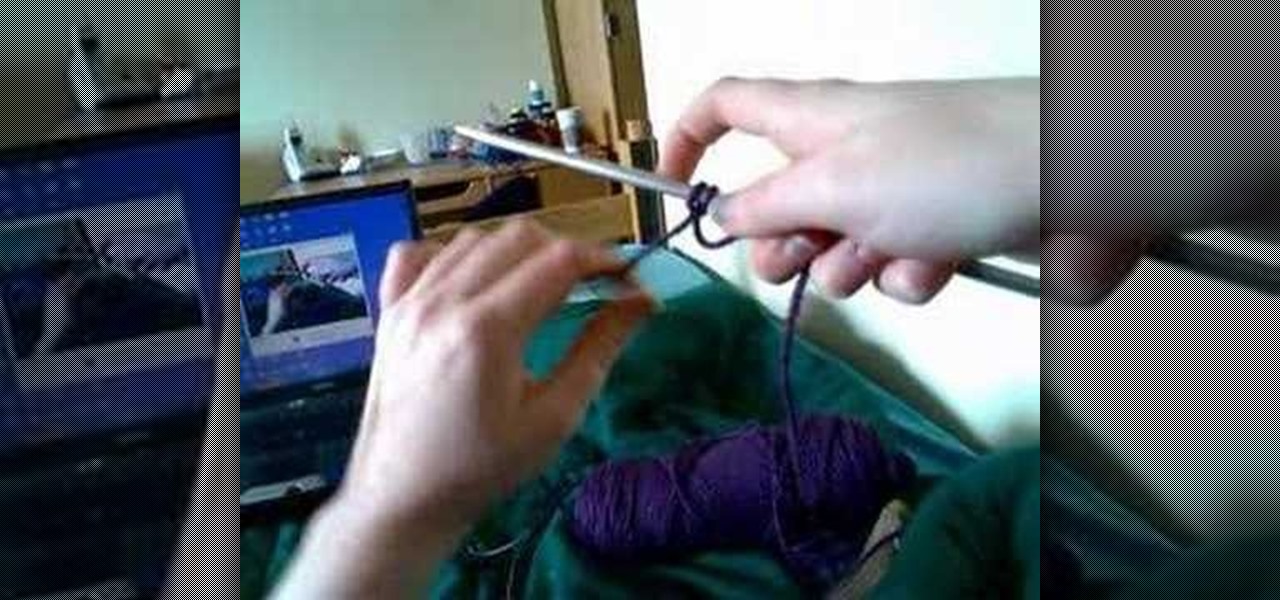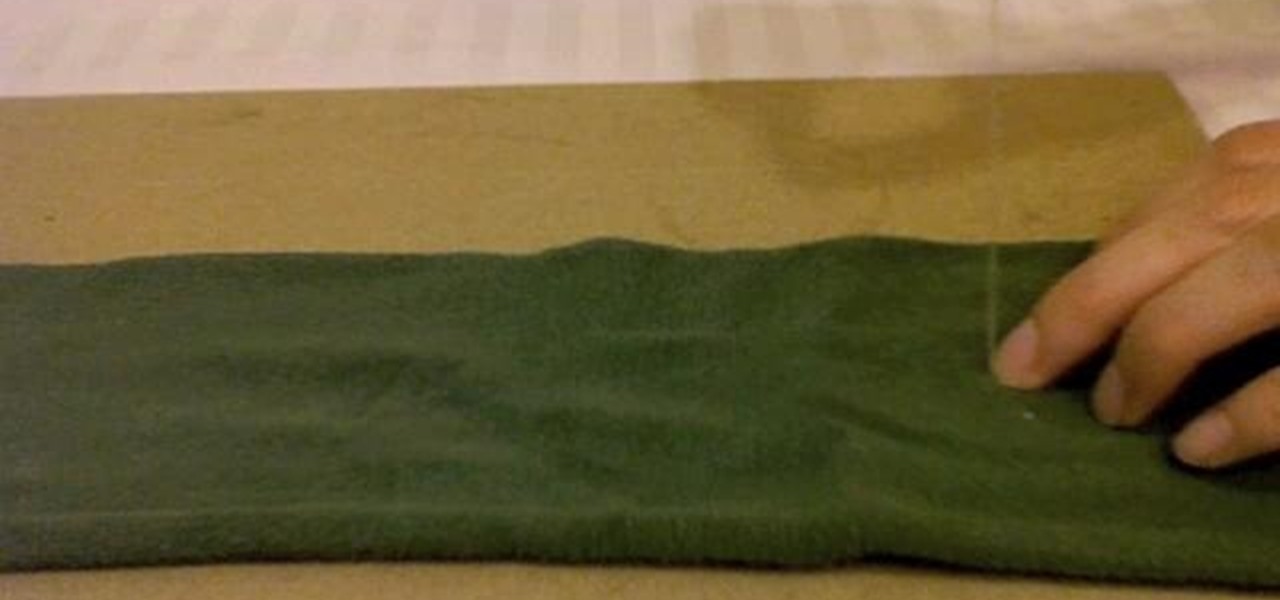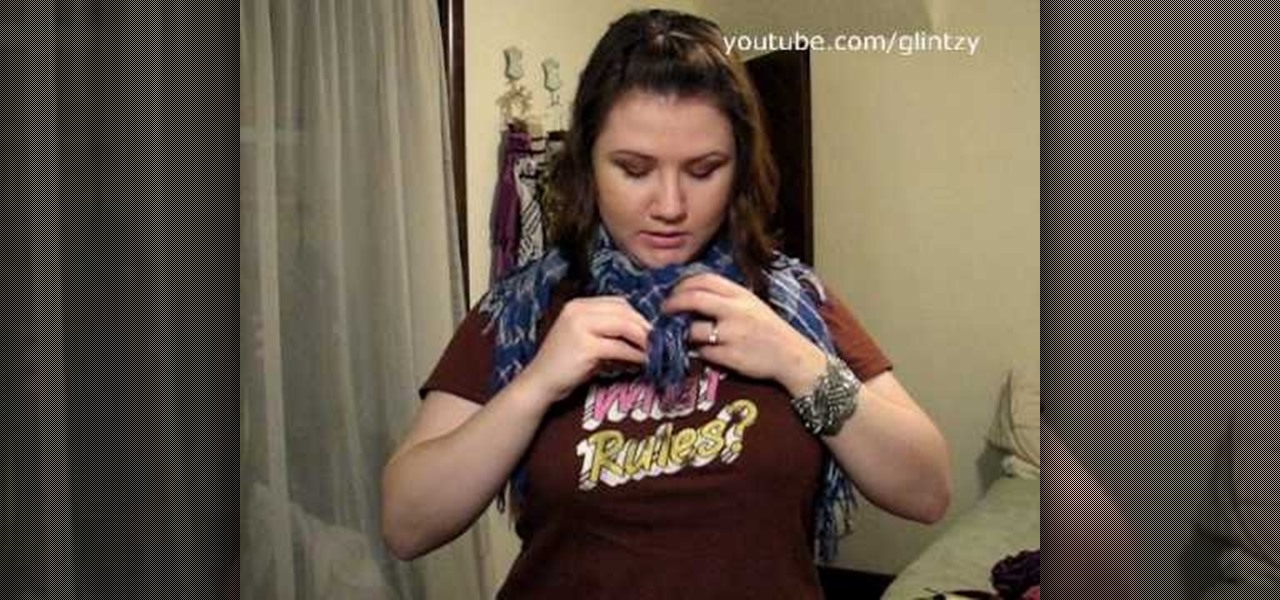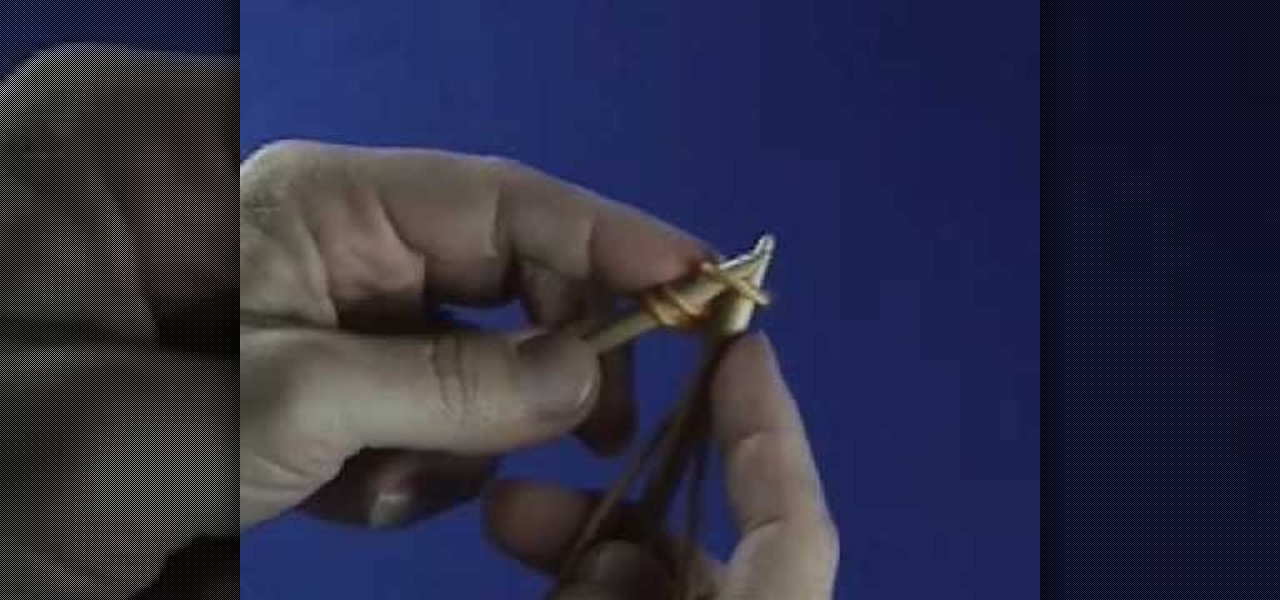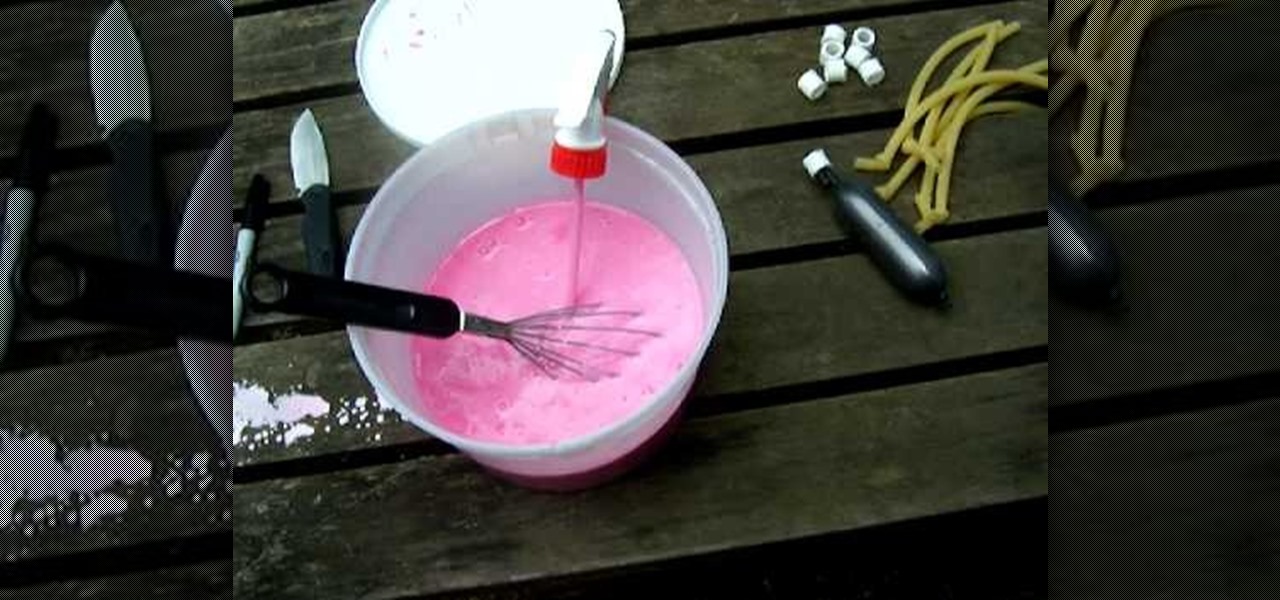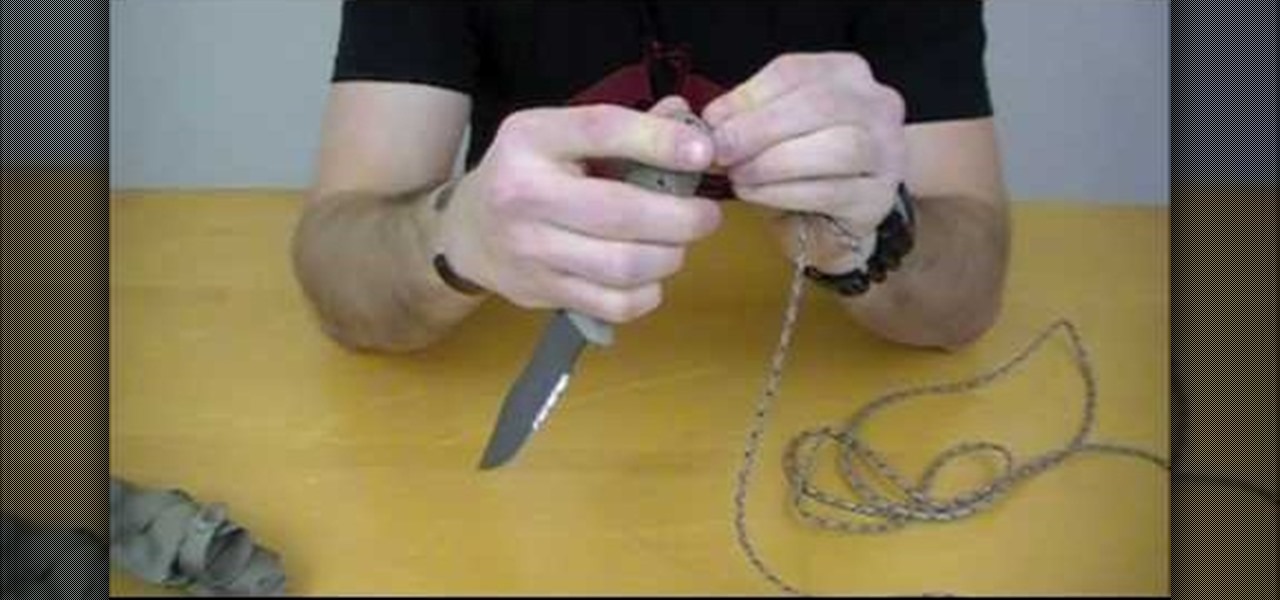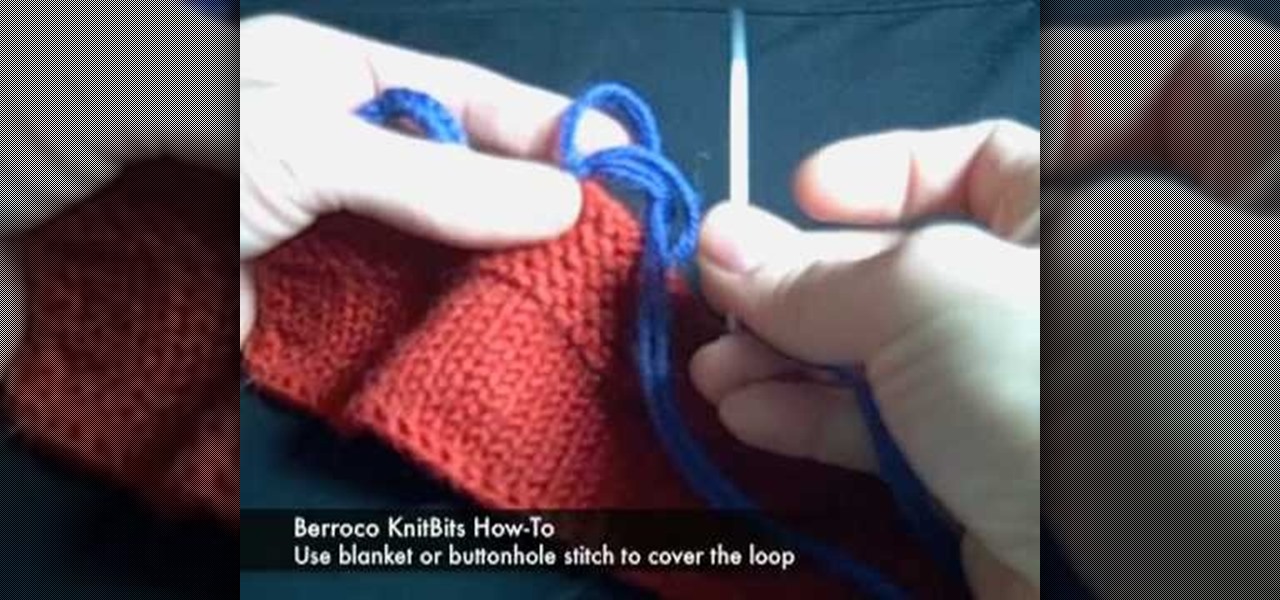
Berroco knit bits shows how to knit a button loop easily within minutes. 1) Thread a tapestry needle with a 18-24″ piece of yarn. 2) Knot the end of the yarn and insert the needle where you want your first button loop. 3) Make a second stitch an inch or so away from the first stitch. 4) Tighten up the thread, placing your fingers in between the yarn and the button band creating a loop. 5) Work blanket stitch around this loop, stacking each stitch on top of the previous one until the ent...
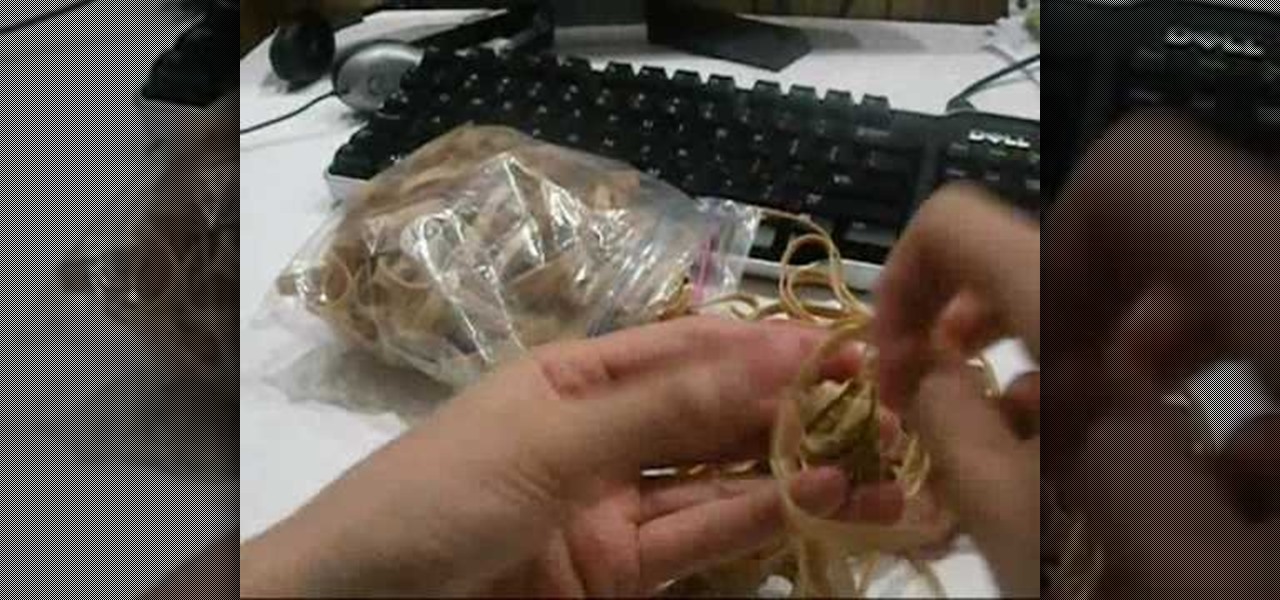
This video shows you, purely through demonstration, how to make a rubber band ball out of only rubber bands. It begins by showing how to create a small knot out of a few rubber bands, then wrap more rubber bands around it as one would with the small ball that is usually used as the core of a rubber band ball. The first few seconds are the most important, as forming the core of the ball out of rubber bands is the main trick to successfully creating the one hundred percent rubber band ball. Unf...

This is a video demonstrating how to make a cute and cool hair band scarf. Take a scarf. You can use any material, including a ready made scarf from another outfit, or a ribbon. Hold the scarf in the middle and make a bow. Pull the bow until both sides are even. Lay the bow on the top of your head with the scarf tails hanging down. Tuck the tails behind your ears. Tie the scarf into a knot on the back of your neck. Adjust the angle of the bow on your head. It is good because it gives you opti...
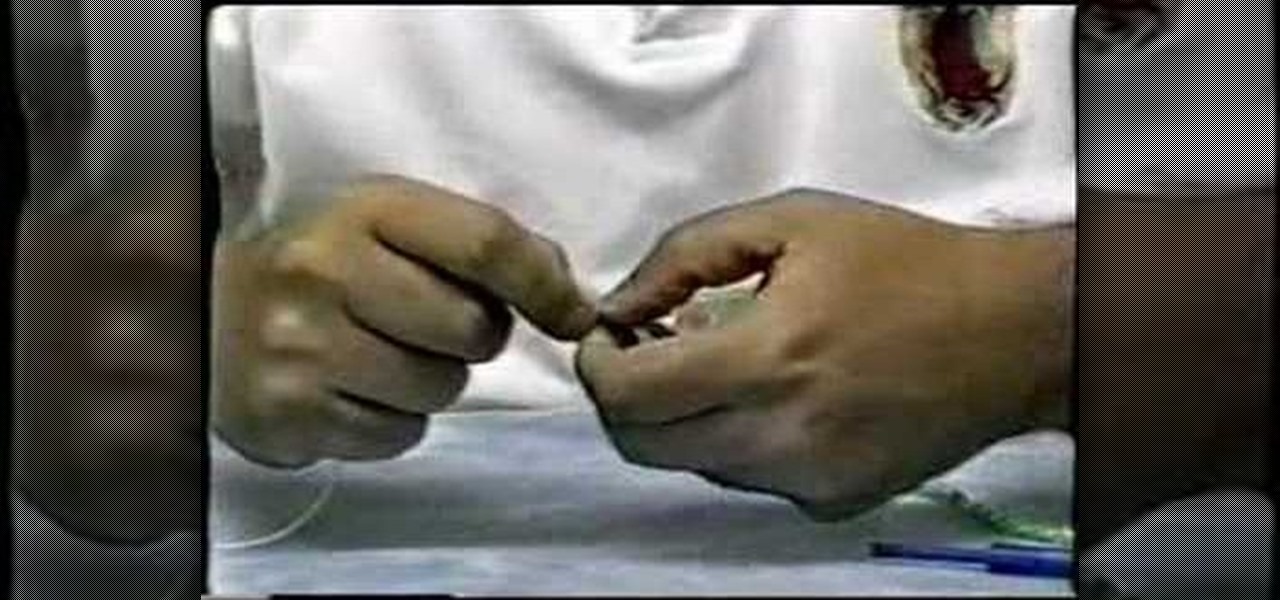
The alternative to the wire and bead rosary, this much more organic cord rosary is a great family activity. In a few simple steps, this video demonstrates the necessary material and techniques to knot one together.
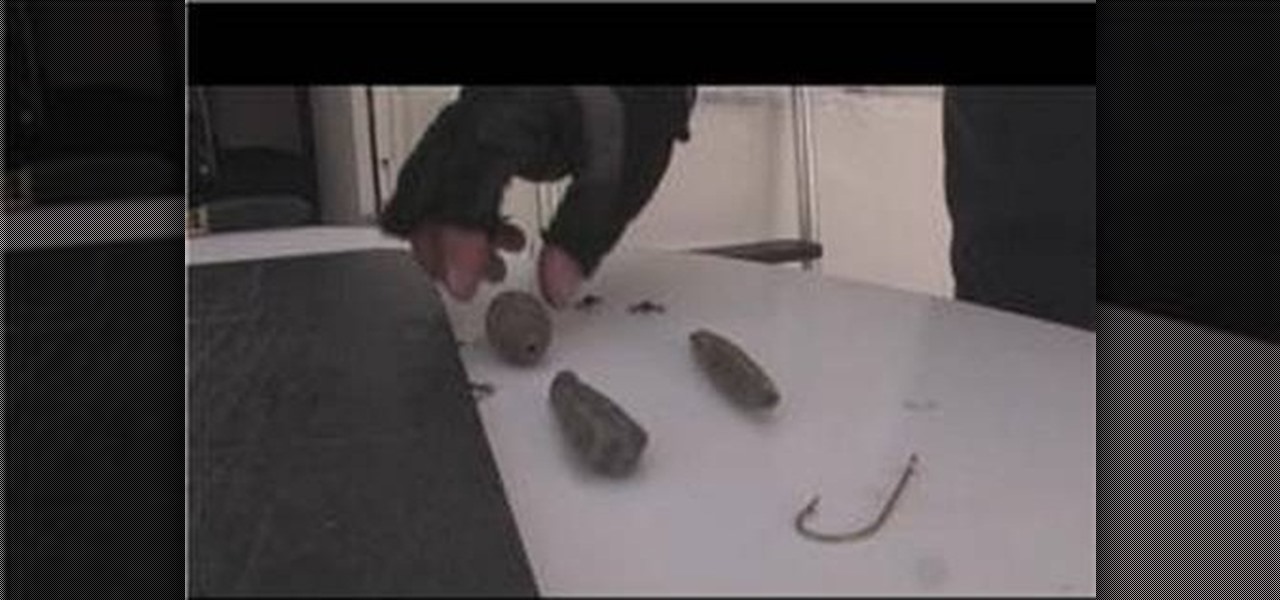
Mark the Shark demonstrates how to place sinkers when deep sea fishing. A trolling sinker is made for high speed trolling. A bank sinker is made for deep dropping. An egg sinker is made to slide on your line. To use the egg sinker, put it through the line, attach a swivel and tie a knot on the swivel. Next, attach the leader to the sinker and then attach your hook. You can catch a lot of bottom fish with this method. Attach the bank sinker to keep the weight on the bottom of your line. The ho...
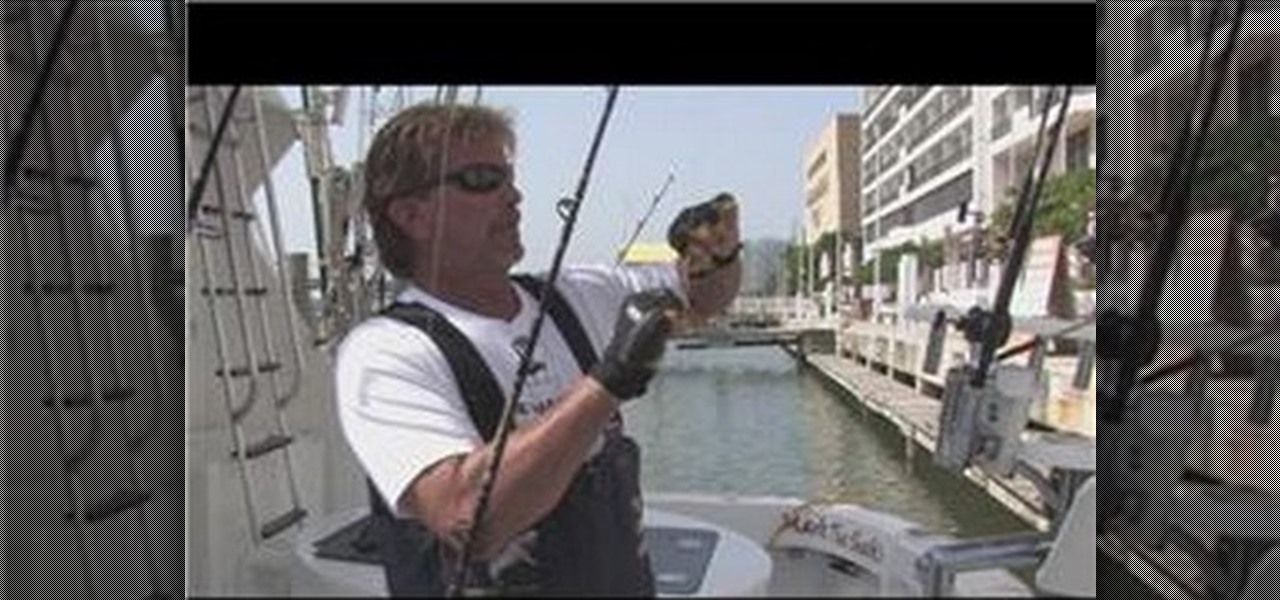
To begin with you have to pass the line all the way through the eye of the hook and do it crosswise seven or eight times. Run it through the loop once more and then pass it all the way through the main loop of the line. Make certain that your line is wet. Another special way is that you can tie a loop on the line and then craft another loop and then pass it all the way through the eye of the hook and then bind it and cut it off. One more way to create a knot for the live bait is first craft a...

This video is in the Arts and Crafts category and you will learn how to make a Victorian-inspired necklace using an old ribbon. This is a very simple and easy way of making a necklace. Take a ribbon of about an arm’s length, tie it around the neck and check that the length should be OK. Then you can take a bunch of beads or a flower or some such suitable item which is fixed on a wire to put on the ribbon. Tie a knot around the wire and then turn the wire around the ribbon and your necklace is...

Six Minute Style host Susan Doherty is on location in Montana at the Nine Mile School house with Kurt Seer who shows how to create a 3 dimensional wreath mobile. He uses birch as his base. You can use any wood you choose. Make a square out of four branches. Knot, tie and twist floral wire at cross sections of the wood frame. Leave a little tail for the decorations. Tie dried rosemary in the wire tail. Tie leaves and greenery around the frame using wire. Not only for Christmas, you can create ...

Learn how to make a fly fishing leader by following this tutorial. First, the easiest way is to purchase a tapered leader, obviously. However, sometimes as you are fishing this will break and you may not have a backup leader. Your only option in that scenario is to make a new one from your broken leader. Take approximately 18 to 24 inches of the 3X wire and double knot it to the but section that is broken. Then use another wire material to attach for the fly section. To decide what type of ma...

In this video tutorial, viewers learn how to tie a fly fishing line to the backing. Users will need a nail knot tool. Put the backing into the tool, leaving about 6 inches sticking out. The wrap the line around the tool 5 times, pushing the loops together. Take the end of the line and run it through the groove of the tool. Put the fly line through the other end about 2-3 inches. Then hold the loops in your hand, remove the tool and pull on the backing to tie it. This video will benefit those ...

This is a great instructional video on how to set up a fishing pole for bass fishing. If you want to set up a fishing pole for bass fishing, you have to use a 6 1/2-foot, medium-action spinning rod with a medium-sized reel. You can discover why it's important not to overpower a bass fishing setup with help from a commercial fisherman in this video on fishing equipment. First you need to insert the thread into the spool and grab it with your little finger. You have to pull it out now. Tie the ...

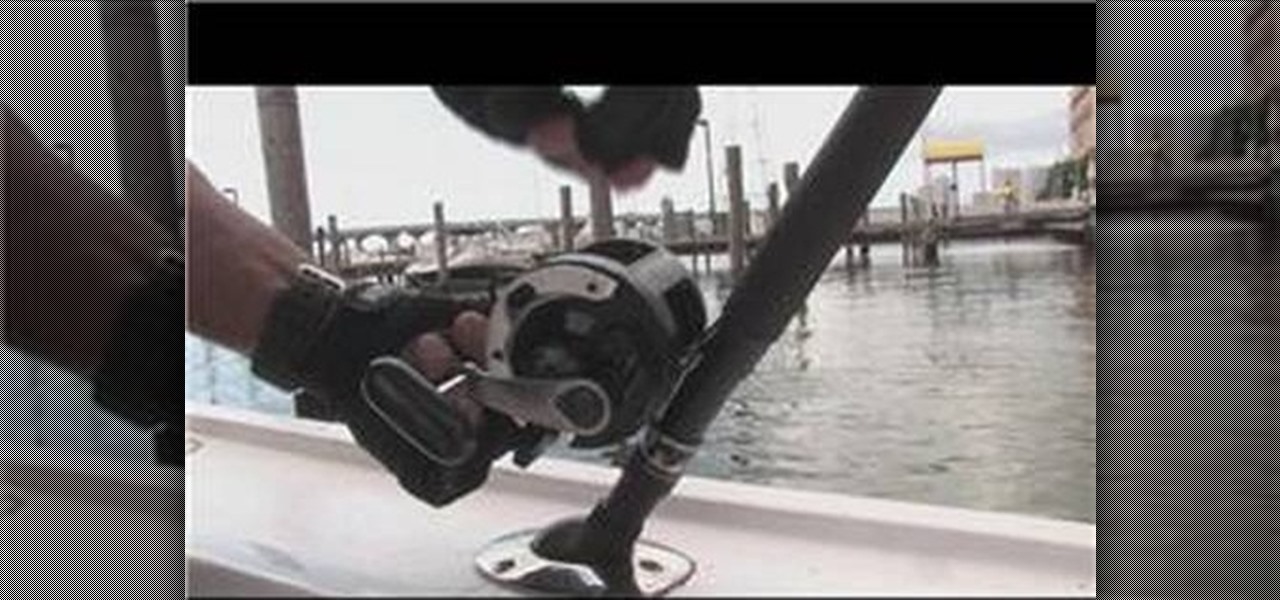
Mark the Shark demonstrates how to replace fishing line on a reel for deep sea fishing. First make sure to thread the fishing line into the guide ends and that you don't miss any. Put the rod in the rod holder so that you have two free hands to work with the line. Thread the line twice in the spool and make a knot to hold the line in place. Pull the line tight so it's snug against the reel and snip off the loose ends. Turn the crank and make sure that the line feeds into the spool very evenly...

NiftyButton teaches you how to make a simple baby toy. You dig out an old pair of brightly colored stockings and snip off one leg. You want to have a section of about 15 inches. You then stuff this with crumpled paper. Take the open end and make a tight knot. Cut and tie ribbons into knots. Place each ribbon between two pieces of paper. You can also add eyes to the small toy by adding buttons or simply using a marker to draw the eyes on the part that should be the head. Finally, give the toy ...

This is a tutorial that will show you how to create a powerful bow and for under $5. The material you'll need is 1 curved pipe, poly poli string, tape, scissors, and a knife. First you want to cut a slit and a hole on each end of the pipe and then add some tape underneath it to prevent it from splitting. Next, you want to line up the string with the pipe and cut it at that length. Also, you want to tie a knot at both ends of the strings and attach it by using the slits you made in the pipe. T...

A girl is trying to teach us how to make fish friendship bracelets. We need four colors in order to make a bracelet. She shows us on a clipboard the four colors and after tying them we will get a total of 8. She slowly ties up each knot and shows us each step of the way. She does not however provide written explanations for additional information. A background of simple knots is required for this video as she does not explain how to tie the knots.

The ability to tie a ribbon bow is a basic skill that can dress up any drab looking gift box.

Looking for a stylish, slightly menacing way to store your keys? The "rattlesnake tie" is in actuality Clifford W. Ashley's Over-And-Under Heaving Line Knot or ABOK #541. That said, the rattlesnake tie is a whole lot easier to say and remember, so that name is used here.

This is the video about how to perform a single cast on. To work this open cast on you'll need one needle a couple of sizes larger than the needles you'll be using to knit with (or alternately, two needles held together) and a spare length of sturdy yarn several times longer than the length of the finished cast on. Make a slip knot with the working yarn and place it on the needle. For this cast on you only need to leave a short tail -- you'll be working with the yarn coming from the skein. Ho...

The video shows us how to sew a straight stitch which is really simple. The needle which is already being threaded and knotted on the other side is made to weave in and out in a straight line. It is done as straight as possible and though the video doesn't show it being done perfectly but its just a demonstration on how the straight stitch works. It is just made to weave in and out along a straight line and is made to end up with the needle on the back side and make a knot. This way you get t...

Jane from A Floral shows us how to make a bow using satin ribbon. You should first get a long length of ribbon from the spool. You should next determine how long you want the tails of the bow to be. It's okay to make them a little longer because you can cut them off if needed. Start with a loop that is crossing over the top. Take another loop and cross it over the top so you make an X. Scrunch it together as tight as you can. Flip the satin over to one side, dull side down and shiny side up. ...

Today we're learning how to tie on a scarf. First start with a large, square, light fabric scarf. Fold it in half diagonally to form a triangle. Simply tie it in a half knot around your neck and pull the ends in front. You can also use a square scarf as if it were a longer scarf. Several variations will get you different looks. You can also use the scarf as a head wrap, Grace Kelley style. You can make a shirt out of your large square scarf, we see several ways to do it. You can use long, thi...

A knitted cast on stitch is one of multiple methods for casting on your stitches, and is good for starting a scarf, or the bottom of a sweater. With this tutorial, learn how to do the cast on stitch. Beginning with a loose slip knot, knit a stitch, making sure to replace the original stitch on your left hand needle. This will provide the basis for all the subsequent stitches, making up the amount of necessary stitches you will need to cast off. Keep in mind this is not an elastic stitch, so a...

The eye splice might sound like some horrible procedure from the lab of Dr. Frankenstein, but it's actually a very useful skill to learn for camping or disaster preparation. Eye splicing is a way to secure different strands of rope together so they're stronger than a knot. In this tutorial, the guys at ITS Tactical show us how to do an eye splice.

Want to make your own paint for your paintball grenades? Well, this video tutorial will show you how to make fill for your paintball grenade. This recipe is sure to make you happy, so give it a try. It's washable and biodegradable too!

Some babies like to be carried on the hip, but arms can tire quickly, and most carriers function either to the front or back. This how-to video demonstrates the process of tying a hip cross carry out of a long baby wrap. Find the middle marker. Place the wrap behind you. Make one side of your cross the short side. Bring the longer side under the short side then around your back making a cross on your hip. The longer side is the tail. Make a slip knot around the tail on your shoulder. Grab you...

Need a way to carry around your baby while keeping your arms free? No need to buy a special carrier, all you need is a sturdy cloth and the step-by-step instructions in this how-to video. Find the middle of your wrap. Center on the small of the back. Cross each length over opposite shoulder. Adjust for comfort. Take opposite ends in each hand and cross in the back. Tie a square knot in the front. Get your baby. Place each leg on either side of the cross. Spread the fabric out starting with th...

The Dropper loop is a classic loop knot which is often used on multi-hook fishing lines and bait rigs. The dropper loop is also often used by fly fishermen to attach an extra fly to the leader. The dropper loop can be created in the middle of a the fishing line and forms a loop which is off to the side of the line. Follow along with this outdoor recreation how to video to learn how to tie a dropper loop.

This video weaving tutorial shows how to start a rug using the half hitch knot/stitch. It's the easiest way to start a rug. The start is very strong too, as strong as a braided start, and much stronger than a chain stitch start. Watch this instructional video series and learn how to weave a toothbrush rug starting with a half hitch stitch.

Learn to crochet with these easy to follow how-to video tutorial. This particular video demonstrates how to crochet a single crochet base chain. It is very simple to do, start by making a basic slip knot and chain two. Insert your hook into through the back, yarn over and pull through. You now have two loops on your hook. Yarn over once to make a chain and yarn over a second time to complete the single crochet.

In this video, we learn how to tie a Knute hitch. The purpose for this is to make an easy dummy cord on something with a hold for it. To start, tie a simple overhand knot in one end and then make a bite in the knot. With this bite, insert this into the hole in your item. Once it's through, take the end with the knot and put it through the loop. Then, pull the end of the string until it's tight over the item with the hole. Then you can use this as a handle so you don't lose your item!

Build a tree string noose trap Materials needed: five feet of rope, knife, various size sticks and a sapling tree.

This Hosting & Entertaining video tutorial will show you how to make a bow for any occasion. LeAnn Dolan, owner of Ecru Modern Stationer, shares her secret of creating a wonderful gift pack topper. For this you will need two pieces of ribbon of same color and of course the gift box. First wrap the gift box with one piece of ribbon around all four sides, tie a knot at the center of the box. Then with the other piece of ribbon, make plenty of loops wrapping them at the center till the whole len...

Ta da! Magic, with straws! What could be better for a bar trick? Scam School shows how to amaze, impress and win free drinks with 2 straws (or any 2 flexible objects). David Copperfield, eat your heart out! Err.. drink your heart out?

How many stitches does your crochet art have? How can you tell? Why would you even want to know how many stitches are in your crocheted sweater or crocheted hat? Knowing how to count your stitches is a fundamental step in learning to crochet – assuming you want your finished product to be the right size and shape.

This video tutorial demonstrates how to make an Origami necktie and a shirt card. Begin with a square two sided paper. Fold the paper in half, forming a triangle. Open it back up and use the center fold as a guide. Take one corner and fold it in toward the center fold. Repeat this on the other side. You end up with a kite shape. Turn your paper over. To make the front knot of the tie, fold down the smaller corner toward the center about a third of the way. Fold the point back up toward the to...

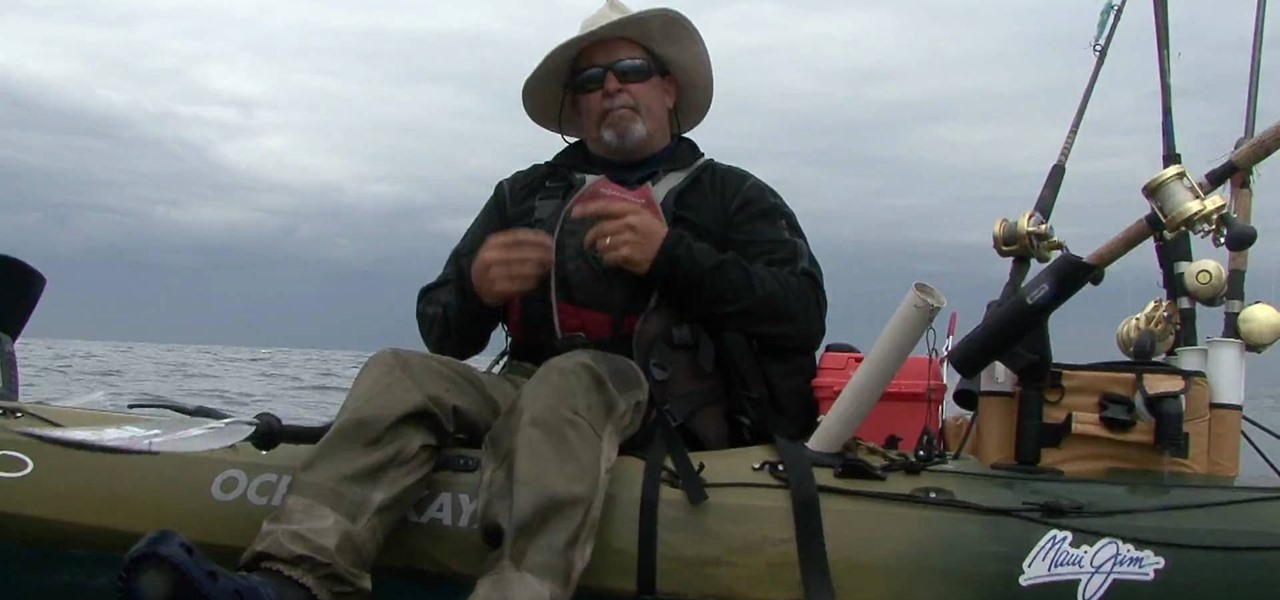
In this how-to video, you will learn how to troll large live bait in your kayak. Use a circle hook and attach it to your rod with a small loop knot. This will allow the live bait to have a natural presentation. This means you must troll slowly. You must have slight tension on the string. The bait must have a natural feel when it picks it up. This means there should be no resistance when it grabs the bait. Use a big casting reel with it out of gear and the clicker on. This means the button is ...

This Yasmine’s World video demonstrates eyebrow threading. Use standard sewing thread for the process. Take a piece approximately two to three feet long. Tie the ends in knot. Hold the large thread loop in both hands. Twist it six or sent times, so there is an X shape in the middle. Working on the right eyebrow, pull the right hand in a tweezer motion. For the left eye, make the motion with the left hand. This motion moves the thread. Working on the right eyebrow, place the left vee of the ...

This is a video on how to weave in ends on kniting. First take two ends at a time, tie the new color and a half not around the current working color, and tie them. The thread the end onto the yarn needle, and go througha few of the yarn stitches. Next give it a little pull to make sure nothings coming loose. Go up to the next yarn ends, and do the same thing. What you have to make sure you do is weave the yarn through light colors. Also make sure the knots are secure, and are not going to com...

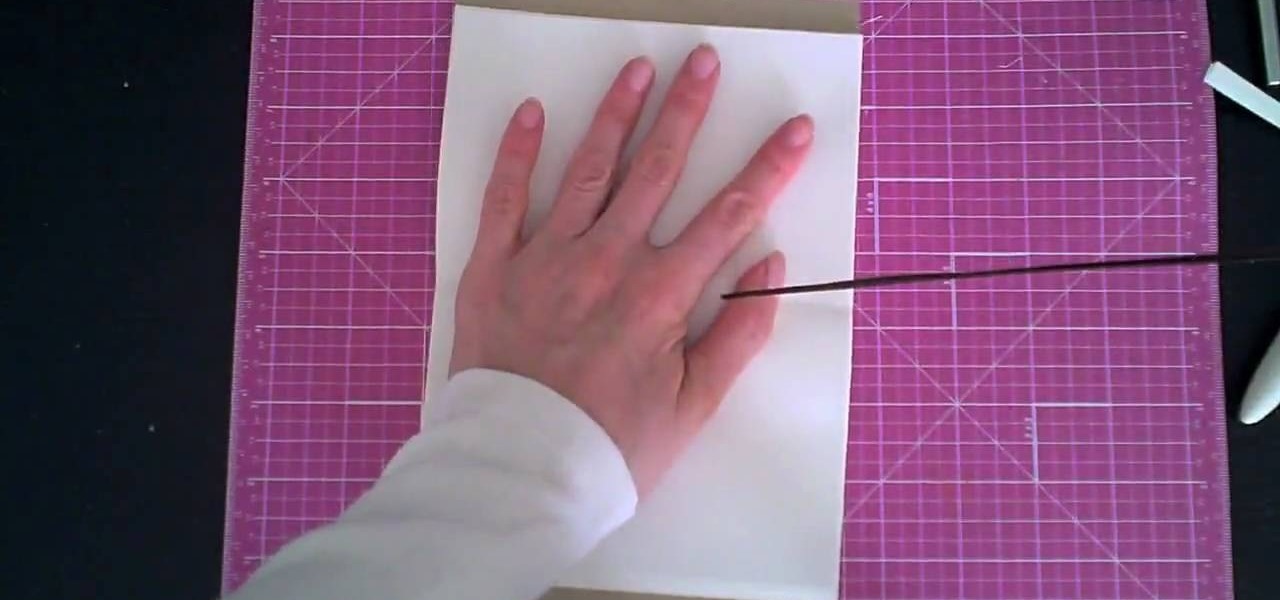
By watching this video, you will learn how to create your own art journal. Begin by cutting pieces of heavy weight cardstock 5" by 8". After you have cut all your sheets, fold them in half. If you want a defined crease, you can use a bone folder. Next, poke small holes in the crease of each sheet. Start at the center and then poke one every inch above and below the center hole. Then using a regular running stitch, sew through each hole of a single sheet. Once you reach the bottom hole, bring ...

This video demonstrates how to make a notebook with ribbon binding. Take a stalk of plain white paper and it would be 5 1/2" long and 8" wide. Fold it in half. Trim off the excess with a ruler. Then align the edges of the white paper. Put this in a cardstock which is 8 1/2" wide and 5 1/2" long. Cover rapid around the white paper stalk to make sure that it the spine is bounded. Take the grid ruler and center it and mark the center and also 1" from the center at each side to the left and right...


