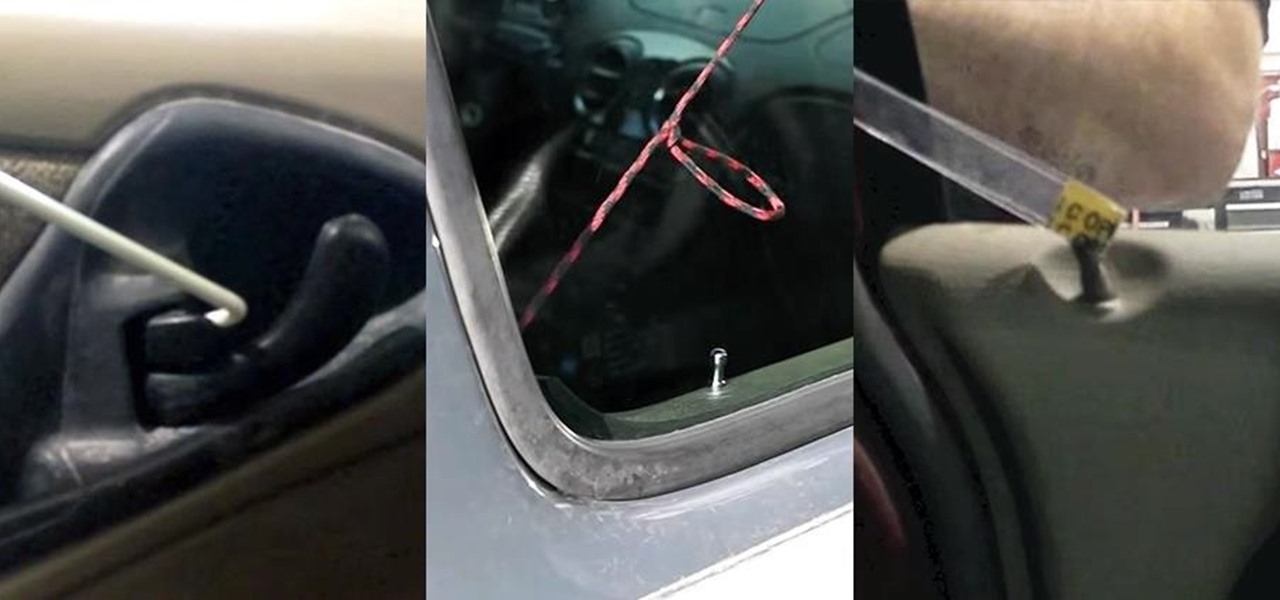
Locking your keys inside of your car is frustrating, to say the least, especially if you're in a hurry to get somewhere. You can always call AAA roadside assistance or a locksmith, but you'll probably have to fork over some money, as well as wait for them to get to you. You might even get towed.

When a stuffy nose hits, it feels like breathing clearly and easily may never come again. Allergies, colds, and even changes in weather can leave our sinuses blocked, with medicine seeming like the only option. But don't break out the medication just yet — relieving the pressure of a stuffy nose, a stuffy head, and stuffy ears can be as easy as touching a pressure point.
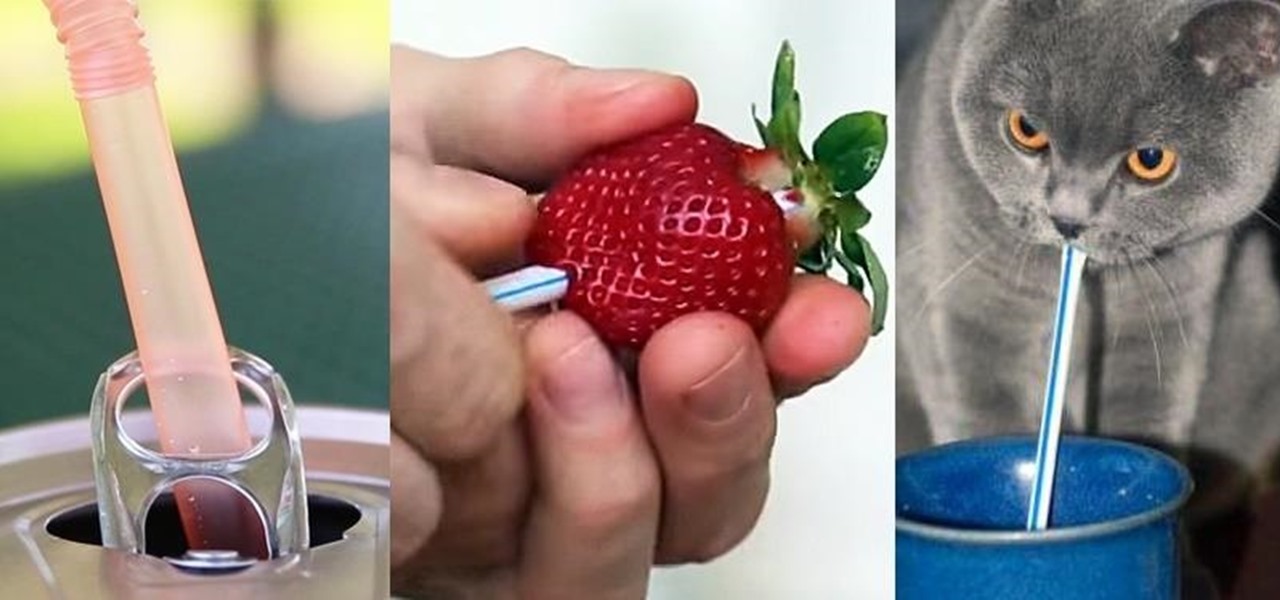
The drinking straw isn't just there to help you make annoying noises when you get to the bottom of your soda. That little tube of plastic is extremely versatile and can make your life a lot easier with a little know-how. Curious? Read on to find out more.

"I'm Rey." That's what a lot of people will be saying again this Halloween, as Rey costumes are sure to be another favorite of trick-or-treaters and cosplayers. Yes, on Oct. 31 we all have a chance to be the scavenger of Jakku who just so happens to be the "new hope" for a Jedi renaissance.

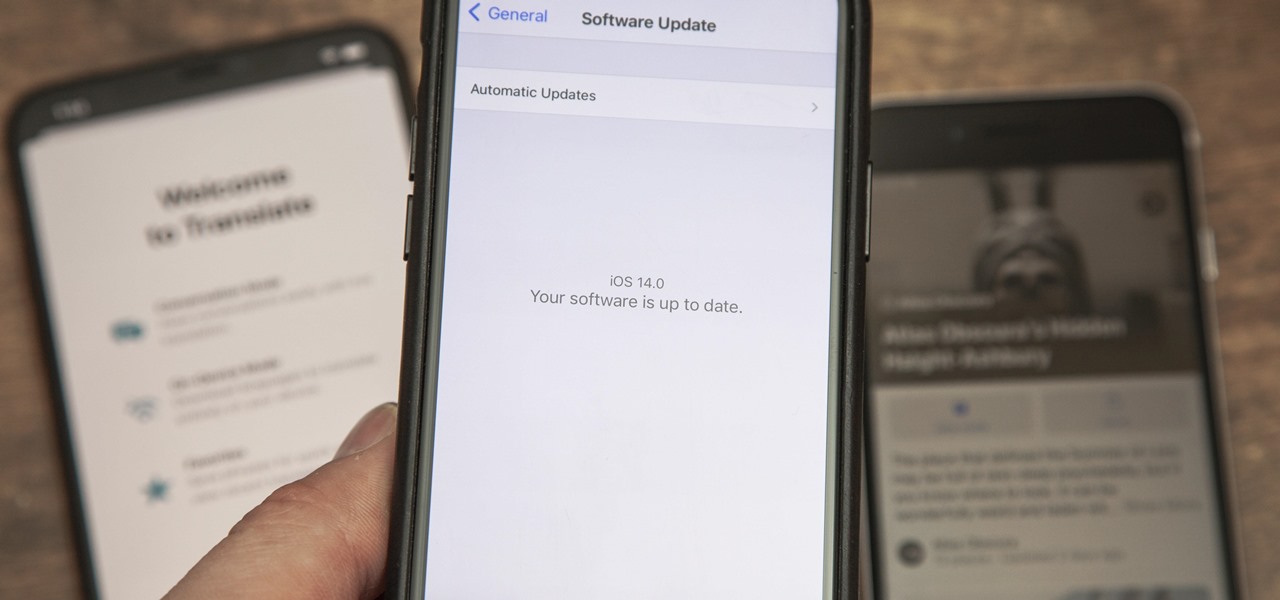
Apple just released the second iOS 14.2 public beta (build number 18B5061e) for iPhone today, Wednesday, Sept. 30. The update adds emoji from Emoji 13.0 to iOS for the first time, including smiling face with tear, seal, ninja, anatomical heart, among many others from the collection.
Apple just released iOS 14.2 developer beta 2 (build number 18B5061e) for iPhone today, Tuesday, Sept. 29. The new update adds fresh emoji to iOS, including smiling face with tear, seal, ninja, anatomical heart, among many others from the Emoji 13.0 collection.

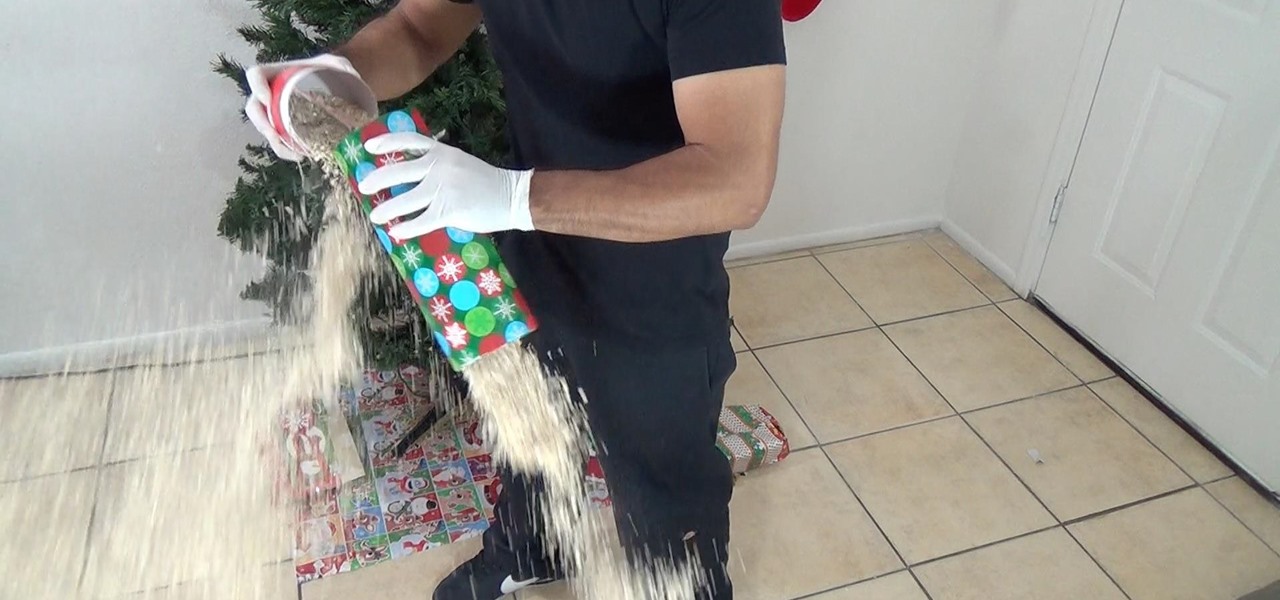
Although Christmas is a time to spend with family and be happy and full of joy, sometimes it's nice to pull a prank here and there, especially since many will not be expecting them.

Apple's latest update, iOS 14.2, is finally here. As the name implies, it's the second major update to hit iPhones since Apple released iOS 14 in the fall. The update brings at least 13 new features and changes to all compatible iPhones, including over 100 new emoji and eight new wallpapers.

The new iOS 14 for iPhone arrived Wednesday, Sept. 15, 2020, alongside iPadOS 14, and there are a lot of features to uncover. Improved widgets. Better home screen customization. Exciting Messages improvements. New abilities in Camera and Photos. There's so much here that it'll take months for you to learn everything by heart.

Gather your hoop and supplies. Wrap the suede evenly around the entire ring. Wrap it either eight or sixteen times, depending upon your preference. Glue the ends to the hoop. Secure them with a clothespin until the glue dries. Make the web. Tie the nylon string to the suede. Make eight knots evenly dispersed around the ring. Keep the thread taunt between knots. Make a second row. Place each knot "between" the knots of the previous row. Continue in this manner until a small hole remains in the...

To make a tribal hemp bracelet, first you need to prepare the hemp. Buy a natural colored hemp of 1mm thick(20lb twine). Cut one strand of hemp that is around six times the length. Cut a second strand of hemp that is twice the length of the first, or roughly 12 times the length of the bracelet. Fold both strands in the middle, one at a time, making a crease at each midpoint. Knot the creased midpoints together, leaving a loop at the end that is about 1/2 to 3/4 inch long. Your hemp is ready n...

This video shows you how to turn a 5" crochet headband into a beanie hat. #1 Gather your supplies-embroidery floss, 5 1/2" crochet headband, needle and scissors.

You don't need a stock pile of kindling to hold the flame and really get your fire started. There are a variety of creative yet effective substitutes. Leftover chips from lunch, an extra toilet paper roll, these are only a few ideas on how to start your next fire.

NewAgeStyles show you how to wear a pashmina as a versatile accessory. The shawl can be folded into two (lengthwise) and tied around your hips with the knot on one side. It can be draped around your shoulders like a cape with one end thrown to the back. It can also be worn like a skirt tied around your waist with the knot again on one side. Pashmina works as a scarf around your neck. In addition, it can be hung on your arms. Last but not least, it can be draped around the shoulders and tied i...

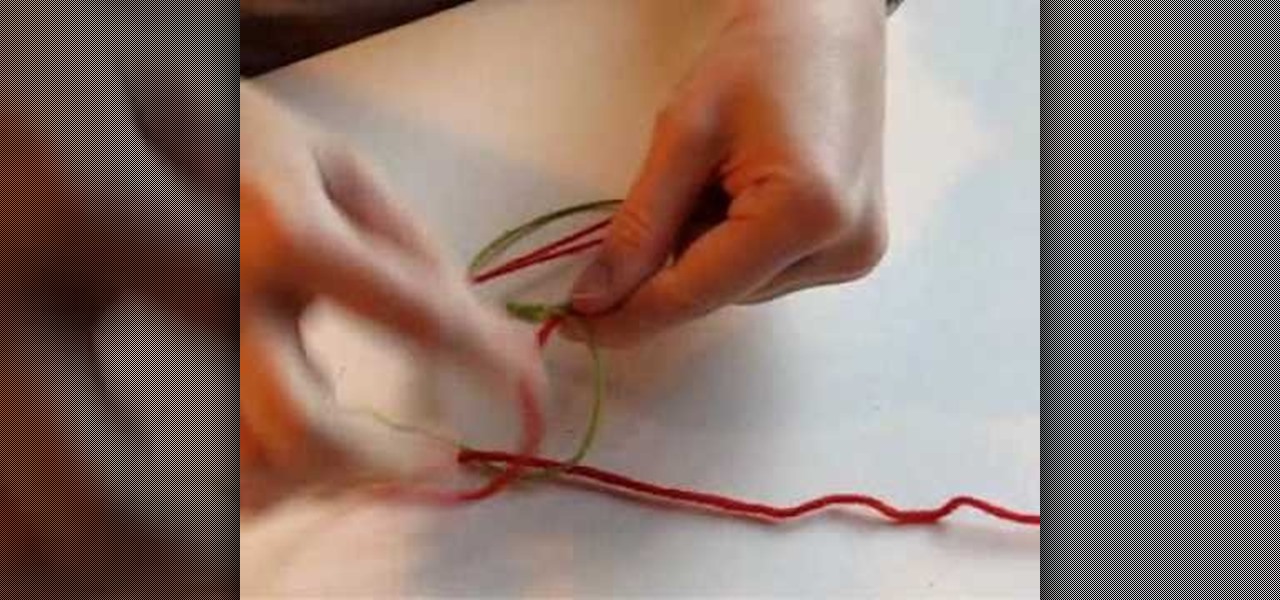
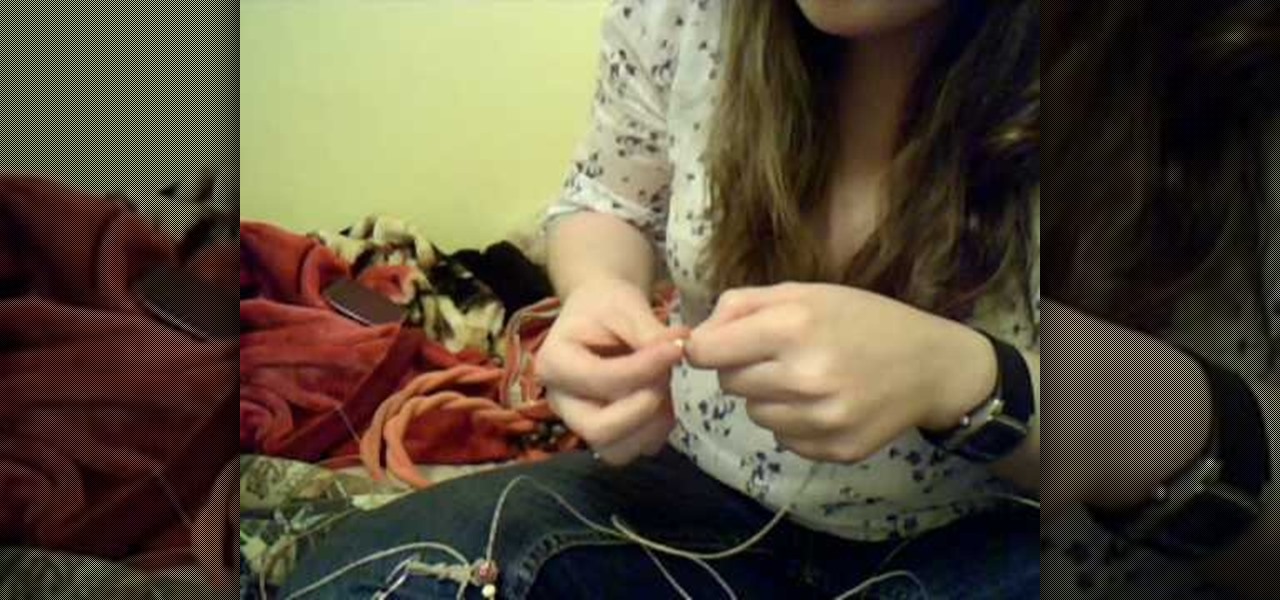
In this video, lbedrick shows us how to make an easy hemp bracelet. First get some hemp and two beads. You will need one small bead for the end knot and whatever bead you want for the middle. Cut two pieces of hemp about 40 inches each and bend them in the middle. Where you bend the two pieces, tie a knot. Separate the two end pieces, then fold the right string over the base string, but under the left string. Fold the left string under the base strand, through the right loop, up and over, the...

The video teaches the technique of crocheting with two different yarns. You start with a basic slip knot and then crochet a basic chain of ten loops. It is important to keep the loops loose and to ensure that you pull both yarns through the loop each time. Crocheting with two yarns give you a bigger fuller knot. After crocheting the chain of ten, you make a foundation row starting by crocheting two loops and then going through the second loop in the row of ten, using a single crochet stitch. ...

In order to do a single crochet, you need to start with a knot. To make a slip knot, make a loop with the yarn and insert your needle. Take the hook and grab the yarn from the skein and pull through. Pull the yarn from the skein and the extra yarn from the loop to make it tight. To make the first chain, yarn over the hook and pull through the loop. Repeat until you have ten chains. Turn the chain. To do single crochet, push your hook through the second chain from the hook and pull through. Ya...

It is one of the easiest method to make a basic macrame hemp bracelet. First get out your hemp twine, if you do not want to use hemp there is a wide variety of colored cord you can chose from, the thicker the cord the bigger your bracelet. Cut off two long strands and take one strand, fold it in half and loop it over a rounded stick such as a paint brush or pencil. Do the same to the other strand. Now, you have the four strands hanging down. Take the right strand, pull it over the two inner s...

Hooking up a rappelling device and a prussik knot backup for use when rappelling down a cliff.

Arts and Crafts at Camp Watonka demonstrates how to make an easy dream catcher. Tools for the dream catcher include a ring, wax string, leather strips, pony beads, feathers, scissors and craft glue. First, cut a medium-sized piece of string. Tie a knot on the ring. Wrap the string around the ring two or three times and pinch it. Then, move to a different part of the ring and repeat the technique a few times. Add pony beads and feathers to the project. Glue the leather strips all the way aroun...

Making a braid can be fast and simple. First start off with three pieces of string that are tied together at the top. Lay out the bundle of string flat so that all three pieces can be seen. Next, take the left string and move it over the center one so that the left string is the the middle string and the middle string is now on the left. After that, do the same with the right string and put that in the middle. Take the left string and put that in the center. Keep repeating these steps until y...

The best way to get into recycling is make it simple. Recycling newspapers is a great way to start your efforts to go green. It is one of the most common paper products in your home that can be recycled. The hard part is keeping the papers from becoming a big mess while you store them. Bundling the papers and tying them up can be very hard. An easy solution for that problem is to put two pieces of string that are long enough to wrap around the bundle of papers in a wagon. Lay them in the wago...

Happy140 demonstrates how to fold and wear a bandana. Folding a bandana and placing it securely onto your head for everyday use is easy using a few simple steps. The first step is to take the bandana and fold it into a triangle so that all the points touch each other and are even. Then, fold the top point down so the bandana forms a trapezoid shape. The next step is to fold the bandana in half lengthwise. Wrap the bandana around your forehead. Tie the ends of the bandana into a knot behind yo...

To make a rubber band ball you will need a lot of rubber bands, most likely a whole bag full. The more rubber bands you have, the better and bigger your rubber band ball will be. To start your rubber band ball you can tie a rubber band in a knot. Then put each rubber band in two and wrap them around the first rubber band. If you keep doing this until all of your rubber bands are gone then you will have a good rubber band ball. The size of the rubber band ball depends on the number of rubber b...

This video is a tutorial explaining how to erect a tipi shelter. You must make sure all poles are 11' by 10' to have the correct height tipi. The instructor then aligns three marks and ties a clove hitch around all three poles. The next step is to raise the pole by using the rope to keep the structure stable. The next step involves putting the covering onto the lead pole and the bring the covering around 360 to complete. The last step involves securing the covering with rope by tying a knot a...

This video is all about how to wear a scarf in three different styles as the scarf is considered to be a trendy and casual shade. Also nowadays it can be worn by both girls and boys; they can be worn to college, to outings and places where we have to be just casual and they can be worn as first style, it can be worn in knot style. Secondly, it can also be worn in spread style on neck and chest area. Thirdly it can be worn in a dupatta style.

This video shows the method to cut a Kat Von D inspired t-shirt. You will need a t-shirt ans scissors. Cut out the seams of collar and sleeves. Cut both the sleeves into strips making it thin or thick according to your preference. Now flip the t-shirt so that its back can be seen. Cut the back of t-shirt down the middle to about an inch below the collar. Fold the t-shirt vertically along the cut. Cut parallel to the bottom of the t-shirt. Cut the back into strips. Cut the strips(thick or thin...

This video crocheting tutorial series shows everything that needed to know to learn how to crochet. Start off with an understanding of the crochet hook and yarn, working up to tying a slip knot, and covering several basic crochet stitches. Watch these video and learn how to crochet the absolute basics. Great for beginners!

In this street magic and illusion revealed video series, learn how to do rope magic tricks. Our expert magician will show you how to do the one handed knot trick, the three ropes to one trick, how to cut a rope in half and restore it, the ring and rope trick, and more. Get tips and pointers for executing these simple tricks for friends and strangers alike. Learn to astound and amaze…but first practice, practice, practice.

First of all, we need to start giving names to things. Most ties (probably yours, too) are tapered. We will refer to the two ends of the tie as the wide blade and the narrow blade.

Learn how to tie the Chain Sinnet Knot. This animated knot tying tutorial is the best you'll find. With this knot tying how to, you can tie the Chain Sinnet, Chain Stitch, or Monkey Braid Knot fast or slow, or pause it at every step along the way. Learn to tie knots for your next outdoor trip. Tie the Chain Sinnet, Chain Stitch, or Monkey Braid.

Handy technique for search & rescue, learn how to tie a hasty webbing harness with this knot tying animation. This animated knot tying tutorial is the best you'll find. With this knot tying how to, you can tie the Hasty Webbing Harness Knot fast or slow, or pause it at every step along the way. Learn to tie knots for your next outdoor trip. Tie a hasty webbing harness for search & rescue.

Learn how to coil an unnattached rope. This animated knot tying tutorial is the best you'll find. With this knot tying how to, you can coil an unattached rope fast or slow, or pause it at every step along the way. Learn to tie knots for your next outdoor trip. Coil an unnattached rope.

Learn how to tie the Perfection Loop knot for fly fishing, with this helpful instructional video. 1. To start the perfection loop, hold the standing line in one hand, and with your other hand create a loop about one-and-a-half inches in diameter that crosses behind the standing line. Pinch the two lines with your thumb and index finger to hold them in place.

I decided to make a quick banner for my RC plane. It was basically free, but you might need to get a few materials if you don't have them. My plane is a Hobbyzone Champ, which is a hardy but tiny plane, weighing only 1.3 ounces with the battery. My how-to is modeled after this, which is intended for the Super Cub. It is the bigger version of the Champ, weighing a total of 25.2 ounces, which is more than 18 times the weight of Champ. As you can see, I was faced with a problem. How was I going ...

This HowTo video tutorial shows you how to tie a non slip loop for fishing. The non-slip loop is a great way to attach bait or hooks to your line. Don't wonder how to tie this knot, watch and learn how simple it is to use the non-slip fishing knot. Tie a non-slip loop for recreational outdoor fishing.

This video demonstrates how to make a basic bun head wrap. You will need to use a jersey fabric. You will need to style your hair up, in a bun, ponytail, etc. First, you will need to find the point that you want to wear it on your head. Drape it over your ears, for now.

A snag in your favorite sweater doesn't have to mean a trip to the tailor?or the donation pile. In just two quick steps you can fix any knit. Learn how to fix sweater snags with the folks from Martha Stewart's REAL SIMPLE. This video offers an easy solution to that snag in your sweater.

Treat your guests to some wand-erful Witch's brew this Halloween. They'll be screaming for more! Follow along in this cooking how-to video to learn how to make Witch's Brew punch decorated with creepy spider ice cubes.

You will Need! 1 box of detergent (should be at least 3/4 full)


