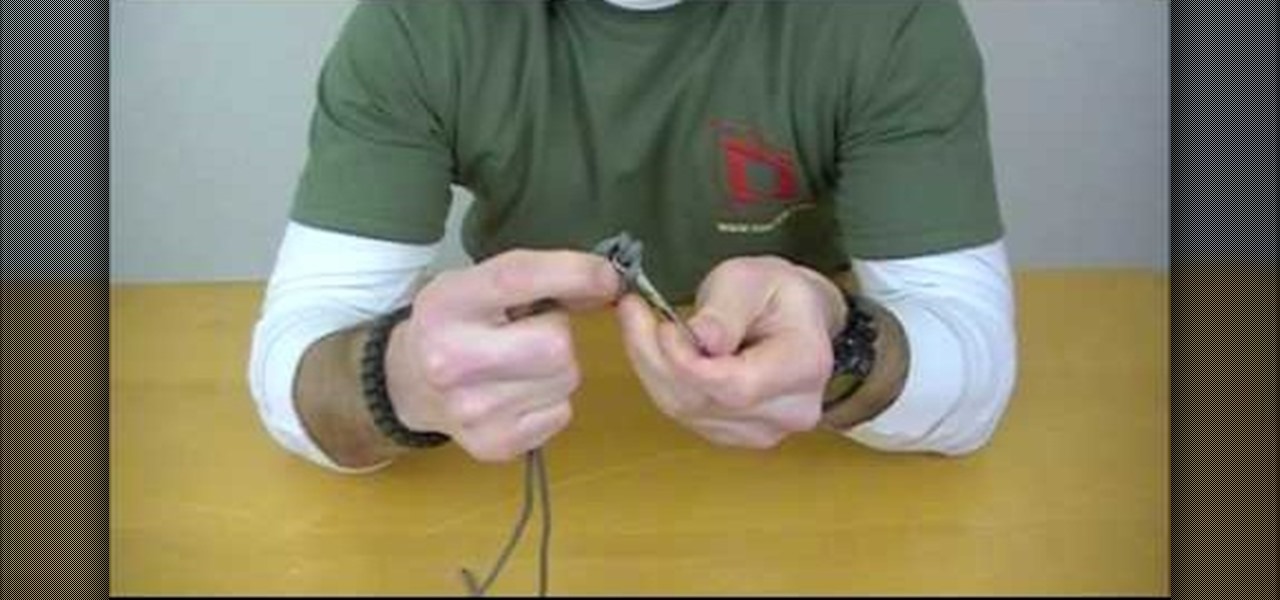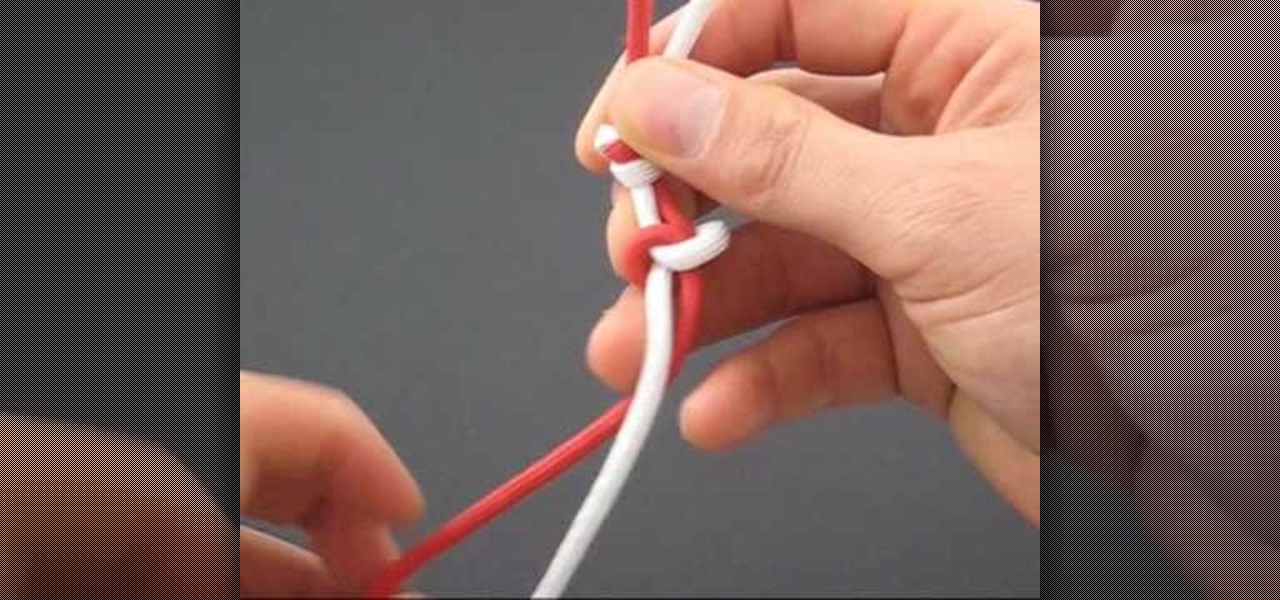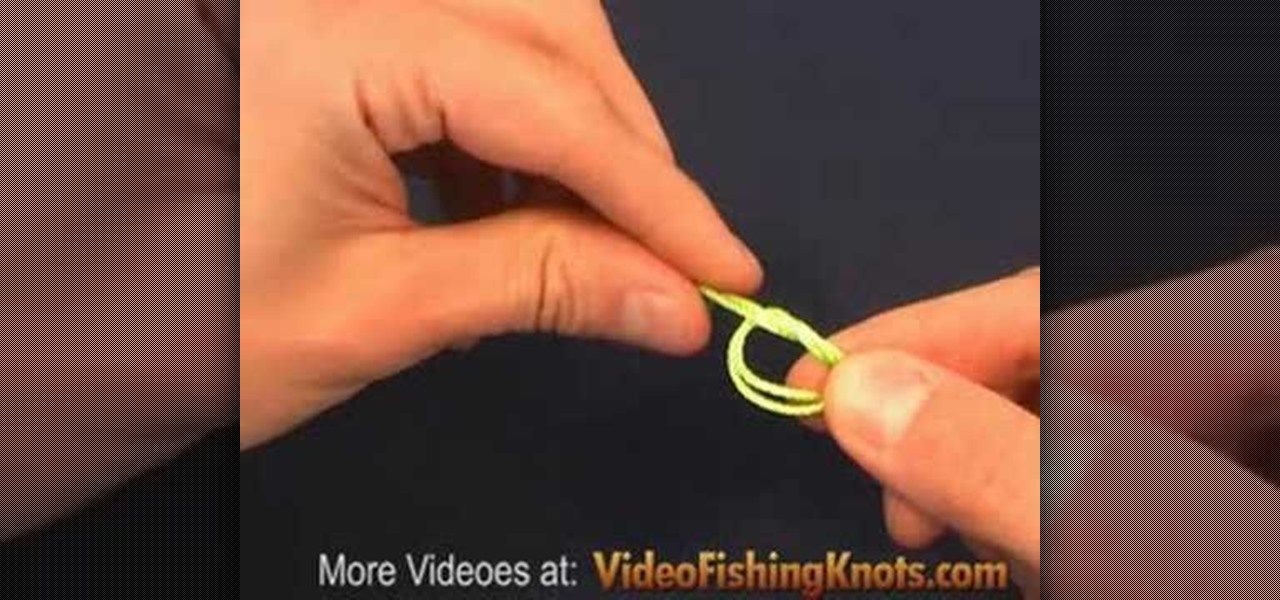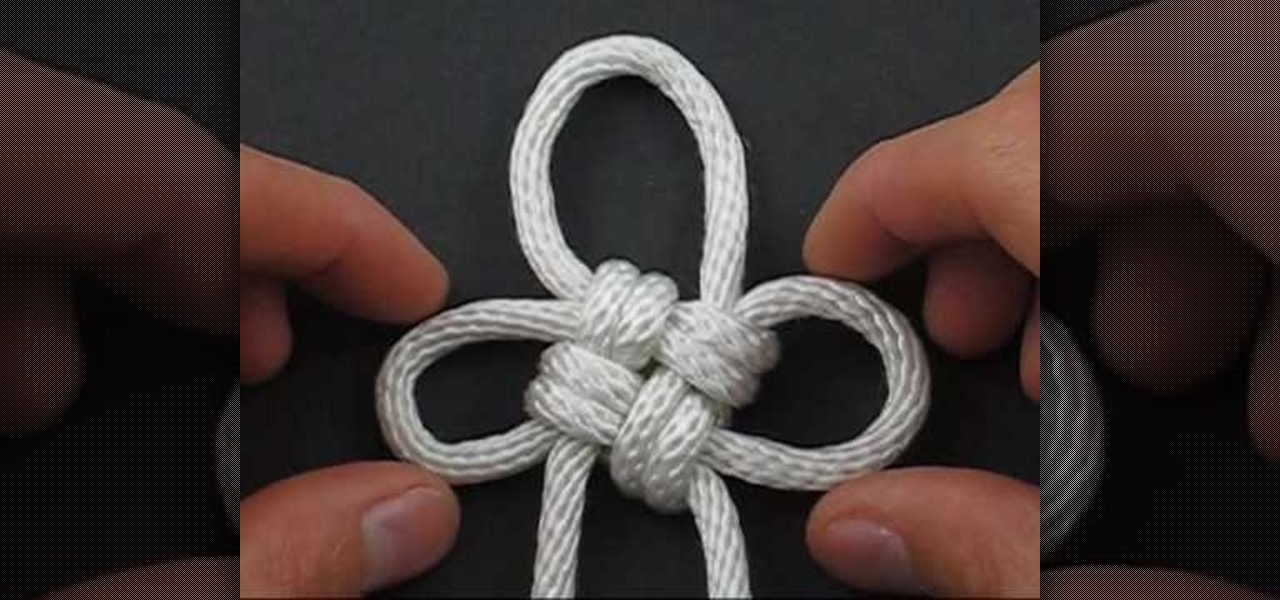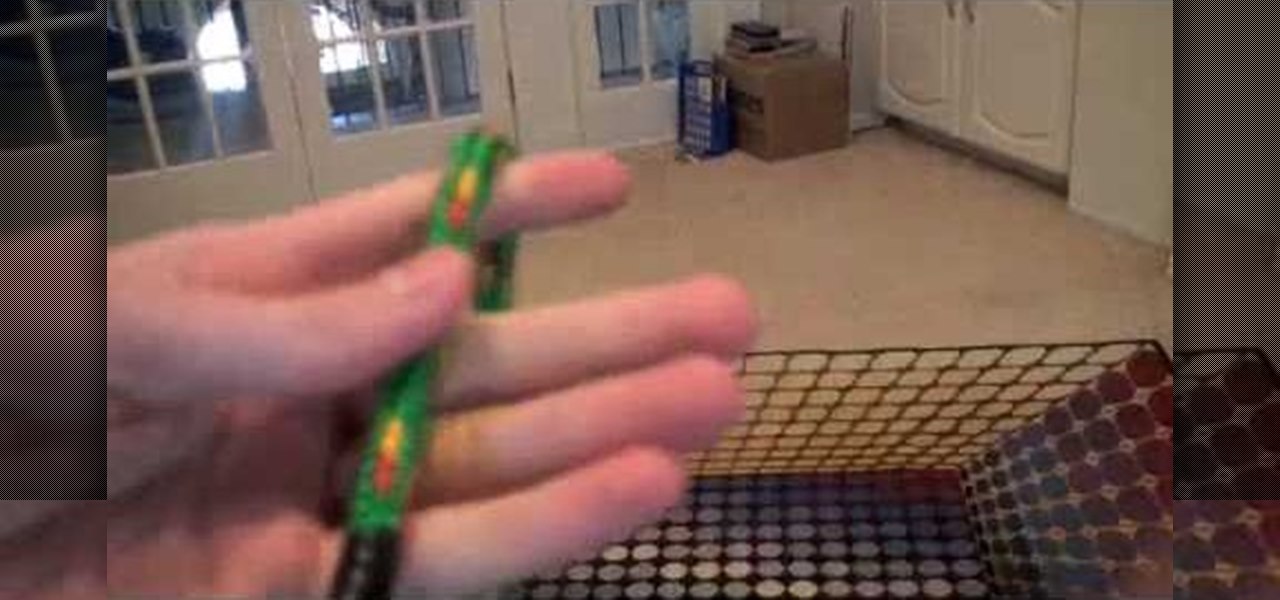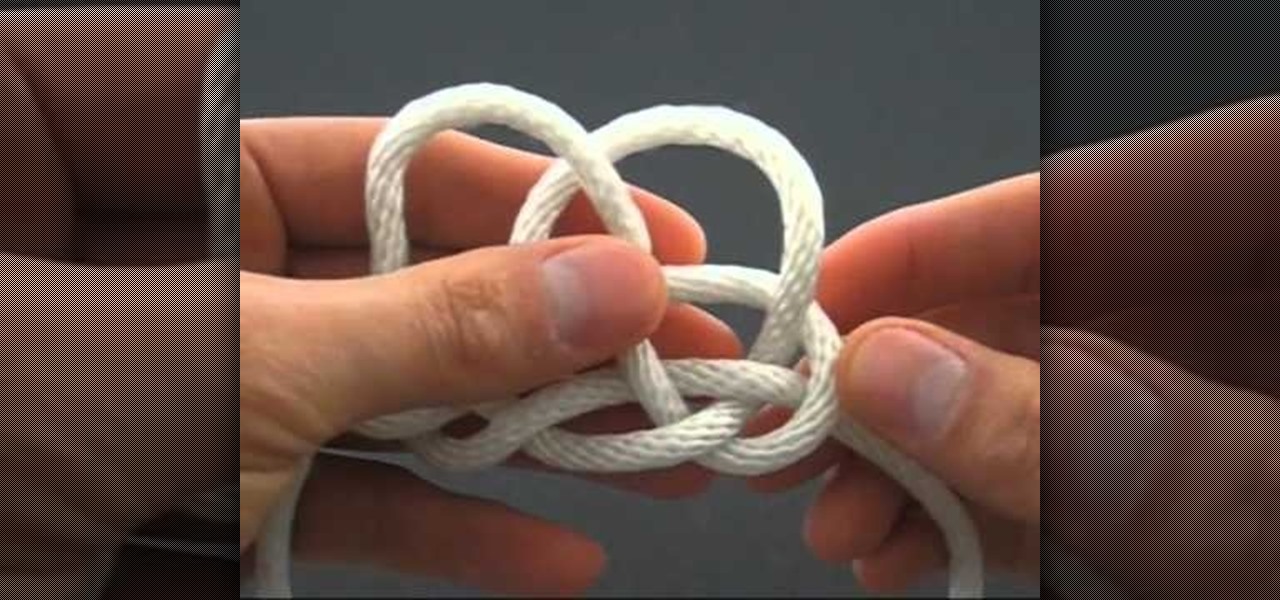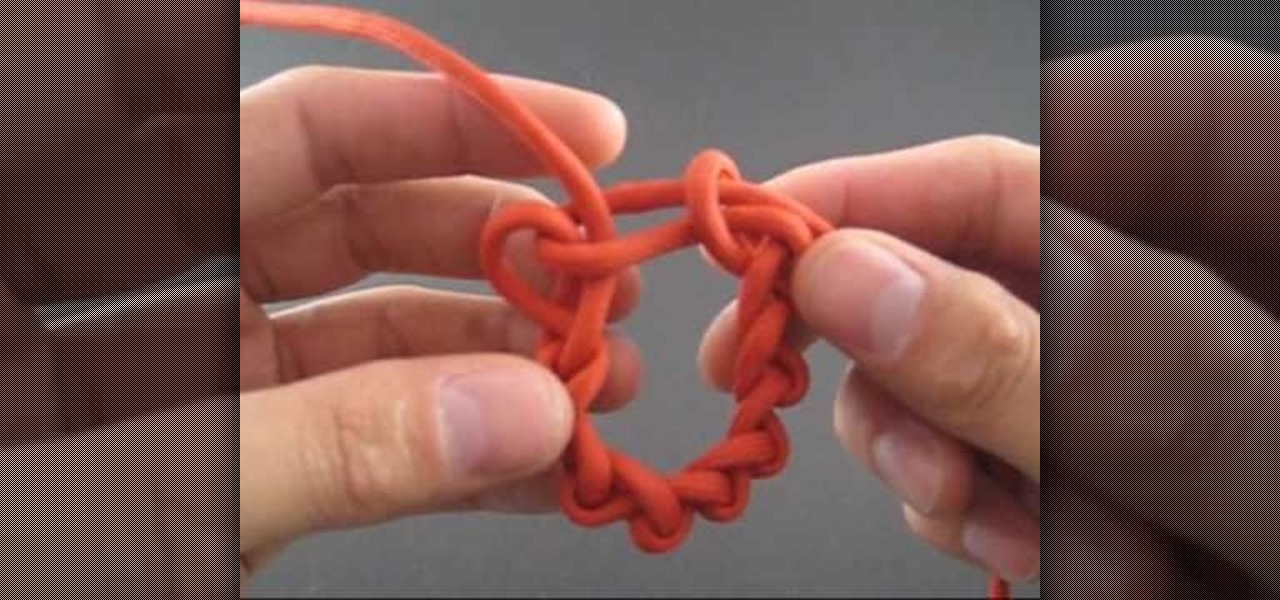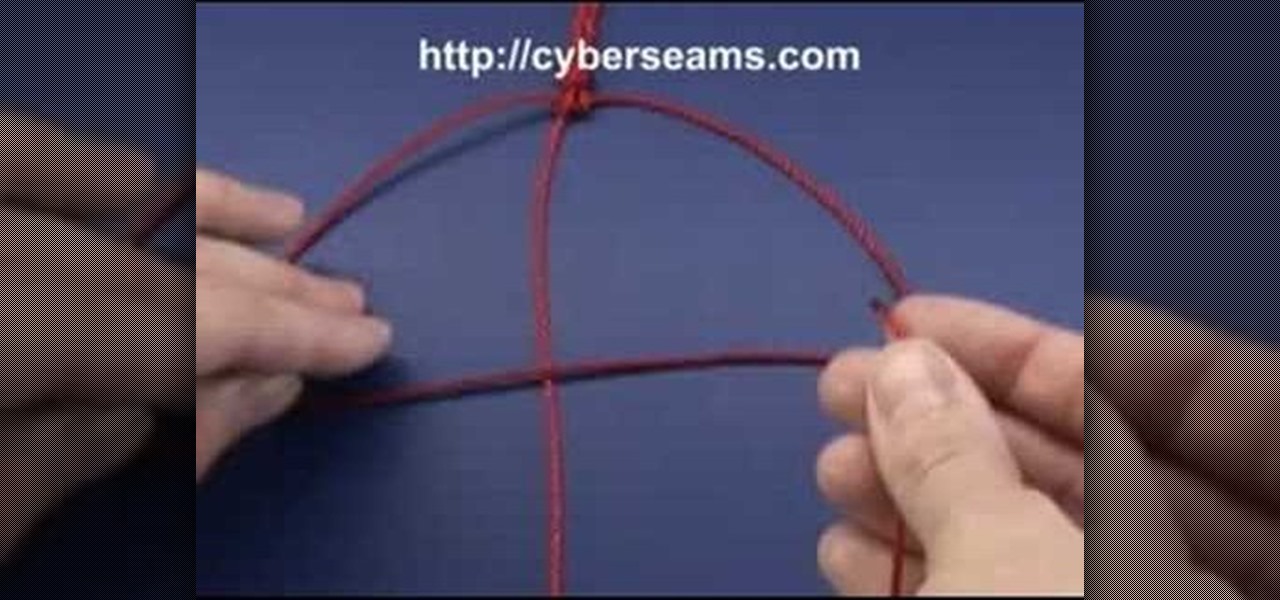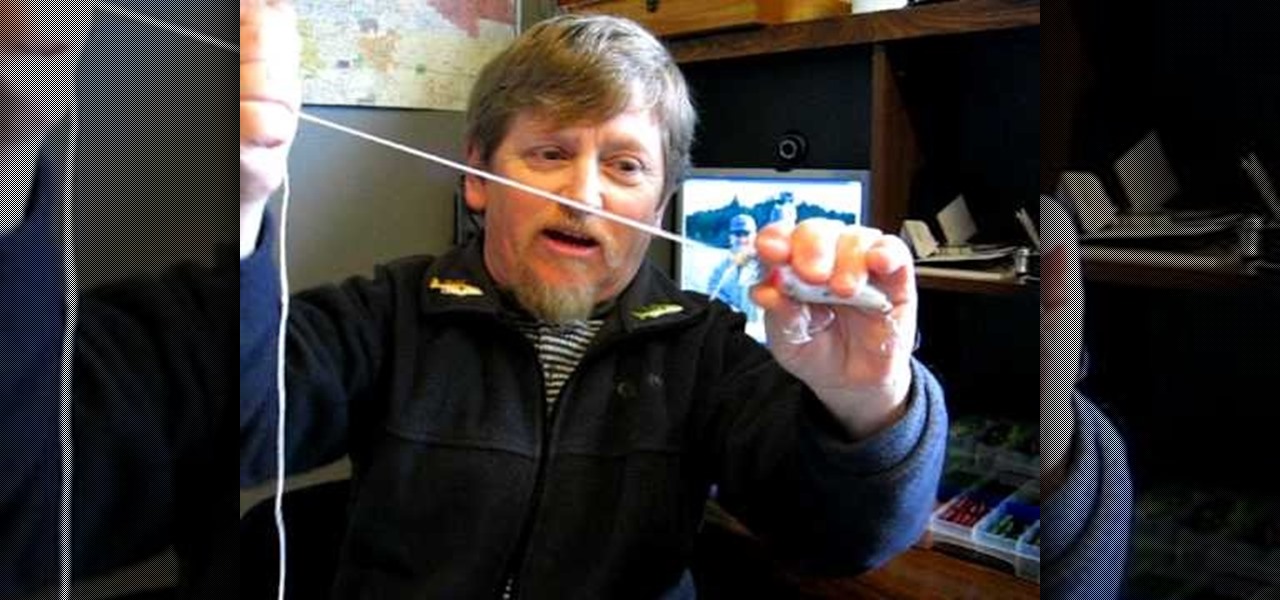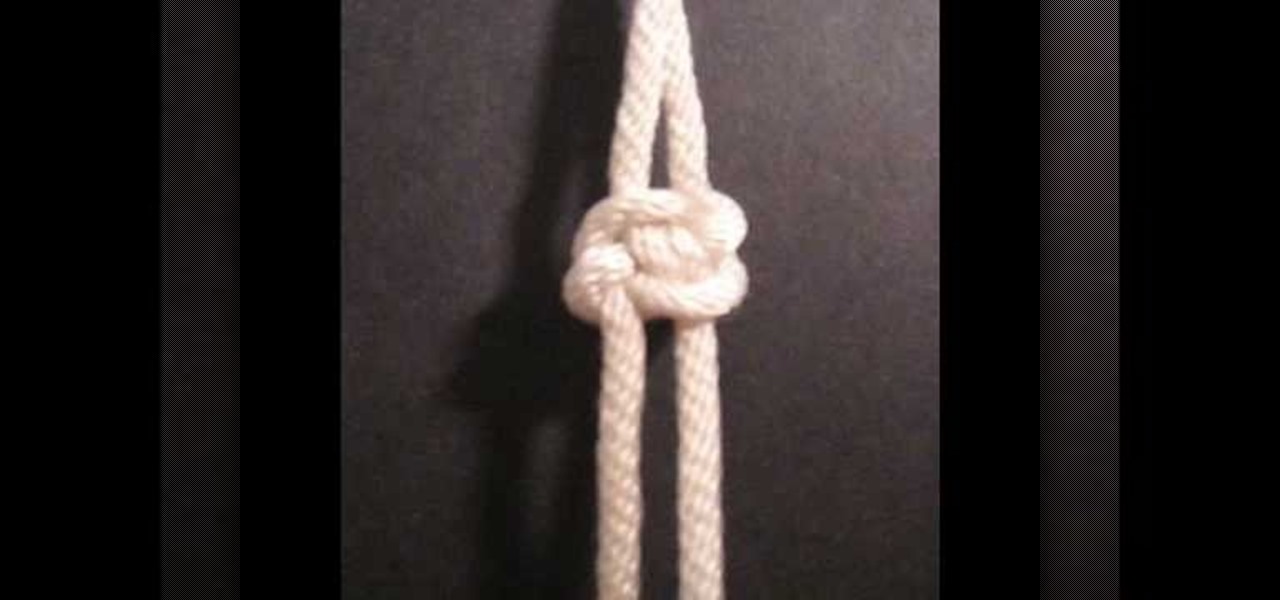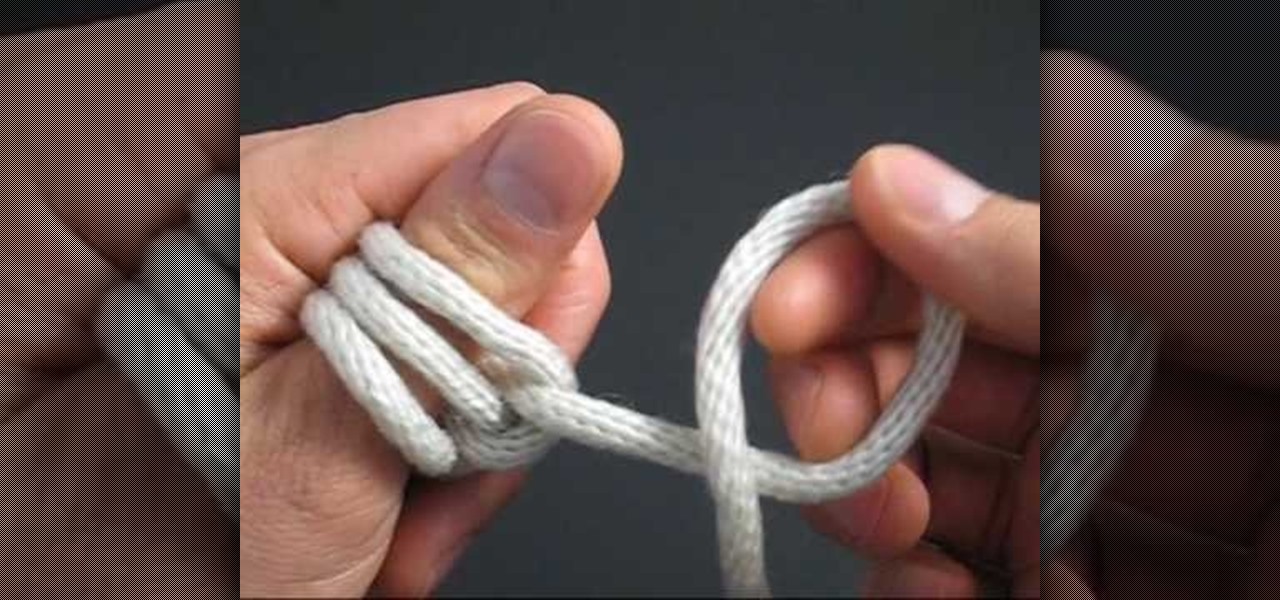
This how-to video provides step-by-step knot tying instruction from Curtis Owens of Performance Tackle. The dropper loop is used for fishing with multiple hooks. Watch this video knot-tying tutorial and learn how to tie a dropper loop variation knot for fishing.
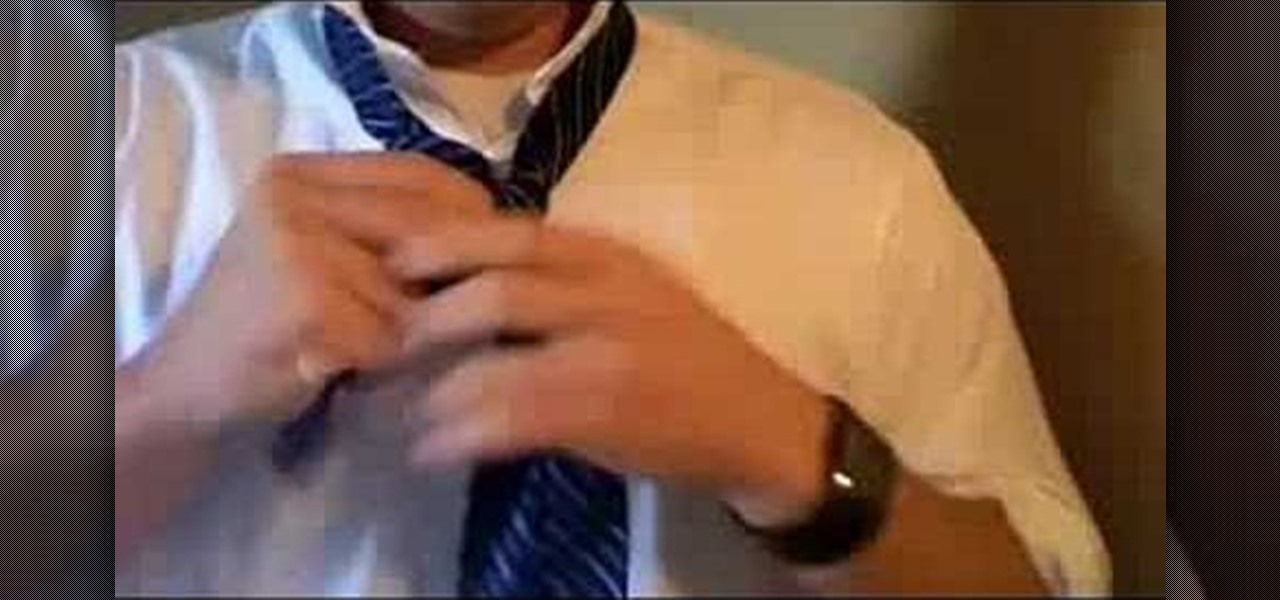
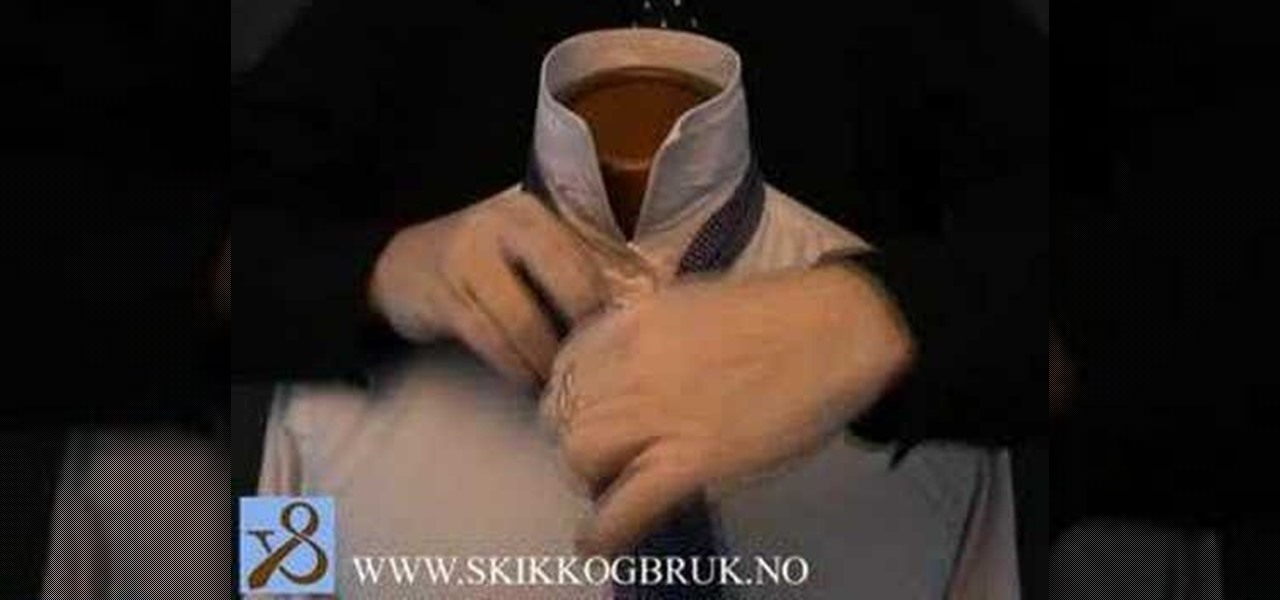
Once you've master the Windsor you can move on to the King George. This fashion how-to video demonstrates how to tie a tie with the King George knot. This knot is a pretty fat knot for thick or thin ties.

This video shows you how to do the French Knot in Silk Ribbon Embroidery. The French knot is a pretty knot for Embroidery and will make your patterns look nice.
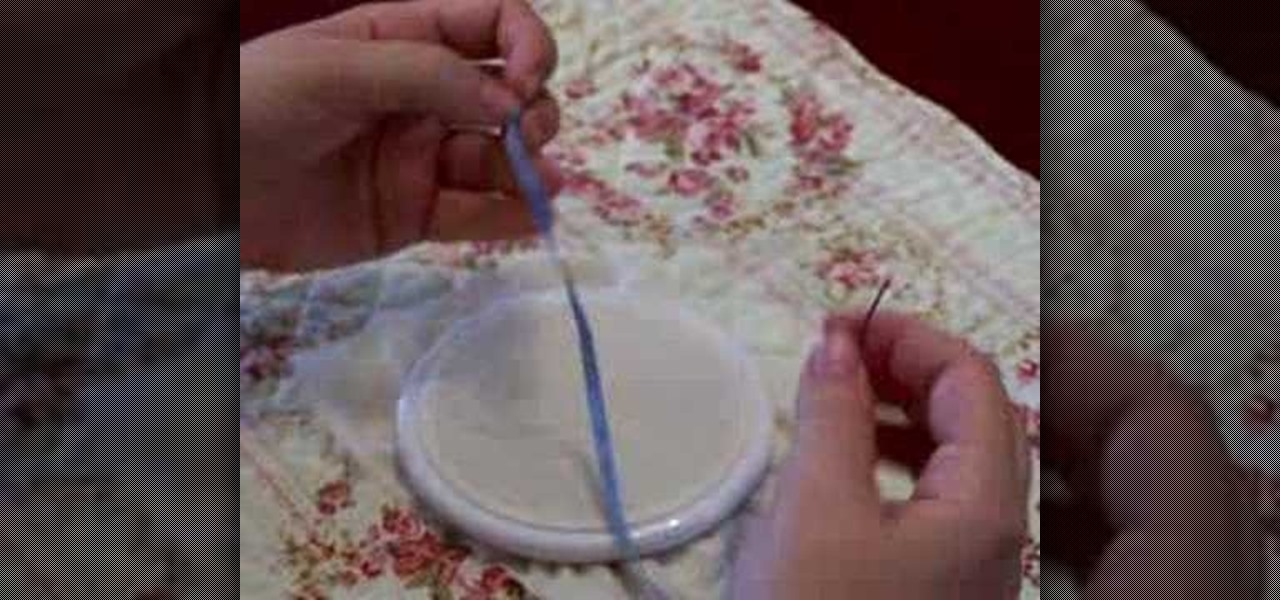
This tutorial video will show how to do the typical soft knot used in silk ribbon embroidery, or the preferred method of the quilter's knot. Most ribbon embroiderers do not use a knot and just pierce tails or come back with another needle and thread and secure the tails that way.

This is a great knot to use if you need to release the knot quickly using one hand. This is great for magical tricks or for tying things that you would like released quickly, without the mess of a tight and tangled knot.

The reef knot is one of the best knots for joining ropes, also known as the square knot. What more could you want?

The improved clinch knot is one of the most common ways to attach a fly to the leader. It is weaker than most other fly-to-tippet knots, but has enough strength to land most fish in most situations. Use this knot to attach a small diameter tippet to a heavy wire hook, or when you want a small knot size.

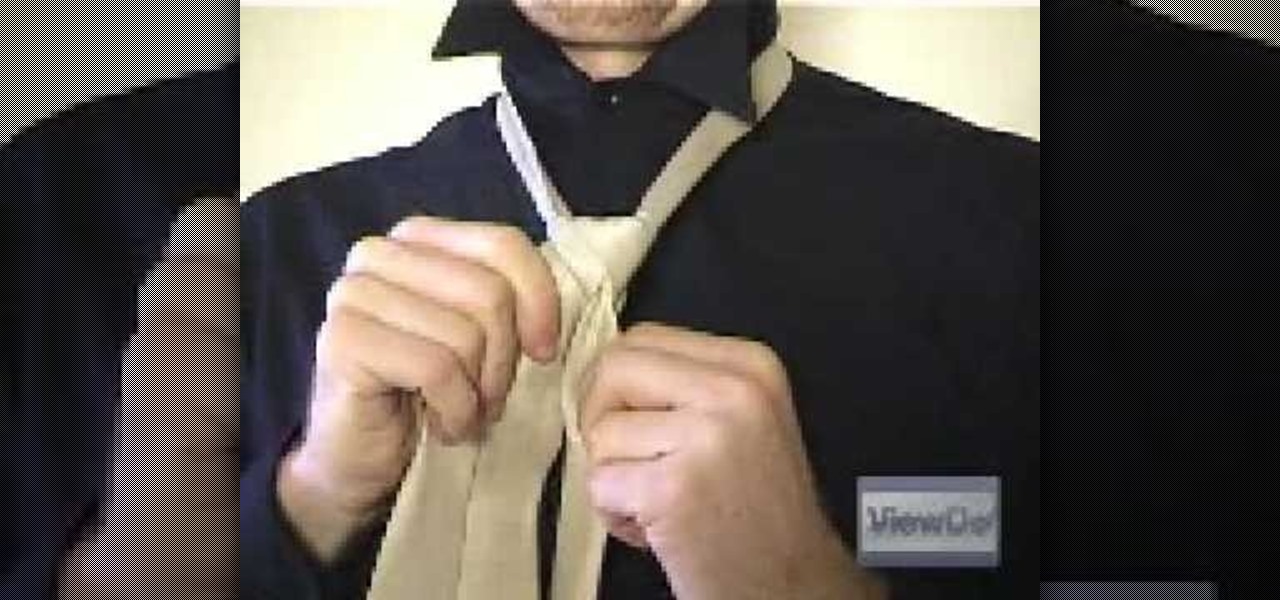
The "Plattsburgh" knot is named after the small town in up-state New York where Thomas Fink, inventor of the knot and co-author of the book "The 85 ways to tie a tie", is born. In contrast to its narrow close relative the "St. Andrew", the "Plattsburgh" produces a symmetric knot characterized by a broad cone with a narrow opening.

This amazing knot may save your life, probably your pride, and certainly piles of your time. If you have kids you know how many times each day you have to tie their shoes. With this knot you'll tie them once and be done. This knot is easy to tie and can be untied as easily as any other.

In this video, we learn how to tie a Palomar knot to secure a fishing line. This knot is pretty easy to tie, it won't take long. First, you will take the fishing line and make it into a loop. After this, insert it through the eye on the hook. Next, bring it back over and then tie an overhand knot, leaving it a little loose when you tie it. You should be able to see the working end hanging down. Now, take the loop and put it over the hook. Now when you tighten it up, you will have the complete...

This video tutorial is in the Arts & Crafts category where you will learn how to tie a sheet bend knot for camping. Take two ropes, make a bite at the end of one rope. Pass the end of the other rope through this bite from underneath and come back through the loop in the second rope and pull it tight. This knot is used to tie two ropes of different sizes together. A variation to this knot is called the double sheet bend. Here you make two loops with the second rope and pass the standing end th...

In this video, we learn how to tie a surgical knot in someone's mouth. First, you will push through the gum into the tooth root, you will do this with surgical string and two surgical pliers made for this. Then, you will push the needle and thread through on the other side of the tear until you can tie a knot. Tie this knot several different times until both sides of the tear are closed. Once you have both sides closed, you have successfully tied a surgical knot. This is easily done when the ...

The video is about creating a plank hitch making use of string and a couple of logs. The video begins with placing a piece of string in a particular pattern on the ground and then placing wood logs on top of it. The string is tied around the logs using a particular knot. The string is pulled tight around the logs and before tying the knot one piece of string is looped twice around the other piece. After the first knot the same process is repeated for the second knot. The video is extremely us...

In this how-to video, you will learn how to tie a single Windsor knot. This will be useful if you need to wear a tie at a formal event. First, place the tie around the back of your neck. Next, cross the bigger side over the smaller side and then pull it up through the loop. Next, bring it underneath the knot and around the front of it. Bring it through up through the loop one more time. Pull the end through the knot. Make sure to adjust the tie so that it is at the desired length. By viewing ...

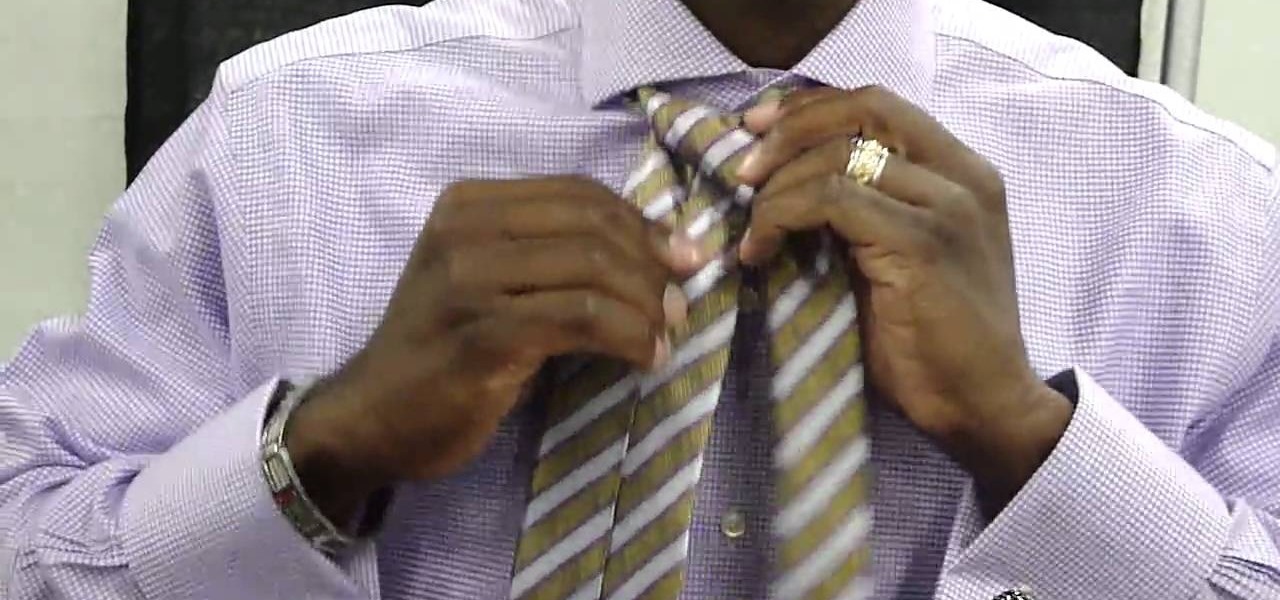
Our host Roe is going to show you how to tie a double Windsor knot into a tie, with this quick step by step guide. To begin, you want to make sure the wider front end of the tie is on your right side and the little end is shortened to about the pectoral level of your chest. Next, you want to cross the two ends with the wider front end on top of the little end, hold where they cross and then bring the wider end through underneath the spot where you're holding. Now, hold the spot where the two ...

This video demonstrates how to tie a double Windsor knot, which is the neatest and most uniform looking tie knot. This knot can be tied in a few steps. First flip the shirt collar up and drape the tie around the neck as shown. Make sure to adjust the tie length so that the narrow end is just above the navel ring. Cross the wide end over the narrow end, pull the wide end back up the loop you just made, wrap the wide end behind the narrow end and back through the neck loop as shown. Pull both e...

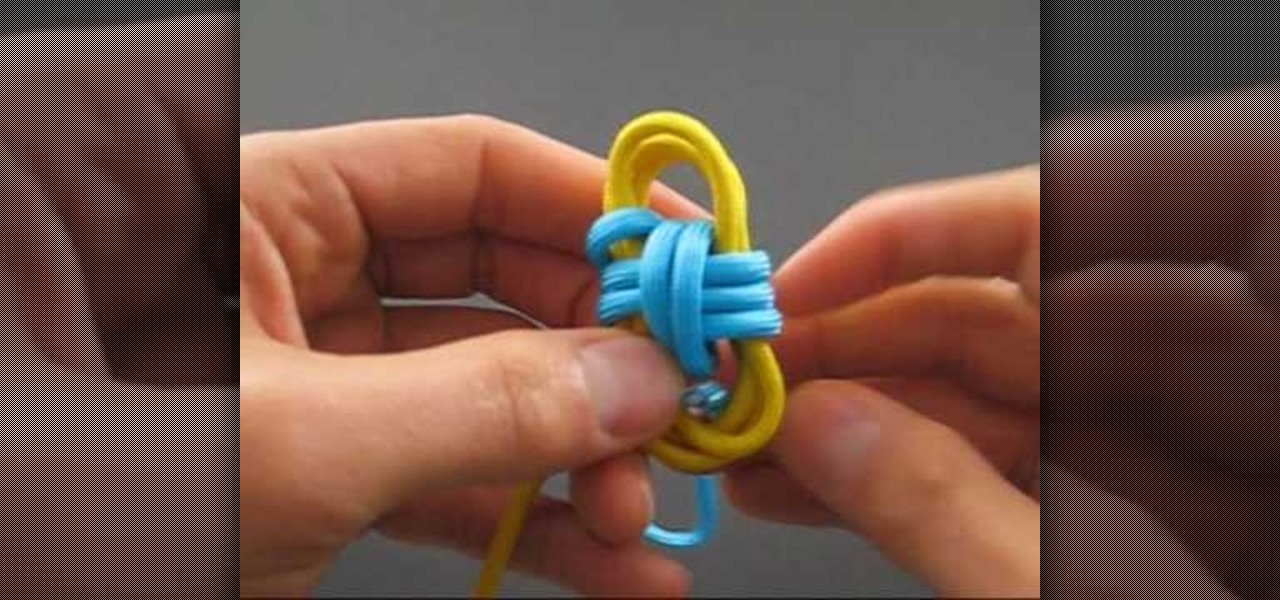
The Chinese snake knot is a considered a representation of good luck, or its considered as an embodiment of the Snake in the Chinese Zodiac. This Paracord Snake Knot can be used as a bracelet or another decorative piece. This snake knot technique would make a great time passer to have some fun in your leisure. In this video you will learn exactly how to make a Chinese paracord snake knot, and if you were born in '89 you should make one too.

This how-to video goes over basic surgery techniques for third year medical students. The knot tying demonstrated in this video are vital to any surgical rotation. Follow along and learn how to do a one handed surgical knot knot with your right hand. This one handed tie is used to close lacerations in the the surgical room. The one handed knot is presented by the UMD School of Medicine.

The Double Overhand Loop is a very quick and easy way to tie a loop at the end of the line. It is not a very strong knot but it is fine for attaching a sinker. For most other applications other stronger knots are better options. The double overhand loop retains around 55 percent of the line original breaking strength. A simple and yet reliable fishing knot. Watch this video knot-tying tutorial and learn how to tie a double overhand loop fishing knot.

Check out this instructional fishing HowTo video to learn how to tie a turtle knot. The Improved Turtle Knot is an easy knot that is quickly tied. It works well for hooks with downturned eyes but can be used for other hooks as well. The improved turtle knot retains around 80% of original line strength. It can be used with monofilament for attaching hooks, swivels, lures and flies. Reel in the big fish with this fishing tutorial video.

In this how-to video from the TyingItAllTogether Channel, learn how to tie Clifford W. Ashley's flower knot. Ashley is the author and illustrator of a book he wrote about tying various types knots, including ones that he created himself. In his book, Ashley shows how to tie this knot, but does not show in his illustrations how to actually hold and tie the knot in one's hand. This video tutorial seeks to clarify those steps. You will need to begin with a piece of rope folding it in half to eff...

The hangman's noose is infamous for its use in hanging prisoners during executions. It was supposedly invented in Britain but eventually spread throughout the world, going beyond the prisons and even into our own homes. But the hangman's knot isn't all doom and gloom. There are plenty of practical (and non-lethal) applications for the hangman's knot, like a fishing or boating knot. Everyone should know this roped knot; this tutorial will show you the knot-tying process. Just remember, to be a...

In this Outdoor Recreation video tutorial you will learn how to tie a "Uni-to-Uni" knot for kayak fishing. When fishing for Tuna, you don’t need a heavy leader. You need a 30 -40 lb test as a leader. Most spools come in 25 yard roll. Take half of the roll and use it as the leader. To tie the leader to the main line, you will need the uni-to-uni knot. Tying the uni-to-uni knot is pretty simple. Lay the main line and the leader parallel to each other going in opposite directions. Loop the mai...

For all of you who are knot fans, here comes a video tutorial showing step by step and in detail how to tie an Emperor's hat knot that realistically resembles one of the hats worn by Chinese emperors in the old days. In this video, a white piece of rope hanging from a hook is used against a black background. You will see each one of the twists and turns in slow speed (not in slow motion) so that you can easily follow what is being shown. The final result is a complex knot done in less than fi...

In this handy knot-tying tutorial from JD of Tying It All Together, we learn how to tie a knarr knot. For more information, including detailed, step-by-step instructions, and to get started tying perfect knarr knots yourself, watch this video guide.

In this handy knot-tying tutorial from JD of Tying It All Together, we learn how to tie a KBK bar fusion knot. For more information, including detailed, step-by-step instructions, and to get started tying KBR bar knots yourself, watch this video guide.

In this handy knot-tying tutorial from JD of Tying It All Together, we learn how to tie a double plafond knot. For more information, including detailed, step-by-step instructions, and to get started tying double plafond yourself, watch this video guide.

In this handy knot-tying tutorial from JD of Tying It All Together, we learn how to tie a round brocade or "six-petal" knot. For more information, including detailed, step-by-step instructions, and to get started tying round brocade knots yourself, watch this video guide.

The granny knot, or square not, is one of the most basic knots used in macrame. This easy to follow tutorial shows you how to tie this knot using two separate strands of macrame, and even different colors for your next project.

Tying a knot in a cherry stem with your tongue is a very seductive and impressive move to pull off. If you've been in the dark as to how it's done, watch this video and practice up to learn how to tie a knot in a cherry stem with your tongue.

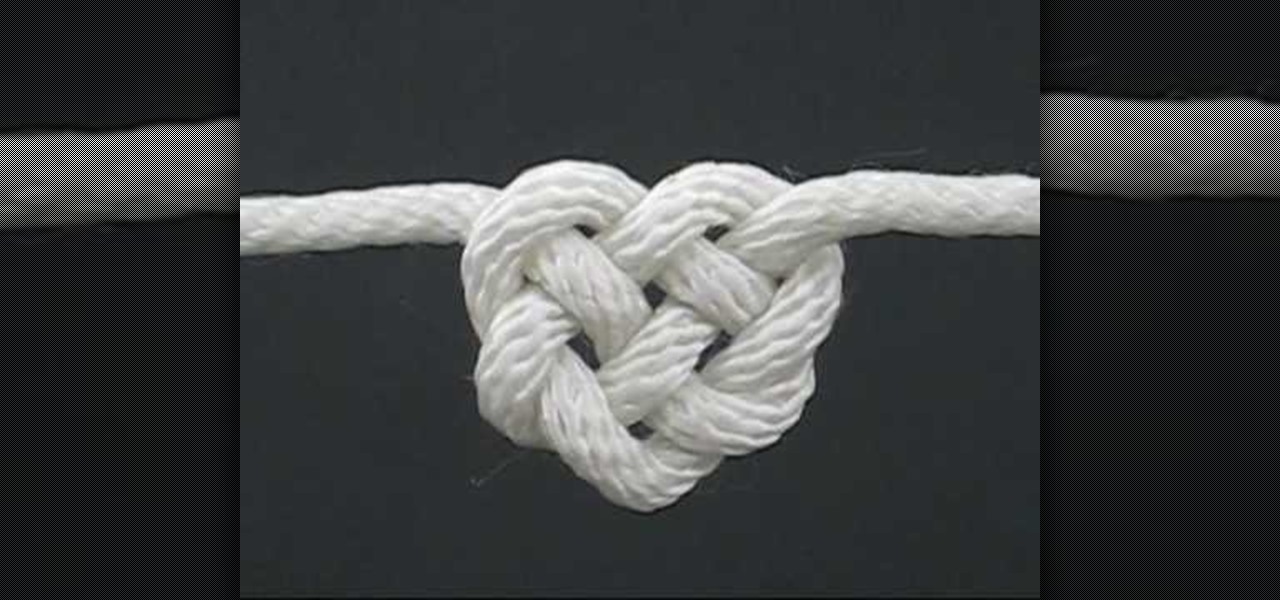
In this video, we learn how to tie the Celtic heart knot. Start off with your rope and make a loop in the middle of it. Now, bring the working en on the right side into the loop so you have a circle. Now, bring that end back into the knot and braid it through the other loop. Next, push this through the bottom loop, then braid it through the lines that are on the shape. After this, you will see a heart shape start to form. Pull gently on the heart with both sides of the rope and shape the midd...

In this tutorial, we learn how to tie the two color monkey's fist knot. First, make a double overhand knot, and snip the edges off. Next, create the monkey's fist by taking one of the ropes and looping it around the fingers several times. After you do this, push the knot through the fingers and tie the other string around the entire loop several times. Push the string through the loop, then continue to tie on the opposite side around itself. To finish this up, Pull the two outside strings tog...

In this video tutorial, viewers learn how to tie a four-in-hand knot with a skinny necktie. Begin with the wide end at least 12 inches longer than the thin end. Then put the wide end over the narrow end and wrap it around once more. Now bring the wide end under the loop and down through the front of the knot. Then pull the knot tight and adjust the tie. This video will benefit those viewers who have a skinny tie, and would like to learn how to tie it because hey are attending a formal dinner,...

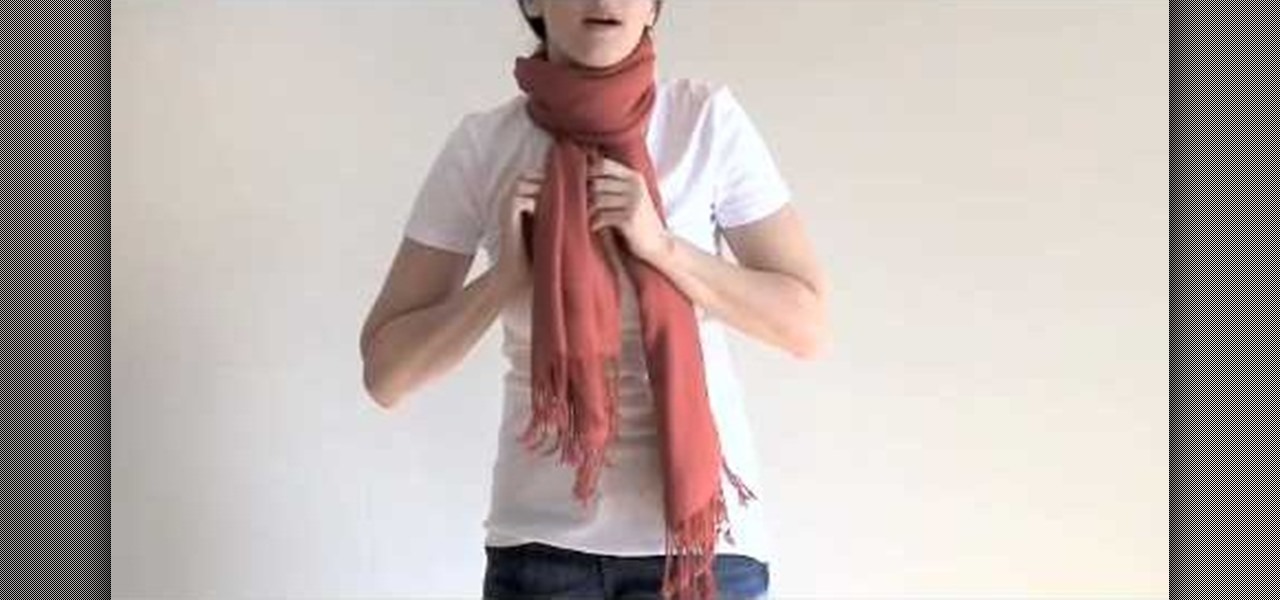
In this tutorial, we learn how to tie a turtleneck knot. First, take your long scarf and find the middle. Next, wrap the scarf behind the back, and bring the ends to the front. Loosen the scarf up on the neck, then make a knot. Try to get the scarf to lay as flat as possible, then tuck the knot into the neck cover. You can let it hang loosely, or flare it out on the sides. This is a great way to wear your scarf in the winter, because it will keep your neck warm as well as your body! You can a...

Fishing is one of the many outdoor activities where tying different types of knots is crucial, and where debates over which knots are superior are common. This video features a former bass guide demonstrating how to tie his favorite fishing knot, a 100% knot. It is very simple to tie and very effective at holding your lure. Practice it, and you should be able to save yourself time and irritation out on the lake.

Not sure how to tie a tie? Not only will you learn to tie a tie in this video presented by Tie-a-Tie.net, but you will learn how to tie a Windsor knot! Follow these step-by-step instructions and complete real-life example to get your Windsor knot tight and neat looking.

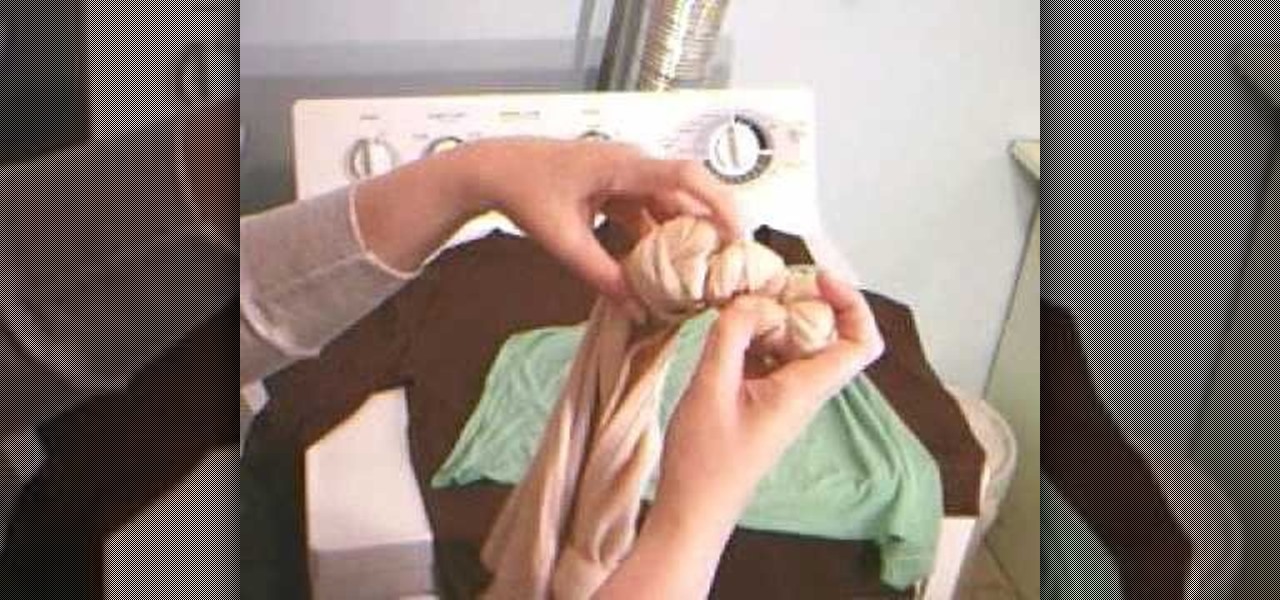
Do you love the 1960s flair that tie-dye gives your clothes, but hate tracking pre-dyed stuff down at hippie stores? This two-part video teaches you how to make your old plain-colored clothing tie-dyed using the knot technique. Revitalize your closet using this technique without ever having to set foot in a specialty store!

Looking for a quick and easy way to fasten a necktie? Need to know how to tie a necktie for a formal event like a wedding or fancy job interview? Prefer that your knot not be too bulky? Try an old standby—the half Windsor knot (sometimes referred to as the "double" Windsor). This video tutorial presents a careful overview of the knot tying process and will have you tying perfect half Windsor knots in no time at all.

To make a Kinky Lover's knot, first hang or keep the tag on something. Then take the first end. Tie it by keeping a loop. Then take the second end and pass it through the loop by leaving a loop. Then take the second end, which was taken earlier , through the loop made by the first end. Then pass the second end through the loop, which was made by the second end. The knot is ready! All we have to do now is to tighten the knot by pulling the two ends. Make it beautiful by arranging the tag clearly.

A bloody knuckle knot is the result of a row of half hitches fused with a blood knot--this video teaches you how to tie one. Make two loops with your rope then loop them over your thumb. Take the tail of the rope and keep making loops and adding them to the others on your thumb, to produce a row of loops. When you have five loops, slide them off your thumb, take the end of the rope and pass it through the loops. Pull out the slack but do not tighten, then take the other tail and pass it throu...


