Devolped by the same team of engineers responsible for LightWave 3D, modo, lowercase, delivers the next evolution of 3D modeling, painting and rendering in a single integrated and accelerated package for the Mac and PC. And now, modo is a true end-to-end solution that includes true 3D sculpting tools, animation and network rendering! More than just features, modo is a truly elegant integration of technology, raw horsepower and refined workflow. With such a wealth of inbuilt features, however,...
Devolped by the same team of engineers responsible for LightWave 3D, modo, lowercase, delivers the next evolution of 3D modeling, painting and rendering in a single integrated and accelerated package for the Mac and PC. And now, modo is a true end-to-end solution that includes true 3D sculpting tools, animation and network rendering! More than just features, modo is a truly elegant integration of technology, raw horsepower and refined workflow. With such a wealth of inbuilt features, however,...
Devolped by the same team of engineers responsible for LightWave 3D, modo, lowercase, delivers the next evolution of 3D modeling, painting and rendering in a single integrated and accelerated package for the Mac and PC. And now, modo is a true end-to-end solution that includes true 3D sculpting tools, animation and network rendering! More than just features, modo is a truly elegant integration of technology, raw horsepower and refined workflow. With such a wealth of inbuilt features, however,...
Developed by the same team of engineers responsible for LightWave 3D, modo, lowercase, delivers the next evolution of 3D modeling, painting and rendering in a single integrated and accelerated package for the Mac and PC. And now, modo is a true end-to-end solution that includes true 3D sculpting tools, animation and network rendering! More than just features, modo is a truly elegant integration of technology, raw horsepower and refined workflow. With such a wealth of inbuilt features, however...
Devolped by the same team of engineers responsible for LightWave 3D, modo delivers the next evolution of 3D modeling, painting and rendering in a single integrated and accelerated package for the Mac and PC. And now, modo is a true end-to-end solution that includes true 3D sculpting tools, animation and network rendering! More than just features, modo is a truly elegant integration of technology, raw horsepower and refined workflow. With such a wealth of inbuilt features, however, things can ...
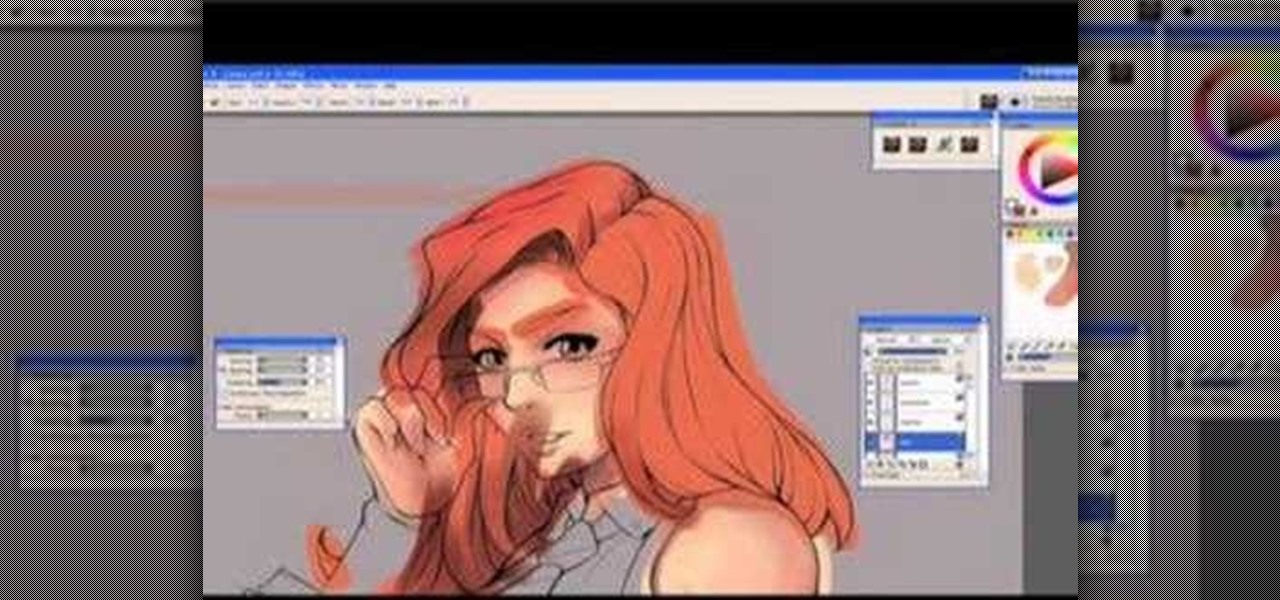
This digital drawing tutorial shows you how to color or ink a manga animation type drawing in Corel Painter. The tutorial assumes you are using a Wacom or Cintiq tablet to work. The tutorial explains the steps taken to digitally color a drawing in Corel Painter and is more about the process than the specific mouse movements.

Backyard FX shows how to build a real lightsaber. Erik Beck unearths the original lightsaber blueprints from the special effects creator for Star Wars, and show you how to buy parts to a real lightsaber so you can have your own custom Star Wars weapon. In the test film you'll see our rotoscoping technique on how to complete the effect with some simple computer animation. You will need chrome plated slip joints, black vinyl rubber, a nylon slip joint, a rubber slip joint, rubber O rings, and m...
This animation shows the various steps taken when creating an RTV mold. First, risers are put on the part to allow air to escape from the final mold. A thin film is attached to the part, which will act as a seam for the final mold. A box is built around the entire structure, and it is filled with silicone rubber. Once the rubber has cured, the box and risers are removed, the mold is opened at its seam, and the original part is removed. Any type of urethane can now be injected in the mold to c...
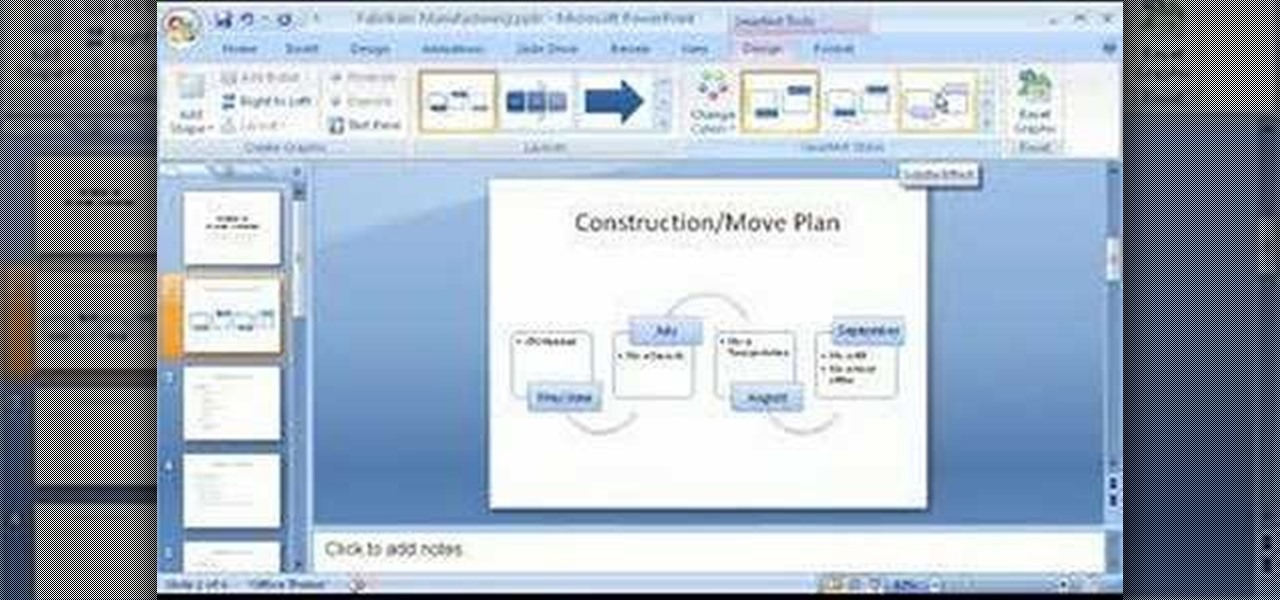
Learn how to add color, shape, and emphasis to your text and data in Microsoft SmartArt graphics in this tutorial. See which one works best for getting your point across. An organization chart? A time line? A process with sequential tasks? Non-sequential items? Pick one, and optionally customize it with colors, animation, effects such as shadows, bevels, and glows, and more.
Before you start sculpting in Pixologic's Zbrush 3.1 3D modeling software, you'll want to have references to follow by. So, check out this video to see how to use Andrew Loomis's art books for referencing while sculpting in Zbrush. You'll see where to get Loomis's books on the Internet and what best to work with for your 3D digital animation. Modeling with Zbrush will be a breeze if you have reference to go off of, because you need it.
See how to use viewports in Autodesk Maya 8.5. If your 3D modeling skills are in need of a little refreshing, then watch this five-part video to see how to effectively use a viewport in Maya for your character animation.
Check out this two-part video tutorial on learning some components and polyprimitives of vertices in Autodesk Maya 8.5. You'll get the best info on geometry for 3D animation in this 3D modeling video. See how to scale, rotate, and move vertices of your built animated character in Maya.
Check out this four-part video tutorial on geometry in Autodesk Maya 8.5. You'll learn about extraordinary vertices and non-extraordinary vertices balls. If you're a 3D modeler, then why not look at this video? Your 3D animation skills might need a little brush up, so make your character, learn about proper polygonal geometry in Maya.
Check out this two-part Autodesk Maya 8.5 video tutorial on creating set driven keys. If you're and animator and your having trouble with your organic or unorganic animation, maybe this is your problem; it's a very powerful tool in 3D modeling in Maya. When ever you come into an object that you are constantly rotating, maybe you should put a set driven key on it, no?
The bouncing ball animation is a classic beginning point for animating in every 3D software package. This tutorial shows you how to do it in Maya. Part two will concentrate on keyframes. Part three will turn the bouncing ball into a character set. Part four will cover using the Trax editor when animating.
This video is to get you started with the initial setup of the Doom 3 to Maya workflow. Topics covered (in order) are set up, export your first character ingame, texturing, animations on character cycles, load game models into Maya. Part 4 is a WMP video.
A tutorial series on creating basic character animation in Flash. Part 1 of 3 - How to Create animation with Flash.
Actions allow you to control your movie timeline and buttons in various ways. This tutorial starts with a basic image and shows you how to utilize the different actions available to you when creating an animation in Adobe Flash CS3.
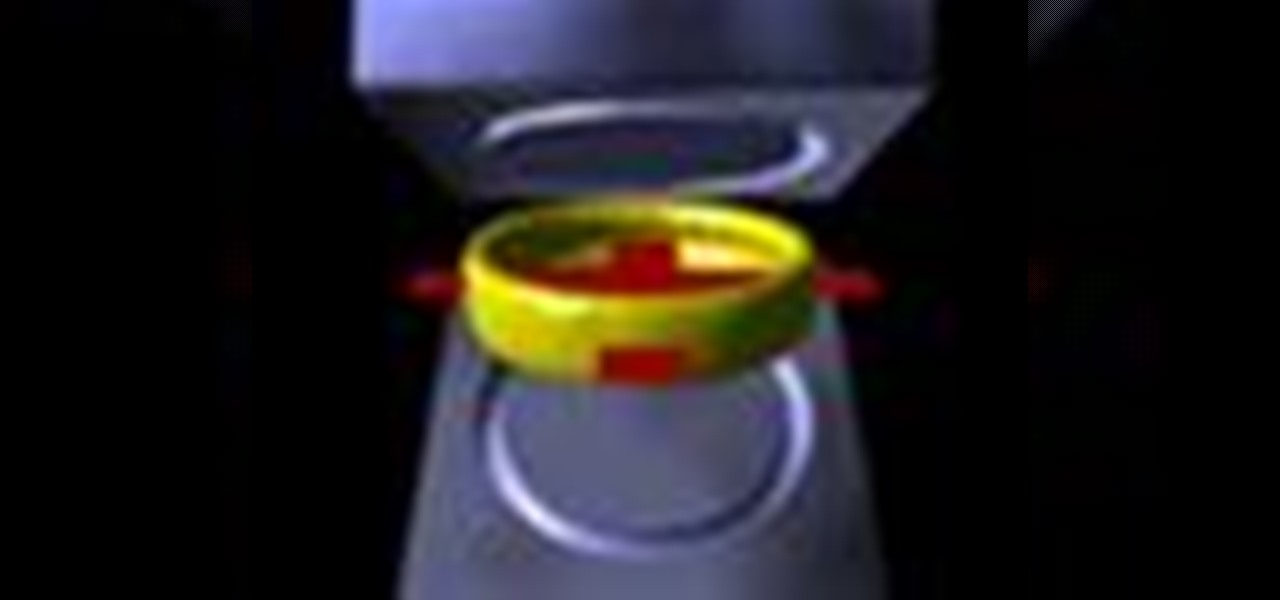
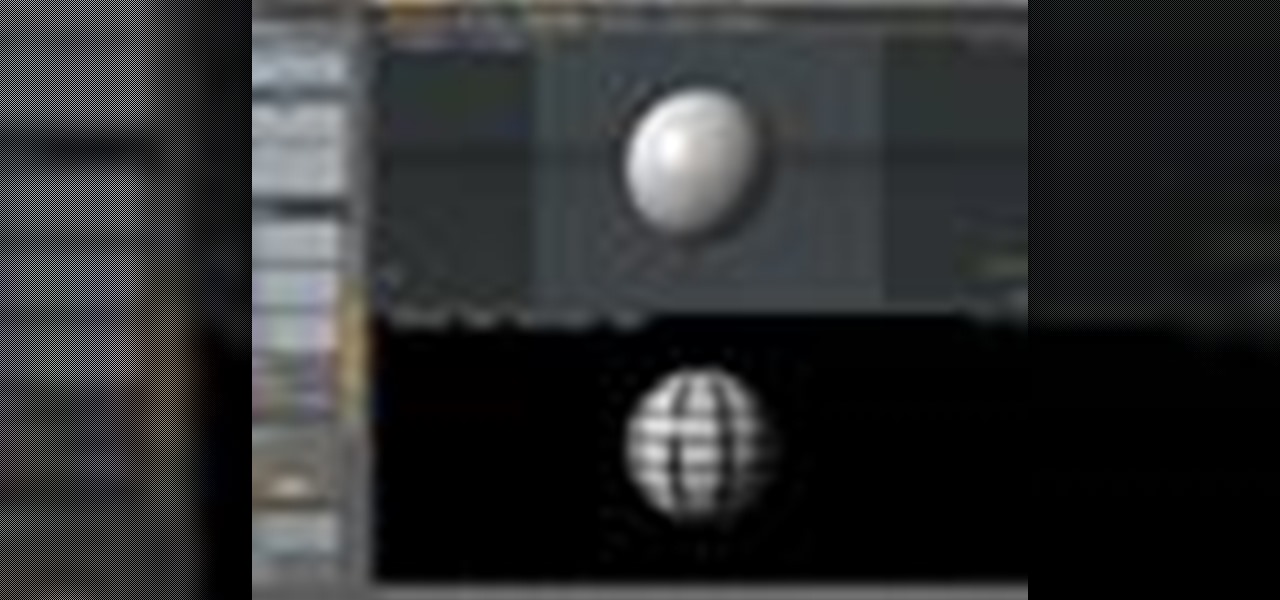
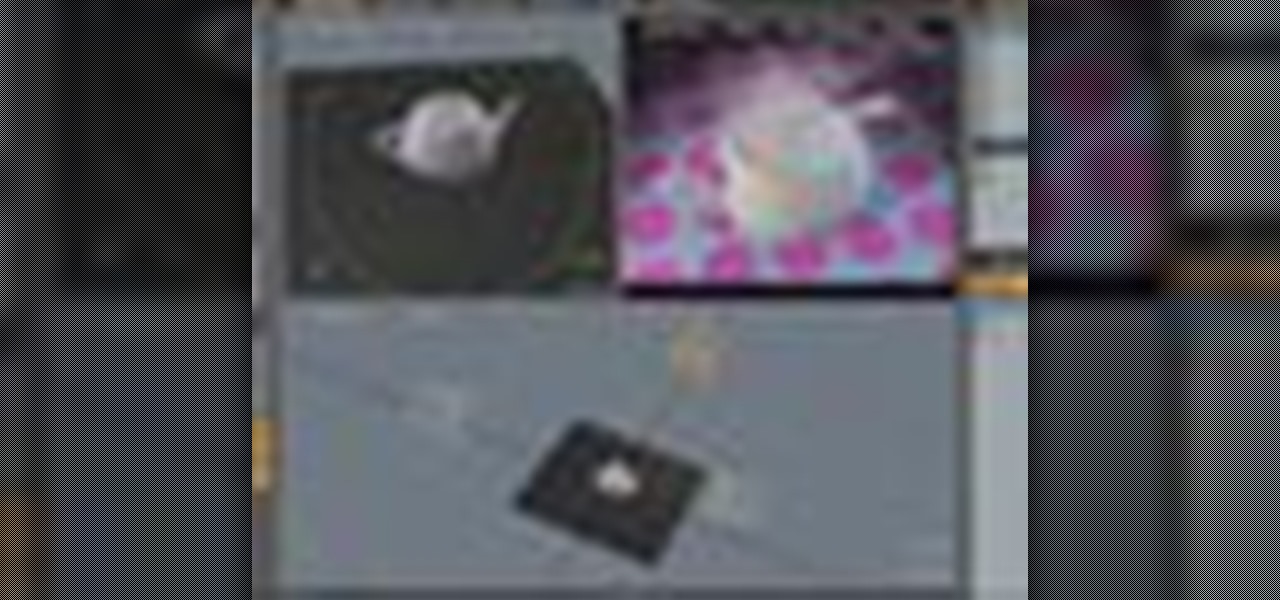
Go beyond the traditional 3D workflow to an immersive creative experience with the software Modo, created by Luxology. Modo is the next evolution of 3D modeling, painting and rendering for Mac and PC. Modo includes 3D sculpting tools, animation and network rendering, and advanced features such as n-gons and edge weighting.
Go beyond the traditional 3D workflow to an immersive creative experience with the software Modo, created by Luxology. Modo is the next evolution of 3D modeling, painting and rendering for Mac and PC. Modo includes 3D sculpting tools, animation and network rendering, and advanced features such as n-gons and edge weighting.
Go beyond the traditional 3D workflow to an immersive creative experience with the software Modo, created by Luxology. Modo is the next evolution of 3D modeling, painting and rendering for Mac and PC. Modo includes 3D sculpting tools, animation and network rendering, and advanced features such as n-gons and edge weighting.
This video series shows you how to use the interface (UI) in 3D Studio Max. Topics covered are viewports, menu bar, main tool bar, status bar, command panel, and animation controls respectively.
An edited video with lots of different clips needs great transitions to be successful. Transitions support your story and message, and without any, there's always a chance that your audience might lose track of what's going on and when. When editing in Enlight Videoleap for iOS, you can easily add cut, dissolve, iris, wipe, slide, and fade transitions to your video clips with just a few taps.
One of the most powerful features when editing videos with Enlight Videoleap is the keyframe tool, which allows you to add custom transitions, animate text, granularly adjust audio, move video clips across the frame, supplement effects, and more. If you want your video to change color over time or for captions to move across the screen, use keyframes in combination with Videoleap's other tools.
Though many were hoping for it, a notification indicator around the Galaxy S10's front camera punch hole never came to fruition. Since then, we've been finding other uses for the camera cutout, from turning it into a circular battery meter to using creative wallpapers. Thankfully, there's now an app that will give you LED-style alerts with a ring around your S10's camera.
Among the many partnerships mentioned early on in the life of the Magic Leap One, by far one of the most talked about has been the comic book app from Madefire.
JigSpace, a company that uses 3D renderings to give instructions, showed off a fun new way to learn how things work using Apple's ARKit. The video released shows the anatomy of a range of things, including an espresso machine, an Archer Hb Plus chair, and the manual transmission of a car. Not to mention, they also used ARKit to show a 3D how-to of removing an iPhone's SIM card.
As if you needed another example of Android's open-source awesomeness, before the Pixel phones were even released, a flashable ZIP that will give you almost all of Google's Pixel-exclusive features on other devices appeared.
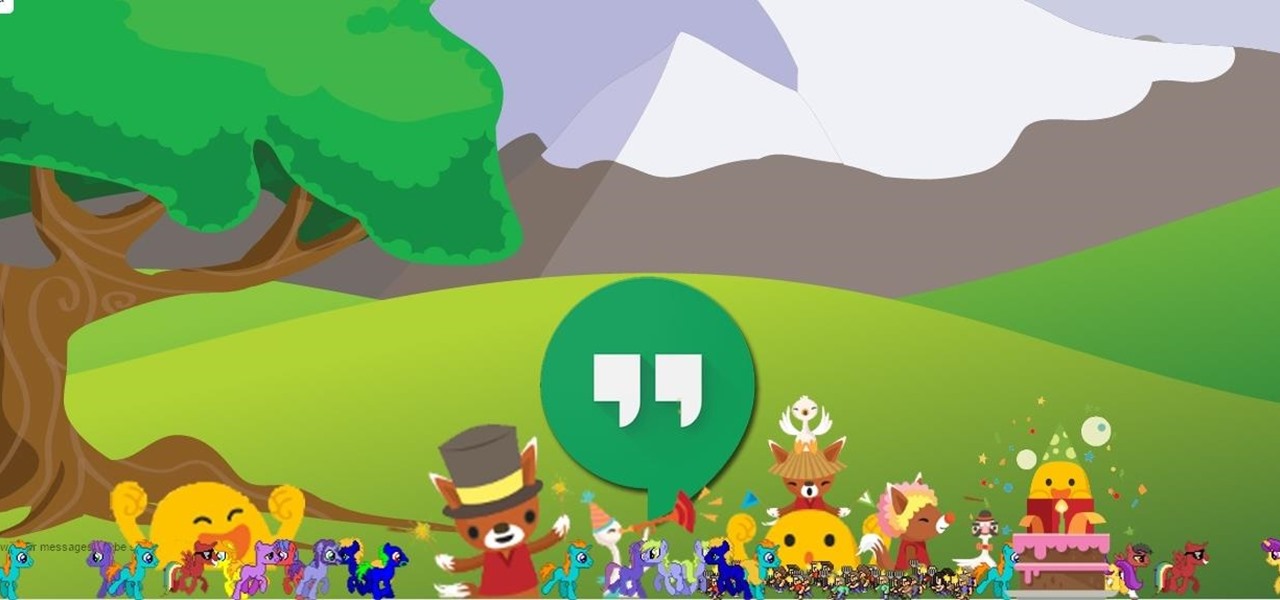
Google has added some fun Easter eggs to Hangouts that'll give you a few more ways to procrastinate throughout your day. All of them (except for one) work on the web browser version, the Chrome app, and the mobile apps for Android and iOS, and are activated by sending a specific message.
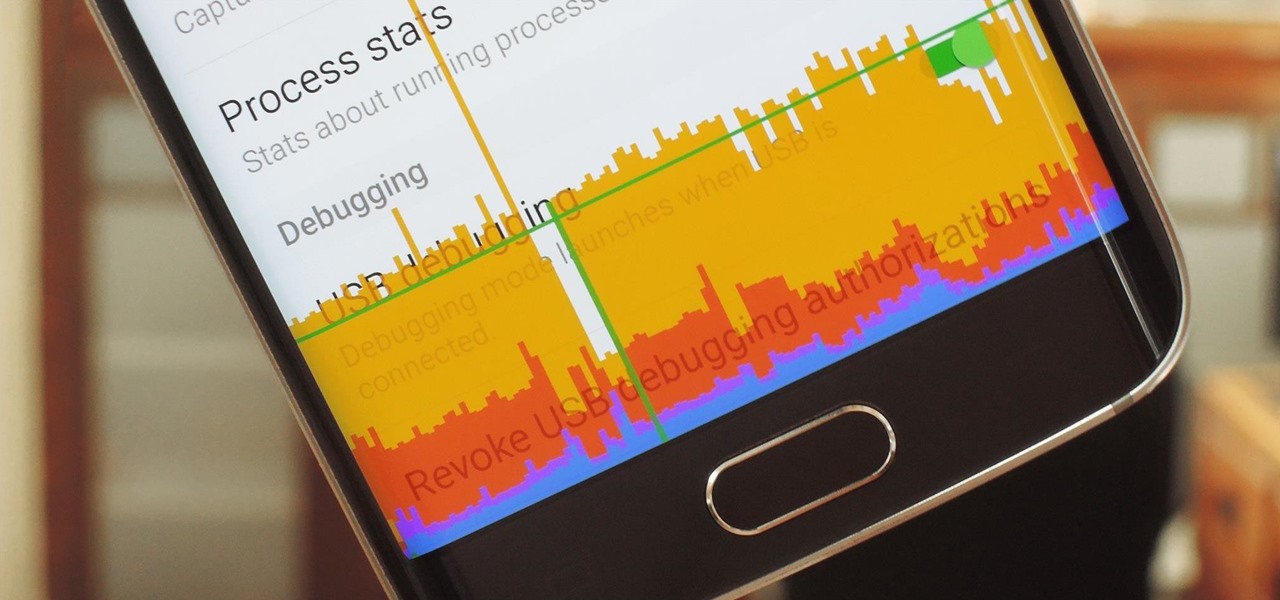
In case you didn't know, Android has an awesome hidden settings menu called "Developer options" that contains a lot of advanced and unique features. If you've ever come across this menu before, chances are you just dipped in for a minute so that you could enable USB debugging and use ADB features.
On the Apple Watch, along with the conventional emojis we've grown to love, there are new animated emojis that add a new dimension of fun for you and your friends. Unbeknownst to many, these animated faces also include a feature that allow you to change their color.
Facebook essentially strong-armed us all into installing their standalone Messenger app for mobile devices, but the recent initiative that allows third-party development on the platform definitely makes it worth your time.
Google's got a hit on its hands with this one. Android 5.0—AKA "Lollipop"—will be making its official debut next month, but a new preview build has given us a glimpse into the future, which looks brighter than ever.
In this free video series on how to animate drawings, learn the basic techniques and principles behind capturing your artwork.
In this video series on how to draw animated cartoons, learn the fundamental techniques and principles that guide the development of any animation idea.
In this series of instructional software videos, our computer animation expert demonstrates how to create 3D animation in CINEMA 4D. John Carstarphen starts with the basics of opening the software and setting up the workspace, then guides you through the menus and windows, as well as the basic file structure of the program.
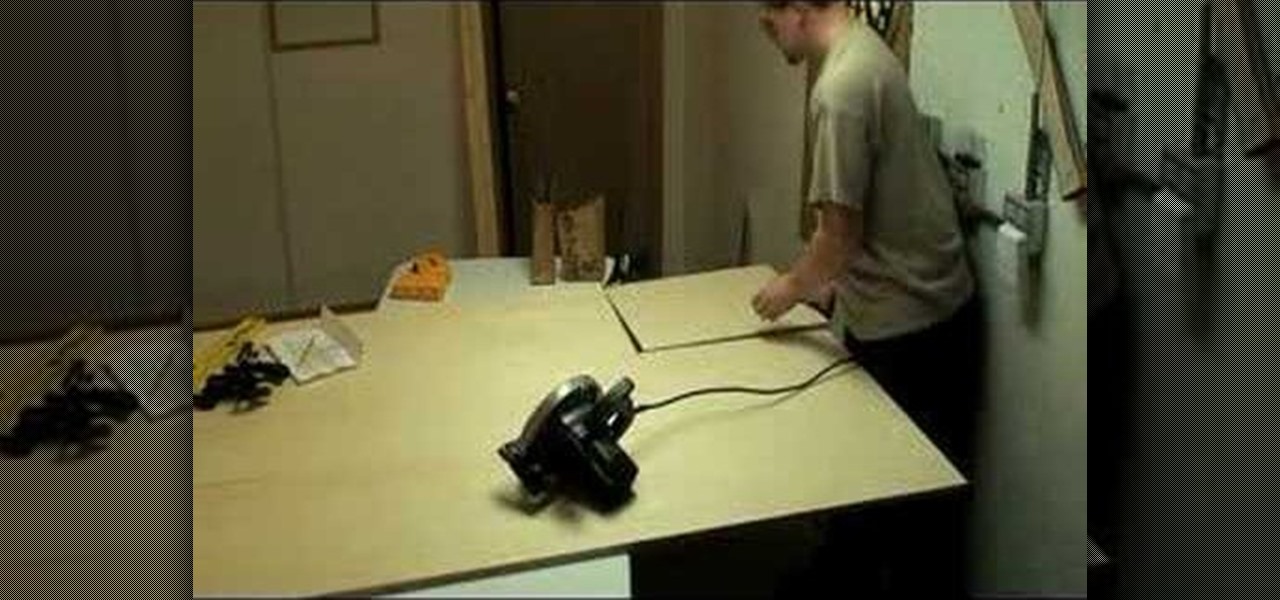
This short construction tutorial video shows how to build a small, simple stage from scratch specifically for animating a claymation or stop motion animation project. Construct the ideal world for your claymation characters or stop motion animation armatures and puppets. All you have to do is follow this video then drill holes wherever you want your tie downs to pass through and you're off to the races. Just use the following materials to build your own stage: an armature with foot tie-downs,...
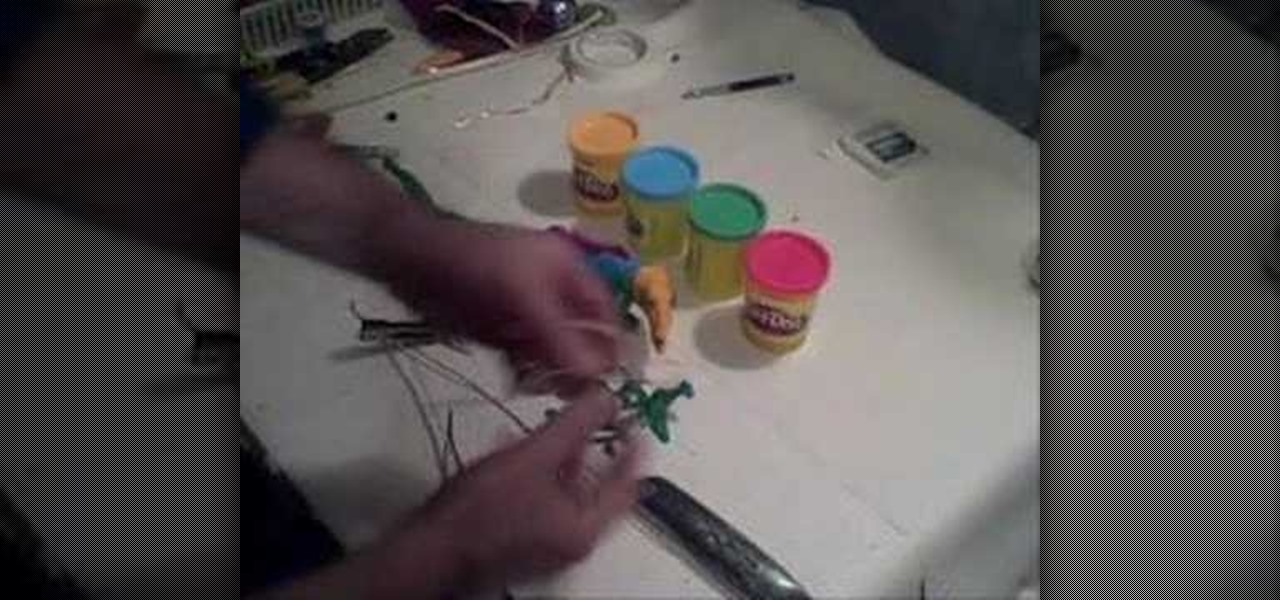
Watch this video to learn how to make a 3D stop motion animation using playdoh and a wire armature. You must have some knowledge of stop motion animation and Movie Maker software to make an animation. This is easy to do and just takes some creativity.
Blake Whitaker shows you the basics of doing stop motion animation. You are going to need some particular equipment, and a lot of creativity.
You've spent untold hours playing your favorite games. You know what you love. More importantly, you know what can be improved upon. The distance between vision and reality is not as far as you think. You just need a bit of training.