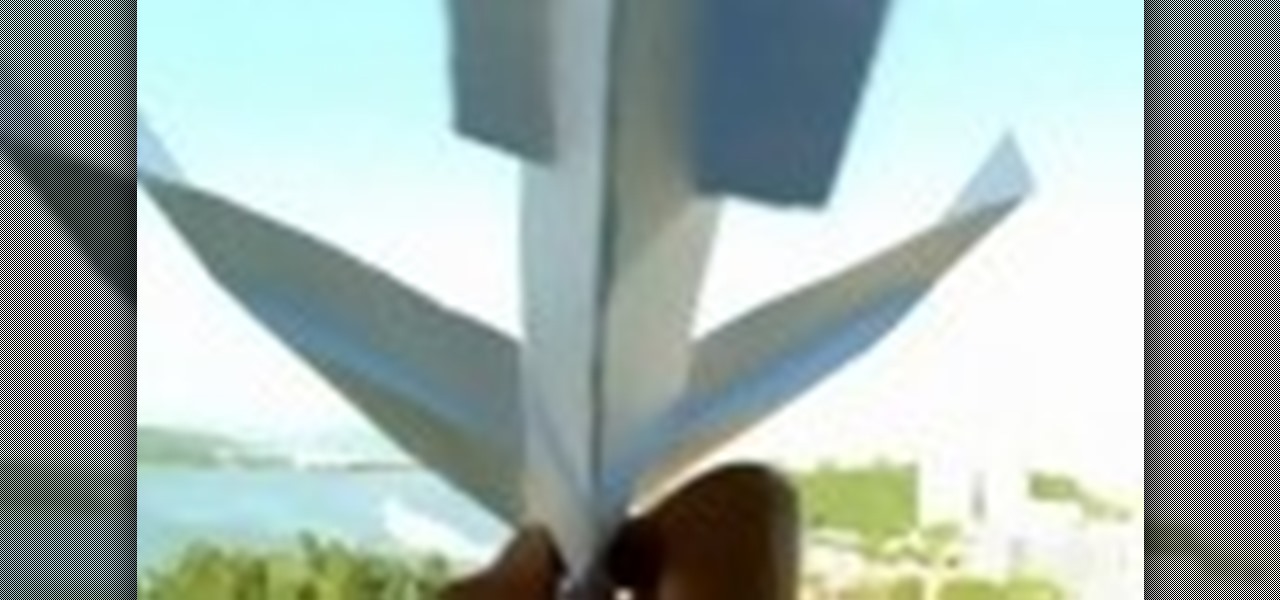
Watch this instructional origami video to fold an origami sailboat. This origami boat is folded and designed by Joost Langeveld. This instructor paints the origami paper to enhance the visual illusion. He holds the origami paper in front of several completed examples of the origami sailboat, creating a quaint ocean scene.

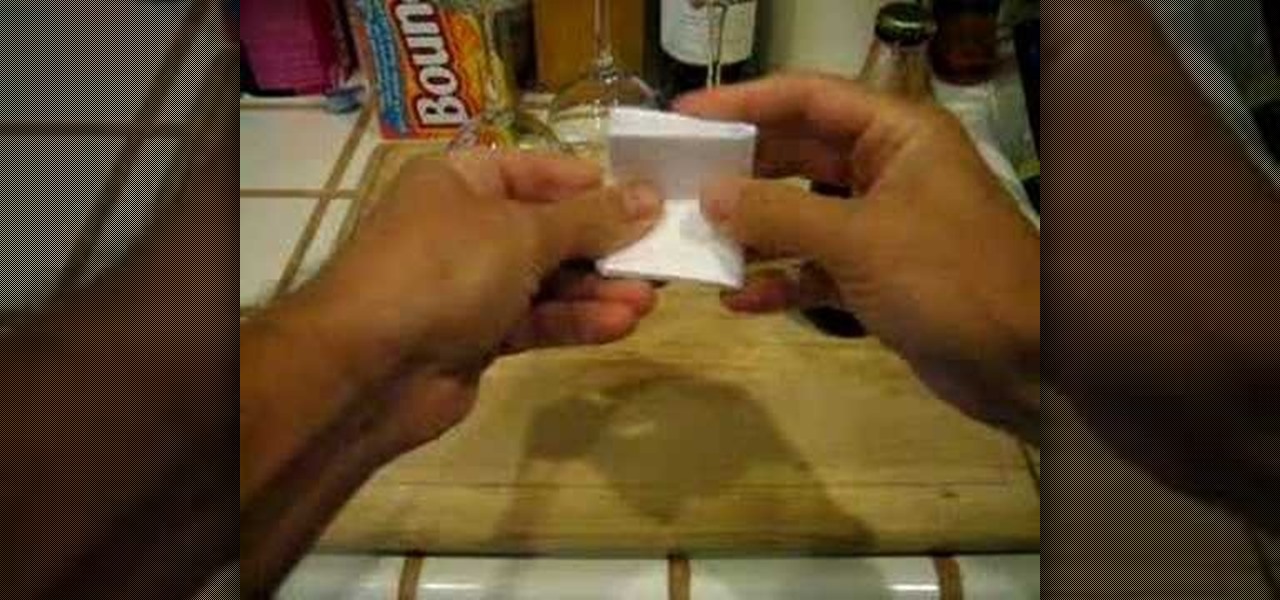
Not sure what to origami today? Try folding an origami paper cup. Watch this instructional video and learn how to fold your own glass.

Check out this video to learn how to fold a yellow flower from a triangular piece of origami paper.
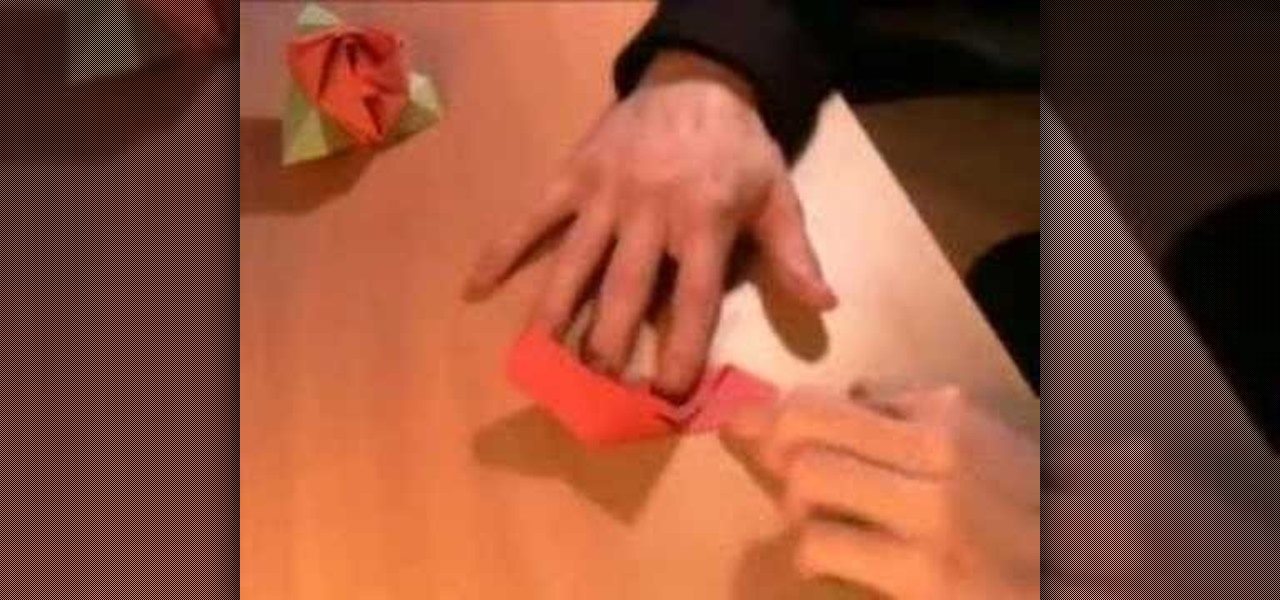
This is a tutorial on how to make an origami rose that also becomes a box. Magic? Maybe. You will need three pieces of red paper and three pieces of green paper.
Paul Jackson demonstrates how to make an origami barking dog. You do this by folding a square piece of paper. To finish the face, you need to fold the paper back.

Dave from Dave's Garden explains how to make paper pots for young plants.

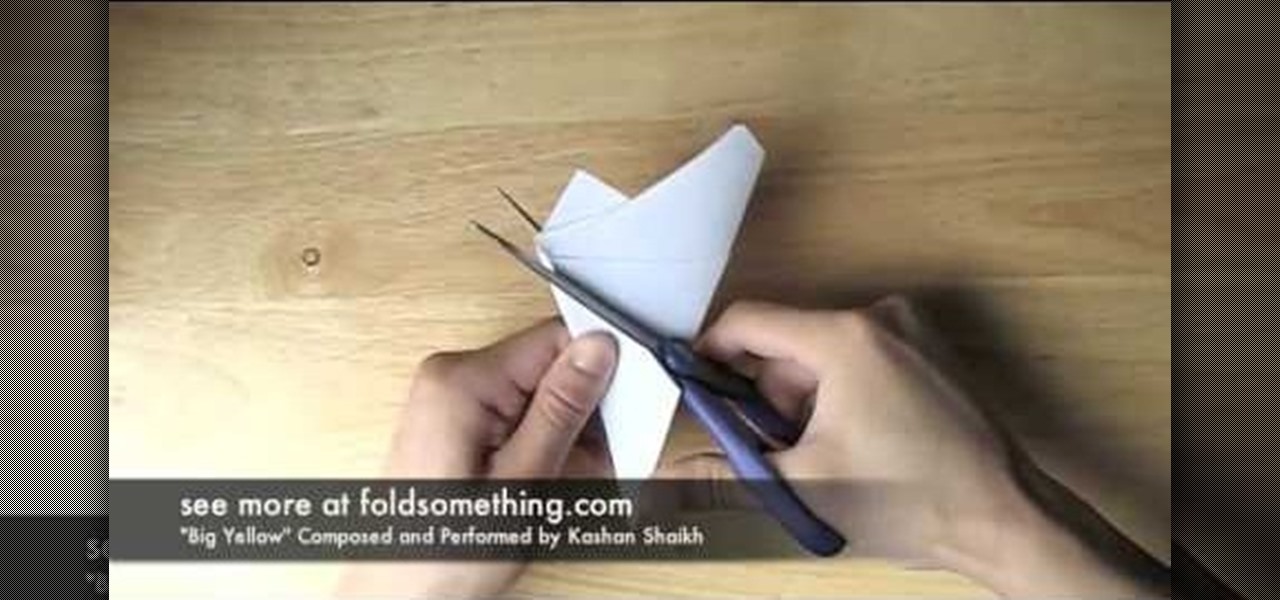
This is a step by step guide on folding the best origami paper plane in the world. I was taught how to fold this many years
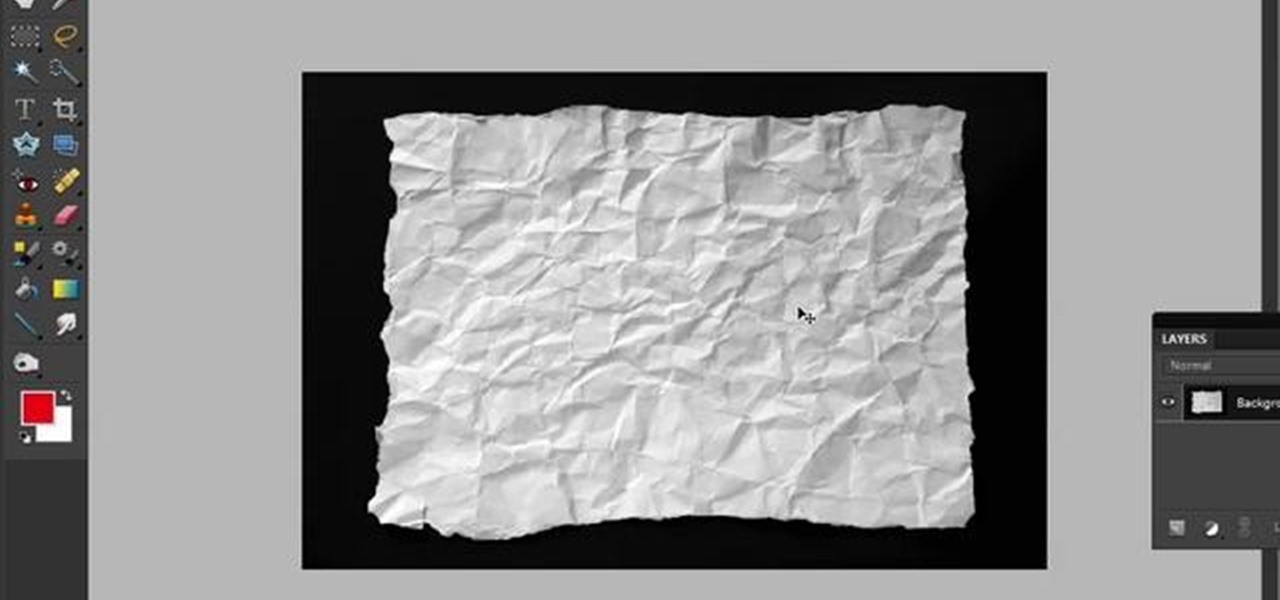
In this video tutorial, you'll learn how to create old burnt parchment paper in Adobe Photoshop CS3.
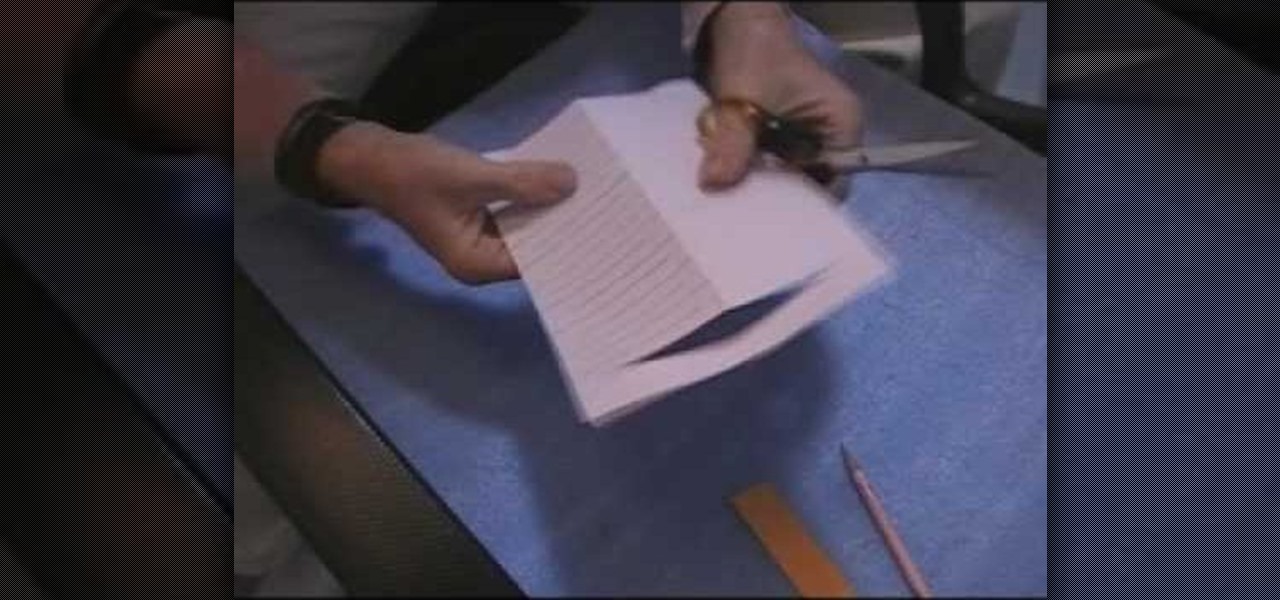
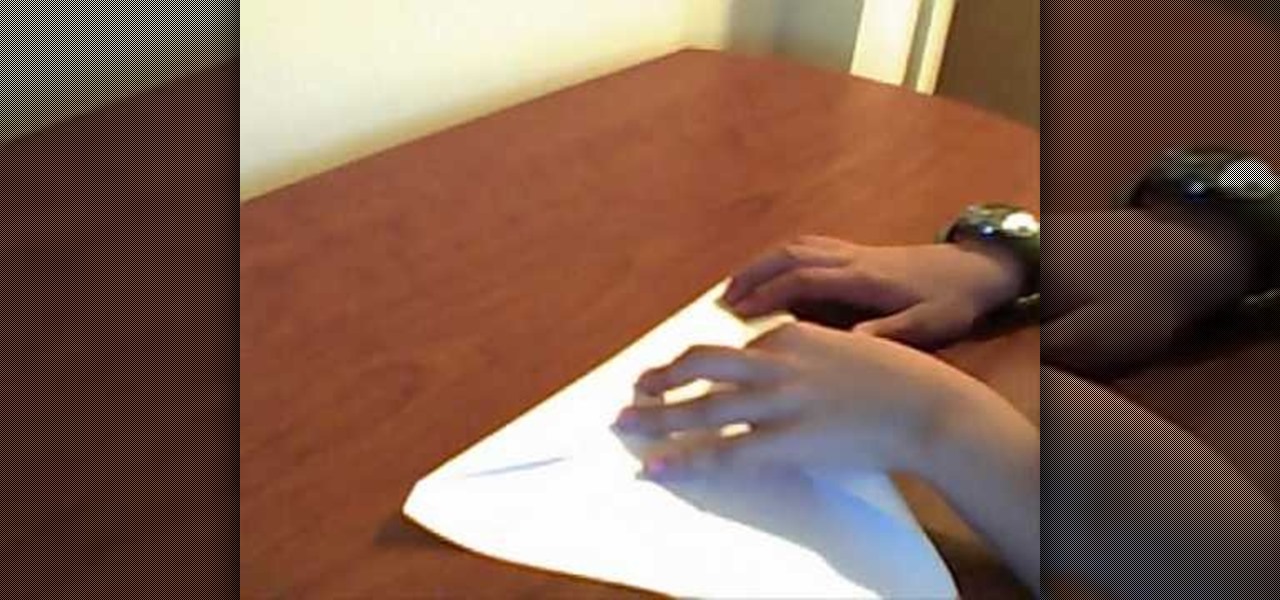
This video explains how to cut a hole large enough to fit your whole body, in a small piece of paper.
This video will show you an easy way of making a tension wrench using a paper clip.
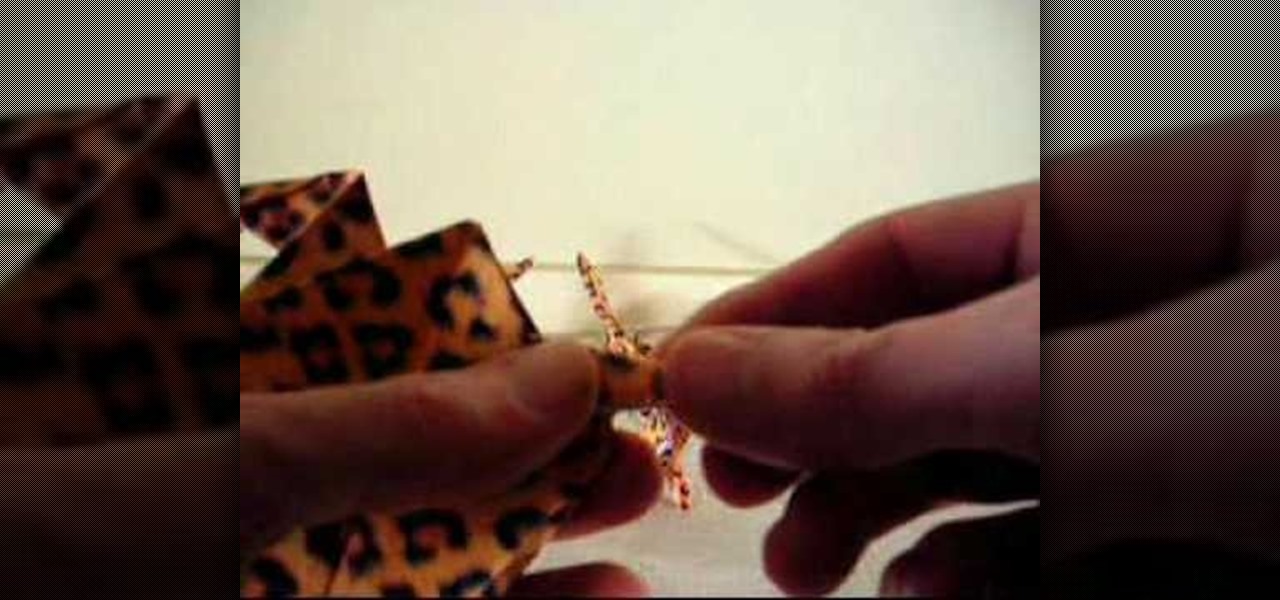
This video demonstrates how to make a cheetah. Starting with cheetah paper the author makes a series of folds and cuts to result in a paper cheetah. You will need a pair of scissors for this craft.
If you can’t find your bottle opener, just watch this video and you'll learn how to open a beer bottle with a piece of paper. It's certainly safer than using your teeth.
This is how my version of an origami Christmas tree turned out based on the instructions I posted awhile back. Cory also made a version from white glossy paper, which looks great. I opted for the green and brown look, but it wasn't easy.
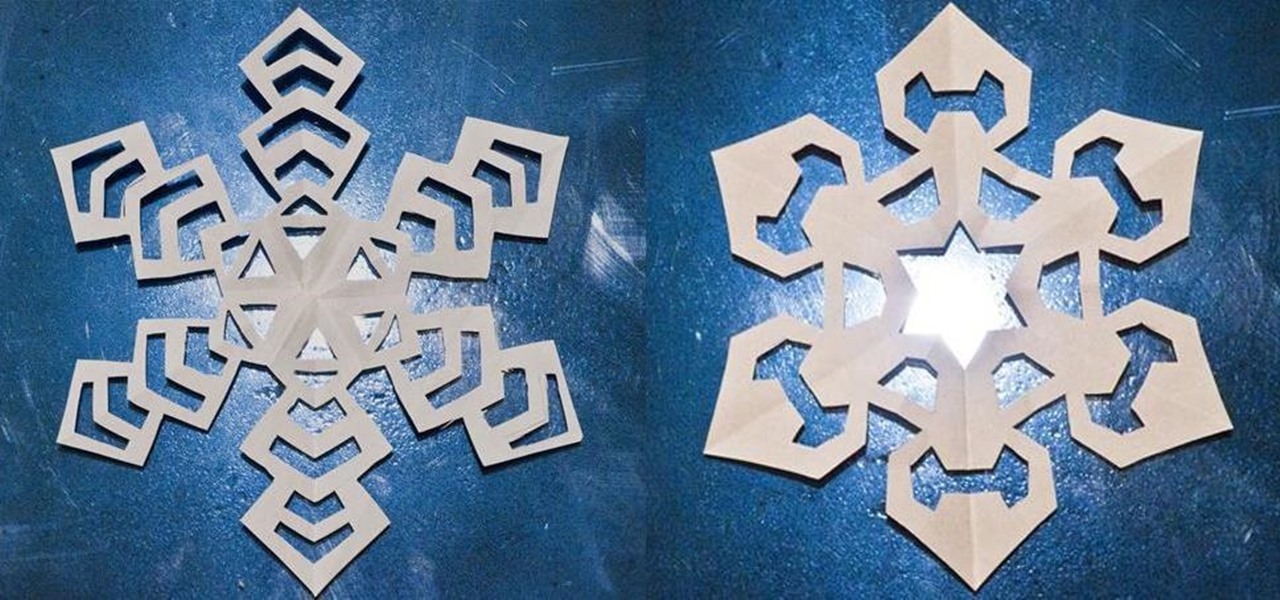
We've all made them. I remember making hundreds of paper snowflakes when I was in elementary school. You take a piece of paper and fold it in half, then fold it in half again. You now have a piece that is one fourth the size of the original. Now you fold it in half diagonally. You then cut slices out of the edges of the paper, and unfold to find that you have created a snowflake. The resulting snowflake has four lines of symmetry and looks something like this: If you fold it in half diagonall...
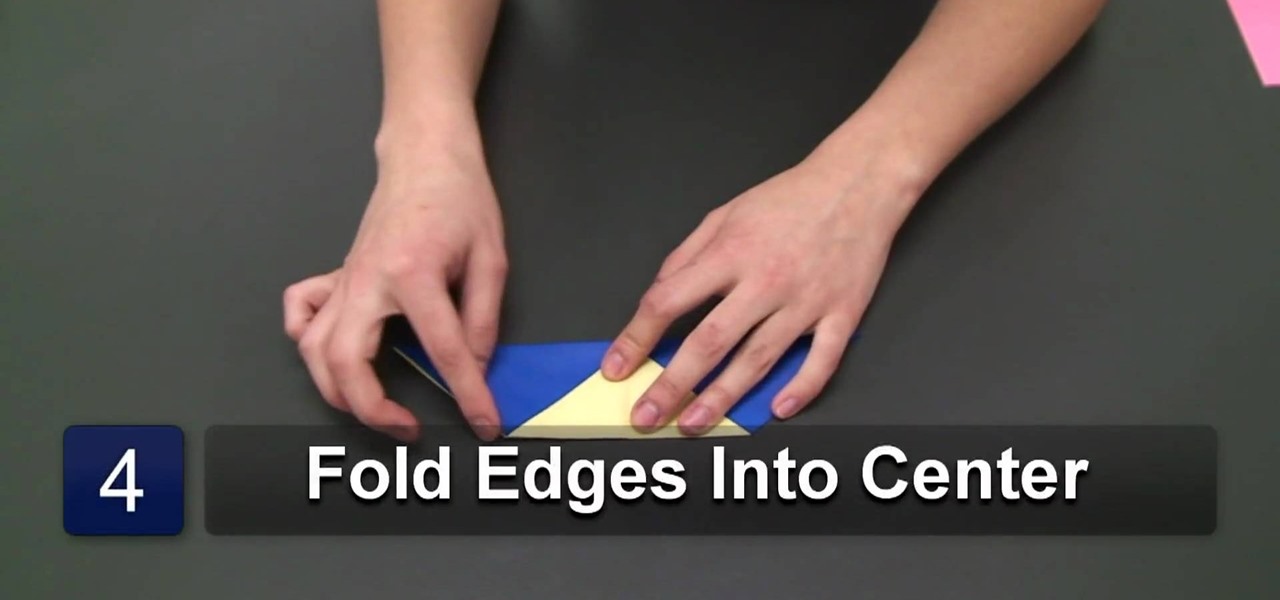
In this tutorial, we learn how to make a tight paper airplane. First, fold the paper in half horizontally then open it back up. Then, grab the top of the paper and fold each edge into the middle to create a triangle. After this, open it back up and fold triangles down on each of the sides. Continue to fold in the triangle shape in the middle of the paper until you have a large triangle shape. Fold in half again and then push the edges down so you can hold onto the bottom. From here, you can t...
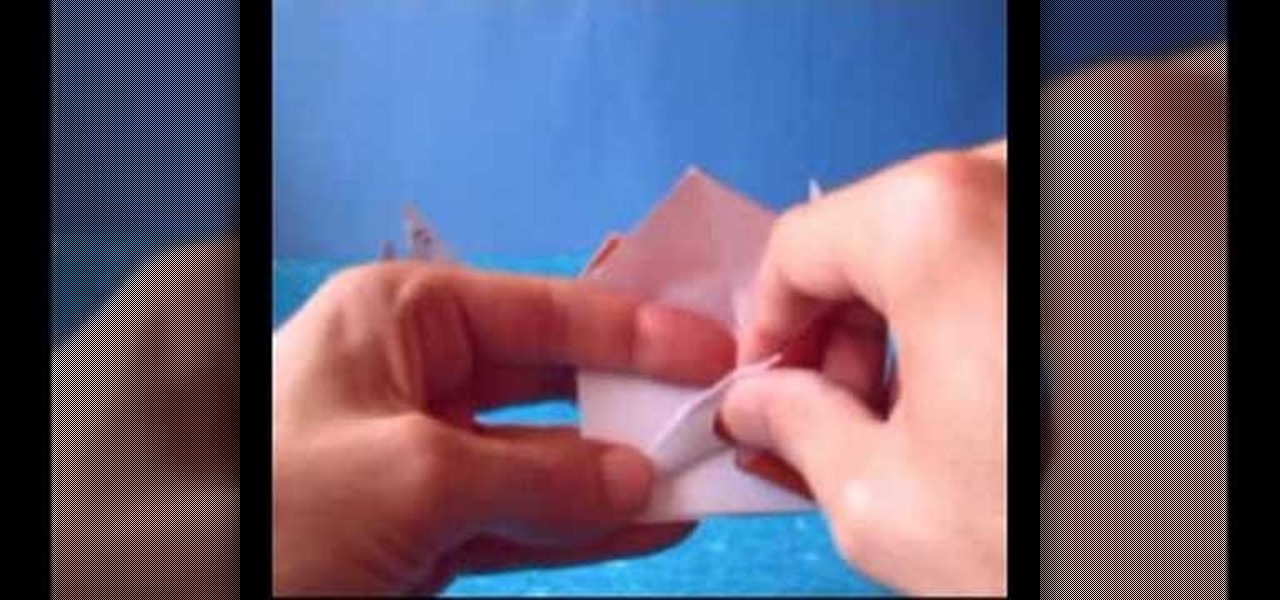
In this video tutorial, viewers learn how to make an origami butterfly ball. Begin by making a water bomb base with a squared paper. To do this, fold the paper both horizontally and vertically in half. Then fold the paper diagonally in half on both sides. The paper should have an X shape crease. Now pinch in the sides to form a triangle at the bottom. Then press down to create a triangle on top. Make a total of 12 water bomb bases and connect them together as shown in the video. This video wi...
This video shows you how to dry-mount a painting done on rice paper with silicone release paper. This method is to transfer the silicon adhesive film to the backing material first, then take the release paper off and mount the painting on. Artist, Henry Li gives you everything you need to know to properly mount your beautiful painting on the silicone to transfer as you please.
Here's a great craft project you can do with kids or in a classroom. You can use an apple half to stamp apple shapes onto everything from lunch bags to tote bags. This is an easy and cute project to do for the fall.
Fold paper in 1/2. Fold in half again into a square. Fold in half again, & again into a square about 1/16 of original size. Unfold paper. Fold marks divide paper into 16 small squares. Make 2 diagonal folds in each direction to form a big X in paper. Position paper with inside of folds facing you; fold paper in 1/2 again to form a rectangle. Using previous fold lines, fold lower 1/2 of paper in 1/2. This fold covers 1/3 of remaining visible paper. Grasp center where folds meet. Create 4 ridge...
Bored in your cubicle all day? It's time for helicopter wars! This video shows you how to make a fun and simple helicopter out of some basic office supplies. The materials you will need are: a big paper clip, a smaller paper clip, a large aluminum can (such as from Rockstar or Monster energy drinks), a ruler, Scotch tape, a rubber band, a pair of pliers (if you have a Leatherman multitool, those will work just fine), a pen you can take apart for the long tube, a pair of scissors, and some pla...
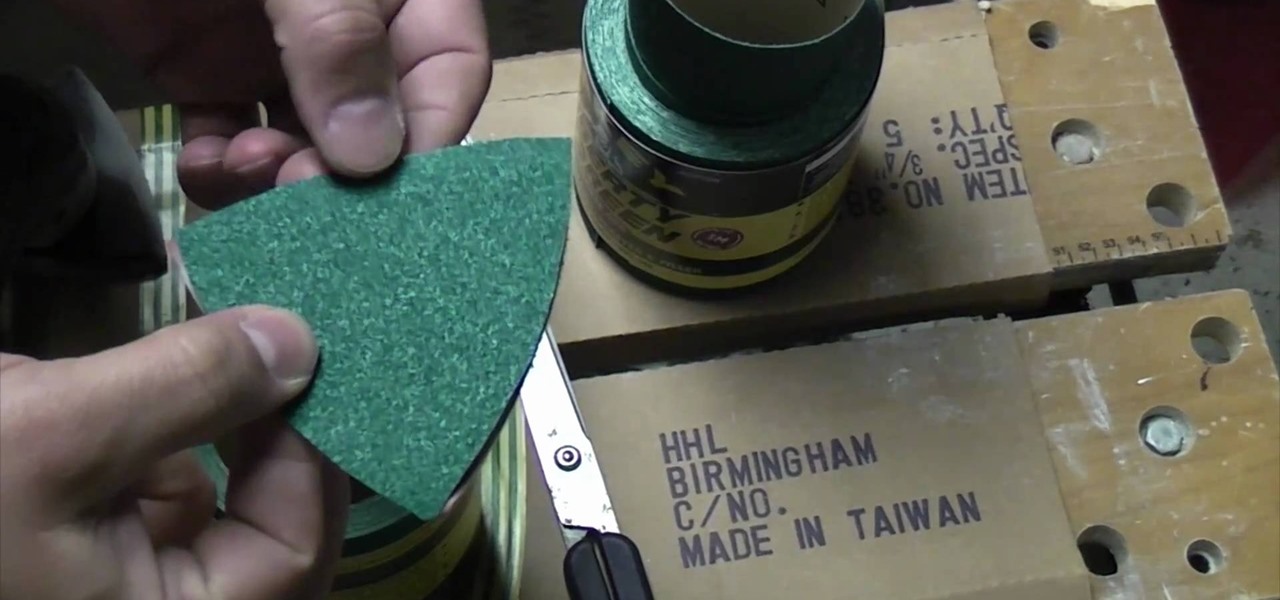
Detail sanders are one of the finest tools for polishing wood surfaces to a perfectly smooth finish. But it often costs a lot to replace detail sander sheets. Luckily, there's a way to save some moolah on your sanding sheet needs.
While the holiday season offers a lot of festive joy in putting up holiday decor, shopping for Christmas presents, and baking cookies, it also offers up a lot of opportunites to spend money. So that means that by the time you've purchased the presents, wrapped them in tissue paper and wrapping paper, and send them off in a box, your wallet is probably shedding a tear.
Who said that you couldn't have a trick and a treat at the same time for Halloween? When you first take a look at this project, you just see a folded and pleated piece of paper. But upon closer inspection, you'll find that this is no ordinary piece of paper but an evil green witch complete with pointy hat and crooked nose.
In this tutorial, we learn how to craft quilled Christmas decorations. First, you will need to take paper and cut it into thin strips that are all the same size. After you do this, you will need to take a think stick and wrap the paper around it all in the same place. Once finished, you will need to take this circle of rolled paper and place it into a stencil that has a bunch of circles on it. Shape these circles into teardrops and then glue them together with other pieces to shape into a sno...
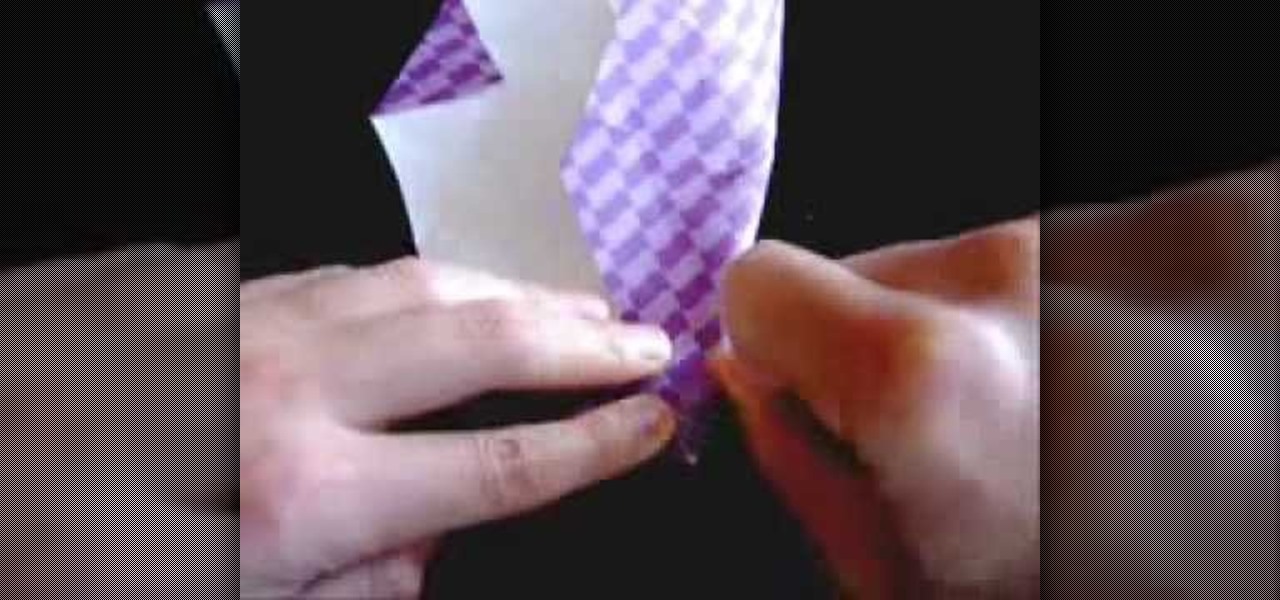
This is a video tutorial in the Arts & Crafts category where you are going to learn how to fold a five-point paper barn star. You will need a square sheet of paper. Fold it in half to make a rectangle. Take the right folded corner and fold it up to the left edge of the rectangle. Place the corner about 1/3 from the top edge and fold the sheet. Next take the left corner and fold it over the edge you just folded. Finally take the flap on the right and fold it over to the opposite side. Now cut ...
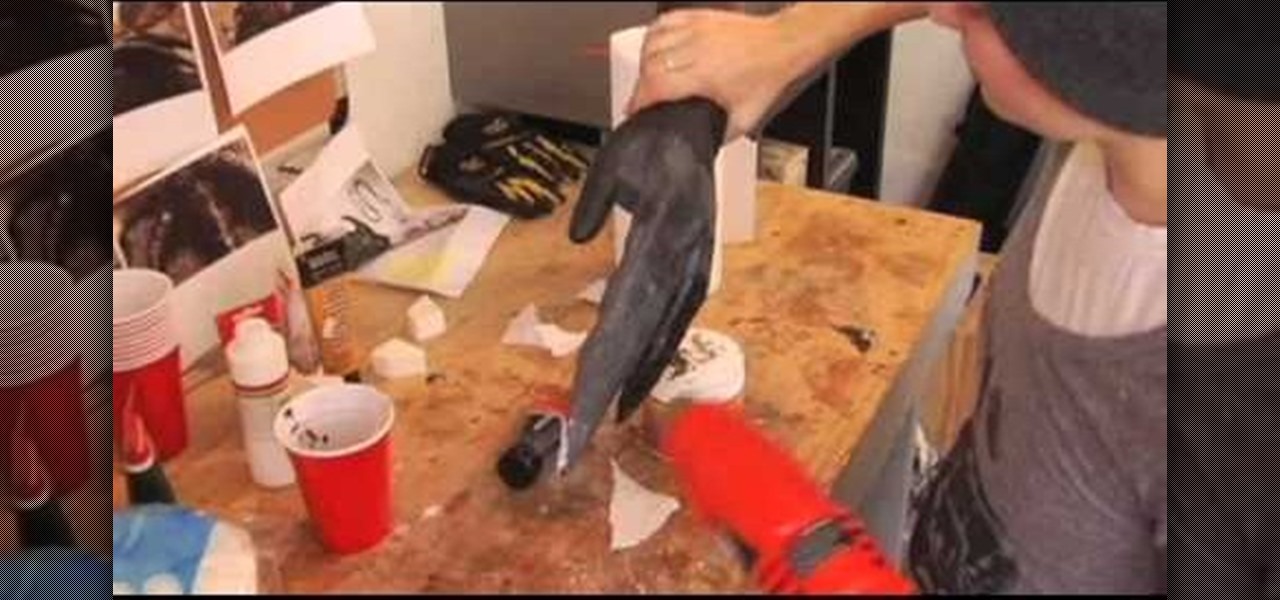
You will need: rubber glove, paper towels, liquid latex, paint, and newspaper. First, fill the glove with newspaper, then secure the fingers with electrical tape to make only 3 fingers. Then, mix up the liquid latex with black paint and apply it to the fingers. Then, place the paper towels over this in coats and shape them so they are pointy. Add in some texture using paper towel strips and cotton balls. Continue to paint over with the liquid latex/paint until you have made your desired textu...
Christmas may not be until a few months from now, but it's never too early to start crafting for the holidays! If you're excited about the holiday season and can't wait to begin crafting gifts and cards for your loved ones, check out this video to learn how to make an accordian folded Christmas paper flower.
Art should be playful, not intimidating. And with this video tutorial, you'll see just how easy crafting can be. Learn a basic watercolor technique that will make your creations stand out and sparkle.
Looking for a guide on how to create realistic paper masks in Photoshop for crumpled paper effects? This clip will teach you what you need to know. Whether you're new to Adobe's popular raster graphics editing software or a seasoned professional just looking to better acquaint yourself with the program and its various features and filters, you're sure to be well served by this video tutorial. For more information, including detailed, step-by-step instructions, watch this free video guide.
In this video, we learn how to make an Escher-esque tessellation. Start with construction paper, then make an equilateral triangle onto it. Next, make a shape on one end of the triangle, making any shape you would like. Now cut your shape out, then trace it onto another piece of construction paper. After this, rotate the shape over on the second piece of paper, then trace it out again. The lines should match up equally. You will then have one side left, which you will use to make any shape yo...
In this tutorial, we learn how to make a paper mache baby elephant. To begin, you will need a pattern, which you can find at Ultimate Paper Mache. There is a grid on the pattern that you can use to expand onto a large piece of particle board. This will give you the entire body for the elephant. After you cut the elephant out of the board, glue and nail it together with spacers in between the body parts. After this, crumple up newspaper and then tape and squish it onto the wood until the muscl...
Basic paper punches do two very extraordinary things for crafters: 1. They minimize your workload and save your fingers from completely drying out and falling off from weilding scissors at oblique angles the whole day, and 2. They create perfectly cut, perfectly uniform shapes and can be used over and over again.
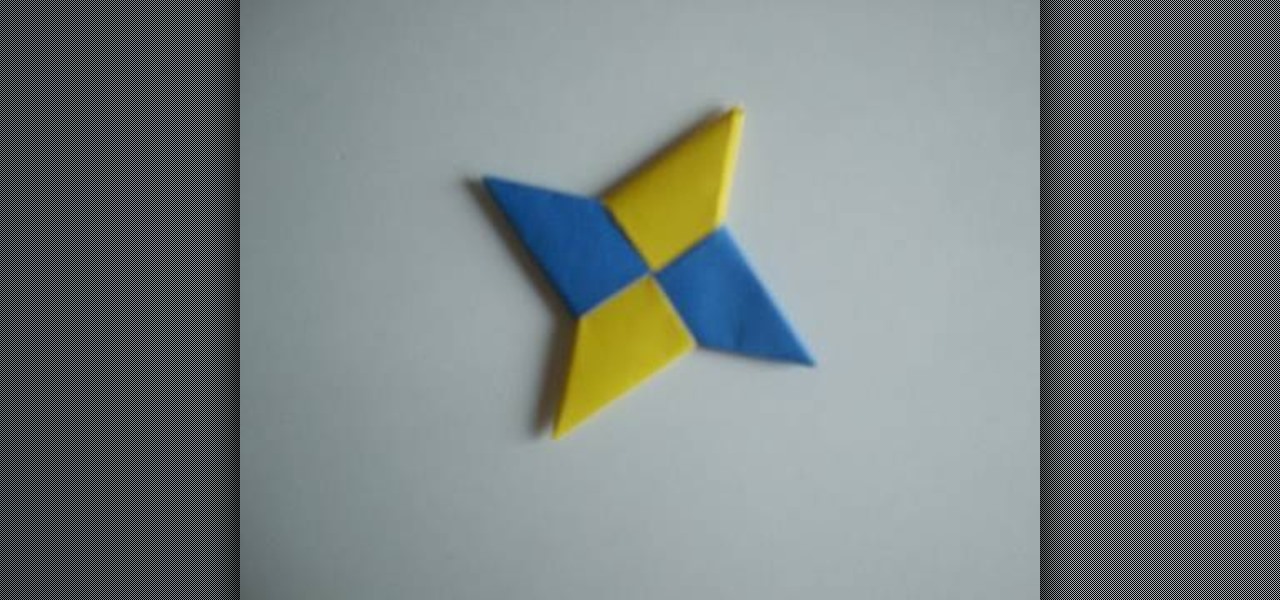
Everybody knows what a ninja star is, but what about a shuriken? A shuriken is the exact same thing as a ninja star: a weapon in the form of a star with blades or points. It's a missile in martial arts. It's a ninja's best friend. But for some of you, shurikens might be too dangerous, so that's were origami comes in. This video will show you the process of folding modular paper shurikens, and you only need two sheets of paper to do it.
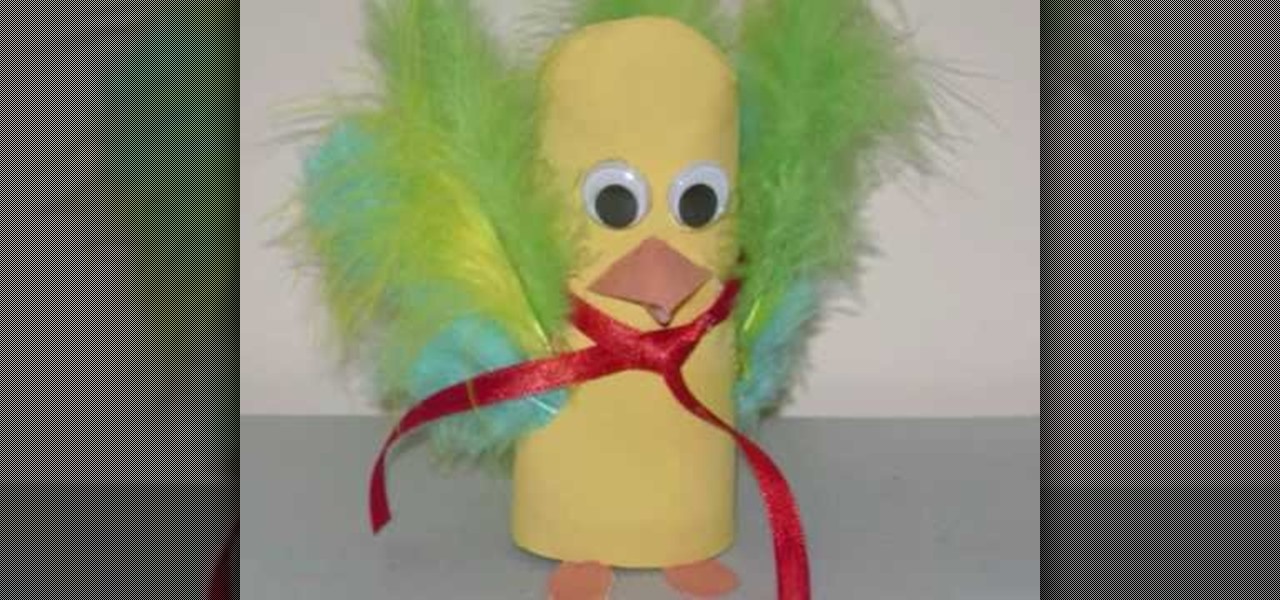
In this tutorial, learn how to craft a cute bird out of a toilet paper roll with your kids. This adorable little birdie makes a fun activity and is incredibly cheap to make. All you need is some feathers, glue and an old cardboard roll from a used thing of toilet paper. So, instead of throwing away that old roll, why not recycle it into a fun learning activity for your little ones? This project is great for any age, and doesn't take very long so the kids won't lose interest. Decorate them any...
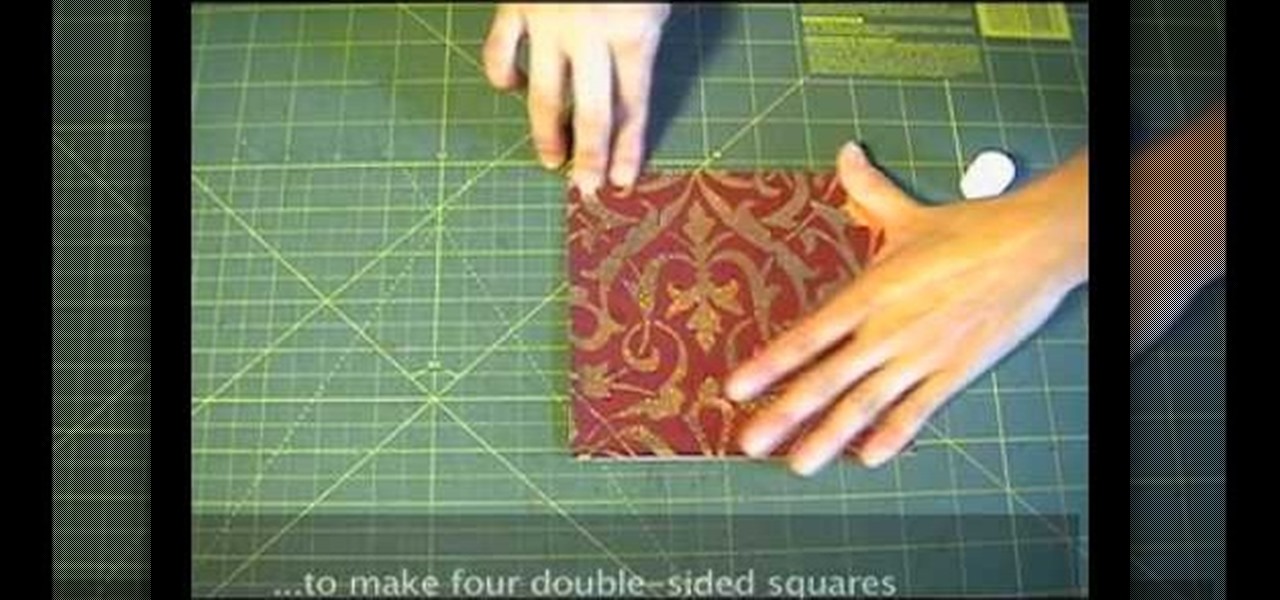
Shiho Masuda Teaches you to make 3-D origami star using recycled materials. The materials required are leftover wrapping paper, ribbons, two 3. 25" cardboard squares, ruler, scissors, glue, double sided tape and an X-acto knife. She cuts out 8 6"x6" squares from paper and glues them back to back to make four double sided squares. The four pieces are folded into 3"x 3" squares and stuck together with double sided tape. The 2 cardboard pieces are covered with paper and 12" ribbons are taped to ...
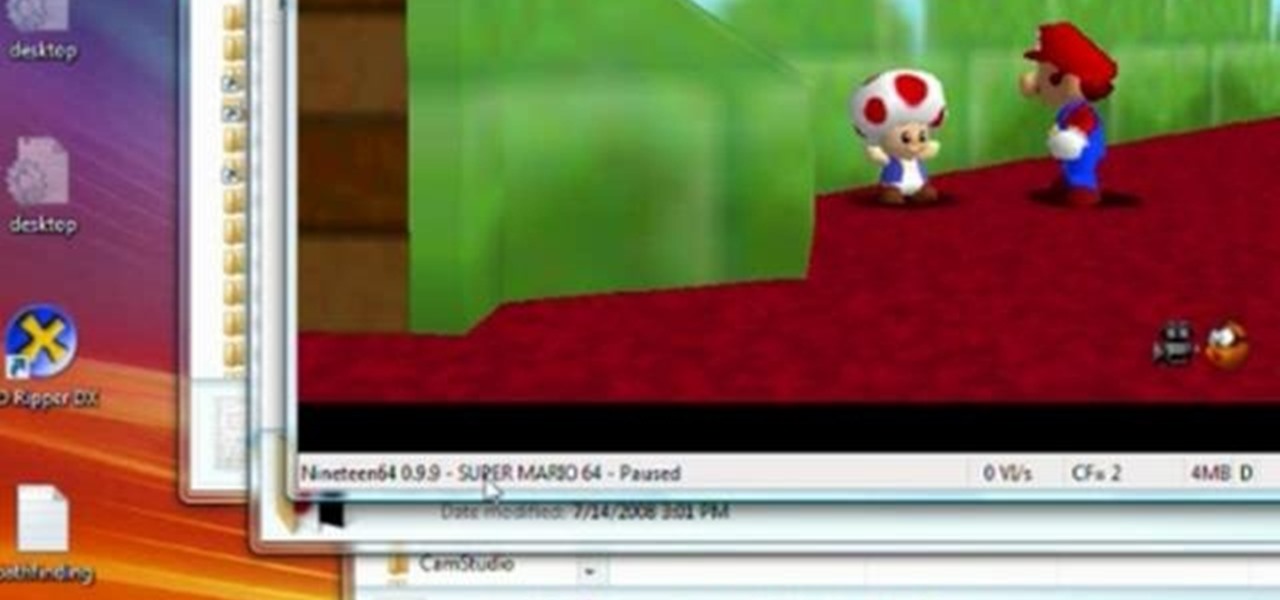
With paper crafting you can build intricate paper models of your favorite characters, from Jack Sparrow to Nintendo's own Toad. This video tutorial shows you how to rip 3-D characters from your favorite Nintendo 64 games for the purposes of paper crafting. It will take some editing to be able to get your favorite videogame characters into a workable papercraft format.
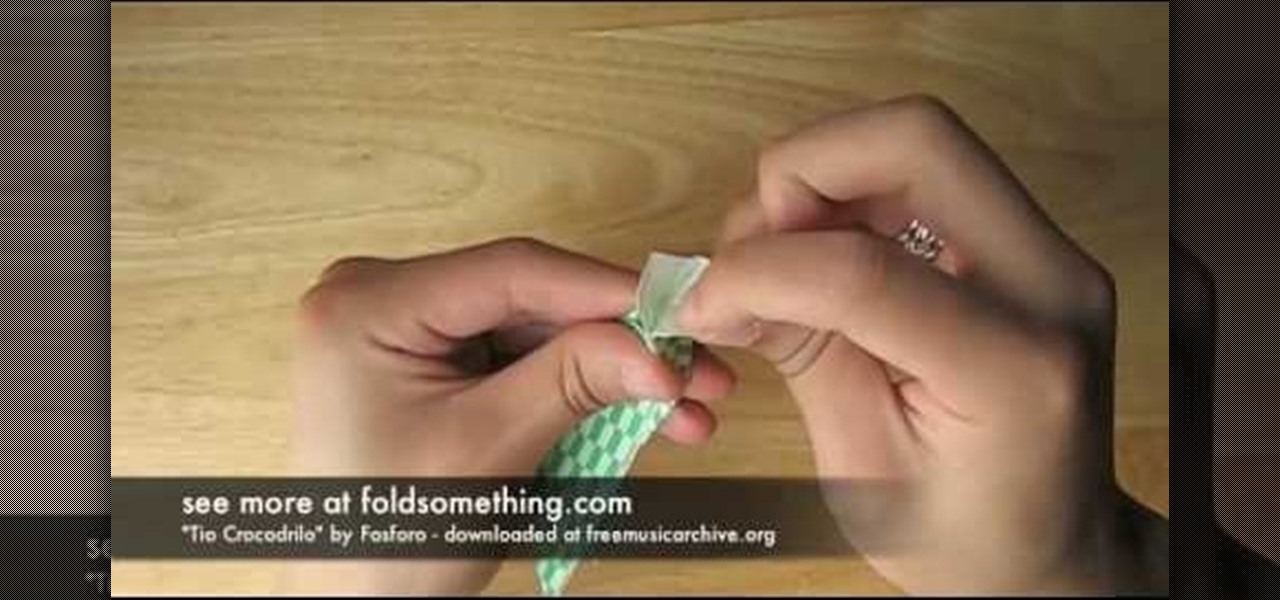
This fascinating video shows in great detail how to fold beautiful craft paper into the shape of a fish using origami folding techniques. The instructions are very well illustrated. There is a distracting musical accompaniment, but it is quite easy to follow the directions even if you have trouble hearing the oral instructions. Origami fish made from this video can be used for many decorative purposes. Use colorful craft paper and your origami fish can be very eye-catching as is the demonstra...
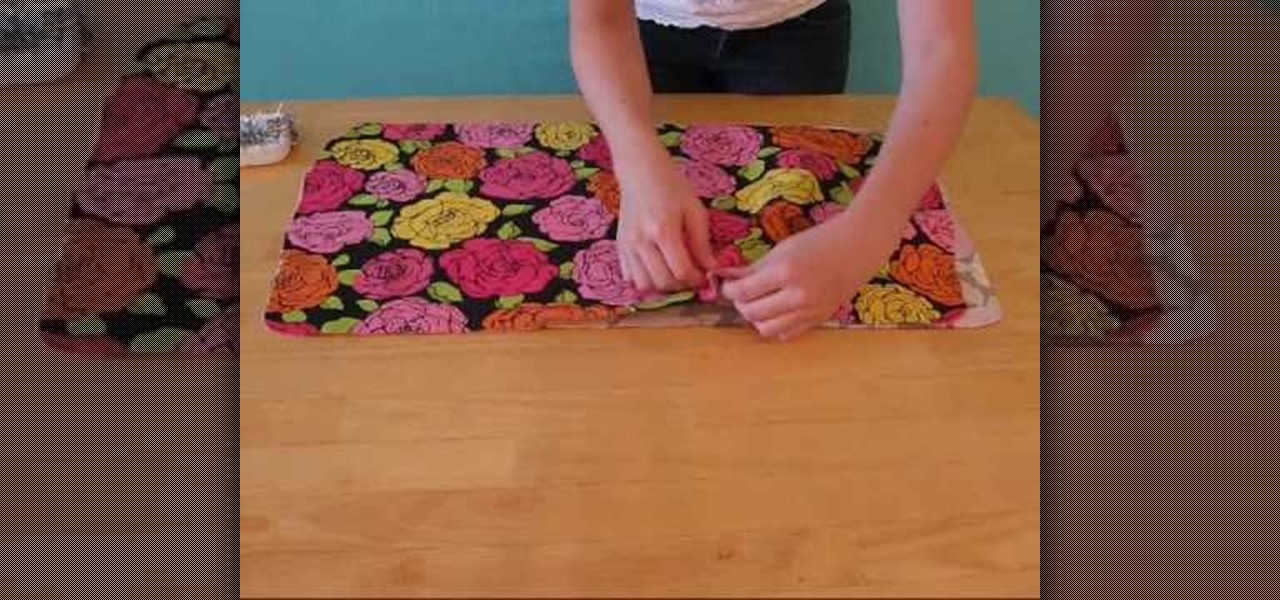
Forget about spending too much money at a retail store for a new bookbag when you can make your own! Go back to school in style - your own personalized style - by making your very own purse to carry your books in. Use fabrics & accessories to customize your book bag to fit your style. Materials you will need to complete this bookbag include:
Ana Maria, an art student and origami expert, delicately explains and exhibits how to fold an origami cicada. The only material required is a perfectly square piece of paper, which is also known as origami paper. There are only seven easy steps or folds to create the paper-crafted bug; all of which are shown in plain detail by the artist. Every fold has another fold or edge to use as a guideline, so this simple creation should result in being very neatly accomplished.
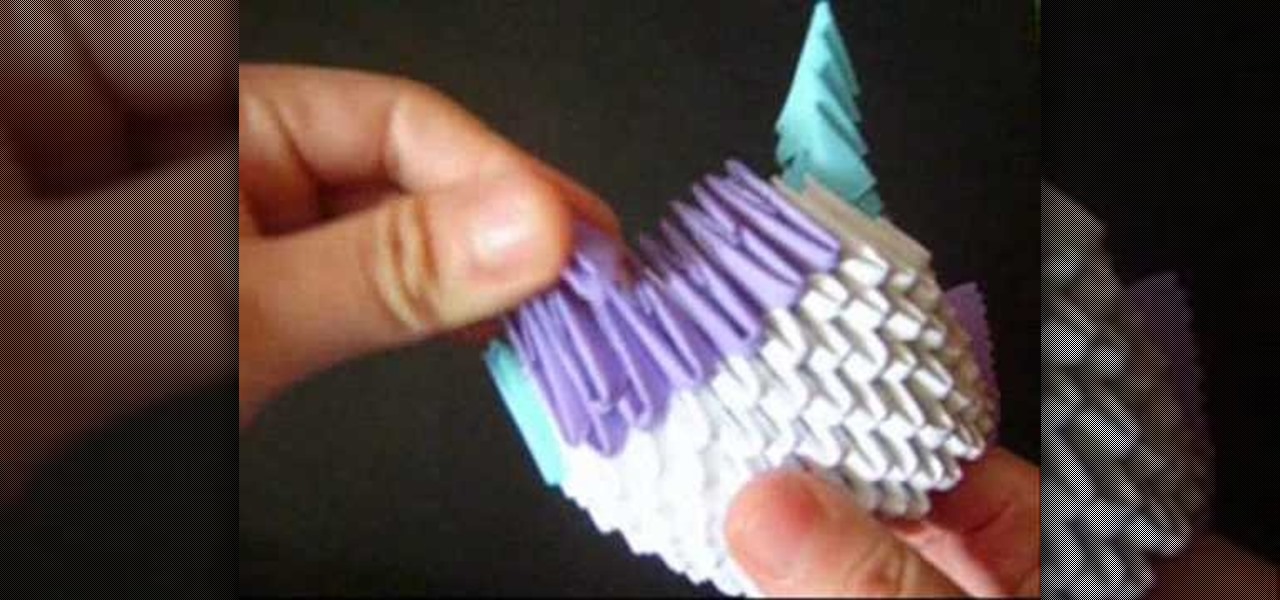
Would you like to craft perfect 3D origami works of art? In this helpful tutorial, Jewellia7777 demonstrates how to use recycled paper to create your own elegant "green" works of art in no time. Learn to easily construct a stunning table centerpiece of paper that would let you contribute your own artistic touch to any special event, formal or informal. This great video will have you stunning your guests in no time with the impossibly beautiful flair of this fun project.