In this video, we learn how to strop on a stropping block. There are two layers to the strop and they measure different lengths. On the bottom you should put two mouse pads to make sure it stays put. Now, charge the strop with a stropping compound and rubbing it against the grain until it flakes off. Next, gauge the angle of your knife and place the blade against the strop. Push against the edge of the blade and work from the top to the bottom in a long and slow arch. This is all there is to ...
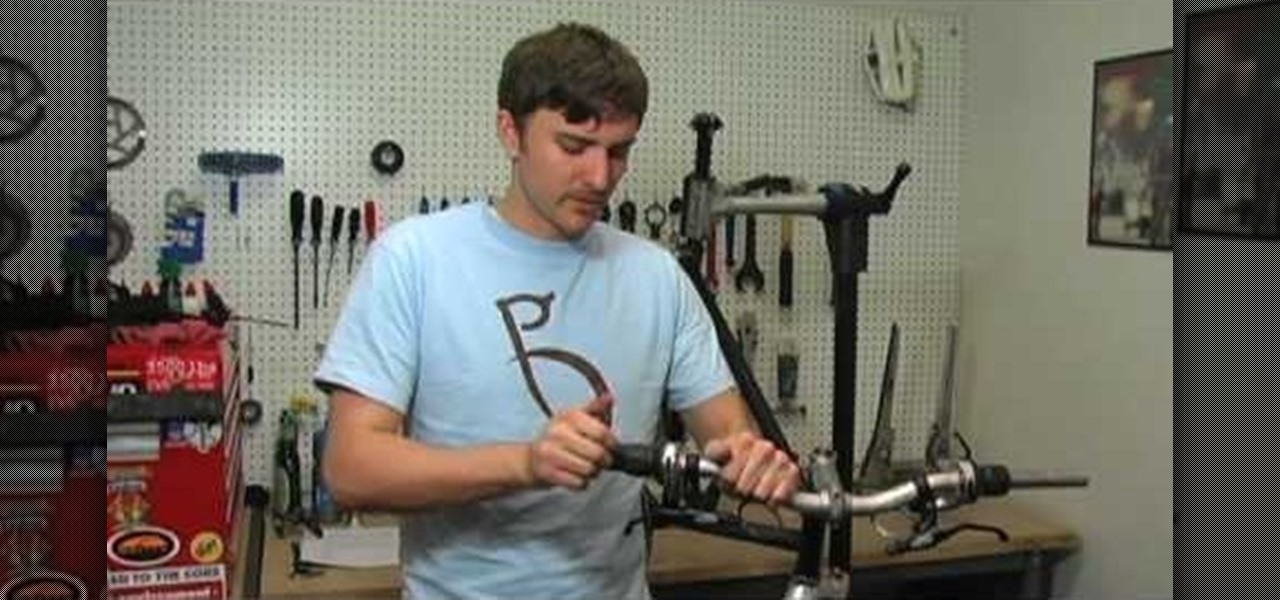
In this video, we learn how to install brakes, shifters, and grips. You will need: Allen keys, grease, a knife, and a grip to do this. First, attack the brakes onto the handles, then the shifter and the bolts. Make sure to grease the bolts before you place them onto the handles. Do this on both sides of the bike. Make sure you have everything on the correct sides, then slide the grip in. Customize the grip so it's the right length and cut it with the knife to do this. Once finished, connect a...

In this video we learn how to use a table saw with Skil & Lowe's. The rip cut and the cross cut are two cuts that are most useful. A rip cut goes with the grain of the board to cut it to width. The cross cut goes against the grain and cuts it to length. First, position the board next to the blade and then raise the blade. The blade should be just above where the board is at. Slide the rip ends over to the dimensions you want and then lock it down. Put your safety glasses on, then turn on the ...
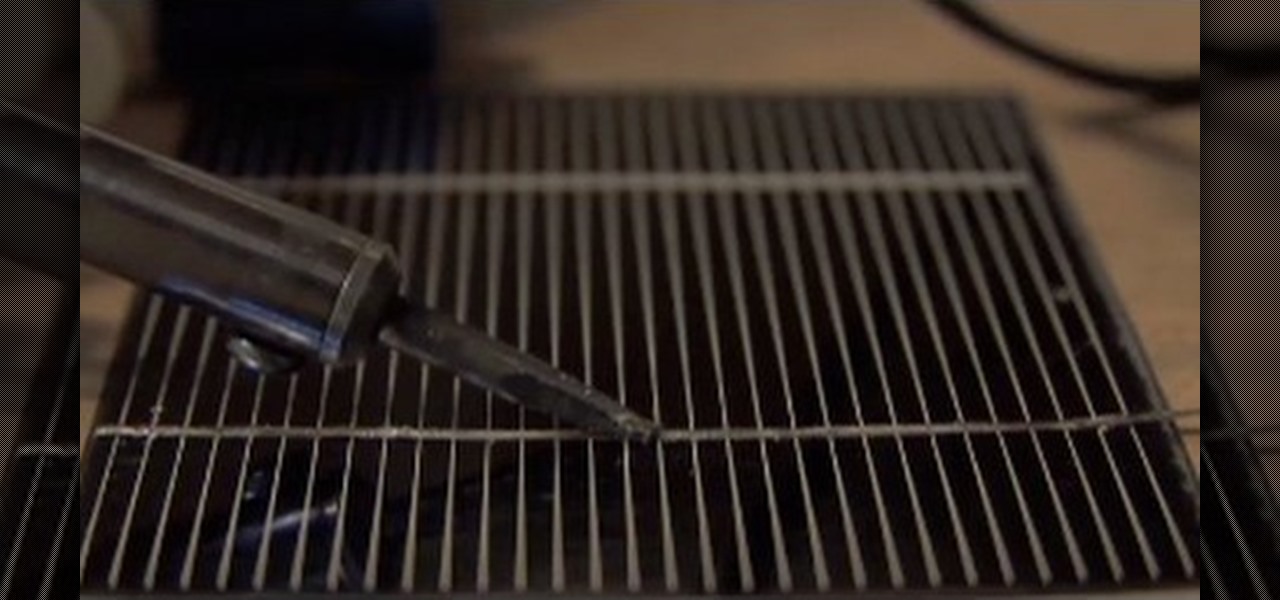
In this video, we learn how to make your own solar panel.The amorphous solar glass is the cheapest but it's also the least efficient. You can do anything you want with these and they are durable. The hexagon cells are the most efficient and most expensive as well. The poly crystalline is almost 2 watts a piece and can be purchase in lots of any size. You have to tab these cells together and they are extremely fragile. Be careful when you work with these. To make these, you will solder tabbing...
Sometimes a good looking accessory can be made by using simple things and a little bit of your own ingenuity. This video is a perfect example of the same.
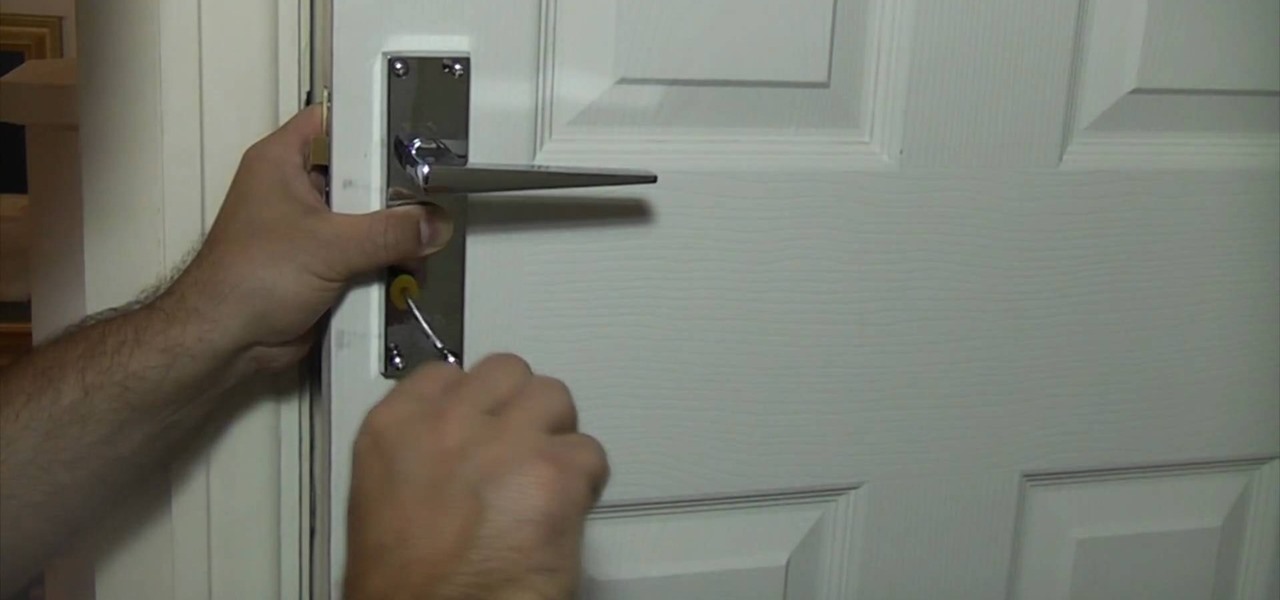
This is a video tutorial in the Home & Garden category where you are going to learn how to fit door handles to a door properly. The first thing to do is to insert the spindle in the door and check if it is of correct length. Quite often it might be longer. So, cut it to the correct size with a hacksaw. Next fit the handle over the spindle and make sure it is straight. Take measurements to ensure this. Holding the handle in place with one hand, drill holes with an electric drill and insert the...

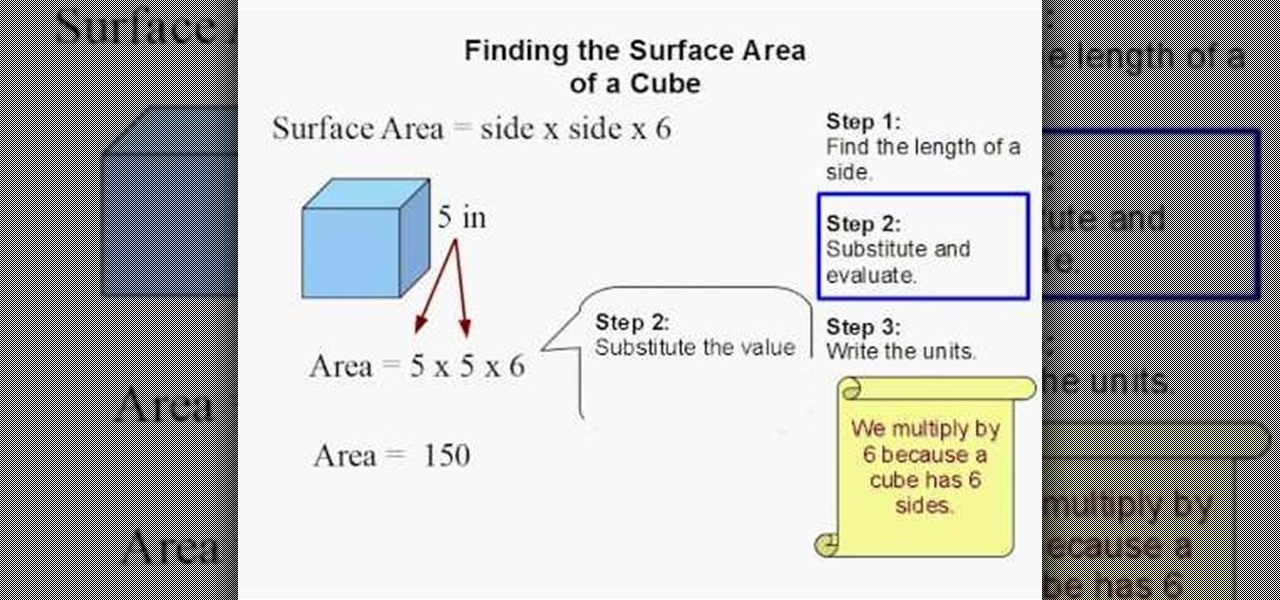
In this video, we learn how to find the surface area of a cube. Finding the surface area of a cube is something everyone will have to do in math. The easy formula to figure out this is: surface area= side x side x 6. Your first step to figuring out the problem is to find the length of a side. Once you have found this, you will substitute and evaluate the numbers in the equation. After this, write the units in for the problem. You will then come up with the answer of the equation with the unit...

In this video, we learn how to make a colorful tutu. First, you will need to grab all the colors of fabric that you want to use on your tutu. Then, roll up the fabric of each color carefully, then cut it out to the length you have measured for your subject. After this, cut out one more smaller section of fabric from each piece until you have done this with all of the colors. Now, using a piece of ribbon as the waistband, tie each piece of colored fabric onto it, alternating colors each time. ...

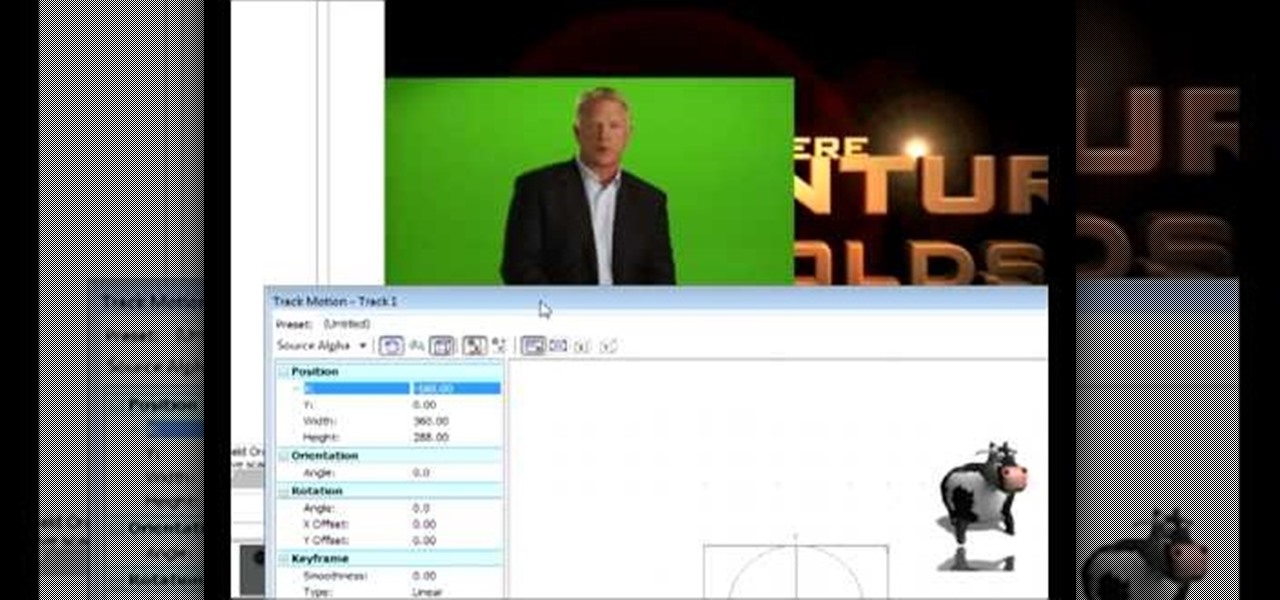
In this tutorial, we learn how to do a side by side video effect in Sony Vegas. First, open up Sony Vegas and open up a couple of clips to your time line. After this, make the two clips the same length by pressing down on the control key and moving them with the mouse. From here, return the videos to the start and then right click the track motion button. Reduce the width and the height to half of what they were before. Then, move the X position of one to -180 and the other to 180. Now both w...

In this tutorial, we learn how to create space to score in basketball. In order to create space, you will need to understand the role of the defensive player. Put yourself in their shoes thinking about what they are trying to do as you're playing. As an offensive player, you want to keep them more than an arm's length away from you by closing the gap between you. This will cause the defender to change their stance in order to stand in front of you. After this, you will be able to run around t...

In this video, we learn how to cut side bangs. Fist, you will need to grab some shearing scissors, a comb, a trash can, and water. Now, get your bangs wet in the area that you want it, then part your hair where you usually part it. Once you do this, separate your bangs from the rest of your hair and clip the rest back. Next, use your scissors and cut at an uphill angle from the bottom of your bangs to the top. When finished, continue to cut until you have the desired length. Keep in mind your...

This video tutorial is in the Fine Art category which will show you how to fashion a wallet from duct tape. For this you will need an X-acto knife, duct tape of any color and a tape measure. Rip off a piece of tape about 10 inches long and place it sticky side up. Rip off another piece of same length and place it on the 1st piece face down but, covering only half of the tape as shown in the video. Fold down the 1st piece on top of the 2nd so that you will have only one half piece of sticky ex...

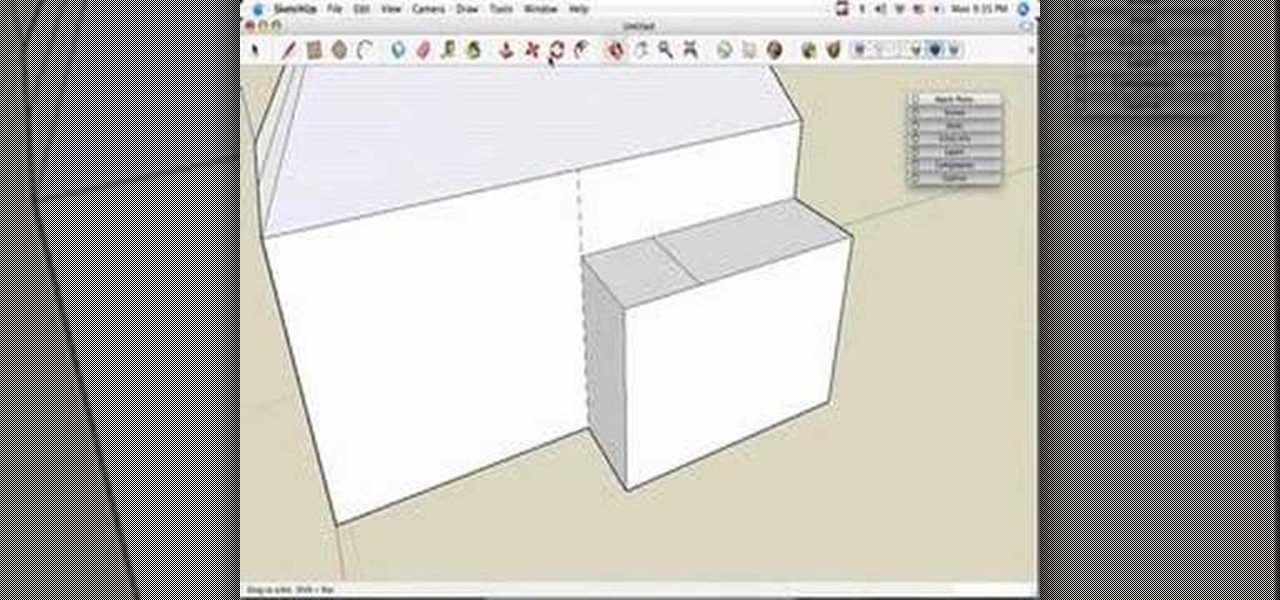
This video tutorial is in the Computers & Programming category which will show you how to build a simple house in SketchUp. Start with the floor plan, draw a rectangular main living space and attach a small extra room. Next you use the push pull tool and pull the house up to as high as you want. You can make it 21 feet. Now draw the roof line in the center of the house along the length and draw the lines for sloping part of the roof on either side. Now grab the center of the roof and lift it ...

In this tutorial, we learn how to make cucumber kimchi. To make this, you will need: 20 cucumbers 3 inches in length, 1 c sea salt, 10 c water, 2 c garlic chives, 1 c green onions. For the sauce, you will need: 1 c red pepper powder, 6 tbsp fish sauce, 6 tbsp water, 2 tbsp sugar, 2 tbsp minced garlic, and 2 tsp minced ginger. Once the cucumbers are cut, place them into boiling salt water and let sit for 15 minutes. After this, combine all the sauce ingredients and then mix the cucumbers up wi...

In this tutorial, we learn how to find the volume of a pyramid. The equation to figure out how to find the volume of a pyramid is 1/3ab x h. When you begin, find the height, length, and square feet of the pyramid, then fill these into the appropriate spots in the equation. Once you find this, you will be able to find the correct number of the volume of the pyramid. After this, make sure you have the correct labels on the answer that you get from the equation you filled out. When finished, you...

In this tutorial, we learn how to understand shooting surfaces in basketball. Make sure you have the ball located on the finger pads or shooting surfaces. On the finger pads, keep the ball engaged with them and not the palm of the hand. This is also the shooting surface, where you have better control of the basketball. You can elevate the basketball from your thumb by spreading out your fingers so there is a finger's length between the palm of the hand and the ball. Test this out with one of ...

In this tutorial, we learn how to draw a parallelogram given base, angle & altitude. First, you will draw the base of the parallelogram, using your ruler to measure out the line. Next, you will draw a dotted line perpendicular to the line that you just drew that is 3 cm in length. Then, you will draw another dotted line on top of the one you just drew. This dotted line shows where the top of your parallelogram will be. Then take your protractor and draw it at the angle the problem gives you. ...

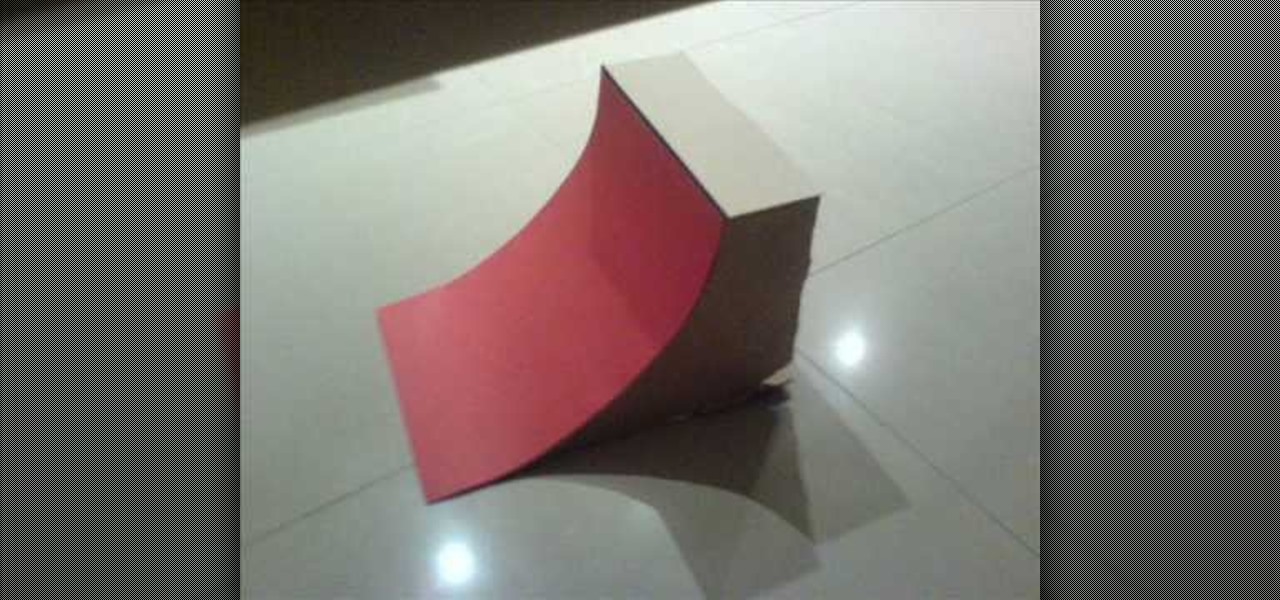
This is a video tutorial in the Hobbies & Toys category where you are going to learn how to build a Tech Deck quarter-pipe. For this you will need hot glue gun, hot glue sticks, coat hanger, cardboard, card and scissors. First cut out the three pieces of the frame out of the cardboard. Then glue a support to the bottom of the 3 pieces. Now glue the card on top of the frame. To make the coping, cut off a length of the coat hanger that is equal to the width of the quarter -pipe and glue on the ...

In this video, we learn how to protect the ball while in the box. If the ball is directly in front of your body, it puts it in a position where it can be moved by the defender. The box is an imaginary line just under your chin that goes just under your thigh and from the length of your torso. The ball should be on the top corner of the box when you shoot, where you can cross is around your face before you put it down. You can also sway it around your knees if you are ready to take off on a dr...

In this video, we learn how to easily make a tutu. First, you will need to gather all your materials, then cut the length of the ribbon or elastic you need. Then, grab your materials and cut out strips of it to place onto the elastic. After this, tie the tulle onto the elastic going from color to color as you continue. Once you reach the end of the skirt, you will have a cute tutu that is ready to wear. Making this yourself can save you a lot of money, and it can make several rather than just...

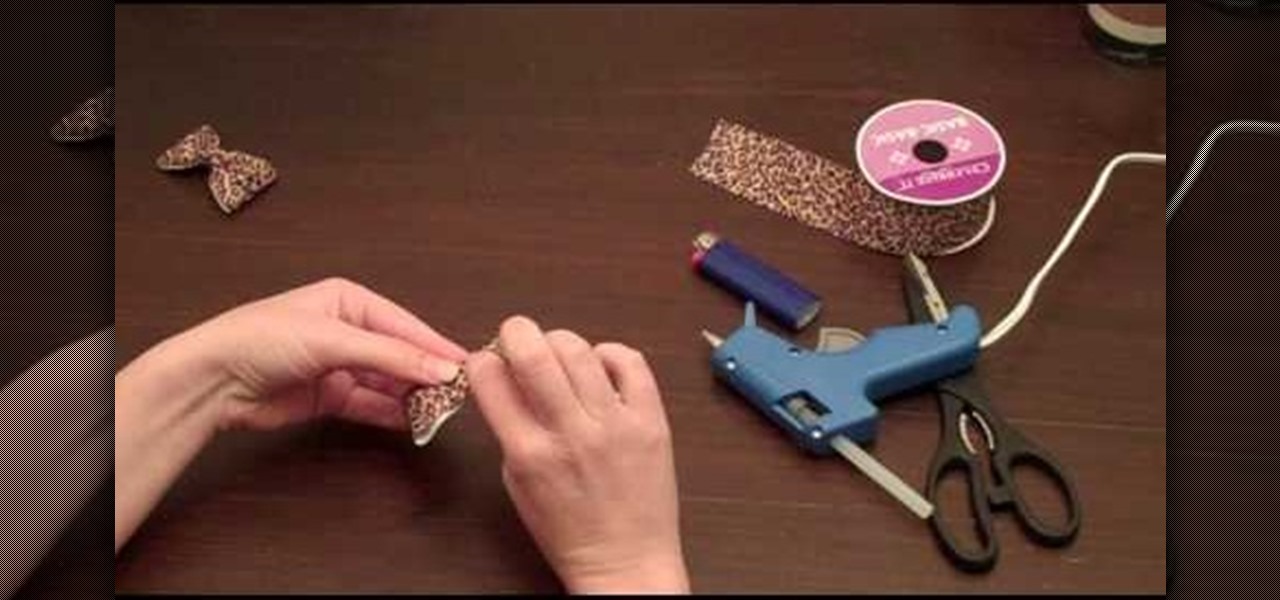
In this tutorial, we learn how to make an easy hair bow. First, grab some thick ribbon in any color or material that you want to have. Use more ribbon if you want a larger one and less if you want a smaller one. Measure it out or use your eye to measure. After this, heat seal the ends so they don't fray by passing them through a lighter quickly. Now, fold the ribbon in half length wise, then place a crease there. After this, use a hot glue gun to fold down the two sides of the ribbon with a k...

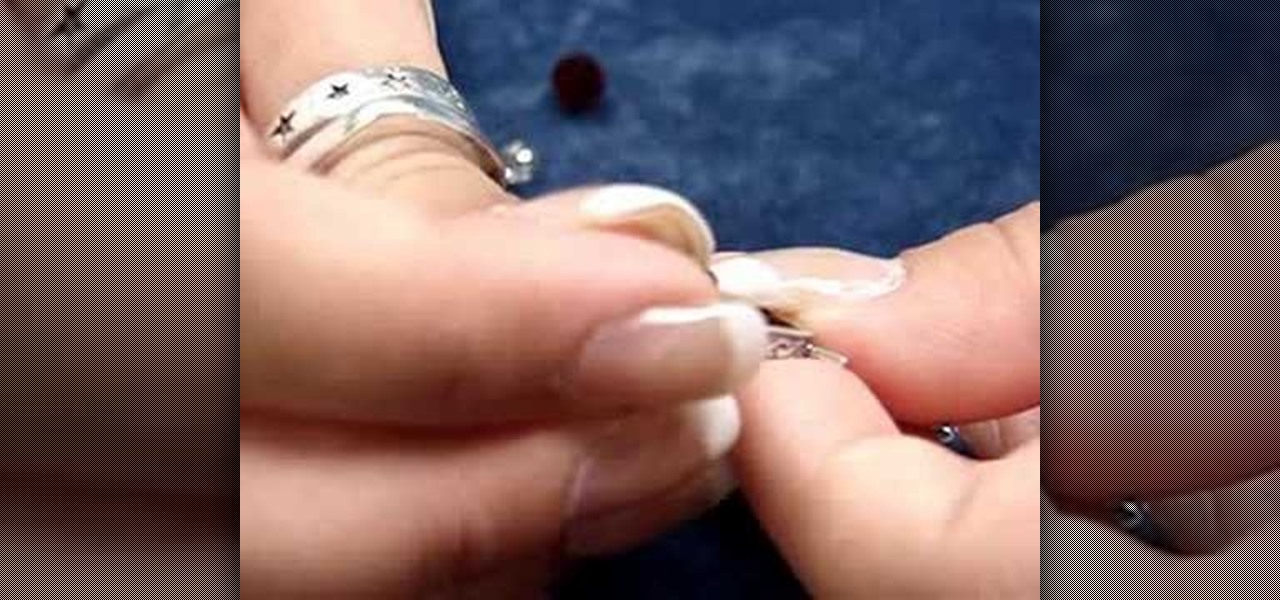
In this tutorial, we learn how to make a interchangeable beaded watch band. First, cut your beading wire to appropriate length, then slide a crimp bead and lobster trigger clasp to one side of the wire. Then, bring the end of the wire back through the crimp bead creating a snug fit. Using the rear notch on your pliers, crimp the bead tightly. Then, add a crimp bead cover using the front notch on the pliers to close the bead tightly. Next, string your chosen beads, then repeat the first steps ...

Michael Jackson might be the single most recognizable singer in history. Whether pre or post-Vitiligo, you still know him and have some reaction the second you see a picture oh him. The same applies to this cool Xbox 360 Avatar, which this video will show you exactly how to create.

In this video, we learn how to use French wire when jewelry making. First, you want to take your wire and cut it to the length you need, using wire cutters. After this, you will place a stopper next to the pendant or bead that you are applying inside the necklace. Next, string on the clasp to the wire and then bend the end of the wire to the inside of the stopper, then cut the end of that with wire cutters. When finished, your clasp should be secure at the end of the wire and ready to hook on...

In order to make an adjustable cable necklace, you will need the following: 20 inch adjustable cable chain, a slide bead frame, 2 head pins, 8 mm bi-cone, 8 mm crystal, 2 6-mm round rondells, 2 7-mm jump rings, a pair of nipper tools, a pair of round nose pliers, and a pair of chain nose pliers.

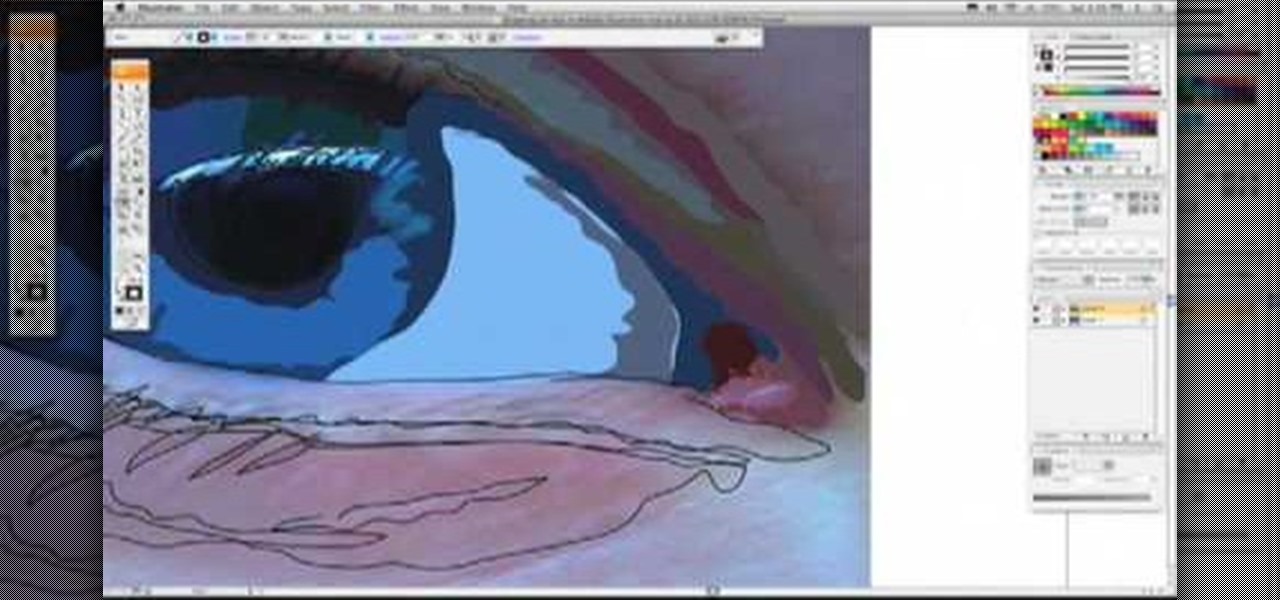
If you love Adobe Illustrator and are looking for an interesting and creative way really to bring the life out of your pictures, this video has an interesting twist. If you remember the movie, "A Scanner Darkly" and the art style that they used, it was quite impressive and unique and called rotoscoping. In this video Karl Gude goes into great lengths showing you his method of tracing the picture and then adding the right colors all the way to the finished product.

In this video, we learn how to play "Living After Midnight" by Judas Priest. Start out by doing the first riff playing the E, B, G, D, A, and E strings. After this, play the second riff using the E, B, G, D, A, and E chords again, using different lengths with each of the chords so you create different sounds as you continue to go. Play through the rest of the riffs in sections, then combine all of them together until you have one fluid song. As you do this, perfect any chords that are off, th...

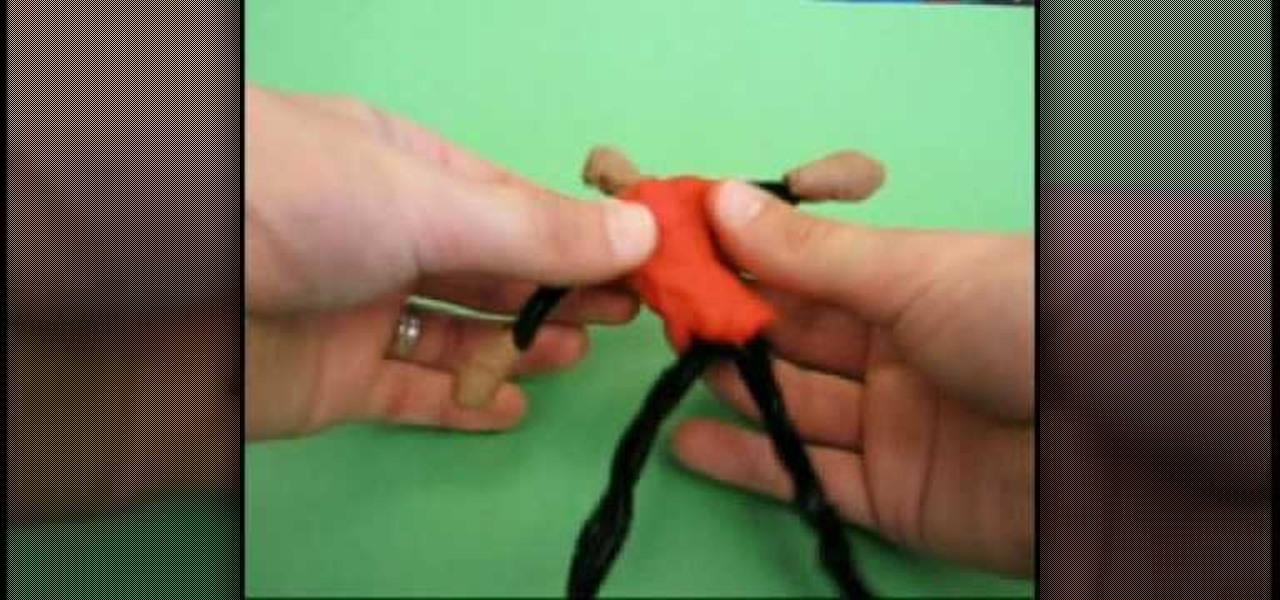
In order to make a claymation puppet, you will need the following: clay in various colors and pipe cleaners. You will need to choose clay colors for clothing and skin and eye and facial features. If you want hats or accessories, you would need to keep that in mind.

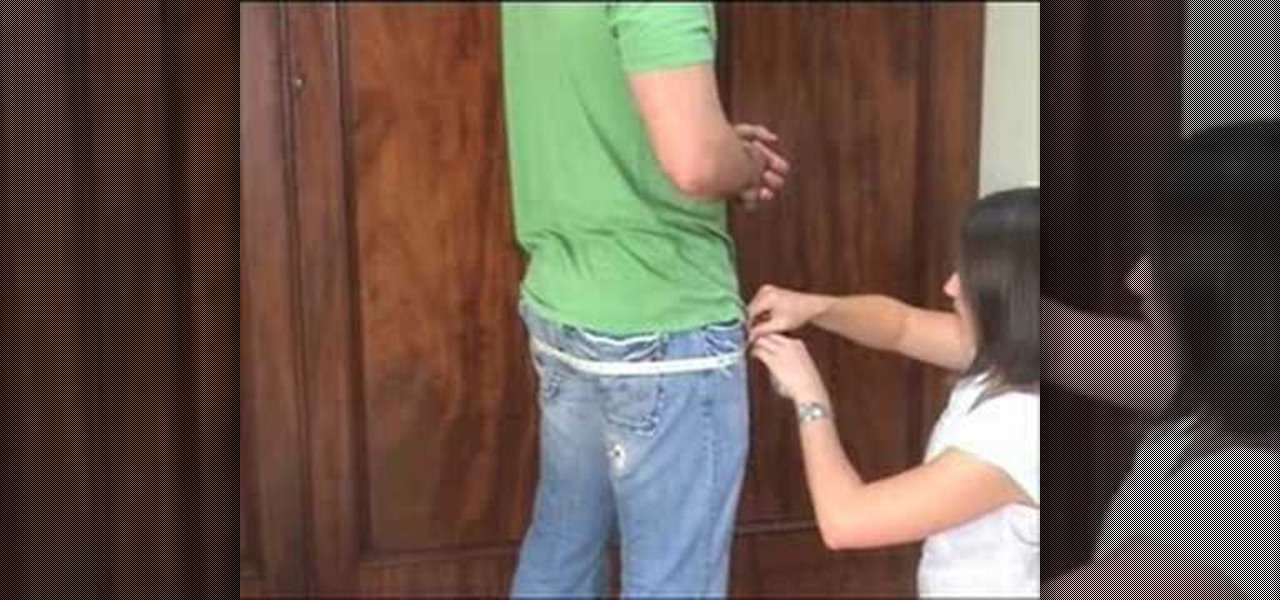
In this tutorial, we learn how to measure a traditional 8 yard kilt. First, make sure you have someone else take your measurements, don't do it by yourself. Have your waist measured first, measure about two inches above the belly button or where you want your kilt to sit. Next, measure the seat by taking the measurement around the widest part of your hips. Finally, measure the kilt length by measuring straight down from the waist line until you reach the middle of the knee cap. After this, yo...

In this video, we learn how to go from professional to club girl with your clothes. To go to work, you can wear a pencil length skirt with a tank top tucked underneath it. Over this, you can wear a cute and professional jacket that is buttoned up. When you are ready to go out, you can lose the jacket and add on a necklace for a sexy look. After this, apply matte makeup to your face and use dark eyeshadows to give your face a mature appearance and smoky eye. Applying a light lip gloss and masc...

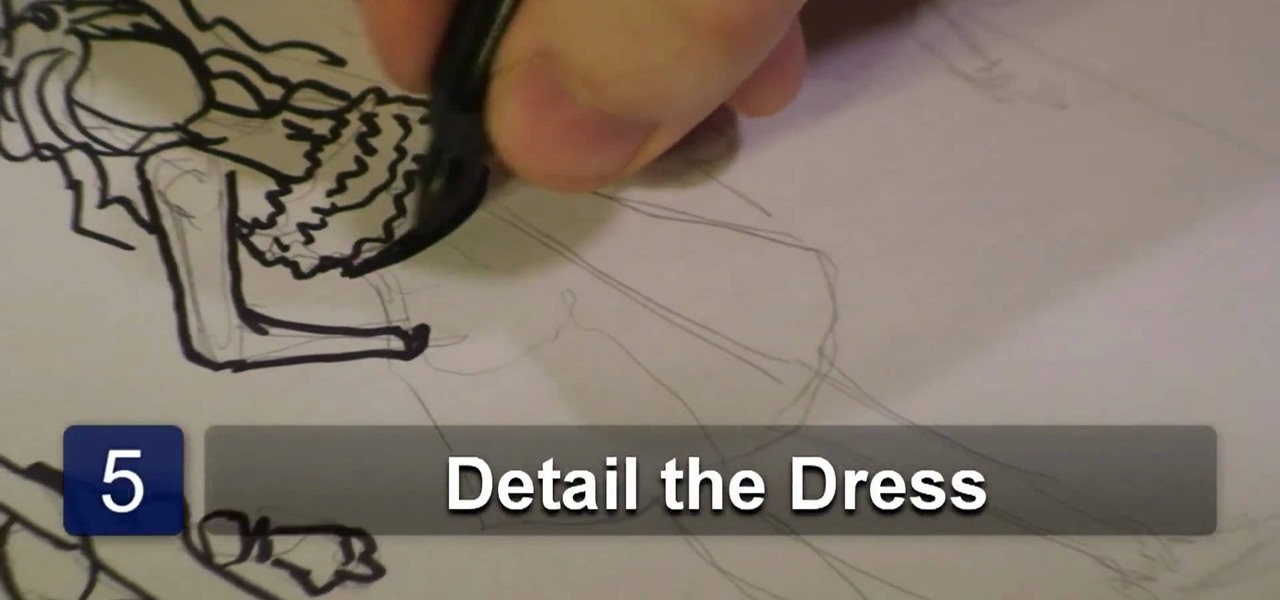
In this tutorial, we learn how to draw a variety of prom dresses. First, you will need to start out by drawing the dresses on different body shapes. Make dresses that are long, short, and knee-length. After this, use a marker to draw the outline of the body and the dress, then start to add in the pleats and the dress details. Add on scarves and other items to the different types of dresses, then continue doing this for the different types of dresses and body shapes. When you are done, draw in...

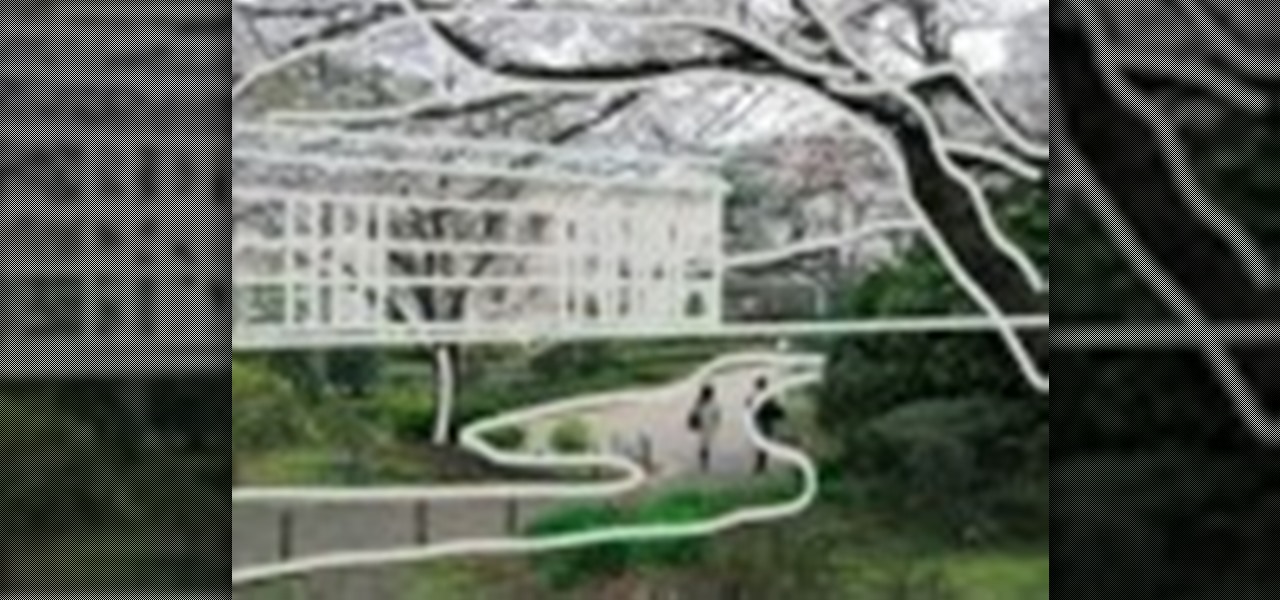
In this video, we learn how to measure your space when drawing a landscape. First you want to draw a line in the middle and measure out the line to the top of the building, and create another line there. Measure the length and then measure the edge of the outside of the building. After this, find the end point for the building and measure from the top down or from the second line to the roof, then draw the line across. Measure in from the end to get the angle, then find the layout for the tre...

In this video, we learn how to easily cut your bangs. First, you will want to take a shower and have your hair went and brushed out. Next, part your hair so that your bangs are in the front and the rest of your hair is tied back behind you. After this, grab your scissors that are for hair cutting, and then level your hair out in front of you. Be sure to hold your head up straight and don't look too far down or up. Next, cut the bottom of your bangs where you want them to be at, then continue ...

In this video, we learn how to thin and layer hair for a spiky look. To do this, start off in front of the mirror with sharp scissors and a razor over the sink. Grab the scissors first and brush your hair to the front of your face. Start off cutting different layers into your hair, making some longer and some shorter. Next, take a razor and run it through your hair to create a think layering of all the hair. After you are done cutting it to your desired length, add in hair gel or wax to your ...

In this video, we learn how to make a gift Christmas jar with Stampin' Up! First, take any type of jar you want to collect money in. After this, rinse out the inside and remove the labels off of the bottle and measure them. Now, take a piece of card stock and cut it out to make the length of the label from the bottle. Now, decorate the bottle with different Christmas decorations and then tape it onto the jar or bottle. Next, add on different types of felt cut outs to the jar as well. To finis...

In this tutorial, we learn how to make a poplar wine rack. First, cut the top, bottom, and sides of the rack. Then, use a router to cut out the center of it. Now, assemble the rack together by using wood glue. After this, measure the length of the diagonals, then add in pieces of wood that are criss crossed throughout the box. Next, keep these in place with some wood glue and then place wine bottle on the inside of them. This will make a great wine rack for any home and you can paint it as we...

In this tutorial, we learn how to hem your favorite jeans with Laura. First, place your jeans on your body, then cuff them where you want to hem them. Next, take your jeans off and pin the cuffs where you wan to hem them to keep them in place. Next, measure out the length of the hem and mark it with a piece of chalk, then you can take out the pins. Next, you will cut the pants, then pin them back where you want to hem them at. After this, you will take them to the sewing machine. After this, ...

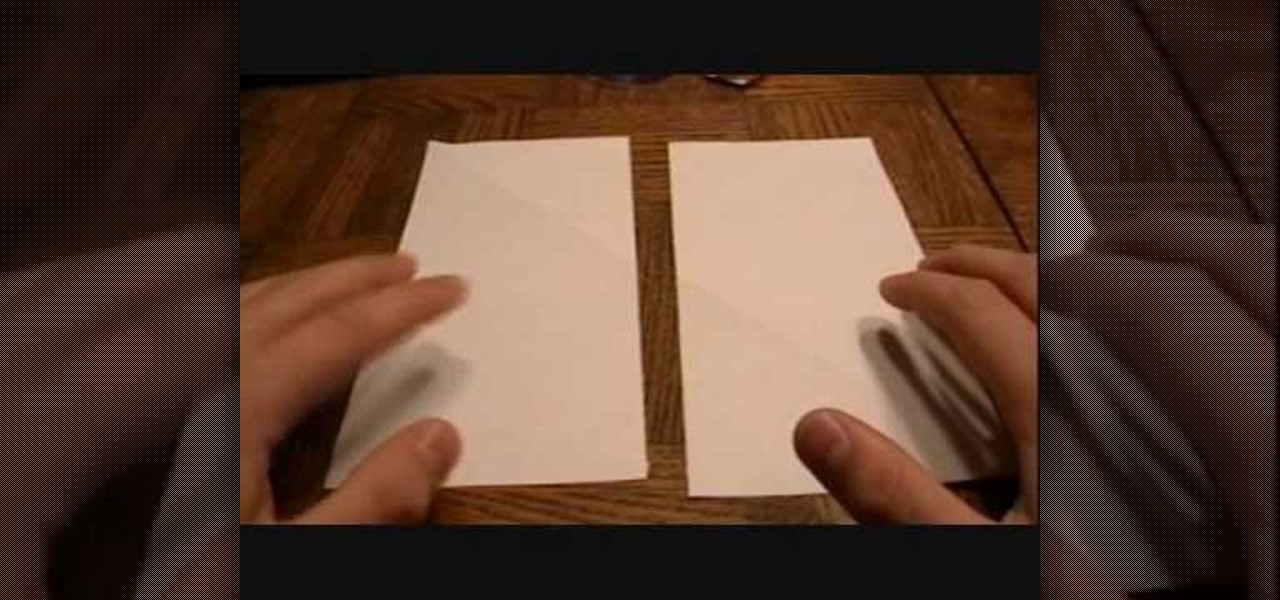
In this Arts & Crafts video tutorial you are going to learn how to fold an origami ninja star. Take a normal paper. Fold it diagonally from one corner and cut off the extra portion to make a square. Fold it in half and cut into 2 rectangles. Fold each piece in half along the length. Fold both ends of each piece in opposite directions to make a triangle. Now fold the ends again to make a bigger triangle at both ends of each piece of paper. Each sheet will form a 'Z' shape. Now place one sheet ...

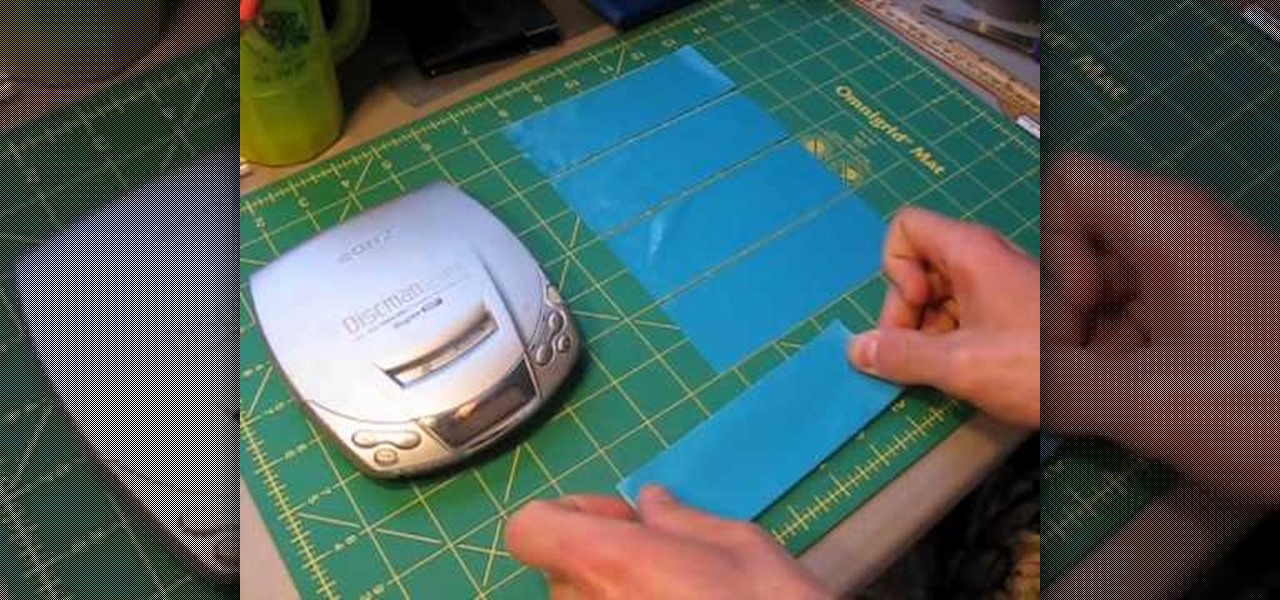
In this tutorial we learn how to make a duct tape CD player holder. First, measure your length, width, and height of your CD player. After this, cut out the color duct tape you like in strips that are the right size for your player. Now, take your first two strips and stick them together. Now, take the third one and apply it to the bottom, flip it over and stick another one on top. Keep overlapping these with several strips until you get to the height of the CD player. After this, place the s...

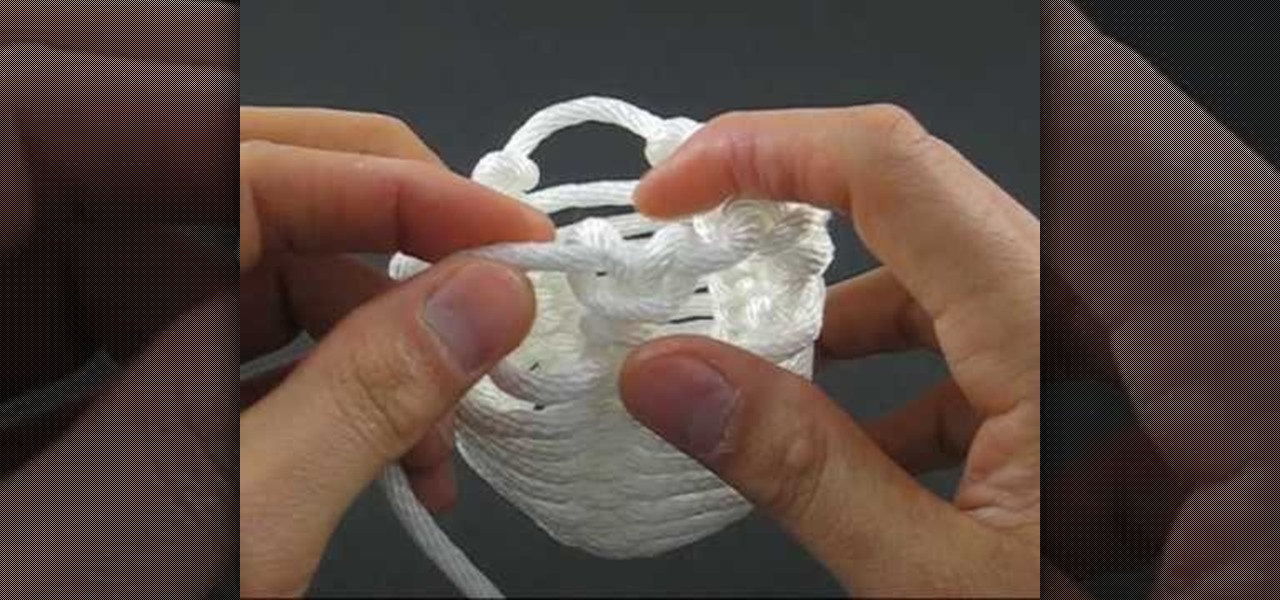
In this video, we learn how to tie a honey rope basket knot. To do this, you will need a 10ft of nylon rope. Start off by tying a counter-clockwise slipknot at one end of the rope. After this, pull the loop of the slipknot out four inches. Then, tie a second slip knot clockwise next to the first slipknot. Draw the loop length of the second so it's equal to the first. Next, continue to create slipknots next to each other until you've done five. No, hook your working end into the first loop and...


