Internet whores (which would be all of us by now) are quite familiar with gifs. Just like popular internet memes like LOLCats, viral gifs are short videos or slide shows sequenced together for a comical - or at least unexpected - effect.
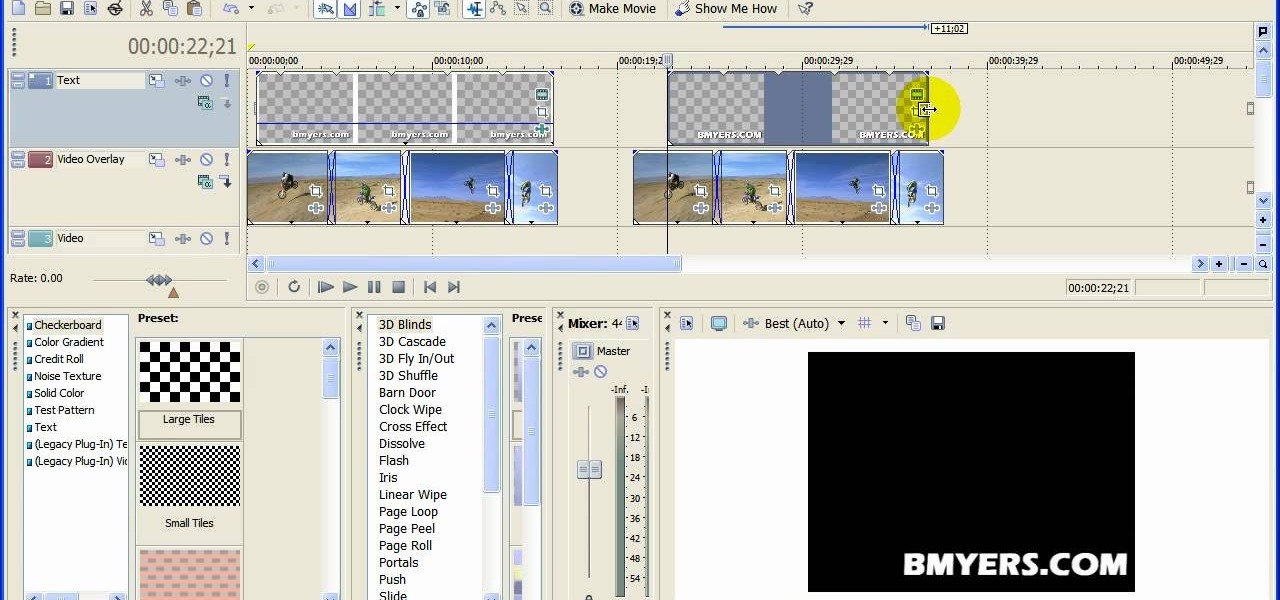
You can add watermark in YouTube videos using Sony Vegas Movie Studio. To do this, first you need to put your video in timeline. Now right click on top of your video and choose insert text media and type there whatever you want.

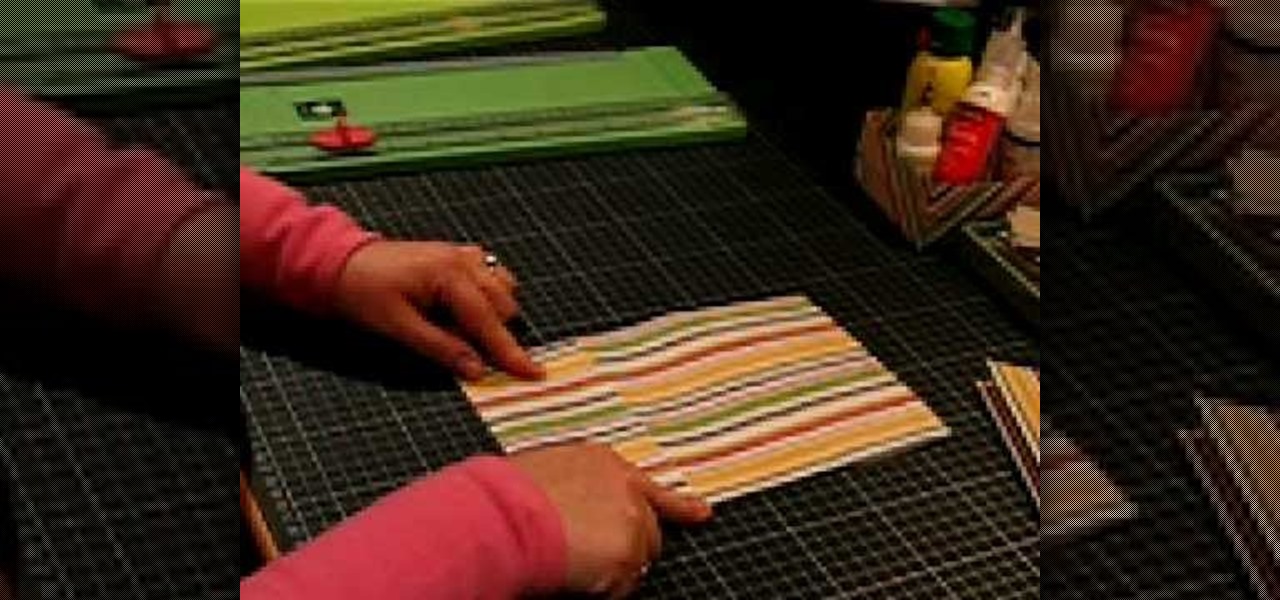
This video features an image from Squizzlefly. The card is Spring suite 2. Use a regular A2 size card. Cut 8 1/2 x 5 1/2. Score in the middle. Go down another 1/2 inch and score. Take a ruler across the top of the fold. Make a pencil mark at every 1/4 inch. Should be 21 small hash marks. Measure down 1/4 inch on both sides. Go 1/2 inch in and make a dot every 1/2 inch. Go down 1/2 inch from the fold and make a dot every 1/2 inch. Make long-short, long-short cuts with the dots along the whole ...
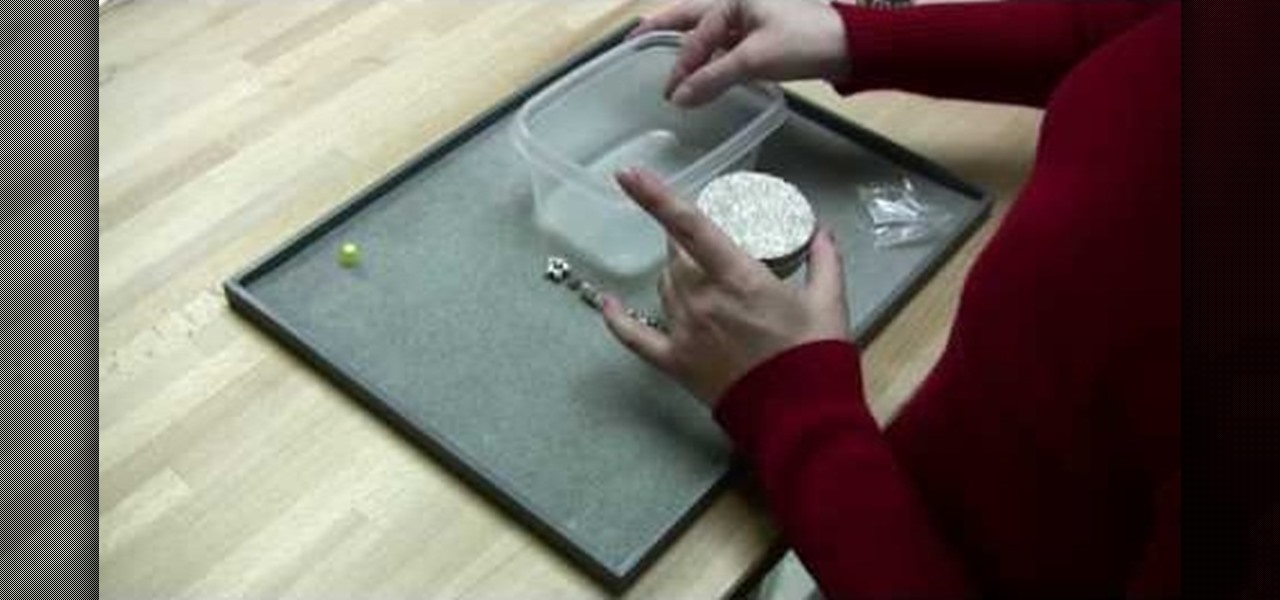
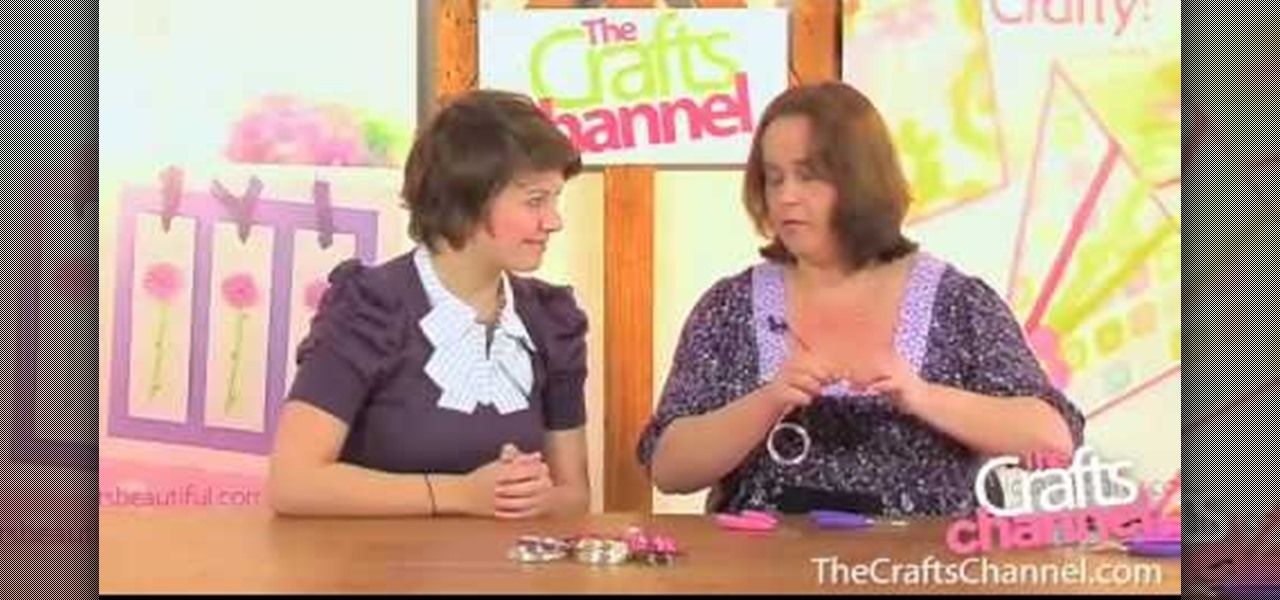
This video tutorial is in the Arts & Crafts category which will show you how to create a floral antique photo stand. The photo stand can be used to place photos or picture cards and it also doubles up as a candle stand. A picture holder measures 4 1/2 inches from top of the ring to the top of the stand. But, you can have different length. Take a lid of a tin and drill a small hole in the center. Place a wire through the hole. Apply generous amount of glue on the outer side of the lid. Sprinkl...

Mr. G shows us how to craft a mobius strip out of paper in this video. First, take a sheet of copy paper and fold it in half length wise and crease it down the middle. Now, cut the paper on the crease so you have two strips of paper. Next, lay the papers end to end and tape them together. Now, the strip and give it half of a twist and attach it together with tape on one of the ends to the other. Now get a felt tip pen and draw a line down the middle of the strip. Now as you roll the paper, yo...
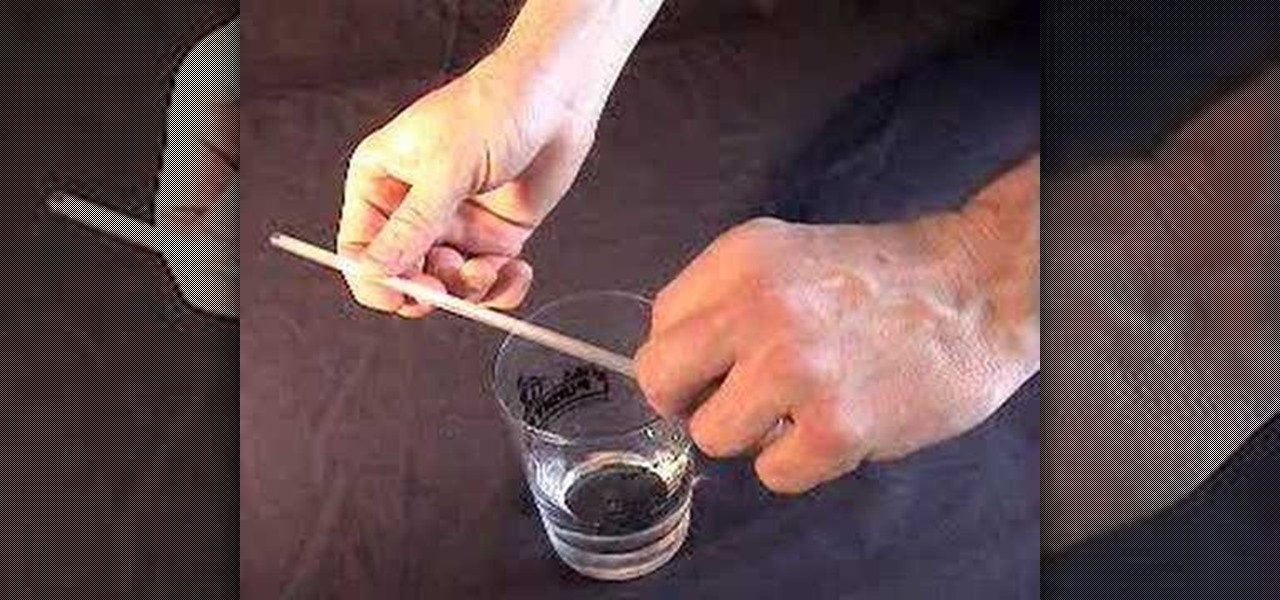
In this video, bet your friends that they can not lift an entire glass using only a plastic straw. They will most likely struggle, push the glass around a bit and try to balance it all, to no avail. Then, you come along and save the day with this trick!

If you have ever found yourself working on a car project at your home and ran out of fuses, this tutorial is for you. Instead of going out and paying around $30 to $40, make your very own. It's wasy and saves you time and money.

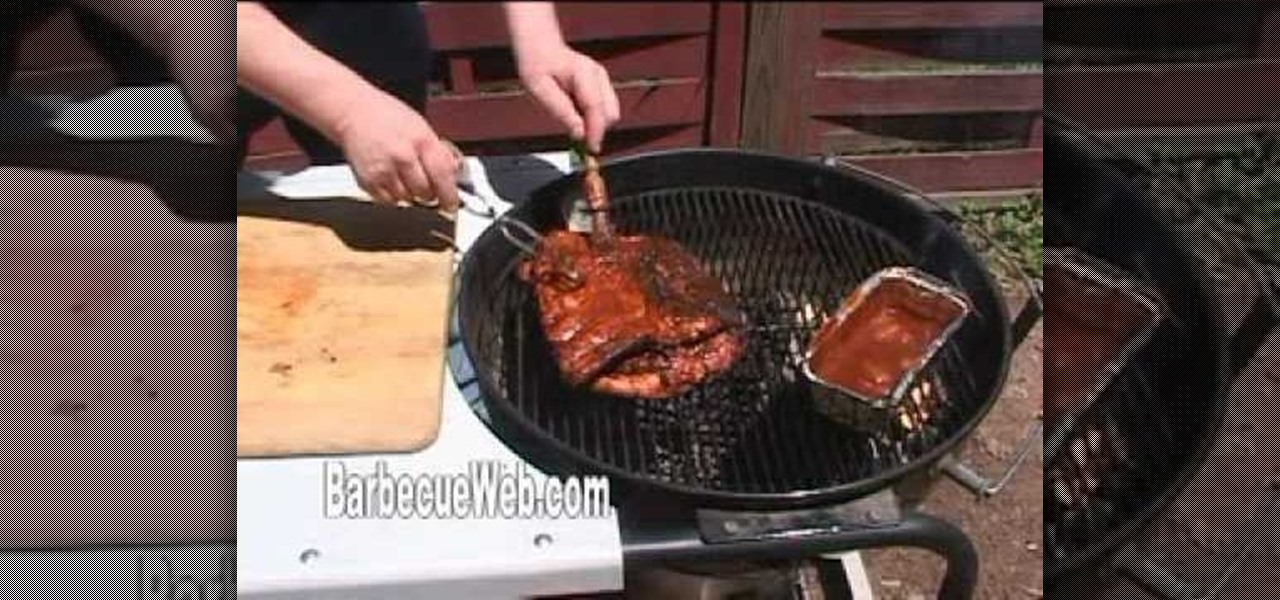
To make these BBQ ribs, start by collecting the necessary ingredients which include the pork back ribs, a dry rub, a sauce and a grill. Then get your fire started and raise the temperature up to 400-500 degrees so you can clean your grill. Next, prepare your ribs by cutting them up to the right length and cover all sides of the ribs with your favorite rub. Baste the ribs and stack them on the grill, cooking them at 225 degrees. You can also add wood chips such as hickory wood chips to give yo...

Rayann shows us techniques to make macrame designs using hemp for the creation of fun, interesting jewelry designs. She shows us four techniques. First she introduces us to the half-knot using four strands of hemp. The right-hand strand is brought across the others in the shape of a backwards four, while the left-hand strand is brought behind the others and through the loop created. A series of half knots will result in a spiral design along the length of the jewelry.

In this Food video tutorial you will learn how to make a chocolate yule log with Sandra Lee. You will need a chocolate cream roll for this. Take some whip topping, put one teaspoon of vanilla and very gently stir it up. What the vanilla does is it cuts the packaged taste. Now spread this all over the cake and on the front and back; nice and thick. Clean off the edges and round them off like a log. Take a fork and drag it along the length of the log all around. With the knife, make spirals at ...

This video shows how to make a peasant blouse, using a T-shirt pattern from a previous video. Take the front of the T-shirt pattern and cut it out of your fabric. You will need two pieces the same, one for the front and one for the back of the blouse. Save the extra fabric from the neckline to add length to the sleeves. Place the two pieces right sides together and sew the side and shoulder seams.

The hairdresser in the video explains how to use hair rollers properly. He tells about two types of rollers, velcro, and heated rollers. Velcro rollers are advised for dry hair, because if you put them in wet hair, and let them dry you wont be able to get them out. The man in the video explains when applying velcro rollers, the section of hair should not be bigger than the roller itself, in length, and width. He tells you of a trick of his, to put your thumb inside the roller, as you roll the...

First of all you need a single sheet of paper 12 by 12 inches to make a mini book with four pages and measures 6 by 3 inches. You also need a tool for making creases and a knife to cut the paper. Start by folding the paper in half and then crease the middle line. You must always try to make the crease line as crisp and sharp as possible. Now open it out and then again fold it in the middle in the other side. After this step you have to place the paper with the length facing towards you. Now f...

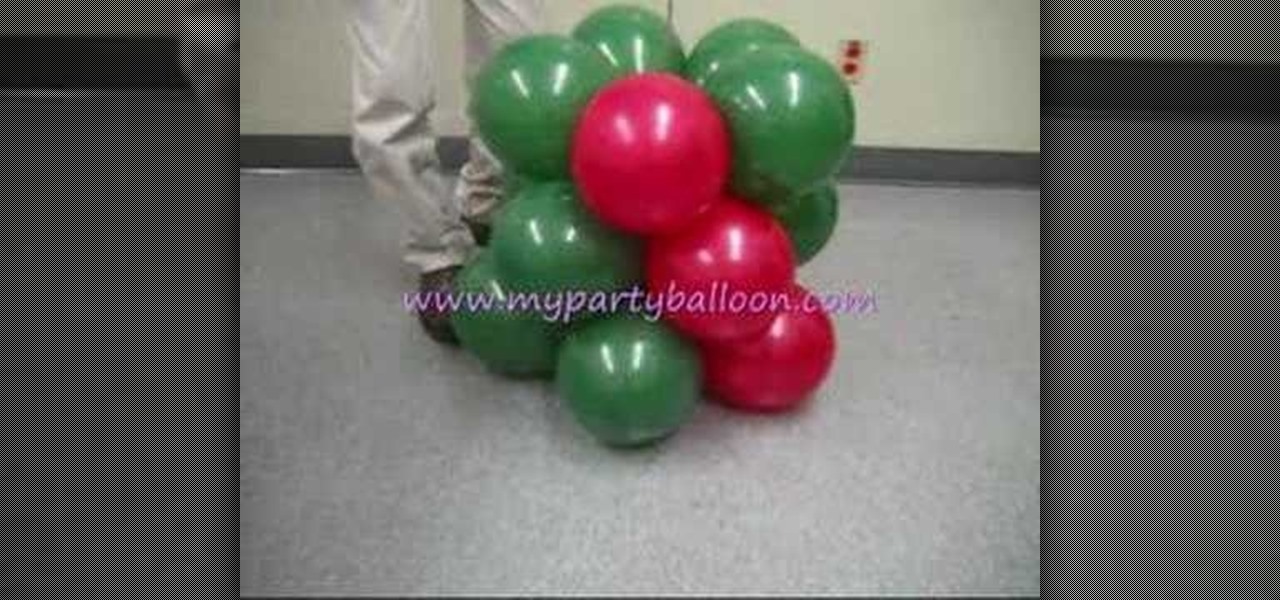
First of all you have to take a plane wooden board which is about one foot and square shape, and place it on the floor. There should be a holder in the middle for inserting the rod. Now take a rod which is about four feet in length, and then insert it in the holder. Now use a tape and stick the rod firmly to the holder. Take two red color balloons and two blue color balloons which are joined at their ends. Now pass over these balloons two or three times at the ends so that the red and blue ba...

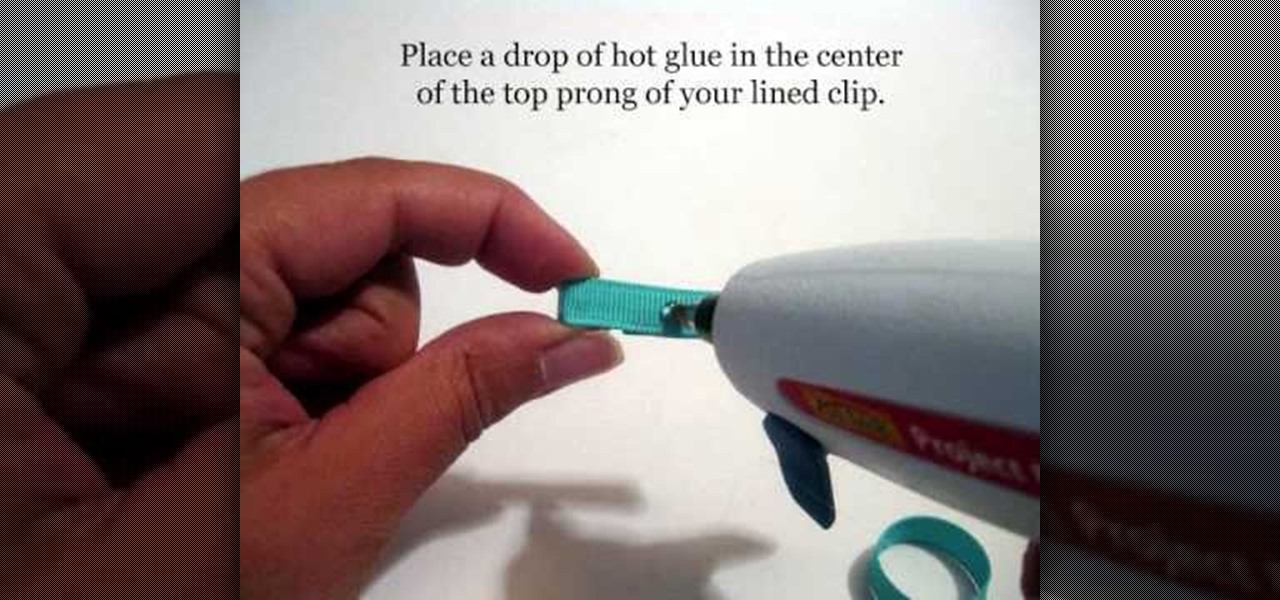
This video shows us how to make infant mini clip hair bows.This requires a high temperature hot glue gun.Three ribbons of the length 4",3" and 1.75" are required.Also needed are an alligator clip,sharp scissors and a lighter.Take the ribbons and seal it with a lighter just enough to melt the ends.Insert a 4 inch long ribbon in between prongs of alligator clip.Make sure the ribbon is centered and flat side of alligator clip is down.Quickly fold the ribbon over the top prong and press firmly to...

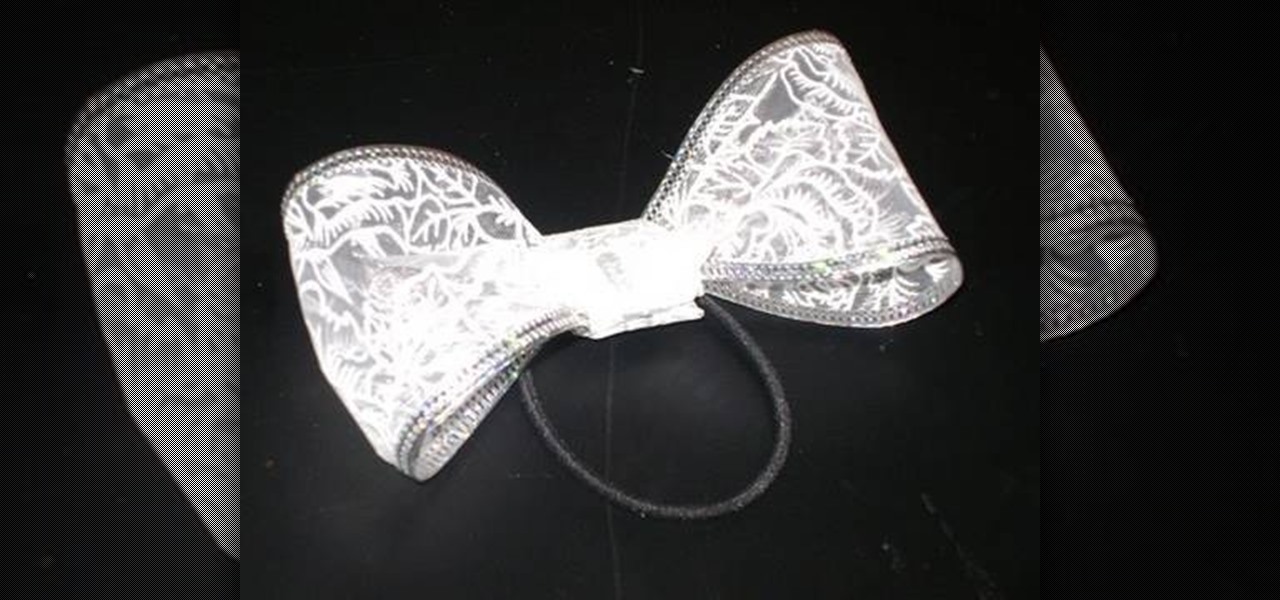
Materials required are lace, hair band, scissors and glue. Start by cutting off a piece of lace around ten inches length using a scissors. Now apply glue at the edges of one end of the lace. And then join the other end of the lace together to form a circle. Now hold this lace at the middle and then push in the middle. Press in at the centre so that it is divided into a Bow as shown. Spread the edges a little to make it appear fine. Now cut off a piece of lace around four inches using a scisso...

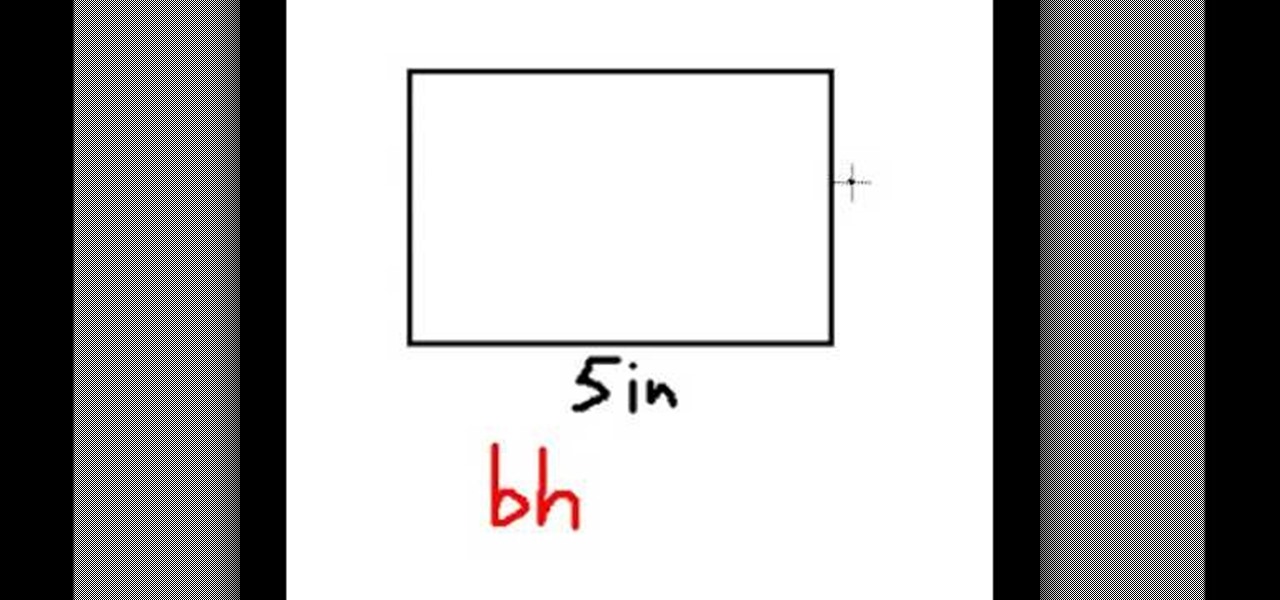
This video shows us how to use a formula to find the area of a parallelogram. The formula for finding the area of parallelogram is the same as finding the area of rectangle or a square which is equal to length time’s breadth. But the parallelogram looks a bit different and the parallelogram is basically a rectangle but it is not at right angles. If you draw two altitudes then it is a rectangle with two triangles and if you cut one of the triangles and paste it next to another triangle then we...

WeaponCollector teaches viewers how to make a mini survival kit using an Altoid's tin. You can get an S.A.S. guide for exact instructions and further information on what you will need in an survival kit. First, you should make sure you have rubber bands around your tin to hold it shut. It is easier to get into it and it keeps it closed. You can also wrap the tin with a power cord. Elastic bands work better if you plan on using this everyday. Simply wrap 3 bands around the width and one around...

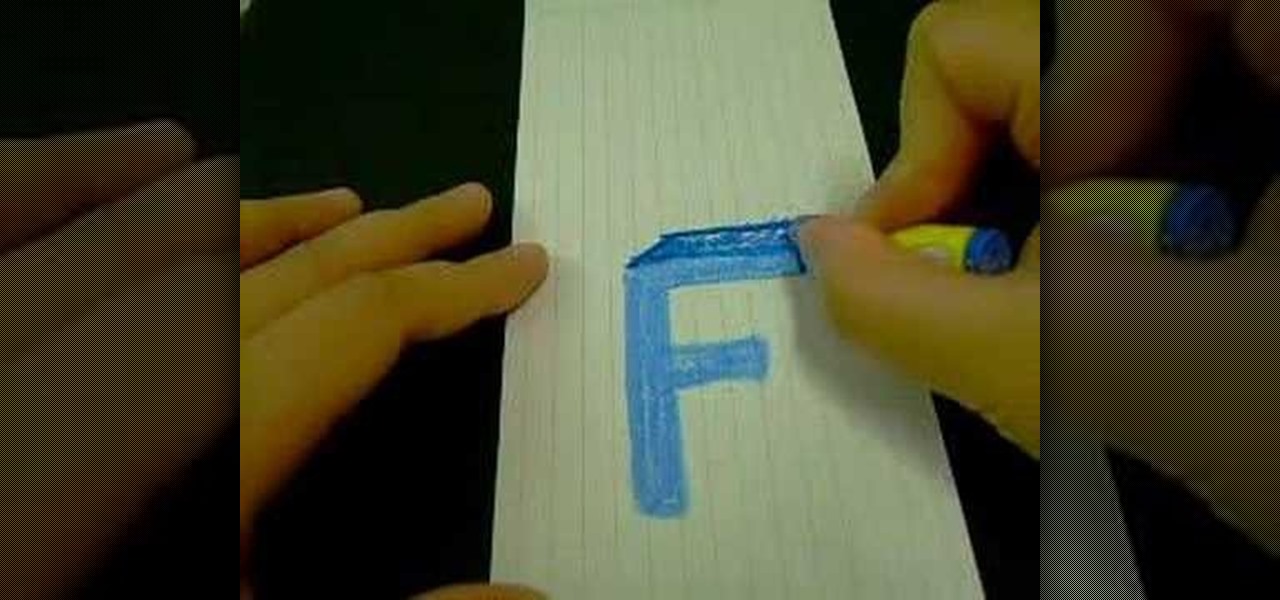
This video teaches us the method to draw the letter F in 3D. First draw F normally. Now double the outlines of the F on both sides of the outlines. Draw a line that is parallel and of the same length of the longer top arm of F. Join the ends of the line to the ends of the top arm by parallel lines. Color the parallelogram with a darker shade. Make a parallelogram by joining the ends of a line drawn parallel and equal to the smaller side of the rectangle of the top arm. Draw a vertical line an...

First of all you need roll of wire around 1 or 1.25 millimeter thick. Now take the roll of wire and using a round nose pliers bend the wire about 5 cm. now take a flat nose pliers and the hold the ends and bend it round to make a hook. Now taper off the end and then straighten the wire. This shall be the top portion of your pin. Now take round nose pliers and then wrap it in a complete circle and then repeat it two more times. This shall produce three loops and you can also adjust the length ...

First of all you have to need a bonsai and scissors. In the type of the tree shown in the tutorial which is a fifteen year old, once you have got the branch structure established then you can prune the leaves over it. Start from the bottom branch chop of the leaves that are out of symmetry with your scissors. Cut from the outside to the inside. Now move towards the upper branches. Chop off extra new branches which are coming out from the main branches. Reduce the leaves in a fine length all a...

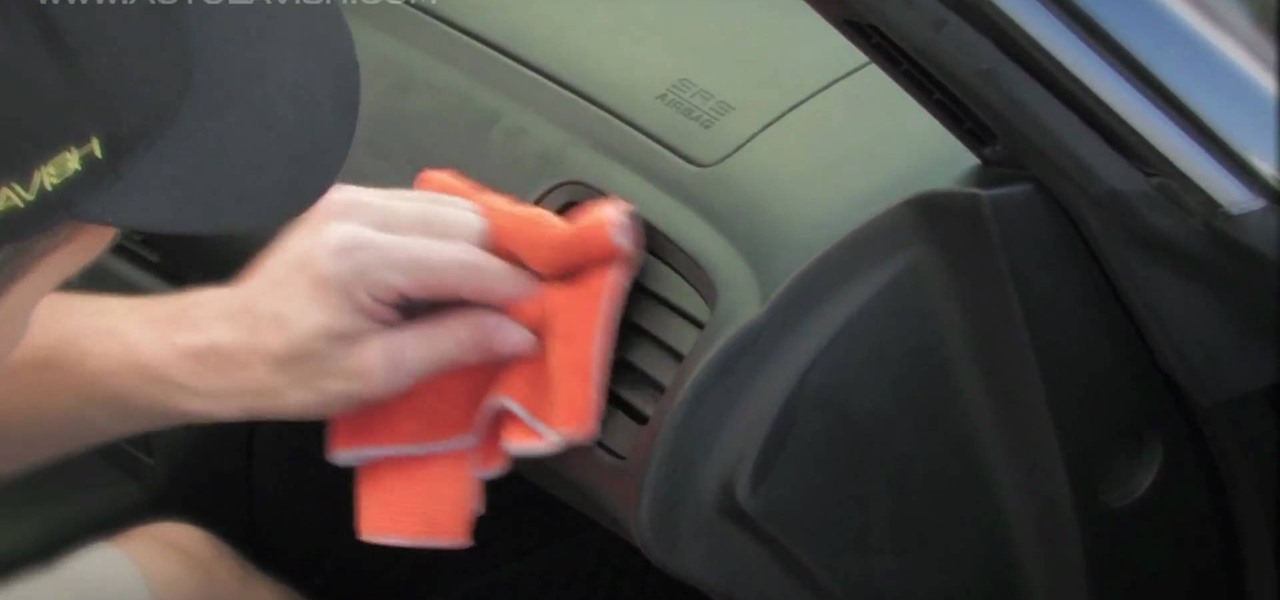
This video demonstrates how to clean the interior of your car. You will need to thoroughly vacuum your car. Vacuum all of the surfaces, the vents, air bag, crevices, etc.

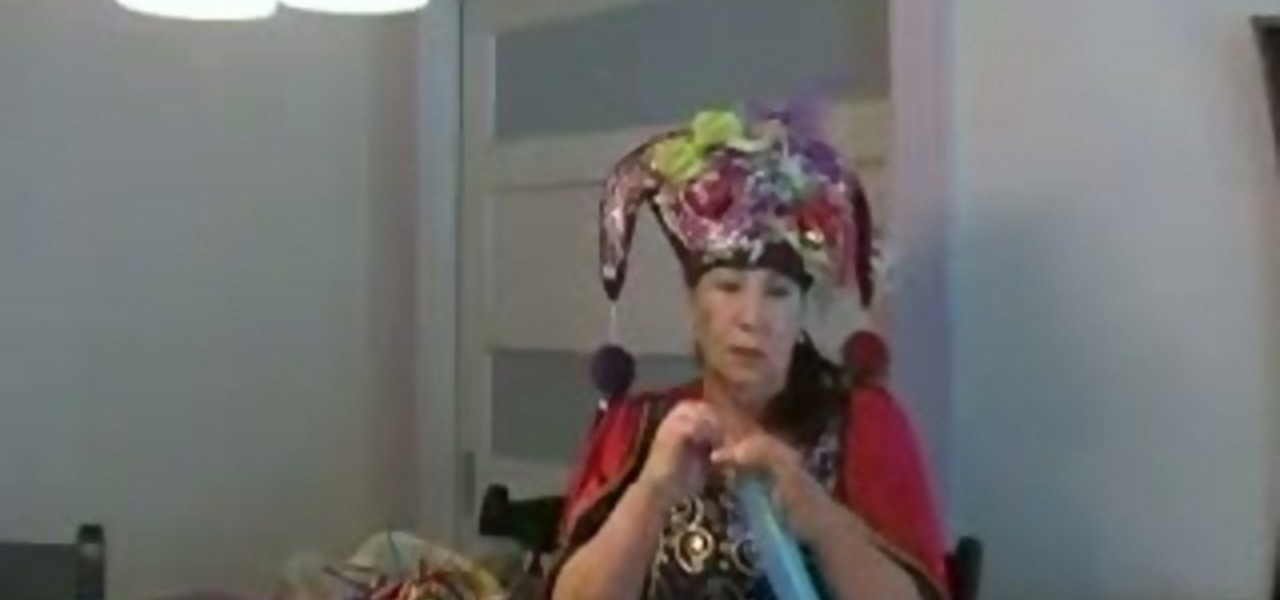
This video demonstrates how to make a balloon sword and heart. To make a sword, pump up a balloon as long as possible and tie the end. Twist the balloon at this end making a small ball. Bend the balloon at around 20 cms in length and twist both the ends of the balloon at the same level as the ball creating a loop. This is named the 'elephant bend'. Now insert the long end of the balloon into the loop leaving behind a small part. Your sword is ready.To make a Heart flower. Take a red balloon a...

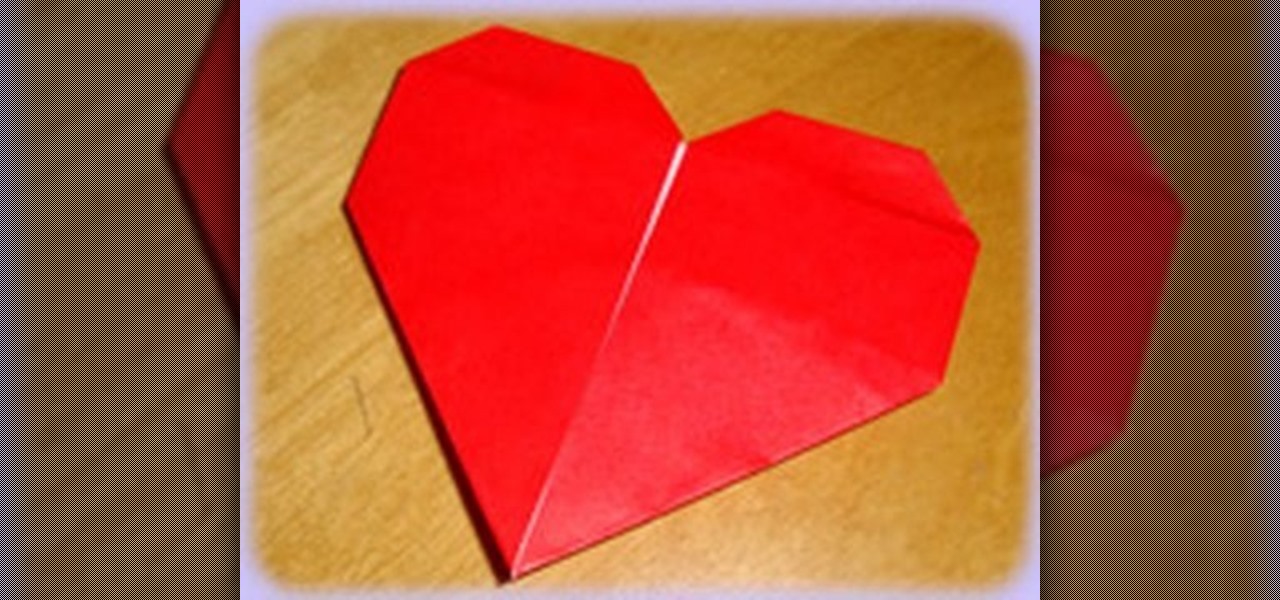
This video shows us how to fold a simple origami heart. Firstly a piece of paper is taken and is cut in the form of a square and then it is folded into half to form a rectangle. Then it is properly creased and then using a knife it is cut into two halves. Then one of the pieces which are in the form of a square is taken and is folded vertically to form a thinner rectangle. It is creased and then unfolded and then the paper is folded horizontally to form a square and it is creased and then unf...

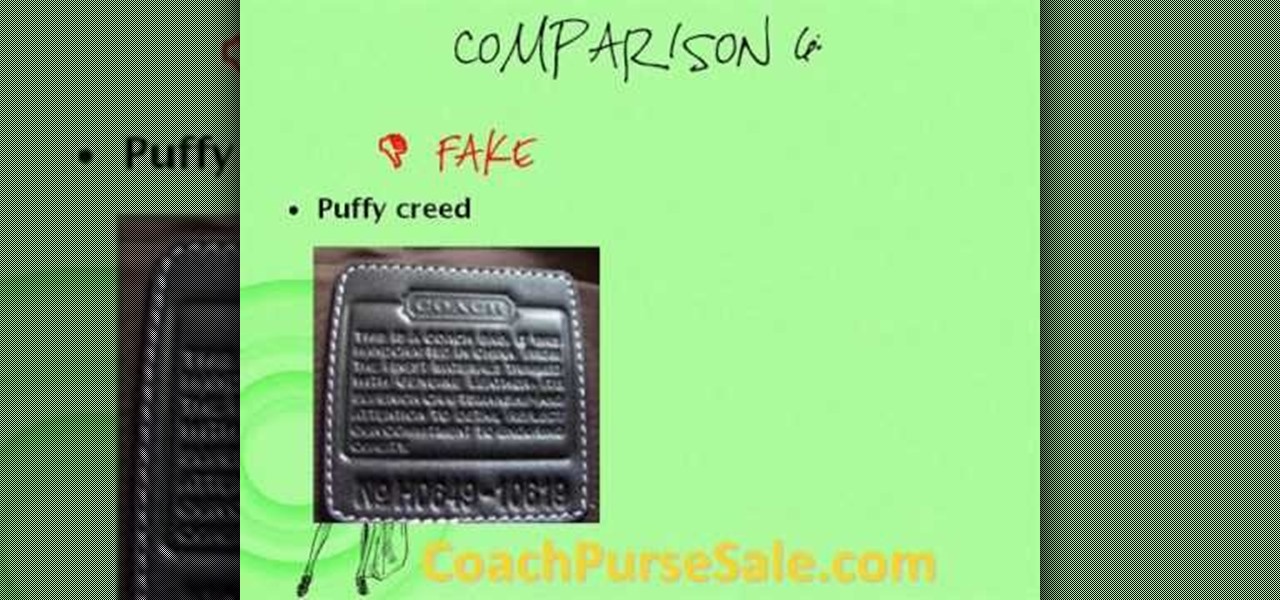
This video provides tips on how to determine whether your Coach purse (or bag) is a fake. In order to spot a fake Coach purse, you have to look at the details closely. If there is a fabric pattern on the front, make sure that the letter is clearly a “C”. If it looks more like an “O” or a “G”, then it is a fake.

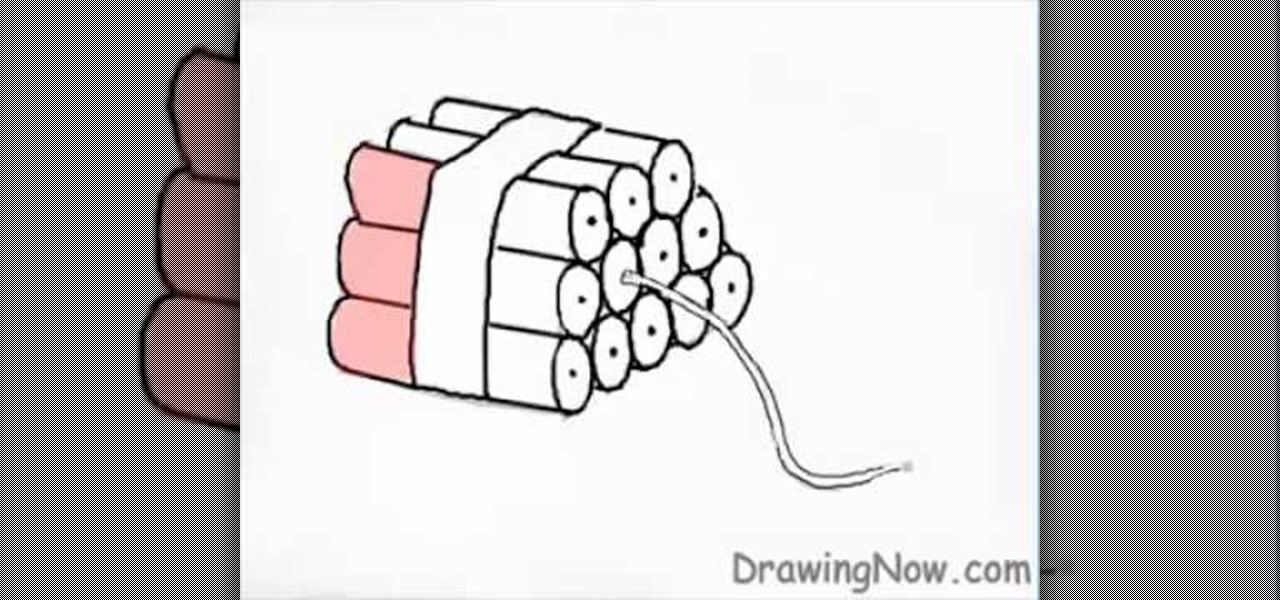
First of all use a grey color shade to draw the outline sketch of the figure. First draw the trapezium in the front. Now draw a rectangle at the side of the trapezium. Make a flat top to the figure. From the middle of the trapezium draw a string protruding downwards. Now divide the figure into three equal sections. Now you have to darken sections on the rectangular side. Draw the vertical lines of the rectangular side curved outwards at the far end. At the front end of the rectangular side ma...

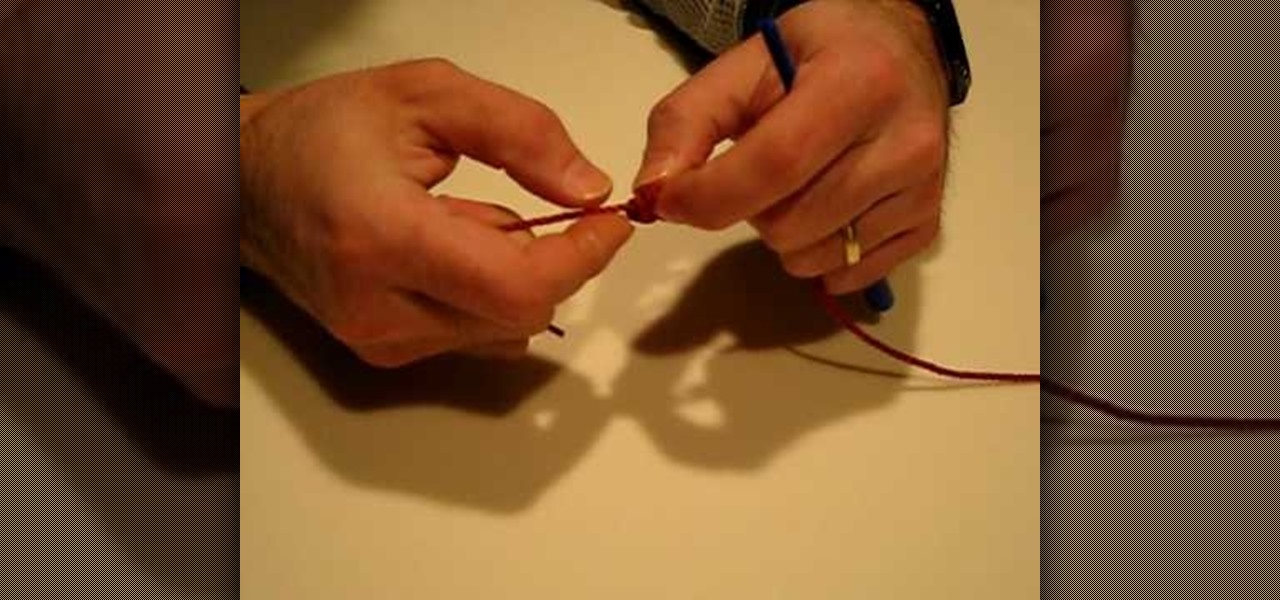
This video tutorial in Spirituality category will show you how to make a rosary bracelet. Jim Horn from real life rosary presents this video. For this you will need a nylon string and a bead making tool. With the string take three turns around the end of the bead making tool and pass the end of the string through the slot in the tool so that it passes through the three turns and tighten it to make a knot which makes a bead. Like this you make nine beads and then the father and the beginnings ...

This is a javascript trick that will work on any website. Just go to the webpage you would like to view go bananas, erase the url from the address bar, insert this code into the empty address bar, hit enter, and enjoy:

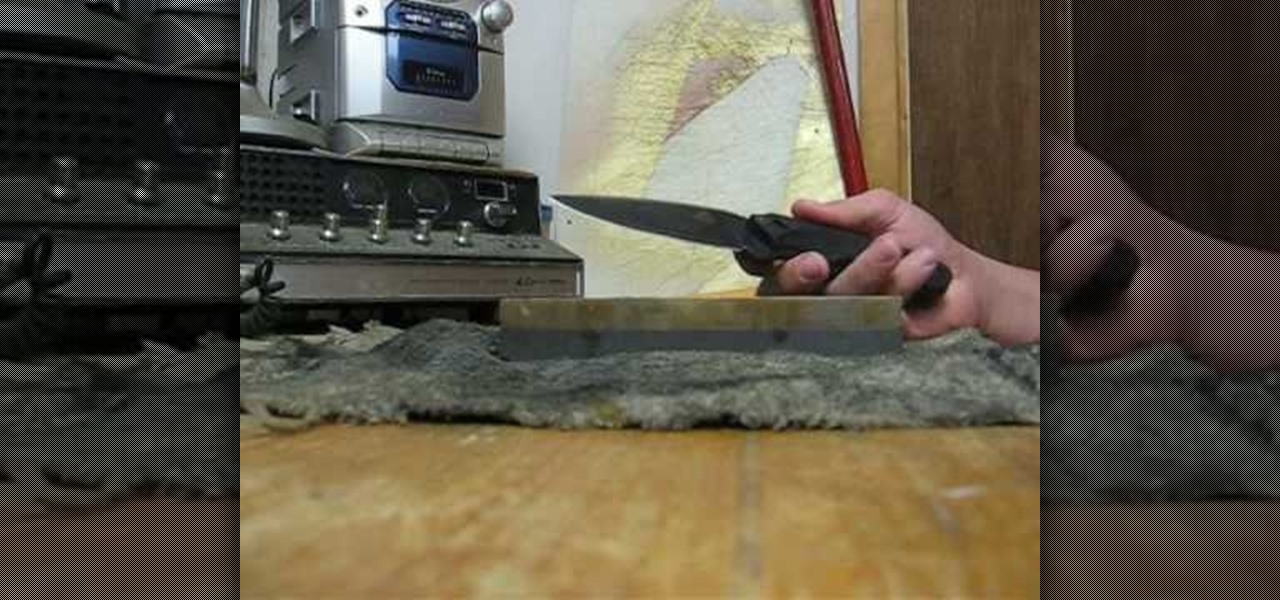
In this Home & Garden video tutorial you will learn how to properly sharpen the blade of a knife. You will need a sharpening stone with two sides; coarse and smooth. You will use the coarse side if the knife has dents. You can use any oil, but Rem oil is the best for this. Spread the oil on the sharpening stone. Hold the knife so that the blade is flat and parallel to the surface of the stone. With the blade facing away from your body, start from the near end of the stone and as you move forw...

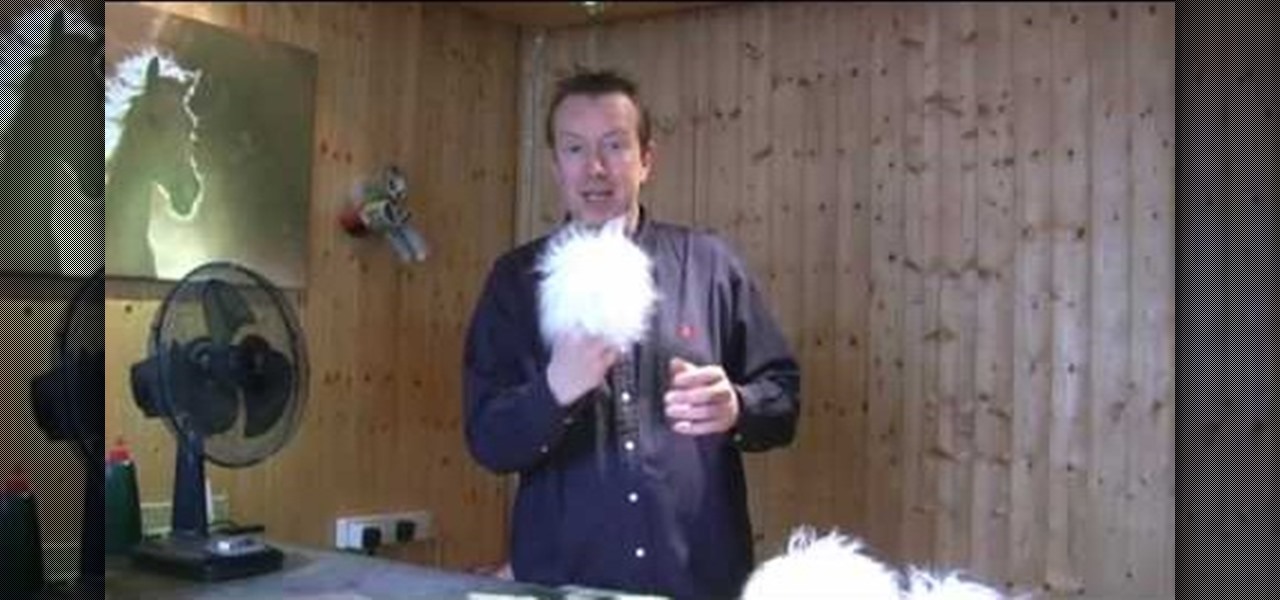
For anyone who has ever used a microphone, trying to record something during a windy day can be a bit of a pain. Of course we can eliminate most of the interference with a simple wind screen that can be purchased at the store, but many times they can be a bit pricey. Well, in this tutorial find out how to make your own wind screener for a Zoom H2 mic. Enjoy!

You can make a rocket at home using these items found around the house. Icing sugar, measuring tape, a PVC pipe, black marker, hammer, flat headed bolt around 18 millimeters wide , mortar and pestle, drill, drill bit size 5 millimeter, potassium nitrate and kitty litter.

Making your own hoop earrings can be fun and easy. In this video we learn to make gold-filled beaded hoop earrings with some wire, pliers, beads and an empty pill bottle. Take a 6 inch piece of 20 gauge wire and wrap it around the pill bottle. Then you take your round nose pliers and bend the tip of the wire in a 90 degree angle ending in a circle. You can be creative with what you put on for beads. In this video it shows a purple focal bead and 30 plain beads. So you would put 15 of your pla...

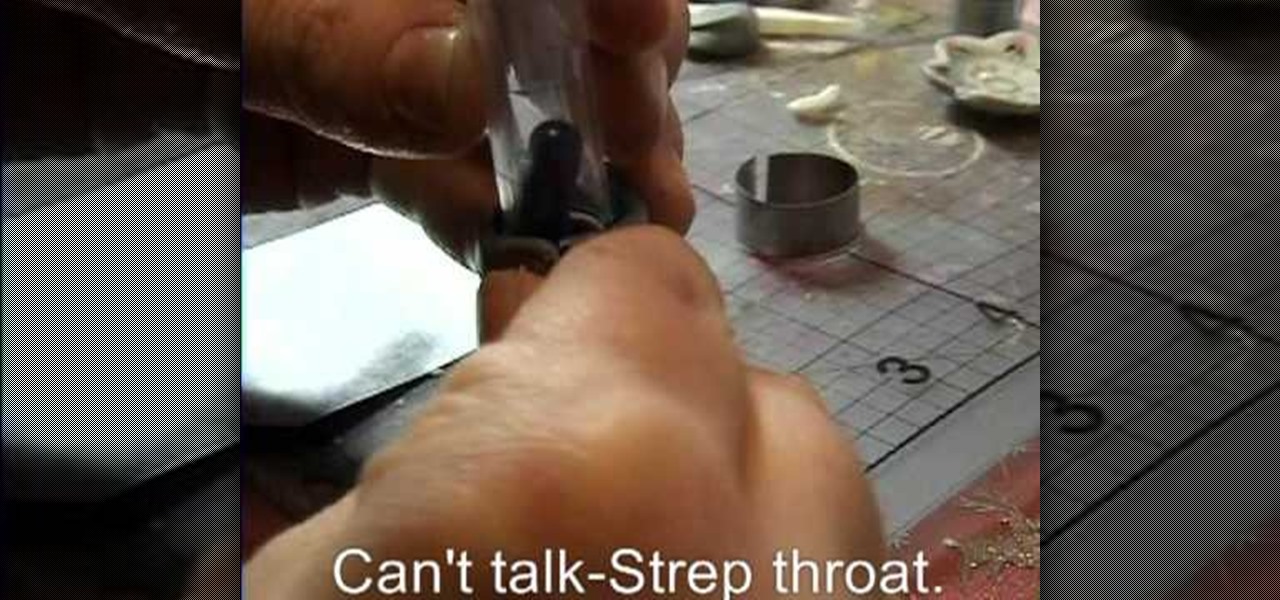
To begin you need to have a metal hollow tube made up of a strip which is around one inch wide and about two inch in length and has been bended round. Now take some clay and put it inside this hollow tube on a table. Press it with your finger. Take a glass tube with lid and use it to press the clay down to form a pot with this clay. Now remove the both the glass tube and the metal tube. Put the clay pot again back over the lid of the glass tube and press with your fingers. You have to press s...

Artful Paper Doll demonstrates how to make a mini paper corset for a paper doll. Take two rectangular piece of hard paper which is of measure 4 by 5 centimeters. Cut the edges of the breadth part make it round. Cut the length part inward to make it into shape of a waist. Take a pattern cloth and paste it to shapes. Now take a lace with one end trimmed. Fold it in zigzag way. This should be pasted beautifully to the bottom of the corset. Now take a thin lace and paste it over the zigzag lace i...

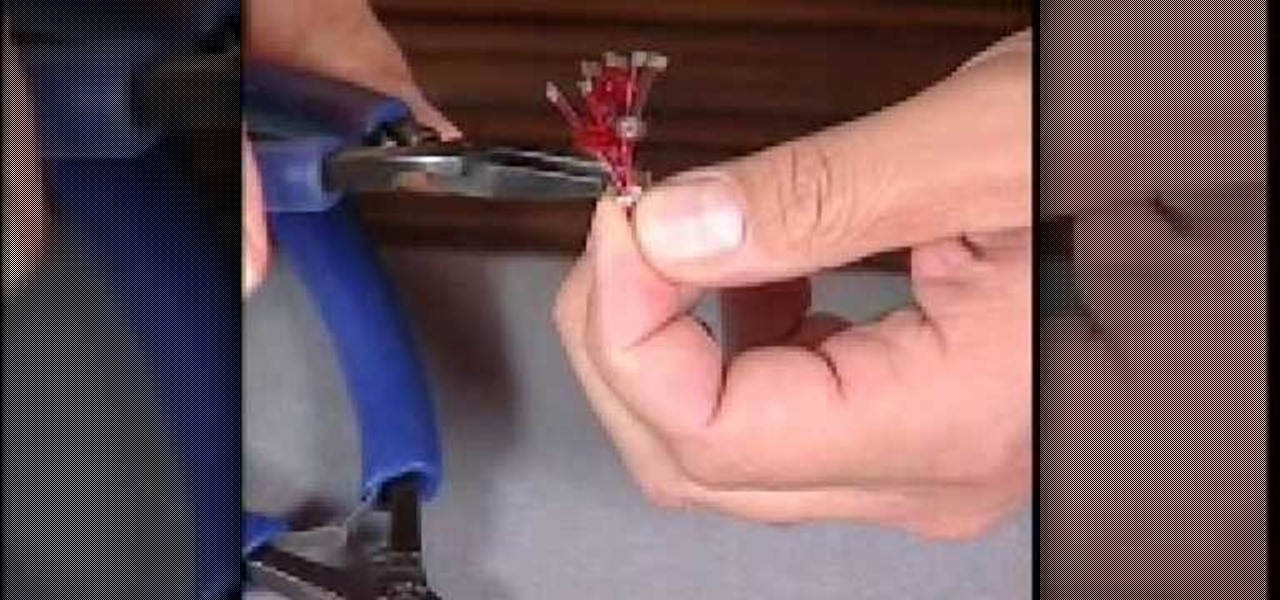
Mark Nelson accompanied by Rio Grande demonstrate by the start where you need a wire with stiffeners to it of various colors. 3 pieces of different colors of wire each 2 ½ inches long is needed for the earring. Pick a clamp where you can pass the 3 wires twice. First push it half way once and put the other end back in the hole and pull the ends through. This can also be done in an asymmetric way. Now you add 6 beads in any combination of colors. Use it in a 2 mm length and then cut off the en...

This is for an ankle that has been rolled to the outside of the body. Start by cutting a piece of rock tape that is about the length of the distance from the mid arch to right below the kneecap. To tape the ankle sit on a table put your heel on the edge of the table with your toes pointed down. With an ankle sprain this will be very painful so go really slow. Pull an inch of backing off the tape and anchor it about mid arch and then pull the backing off of the rest of the tape. Then with your...

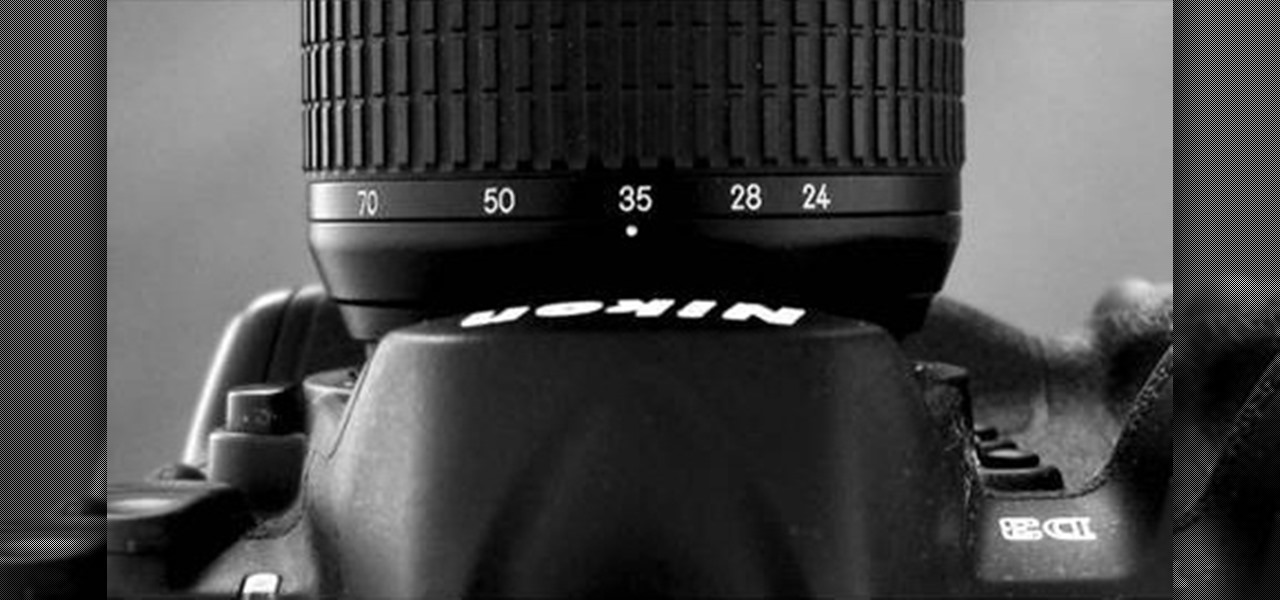
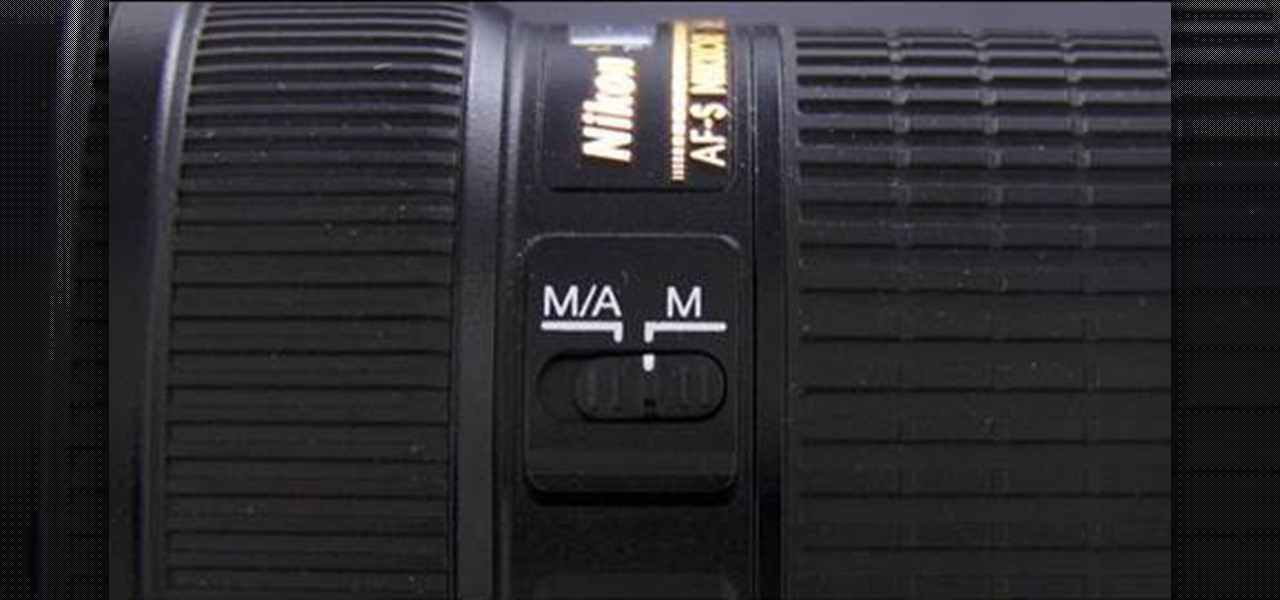
You can manipulate the AF fine-tune on your Nikon DSLR in order to optimize the sharpness and resolution of your lenses. This is a great tool for achieving the highest picture quality possible.

The resolution, or sharpness, of a lens is vital to creating and reproducing quality photographs. Watch as this video breaks down how to diagnose the sharpness of your SLR lenses.

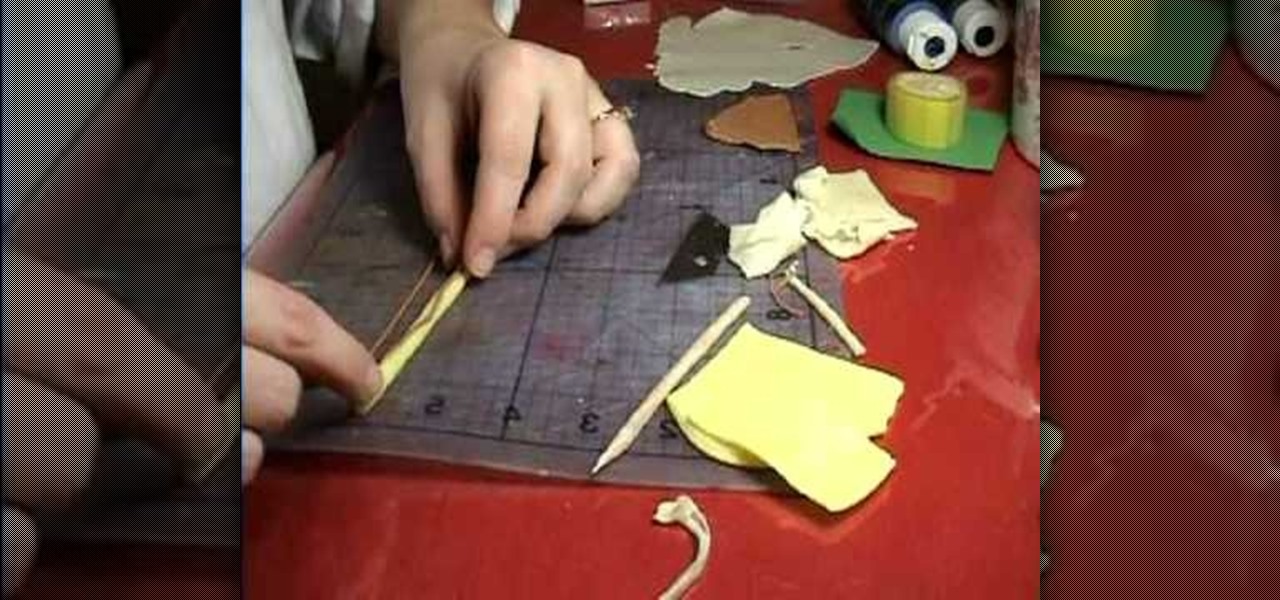
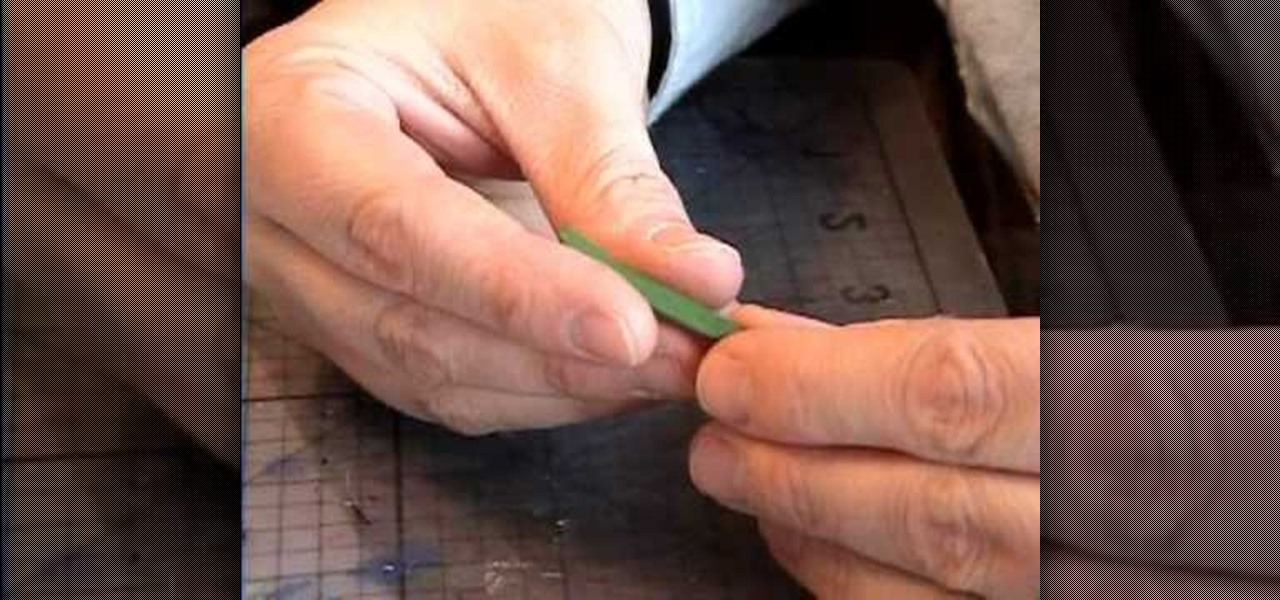
Translucent, yellow and brown clays are needed to make the banana. For the covering mix the translucent and yellow clays. Another translucent mixed with a little yellow is needed for the flesh of the banana. The seeds are made with the brown mixed with translucent rolled out very thin. The rolled light yellow clay needs to be twisted into the shape of a triangle vertical. Take a translucent rolled flat and place the yellow clay and cut little clay and roll it together into a very thin roll. T...

This video shows us how to make lilies for a dollhouse just in time for Easter. First you take a toothpaste cap and some copper metallic paint and paint it. This is your flower pot! Make the flower heads and set aside. Take some clay and stick it into the flower pot. Then take some wire, the length of what you want for stems, and stick one end into the flower bloom and the other into the cap. To make these flowers, you take some clay and roll it into a ball. Lengthen your ball into a cone lik...


