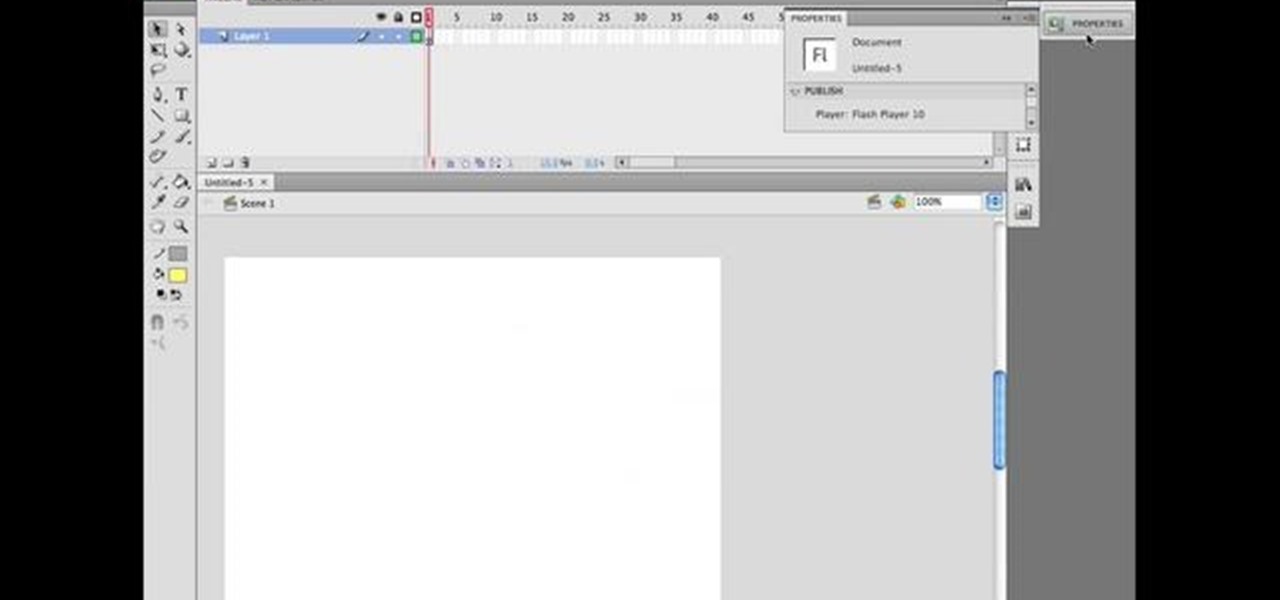
How To: Draw cartoons in flash
This is Cartoonsmart's introductory lesson on how to draw using vector illustration Flash CS4, CS3 or Flash 8.


This is Cartoonsmart's introductory lesson on how to draw using vector illustration Flash CS4, CS3 or Flash 8.
Boris Title Toolkit gives Adobe After Effects users advanced titling capabilities for maximum quality, speed, and creativity. Using Title Toolkit, graphic artists can import ASCII or RTF files for fast, easy credit rolls, take advantage of rich text style options such as bevel borders, gradient fills, simulated extrusion, and embossing, and save or apply custom or preset text styles, gradients, and colors, all of which can be applied on a per character basis.
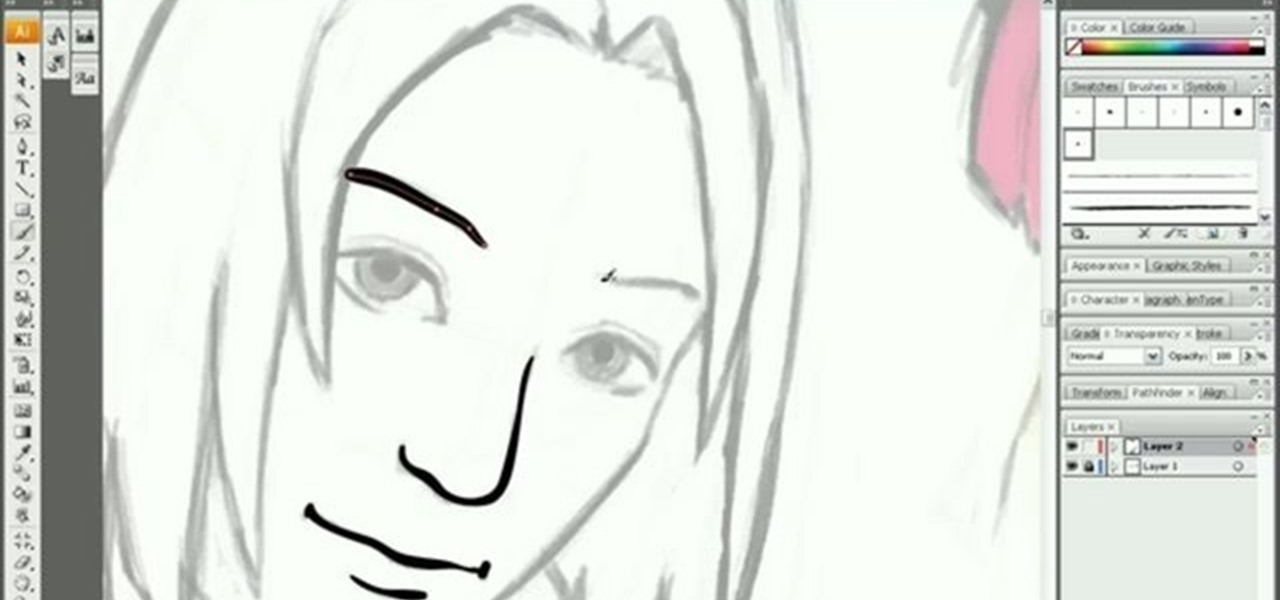
Tutorial/demonstration showing how to use Calligraphic Brushes in Illustrator to do line drawings (inking) and then import them into Photoshop as a Smart Object to retain the vector quality of the line art. By using clipping masks, we can change the color of the line art without rasterizing.

Apple has introduced a valuable new tool for Safari that lets you export or import browsing data such as bookmarks, history, extensions, credit card information, and usernames and passwords. This makes it easy to move your data between Safari and other browsers like Brave or Orion, create a backup archive, or even sync Safari passwords with third-party managers like Proton Pass.

Whether it's because you have no access to the internet or because you're simply on vacation, having someone else check your emails may be a possibility. You can give them your password and screen name, but that's never a good thing. Giving out your password to anyone, even someone you trust, is not something that I would ever suggest for two reasons:

Video: . » Iran Threatens to Block Tankers in Response to Oil Import Embargo Alex Jones' Infowars: There's a war on for your mind!.
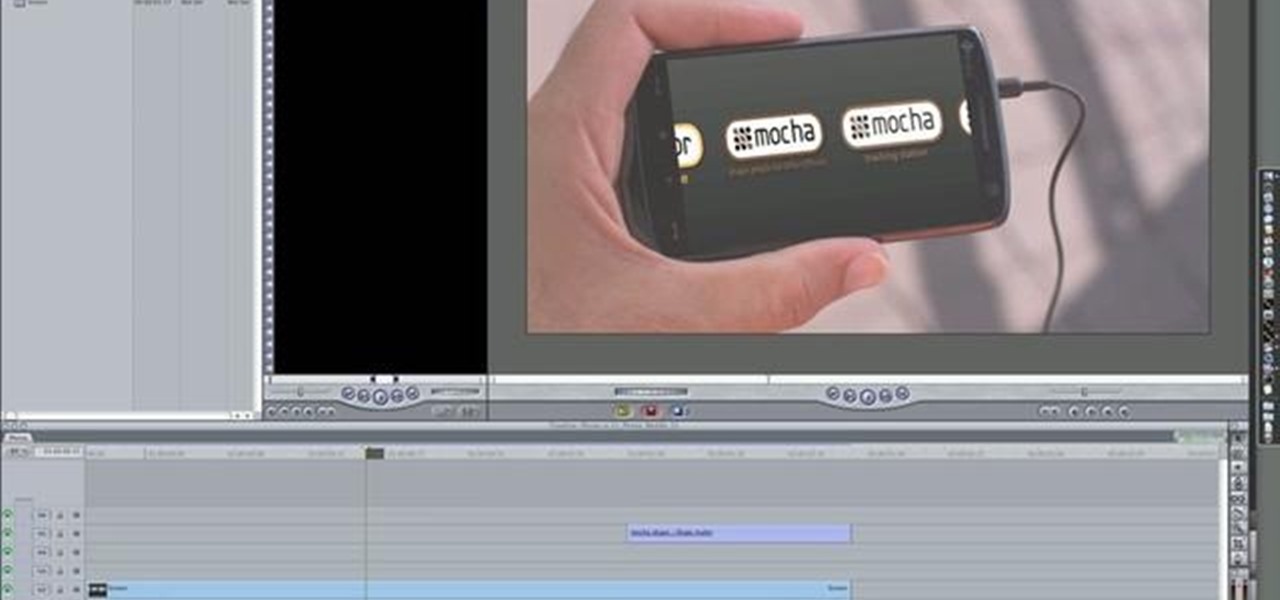
The first part of this tutorial will show you how to track and roto with foreground obstructions using Final Cut Pro. Then, you're shown how you can use Mocha Shape to import matte data into your video for a higher quality picture.
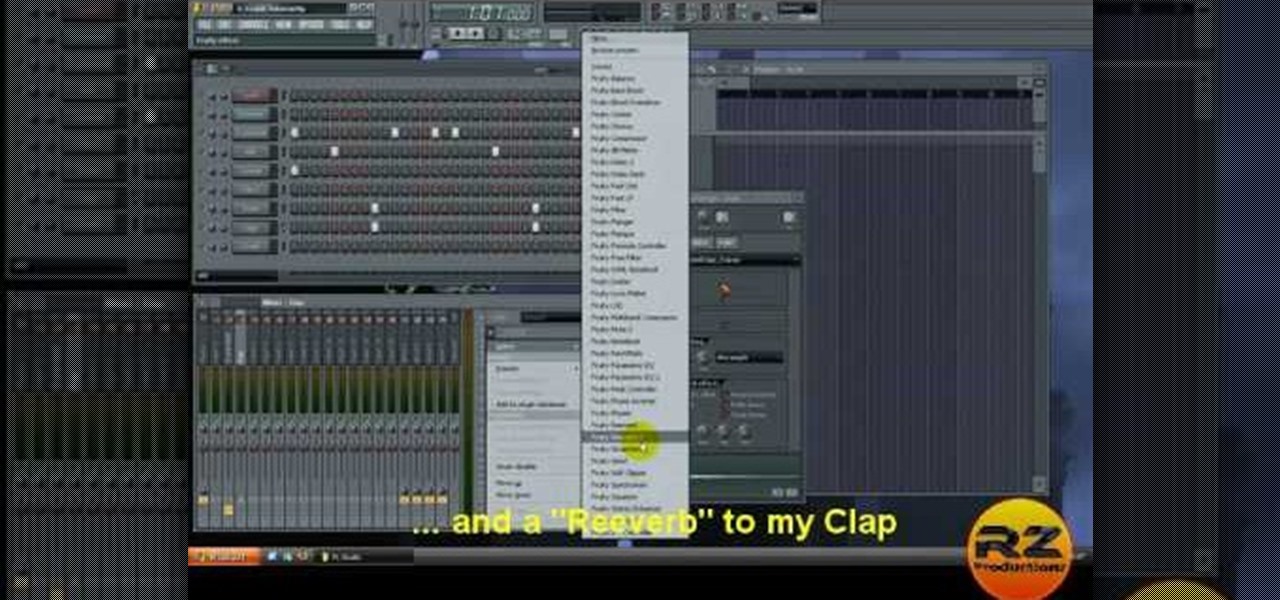
In this tutorial, we learn how to make a simple crunk beat in FL Studio. First, go to Sound Station and find the plug-ins. Now, you have to make a nice beat. Use the different sounds in Fruity Loops or whatever else you have to import in and then tweak them. Use different instruments on different parts of the song to make a beat that is all your own. Add in a bass boost to the crunk kick and add reverb to the clap to make it sound more like hip-hop. Go through and add as many different things...
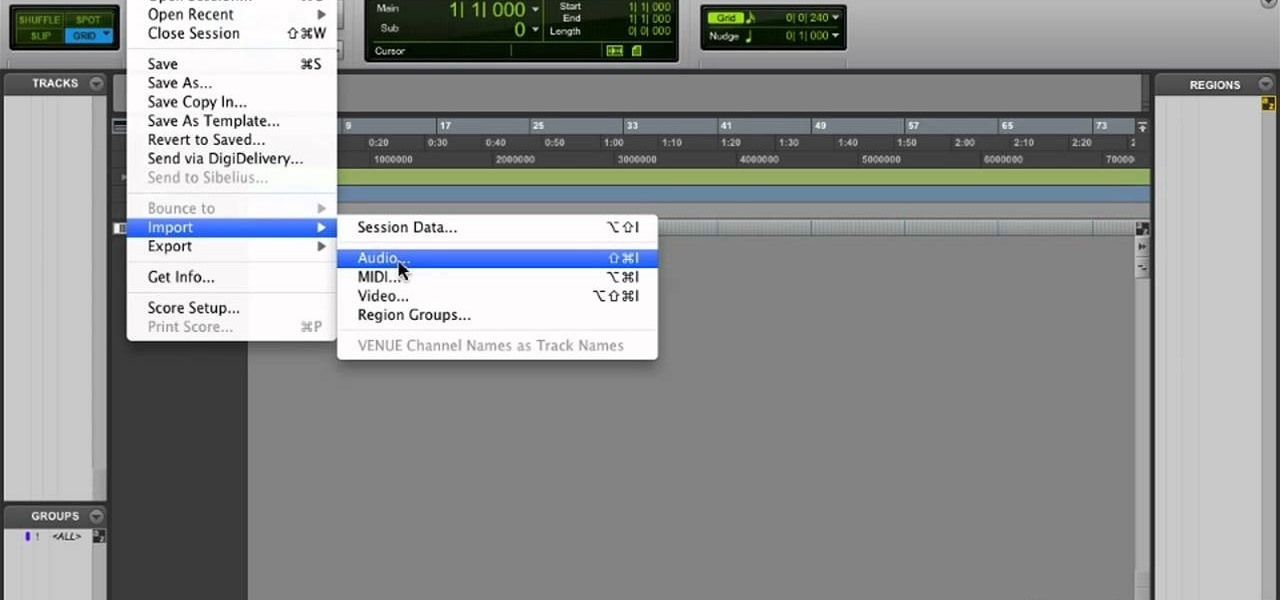
Learn how to transfer audio files from a compact disc or DVD into Pro Tools 9 for mixing or mastering. This free video software tutorial from Lynda presents a complete and thorough overview of the process. Whether you're new to Pro Tools or just new to Pro Tools 9, Avid's first native, software-only version of their popular Pro Tools DAW (or digital audio workstation), you're sure to find much of value in this brief video.
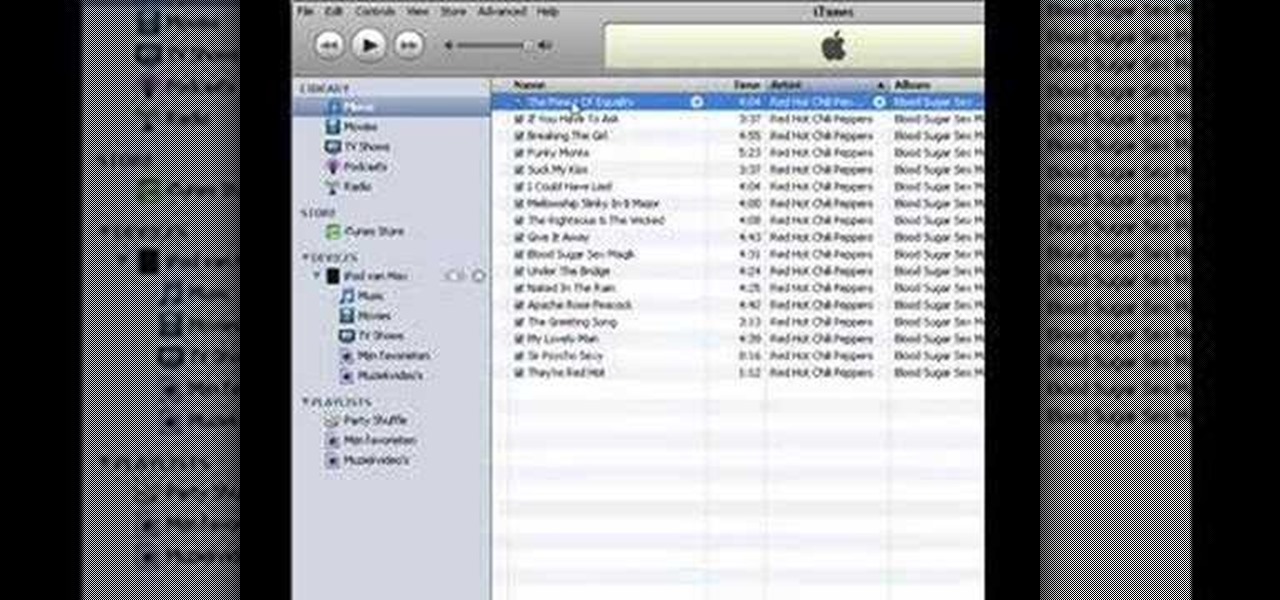
In this tutorial, we learn how to put music on your iPod through iTunes. First, go to iTunes on your computer and then plug your iPod into your computer. Next, you will be able to import any new music into your iTunes account. From here, you can drag the music you want from your computer into the folder that has your iPod on it. When you have finished putting in all your music, you will simply sync your computer and device. When it's finished downloading, you can unplug your iPod from your co...
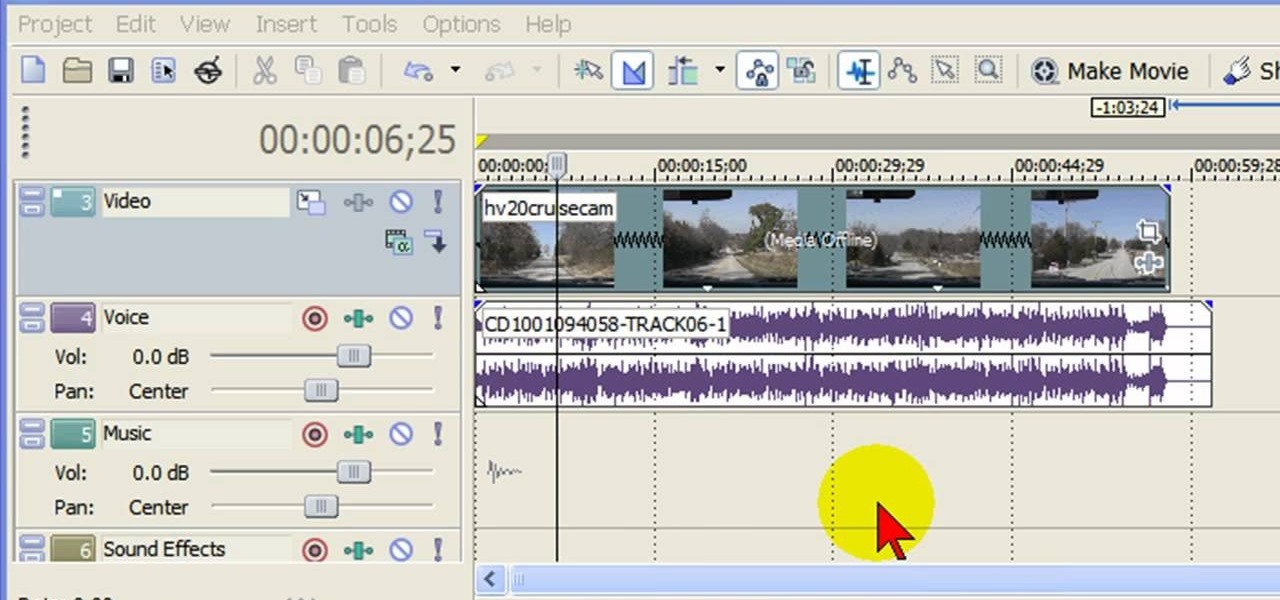
In this tutorial, we learn how to remove audio, record voice over, unlock audio in Vegas. First, load a video clip to the time line. Then, remove the audio by right clicking on the track and going to "group" and "remove from" Once you remove it, you can delete it and then add in new audio or a voice over. Just import media if you have an audio track you want to add into the time line. Drag and place it, just make sure it's not muted and play it. You can also record a voice over for the time l...

In this tutorial, we learn how to sync iPhoto albums with Facebook. First, open up iPhoto on your computer and highlight all of the pictures that you want to import into Facebook. Once you've done this, go to the top of the window and click on "share". Next, click on "share with Facebook" and then choose who you want the pictures viewable to. After this, click on the "publish" button and wait for the program to load the pictures. After this, go to your Facebook account and see the pictures th...
Ever wonder how people make those wonderful and awe-inspiring time-lapse films? Well, this video shows you the bare basics of creating a time-lapsed movie. First, you'll need to set your digital camera on a tripod and set it to take stills at your desired intervals. Then, you'll need to import all of these photographs into Aperture or iPhoto on your Mac computer. Then it comes times to turning those pics into a time-lapse film. Watch and see how!
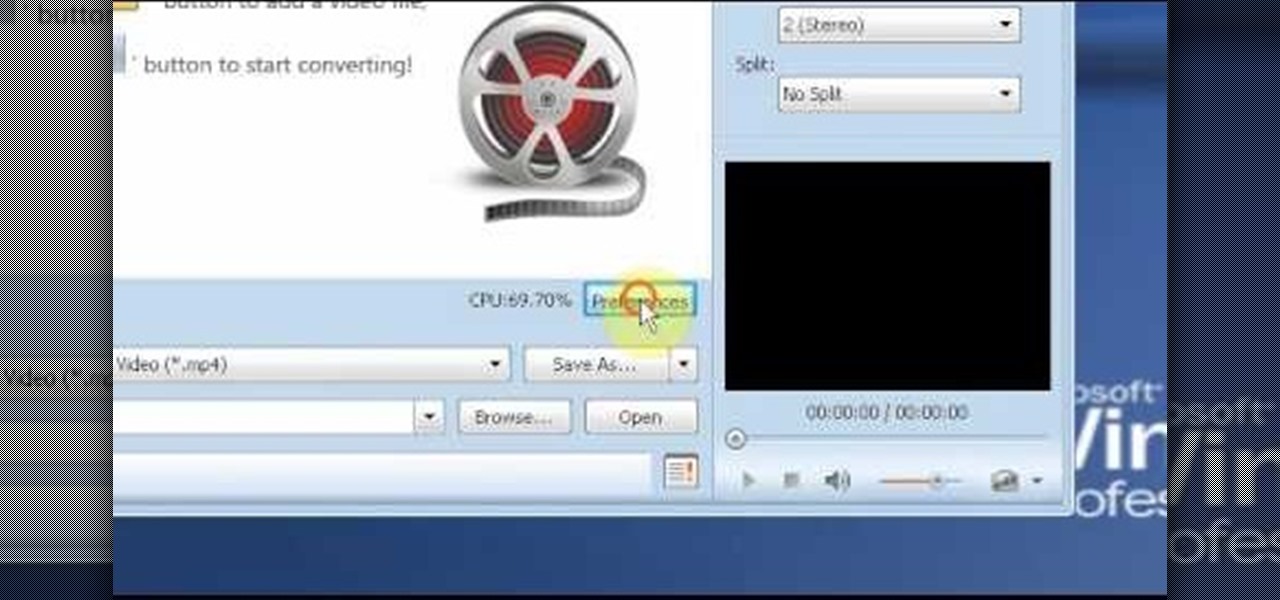
In this video tutorial, viewers learn how to use the MP4 video converter software, ImTOO. Begin by downloading the program from the link provided in the video. Once downloaded and installed, open the program. On the right side under Profile Settings, users are able to select name, video size, video quality, audio quality, channel and split of the video file. Then click on the Profile combo box and select an output format for the video. Now click Add Files to import a video into the software. ...

In this tutorial, we learn how to tune your car in Photoshop. First, open up the image of your car and then add in a picture of different wheels. Then, place these wheels over the existing ones on the car and blend them in, then change the color as you prefer. Do this for the wheels that you are able to see on the image. After this, lower the car and add in a bumper to the front of the car, importing images in from various sources. Continue to add in parts to the vehicle, using shading and bl...
In this video tutorial, viewers learn how to download music from Limewire to iTunes to be able to sync it into their iPod device. This task is very easy, fast and simple to do. Begin by opening the Limewire and iTunes program. Then download the desired song(s). Now go to the Limewire library by clicking on the Library tab. Then simply highlight the song(s) and drag it into the iTunes library. This video will benefit those viewers who have an iPod device, and would like to learn how to get fre...
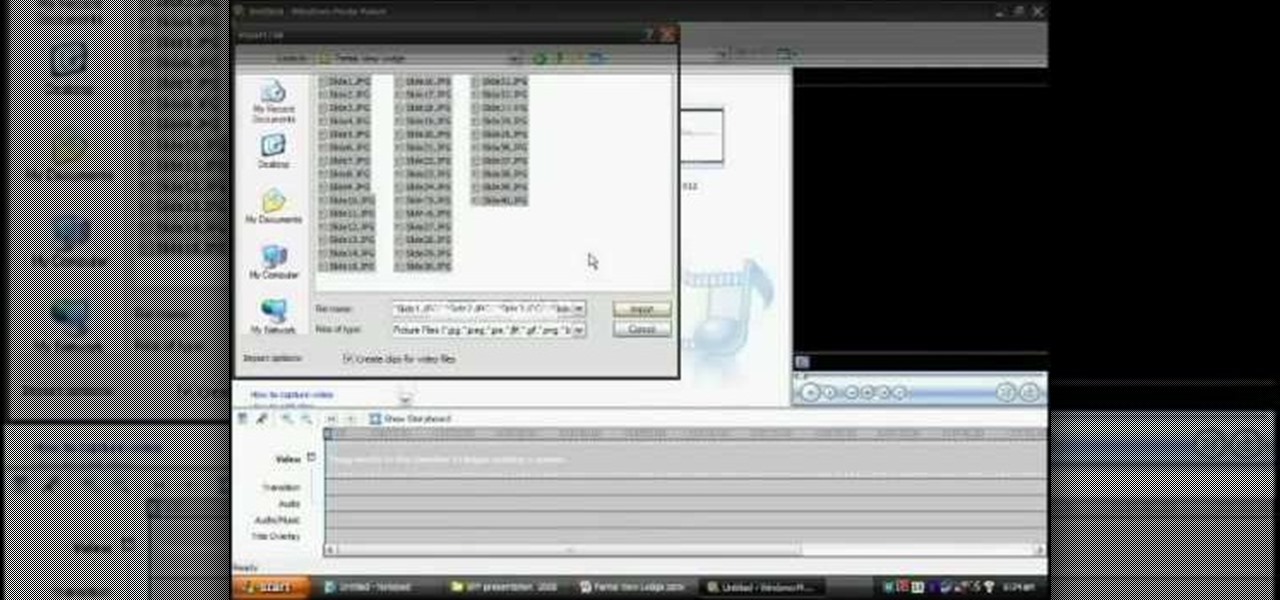
In this tutorial, we learn how to make a movie in Windows Movie Maker from PowerPoint. First, open up PowerPoint, then open your finished project and save it as a JPEG, saving all the different slides. Now, open up Windows Movie Maker and import all of your slides from where you saved them. Next, drag them into the time line and save it as a movie file. This will take a few seconds to finish saving, then click finish. When this is done, you will be able to play your slides as a movie and you ...
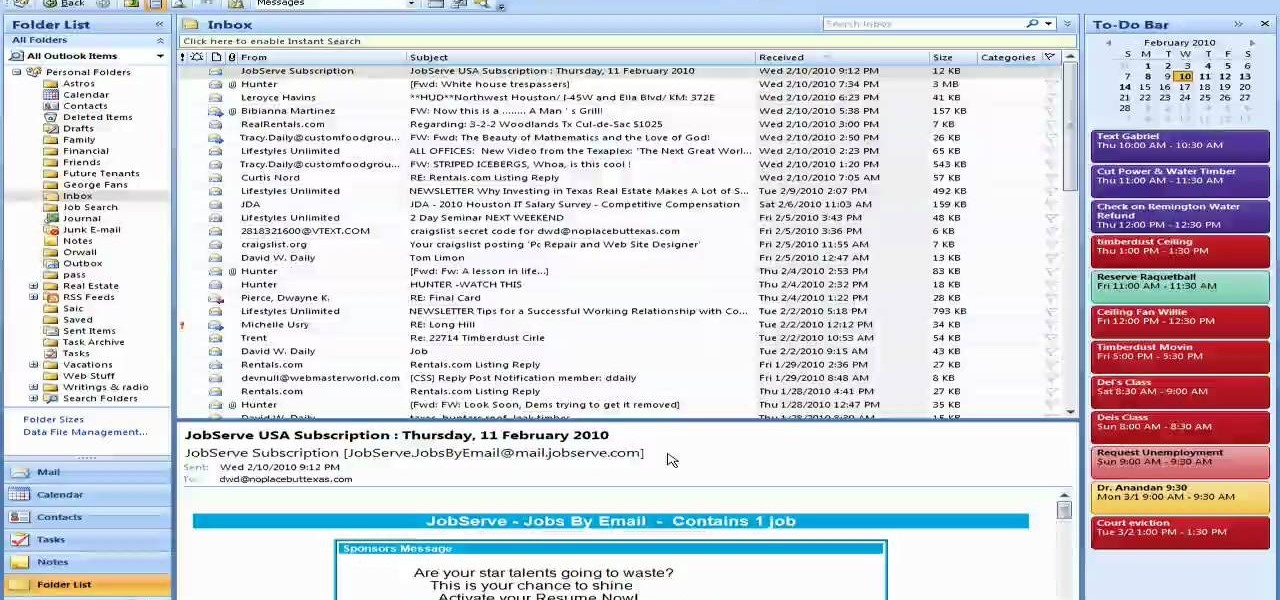
In this video, we learn how to save & backup your Outlook email to an archive file. First, go into Outlook and then open "file", "import/export", and "export to a file". Click next, then click "personal folder file" and click next. Now you will see your inbox, highlight "personal folders", then click next and browse to select a location where you want to save them, and click next. Next you will be asked to make a name for your folder and make a password if you want to, then click "ok". The fi...
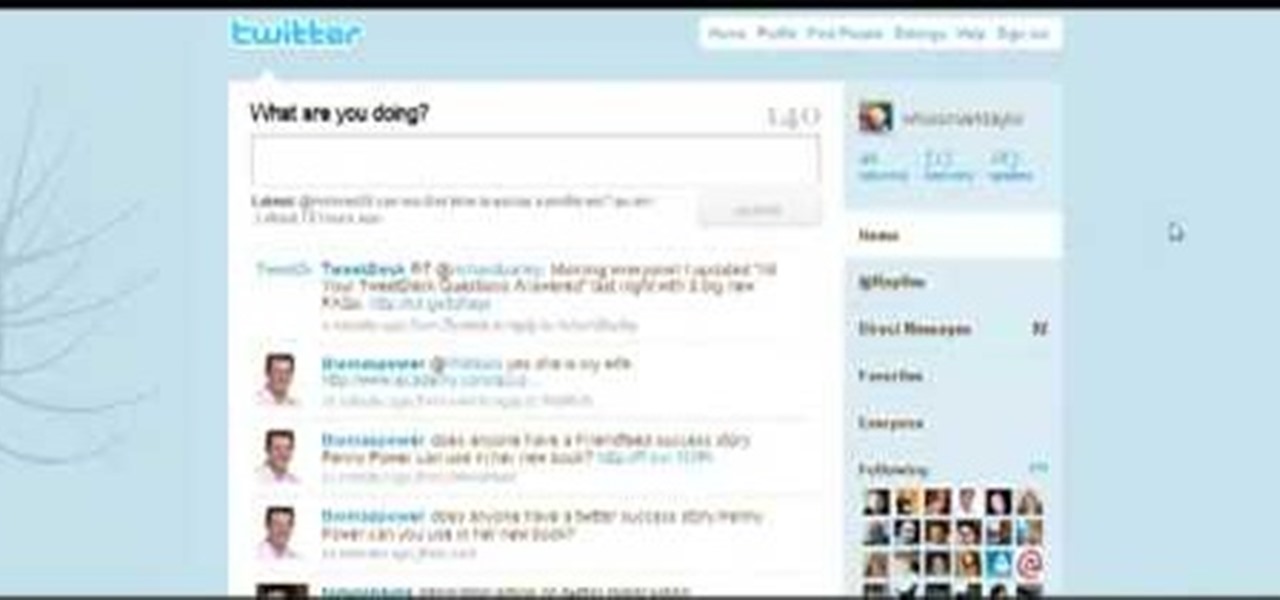
In this tutorial, we learn how to establish an account on Twitter. First, log onto Twitter. After you get onto the website, click on the sign up button, then enter your screen name and other personal information in. When you are finished signing up, you will be able to change your settings and import friends from your e-mail addresses. Under your settings, you will be able to change the background and colors on your page, as well as your icon picture. Next, start to follow people on Twitter, ...

In this tutorial, you'll learn how to take text from a Blender .3ds file, import it into Photoshop and saving as .PSD, and then bring it into After Effects for animation. Whether you're new to Adobe's popular motion graphics and compositing software or a seasoned video professional just looking to better acquaint yourself with the program and its various features and filters, you're sure to be well served by this video tutorial. For more information, including detailed, step-by-step instructi...

In this video tutorial, viewers learn how to create a auto-tune, T-Pain effect in the program, Garage Band. This task is easy, fast and simple to do. Begin by opening the program and import the vocal audio. In the time-line under Advanced, increase the Enhance Tuning to 100 and check Limit to Key. Then open the Track Info Pane and go to Details. Now set the Reverb to 30% and Echo to 17%. This video will benefit those viewers who are interested in music editing, and would like to learn how to ...
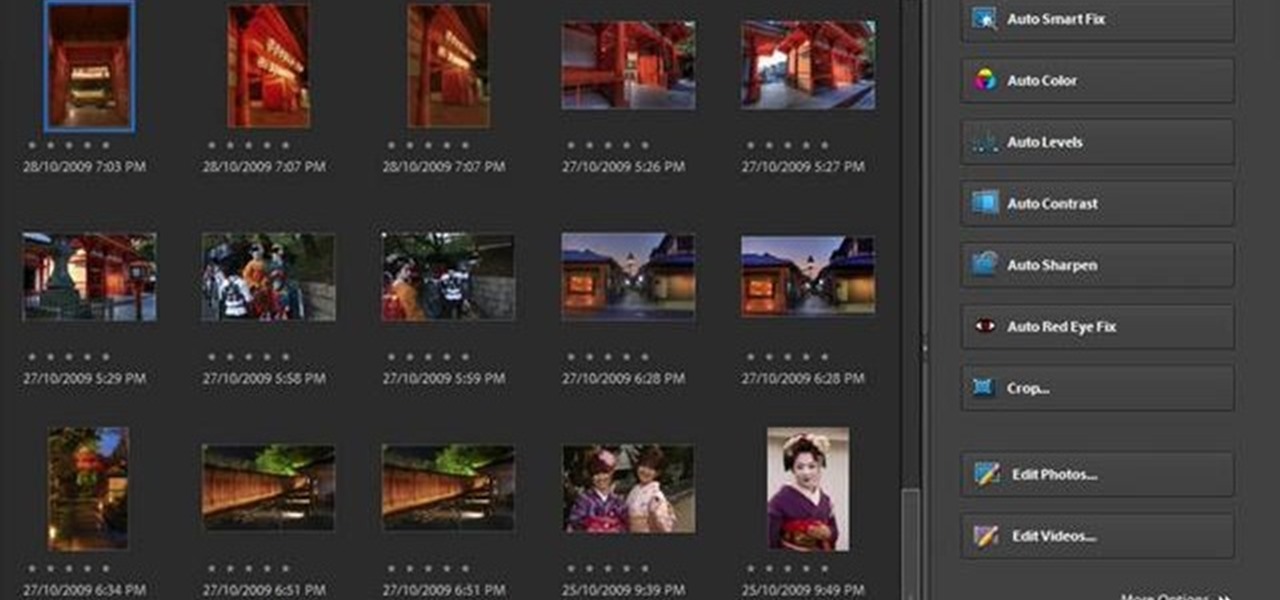
One of the most frustrating things about learning Adobe Photoshop is that there are multiple ways to do the same thing. Here are the six most obvious ways to open a photo in Photoshop Elements, CS4 or CS5. Whether you're new to Adobe's popular raster graphics editing software or a seasoned professional just looking to better acquaint yourself with the program and its various features and filters, you're sure to be well served by this video tutorial. For more information, including detailed, s...
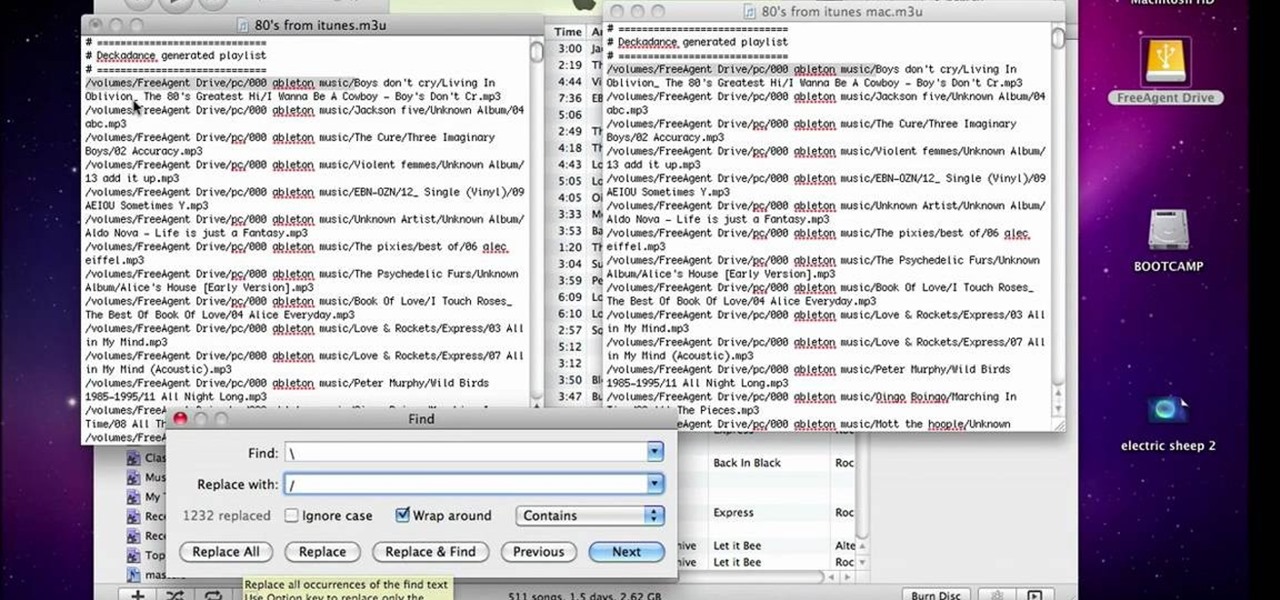
This video will show people who are switching from a PC to a Mac how to move your iTunes playlists to your new computer. From your PC, you should go to the File tab of iTunes and go to your library, choosing "Export Playlist". Next, go to your Mac and select the "Import Playlist" option on the drop down menu. On your Mac, open the file for the PC playlist and use the "Find" option from the Edit menu in order to replace the parts of the address which are different from that of the format which...
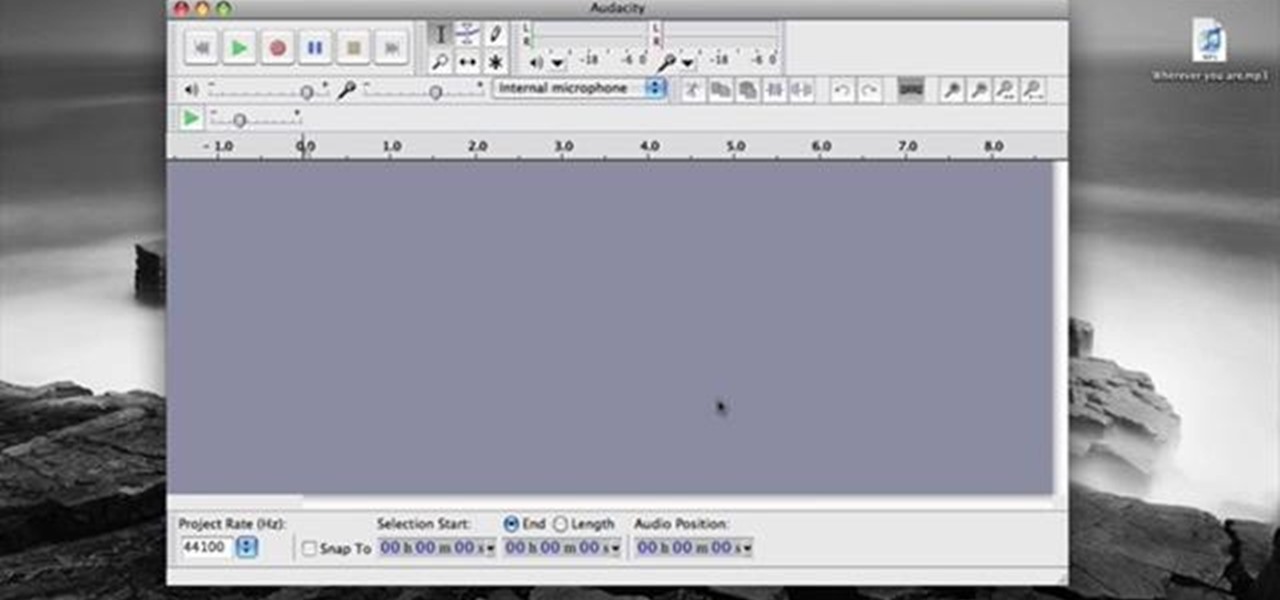
Want to convert an MP3 to a WAV? With Audacity, it's easy! And this clip will show you just how it's done. Whether you're new to computer recording, new to the Audacity DAW (digital audio workstation) or just looking to pick up a few new tricks, you're sure to benefit from this video software tutorial. For more information, including detailed, step-by-step instructions, watch this free video Audacity lesson.
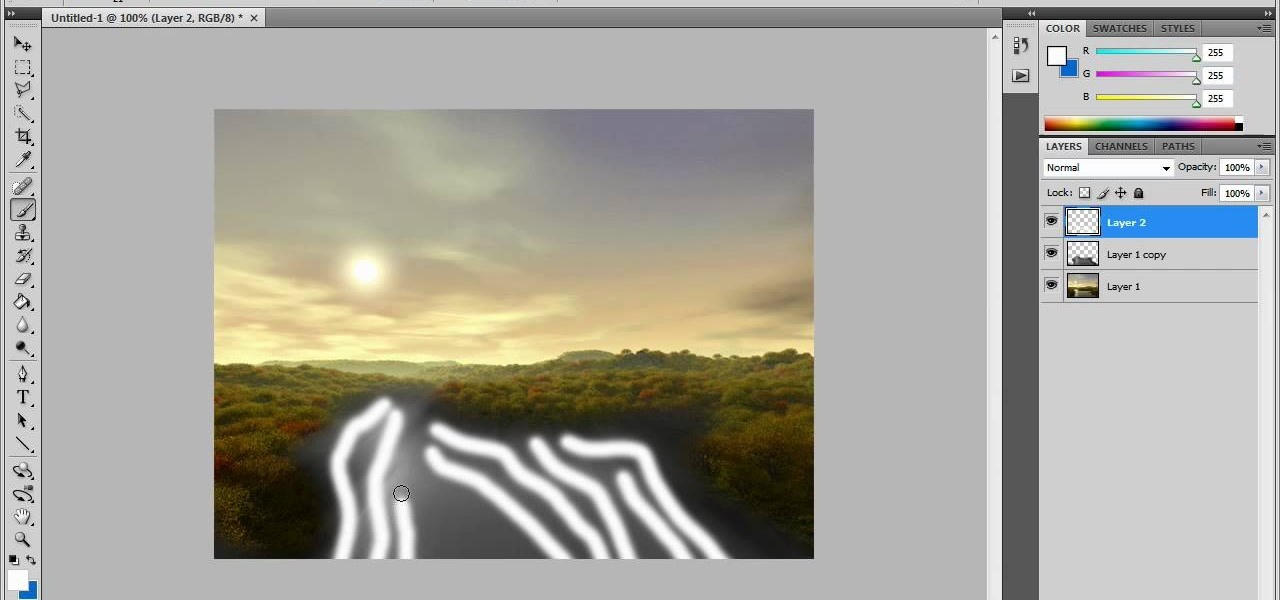
In this video tutorial, viewers learn how to create fog using Adobe Photoshop. Begin by importing the image into the program and duplicate the image. Now go to Filter, select Blur and select Radial Blur. Set the amount to 100, Blur Method to Zoom and Quality to Best. Now select the rectangular marking tool and select the sky. Then open the Hue/Saturation menu and set the Saturation to -100. Use the eraser tool to remove the gray from the edges. Now use the paint tool and paint white streaks o...
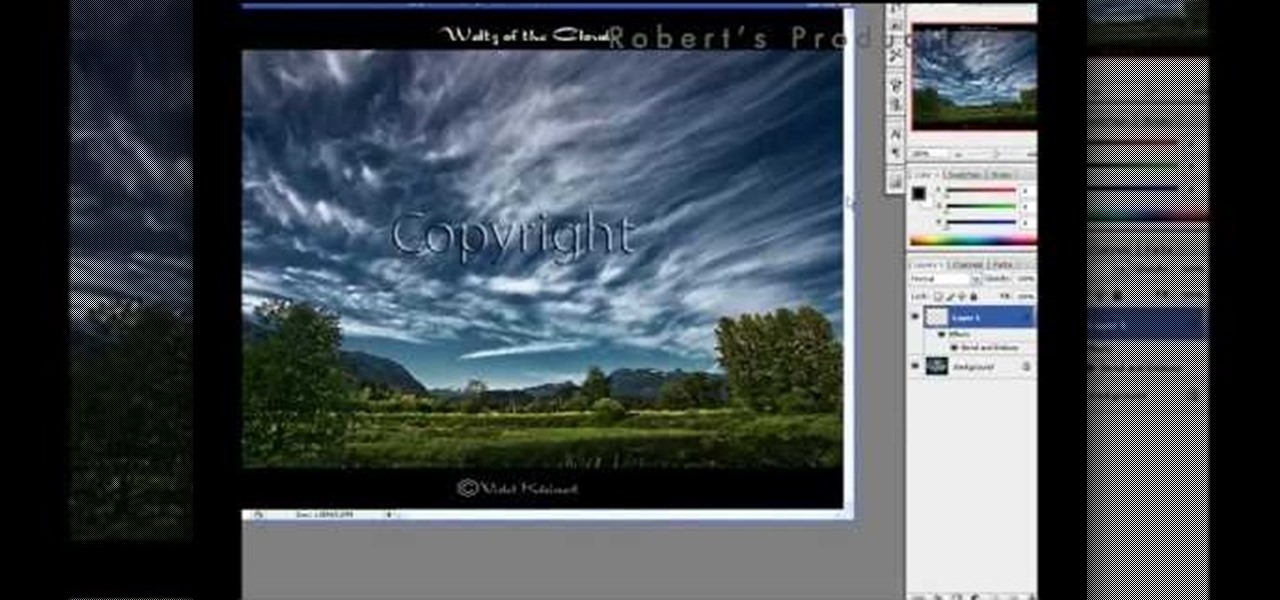
In this video tutorial, viewers learn how to add a watermark to an image using Adobe Photoshop. Begin by importing the image into the program. Select the Horizontal Type Mask Tool under the Text tool. Then select the font color, type and size. Now type in the text and click out of it when finished. Then press the Control and J key to open the text into a layer. Click on the layer and select the style. Now finish by editing and customizing the text. This video will benefit those viewers who ha...
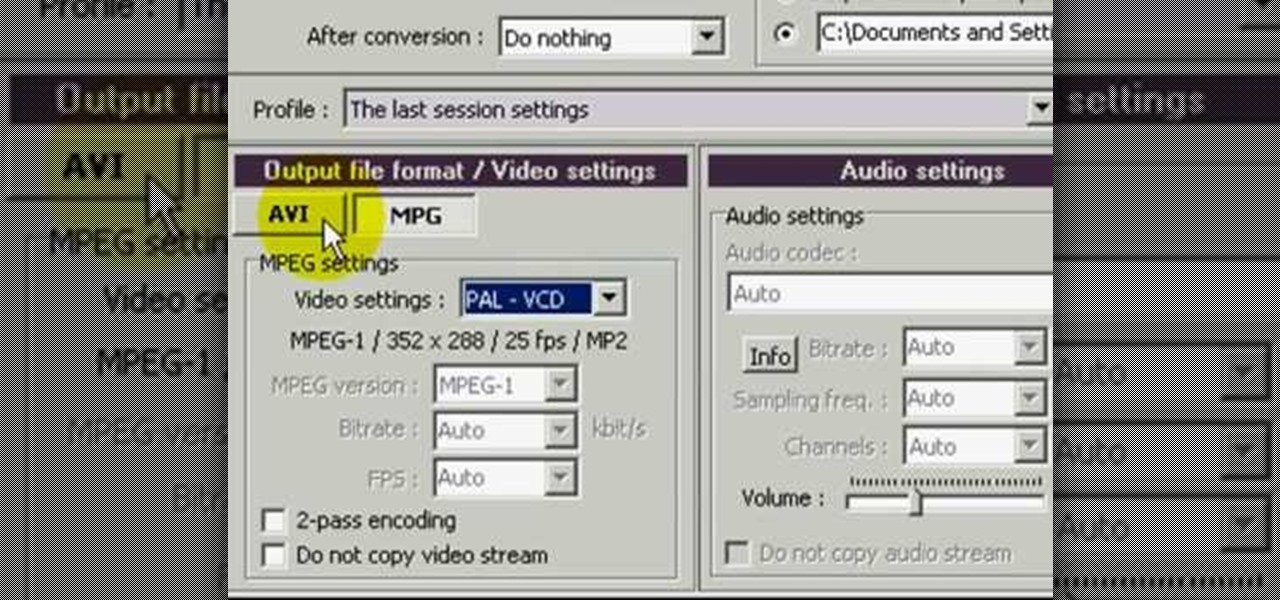
In this how to video, you will learn how to convert a flash video to an AVI file. First, download the Pazera Converter program. Open the program. At the left hand corner, click add files and find your flv file. Next, select and open it. Once it is imported, go to output directory and choose which folder you want the new file to be placed. Go to output file format and click AVI. You can also choose MPG instead if you want. Now click the convert button at the top. You will see a progress bar. O...
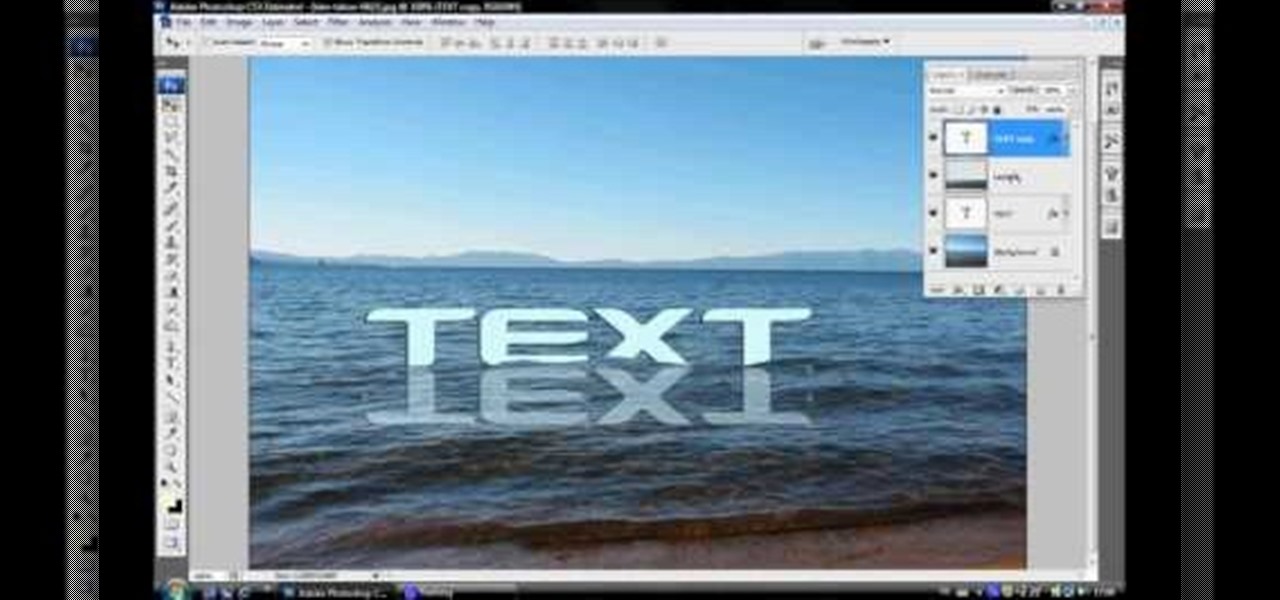
In this video tutorial, viewers learn how to make floating text on water. Begin by importing the water image into the program. Begin by selecting the polygonal lasso tool in the toolbox and select the top of the water. Once you have made the selection, right-click on it and select Layer via Copy. Then select the text tool and type in your text. Create a contour to make the 3D and give the text a light color. Then place Layer 1 over the ext layer and use the selection tool to place it behind t...
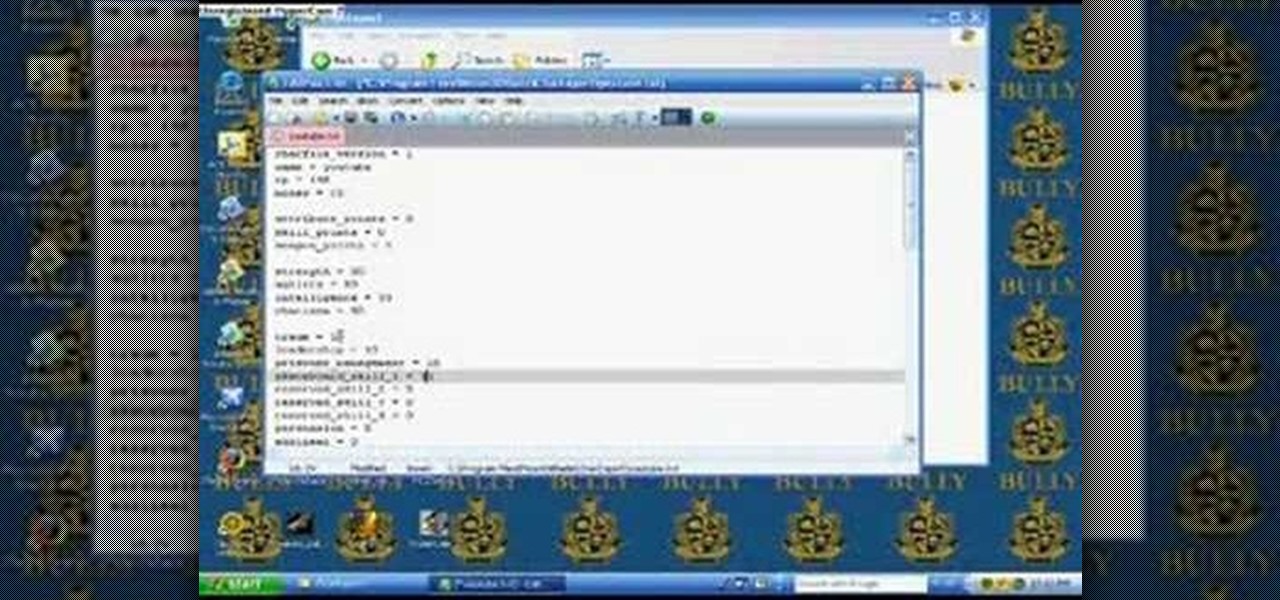
This video shows you how to change your skill levels in mount and blade. Go to the character menu and click on the statistics button, then click the export button. Exit Mount and Blade. Go to My computer, your local disk drive (usually C), program files, mount & blade, CharExport. In CharExport you should see a file with your character's name, open the file and you will see every stat that your character has. Change them however you want, save the file and close it. Restart Mount and Blade, l...
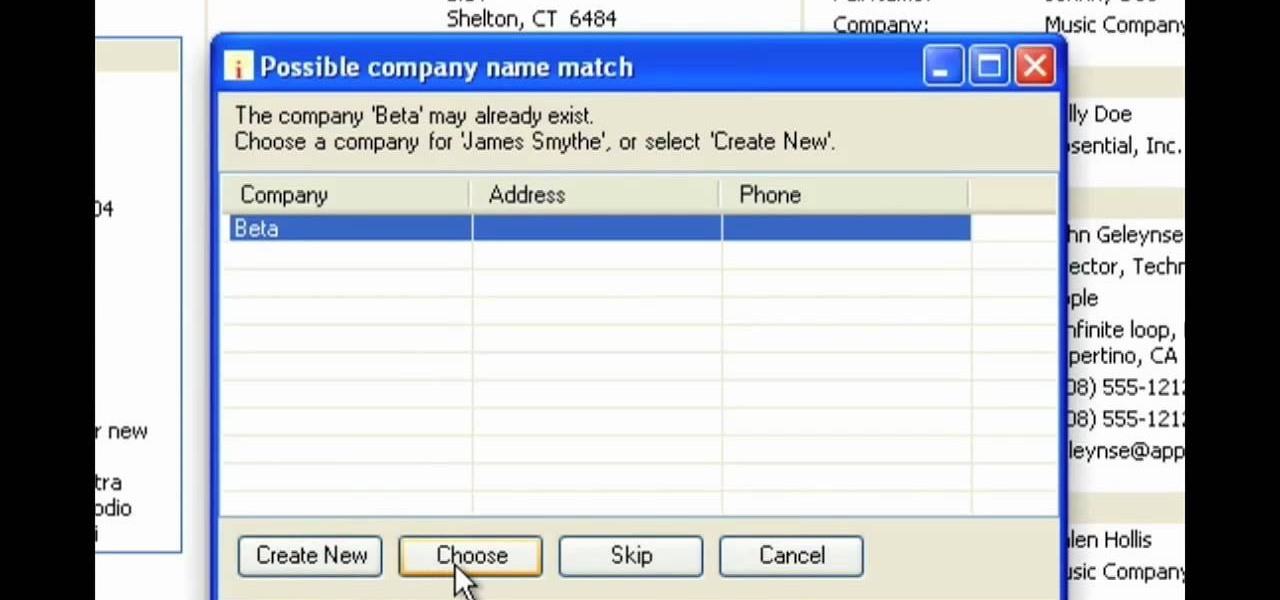
In this Software video tutorial you will learn how to version contacts between MS Outlook and Cosential. Download and install a simple application called ‘ethnosinstaller’. On the first run, Cosential will import all your contacts from Outlook. On the first run, login with your account details and then you can either create a new folder or use an existing folder. You can also download an existing task list or create a new one. Next step is to update your contacts. Click on ‘update’ on...
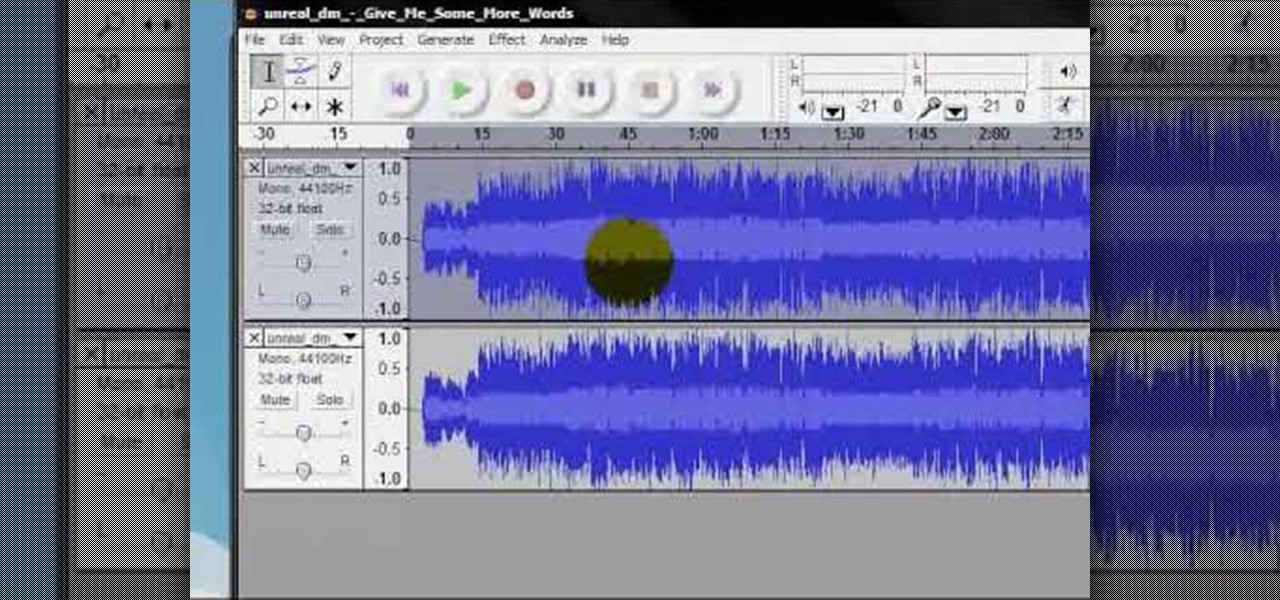
In this video tutorial, viewers learn how to remove the vocals from a song using the program, Audacity. Begin by opening Audacity and import the song into the program. On the left side of the track, click on the downward arrow and select Split Stereo Track.
In this video tutorial, viewers learn how to build a movie from individual clips in iMovie. Using clips in iMovie will easily allow users to create a movie. On the right side of the screen in iMovie, there will be a library of all the clips and images that you have imported. Click on the Clips Viewer to arrange the clips in an order that you would like. Just drag them to the clip viewer. You can change the position by dragging a clip over another. Click on the time line viewer to see how long...

In this how-to video, you will learn how to make a .gif animation from video footage. First, open Photoshop, click file and select import video frames to layers. Next, select the video you want to use and open it. Once this is done, you will see the amount of frames in the videos as layers in the video. Go to window and animation to open a new display for the animation. If you want to shrink the .gif image size, go to edit and image. Change the size to your liking. Now, just go to file and se...
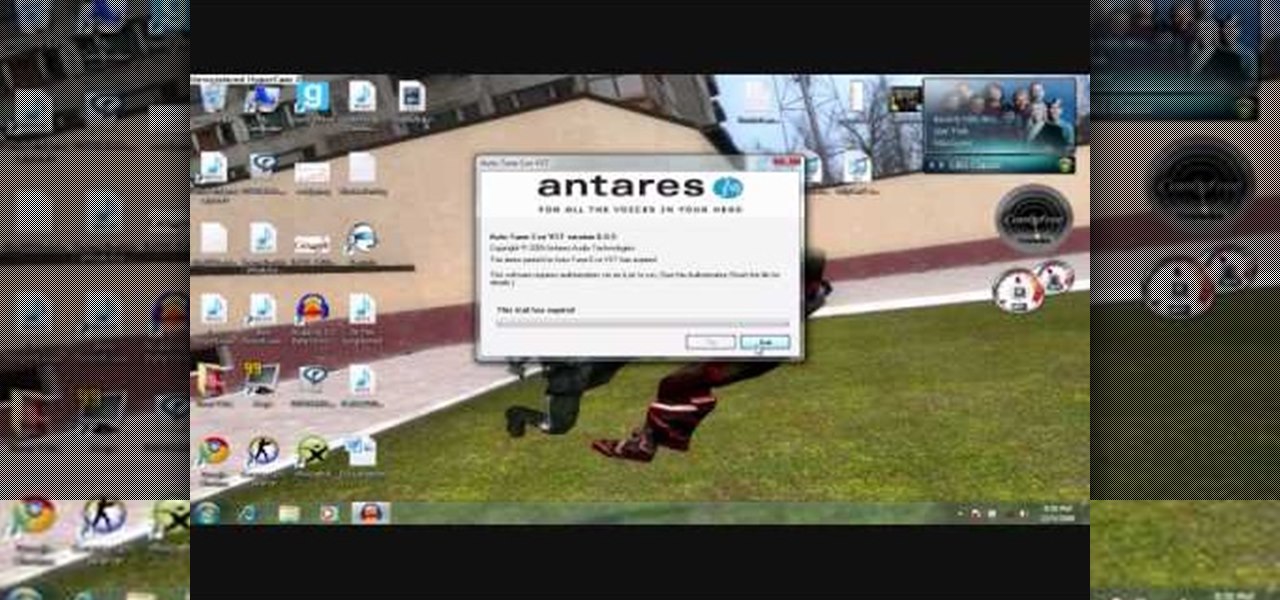
To get autotune on Audacity, you will need to have the 1.3.10 beta version from Audacity's website. Verify that you have autotune or G-snap in the plug-ins. You may need to download G-snap from the internet. First, open up Audacity. Then, go to edit and select preferences. Go to effects and click rescan BST effects next time Audacity is started. Then, click the okay button. Close out of Audacity and then reopen it. The program will then import your new files. Your new files will then show up ...
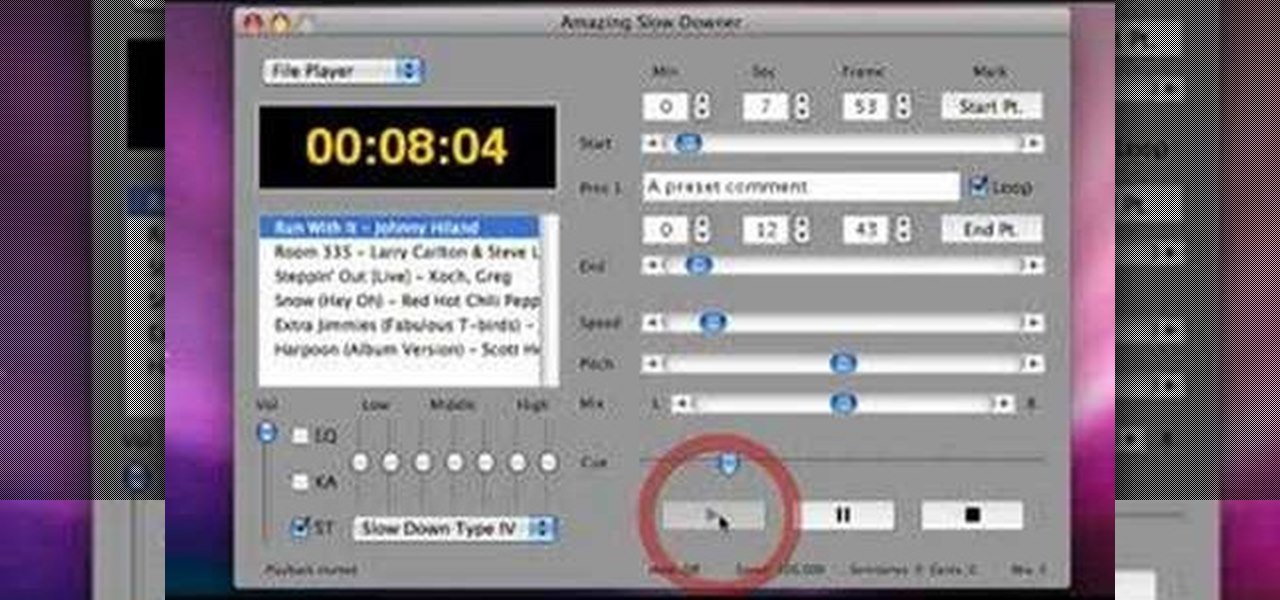
This is a software demo. This Mac software allows you to play a song or music or audio track and reduce its speed without affecting the pitch. Select a guitar riff or chord sequence, loop it, and speed up or slow down that loop so it runs faster or slower, without changing the pitch. The program has some sound editing functionality, like EQ, but is mainly a tool for changing a recording's speed. Import a track from iTunes, or directly from a CD, adjust the speed, apply the optional equalizer ...
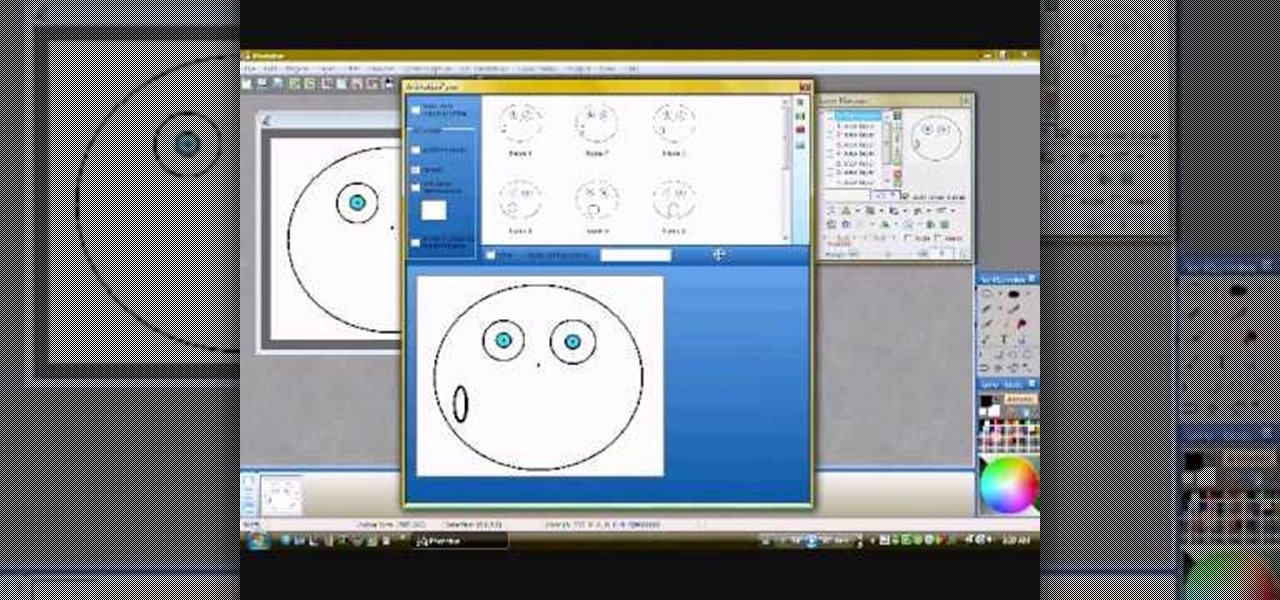
In this video you will learn how to make a GIF animation without Photoshop. This is by using a windows operating system program and its from a website which is provided. Go to your search engine then type in download. Then click on CNET, then type in Photobie and download the latest version. Once you've downloaded and have it open click on layer, then click import images as new layers on current photo panel. Then add your images and have them ordered as you want them. Then click on the top on...
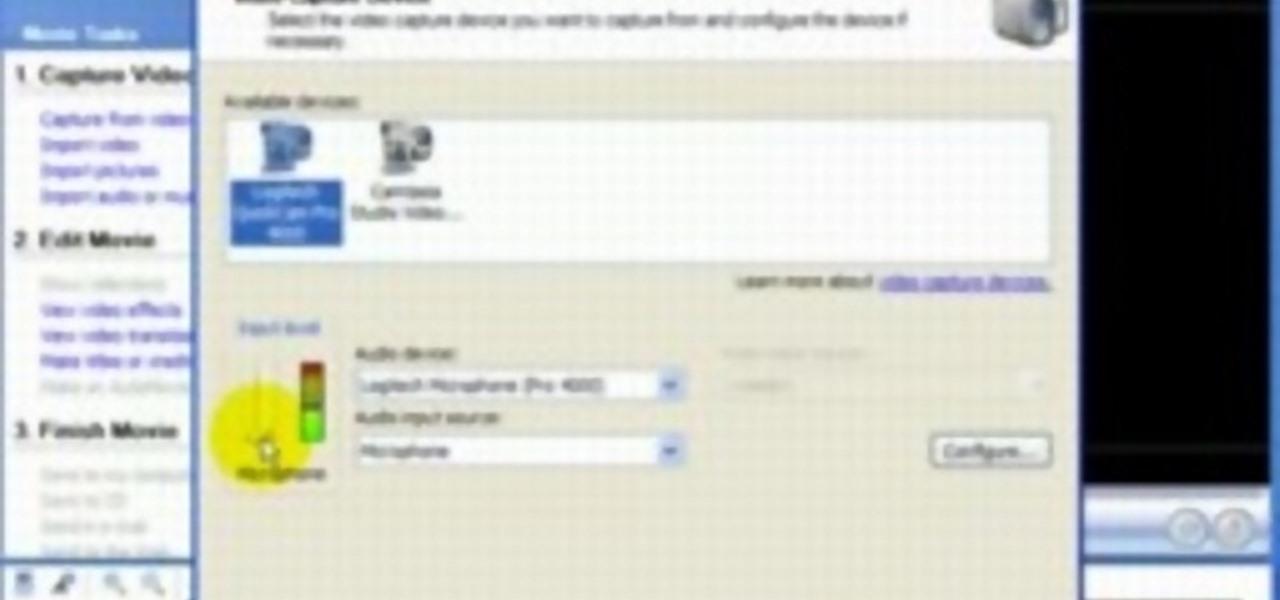
Windows Movie Maker is a basic program that comes with windows, but it actually performs quite well. You can capture video with your webcam and import it into WMM or you can capture it in the program itself. Make sure your webcam is connected and click "Capture from video device". Click next and name the file, click next. Click best quality, then next. The start capture tab will start the recording and stop capture will cease it. Select finish when you are done. The video is then saved to the...
This video tutorial by HelpVids, Dave Andrews shows you how to use the transfer files and settings wizard in Windows XP. This program enables you to transfer your documents and settings from various programs and the 'My Documents' folder between computers if you wanted to do so. First go to the start button select all programs, accessories, system tools and select the files and settings transfer wizard. Click next and check old computer to select the PC your currently on and click next. Wait ...
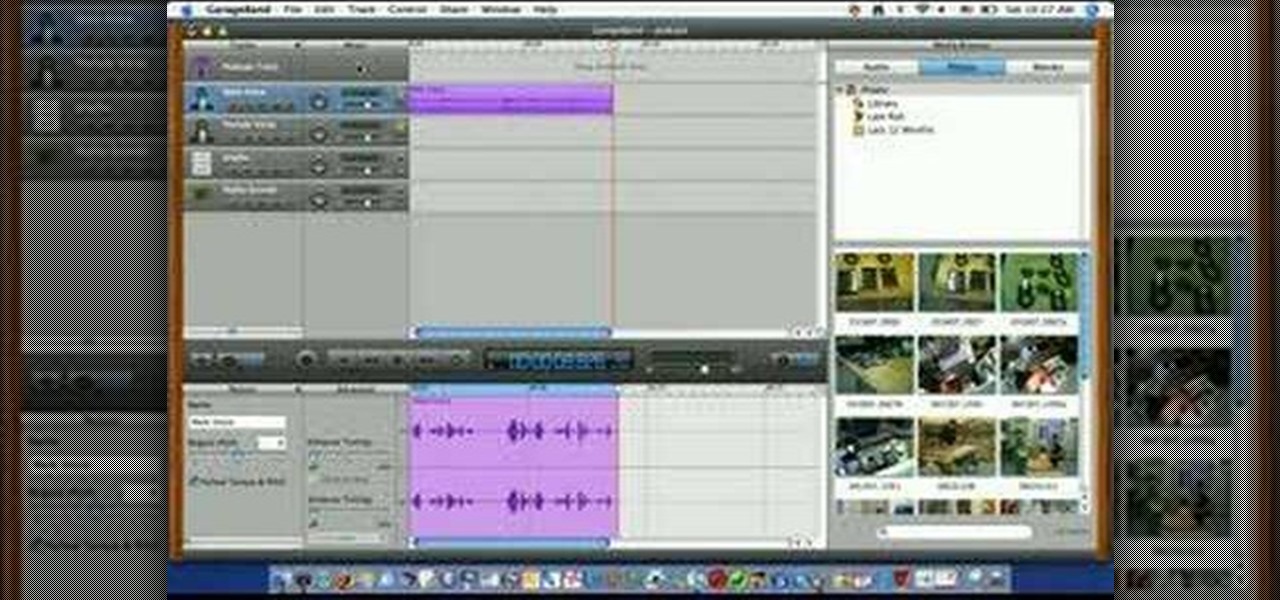
This video is describing how to create a podcast by using the Garage Band program on a Mac computer. Start by going to Garage Band and go to new podcast. Click create. Under the podcast you should choose what gender of voice that you would like. The top track is to add photos from your iPhoto. Select the voice that you would like to record on and click the record button on the bottom of the screen in order to begin. Record your podcast. Then to get your podcast into iTunes go to the share but...
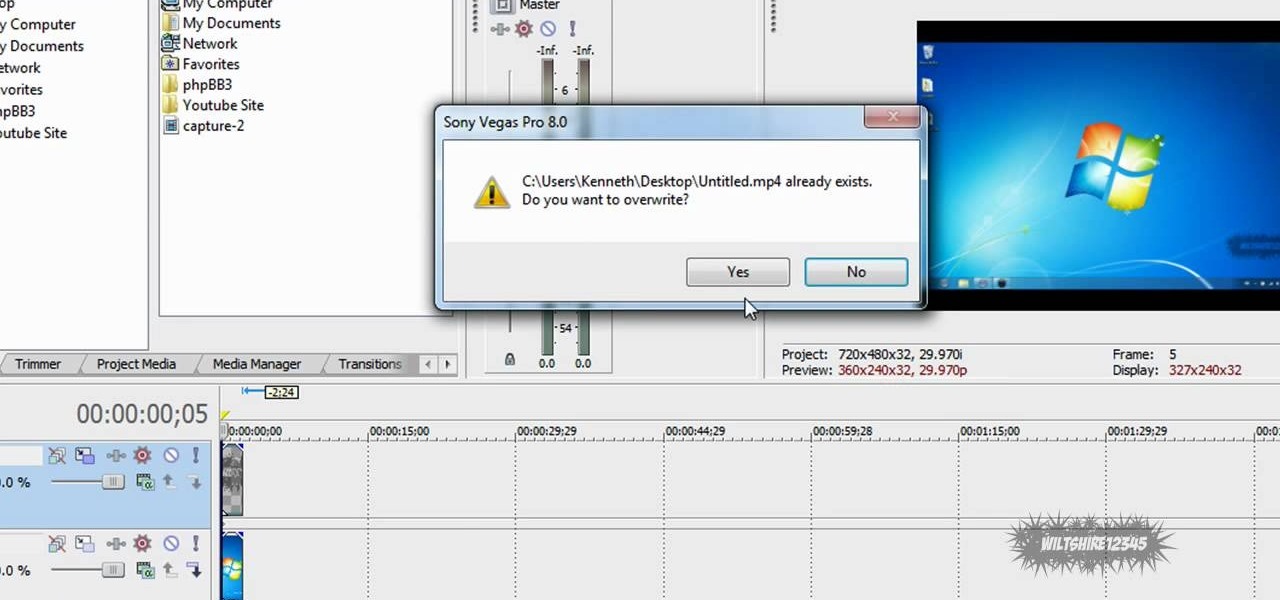
This video in the Software category will show you how to add a watermark to a video in Sony Vegas. This video tutorial is using Sony Vegas Pro8. Import a video into your timeline on which you want to put a watermark. Then go to the video layers on the left bottom, right click and select ‘insert video track’. This will create a blank video layer. Now find a picture that you want to use as a logo and drag and drop it into the blank layer. Edit it to the length of your video. Then go to ‘track m...