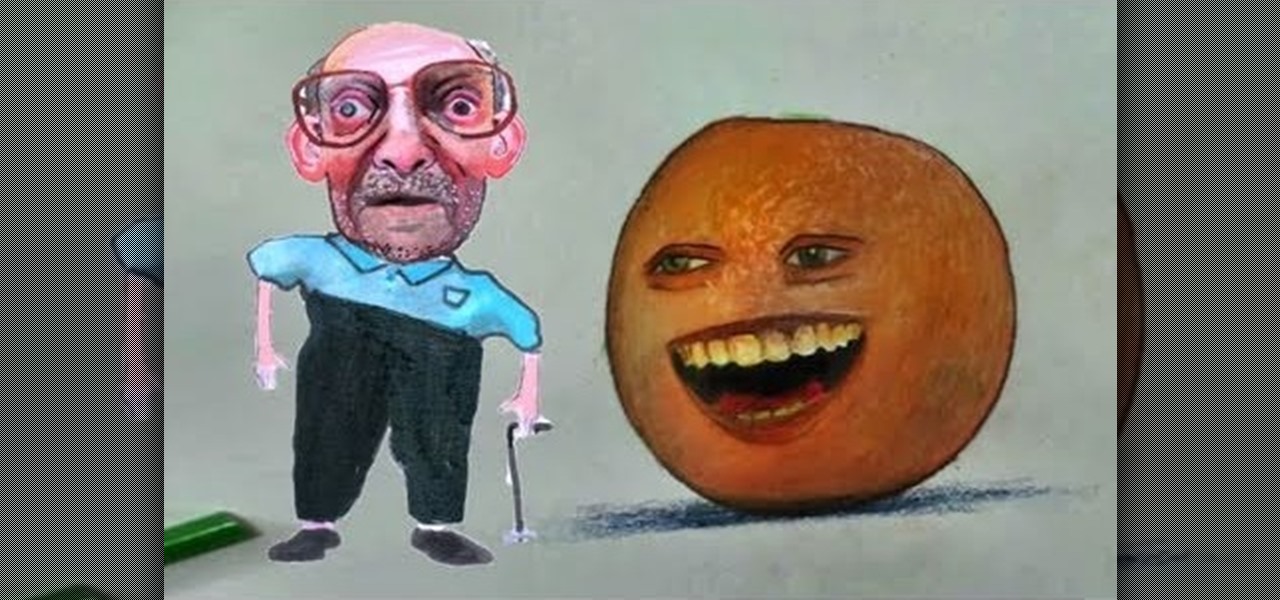
Animation tutorial not included. Be warned, this is a very annoying tutorial. You will learn how to draw the Annoying Orange step by step, starting with a pencil and then adding ink and colored touches near the end of the project.
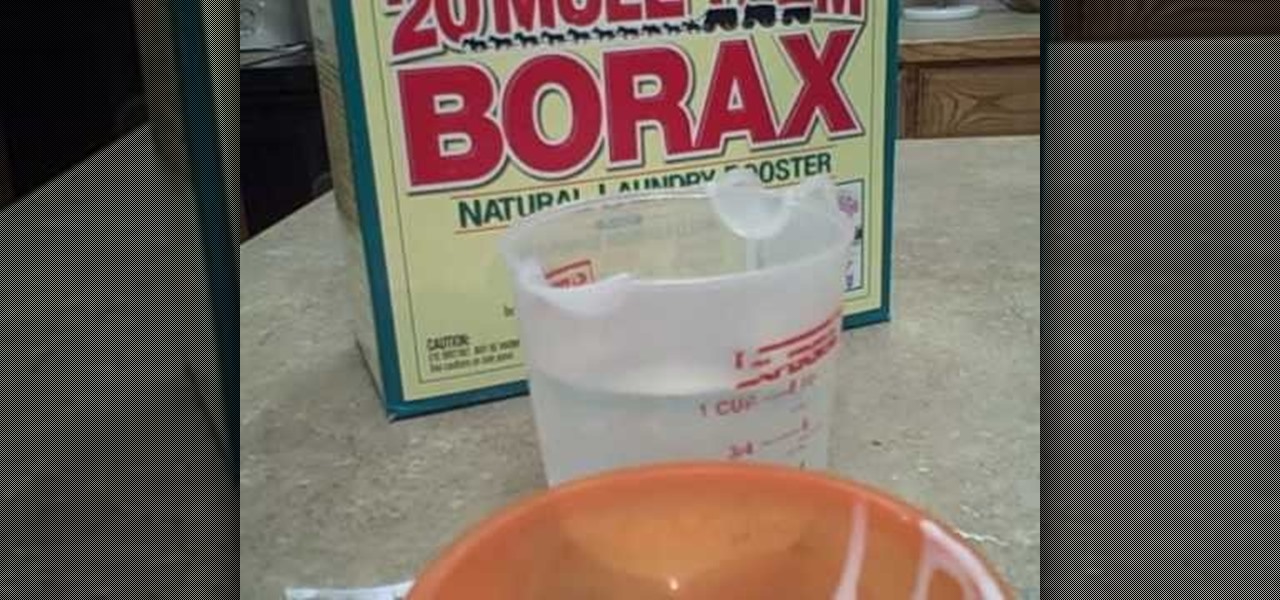
In this tutorial, we learn how to make blue silly putty. To make this, you will just need borax, glue, and food coloring. First, pour a cup of water in a bowl with a couple tablespoons of glue and some borax. When it's all poured in the bowl, mix it together. After this, add in the food coloring until you have the color that you want. Mix the putty together until well combined and then play with it! You can store it in a plastic container to play with later and use for whatever type of craft ...
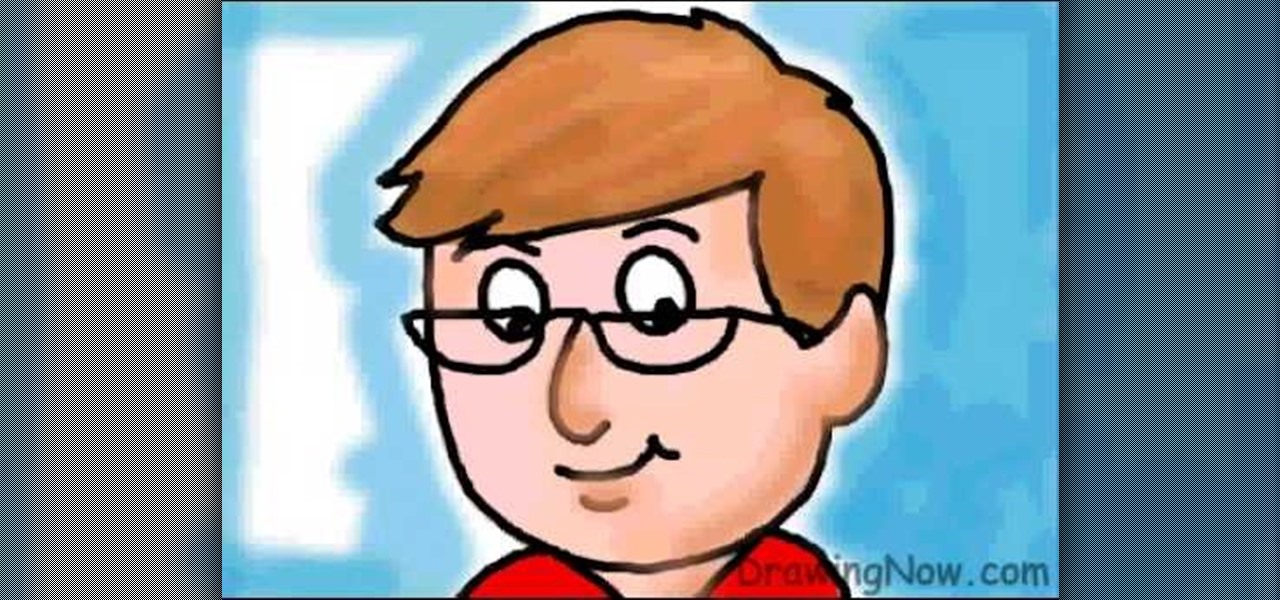
In this tutorial, we learn how to draw a cartoon dad. First, draw the oval for the head and then draw the hair and the facial features on with an outline. After this, color in the skin, hair, and collar of the shirt. Next, add in details for the hair and the face to make it look more realistic. Then, color in the shirt and outline the head and rest of the body with a black thick paintbrush. Draw on glasses to the face underneath the eyes to give the dad an older look. Then add shading and whi...

In this tutorial, we learn how to make an array of paper roses. Use any colors of paper you want with this to add a special touch to them! Now, you will take the pattern or color of your choice and fold it up into a square. after this, fold it into a triangle and then cut the edges of this off. After this, cut the bottom off and open it up, it should be a flower shape with a hole in the center. After this, repeat with several other papers and then cut the flowers up into halves. From here, yo...
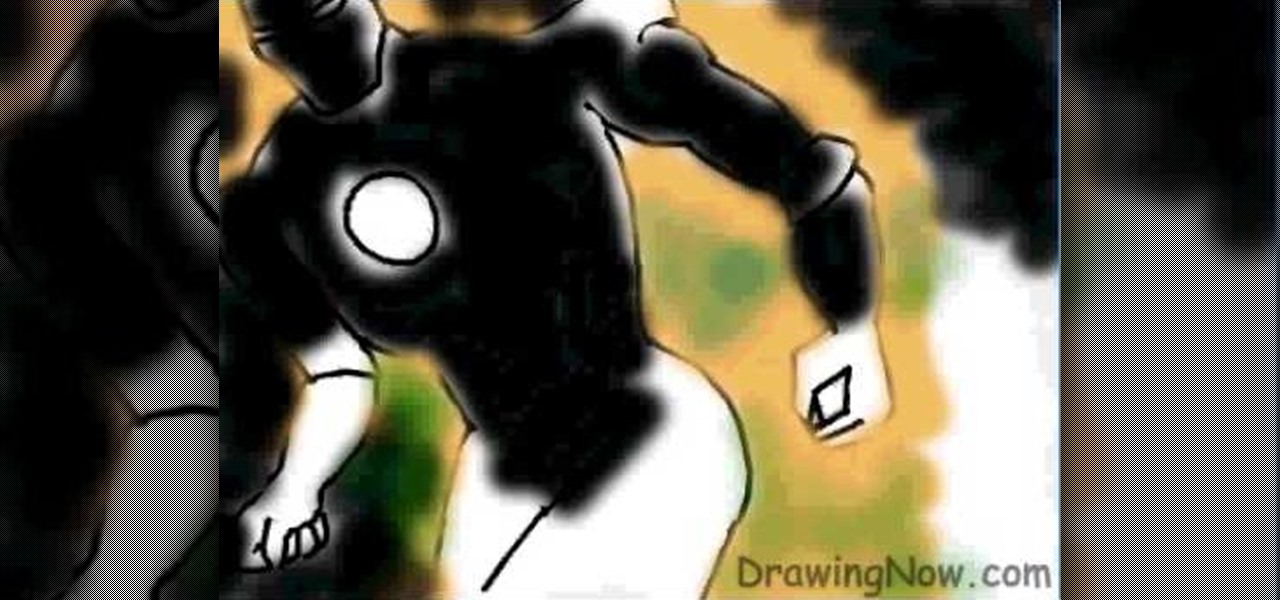
In this tutorial, we learn how to draw Ironman. First, draw the outline of the body, make sure to include the heart in the middle of the body and the squares to make it look like metal on the outside. From here, start to add in the finer details on the body as well as the features on the face. Once finished, erase the background lines and then color in the background of the drawing. After this, color in the character with the appropriate colors and then define the features. This will finish u...
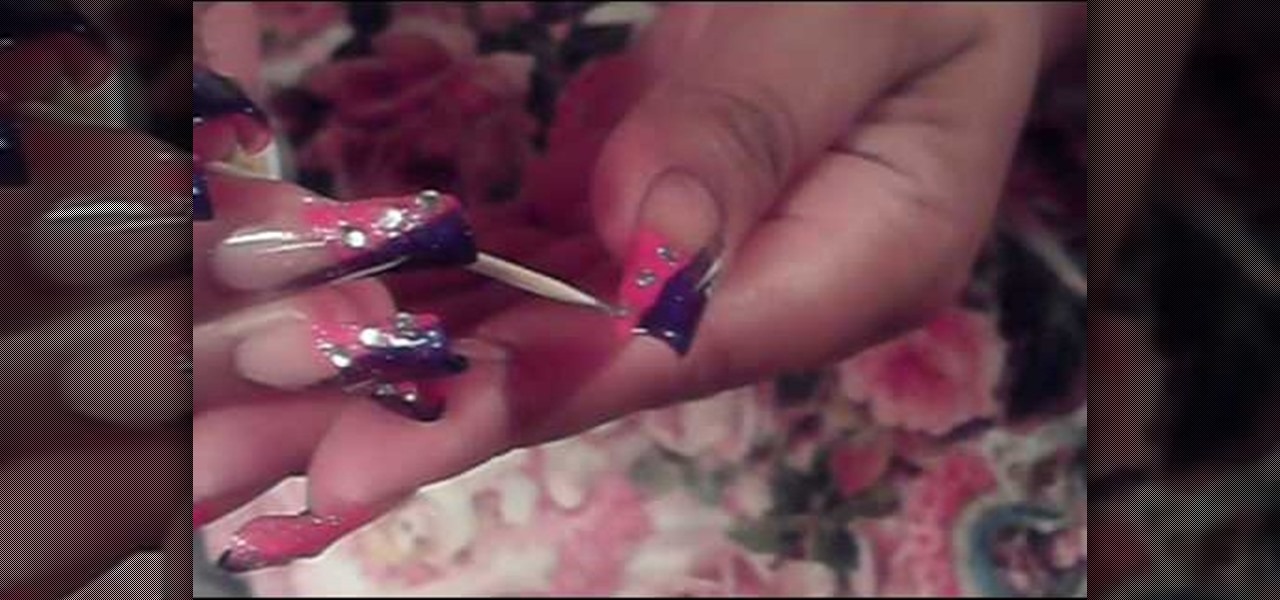
In this video, we learn how to paint your nails in a pink and purple French manicure. Start off by cleaning your nails from any dust, debris, or colors. Then, you will paint on black to one side of your nail with a fine tip brush. After this has dried, paint pink on the other side of the nail, a pink glitter color would be the best. Next, you will wait for this to dry and then paint on a white line in between these two colors. From here, you will apply three small rhinestones with nail glue t...

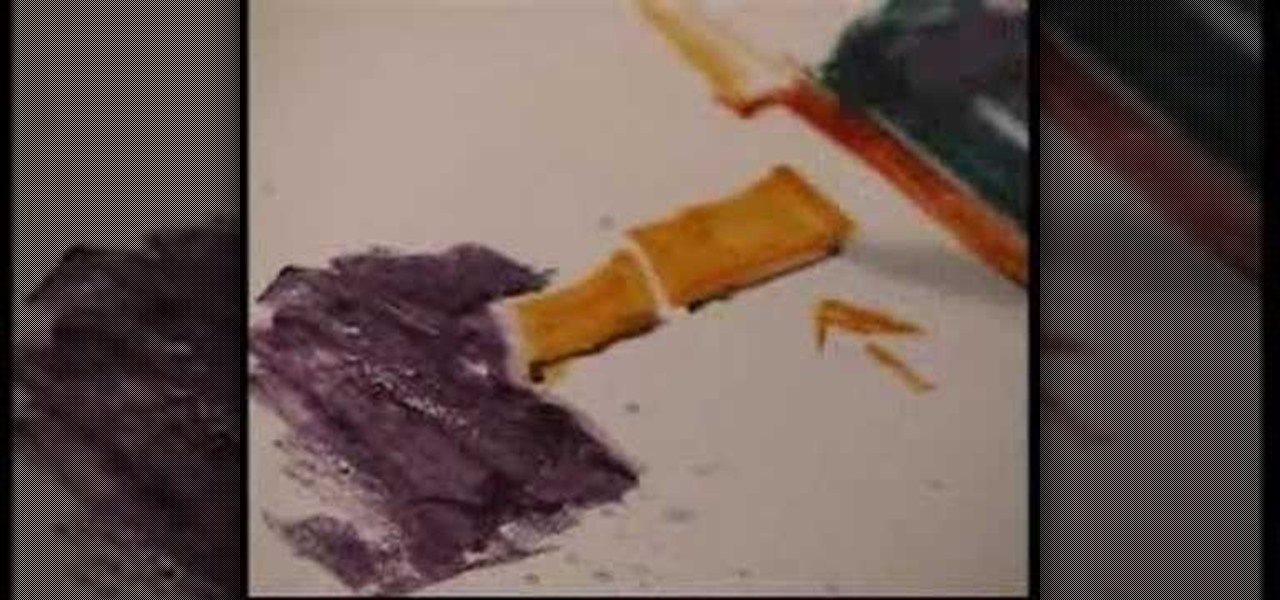
In this video, we learn how to use watercolor pencil techniques. The rendering process is similar to those with graphite. You will use strokes, giving them different lengths and colors to create texture. You can do crosshatching on the paper so everything is darker and you are hiding the white. Burnishing is when you lay down dark colors to the surface of the paper and work more colors in, the white will work as a blender. The end result will be a very smooth finish with a slightly waxy feel....

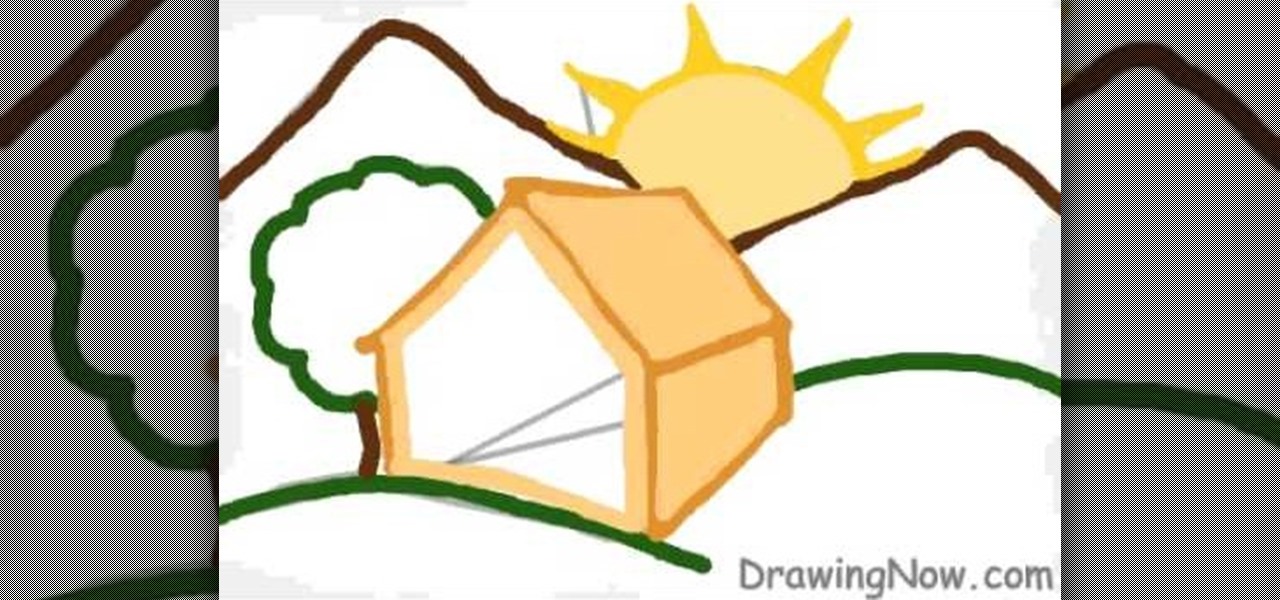
In this video, we learn how to draw a cartoon cottage scene. Start out by drawing the outline for the house, a tree, the sun, and mountains. After this, add color to the mountains and everything else in the scene. From here, color in the sun and then start to create the cottage. Make sure to add details to it, like a roof and a door and windows. Then, color the ground green to make it look like it's set out in the wilderness. Once finished, add in shading to make it look more realistic and th...

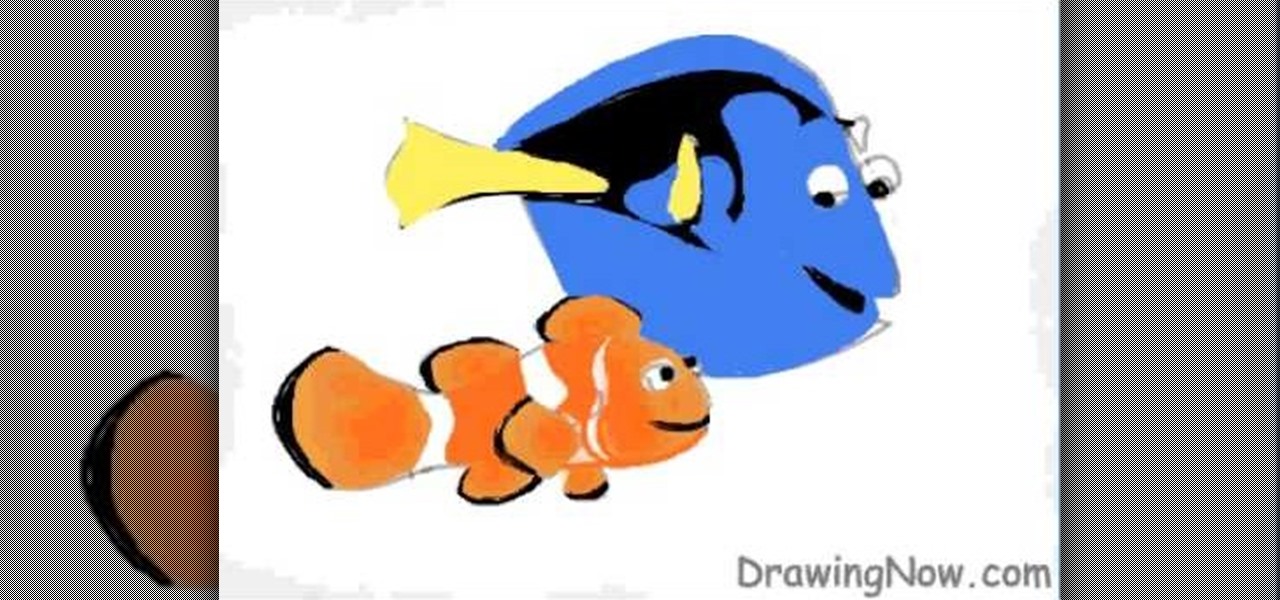
In this tutorial, we learn how to draw Nemo and Dory from Disney! Start off by drawing the bodies of both Dory and Nemo. Make sure to get the pattern of Nemo draw out correctly. After this, draw on the eyes and the fins for both of the characters. From here, use a black marker to draw on the scales of the fish as well as the rest of the details on the face. After this, color in Dory with yellow, black, and blue. Then, color in Nemo with orange, black, and white. When finished, color in the ba...

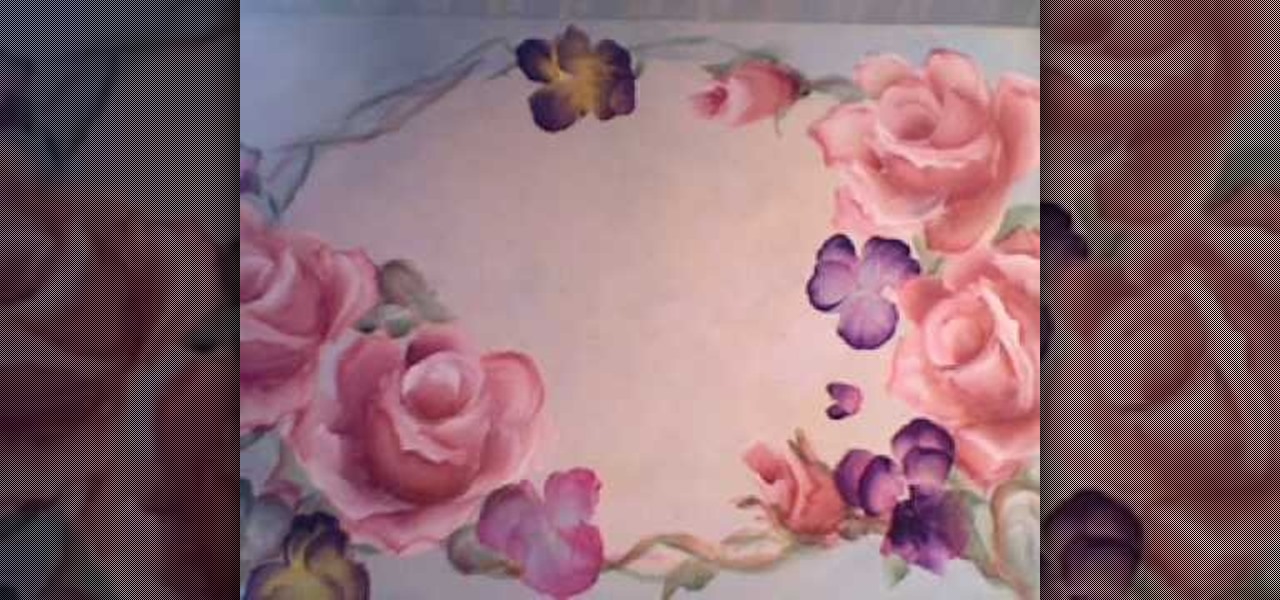
In this video, we learn how to paint pansies flowers with Marjorie Harris. Start out by using a purple color to paint the petals with a small angled brush. Then, move your brush in an up and down motion to create the petals. You can also use different colors with your brush to make the middle of the flower more appealing. Then, use black on a pointed brush to create lines in the middle of the flower petal. From here, you will be able to paint on the stem of the flower green to create a beauti...

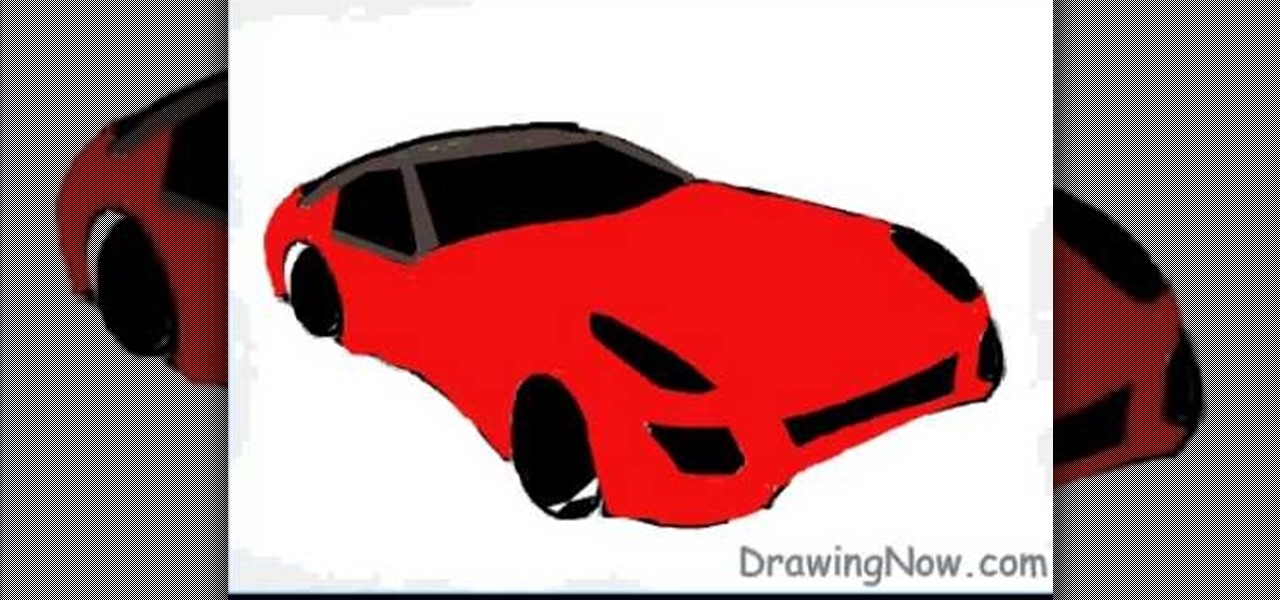
This video will show you how to draw a Ferrari sports car using MS Paint or a sheet of paper, a pencil and some colors. Just follow these instructions from the video. First you will need to draw the sketch of the car, the wheels and the mirrors. Now use a brush or a marker over the sketch of the car and then erase the pencil sketch. Color the wheels and the windshield with the black marker and the car with a powerful red color. Now complete the drawing by making all of the details like in the...

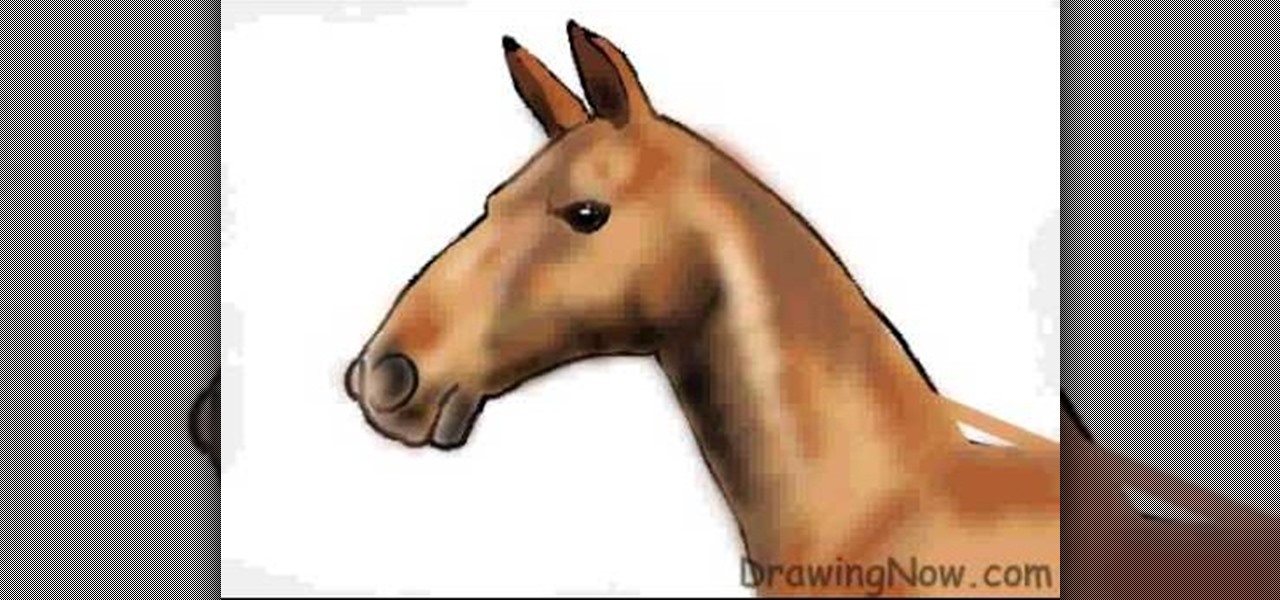
In this tutorial, we learn how to draw the head of a horse. Start out by drawing the outline of the horse's head and the neck. Then, draw in the ears and the details for the nose and the face. Next, color in the horse and then add shading along the sides of the horse and fill in the features with black. Use different colors of brown to show a contrast between the colors on the horse. After this, you will use small lines to create hair on the horse, then add in additional features. Clean up an...

This video will show you how to draw roses in MS Paint or using a pencil, a marker, a sheet of paper and some colors. Just follow these instructions from the video. The first thing that you will need to draw is the sketch of it. Complete the tulpin with all the details just like in the video and continue it with the flower. Now make two more flowers and now you can use the marker over the sketch. The last thing to do is to color the drawing with the colors used in the video. And now you're done.

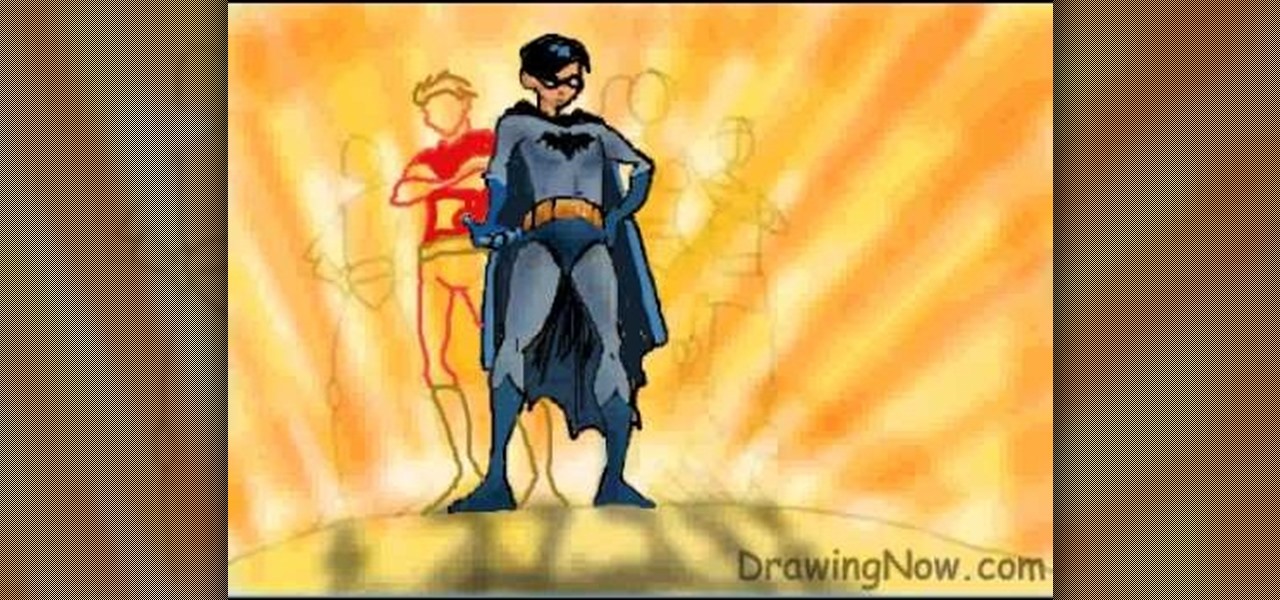
In this tutorial, we learn how to draw the cartoon Teen Titans. Start off by drawing the basic outlines of all the characters. Use circles and basic lines to draw out the outlines of them all standing together. From here, draw in the color for the background behind them, then start adding in details for each of the characters. Draw in each of their outfits, as well as facial features. Use lines and shading to make the characters look more realistic. Color them with the appropriate colors for ...

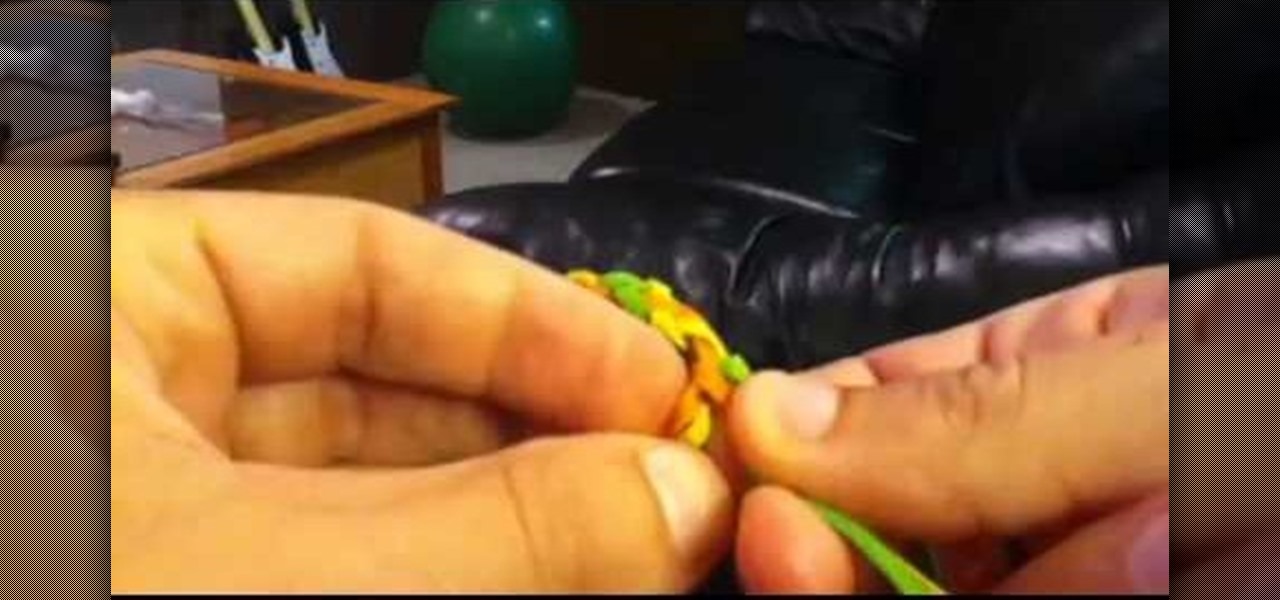
Take three strips of cloth, ribbons, lanyards or embroidery floss, and use the following tutorial to make a lovely three colored friendship bracelet. You can turn this into a necklace, or bend it into a loop to make a keychain.

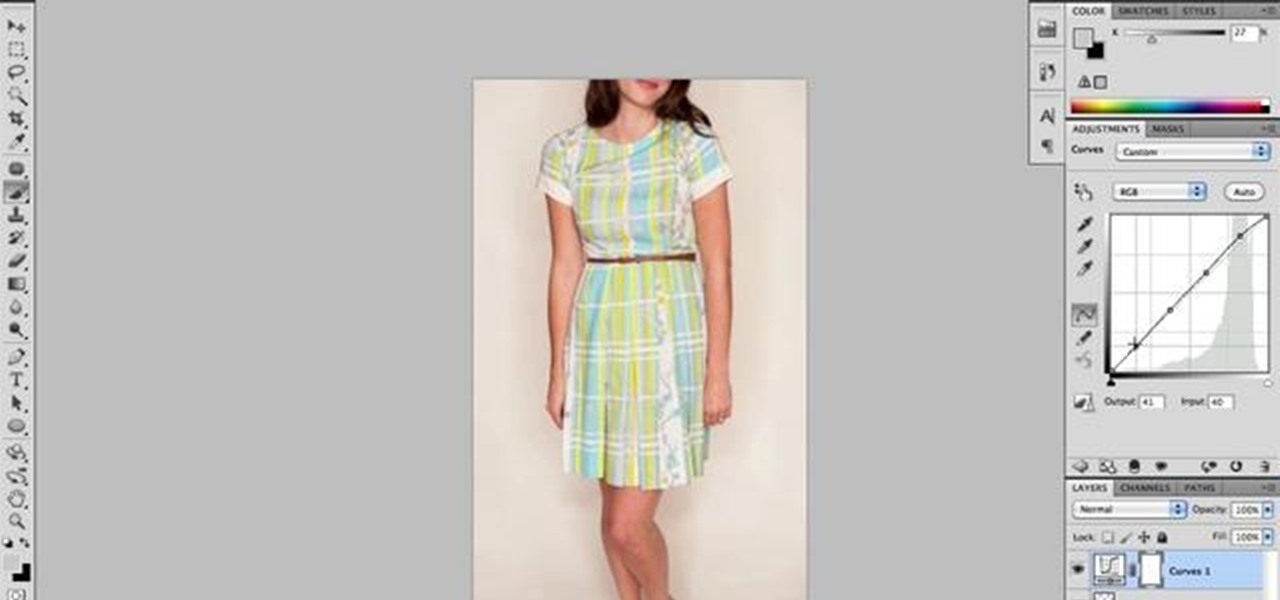
In this free video software tutorial, we learn how to color correct a product photograph within Adobe Photoshop CS5. Whether you're new to Photoshop or are a seasoned user looking to better your understanding of Photoshop CS5, you're sure to be well served by this quick video guide.

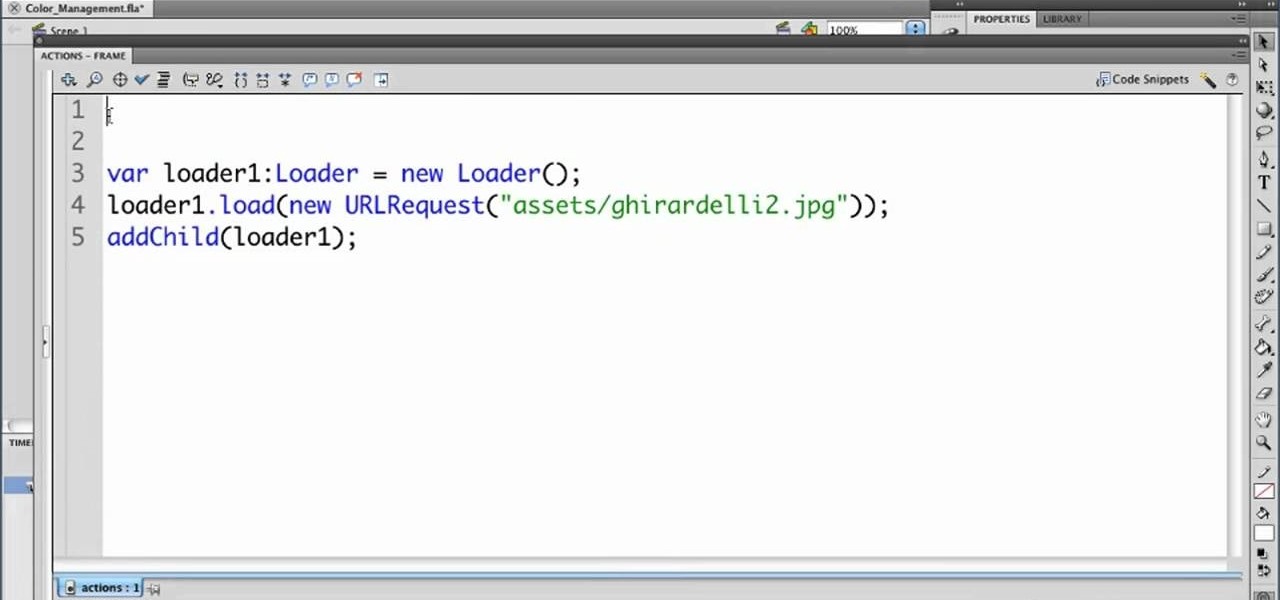
In this clip, we learn how to use Flash Player 10 color management options within Adobe Flash Professional. Whether you're new to the Adobe's popular Flash authoring application or are a seasoned Flash developer merely looking to better acquaint yourself with Flash Professional CS5, you're sure to be well served by this video guide.

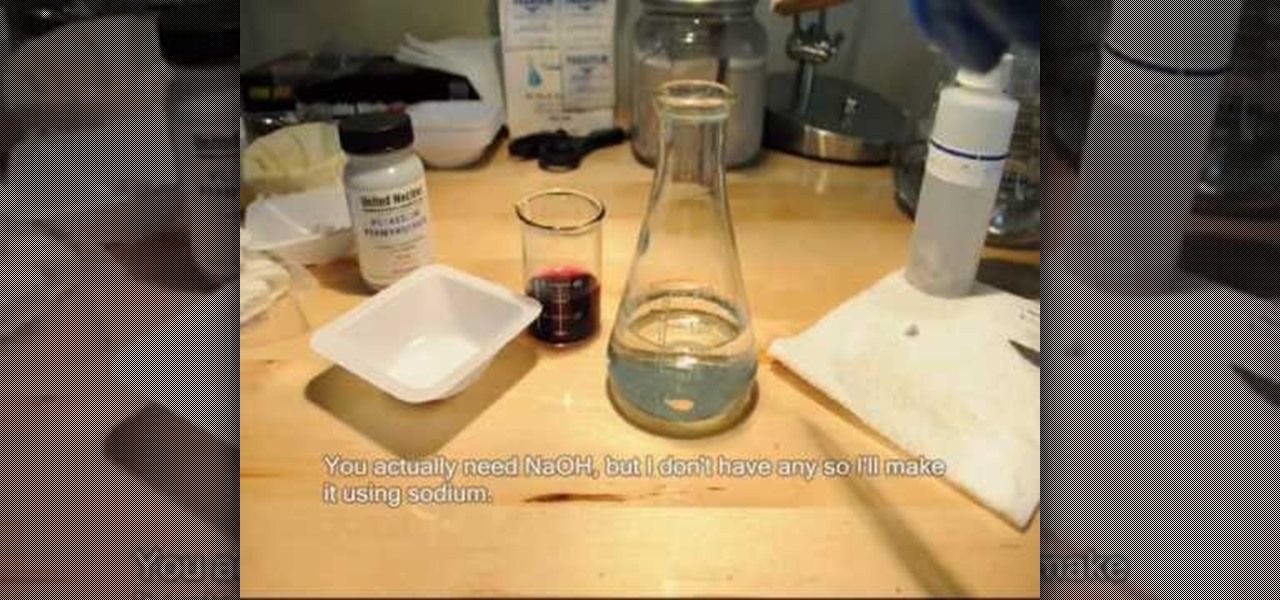
This free video science lesson from the Home Scientist demonstrates a simple technique for creating a color-changing solution with sodium permanganate, sodium hydroxide and sugar. For all of the relevant details and detailed, step-by-step instructions, as well as to get started trying this experiment yourself, watch this home-science how-to.

Teach your young child about shapes! This tutorial shows you how to make a teacup out of rectangle shapes - both perfect and trapezoidal. All you need is some colored paper, glue and safety scissors (and markers or colored pencils to decorate your tea cup)

In this tutorial, we learn how to make a truncated tetrahedron from balloons. This will involve a lot of twisting of your balloons, so use lots of colors to make it shine. Make sure you leave enough space in the balloon so that you can get all of the twists you need to. Twist bubbles throughout the balloon and then create a circle with it. Connect this color with other balloons that you create with different colors. As soon as you are done, these should all connect together and make a truncat...

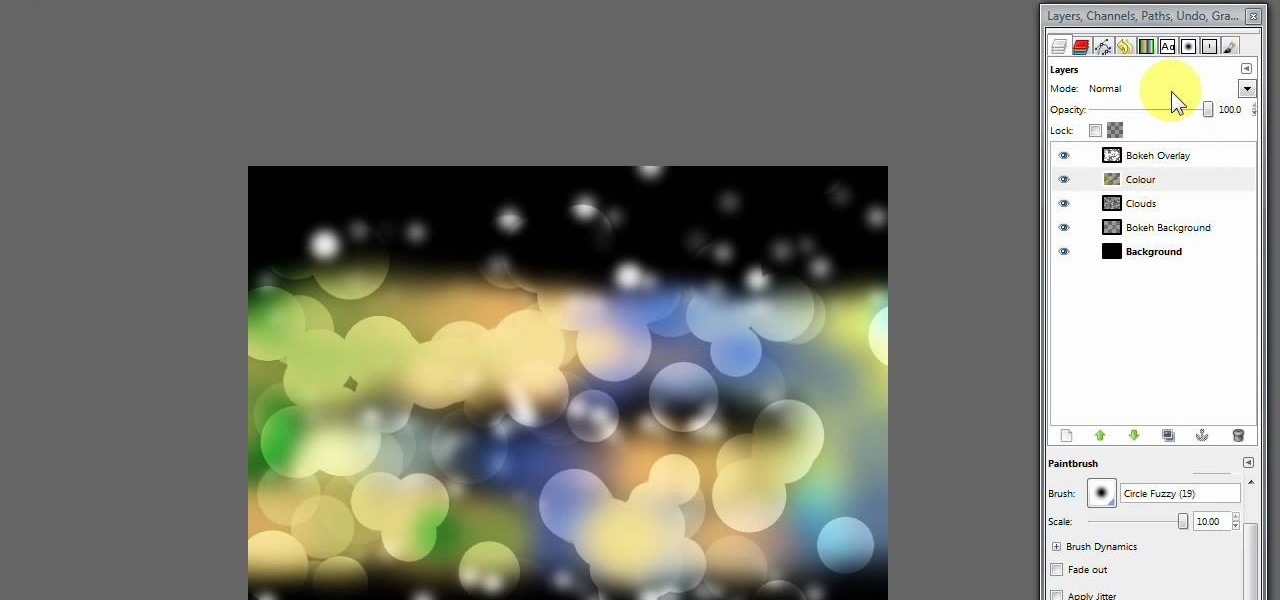
In this video, we learn how to create a modern bokeh effect in GIMP. First, start a new image and then change it to the size that you want. From here, click on the paint can and then fill your box up with a color. Then, create a new layer and name it "bokeh background". Click on this layer and then use the paintbrush tool to paint a small brush with color onto it. Start to paint on small dots and you will see that there are small tiny star like dots that start to appear. Then, fade these out ...

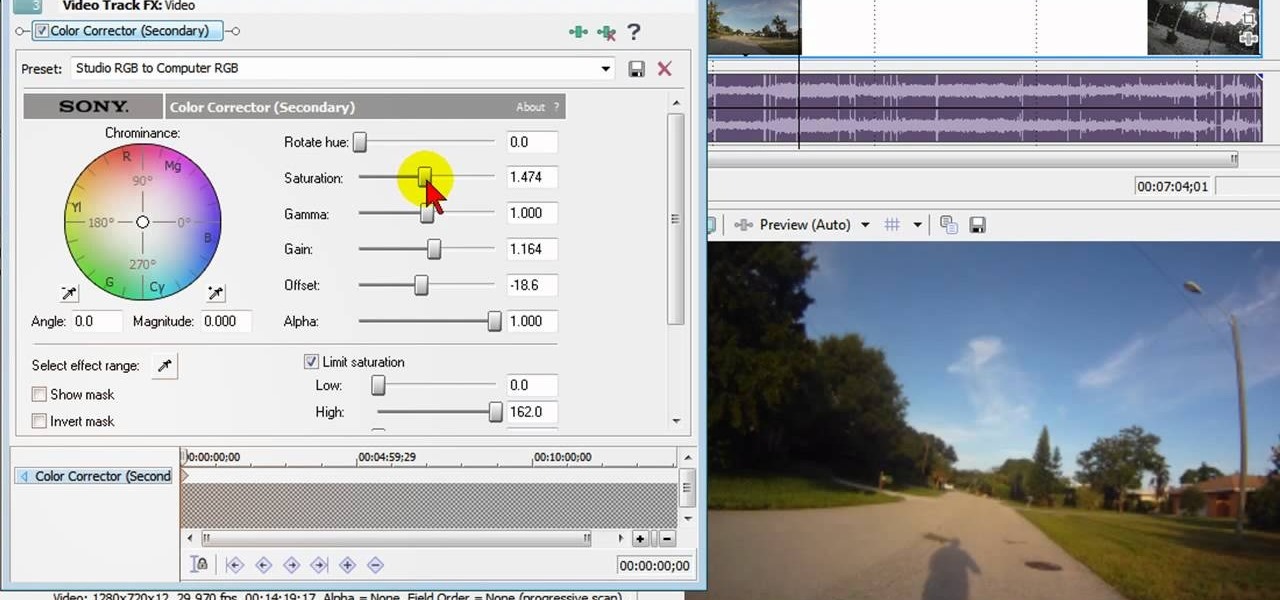
In this free video software tutorial, you'll learn how to fix washed-out colors in Sony Vegas Movie Studio. Whether you're new to Sony's popular non-linear editor or a seasoned digital video professional merely looking to pick up a few new tips and tricks, you're certain to be well served by this video guide. Take a look.

In this tutorial, we learn how to make and arrange a painting palette. First, you will need to buy a large palette that can handle a lot of different colors on it. Now, use the sides to add in the different colors that you are going to use. Use the middle of the palette to mix up colors while you are painting or doing different crafts. You can also use a large paper plate to make a paint palette if you don't have a palette nearby. Anything that is flat with a lot of room on it will work, so g...

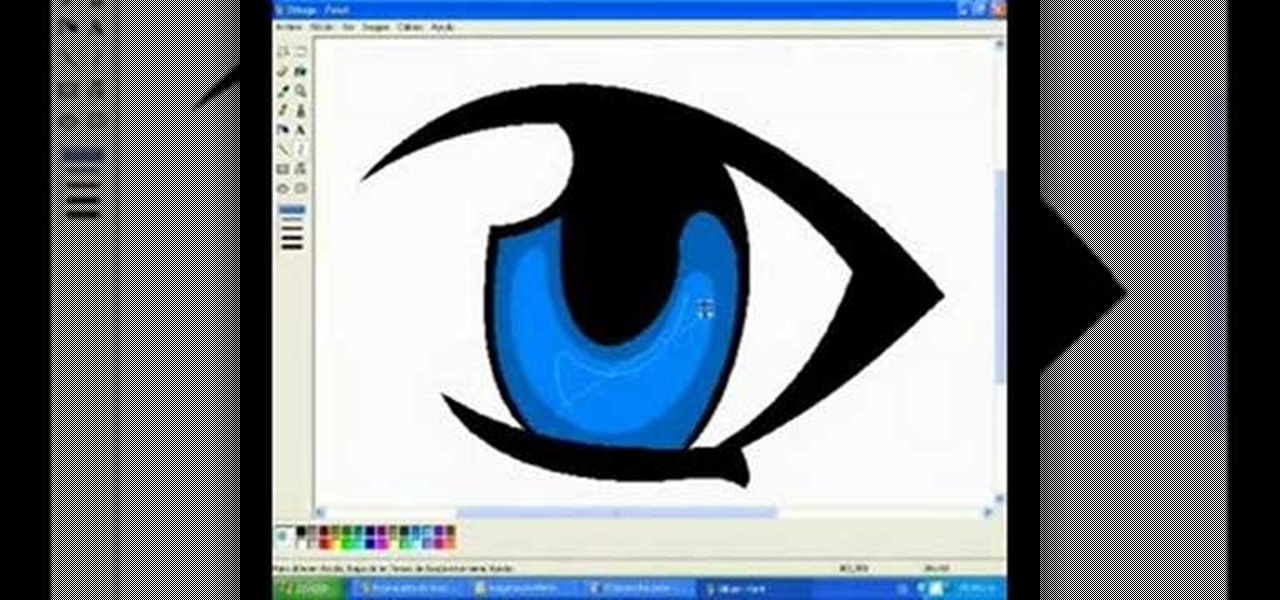
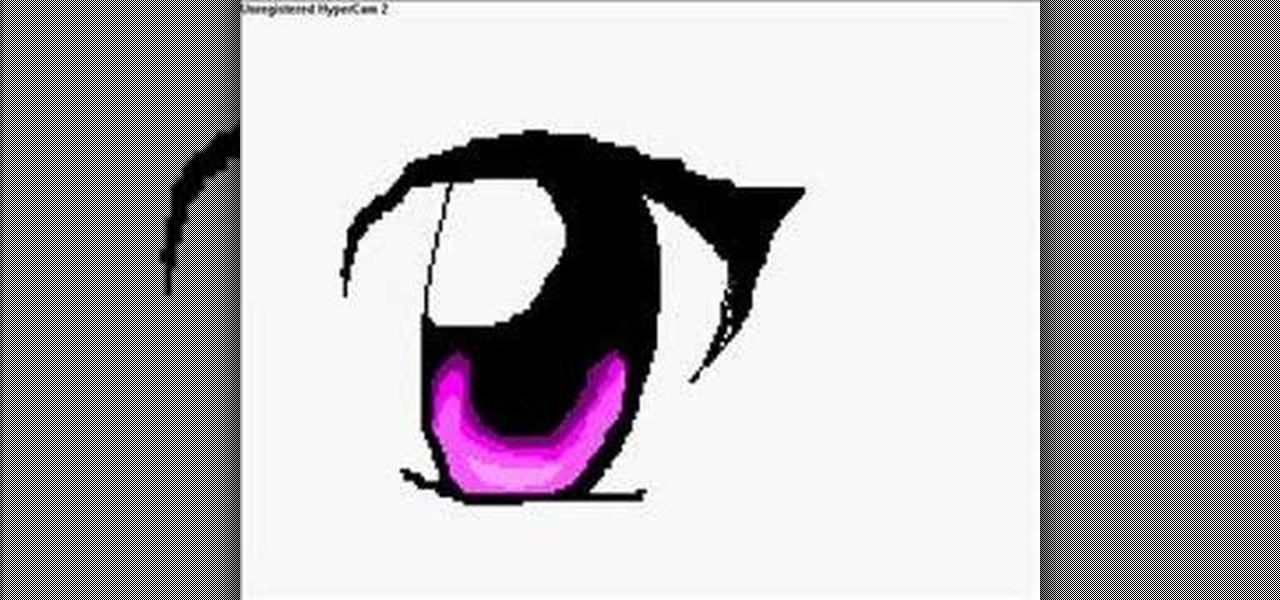
In this video, we learn how to draw a manga eye in MS Pain and make it blink. Start out in Paint and draw the outline of the eye. After this, color the outside area in black and then fill in the pupil area of it. Color the eye blue or any color that you desire, then add in lines to the middle of the eye to make it look more realistic. Leave white around the edge of the eye. Create an eyebrow over this, then add it to a flesh-toned background. Once you have done this, you will be finished with...

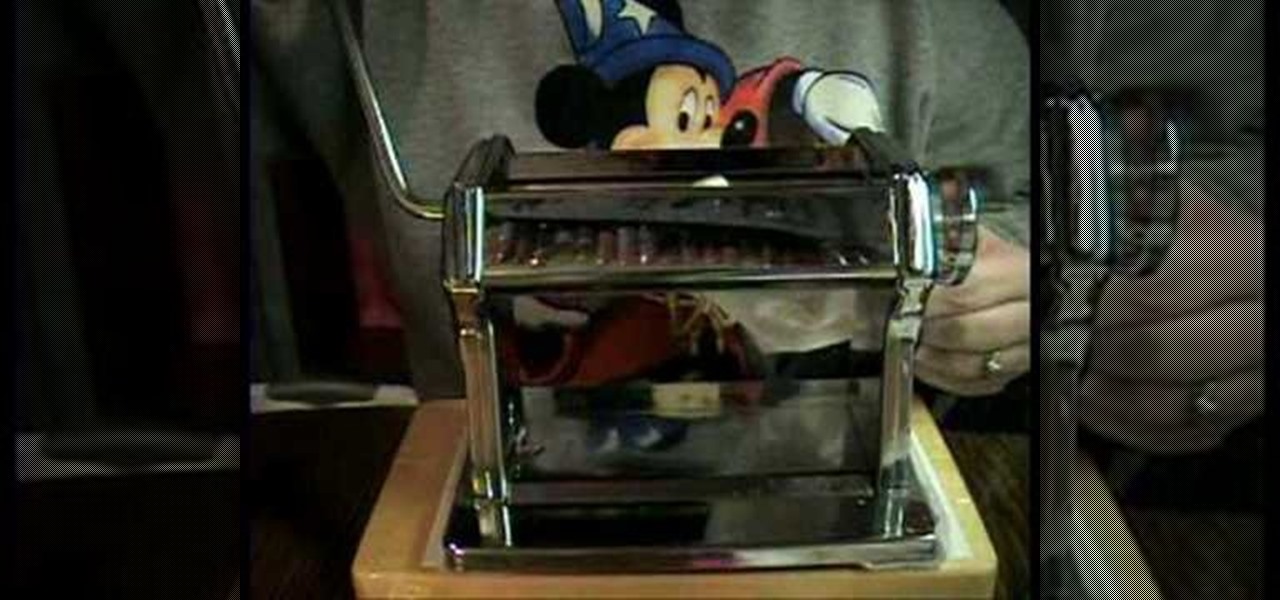
In this video, we learn how to clean a pasta machine for polymer clay. First, take a diaper wipe and scrub the blades. Then, roll the wipe through the blades. Scrub all over the machine and roll your blades several times while scrubbing on the inside. Roll the wipe inside the machine several times or until the machine starts to roll through with clean lines. That way you will not get different colors when you use white clay. Push white clay through the machine to see if other colors show up. ...

In this video, we learn how to ink and color in Photoshop. First, you will want your background and sketch in two layers. Make a new layer which will be the layer you ink your art on. Move the opacity down on this, then zoom in and start inking your art. Use a normal brush in whatever size will fit your art the best. Take your time, then start a new layer when finished. Color the areas of the picture, then when you join these layers together, you will have an entire drawing finished. Make sur...

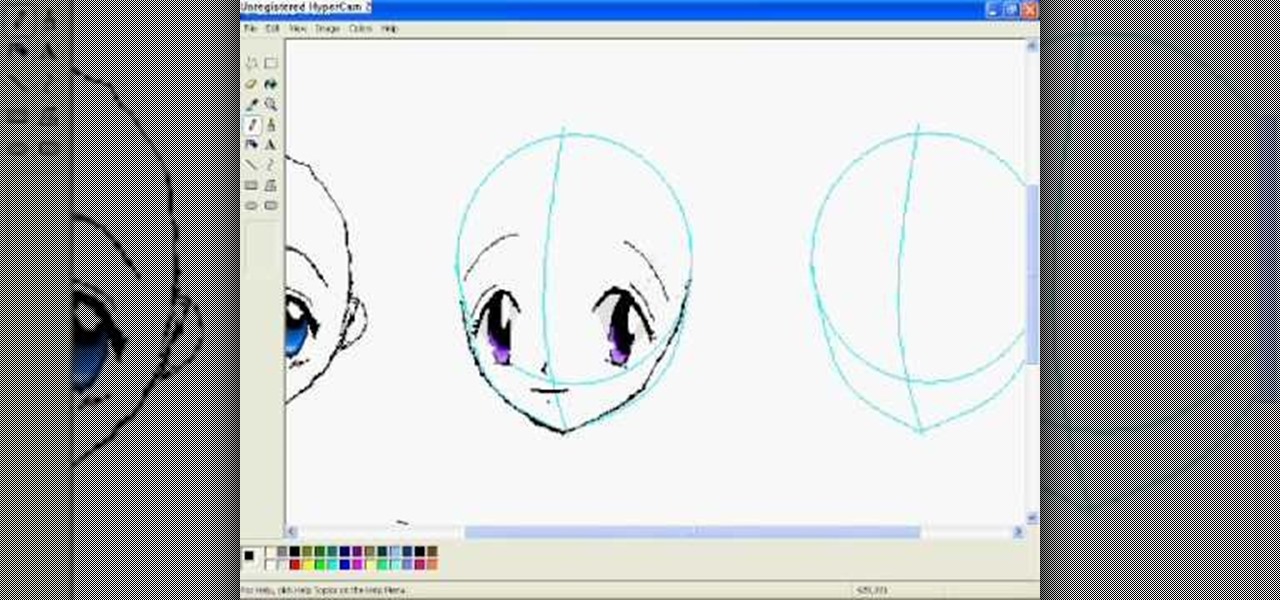
In this video, we learn how to draw anime eyes in MS Paint. First, draw the round circle for the head and draw a line in the middle for reference of where the eyes will go. To draw large eyes, draw two round circles and then a small pupil at the top. Color the pupils in black and color the rest any color you'd like. For female eyes, make the pupils much larger and add in eyelashes on the eyelids. Shade in underneath the lids and add white to show they are glossy. These are both great looks fo...

A great craft for a rainy day! This project is very simple and only requires some construction paper in various colors (brown, pink, red, orange, purple, yellow and blue), glue, scissors and brown marker. You can add glitter or stickers to the 'frosting' if you want.

In this tutorial, we learn how to change the default colors of the iNove 1.4.5 WordPress theme to red, green, yellow, blue or purple. It's an easy process and this video presents a complete guide. For more information, including a full demonstration and detailed, step-by-step instructions, watch this helpful home-computing how-to.

In this tutorial, we learn how to draw manga in MS Paint. Start by drawing false eyelashes to case the eyes inside of. Next, draw the false eyelashes underneath the eye, then draw the actual eyes in. Make sure to give them large pupils. Add in a bright color for the rest of the eyes, then add a lighter shade of the color at the top for a highlight. You can copy and past one eye, then flip it to make them both exactly the same. After this, draw the nose and the mouth underneath, making them mu...

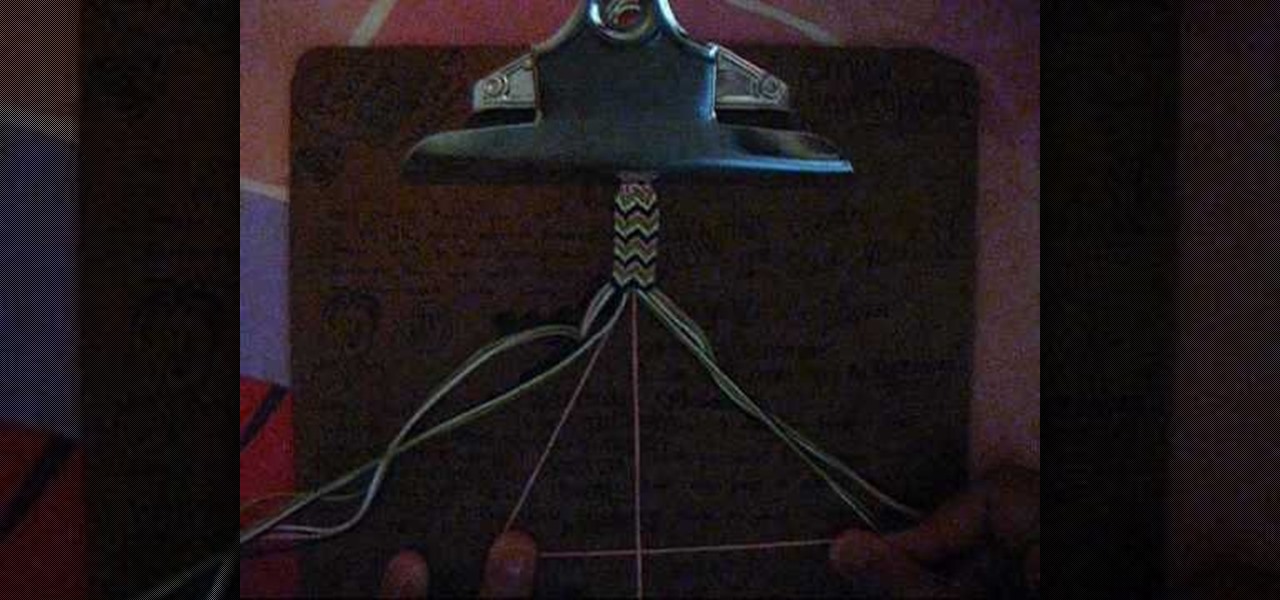
In this tutorial, we learn how to make a double arrowhead friendship bracelet. First, you will need two strings of the color you want that are 70 inches long. Then, tie these into a knot and put it underneath a clipboard. Now, separate these into four groups, then start to separate into colors. After this, find the color in the middle and start to braid and pull twice. Then, you will start to braid the other pieces of string in together so you are making to arrowheads right next to each other...

In this video, we learn how to repaint your car in Photoshop CS4. First, open up Photoshop and open up the car you want to change. Now go to image, adjustments, then hue/saturation. After this, choose a yellow hue and click on different areas to change the colors that you are seeing. You can choose a different color if your vehicle is blue, brown, black, etc. After this, move the bar on the hue lever and you can change the entire color of the car. You can change it from purple to pink to neon...

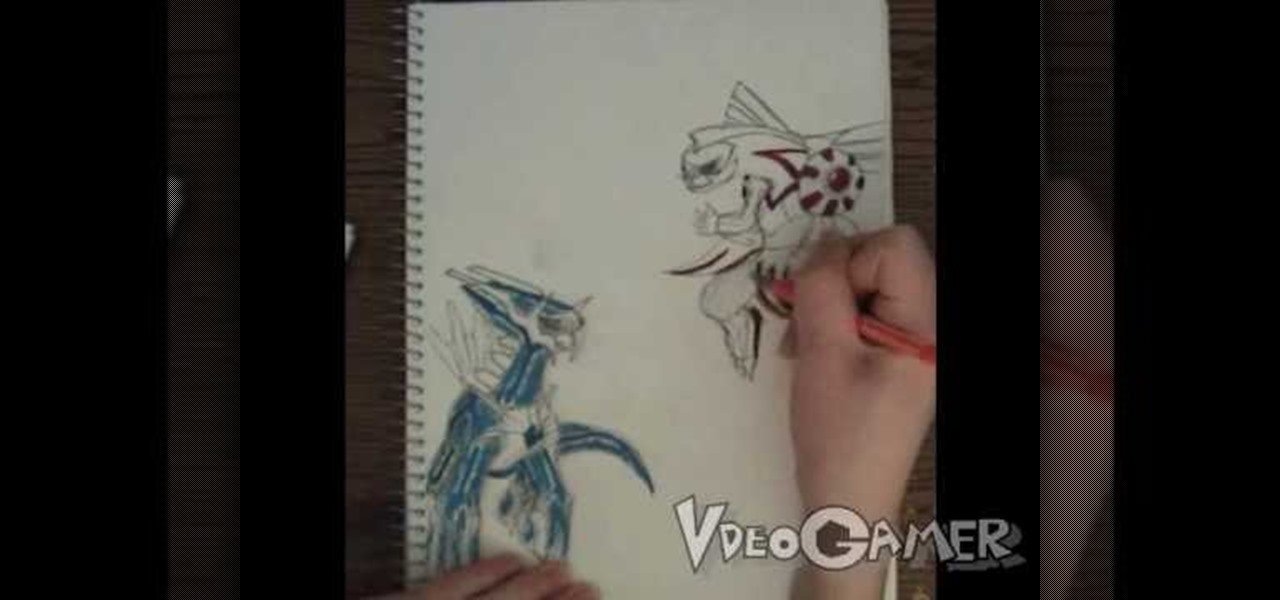
In this tutorial, we learn how to draw Palkia vs Dialga. First, you will need a pencil, pen, sketch paper, and colored markers on hand. Now, start to draw the characters by drawing the outlines of their bodies first. After you have completed this, start to draw in the details of both the characters. Make sure to draw in even the smallest details that are featured on their wings and throughout their body. Next, you will use a pen to shade in some areas darker and trace over, then use the marke...

In this video, we learn how to easily make a tutu. First, you will need to gather all your materials, then cut the length of the ribbon or elastic you need. Then, grab your materials and cut out strips of it to place onto the elastic. After this, tie the tulle onto the elastic going from color to color as you continue. Once you reach the end of the skirt, you will have a cute tutu that is ready to wear. Making this yourself can save you a lot of money, and it can make several rather than just...

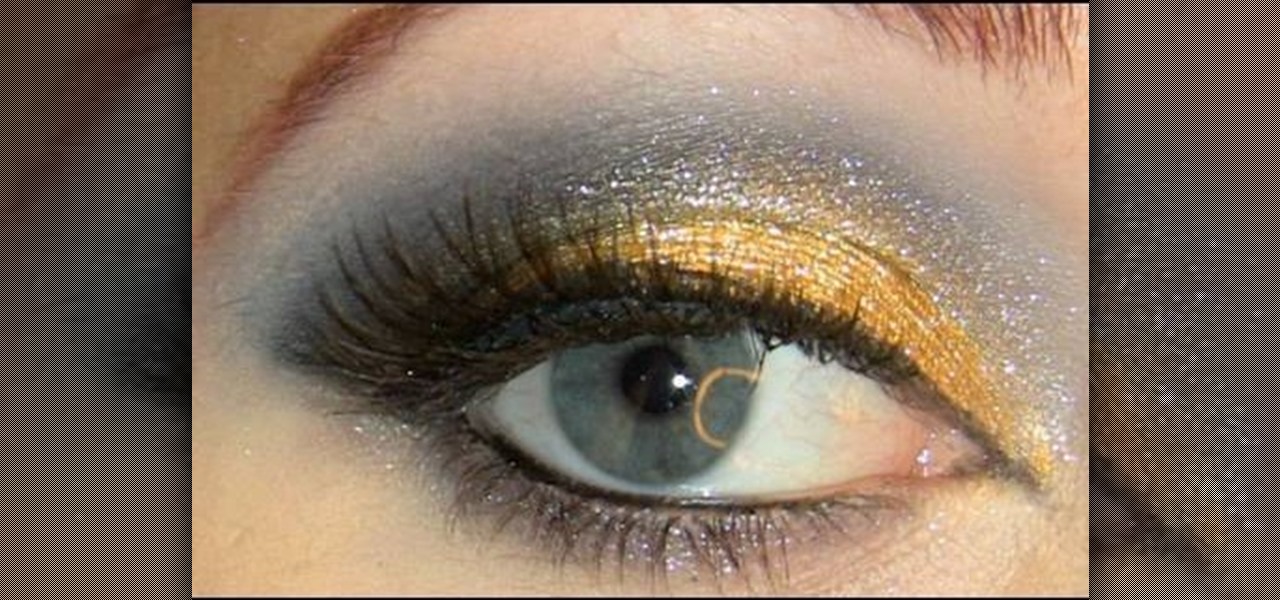
We love our neutral makeup colors, but when it comes time for a big bash we bring out the fun stuff. Experiment with color without totally plunging out of your comfort zone by creating the look presented in this makeup tutorial.

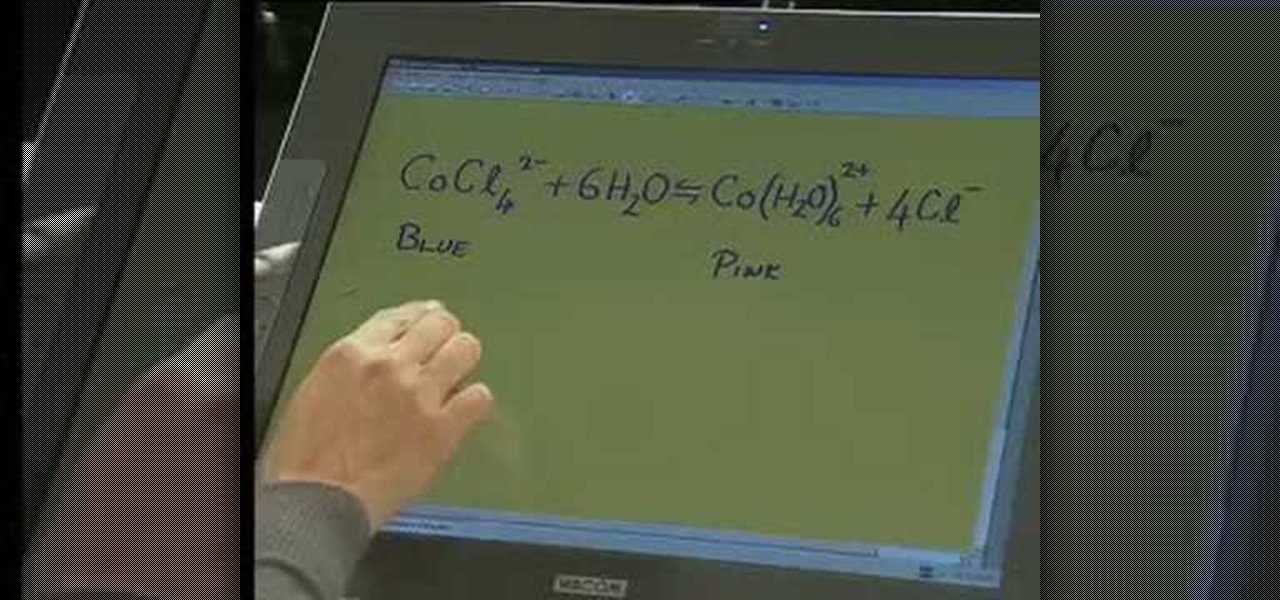
A video which shows a reaction in which cobalt chloride reacts with water to form a hydrated form of cobalt and chloride ions.

In this clip, you'll learn how to use Nik Color Efex Pro filters when working in Adobe Photoshop or Photoshop Elements (PSE) with your Wacom tablet. It's easy. So easy, in fact, that this video tutorial can present a complete, step-by-step overview of the process in just over eight minutes. For more information, including detailed, step-by-step instructions, take a look.

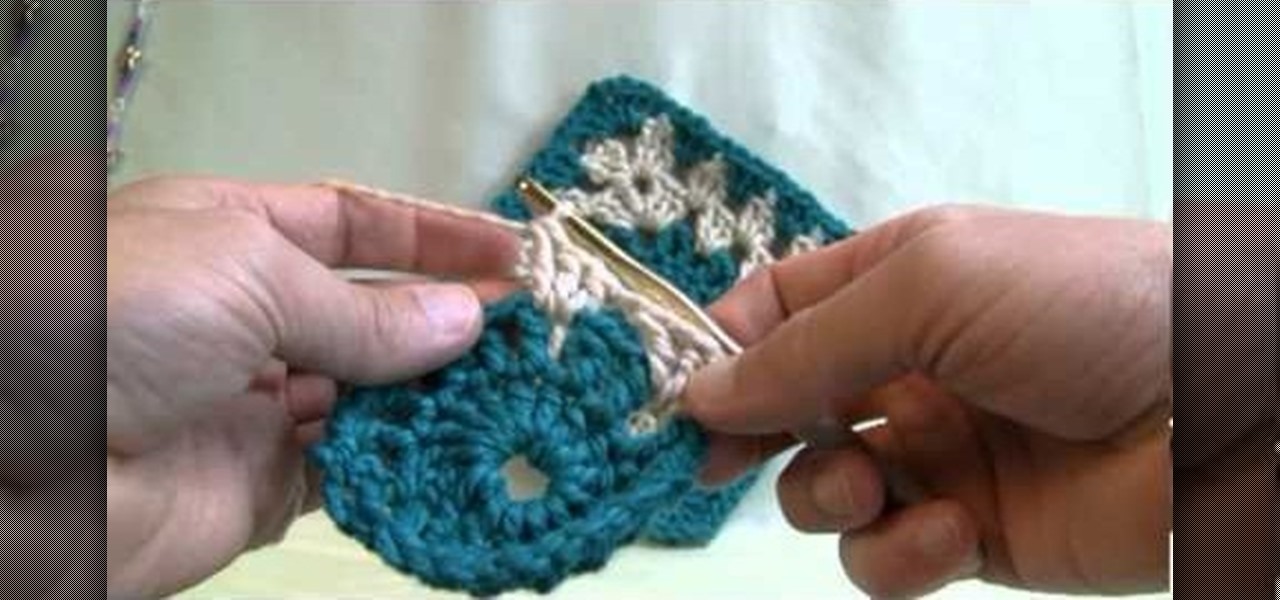
Granny squares are a basic crochet project, which you can use to make doilies, coasters or even connect together to make an afghan or blanket. This tutorial shows you how to make a basic granny square with two separate colors and a circle in the center.

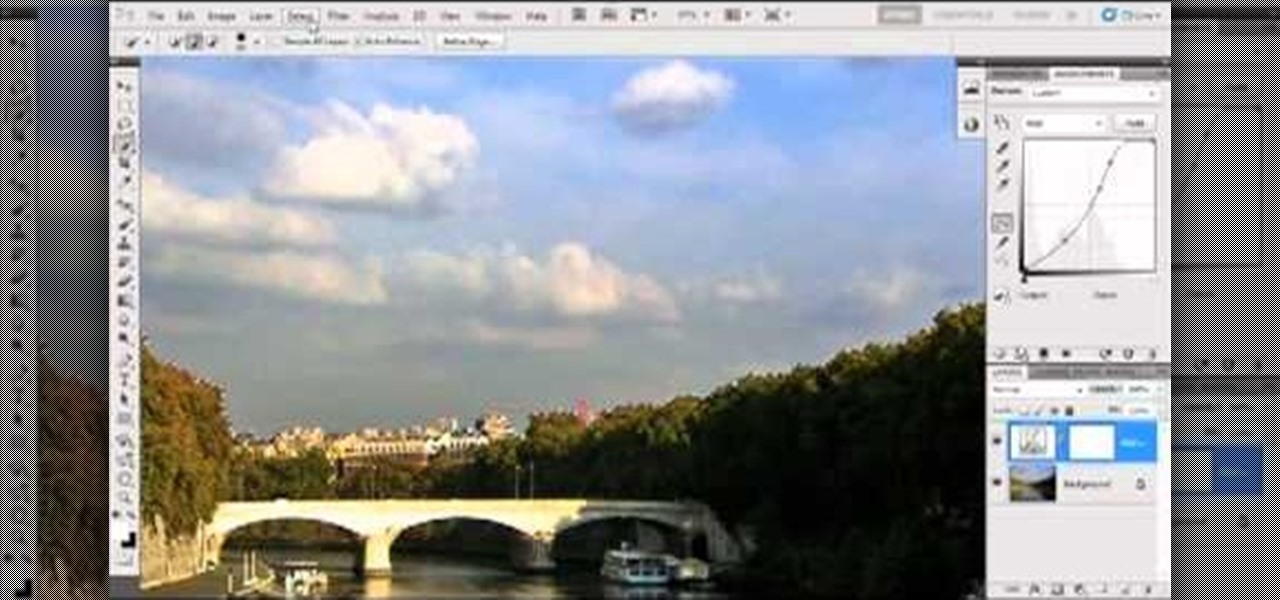
Bring out the colors in your clouds and sky images - or any other picture you want to retouch. This short tutorial shows you how to use the gradient tool in Adobe Photoshop and s-curves to adjust the color and contrast in your image.

Most crochet projects are going to require you to change colors of threat or join two skeins at some point, and that means changing threads. Watch this video to learn an easy trick to changing thread that will make your crocheting life easier.


