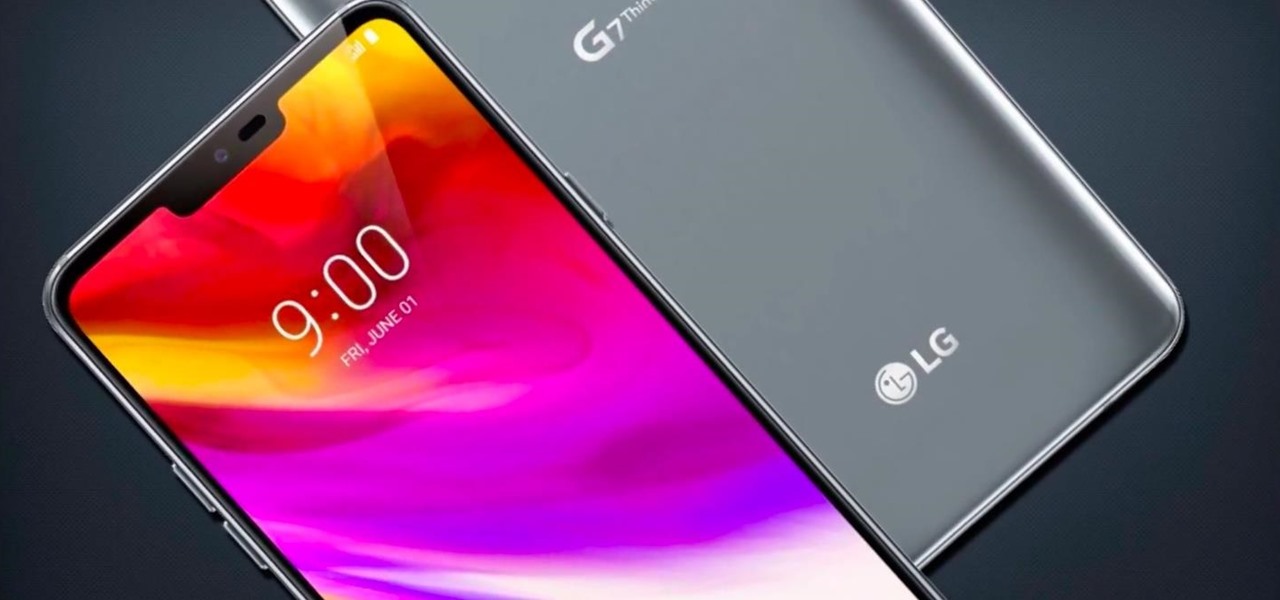
The LG G7 ThinQ will likely be lambasted for its notch and awkward name, but one thing they seem to have gotten right is the new display. The G7 ThinQ will give many a first look at a new type of panel with lots of promise. While it was previously limited to TVs, from what we know, it should really shine on a smaller screen.

The new iPhone 8 and 8 Plus models come with a gorgeous Retina HD display with Apple's True Tone technology, which automatically adjusts the white balance on the screen to match the ambient light around you. The iPhone X also has True Tone built into its Super Retina HD display. However, if you're coming over from any previous model iPhone, it may look a little strange in some situations.
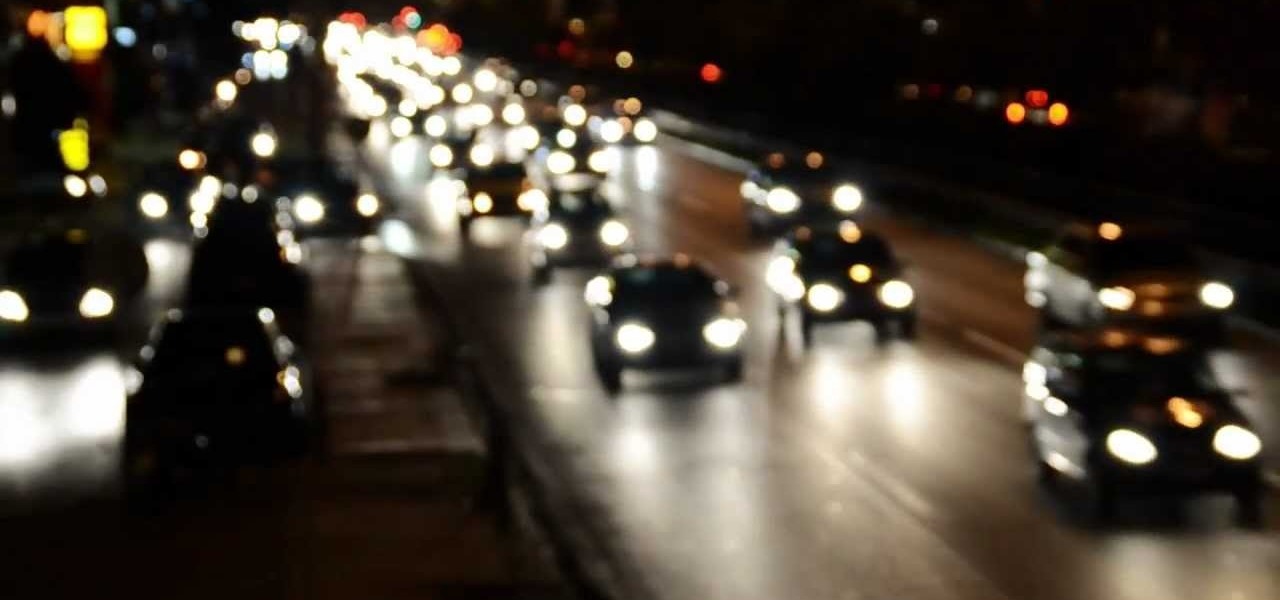
Have you ever tried to film at night with your DLSR in place with no good lightning at all or at places were the lights are flickering? Here its the Solution in 4 simple steps.
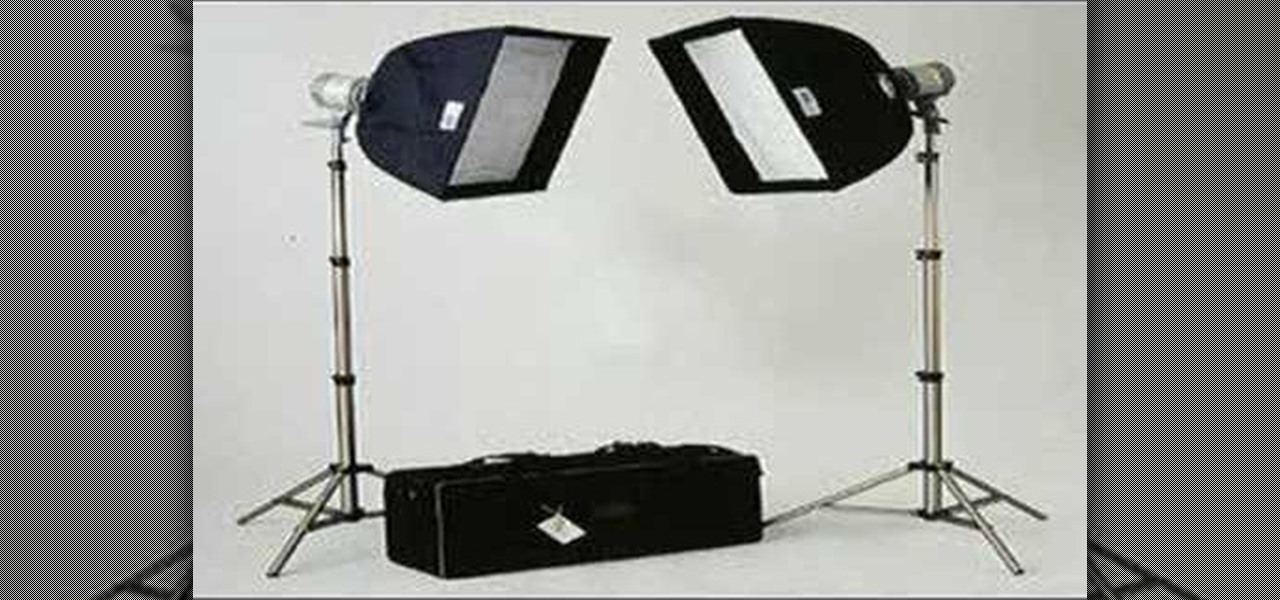
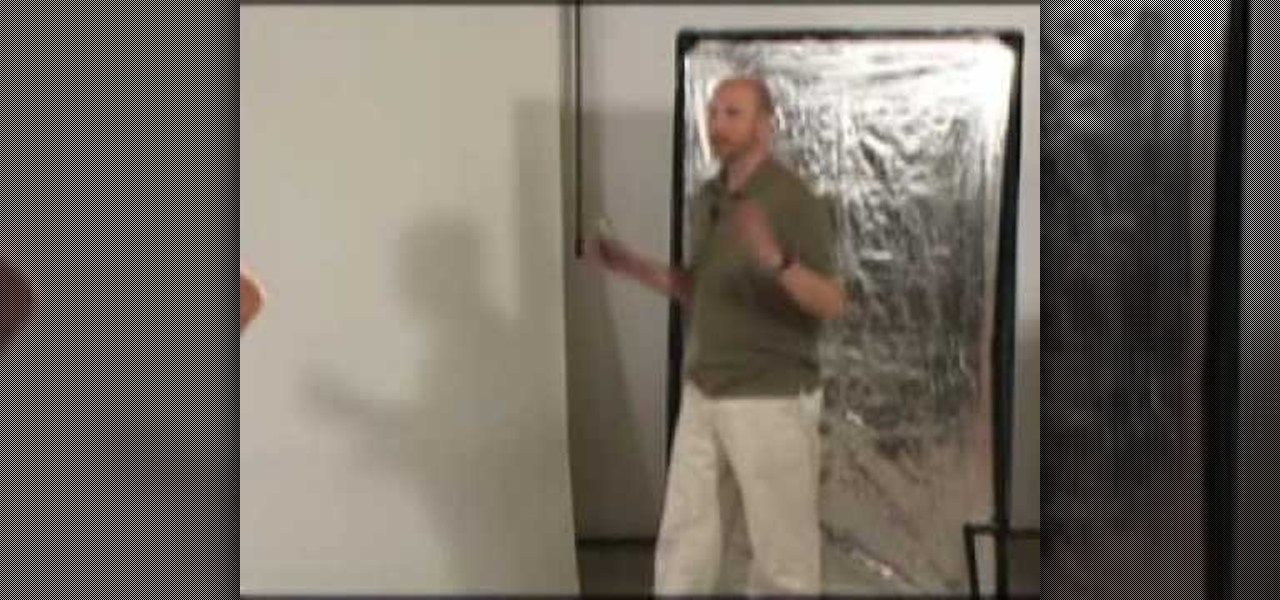
This video covers the basic positions and uses for three point lighting: the hair light, the fill light, and the key light.
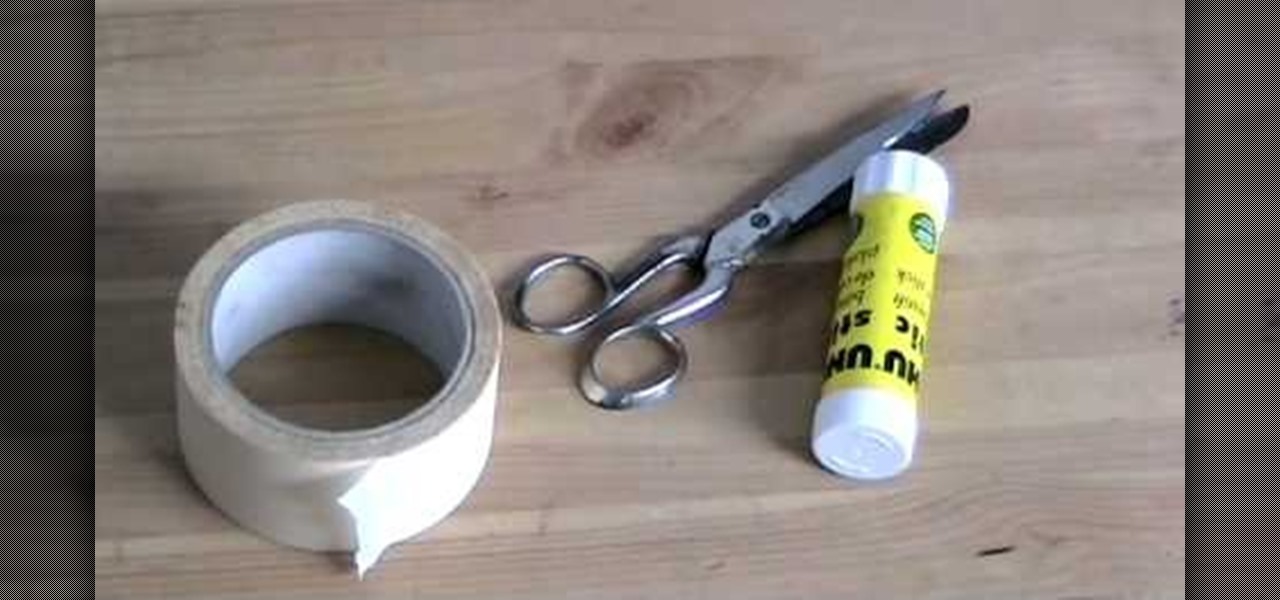
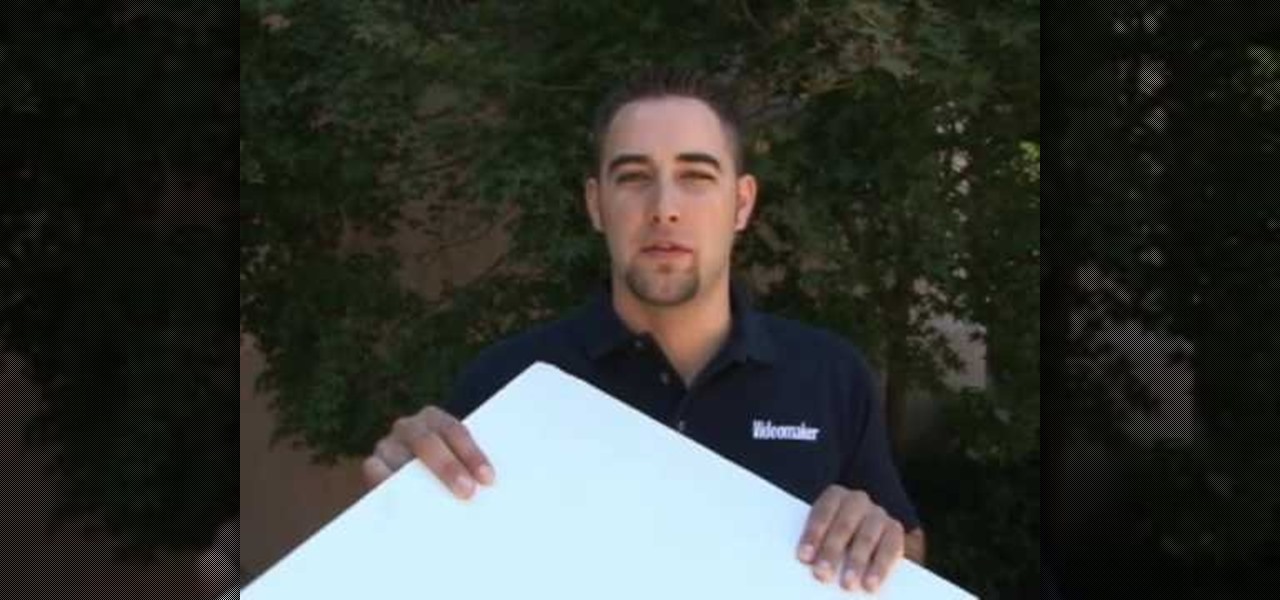
Learn how to make a folding reflector from cardboard and foil. This is essentially free if you have all of the materials already, like cardboard, golden aluminum foil, tape and scissors. This foldable light reflector is a good choice for outdoor film shoots on a low-budget. When you can't bring lights to your film shoot outdoors, let the light come to you!
In this episode, Peter and I talk about Lighting. We go over the different types of light and show examples of each.

Issac demonstrates a couple different outdoor lighting techniques and how "good" outdoor lighting can improve your videos.

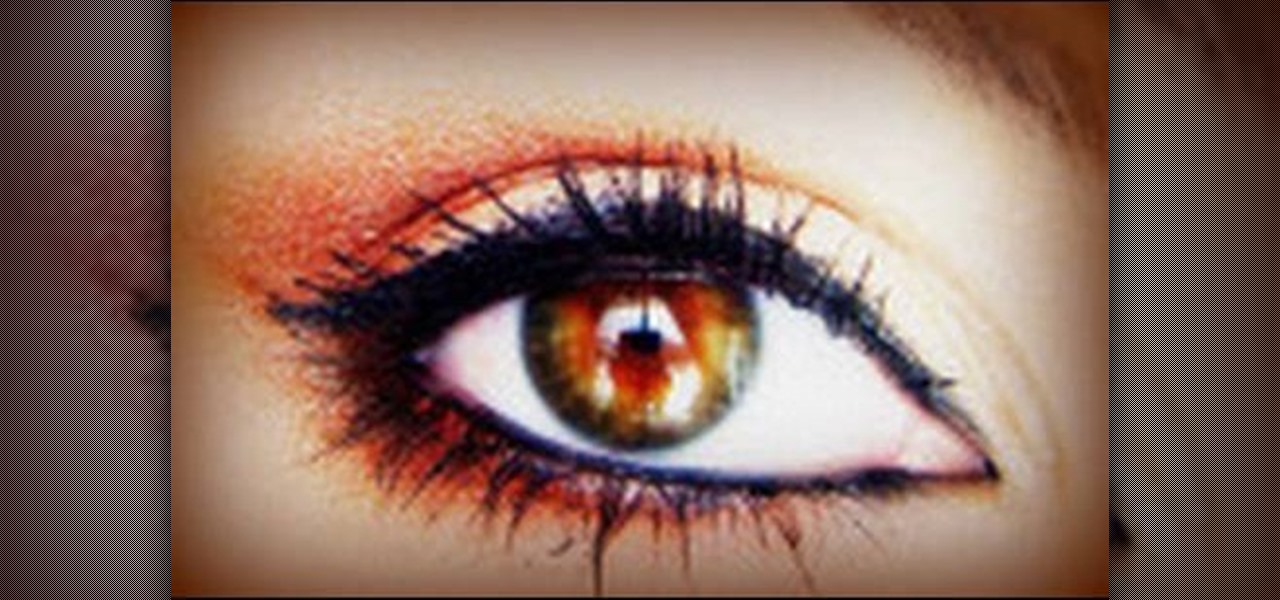
In this tutorial, we learn how to apply a "Moroccan truffle" makeup look. First, apply a light neutral shade all over your eye with a fluffy brush. After this, take a burnt orange and brown color and brush it into the inner crease of the eye where the outer 'v' is. Then, brush a bright orange on top of it and blend everything together. Only blend this until you reach half way to the inner corner of the eye. Then, brush the darker brown shade from the 'v' to underneath the eye. After this, app...

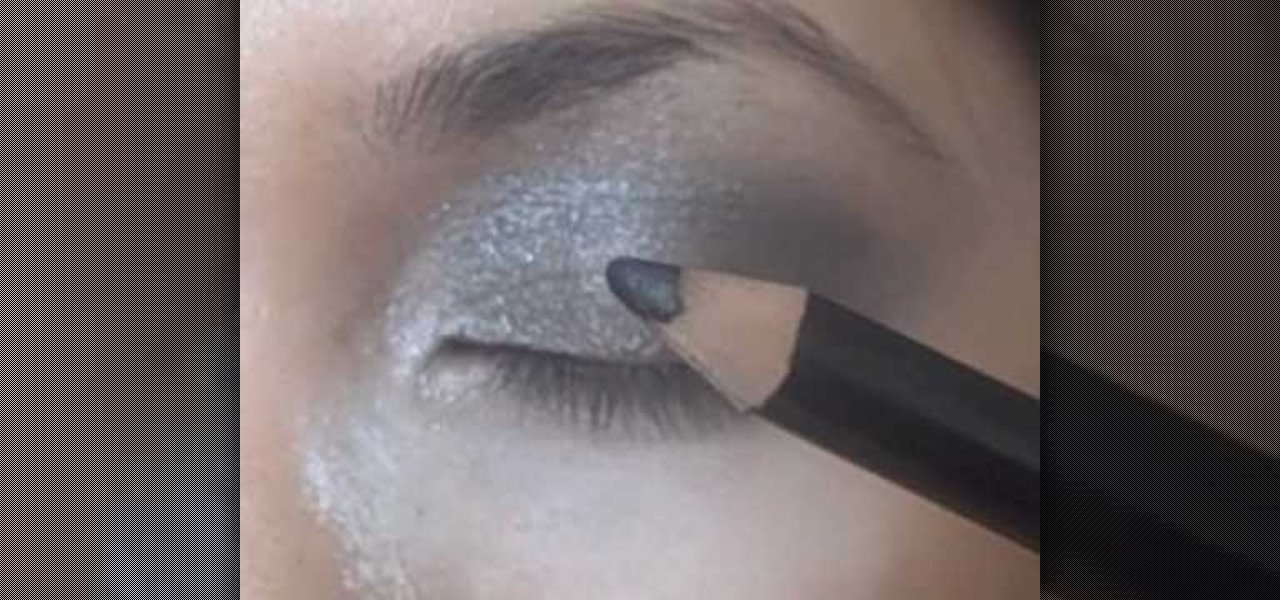
In this tutorial, we learn how to apply Jennifer Lopez inspired smoky eyes. First, apply a light beige glitter all over the eye. From here, apply a white ice color all over the eyelid and into the crease of the eye. Get the color a little wet to make it stick and show more on the eyelid. Next, take a black eyeliner and draw inside the bottom of the eye and on top of the eye as well. After this, apply mascara or false lashes and you will have a beautiful Jennifer Lopez makeup look! Just top it...

In this tutorial, we learn how to draw a scene from Star Wars. Start off by coloring the background peach, then adding orange with the spray paint tool to the bottom. After this, color in clouds to the sky with a light tan. From here, add in a spaceship in the sky and then two large machines on the bottom of the ground. Draw in another spaceship in the far right background. Then, start to add in details to each of the different ships or tractors. Draw a person on the ground carrying a gun wit...

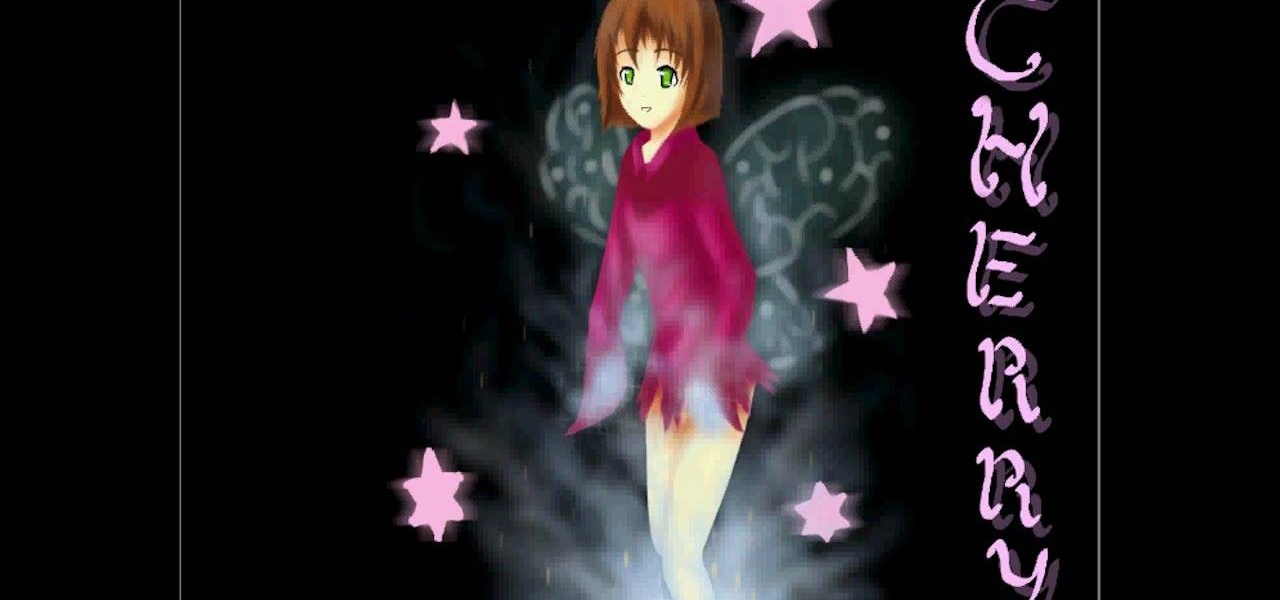
In this video, we learn how to draw a cherry fairy. First, sketch the entire picture before you start to draw in any detail. After this, draw in darker lines where you want the features of the body to go, then start to add in features of the face. Next, add in color to the face and to the outfit of the fairy. Make sure you give her hair and bangs that are surrounding her face as well. Once you have the color completed, create a white light coming from the bottom of the fairy and going up into...

In this tutorial, we learn how to draw anime. Start off by drawing the outline of the anime, then color in the face, hair, and clothing. Add in the ear on the side of the head, then add in the features of the face. Next, add in shading to the face, hair, and clothing to add dimension to the drawing. Next, add in details to the face to make this look more realistic. Then, draw in trees and leaves for the background of the drawing and color them green and brown. After this, add in a light sheen...

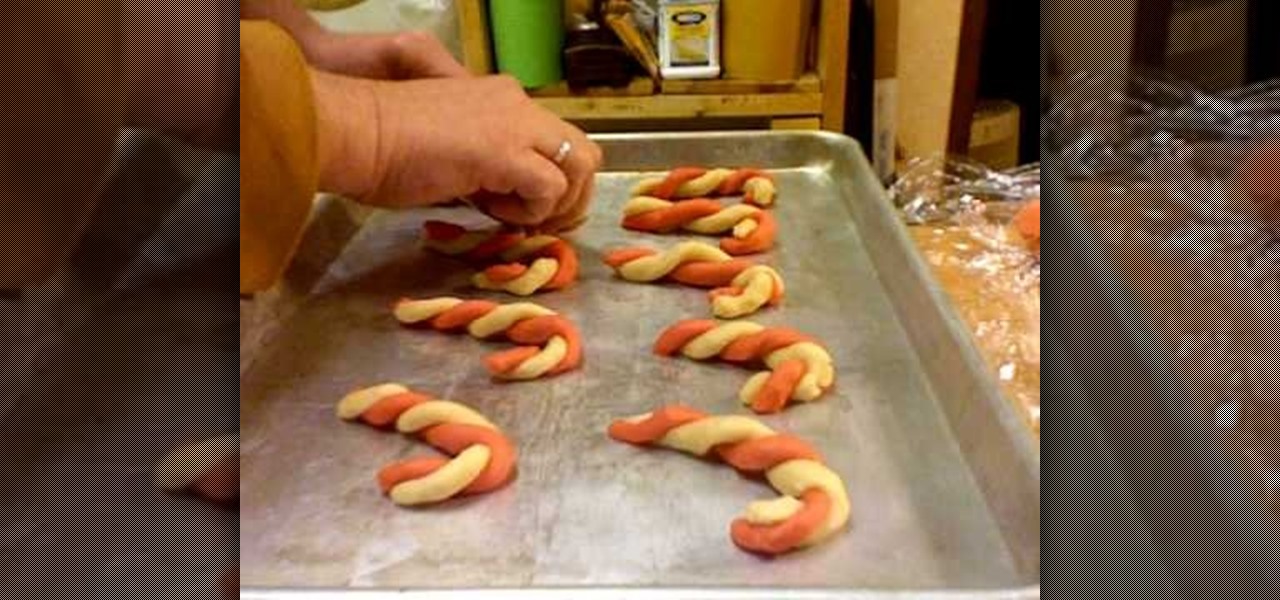
It's that time of year again! The air is a whole lot nipper, lights dance around sidewalks as you drive past shopping centers, and the scent of warm gingerbread and sweet cookies fills your nostrils when you enter your home. That's right, it's Christmas, and what better way to celebrate this festive time of year than with cookie making?

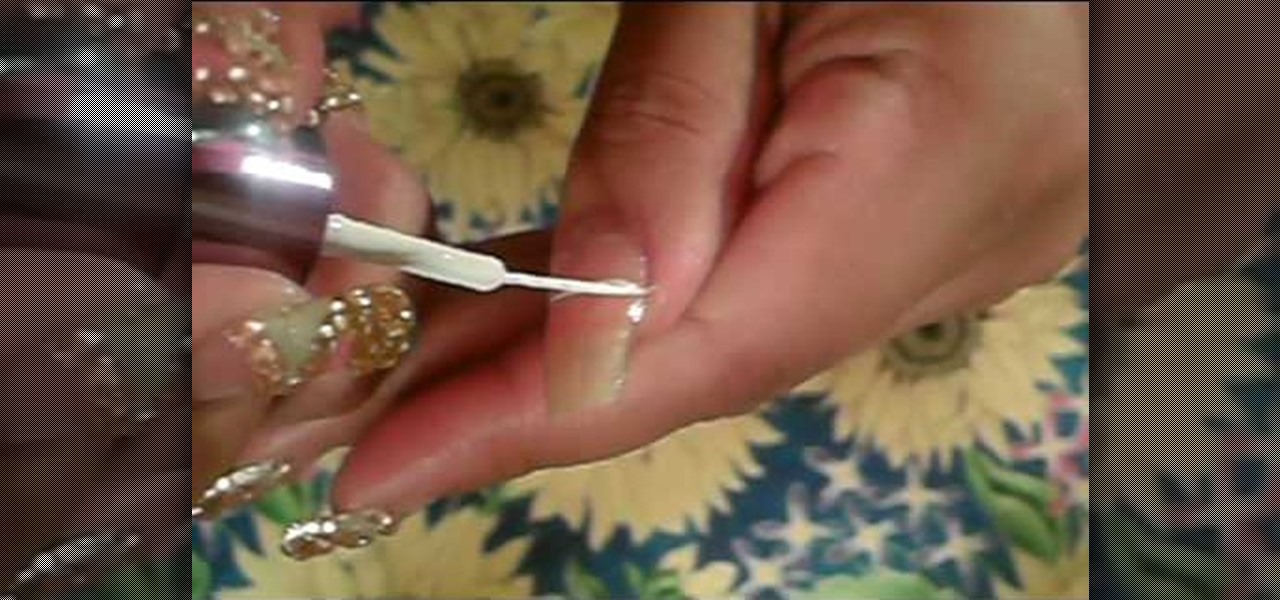
In this tutorial, we learn how to paint nail with a gold and blue rhinestone design. First, start off with your acrylic nail, then paint a white zig zag line throughout the entire nail. After this, apply a green nail polish to the top triangle of the nail. Next, apply a gold/pink nail polish to the triangle underneath the green. In the triangle underneath, apply a light green nail polish, and paint a pink nail polish underneath that. Add glitter to each of the different colors to match which ...

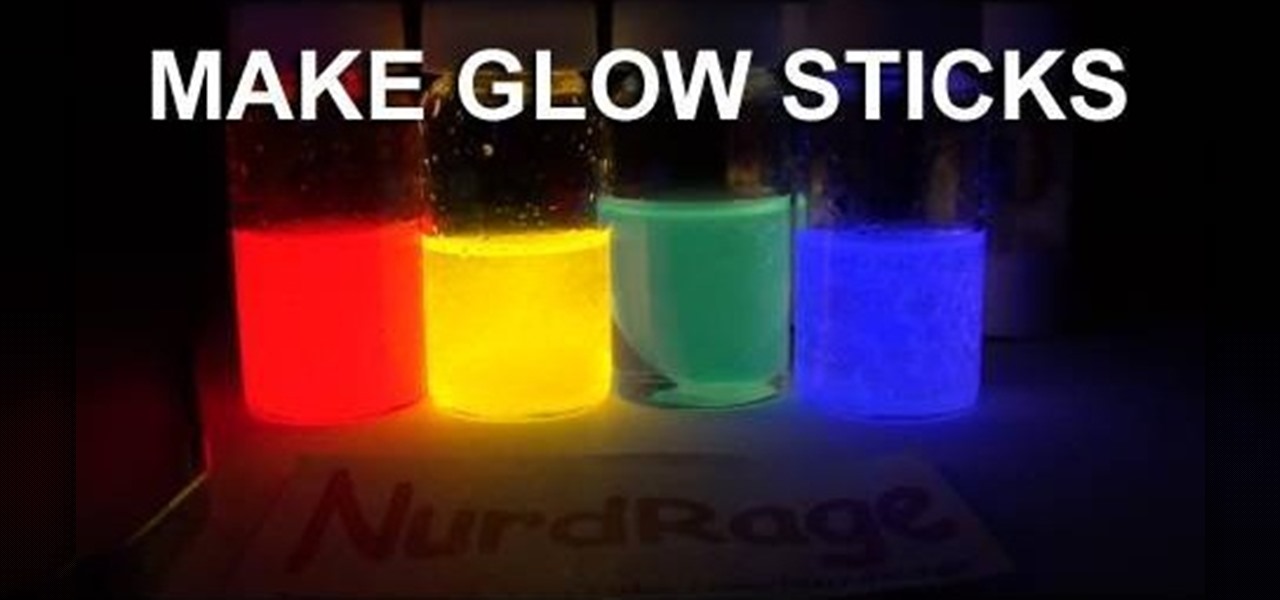
If you prefer glow sticks over candles during a power outage, then this how-to is for you! Although glow sticks are used as temporary light sources, there are other applications for them. Divers use them for night diving, fisherman use them to catch swordfish, and the military uses them for light markers, along with infrared versions used in conjunction with night vision devices. But with all these handy uses for glow sticks, the most popular is — recreational use, like dancing at raves, some...

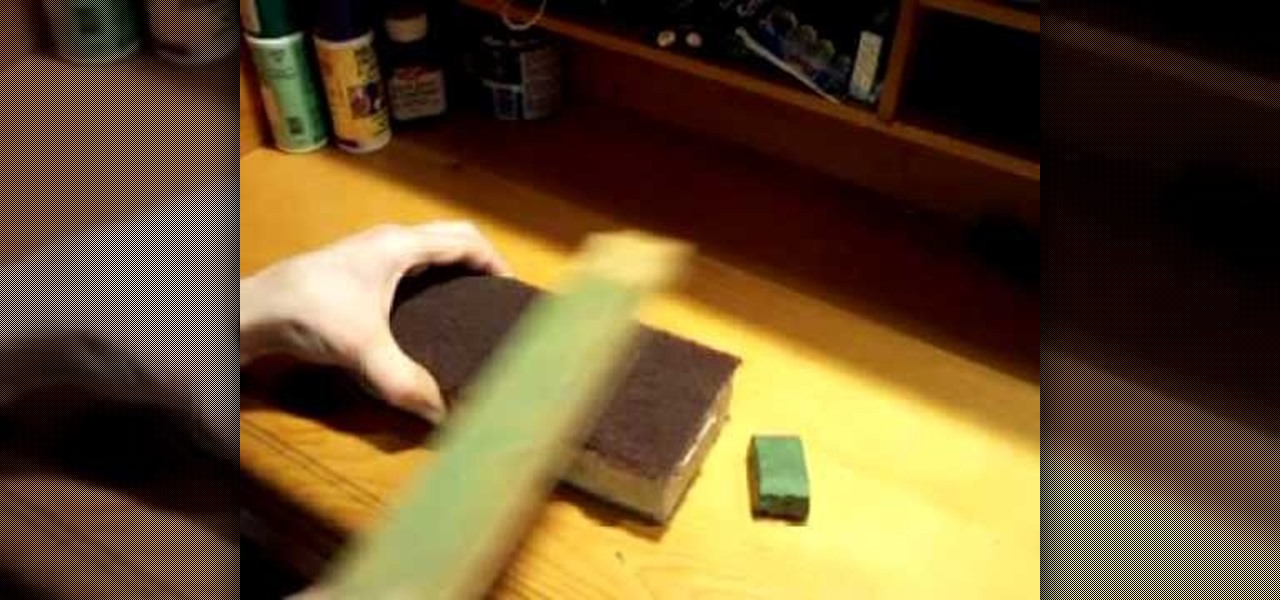
In this tutorial, we learn how to apply sharpening compound to a hone. First, remove the old compound by scratching the hone on scotch bright. Keep doing this until the compound is off and the hone is soft. To reapply, start coloring the compound on. Work your way from the top to the bottom, moving in an up and down motion quickly. Make sure you apply enough to where the hone is a darker color of green instead of a light green When you are finished, you will have newly applied compound within...

This video describes how to illistrate simple reflection and shadow tutorial using Adobe. The first thing you want to do is to get the image you are going to be working with, touch up the colors. Make sure the logo is cleaned up, and ready to use. Make it more useable by making it 140x25 cm. Make a copy of your imag, flip it upside down, make sure it is pretty close to the base of the other one. This will look like the first one has a reflection right under it. Next make a 142x 27 box, put it...

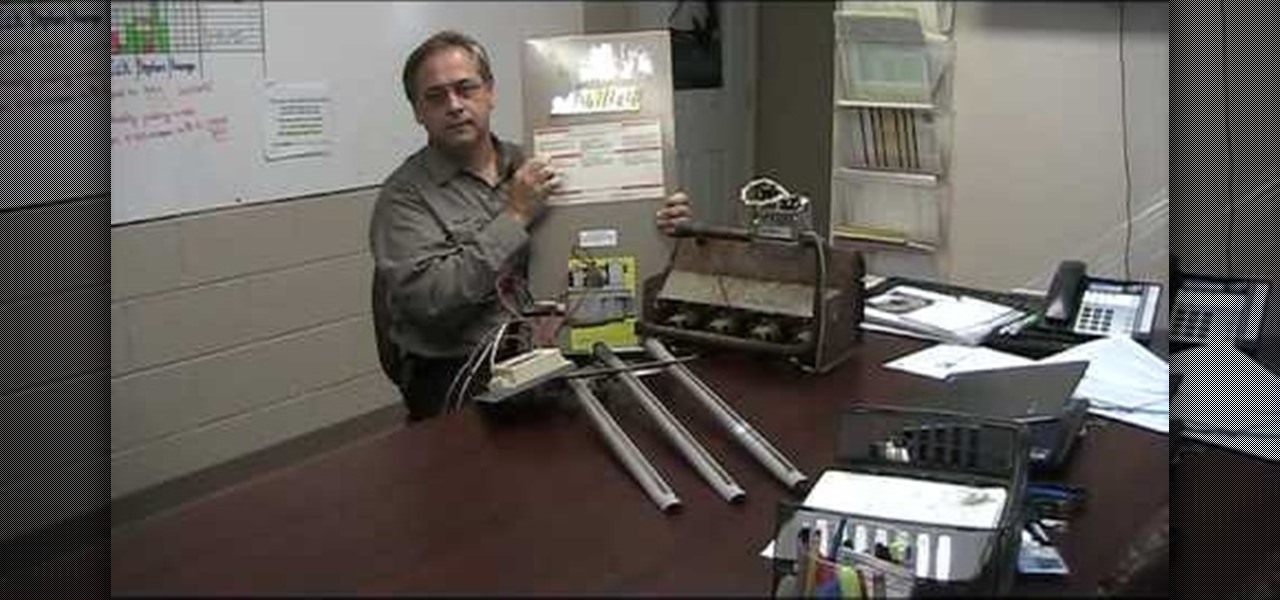
Do you have an old furnace that just won't stay lit? Are you constantly relighting your pilot light? Then this tutorial is here to help you. In this three part video series, learn how to diagnose the problem with your appliance and either fix it or ditch it.

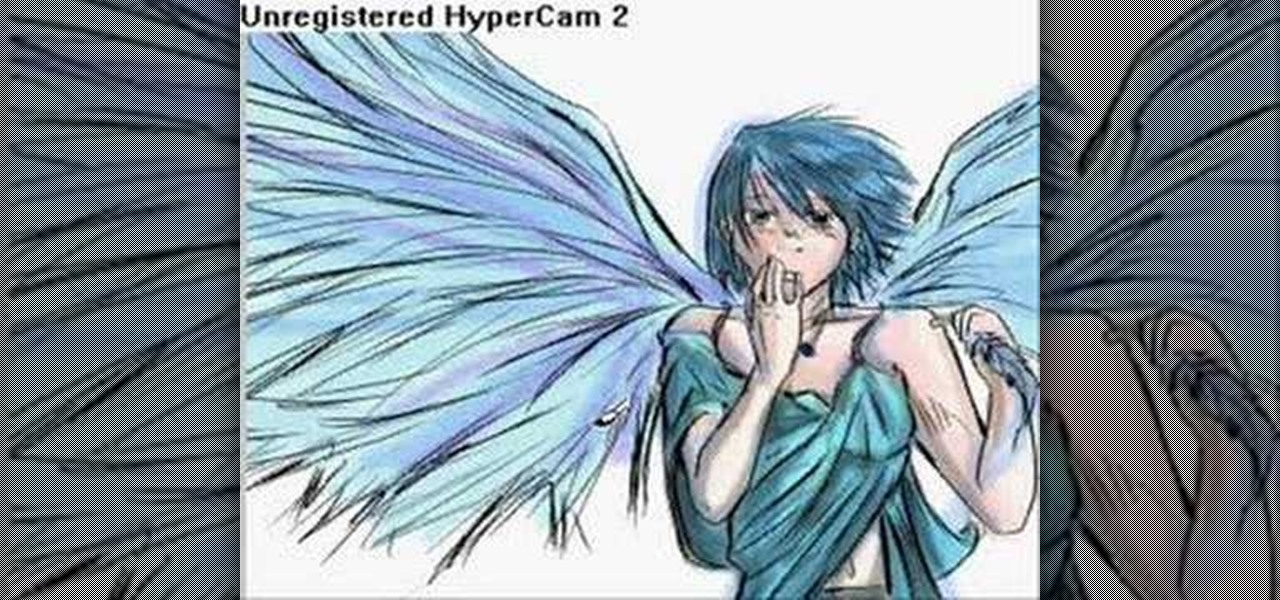
In this how to video, you will learn how to draw an angel. First, start out with the basic sketch of the drawing. Remember, eyes go in the middle of the head. Drawing the head first will help proportion the rest of the body. Use long strokes with the wrist to draw the hair. Try to make the hands the size of the face and try to make the fingers look like fish sticks. It is easier to draw if you study anatomy books. Next, erase the sketch and start going in with further detail. Exaggerate the w...

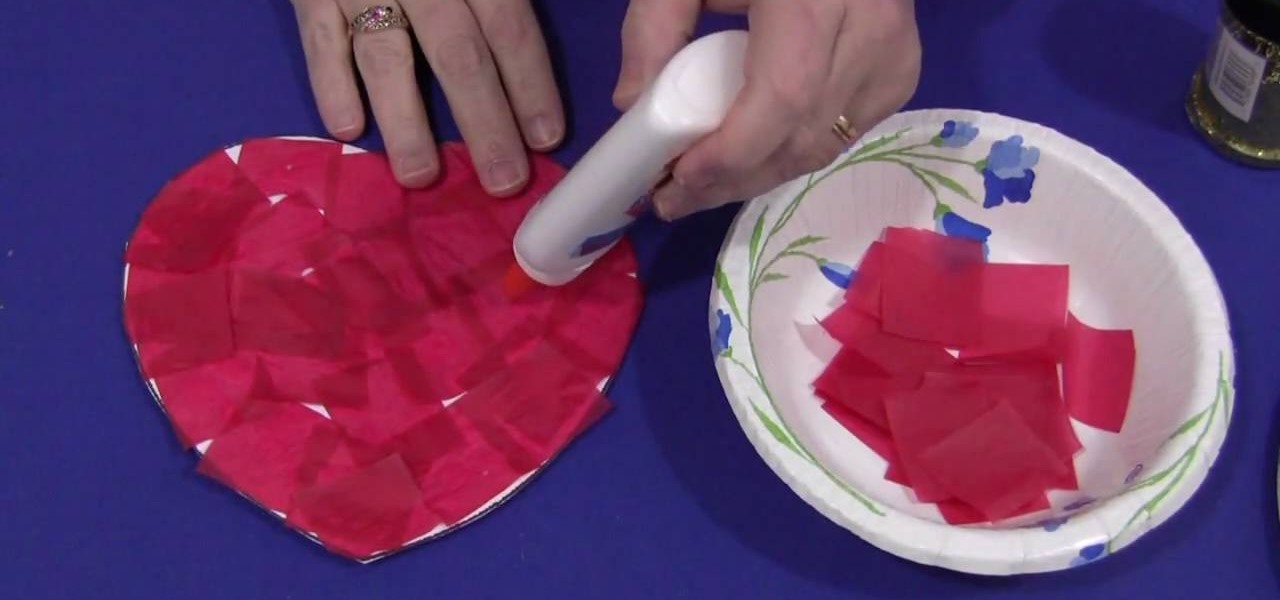
This video explains how to make a tissue paper heart with your kids. The first step taken by the instructor is to cut about thirty small tissue paper squares with the color of your choice. The instructor then takes a large piece of construction paper and cuts out a basic heart design then puts light dots of glue all over the construction paper heart. The heart is then covered in the tissue paper squares until the entire heart is evenly covered with the colored tissue squares. The last step is...

Make light saber glow effects in lsmakerThe author found freeware that helps create light sabers. The freeware is not as good as adobe after effects, but it will serve the purpose. Download the software from the website http://www.lsmaker.uw.hulpage.php?main=lsmaker.html. Extract the folder. Open lsmaker.exe. Save the extracted file to the desktop. Select import. Add either picture or video file. Change the saber color to red. Click ok. The blade needs to be white. In the dialog box change pi...

Danielle Proud shows you how to make a beautiful Christmas table centerpiece for your Christmas dinner! Your guests will be amazed at how incredible your table looks. This amazing display catches light and looks simply magical. All you need is an old pair of deer or elk antlers, some sticky-backed crystals, and a little time and creativity! First, take your antlers and sand them until they are smooth and the color you like. Then, take different sized crystals, even different colors if you pre...

Garden of Imagination shows viewers how to make realistic looking bread loaves for a dollhouse. First, you need a beige ball of clay or a color that looks like that of bread. Take your ball of clay and warm it up in your hand. Lay it on your table. With the center of your palm, press the ball of clay down. This will give you a nice bread shape. Now, take a twisted wire and make a tic tac toe board on your bread to act as creased. Use rolled up tin foil to give the bread texture. Now, use chal...

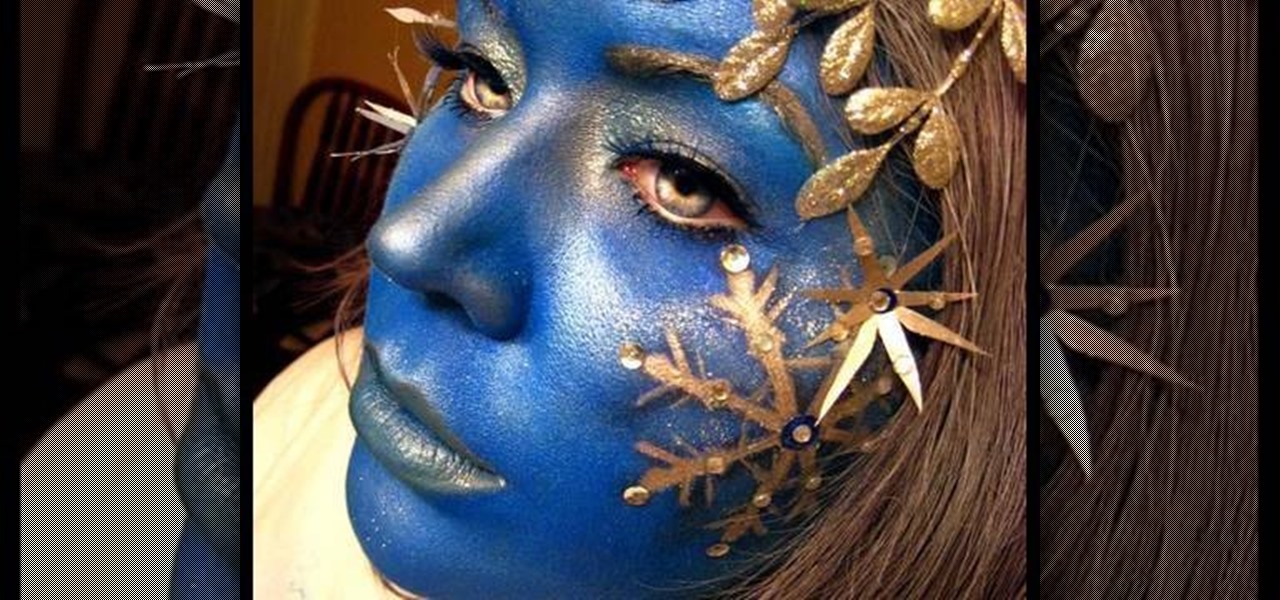
Goldiestarling teaches you how to apply a snowflake fairy makeup look. You first need to draw the snowflakes on some card stock and then cut them out. Apply those to the face using eyelash adhesive. Use a moisturizer and then a blue powder using a short haired brush. Apply a frosty white metallic color around the eyelids. Also add a darker blue around the snowflake edges. You can also add small rhinestones and glitter to the snowflakes. Use a light brown lipstick for the lips and blend it wit...

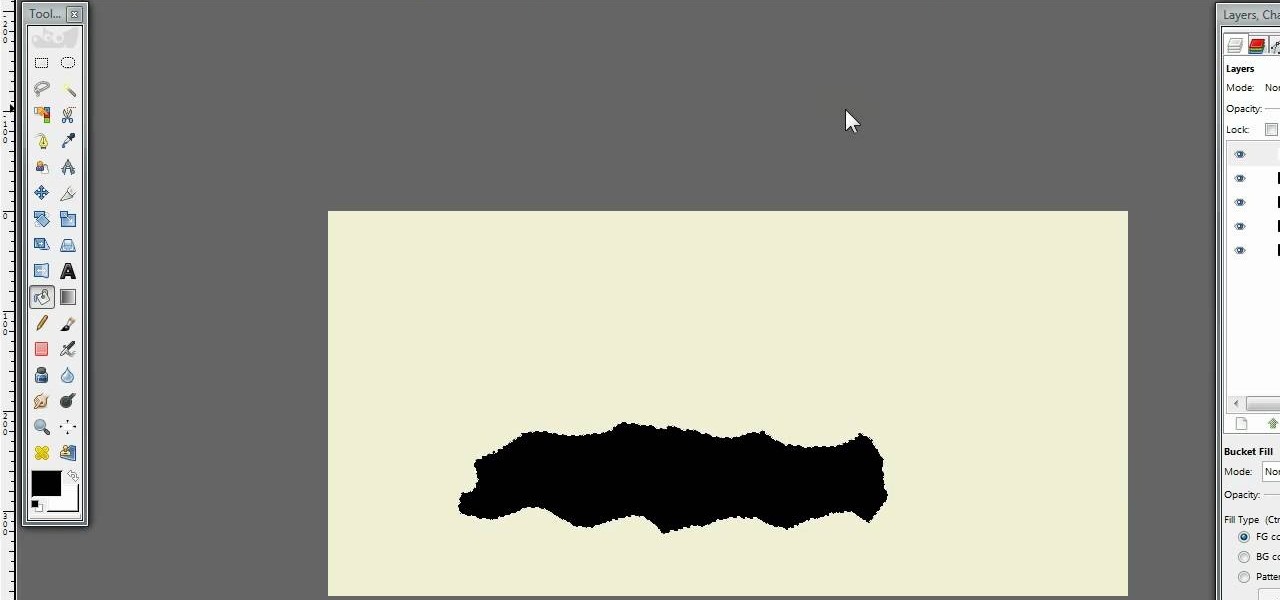
Hulldo teaches you how to create your own headlines in GIMP. You start off with a new file and paint that a light brown. Make a selection on the file and create a new layer on top. Color that layer black and add Gaussian blur. Put that layer beneath so it will make a shadow on your selection. Create the start of a gradient or simply a Grey layer on the bottom of the headline. Then add your text with black color. You can duplicate these layers, reside the selection and change the text. You are...

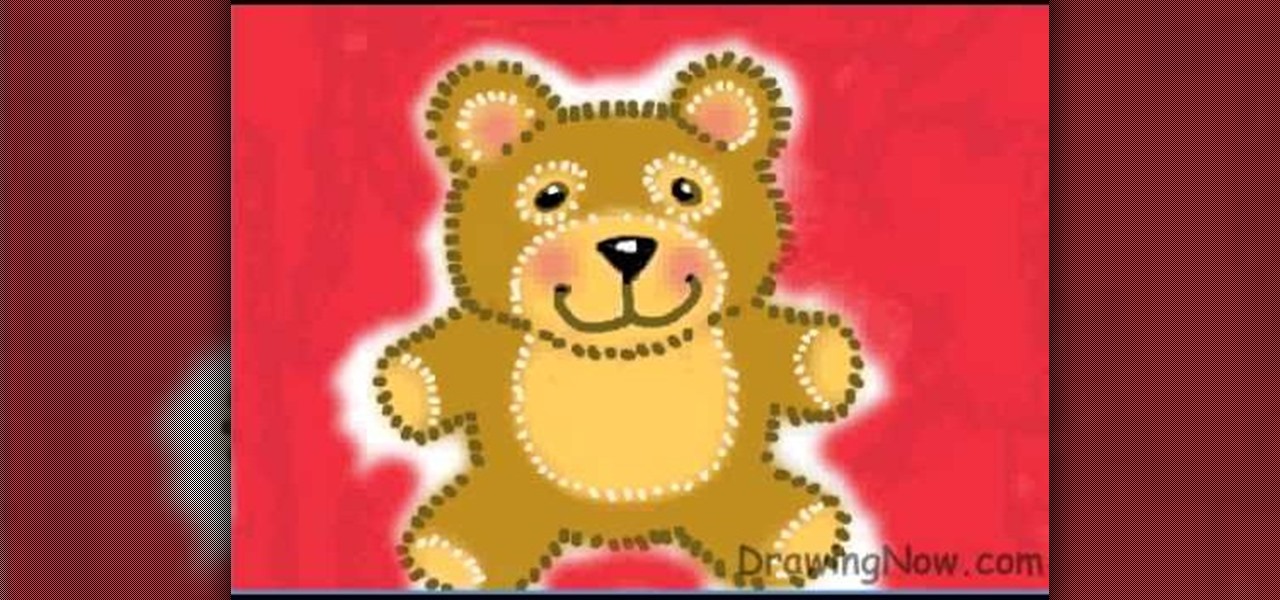
This video is about how to draw a teddy bear For this you have to remember only a few easy steps that are the following

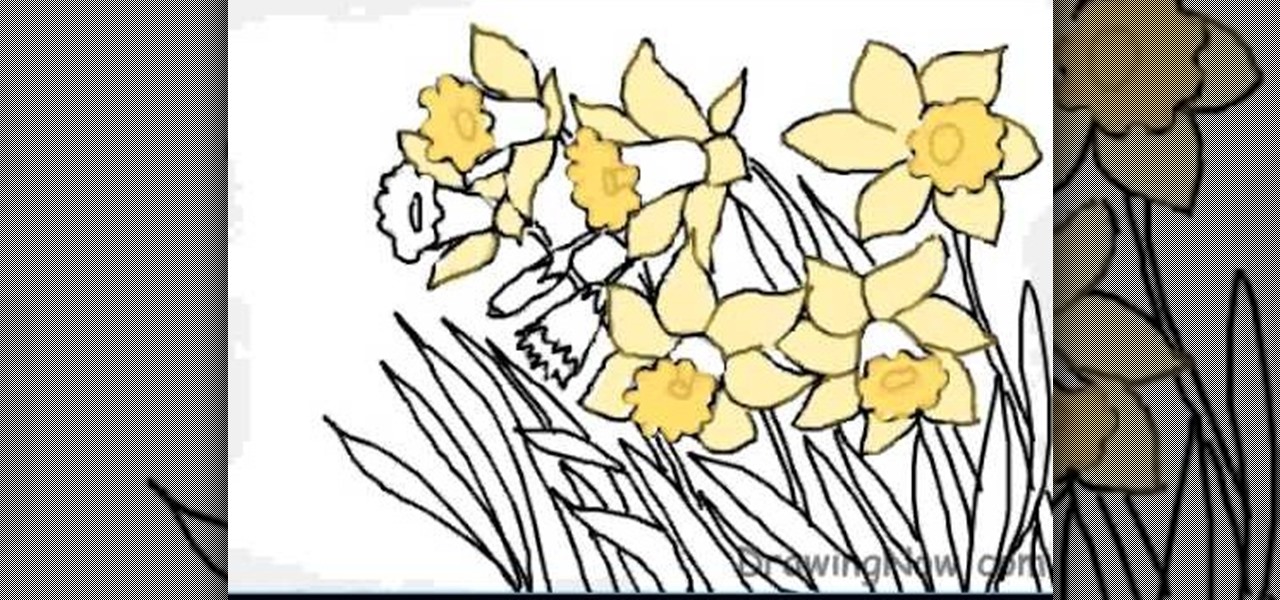
The first step is to draw the daffodil's outer parts carefully. The second step is to draw the circle shape for inner surface of flower.

Edbassmaster teaches you how to draw an eye with a ballpoint pen. You start with a clean piece of paper and a ballpoint pen. You draw an oval and then a circle in the middle of that. Inside, in the middle, you will need to draw another small circle. You will do these in a very light shade, almost like a pencil. Then add more color to the top of eye and add lashes. Add more detail, like filling in the eye color and drawing corner of the eye. Gently add the lower small eyelashes and finish the ...

Learn how to create a cell phone icon in Photoshop with this video tutorial. Draw a rectangle of radius 30 pixels by holding shift key. Right click on the toolbar and select Stroke button. It will open Layer Style dialog box. Set stroke color and set size to 2 pixels. Select Stop Color set little light red color and click on OK. Now, check on Inner Color option change size to 4 and Capacity value to about 60%. Now select Ellipse tool which will draw a ellipse and cover half of rectangle. Sele...

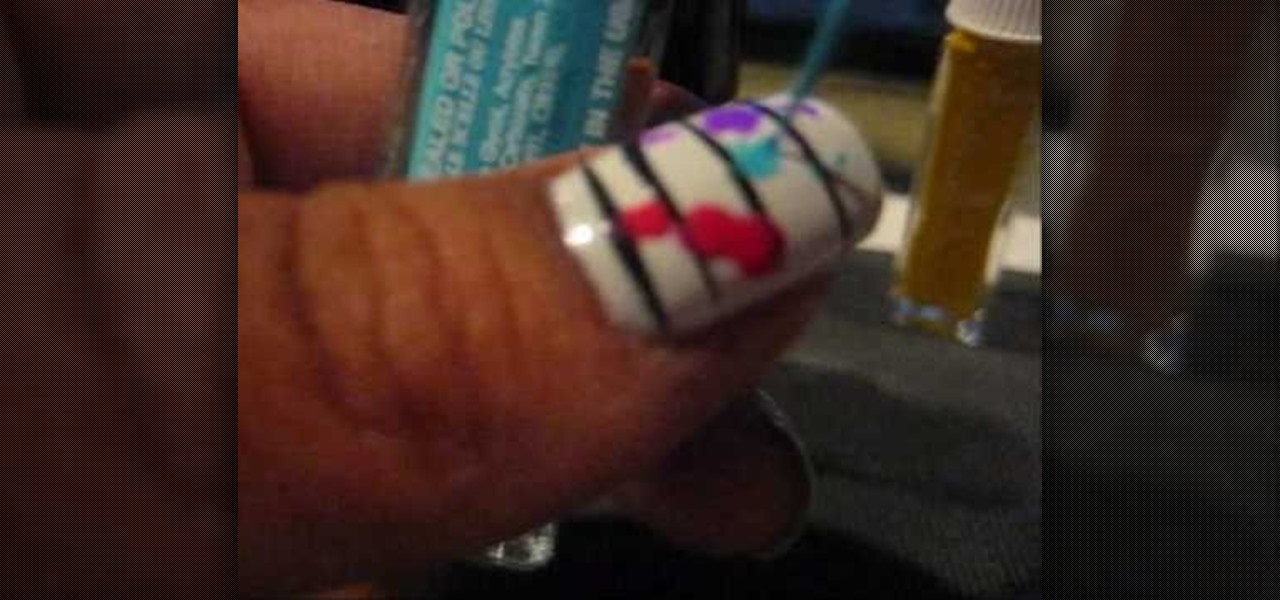
This tutorial shows a quick, interesting 80's inspired neon colored nail design. Using a base coat and then 2 layers of a while polish will establish the white background for these nails. Using a light, thin brush, make thin lines horizontally across your nails in a kind of blinds look, running all the way across your nail. For the paint-splattering effect, use small amounts of the desired colors and lightly stipple it over your nail, to simulate a splattering effect. This technique will crea...

Looking to appease your creative side? Paint with oils! You Will Need:

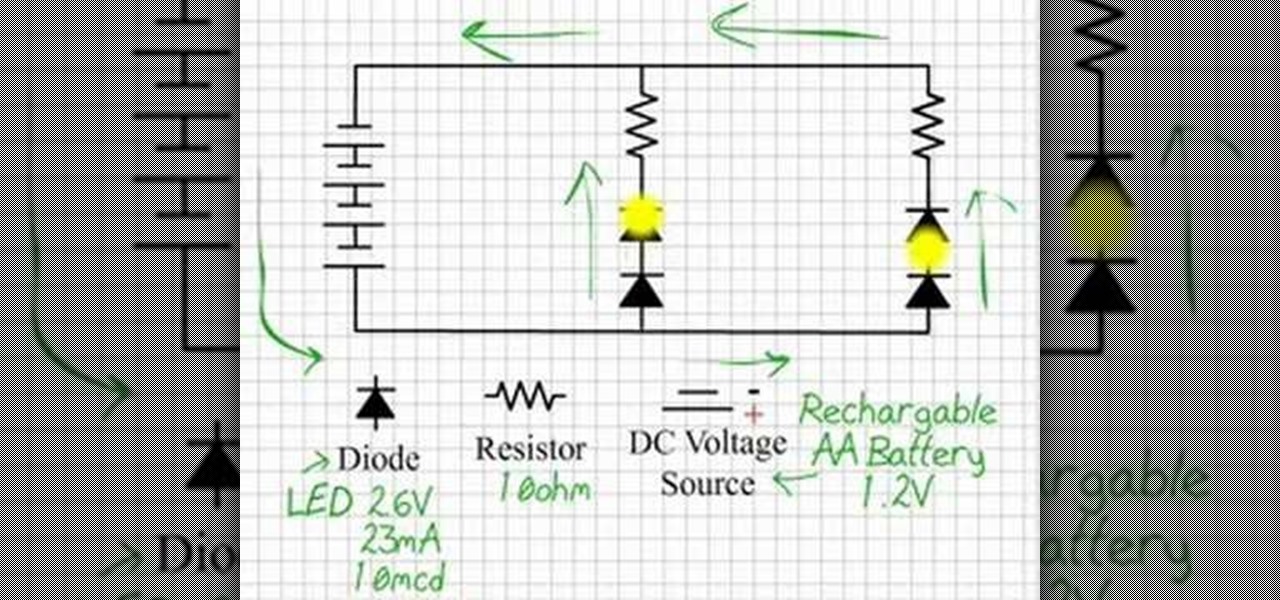
By using LEDs that only put out a little light the eyes can be lit in dim room light but still appear white, the moment the eyes are in shadow they glow bright red. Watch this video tutorial to see how to make glowing LED creature costume eyes for your film or costume project.

It's Magic 101. Can you mimic the master? This magic how-to video will show you the trick. Effect: Taking two matches from different matchbooks (one black, one brown), you cause them to visibly switch places...right under their eyes. It's demonic; it's the Quicksilver Matches.

Watch this instructional drawing video to draw a portrait of George Clooney in chalk pastels. First draw the outline and fill in a basic skin tone. Build up color and tone by adding layers of pastel, working from light to dark. don't worry too much about blending until you have put down most of the color. Always pay close attention while drawing the eyes to make sure your portrait of George Clooney accurate and convincing.

Watch this instructional drawing video to draw a portrait of Lena Horne in chalk pastels. First draw the outline and fill in a basic skin tone. Build up color and tone by adding layers of pastel, working from light to dark. don't worry too much about blending until you have put down most of the color. Always pay close attention while drawing the eyes to make sure your portrait of Lena Horne is accurate and convincing.

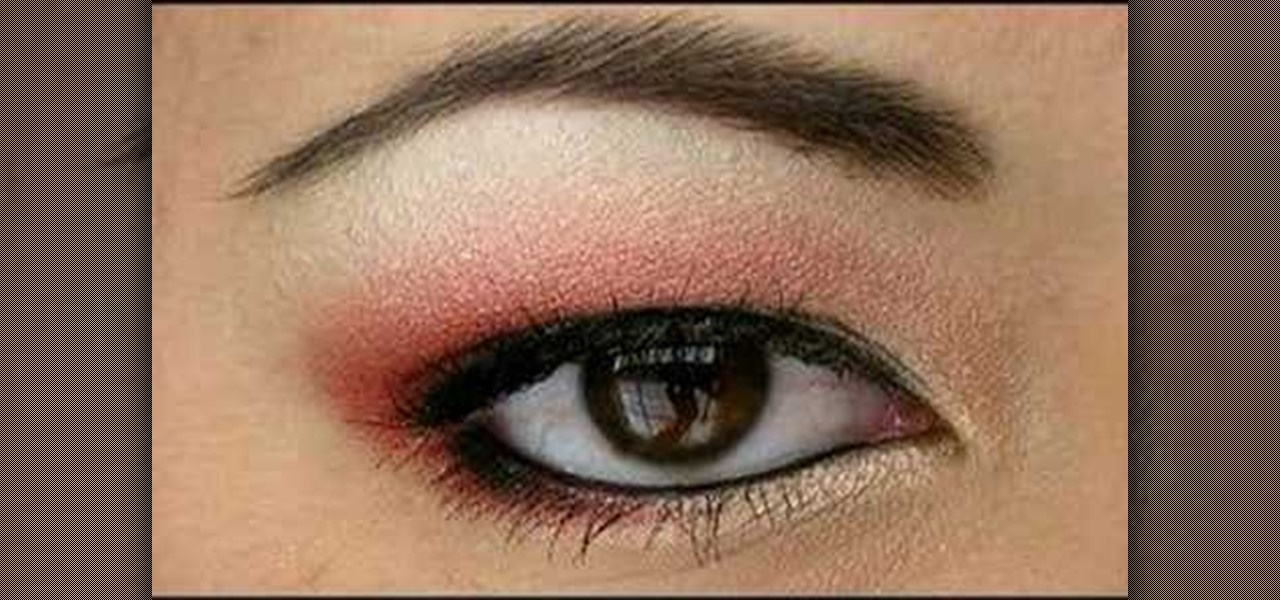
The colors demonstrated in this how-to video are especially flattering on brown eyes and making them pop. Use Pur Minerals's color correcting primer in peach, 4 in 1 pressed mineral makeup in medium dark, mineral split plan in mineral glow/mineral light, blush in plum adalite, universal pencil in natural (eyebrows), eye prep, beauty in numbers eyeshadow palette: numbers 10, 8, 3, MAC kohl power pencil in feline, Revlon Colorstay liquid liner in blackest black, Model Co. lashes, MAC zoomlash m...

Make your eyes shine! Watch this video to learn how to use gold and red eye shadows to make your eyes sparking

Mark Wallace explains how to set up butterfly lighting (AKA Glamour Lighting; AKA Paramount Lighting)with three light sources. This video shows a nice soft lighting underneath the nose. Used if you want to create a strong powerful look, or if your subject has strong cheekbones or jawline. This type of lighting was used in the filming of "Sin City".

In a smaller interview setting, the lighting will be much different than a bigger scene. You will need to have a good focus on your subject's face and body as well as a clear background so your viewers don't get tired. In this tutorial, learn exactly how to set up your lighting for a smaller setting such as an interview while using a Canon EOS 7D camcorder. This clip will take you through a total step by step lesson so you can get started making great films at home.

This is a great instructional video on how to build an 8000 lumen CFL and makeshift rain shield. First you need build a PVC frame. For that you will need 3-3/4 'T'S, 4-12" 3/4 pipes,2-2 1/2 " pipes and 4-3/4 caps. You will also need 1-1 " 'T'. 2- 1" 1" pipes and 1-1"-3/4" reducer. Hold the job in a mechanical vice and cut the material into required sizes and make the snap fittings. Then friction fit the rest of the components into this stand. Then lastly you have to make the light box. That i...


