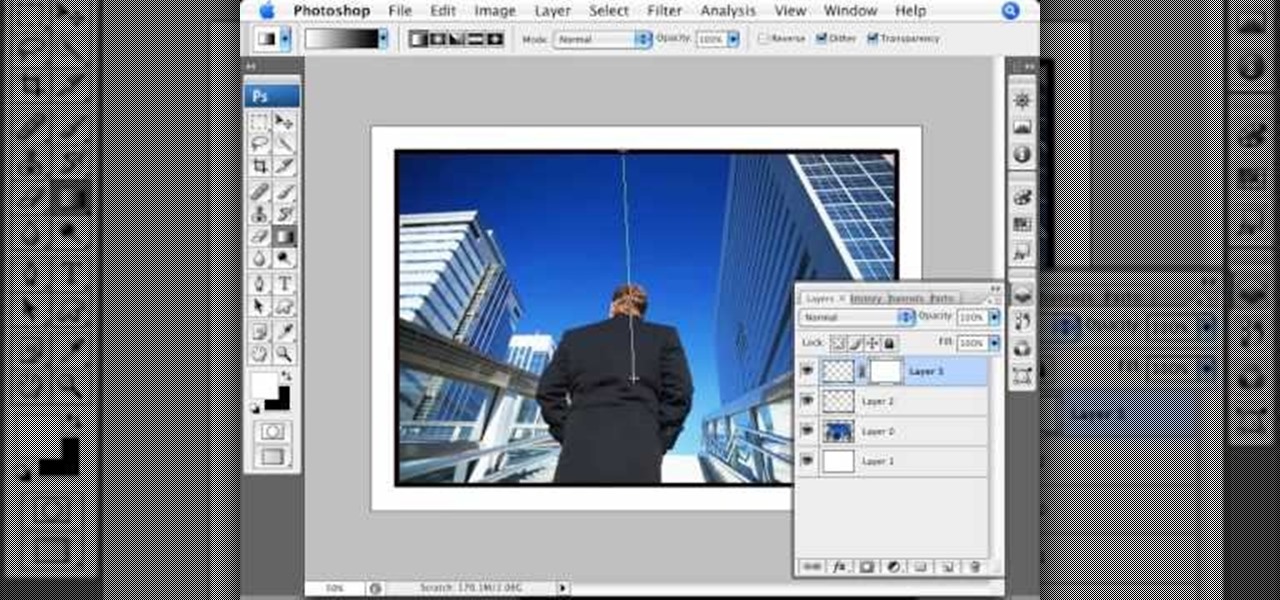
Don't know how to add some line frames in Photoshop? Well, this video teaches the viewers how to exactly add line frames, or borders for their images using Photoshop. First of all, change the background layer into a normal layer. Next, go to image size and add in some more pixels in order to allow room for the border. Next, add another layer and set it to transparent. Now select where you want your border to be, then go to strokes, and select a color. At this point, the viewer should have a b...

A combination of red and gold eyeshadow is great for emphasizing green eyes - this is because red and gold are complementary colors to green. For the base, apply a clear or skin-colored base to the entire eye area. Use a highlight base just beneath your eyebrows. Blend it in. Use a black liquid base on the upper eyelid. For eyeshadow, start off with a shimmery gold by putting it in the inner corners of the upper lid. Take your red and start off slightly in the middle of your eye, where you le...
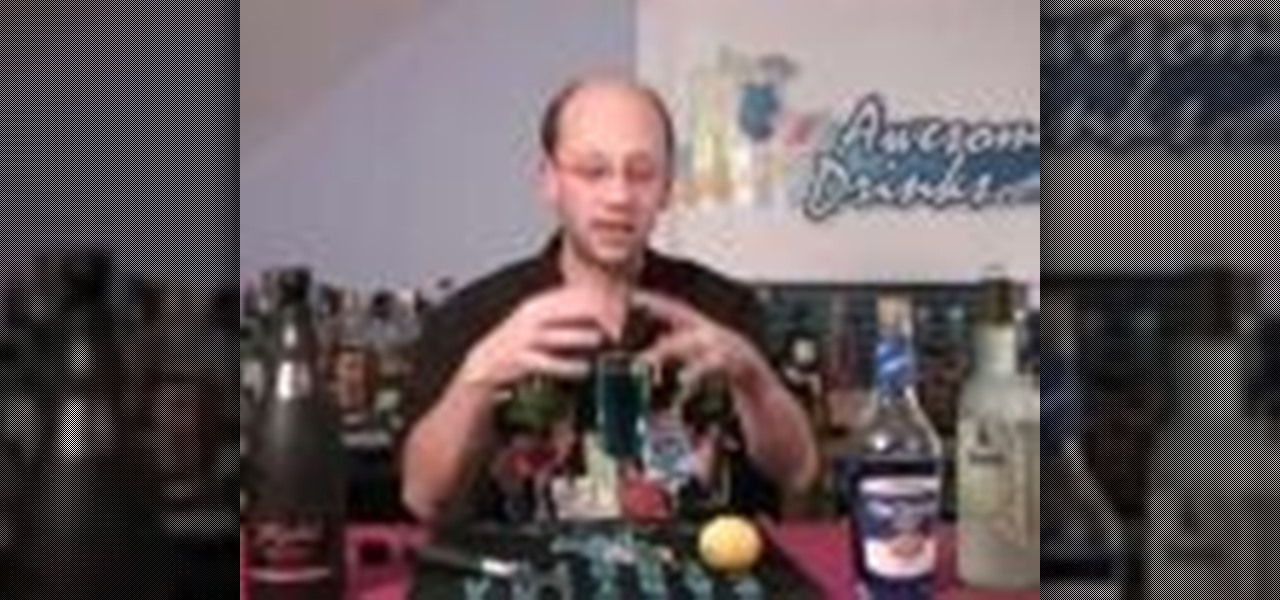
this cocktail is called Lady Joy. Its a cocktail for new years eve parties. it is a blue colored cocktail which consists of lemon rum, blue curacao and champagne. First take a champagne glass and fill it up with 3 oz. of lemon rum. Then add another 3 oz. of blue curacao which will give the drink a blue color and an orange flavor. Finally add champagne as to fill up the glass and top it up with some lemon zest. Its a more fancy option of serving drinks at your party.
This how-to video produced by Photoshop Universe gives step-by-step instructions on how to batch automate a process in Adobe Photoshop. With this tutorial you'll be able to learn to correct white balance, enhance colors, resize, and save for the web whole folders' worth of images in one go. The first step to doing this is to open up one of the images in your folder and correct the white balance, enhance the colors, resize the photo and save. The next thing you want to do is to record all of t...

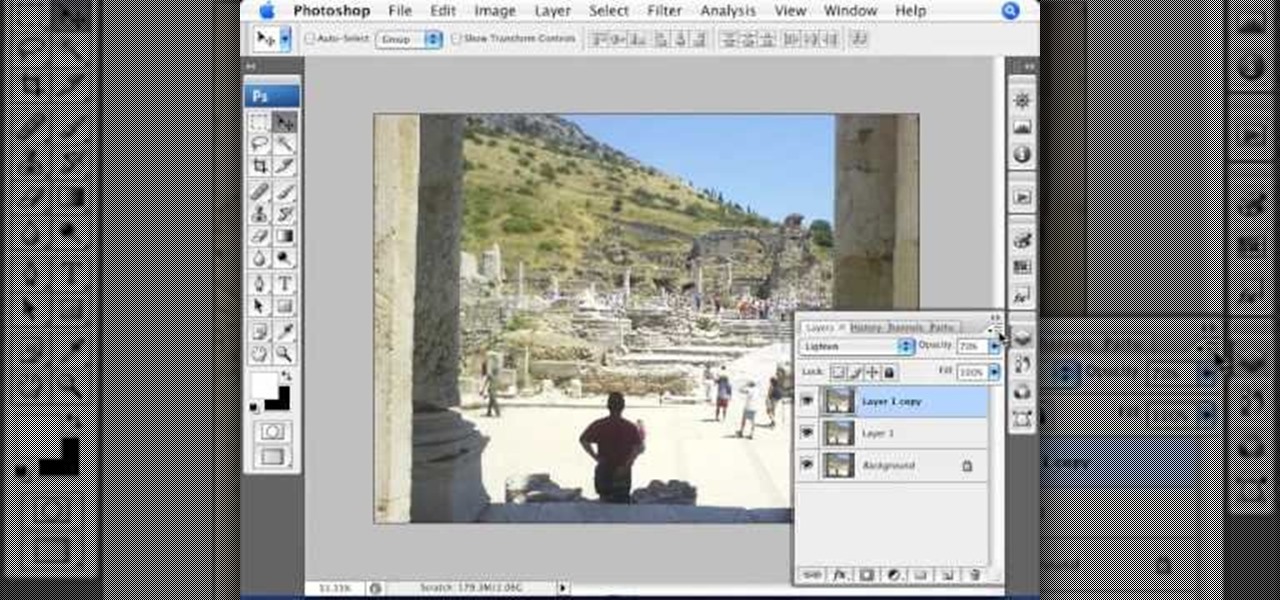
This video shows you how to enhance the sky in pictures using a program called Adobe Photoshop. With this program you can use a gradient tool to layer different areas and change the color to enhance the picture of the sky. You can also invert colors and do a lot of different things using this tool. It is a very helpful tool to have because it drastically changes how bold the sky looks and could help a photographer out a lot to learn this skill.
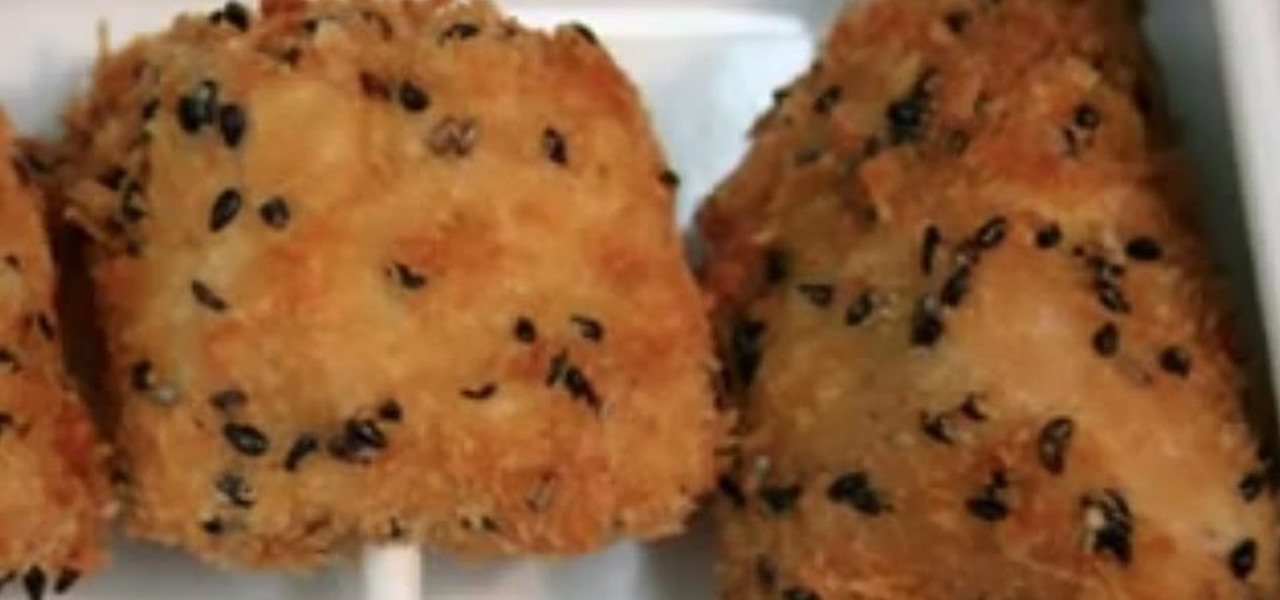
Chef Toben Kochman from Food network teaches the secrets of making panko-crusted turkey lollipops for an appetizer. You will need: Turkey breast, panko bread crumbs, sesame seeds, whipped eggs, flour, salt, pepper, lollipop sticks, and cranberry sauce.

Ingredients: 4 cups uncooked white rice
This video is a how to guide on how someone can add multiple colored sections to a photograph. It goes step by step to guide viewers on how to accomplish the color effects. Although the video is only 5 minutes long it provides a great wealth of information. However the speaker is quite fast so using the pause button is highly encouraged for those not proficient with computers, or those not very quick with a mouse. A very informative video that taught me something I did not know how to do in P...
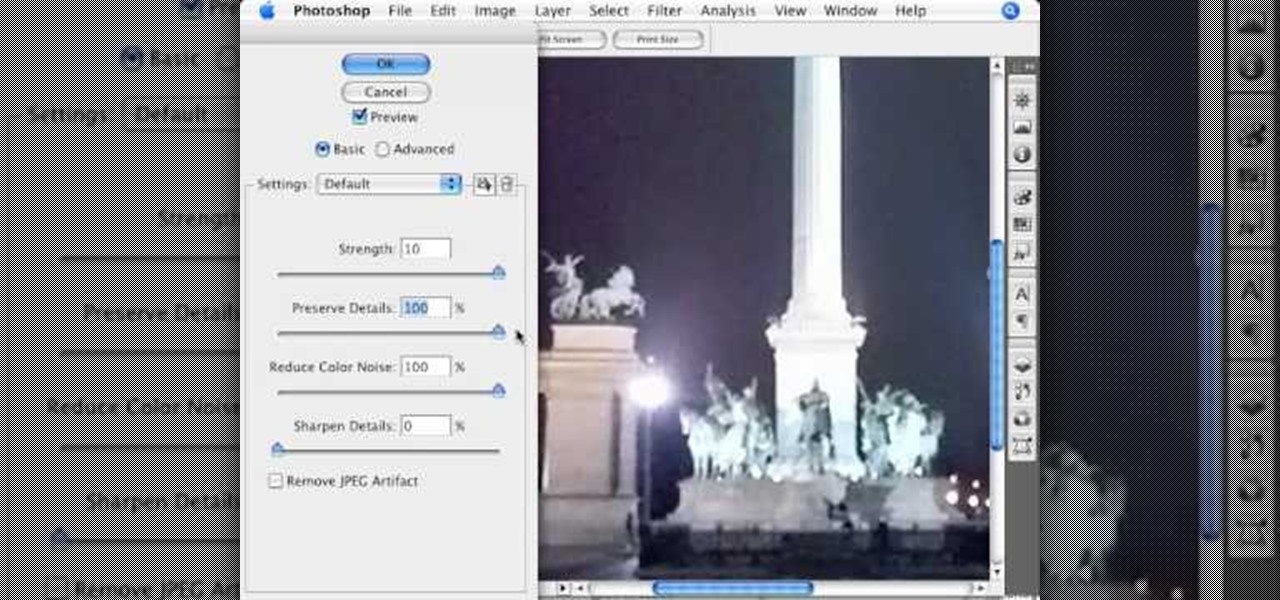
In this video by Photoshop Universe we learn how to reduce noise in a photo in Adobe Photoshop. First we learn that there are two types of noise in a photo, luminance and color noise. Next we learn that reducing noise is balancing act, as we take away noise we also lose some detail of the image. Finally the author goes over the 3 steps it takes to reduce the color noise that can be present in photos. Using these methods we learn that we can quickly clean up images that have noise in them in P...
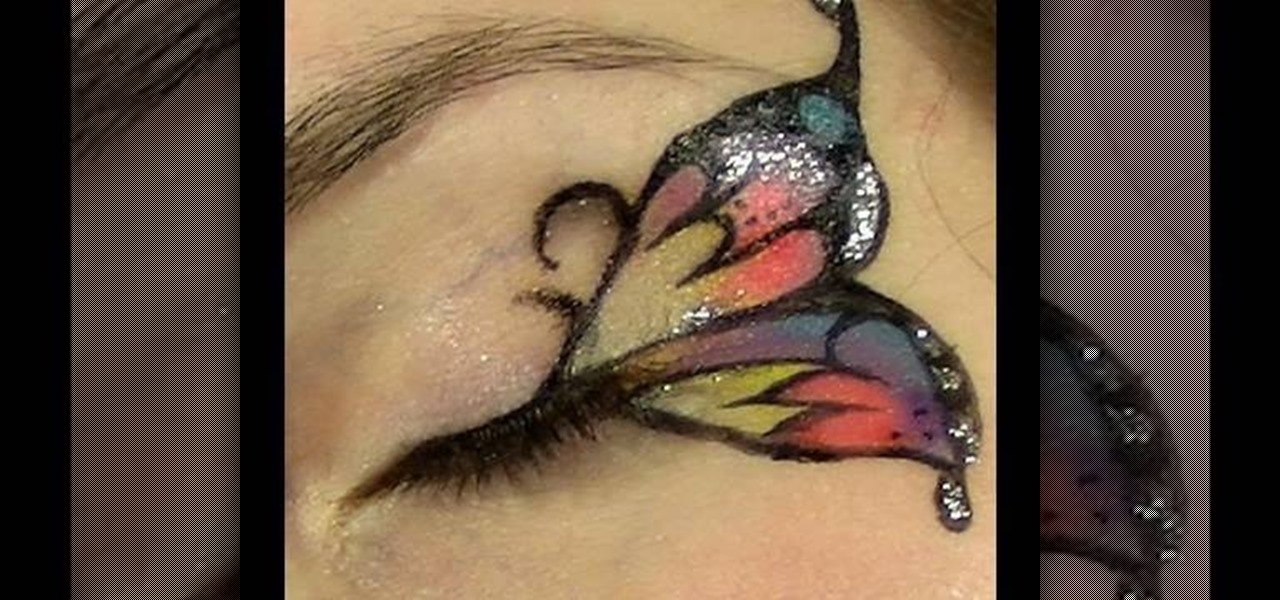
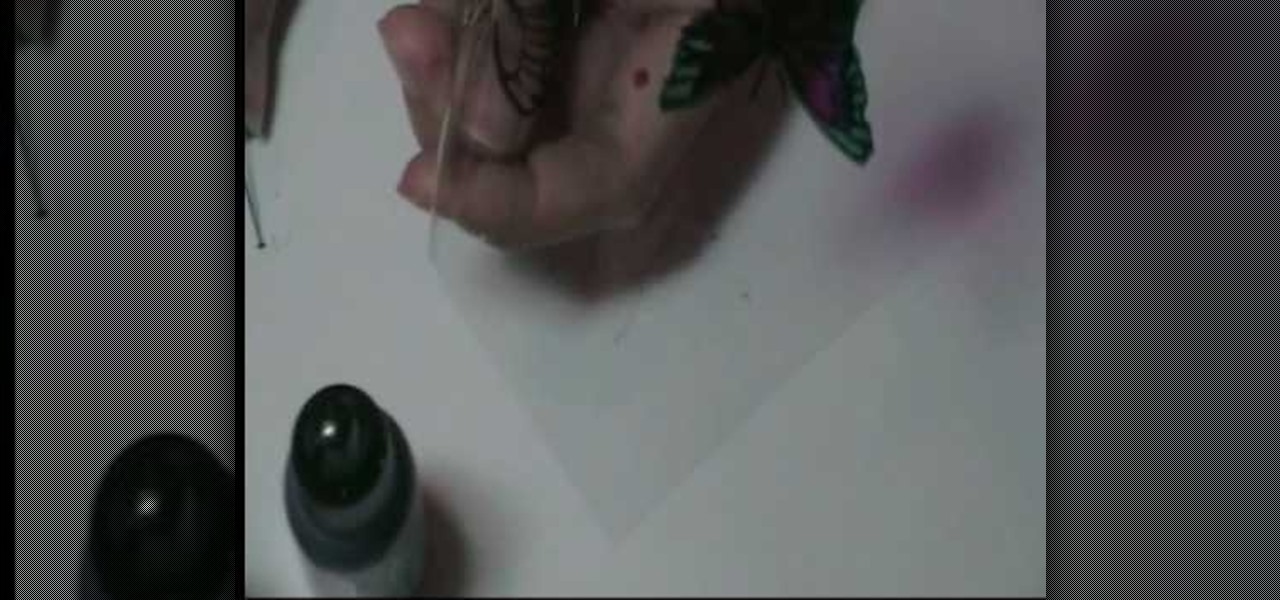
Here is an instructive video that shows how to creatively design your eyes with butterflies. From the very first touch of the pencil to the face, the instructions on how to create the butterfly are explained step by step including a description on what size to make the butterfly according to your own face. The colors are covered and the technique on how to apply the colors is also included. There are also unique add-ons offered if you decide you want to go a little further with it.
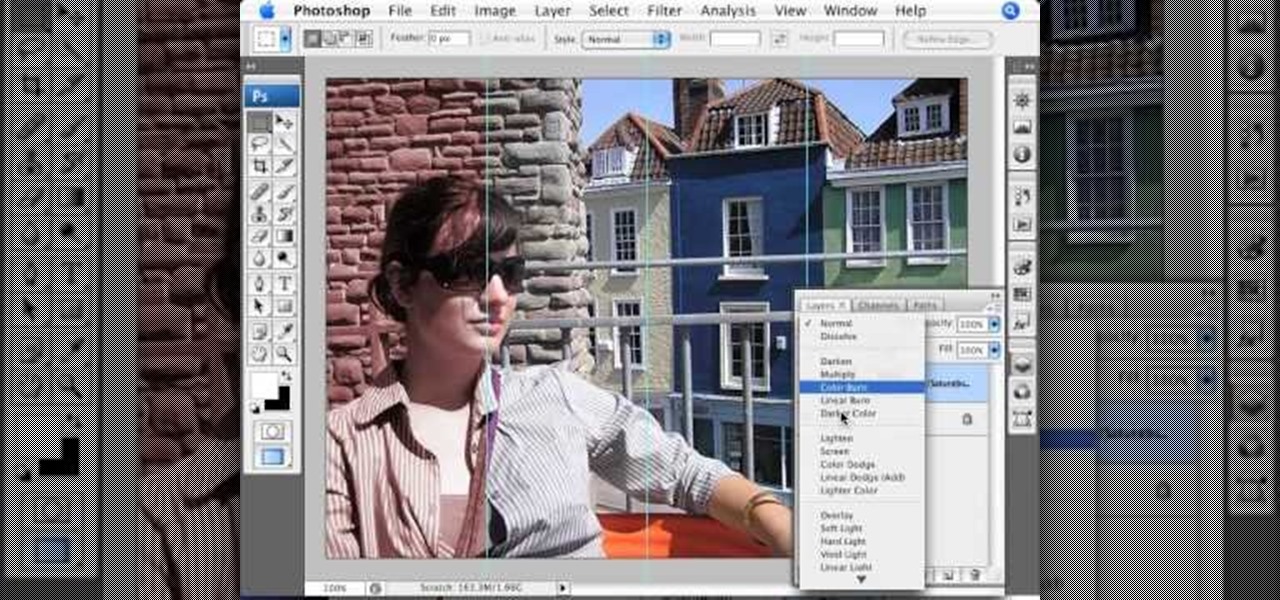
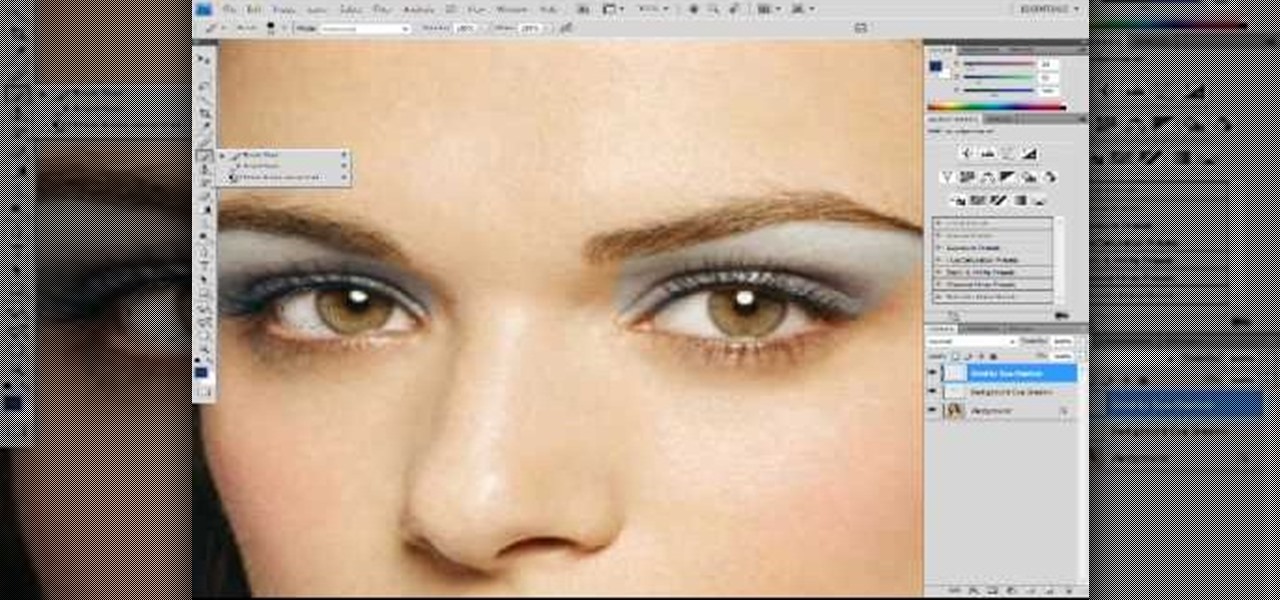
Did you forget to apply makeup before you had your photo taken? No worries, this tutorial will teach you how to add eyeshadow and blush to a photograph using computer software rather than a makeup brush. This tutorial will teach you how to create layers, change brushes and choose colors in Adobe Photoshop. It will also walk you through step by step how to apply and use layer modes to blend the color into the photography. After you learn the skills taught in this Photoshop CS 4 tutorial you wo...
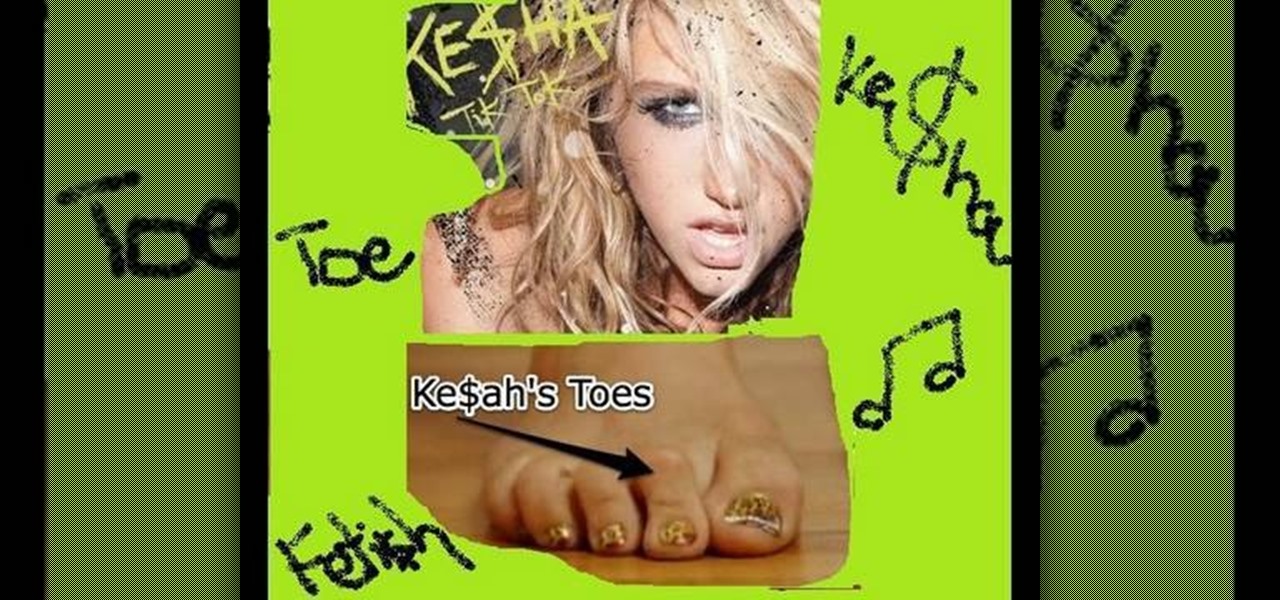
This tutorial teaches you how to do the same nail design as Ke$ha from her video "Tik Tok" had her nails done. First you apply a base polish to protect your nails. Apply a gold polish all over the nail, about three solid coats and then let them dry. Paint on a rich wine color to the corner of each nail end. Use a dotting tool and clean polish to pick up the rhinestones. Apply a little bit of nail glue on the seam of the two colors to help the Rhine stones stay put. Take a fine tip brush with ...
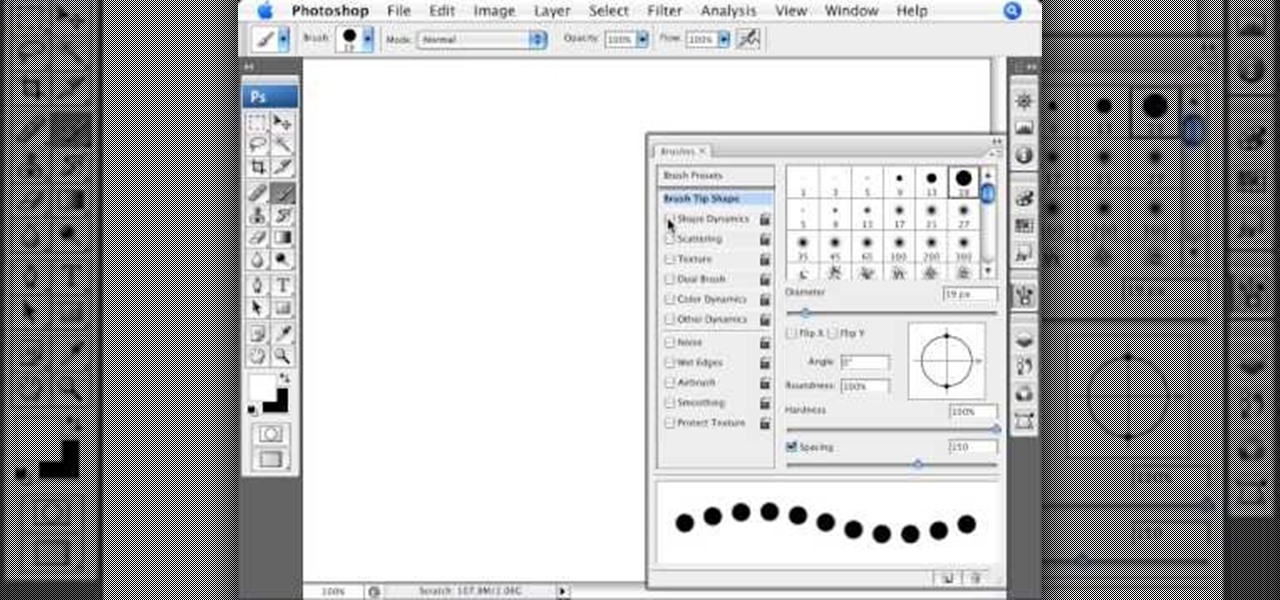
In this tutorial Photoshopuniverse describes how to create dotted lines in Adobe Photoshop using the brush palette. First create a new blank document in Adobe Photoshop. To open brushes palette, go to menu Window - Brushes. By adjusting spacing and hardness of brush under Brush Tip Shapes menu you can draw desirable dotted lines. To get uniform circled dots uncheck Shape Dynamics box. By holding the shift key click and drag to get a straight dotted line. To create bullet holes or perforated h...
Tired of the lame dull background in Finder windows? Conveniently, Apple integrated a feature which allows you how modify the color or image that is displayed in Finder windows. This video will show you how to modify these settings to snazz up your Mac.
The Red One Camera has loads of menu and sub menus to explore. In this video, we dive into the video menu button on the back of the Red Camera. The focus is the video sub menu and all the feature contained within, including color, gain, and detail.
This video series shows you different patterns for solving the Rubik's Cube. The four patterns are a different colored dot on each side, a cross and an X, a pattern with an X on each side and the last pattern is 2 sides with solid colors and 2 with diagonals.
This step-by-step instructional video shows how to change the color of your optical mouse's LED light.
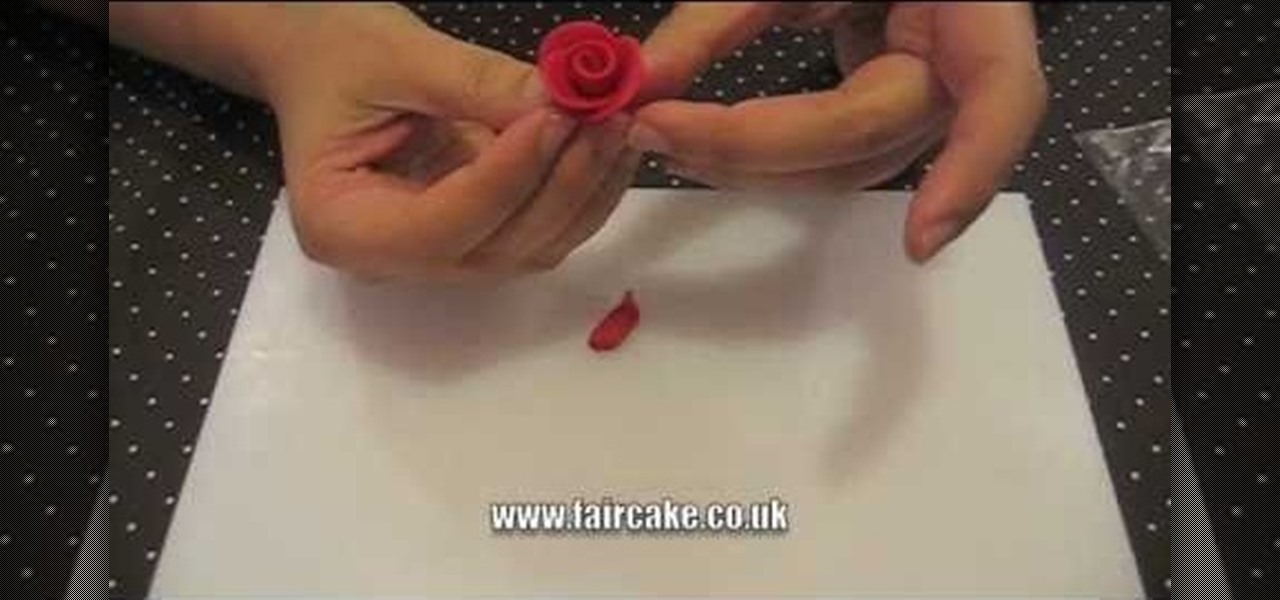
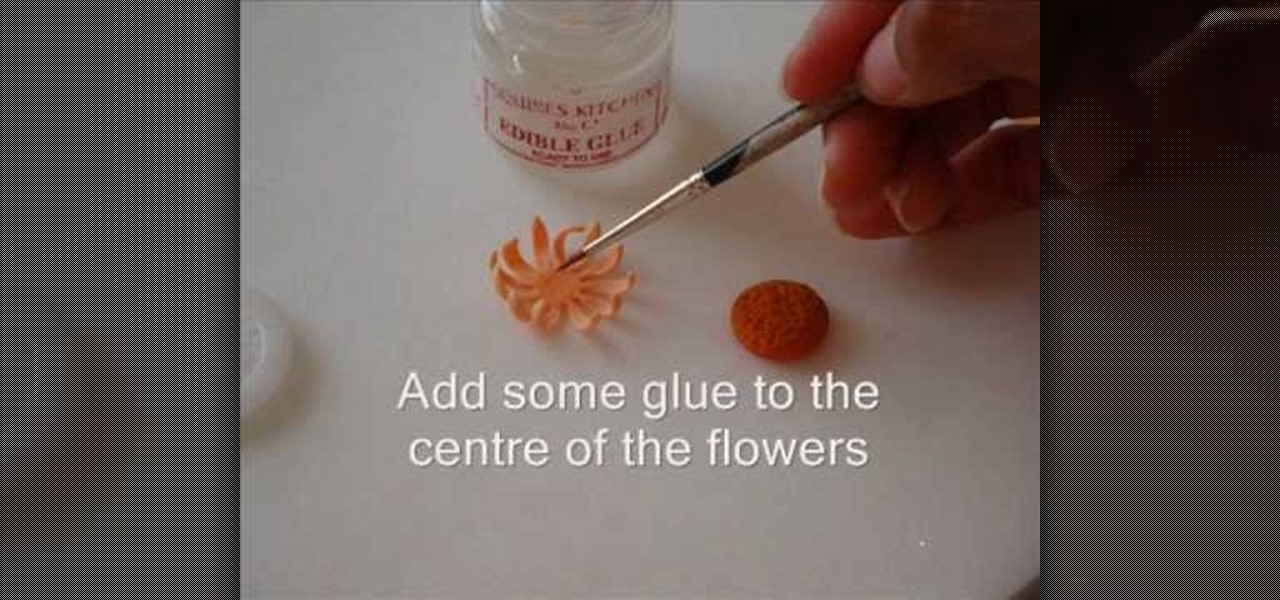
One of the fastest ways to turn a boring, white fondant-covered cupcake or cake into a beautiful, impressive work of art is by adding roses. And you're even better off if these roses are edible.
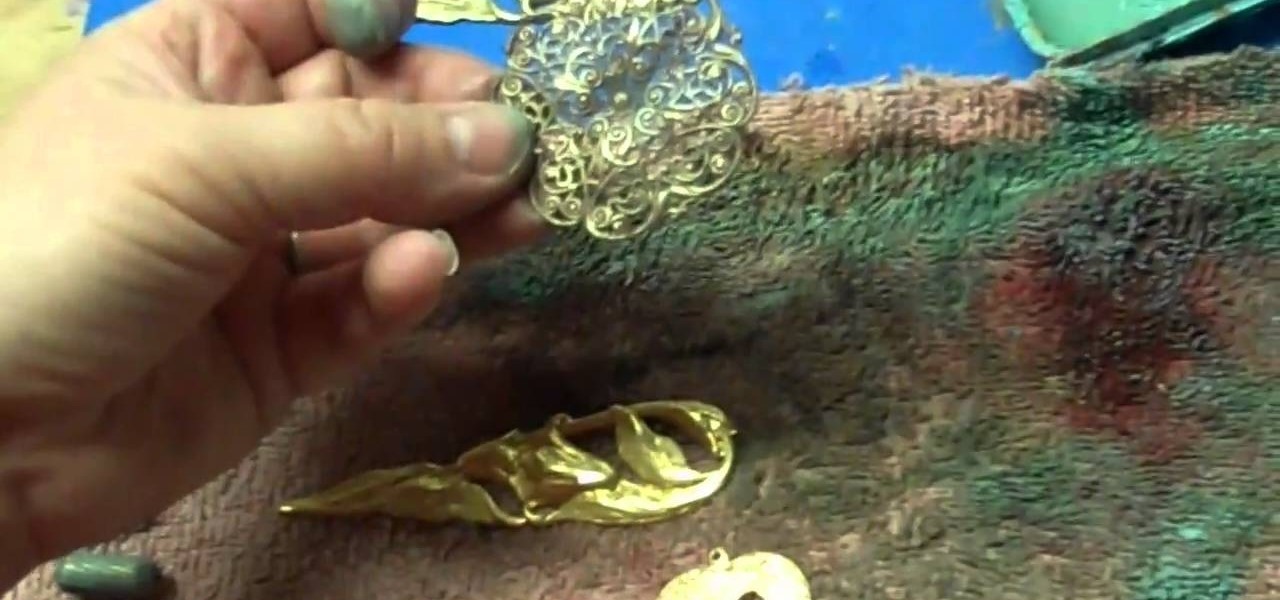
Jewelry made with untreated brass findings and stampings looks just fine, but if you're going for an impressive, interesting piece that stands out and shows personality, then Gilder's Paste is where it's at. Gilder's Paste comes in a large variety of colors and is used to color brass jewelry pieces.
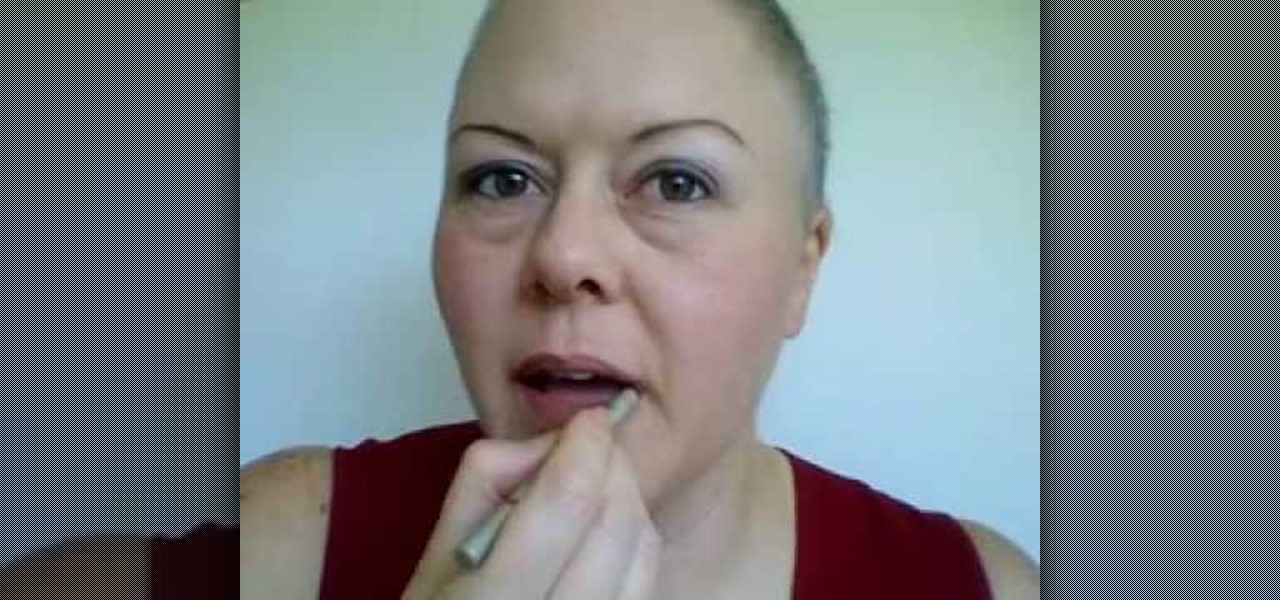
In this tutorial, we learn how to apply subtle makeup and a wig during chemotherapy. First, create eyebrows with a pencil that matches your skin tone. After this, apply a white shadow to your eye and underneath your eyebrow. After you brush this on, you will then apply a smoky color to the creases of the eye and blend it in with the white color. From here, apply black eyeliner on the top and the bottom of the eye. After this, you can put your wig onto your head and then brush it and style it ...
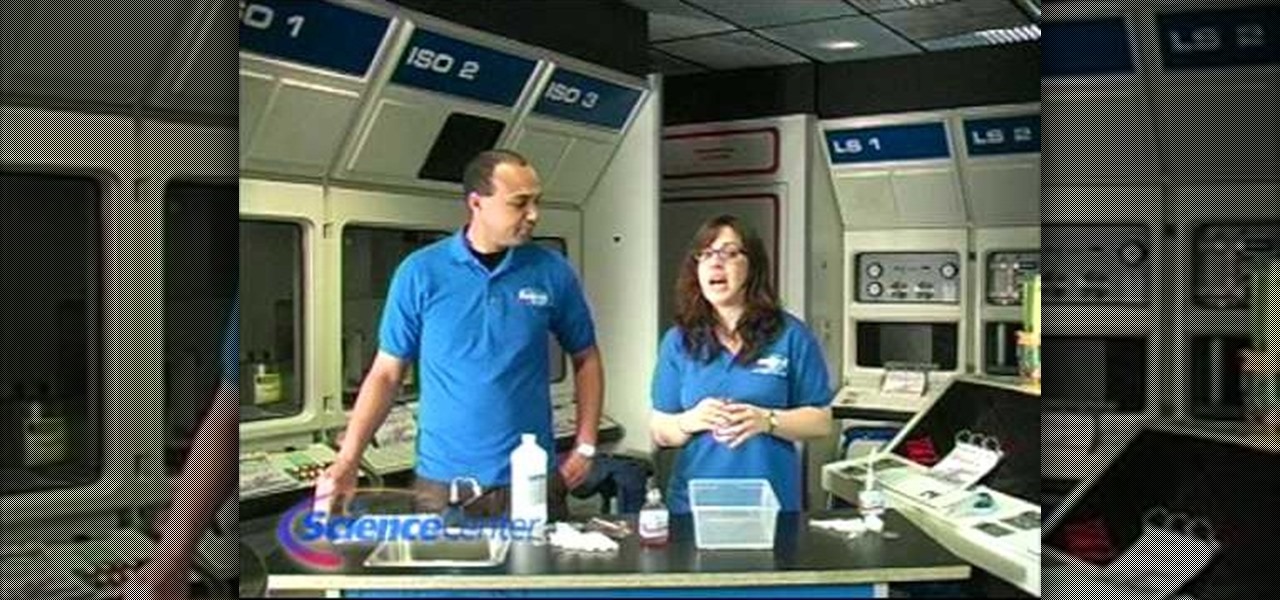
This video is a tutorial on how to use chromatography correctly to study plants. The tools needed to complete the task are a plant, jar or bottle, rubbing alcohol, paper coffee filter and a plastic spoon. The first step is to chop the plant up and place it into a jar followed by filling the jar with rubbing alcohol. The jar must then be placed into a pan of warm water for five full minutes. You must stir the plant matter in the alcohol until the plant causes the alcohol to change color. The l...
In this tutorial, we learn how to make a hair bow with and without a tail. First, take a long and thick ribbon in your choice of color and a thin ribbon in your choice of color. After this, grab a needle and thread and set it aside once it's threaded. Then, take your thick ribbon and fold it into a bow shape. From here, take the needle and sew the ribbon down the middle of the bow. After this, take the smaller ribbon and tie this in the center of the bow. When finished, you will glue this to ...
In this video, we learn how to recycle plastic bottles to make hanging art. First, cut the bottom off of the bottle and then cut it in half. Then, cut the other end off of the bottle as well. After this, you can grab the bottle and start to paint your choice of color all over it. Use different colors and transition and blend with them. Lay these on one side to dry when you are finished. When you're done with these and they are completely dry, you can use them to decorate around your house. Th...
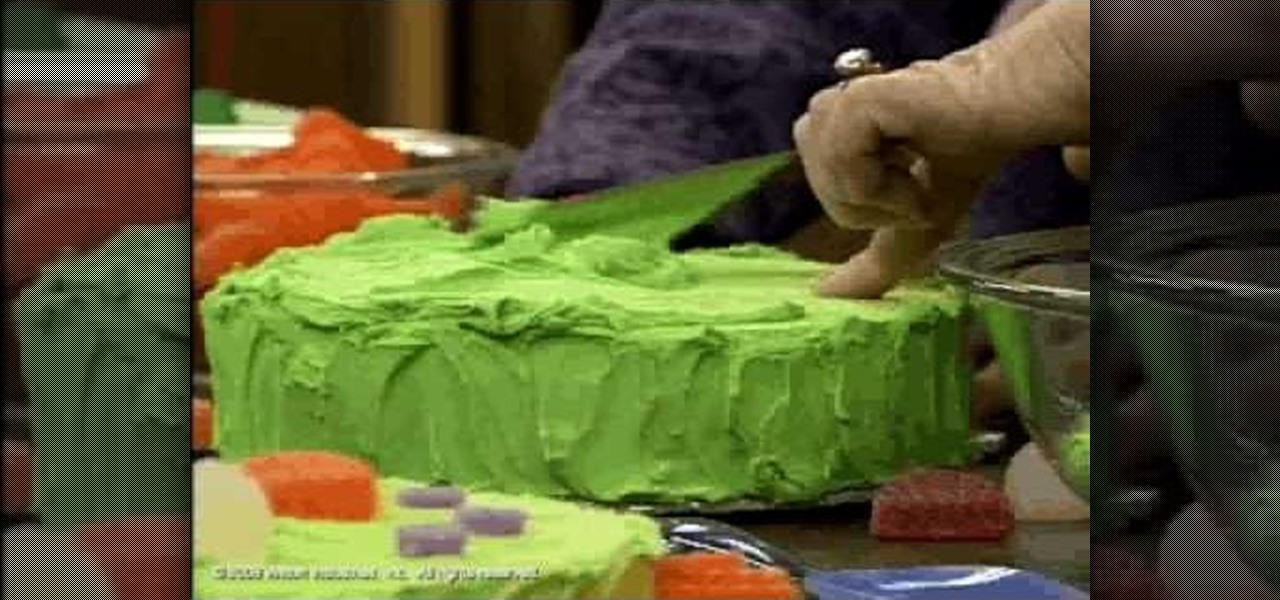
In this video, we learn how to make & decorate a "make a wish fish" cake. Start out by mixing up your icing with paste color until you have a green color. After this, brush this onto a round cake of your choice flavor. After this is all iced, grab some gum drops and orange slice gummies. Then, place the orange slices on the side of the cake to make it look like fins. Place the gum drops on the top of the cake to make the eye and the scales on it as well. Once you are finished and like how it ...
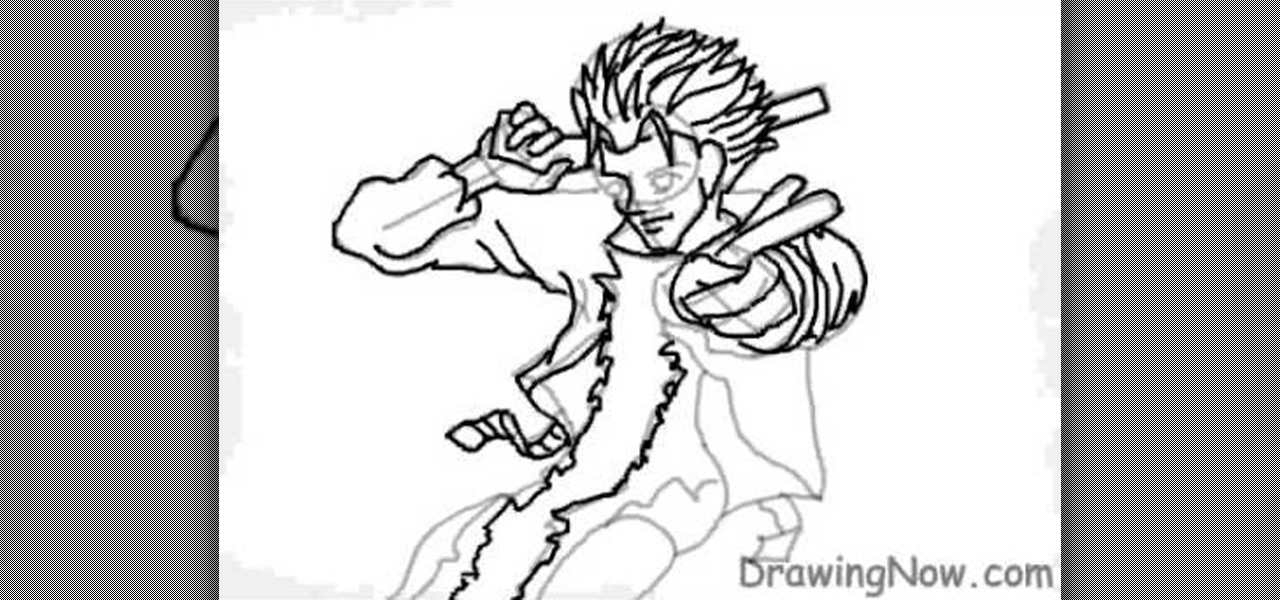
In this video, we learn how to draw the manga character Vash. Start by drawing the outline of the character from the head to the toe. After this, draw in the details of the body and the face. Next, use a paintbrush in black to start to draw over the outline to make a 3D version of it. From here, draw on the details of the body as well as the colors for the skin. After this, draw in the details for the hair and then color in the clothing. Add in shading and lines on the clothing to make it loo...
In this video we learn how to make a balloon truncated octahedron. This is a complex design for a balloon where you will use around three balloons and create squares and hexagons. This is a difficult type of balloon to create, so make sure you have experience before you begin. Take the first color and twist bubbles into it, making around 16 in total. Then take the next color and twist that into the same amount, twisting into a circle. After this, intertwine these balloons together which one a...
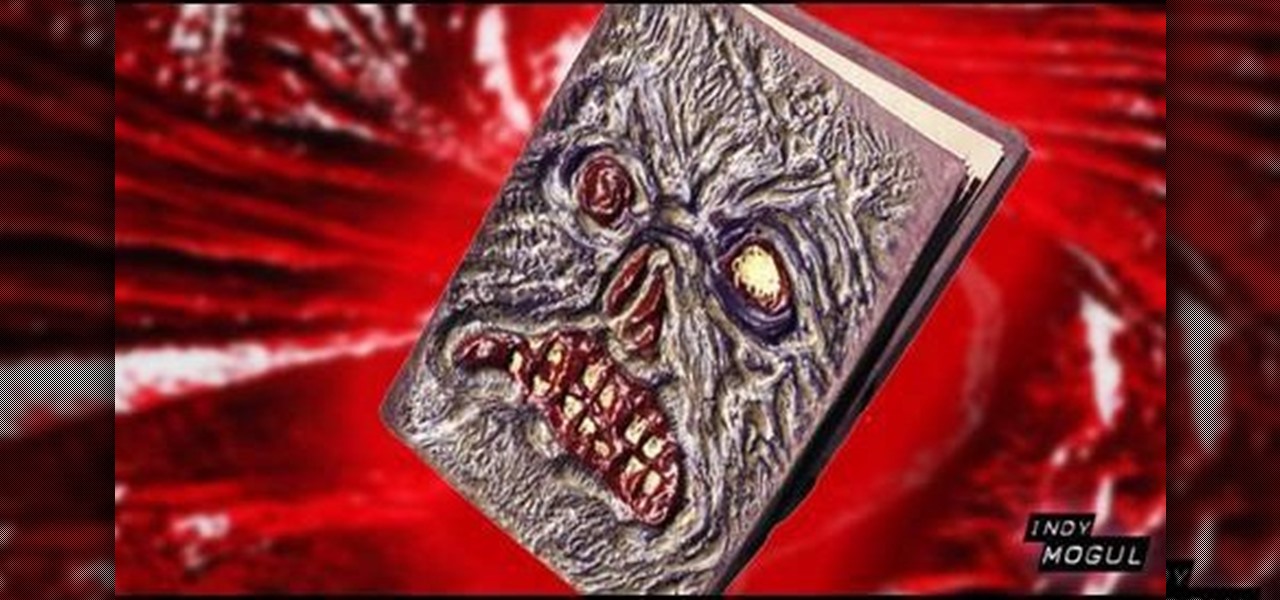
In this video, we learn how to make a Necronomicon prop from the "Evil Dead" series. First, gather all of your materials together so you can make this prop. After this, cut up piece of cardboard into the desired shape, then tape them and make sure it's able to open and close. Next, you will use tape to make it look like creases in the skin and create the face by rolling it together. Use masking tape to connect these and make it look like it's all part of the same skin. Next, mix red, yellow, ...
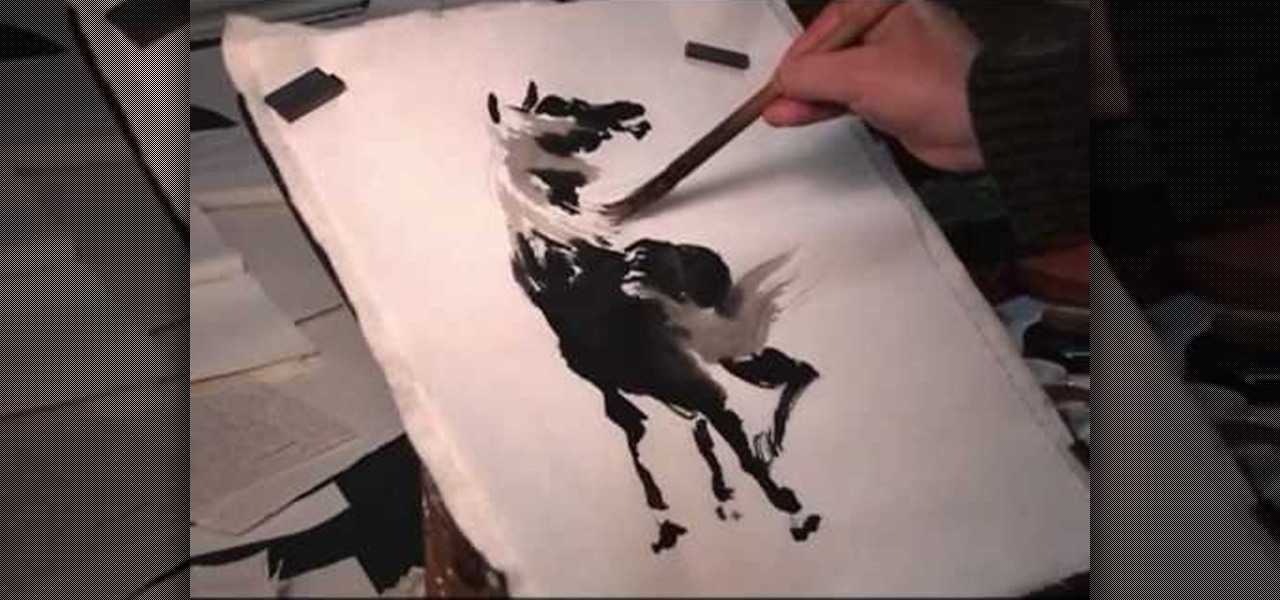
In this tutorial, we learn how to draw the back view of a horse. Start by drawing the tail. Use a horse main brush made out of real horse main hair. Change to another brush to use a darker color for the rest of the body of the horse. Paint around the tail that you made to create the rear end and the legs that are on the horse. Also create the feet and make sure to just use one stroke as you are creating these. Next, creating a neck and then the head along with the main on the top of the horse...
In this video, we learn how to make beautiful acetate butterflies. First you will need to make sure you have alcohol inks on hand for the colors you want to make. To start out, stamp the butterfly with black ink onto a piece of plastic acetate. After you have done this, use different colors to fill in the butterfly how you prefer it to look. After you do this, cut out the butterflies and then you will be able to use them for what kind of craft you want to do. These are cheap and easy to make ...
T.I. is finally out of the joint and back on the hip-hop scene. What better way to celebrate in your own home for free than making an XBox 360 Avatar in his likeness? This video will show you how to use one set of clothing pieces to make a pretty spitting image of the rap star.
In this video, we learn how to make a double flap card with Stampin' Up!. First, cut out the card in green, then add a creamy caramel color to the top of a white piece of paper. Now, add a green piece of paper that is slightly smaller to the top of the caramel color paper. Add another piece of white on top of the green, then layer then together on the card. Add in a walrus and a little kid stamp to the cards and place them onto scalloped punches. On the bottom, apply striped paper, then apply...
Learn Hindi and speak some of the body parts, colors and numbers. So if you say head it will be "sir" in Hindi, Forehead is "matha", cheek is "gaal", tooth is "daant", lip is "honth", mouth is "muh" (you will not hear h clearly
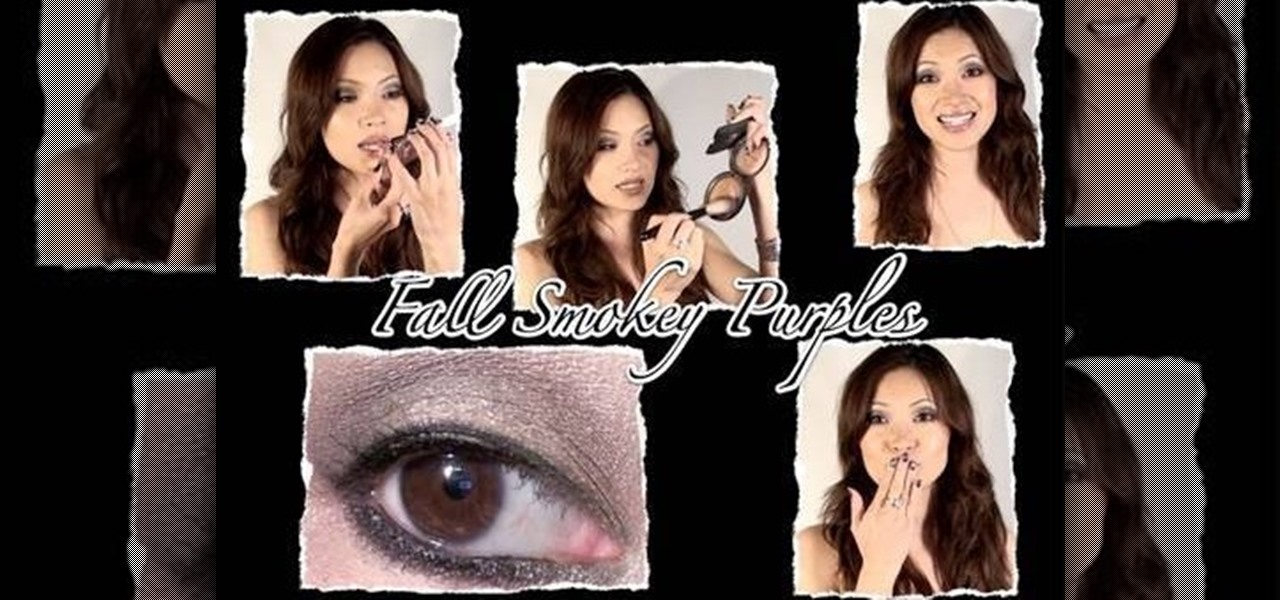
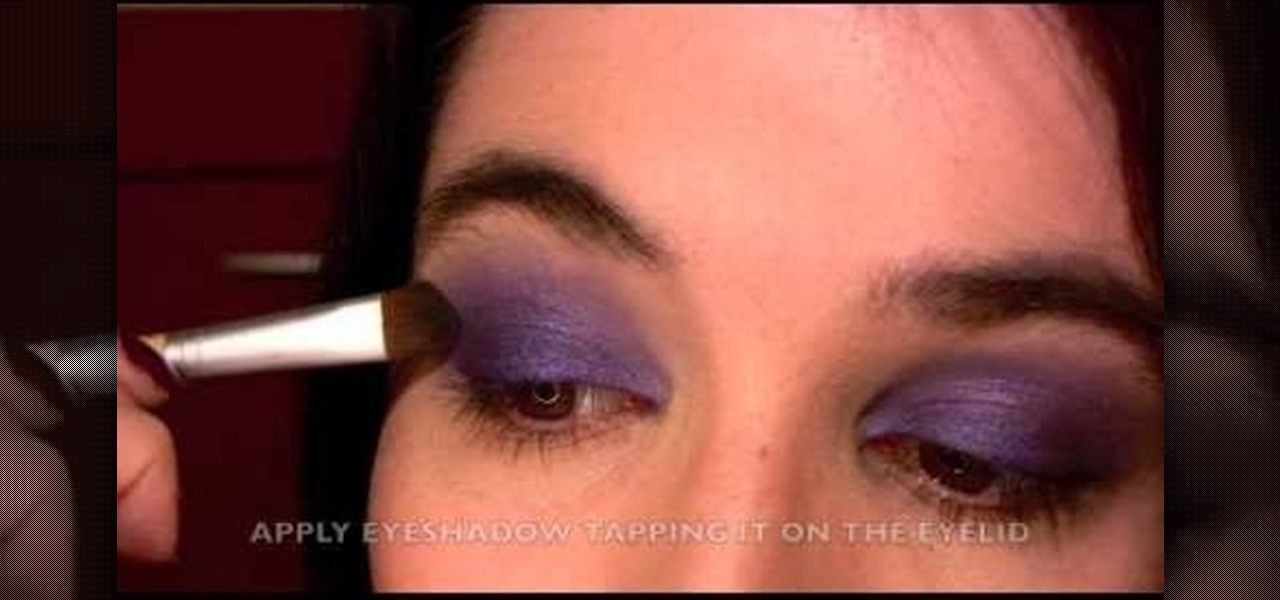
With Fall almost here, it's time to change the colors. And this makeup tutorial will hopefully help you change with the seasons, or at least inspire you in greater ways! Watch and learn how to recreate (and add or modify) this smokey muted purples look for eyes. You can use whatever colors you have to create something similar. Use your imagination!
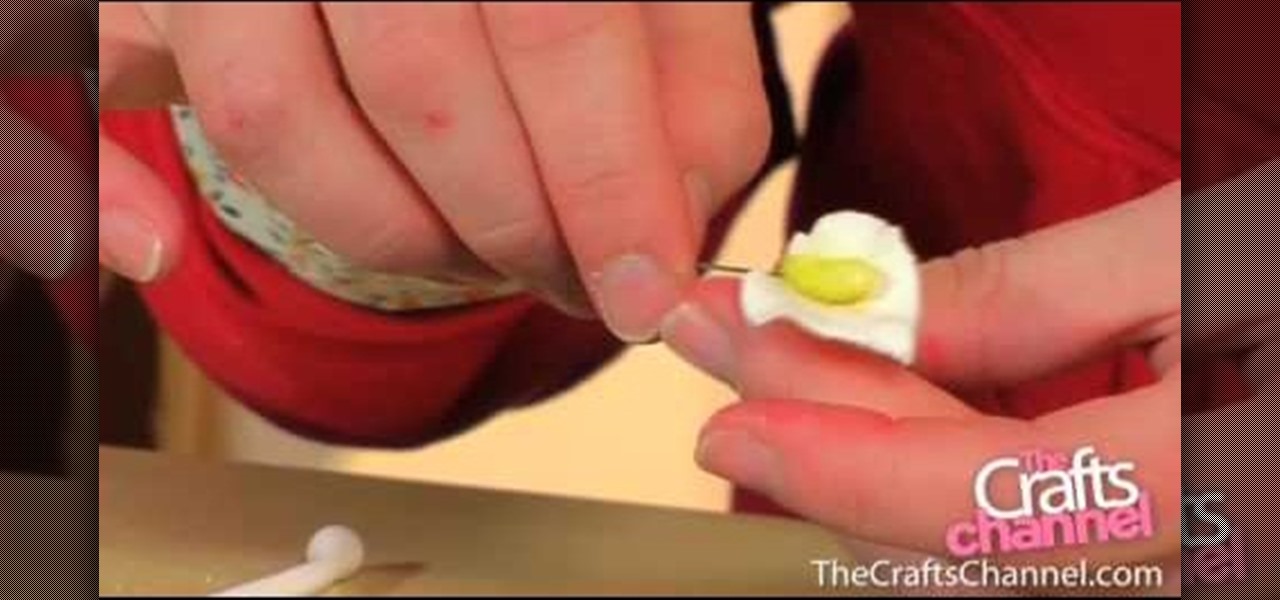
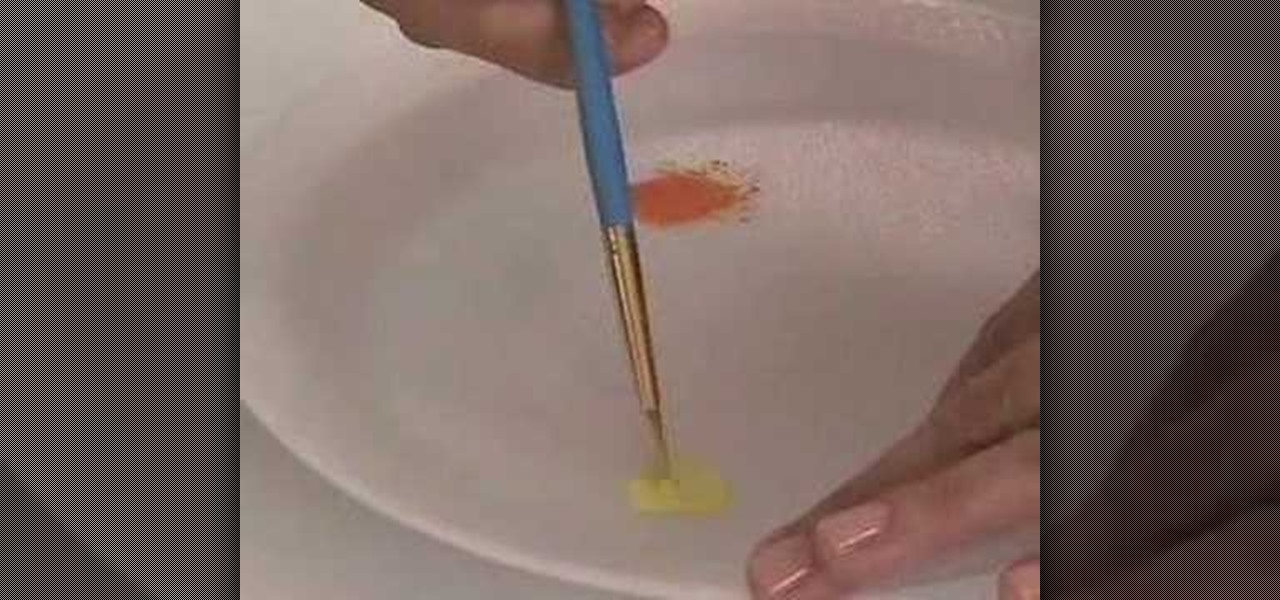
In this tutorial, we learn how to color a sugar crafted lily petal. Insert your paste onto a green wire, then cover the paste with clear edible glue. Then, place the piece into yellow sugar sprinkles. After this, create your petals out of gum paste and push down on the edges to create a petal shape and feeling. Next, apply the glue onto the center of the flower and add this onto the piece that you just made, wrapping it around. After this, wait for it to dry and you will have a beautiful lily...
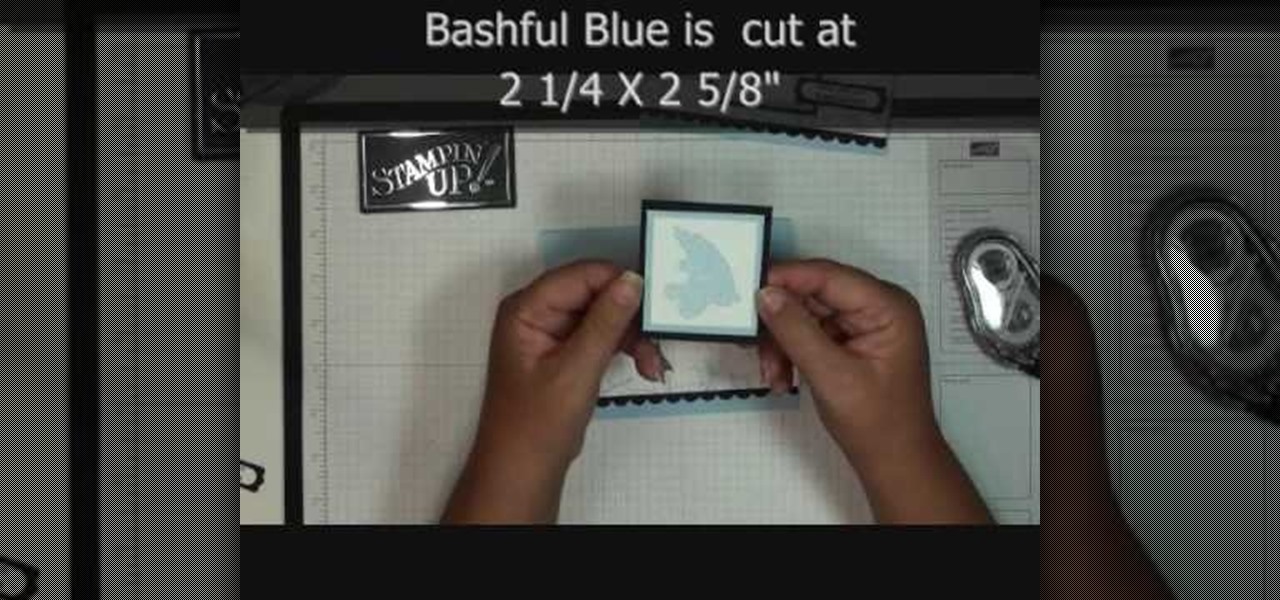
This video tutorial is in the Arts & Crafts category where you will learn how to use the rolling marble technique in scrapbooking. Take a piece of 2" x 5 1/2" whisper white. Then take the stamp set container with three marbles in it and add 4 -5 drops of color from a bashful blue refill inside the container. Then shake the container till the marbles get coated with the ink. Put some dotto on the back side of the whisper white and stick it to the inside top of the container. Flip it over and r...
Kiss-proof lipstick sounds like an oxymoron. Lipstick that stays for more than an hour after drinks, kissing, and eating is the expected route for most of us, but what if there is a way to make your lipstick last through all of that without losing too much color?
In this Arts & Crafts video tutorial you will learn how to use the cross stitch 'n paint technique. It combines simple back stitching and water color painting. Most of the materials are found in your kitchen. You will need wax paper, paper towels, and a plate to use as your paint palette, some water colors and paint brushes. After choosing your design, back stitch the outline on the fabric. Place the white paper towel over the wax paper and spread the stitched fabric over it. Now you are read...
Learn how to create eye-catching gradient and layer blend color effects in Photoshop CS4. This clip will teach you what you need to know. Whether you're new to Adobe's popular raster graphics editing software or a seasoned professional just looking to better acquaint yourself with the program and its various features and filters, you're sure to be well served by this video tutorial. For more information, including detailed, step-by-step instructions, watch this free video guide.
Daises are such a friendly flower: With bright white petals and a warm orangey yellow center, they're the flower of choice for cheering up a sick friend or giving to a loved one on a special occasion. Perhaps the fact that they're so cheery is what makes them so popular as cake and cupcake decorations.
Love purple? Then this purple-filled eyeshadow style is sure to rock your boat. Croatian photographer Marina Filipovic Marinshe sets aside her usual fashion, portrait and art photographs, and brings you this makeup tutorial for recreating her rich purple eyes look. Check it out. You won't be sorry.