In this video, we learn how to apply green emerald eyeshadow. First, you will need to apply a light green eyeshadow to the entire lid. Brush this on so the color is bright and noticeable. After this, brush on a darker green in the outer crease of the eye and the outer v of the eye. Next, brush on a sparkly green shadow over both the colors and blend them together. Now, apply black eyeliner to the top and bottom of the eye. After this, apply black mascara to the top and bottom lashes, then cur...
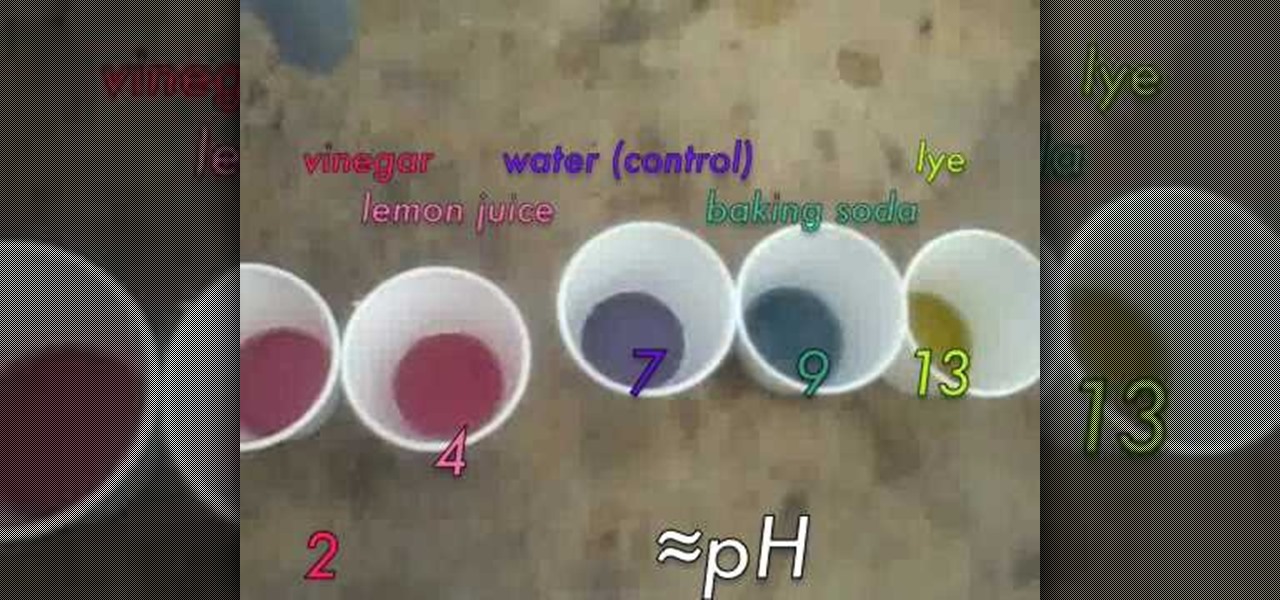
In this video, we learn how to make a pH indicator out of red cabbage. Red cabbage will work because when it absorbs an acid then it changes color and reflects light differently. To do this at home, try to add different types of acids to the cabbage. Start off by putting the cabbage in the blender, then make sure it's shredded. Now, put it in a jar with some boiling hot water. Shake up the jar, then place the water into some separate cups. Now, add chemicals into the juice and depending on th...
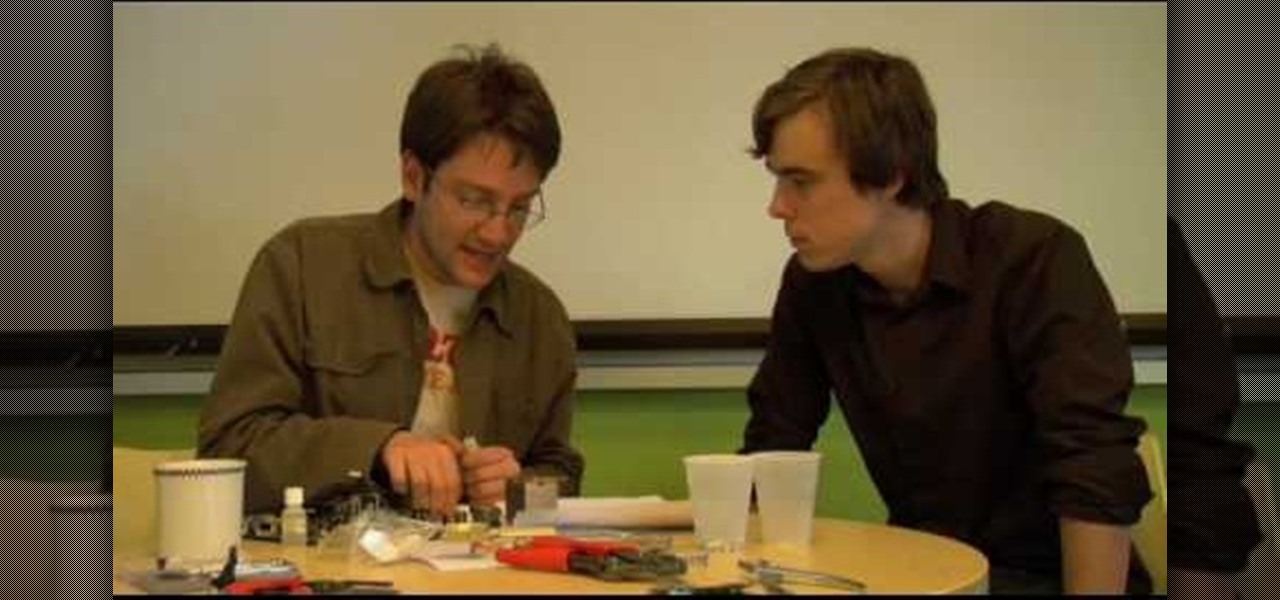
First of all you have to check the three red lights as shown because it indicates that the Xbox is broken and needs repair immediately. However if you open the Xbox the warranty is invalid and it takes six weeks to get it repaired. So go to eBay and buy the repair kit with printed manual for ten dollars. Remove the top and the bottom covers. It shall make a loud slap and it should be expected. Now use a key to unscrew the top cover and then remove it. Now remove the white color fan part. Now ...
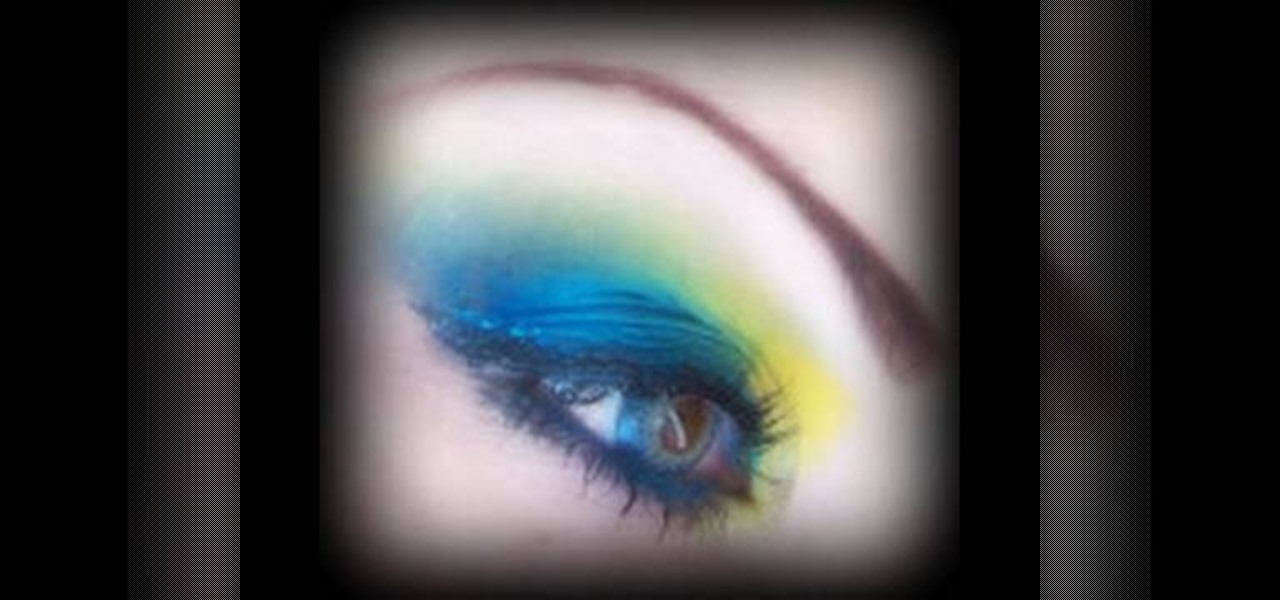
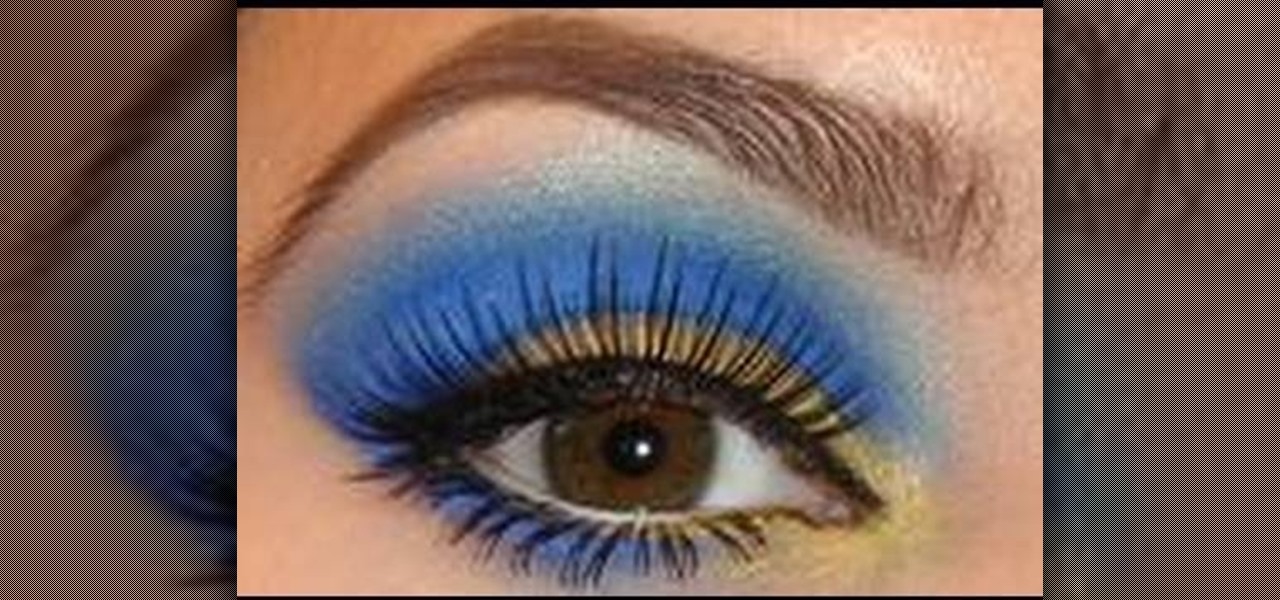
In this beauty tutorial learn how to use Mac and BitchSlap! Cosmetics to obtain a tropical punch-inspired makeup look. The look incorporates yellow and blue tones to the eye area. To begin, make sure to apply a foundation onto the entire eye lid and under eye area. Use a brush to apply the light blue color on the middle section of the eye lid and crease. In the inner part of the eye lid and crease, brush on a yellow shadow. A dark navy color should be applied to the outer portion of the eye. ...

In this video you will learn how to create a chocolate effect using Adobe Photoshop. In order to do that, just follow these steps: Create a new file with 1000x1000 px. Then create a new layer, select the Shape Tool and create a heart with a brown color for the chocolate. Then add the same effects just like in the video in order to get the same result. The next step is to add the text. For the text use a large font and a light-brown color. If you correctly follow these instructions, the result...
A few handy tricks can turn your school cell into a cozy suite. You Will Need

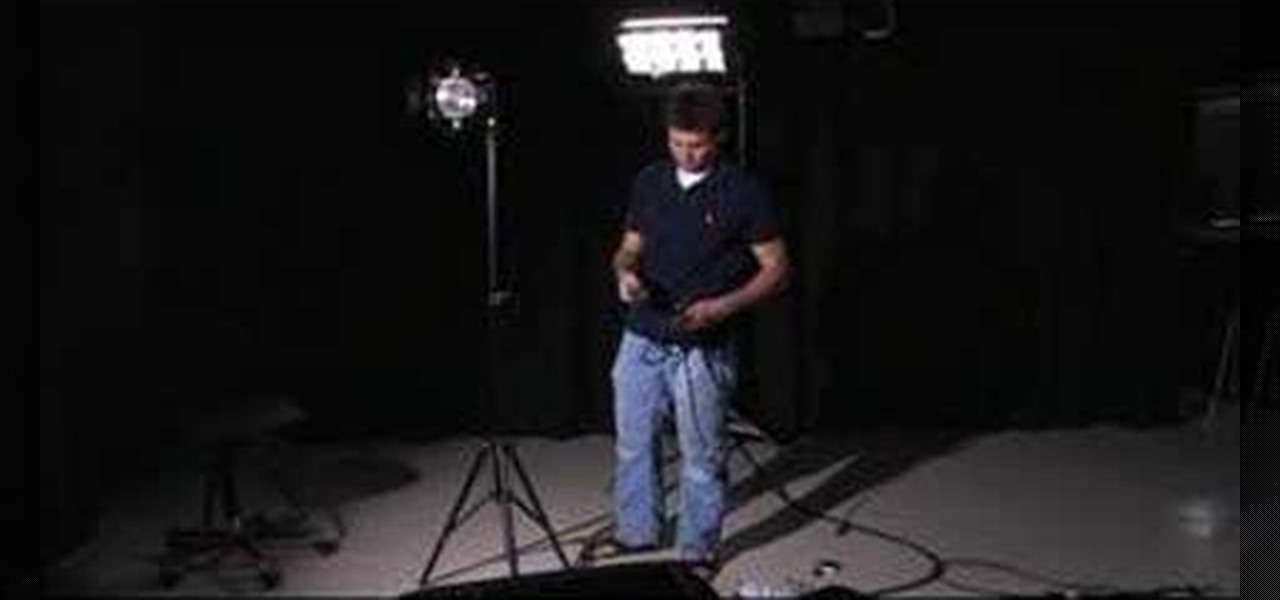
This lighting tutorial video explains the basics of lighting a scene using the 3 point lighting scheme with a Lowell light kit and various essential equipment. Using the back light, the fill and key light, three point lighting will produce a properly lit subject. This video is great for lighting designers and cinematographers alike.

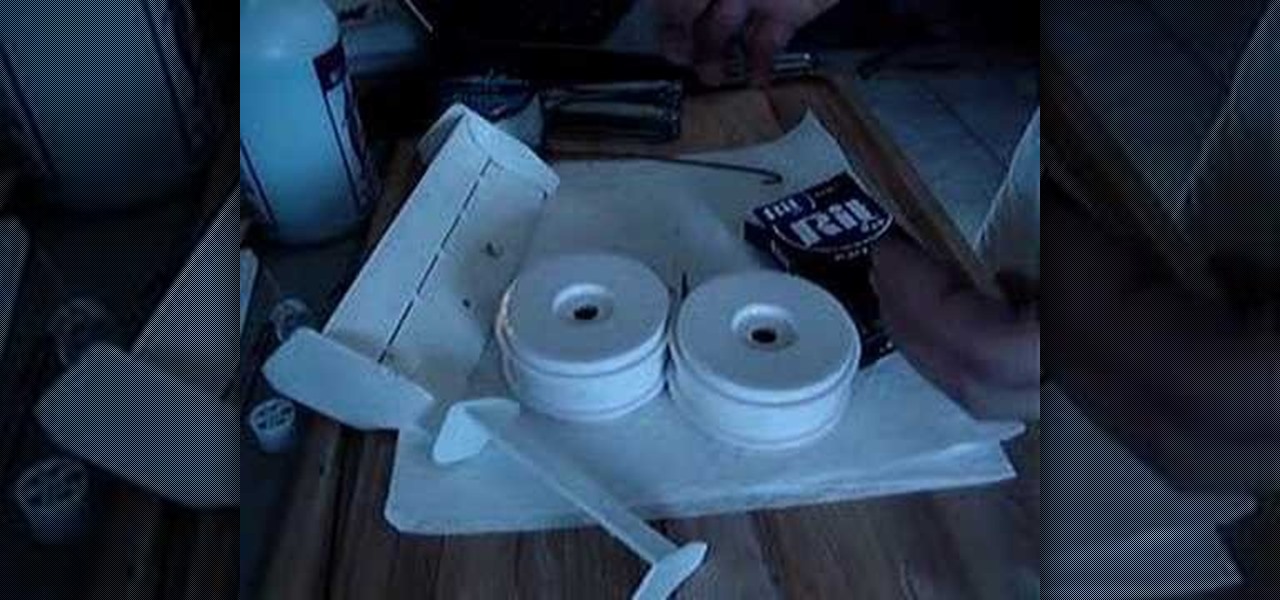
See in these two videos, how to dye your radio controlled vehicle's parts. You'll see how to properly dye many plastic parts on your RC vehicle like Revo 2.5 or 3.3 rockers, high down force Ofna wings, pro-line rims, and many more parts. The project uses RIT dye that comes in many colors to include black, light and dark blue, green, and more. This will allow you to take any color of part (especially white) and make your RC into something that is customized with little effort.
Choosing Draperies for Your Home is as Easy as 1-2-3 Determine the Color Scheme and Pattern

In this Photoshop tutorial, Richard Harrington takes a look at balancing out exposure issues inside of Photoshop CS4. Mixed lighting on a photo can cause portions of the image to be too bright or too dark, fortunately Photoshop gives us some great tools to take care of these types of issues. Using a levels adjustment layer in combination with a color range selection, Richard is able to greatly control the lighting in a photo. The equalize command is also covered in this video tutorial.

By now, you should know a few of the basics of programming with OpenGL and GLUT for C++ developing, like shapes, transformations, timers, and colors. Now it's time for lighting. Everything could look right in your 3D program or game, but if you're lighting isn't right, it's a sad world for all of us. This video lesson will show you how to add lighting to 3D scenes with OpenGL for C++, so you can start making your own 3D programs.

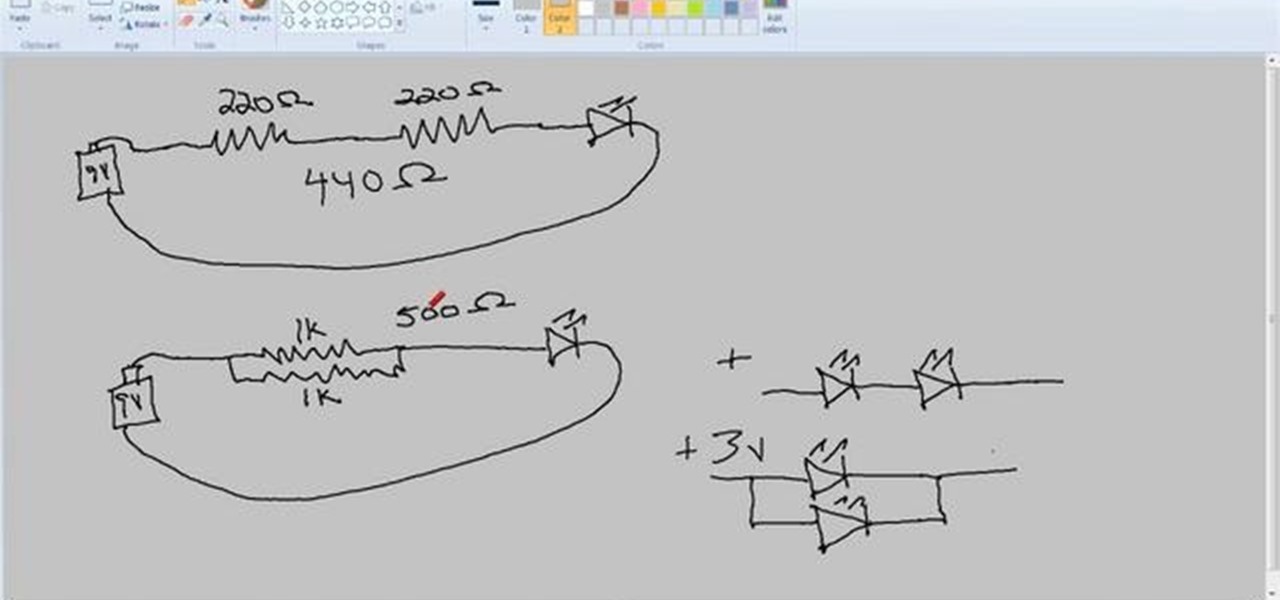
If you want an electrical circuit to send power to an object, like a light, you're going to need resistors. This video, part of an excellent series on basic electronics by Scotty, will teach you how to make a circuit with resistors and an LED light, a real function piece of electronics.

If you are already really good at using Photoshop, good for you! You already know what the dodge tool, blending modes, and all the different brushes do? Well then watch this video! It offers help for advanced Photoshop users on working with lighting for design and abstract art. Novices need not apply.

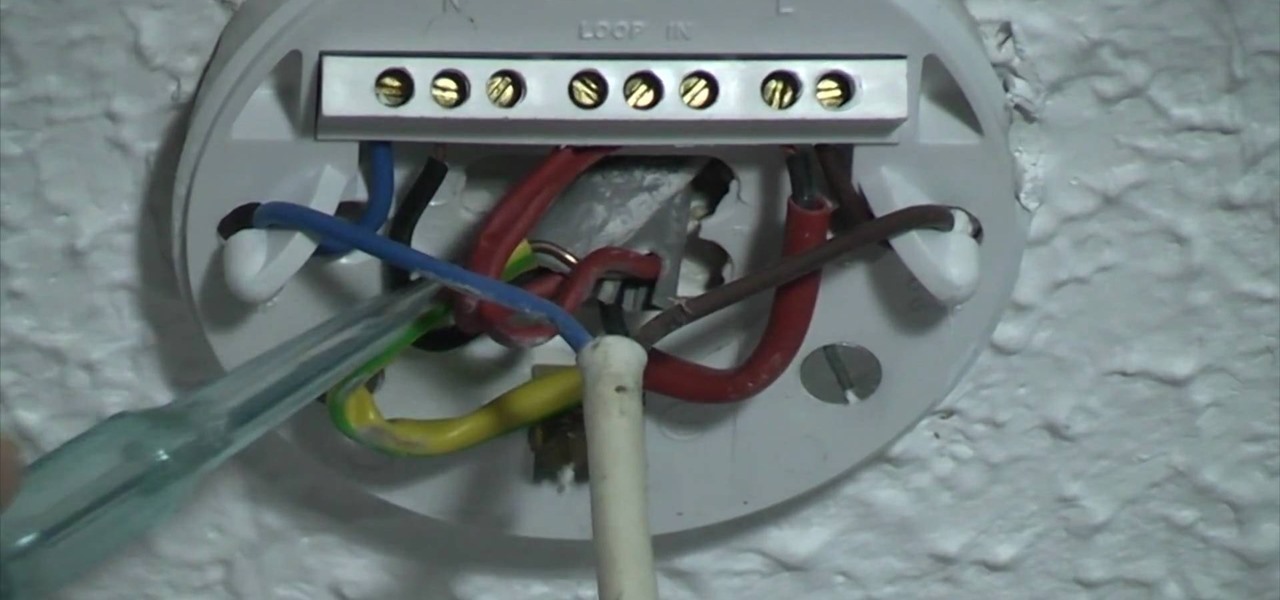
Modernize your home with a new ceiling light fixture. That old, traditional ceiling rose with the decorative chandelier or light fitting might just not look right anymore, with all of your modern furniture and appliances. The best thing… replace it.

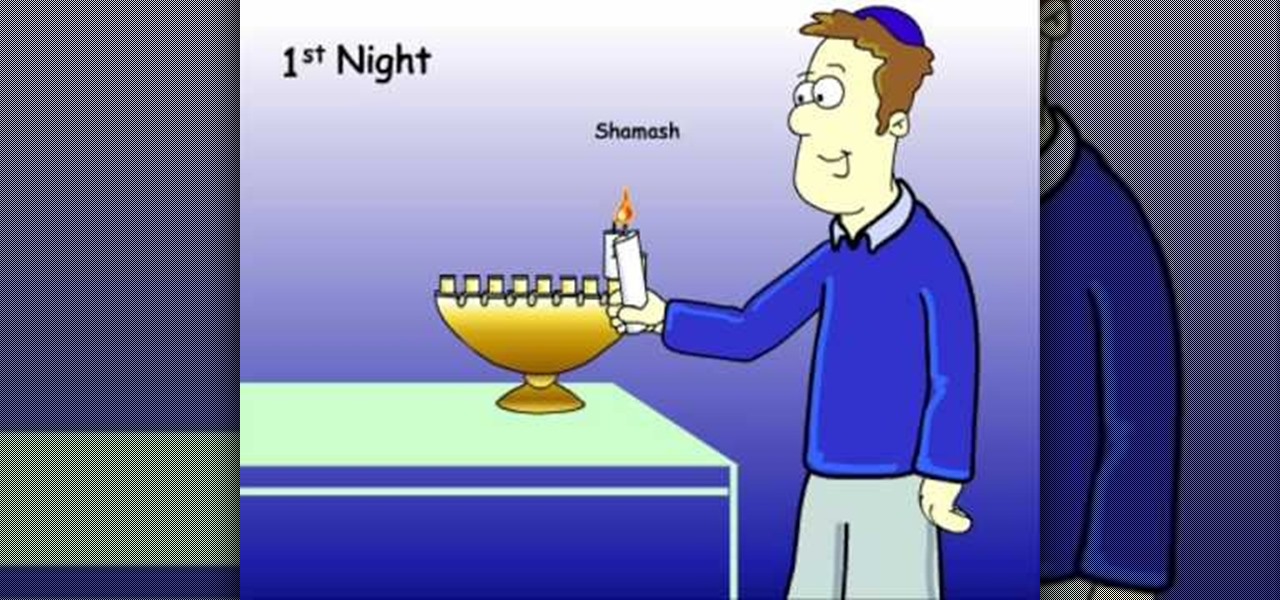
When Christians are out celebrating Christmas this year, Judaists will be out celebrating Hanukkah, or Chanukah, which is a lesser Jewish festival that lasts eight days from the 25th day of Kislev (December), and commemorating the rededication of the Temple; it is marked by the successive kindling of eight lights.

Learn how to install a Berry Floor laminate flooring by watching this video. Part 1 of 2 - How to Install Berry Floor laminate flooring.

For years, smartphone makers have been caught up in a megapixel spec race to prove that their camera is better than the next guy's. But we've finally come to a point where even the lower-end camera phones are packing more megapixels than they need, so it's getting harder to differentiate camera hardware.

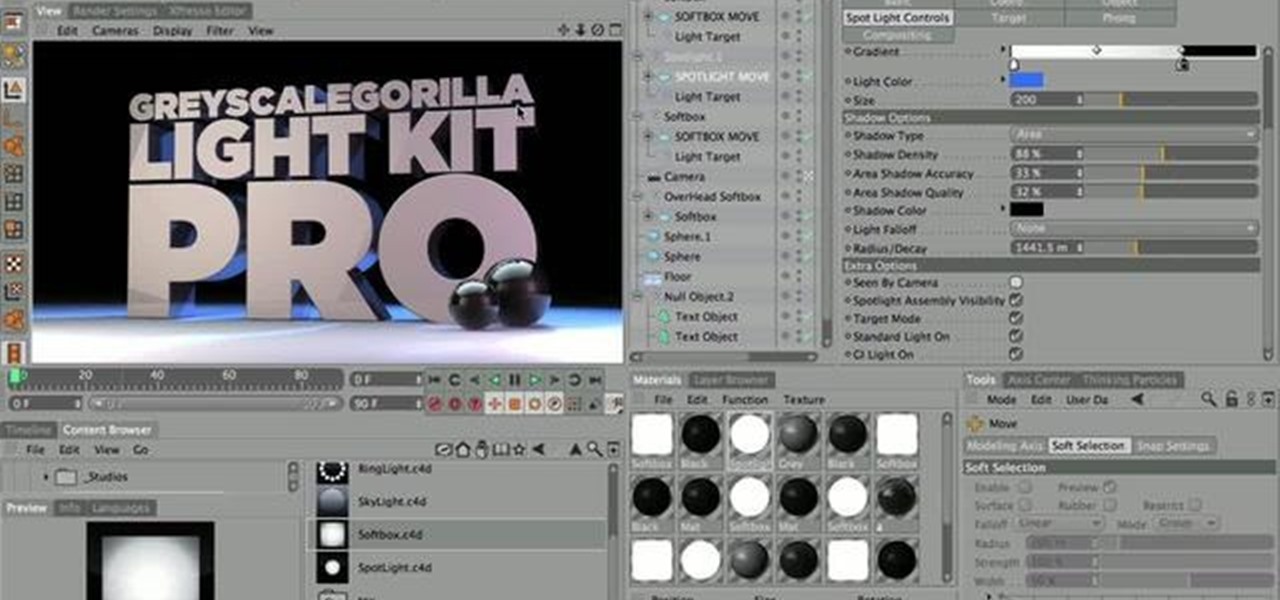
Turn Cinema 4d into your own lighting studio! This tutorial shows you how to use the HDRI Light Kit Pro kit of plugins and addons to create unique lighting effects - add your own softboxes, ring lights and other sources to improve your renders.

How does taking photographs outside differ from taking photos inside? Well, unlike indoor photography, which boast easily adjustable artificial lighting and lighting effects, with outdoor photography the light you get is the light you use.

Lighting is everything when it comes to creating a good solid video/film. You will see a great example of a ringlight made of 12 lightbulbs arranged in a perfect circle with a cut-out to allow your camera to be in the middle to capture the best light. You will get an idea of just what materials you will need to create your own ring light.

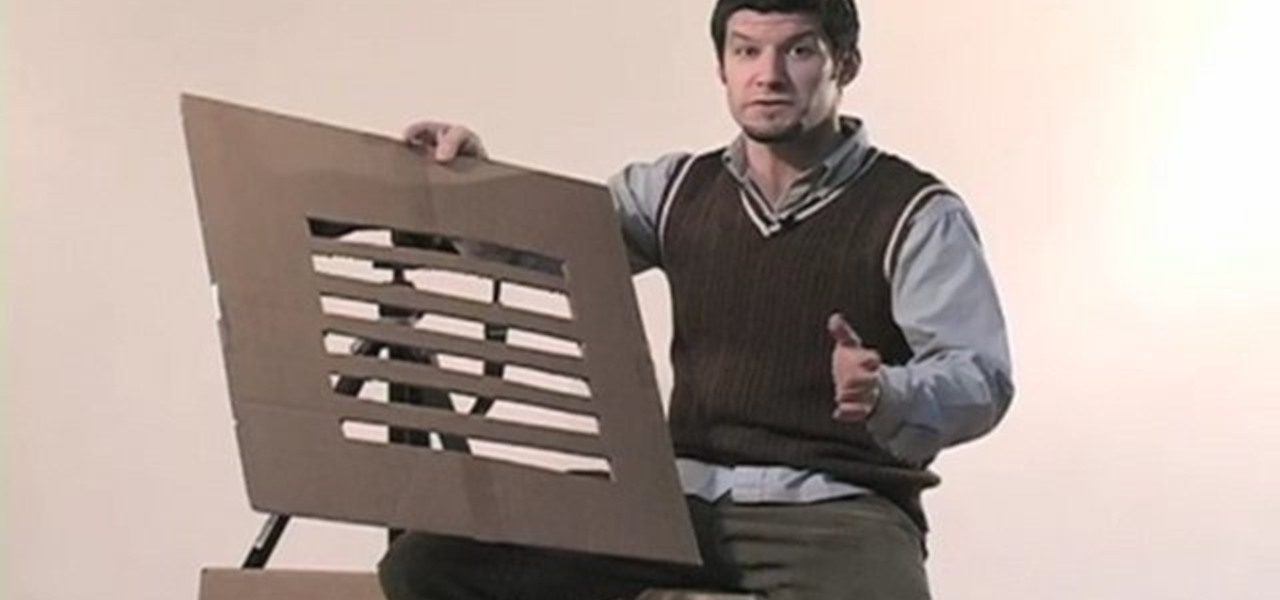
Here is a Harper Point Photography video on gobos for fashion photography. Nathan gives a simple but effective photo tip for creating dynamic light with a cardboard 'go-bo.' The gobo is a lighting element that texturizes lighting by blocking in strategically. Apply these directly to a light to shine texture or to light with words as a projector would.

This is the Vibrant Blue EL Wire, it's the brightest color in all 10 colors. It gives off a fantastic teal blue color when charged, and when it's not lit, it looks clear.

For a wearable blue makeup look, you will need the following: a base makeup, a brush, a blue pot eye makeup, a darker blue shadow, and a light blue shadow, a very dark matte nave blue eye shadow, liquid blue eyeliner, a light cream eye shadow, a blending brush, a soft brown shadow, mascara, and concealer.

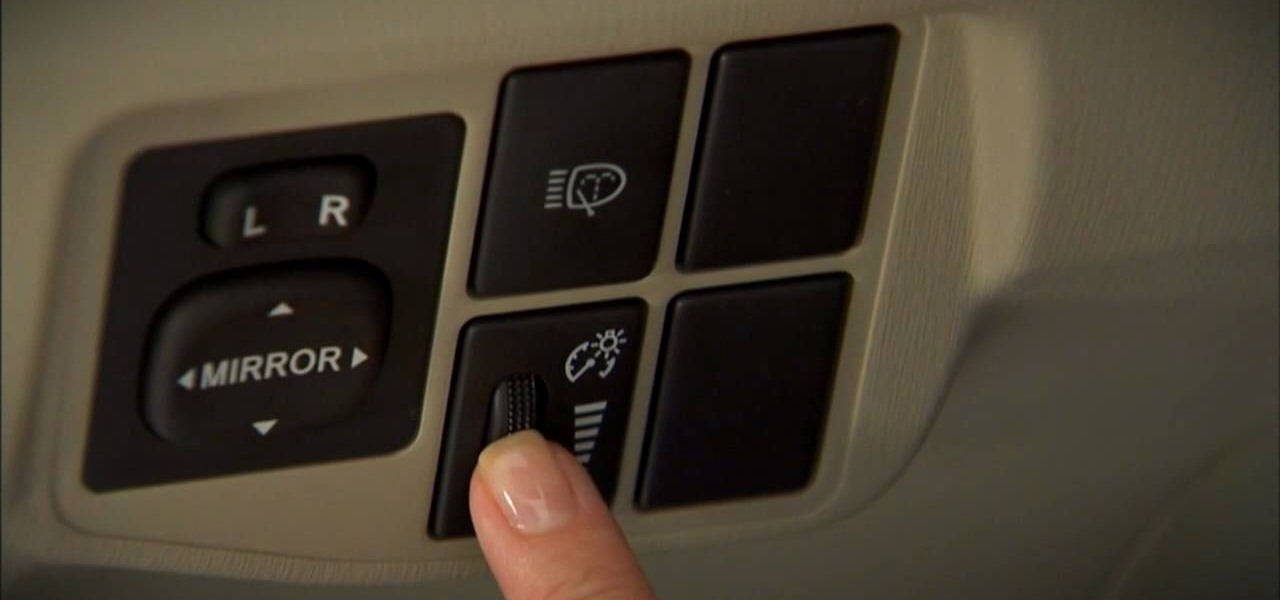
In this video, we learn how to adjust the interior lights in a 2010 Prius. To adjust the intensity of lights, rotate the thumb wheel that is left to the steering wheel. Rotating up increases the intensity of the lights. Rotating downwards dims the instrument panel lights. There is a central light switch located on the roof. There are three positions that turn the lights on, off, and auto. There are also right and left map lights which you can switch to turn on or off. The lighting in this car...

In this video, we learn how to install chase tail lights on a Mustang. First, you need to remove the rear trunk panel and trim piece. Next, prepare your tail light kit by following the directions that are given to you with the package. Next, cut the tail light wire. Now, put on your turn signal and take note of which light it still blinking, then mark it with electrical tape. Now, swap that light into the in board position and run the new wires by rewiring the new lights into the tail light. ...

This video shows you how to make a simple, DIY ring light for your point and shoot Canon G10 or G11 camera. By using either cool white or warm white LED lights, you can set your white balance presets to daylight or tungsten. Ring lights are incredibly useful in fashion photography for an even, soft light with a striking eye light.

Studio portrait photography using a single light can be tricky to master. Learn how to achieve beautiful portraits with expertise from a professional photographer in this free instructional video series.

Three point lighting is the standard used to illuminate a subject for amateur film, video, and even theater application.

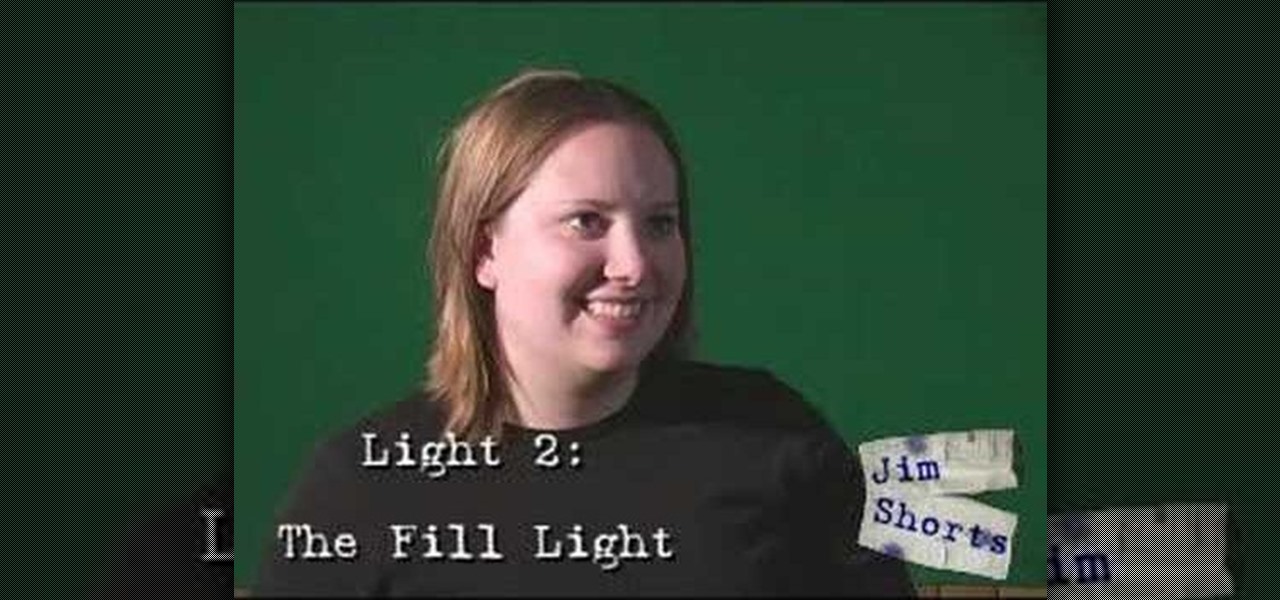
Does your video look flat? By using Three Point Lighting, you will be able to give your flat video more dimension. In this tutorial, Israel Hyman demonstrates the effects of the key light, the fill light, and the back light. This is a long standing lighting technique that you definitely should know if you plan on shooting any type of video.

1. Remove the old makeup and sealer. If you are working on a vinyl or resin doll, you can remove the makeup with a non-acetone nail polish remover. Afterward, wash the face well with soap and water. Work at any stubborn stains with a Mr. Clean Magic Eraser. 2. Sand the head, if necessary. Sometimes dolls will come with set-in stains that no stain remover can touch, or with scratches and gouges in the face. If your doll head is made of resin, in particular, do all your sanding underwater to pr...

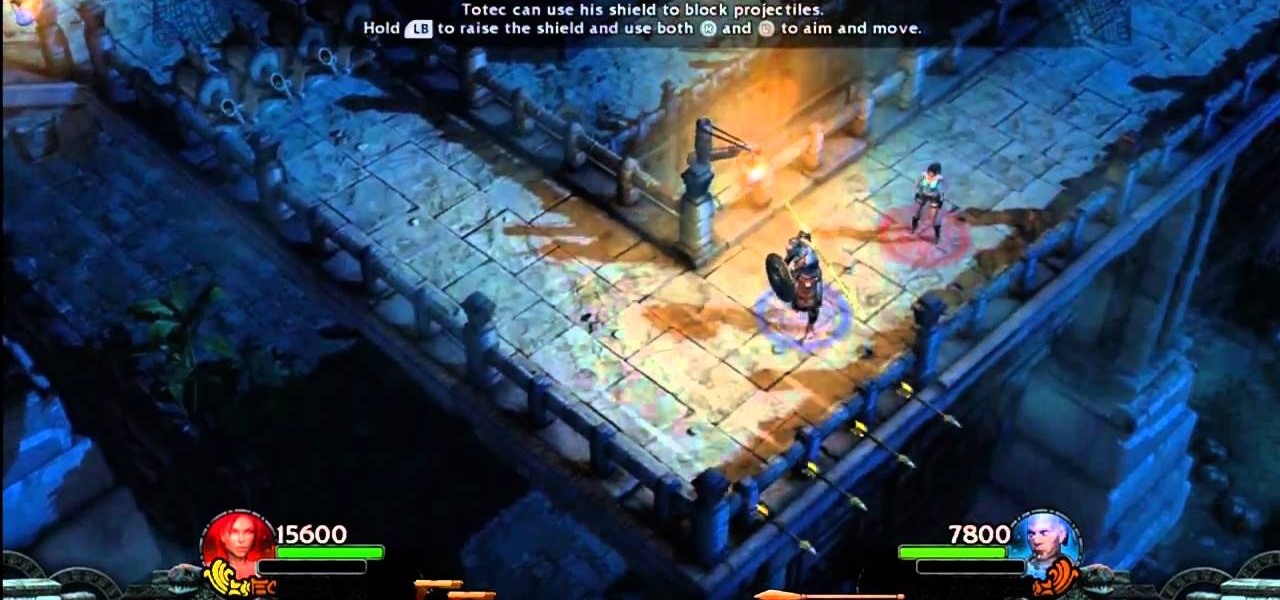
See how to defeat the "Temple of Light" level in the Lara Croft / Tomb Raider video game called Lara Croft and the Guardian of Light. This game is only available from the PlayStation Network or Xbox Live Arcade, so if you've already downloaded it, learn how to get past this first chapter, "The Temple of Light". Check out the other walkthroughs for Lara Croft and the Guardian of Light.

In order to create a Cheetah girl makeup look for Halloween, you will need the following: a cheetah print scarf, pink and gold shadow, false eyelashes, foundation

In this editon of Tip Tuesday from Pursebuzz we are shown how to determine your skin tone. This tip is a pretty simple way to determine if you're a warm or a cold tone, and if you are pink-based or yellow-based. That's the first question you're asked if you go to a counter and you're trying to figure out your foundation colors or your blush colors or shadows, or what will work for you. The first test is the fabric test. You don't even have to buy this fabric. You could just go to a fabric sto...

This is a video on how to weave in ends on kniting. First take two ends at a time, tie the new color and a half not around the current working color, and tie them. The thread the end onto the yarn needle, and go througha few of the yarn stitches. Next give it a little pull to make sure nothings coming loose. Go up to the next yarn ends, and do the same thing. What you have to make sure you do is weave the yarn through light colors. Also make sure the knots are secure, and are not going to com...

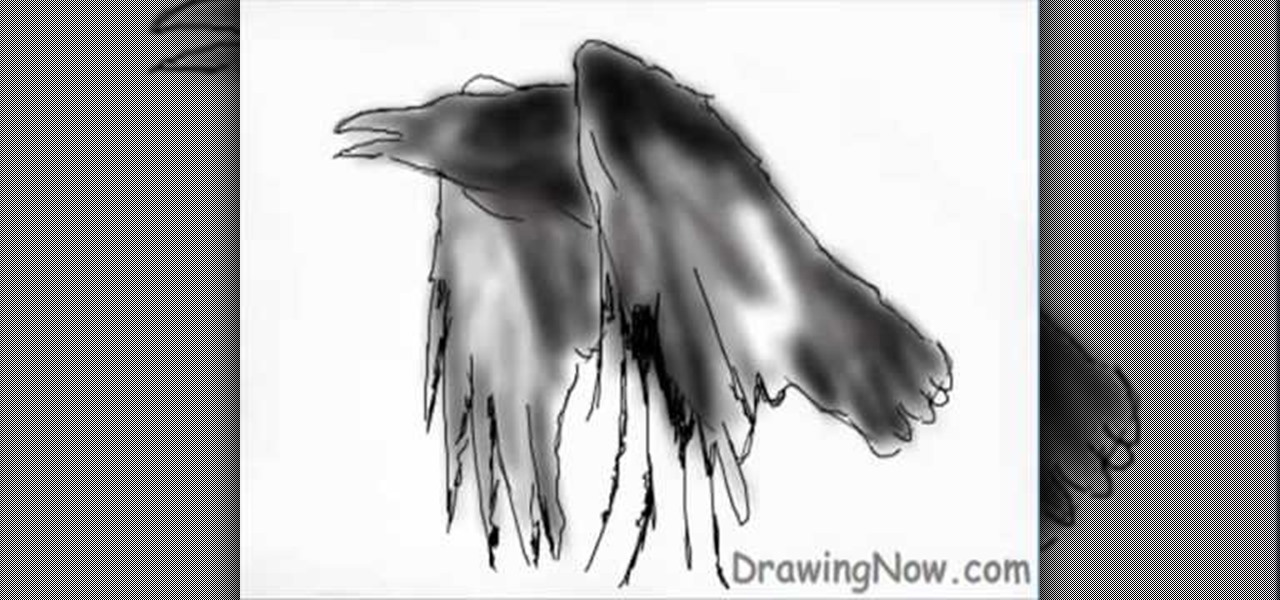
First of all you have to draw the outline using light color rough lines. Draw the face with beak and then draw the two wings hanging down. Also draw a tail at the back of the bird. Now you have to draw the outline by using a pen. Start by making the beak of the bird at the front. Make the wings with the feathers. Also make the outline of feathers to make the tail. Once the main outline of the bird is ready then you have to erase all the previous rough lines. Now you have to darken the body wi...

In this how to video, you will learn how to draw a cartoon fish. First, draw a circle for the body. Add a curly fin at the top and bottom. Next, draw a triangular shaped tail at the back. With the basic outline finished, draw in the details of the face, such as the eyes and pointed mouth. Re-trace the outline of the fish with a bumpy line. Next, draw in bubbles near the mouth. Draw details in the fins such as lines running through them. Add some texture lines through out the body. Once this i...

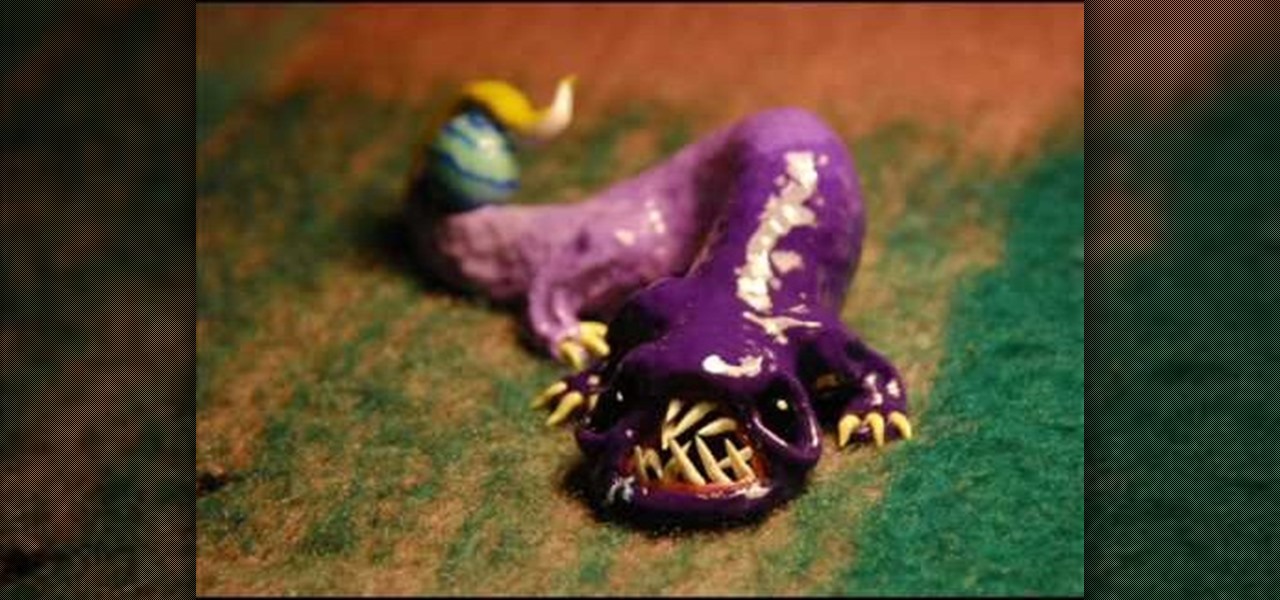
First of all take the clay and make a roll. Now keep rolling to form a roll that has one end large and the other end smaller at the tip. Now bend the roll upwards from the middle. Now take a match stick. Now use this to make a hole to make the mouth. Use to fingers to make the corners of the mouth round in shape. Make the mouth wide and open. Now make the eyes by using a matchstick to pierce the sockets. Now take a little clay and then make a roll of it. Now make a leg out of it by making the...

Jennisse shows us how you can enhance your natural beauty simply by using your eyebrows. Start by taking some Brow Duo, and a eyebrow makeup brush. The brush should be angled, and stiff. Start by taking just a dab of the makeup, and begin shaping the eyebrow with the darker color, leaving the inner part of the brow alone. Now we take a small bit of the lighter color, and start to shade in the brow, moving towards the arch. Now Follow by taking another dab of the darker color and begin to shap...

In this video, Tony Reale describes some cinematography tips for video lighting. He focuses mainly on different ways to capture the look of video. The lighting style he's using in this video is a 2-light setup. One light is reflecting off a foam core and is placed at the right side of the room. The second light is acting as background light and is smaller and placed in the back, right corner of the room. This is a very simple setup and, with a cost of $100-$200, it is an inexpensive, effectiv...

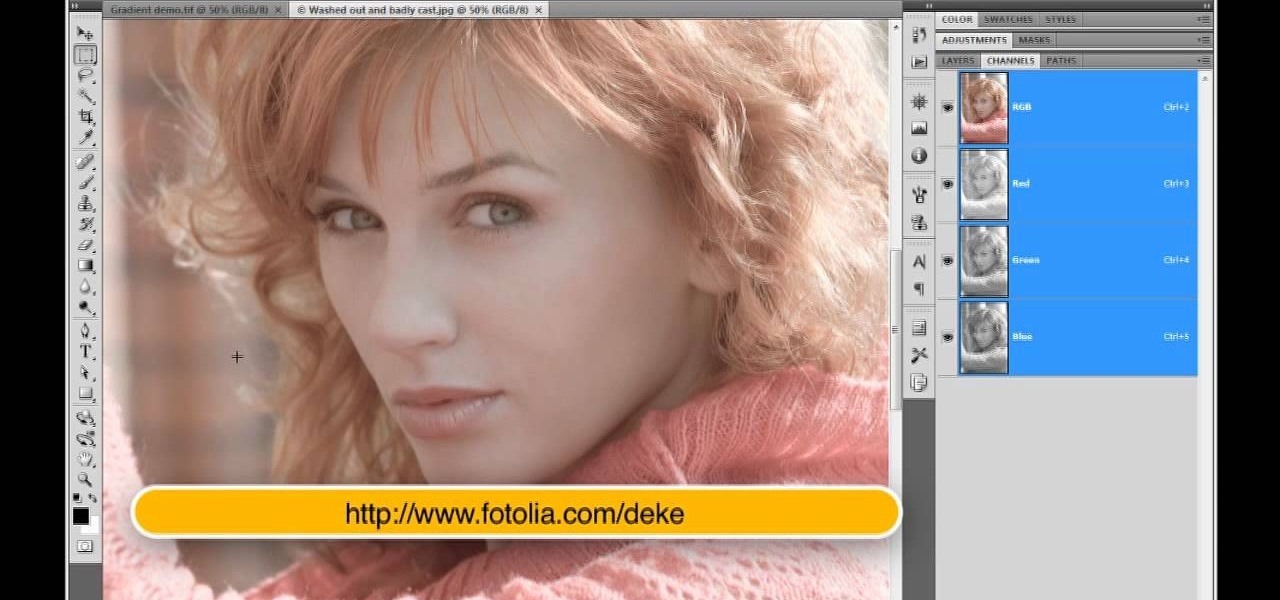
Deke McClelland explains what the Levels and Histogram commands can do in Photoshop in this video tutorial. Levels allows you to adjust the luminance levels allowing you to adjust the contrast and colors within each color channel of an image. Thus, Levels allows you to adjust the individual colors that can be found within a gradient. This command is very similar to the curves command but to a less powerful extent. It is also more efficient than the curves command. The Histogram is another col...


