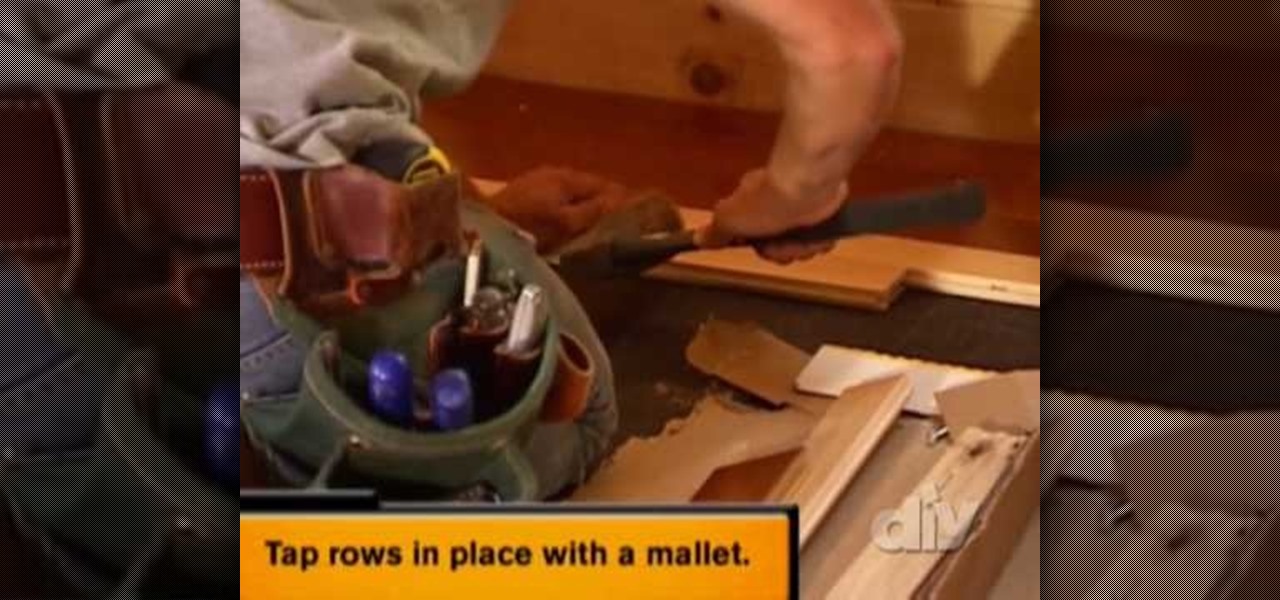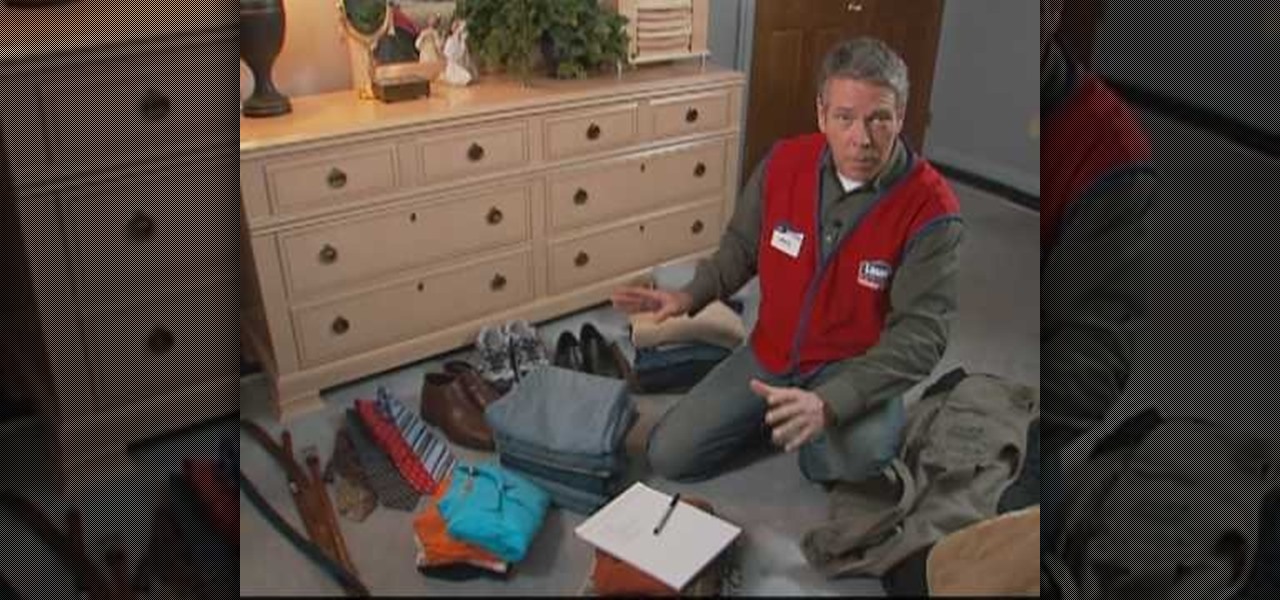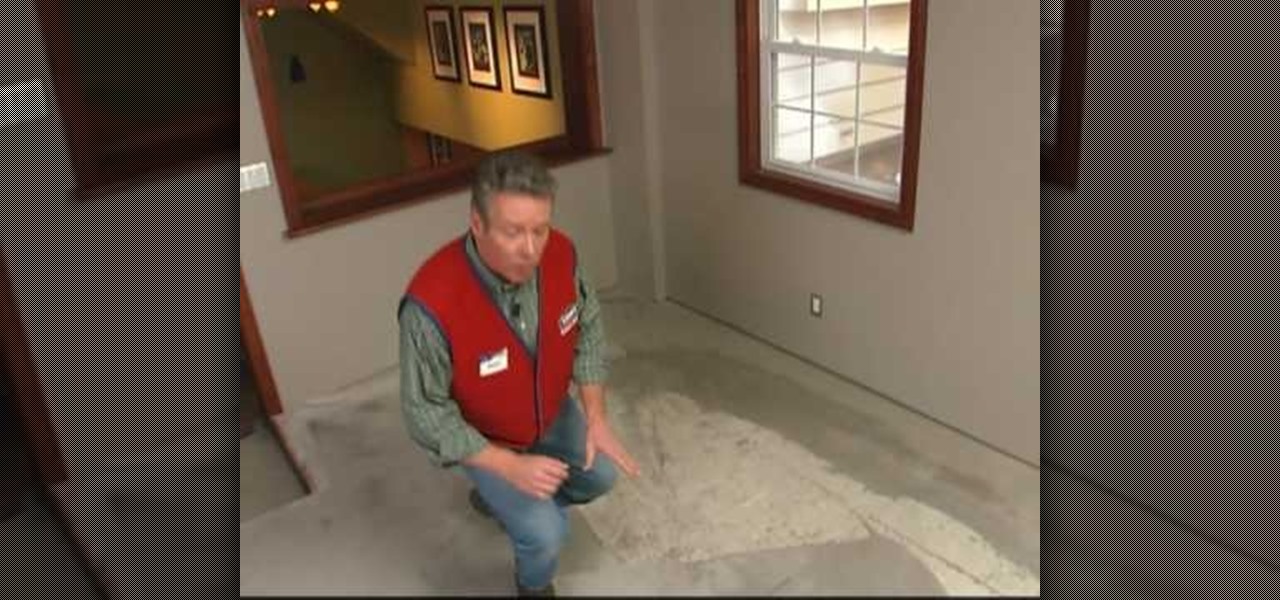
Lowe's home improvement expert, Mike Kraft, demonstrates how to prepare your concrete sub-floor for the installation of hardwood or laminate flooring. Brought to you by Lowe's, a leader in the home do-it-yourself retail industry, Mike details the steps, tools, and techniques you will need to complete this step of your project so that you may enjoy your new floor for a long time to come. After you have properly prepared your sub-floor to receive your new flooring, the video provides you with i...
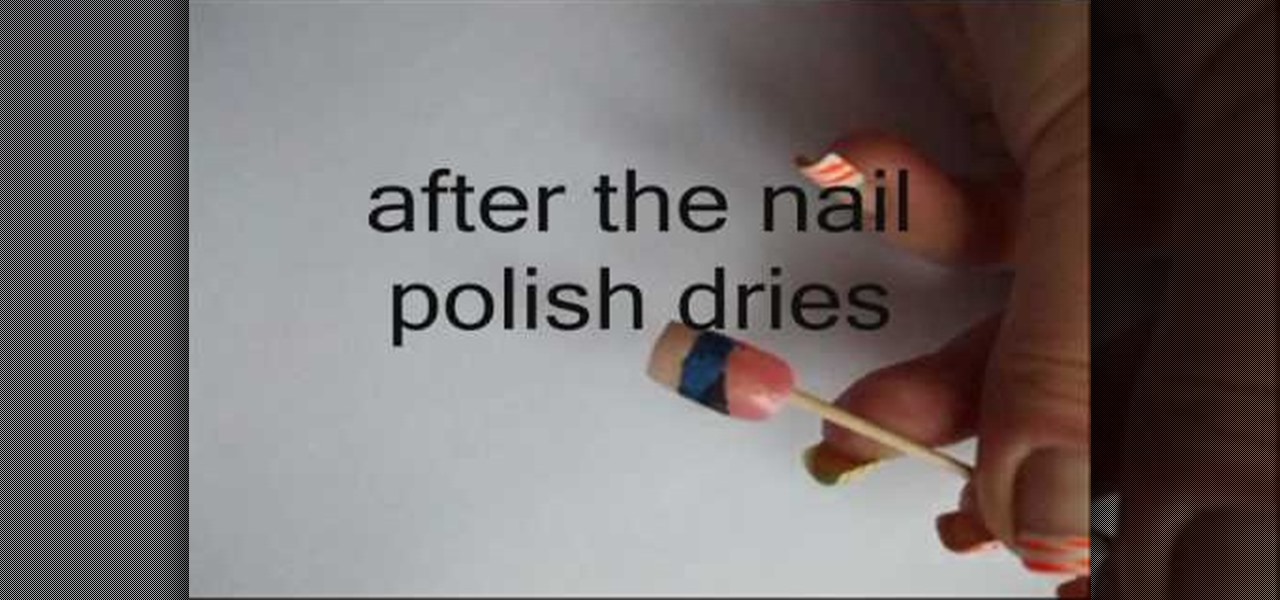
This video shows the secret of painting beach nails and light pink color with white nail. First apply the base coat, then a light purple color on it and let it dry. Now use white color and make some design by drawing small stripes criss-cross as shown. Use a glitter polish and apply it in the space between the lines. For the beach nails apply pink color polish to the bottom half of the nail. Now make a thick horizontal stripe next to the pink color using a dark blue color polish. Use a black ...
Watch shader writer, Mario Marengo, explain spectral wavelength and how to utilize it within Houdini. This presentation was recorded at a Toronto Technical Evening hosted by Side Effects Software.

In this tutorial, we learn how to create a bright and dark blue eyeshadow blend. Start off by adding primer to the eyelid. After this, use a light blue eyeshadow over the entire lid and up to the inside crease. After this, apply a medium blue eyeliner to the middle of the eye and blend in with the lighter color. Next, use a dark blue eyeshadow on the outer v of the eyelid and blend in with the other colors. Paint in a silver color right under the brow bone, then apply a shimmer color to the e...
In this video, we learn how to take better digital pics using color and white balance. Color is one of the most powerful elements in any photograph. This can be powerful enough to be the subject of any photograph. Consider the colors and see how you can make them be the main object in the photo. Use your white balance on your flash to get the photo to show the color or the lack of color a lot better. The camera has to know what kind of light it's in to reproduce this correctly. Just change th...
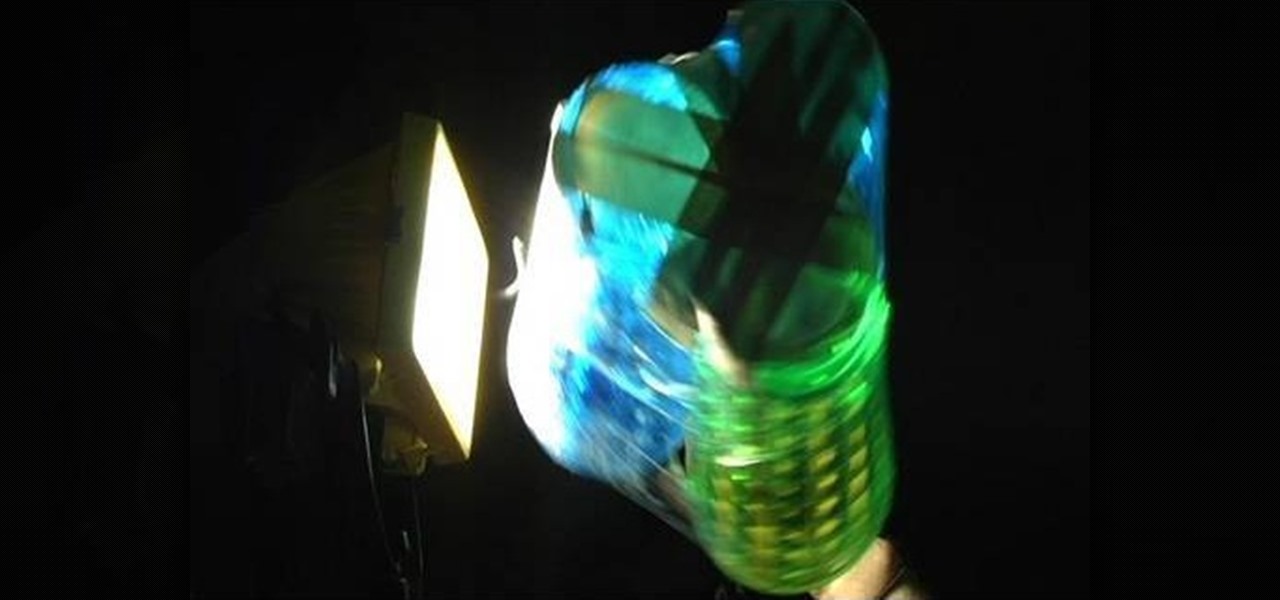
This is a creative idea for a great light effect for any video project. If you're a cinematographer and are open to knew and creative ideas (and cheap!), then this colorful, moving lighting effect is perfect for your film. You'll need three plastic cups, a 5/16-inch metal rod about 2-feet long, gaffers tape, packaging tape, drill and a light. You can get the plastic cups from the dollar store, which won't cost you more than three bucks! They need to be translucent and have the colors you want...

If you're interested in changing the look of your home, as well as add value to it as well, the floors are a great place to start. Carpet, tiles, laminate flooring can all be great options, but hardwood flooring is always a smart option. Hardwood floors deliver a certain look and feel that may not be attainable by other flooring options and can make any home look new.

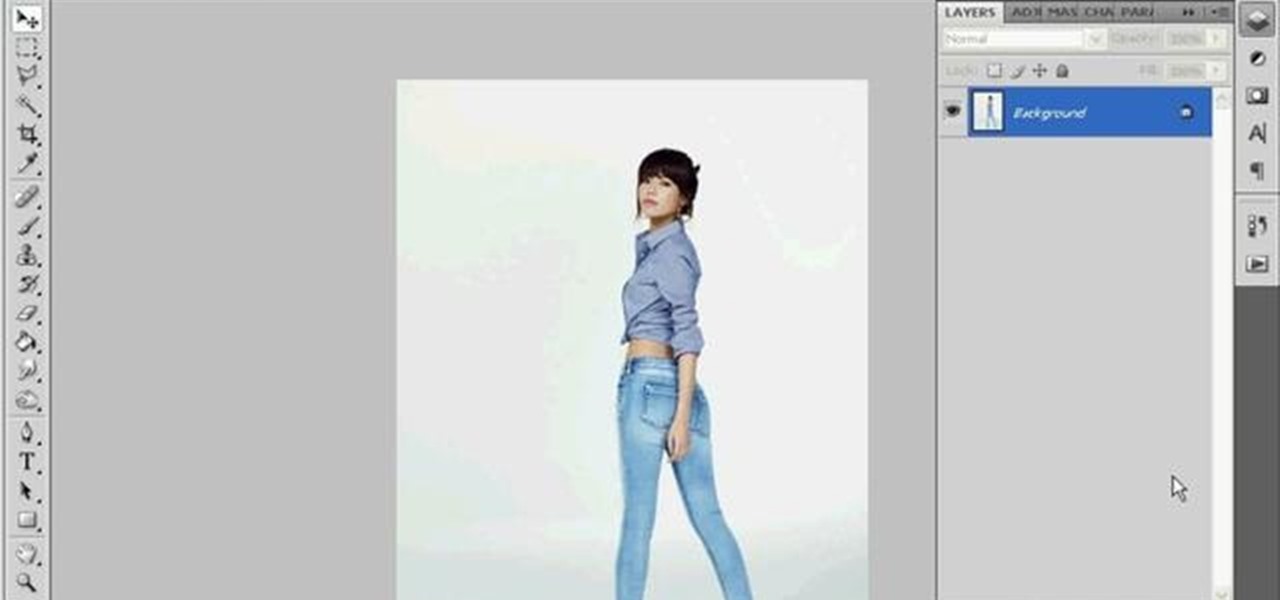
See how to create a simple, colorful colored lighting effect within Adobe Photoshop. Whether you're new to Adobe's popular graphics editor or a seasoned design professional looking to get better acquainted with the industry-standard app, you're sure to benefit from this free software tutorial. For more information, watch this designer's guide.

This video tutorial will show you how easy it can be to switch your old fluorescent lights with an led light. This video focuses on the t-top of your boat or watercraft and shows you how to save energy even on a boat. It's a definite upgrade over what standard boats have and gives you a much sharper color than those other boring dull lights. So sit back and enjoy this easy to do tutorial.

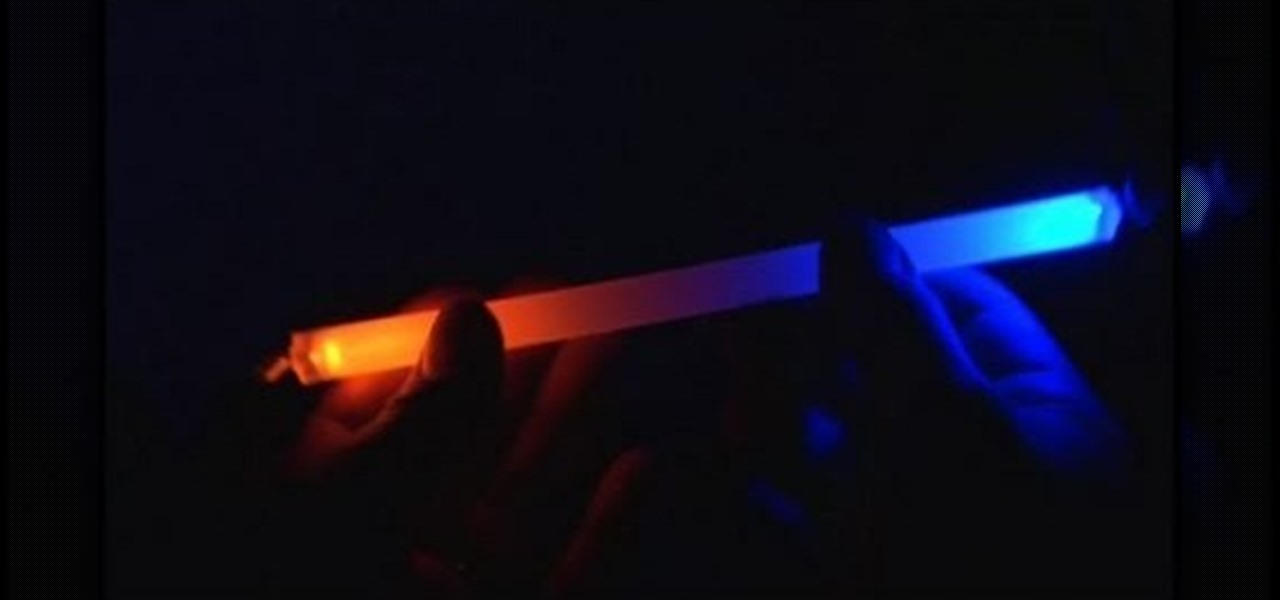
In this video Dr. Carlson demonstrates the properties of light. Light is like a wave and it is also like a particle, which means that it comes in small packets. To demonstrate how we know that light behaves like packets of energy, he uses LED’s in different colors and a sheet of phosphorescent paper. When light with a high enough energy shines on the paper it will cause the paper to glow.

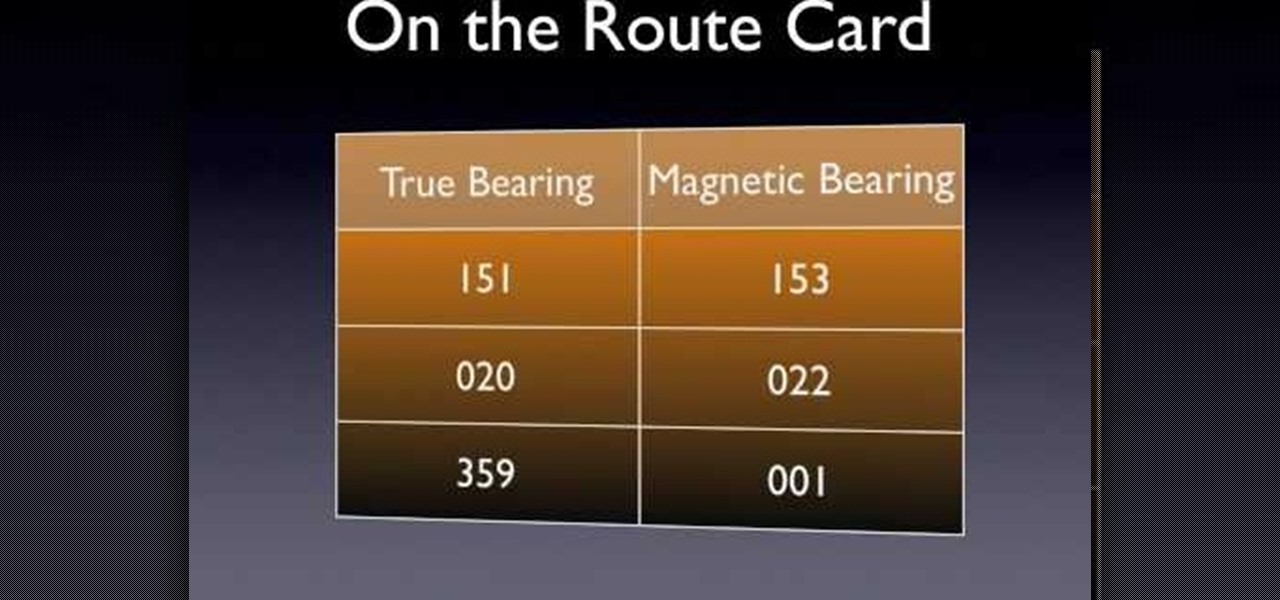
Without good navigational skills, your expedition could lead to failure or result in a dangerous situation. Try to use a laminated map which is better in wet conditions. 1:25,000 scale maps provide the greatest detail. One grid square equals 1 kilometer. Use map keys for reference. Don't mistake boundary walls for footpaths. A compass points to magnetic north and the top of the planet is called true north. Magnetic north is constantly moving and its position relative to true north is differen...

This how-to video from Lowe's demonstrates how to install a closet organization system. He explains that the first step is to clean out the closet and take inventory of the items that go in the closet, then choose what type of racks, shelving and bins will work for your space. He explains the options and shows wire and laminate components, and encourages the viewers to take measurements to create a design based on their needs. Using this advice and the materials available at Lowe's, along wit...

In this follow up video from Lowe's home improvement series, Mike Kraft demonstrates how to install hardwood flooring in your home. If you haven't watched it yet, be sure to check out the video on how to prepare your subfloor for installation of hardwood or laminate flooring, to be sure that your flooring lasts. In this video Mike provides a detailed list of the tools you will need to get this job done right, as well as some great tips on how to prepare your materials to guarantee a job well ...

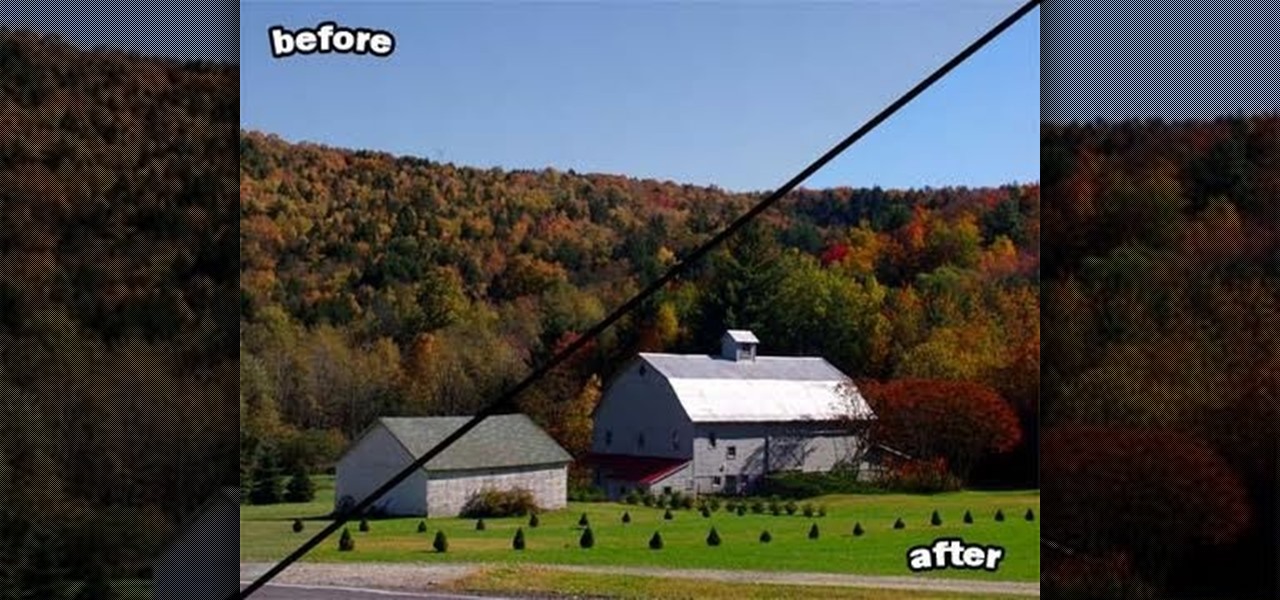
Once you've adjusted the levels of a photo, the next thing you want to do is color correct. The Photoshop techniques used here compensate for bad AWB (auto white balance) settings on point and shoot cameras, or in situations where you had less than ideal light.

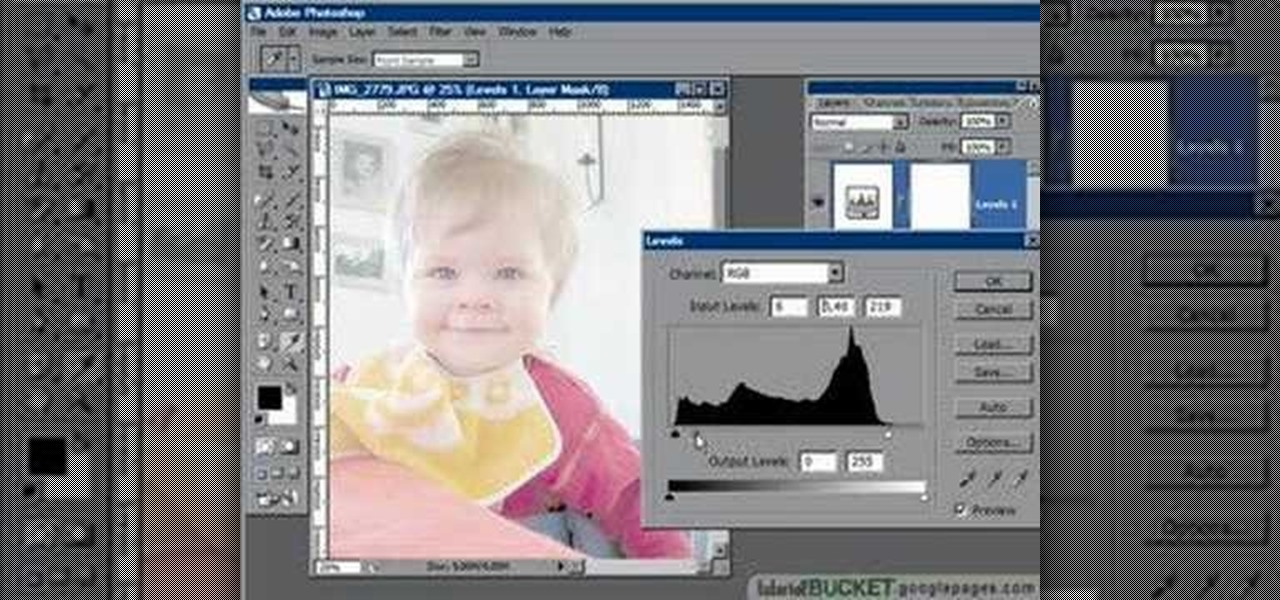
In this video tutorial the instructor shows how to perform basic lighting corrections in Adobe Photoshop. The levels tool is the Photoshop's most used command which has many features to it. Its most basic function is as a lighting correction tool. In this video open an image and work on its adjustment layer so that you do not damage the original picture. Now choose the levels option by right clicking and it shows a pop up window which contains a histogram which shows the population of the col...

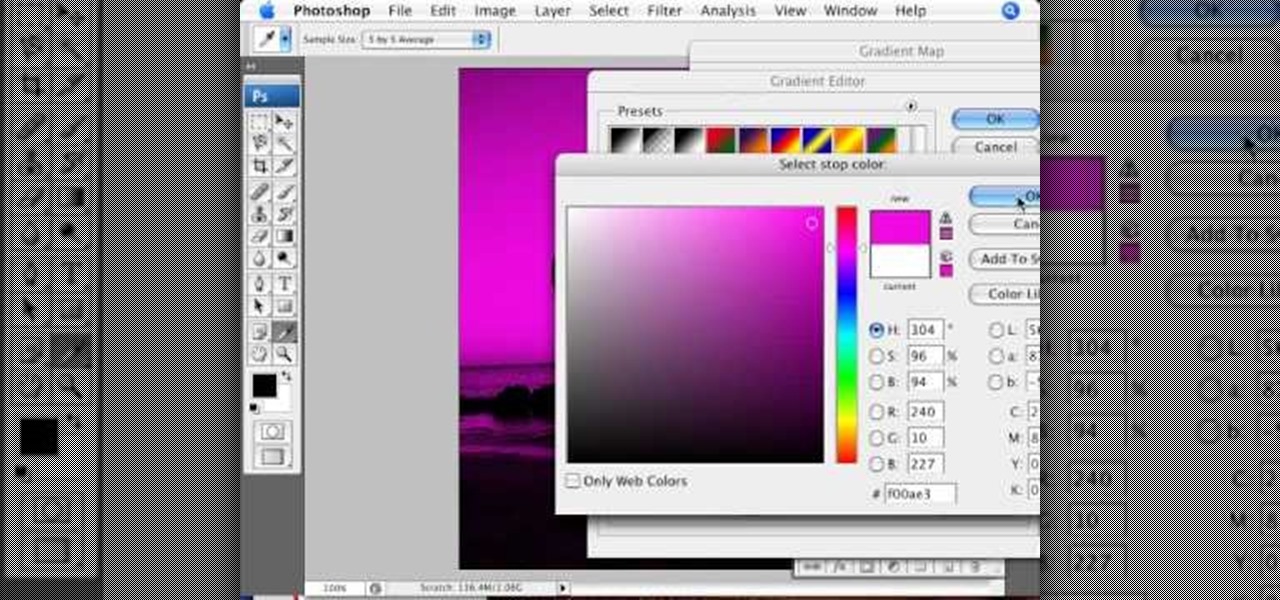
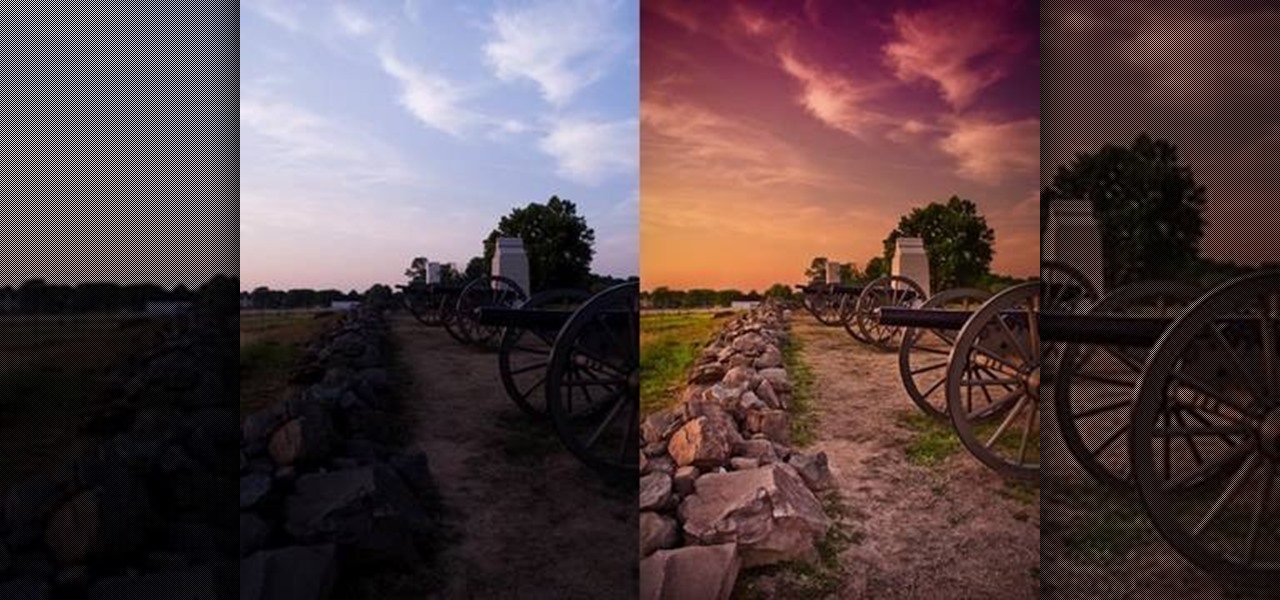
In this video tutorial brought to you by photoshopuniverse, you will learn how to apply mood lighting to images in Photoshop. This is achieved by applying an adjustment layer, called a gradient map, which allows you to adjust the color of the light in an image. You will learn how to access the gradient map from the adjustment layers menu, how to apply the gradient map, then overlay the new layer and fine tune the gradient to create more dramatic looking images.

This video tutorial offers tips on various illustration techniques. Illustrate with watercolor and colored pencil in black and white for practical purposes. When drawing professional illustrations, there is not a lot of room for mistakes. Use water color, ink and colored pencil to begin fleshing out your drawings with light layers or paint and ink.

Experimental house, "Roll It", is a collaborative project within Germany's University of Karlsruhe. The basic concept is as follows: using a cylindrical design to maximize space within a minimum housing unit. Not sure how "space efficient" this would actually be, but using it as transport could be fun (until the nausea inevitably sets in).

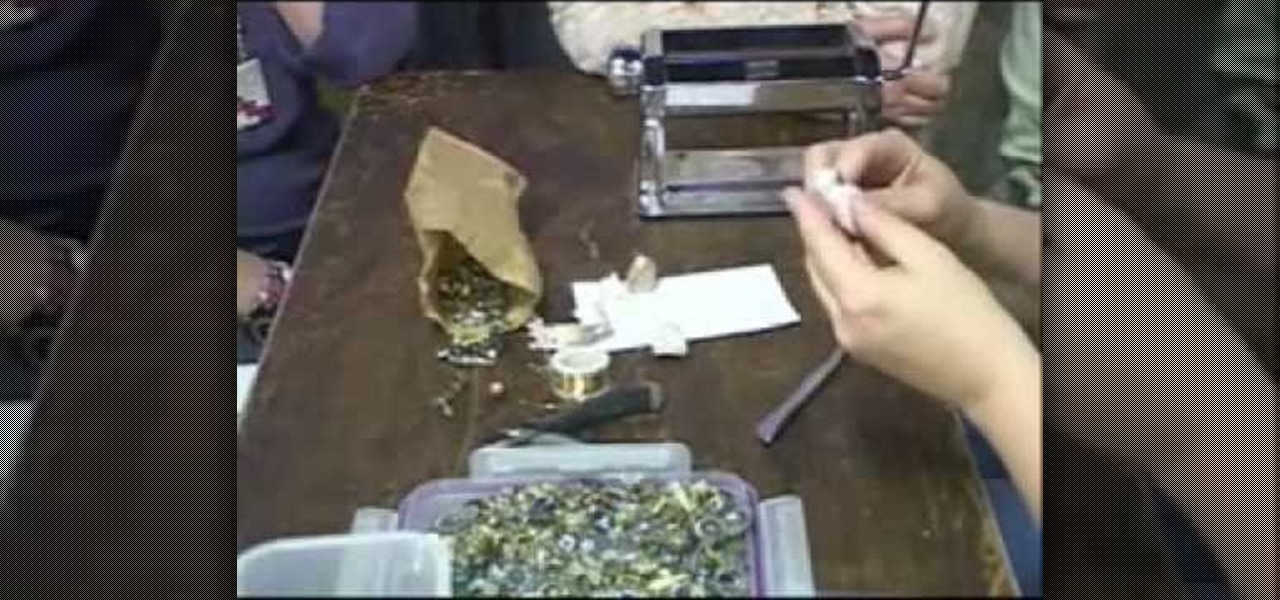
Follow the easy instructions of this video to create the perfect kitchen accessory for your dollhouse! The instructions for the mini polymer clay watermelon are quick and easy to follow. First you need red, black, green, and translucent clay. You want a very light green color for the watermelon. Use the pasta machine to mix the colors together. Slice the pieces of green clay and lay them on top of the light green clay. On the largest setting run them through together in the pasta machine. Rol...

This is an easy and fun project that will add a little light to any night time celebration. Take a few LEDs in any color you want, some basic electronics gear and a hot glue gun. This will be more vibrant than any glowstick you can find in the store, and will last much longer

Martha makes a spring Good Thing: a honey bunny bookmark, featuring a photo of a child as the bunny's face. You will need thick paper, self-seal laminate sheets, scissors or utility knife, white chenille pipe cleaners, wire clippers, hole punch and photo. Make a honey bunny bookmark.

In this video, we learn how to create an engraved text effect in Photoshop. First, start a new document in Photoshop and make it as large as you want it. Now, select the foreground color as a dark gray. Next, grab the rectangle tool and draw a shaped layer, making the color whatever you want it to be. Now, go to "layer", then "layer style", and "gradient overlay". Go to the gradient bar and mix light and dark grays or black to make a metal or chrome look as you prefer. After this, write in yo...

Tutvid shows you how to add flare and dramatic color to your raw camera images (usually the format of a DSLR). In a step-by-step guide with narration, Tutvid takes you through the process of using CameraRaw (used as an extension of Photoshop but never really brings it in photoshop) to add desired colors to your picture. Pull up your raw file in CameraRaw, and press "Command" or "Ctrl + R" to open up the editing panel. With an example, he shows you how to bring out lights in underexposed (dark...

This a video tutorial that is showing its audience how to mix liquid glow stick colors in order to make a white light. The first step is to gather your supplies. To complete this scientific experiment you will need to get a few different glow sticks, preferably red, blue, and green. The next step is to turn all of your glow sticks on. The third step is to cut open the glow sticks and add them to separate cups. Next you can mix the green and the blue light together. Then finally add the red li...

In this video from FiveSprockets we learn how to light an interior space while filming on a budget. For this you need two Chinese lanterns which he found for $2.95 each. You need 2 light bulbs which he found for $3.95 each. Make sure you get extra ones. Then get a couple of pan lights. They are day light and mood light. They were $7 and $5. You also need a multi colored gel pack which is $6.00. He uses C-stands to hold the lights up but he suggests coming up with other ways if you don't have ...

Pixel Perfect is the "perfect" show to help you with your Photoshop skills. Be amazed and learn as master digital artist Bert Monroy takes a stylus and a digital pad and treats it as Monet and Picasso do with oil and canvas. Learn the tips and tricks you need to whip those digital pictures into shape with Adobe Photoshop and Illustrator. In this episode, Ben shows you how to create cloud over a sea in Photoshop.

The video is basically showing how to get a look like Demi Lovato with makeup. The makeup being used is BYS. You Start off with a light Grey make up under your eyelids,then you take the black color makeup and put it under your eyelids where you put your first coat of Grey under and blend them in together. When you use the black color makeup you have to really pad it on, not so much brush it. Then you use the darkest black color and put a light amount under your eyelids. Then finally you want ...

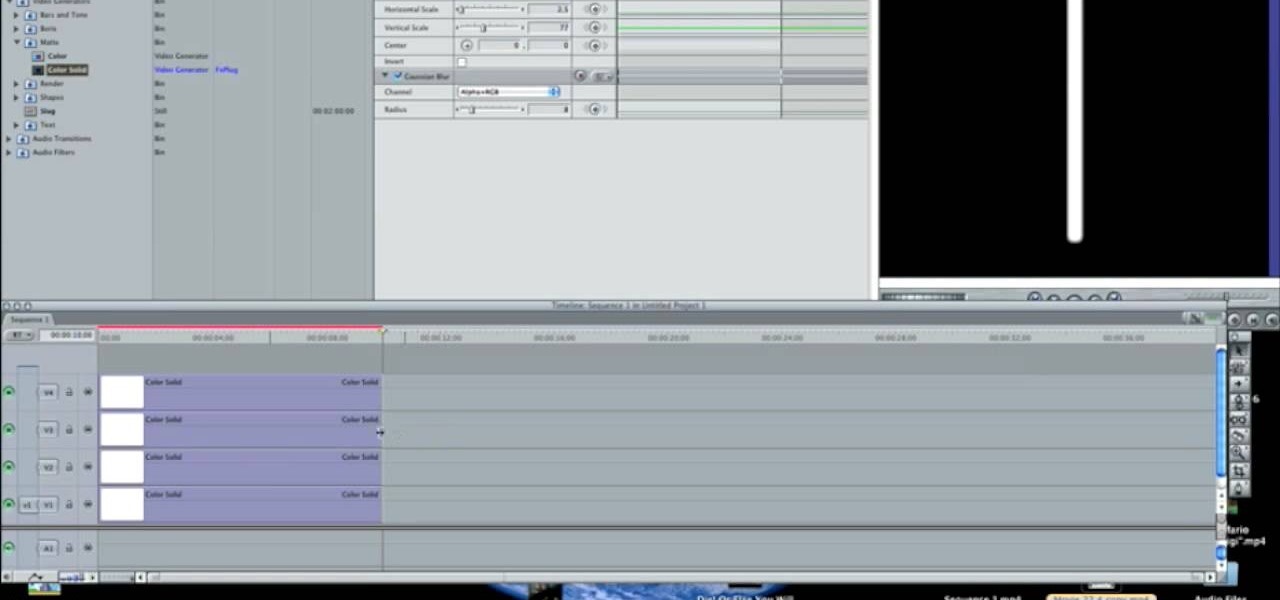
In this how-to video, you will learn how to make a light saber or similar image in the Final Cut Express program. First, go to the effects tab and go to video generators and select color solid. Drag this to the viewer. Go to the control tab and select the blue color. Now drag it to the time line. Double effect the color solid and go to mask shape. Select filters and change the effects settings to 2.5 horizontal scale. For the vertical scale, select 75 to 85. Go to the effects, video effects, ...

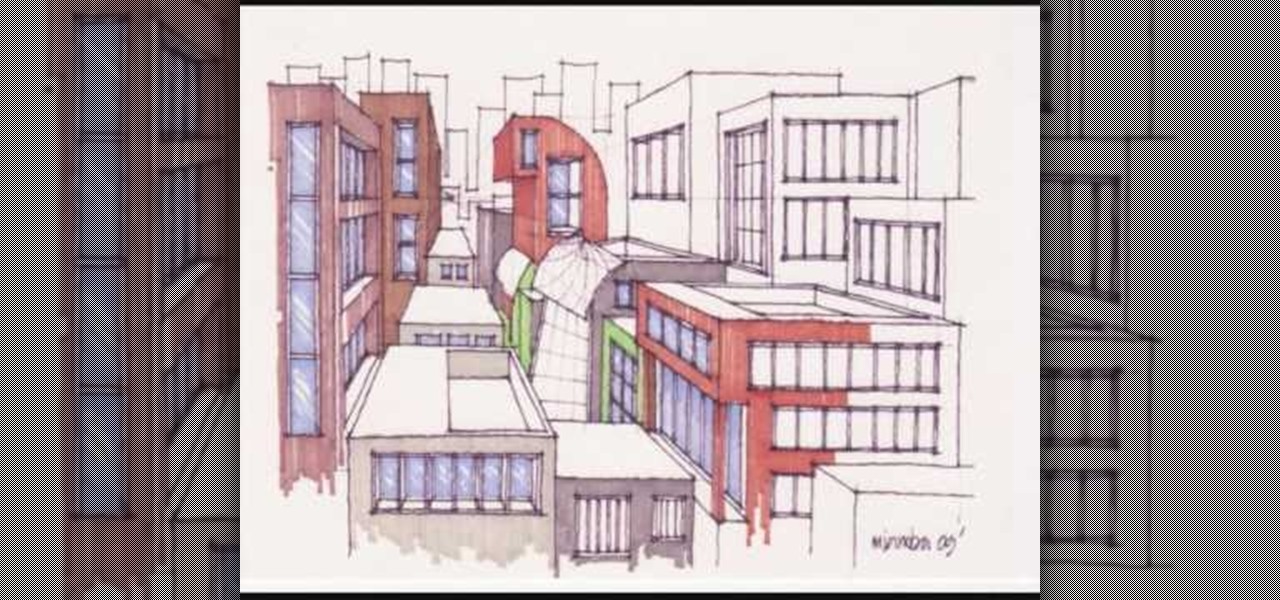
In order to color complex street drawings with markers, you will need the following: markers in assorted colors and a street sketch.

Pixel Perfect is the "perfect" show to help you with your Photoshop skills. Be amazed and learn as master digital artist Bert Monroy takes a stylus and a digital pad and treats it as Monet and Picasso do with oil and canvas. Learn the tips and tricks you need to whip those digital pictures into shape with Adobe Photoshop and Illustrator. In this episode, Ben shows you how to apply light sources to 3D projects in Photoshop.

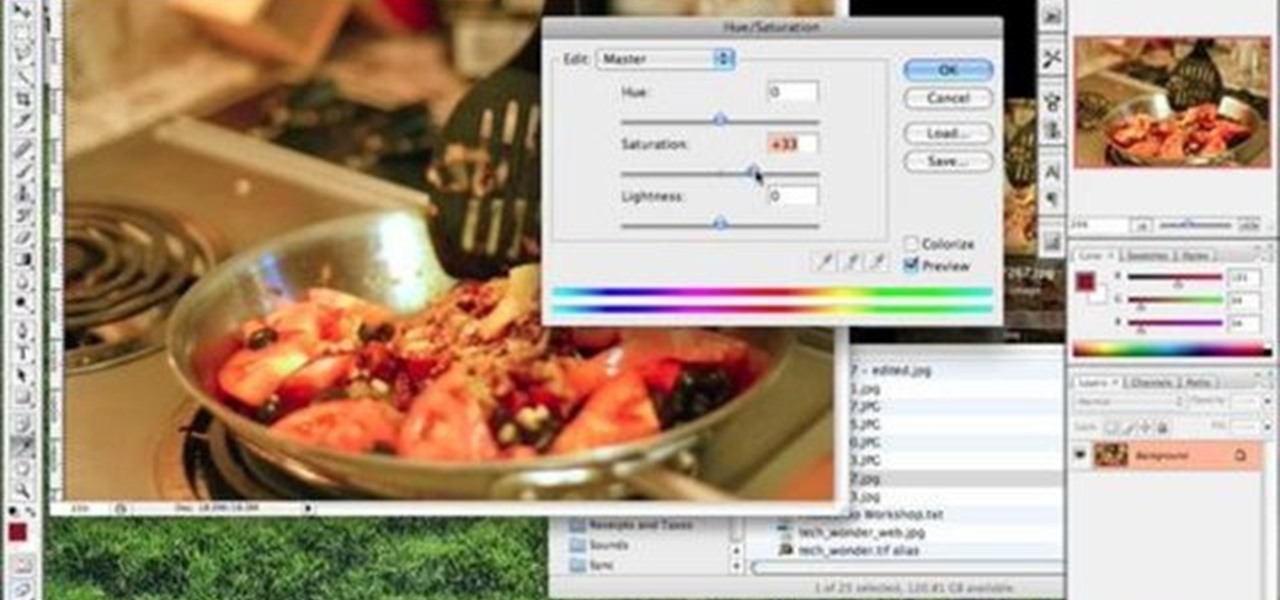
Bring out all the colors in your photo! Make them extra saturated so your image has exceptionally vivid colors. This tutorial shows you how to use the luminosity and other light effects in Adobe Photoshop to make the colors really pop for your project.

Want to put some electronics into your terrain piece or diorama? LED lights are great. You can use tiny watch batteries, which are small and efficient. LED lights are cheap, they come in colours, and you can find them in all kinds of broken gadgets. Watch this instructional video to illuminate your miniature dioramas, doll houses, and miniature war game terrain.

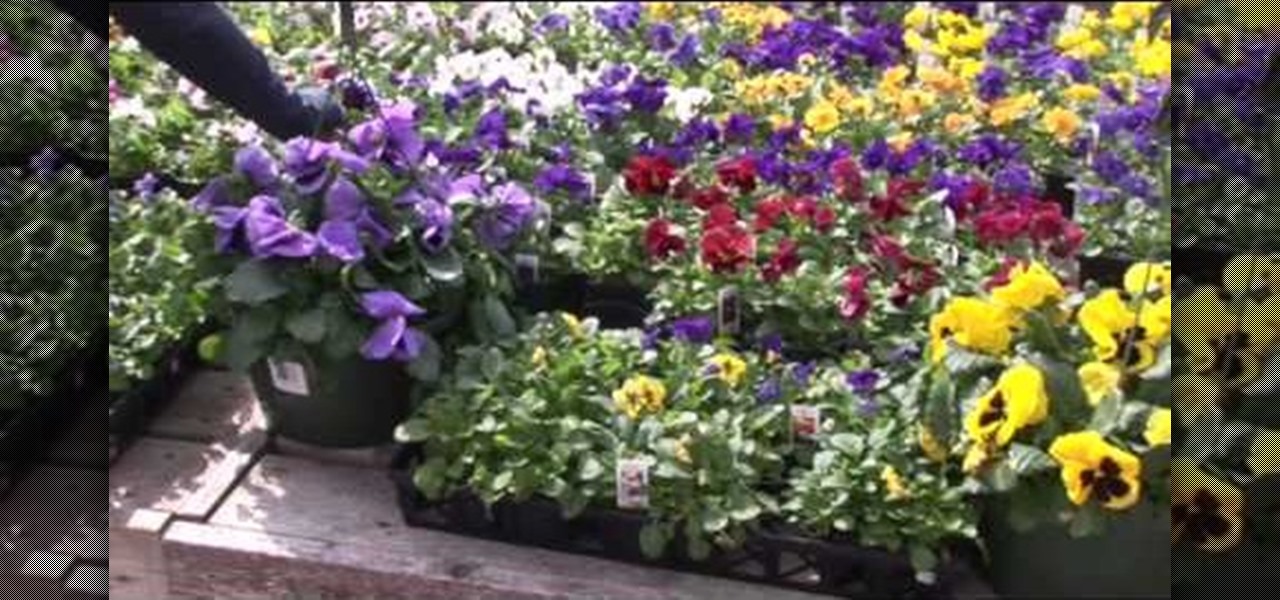
How to keep your pansies healthy year round

Pixel Perfect is the "perfect" show to help you with your Photoshop skills. Be amazed and learn as master digital artist Bert Monroy takes a stylus and a digital pad and treats it as Monet and Picasso do with oil and canvas. Learn the tips and tricks you need to whip those digital pictures into shape with Adobe Photoshop and Illustrator. In this episode, Ben shows you how to transform a photo into a flashy poster in Photoshop.

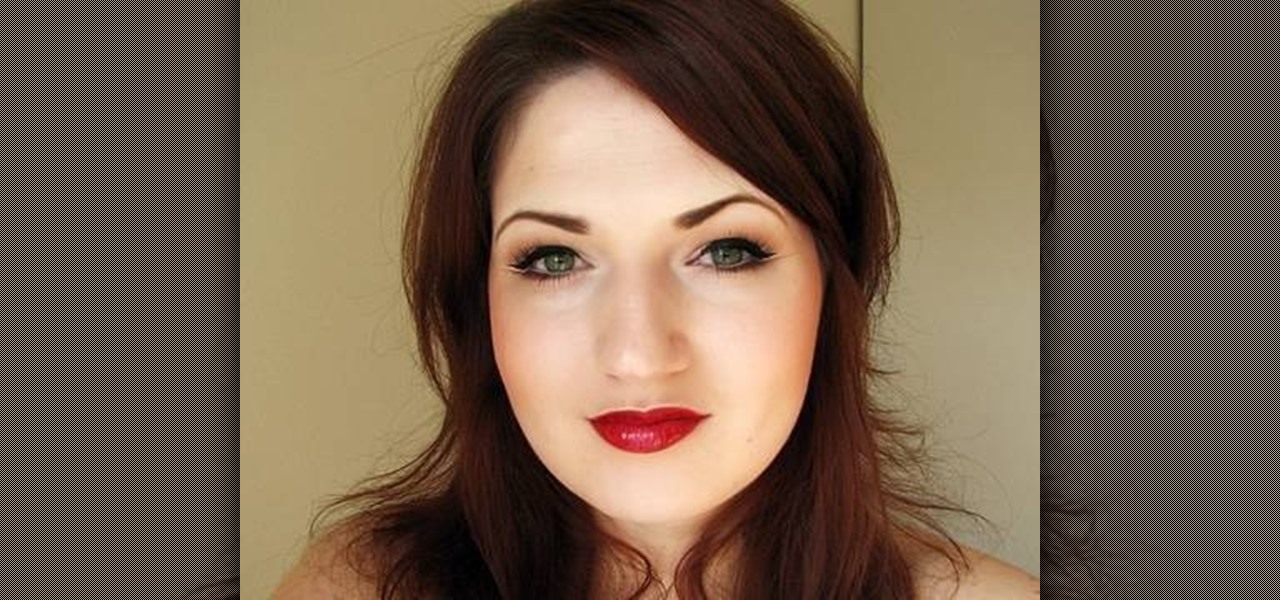
In this tutorial, we learn how to do an Evan Rachel Wood True Blood inspired makeup look. First, apply white shadow onto the lid on the inner corner and on the lower lash line. Next, apply a light pale color to the rest of the lid, then apply a brown shadow onto the eye in the crease. Brush a light white color underneath the brow to create a highlight, then line the eyes with a brown pencil on the lower lash line. Liquid eyeliner will now be applied to the top of the eyes, making it wing out ...

In this tutorial, we learn how to draw an eye in GIMP. First, open up the GIMP software and set up a circle, then color it dark blue. Next, add in light to the middle of the eye, so it looks like a light is shining onto it. After this, make a small circle in the middle of the eye, coloring it black. When done with this, create a new layer and then add brightness to the pupil of the eye. Continue to play around with the contrast and colors of the eye, so it looks more realistic and life like. ...

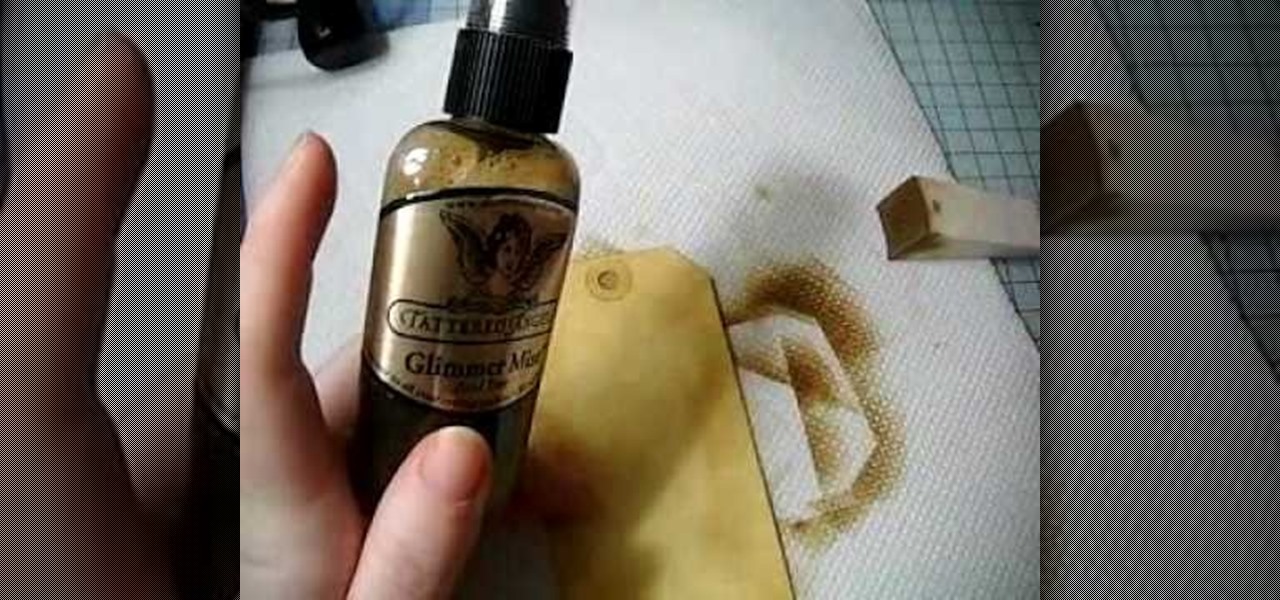
In this Arts & Crafts video tutorial you will learn how to make a distressed scarpbook tag. Take two tags, one red color and one yellow color and strip the threads off. Take a light color ‘Distress’ ink on a sponge and dab one side of the yellow tag with it to give it a light rough look. Now take little darker brown ink on another sponge and dab the edges of the tag with it. Then place the tag in a box and spray Glimmer mist on the tag. Dry the tag with a dryer. Now dab some more brown in...

In this how-to video, you will learn how to light your web show. This is important as it will make your web show look more professional. Proper lighting allows you to see your face, eyes, and the colors of your shirt. If there is not enough light, you cannot see yourself as well. You will also look dark and grainy. Too much light will cause your face to look too hot. Backlit lighting will cause your face to be too dark because the light is in the background. This is why background lighting is...

This video teaches you how to make a steampunk bunny. You want to start off by making a blob with a fairly light color. Then you want to use a sharp stainless steel tool to create a round head. Make sure to make the head of the bunny is forwarded a little bit so that it looks like a bunny. Next, using your hands create a tail in the back of the bunny. Insert one of the bigger eyes using the little wire. Go ahead take your tool and carve out the nose, the cheeks and the mouth. Next you want to...

This video shows us how to draw a Pegasus, a fantasy horse with wings. Firstly draw the parts of the Pegasus roughly using light shades starting of with head, body, limbs, tail and wings. Then darken the parts previously drawn using darker shades and then add the feathers to the wings using the darker shades. Then after that erase the parts which were in lighter shade as it is considered as unwanted now. Then set the background by coloring it with blue color as the Pegasus will be usually see...


