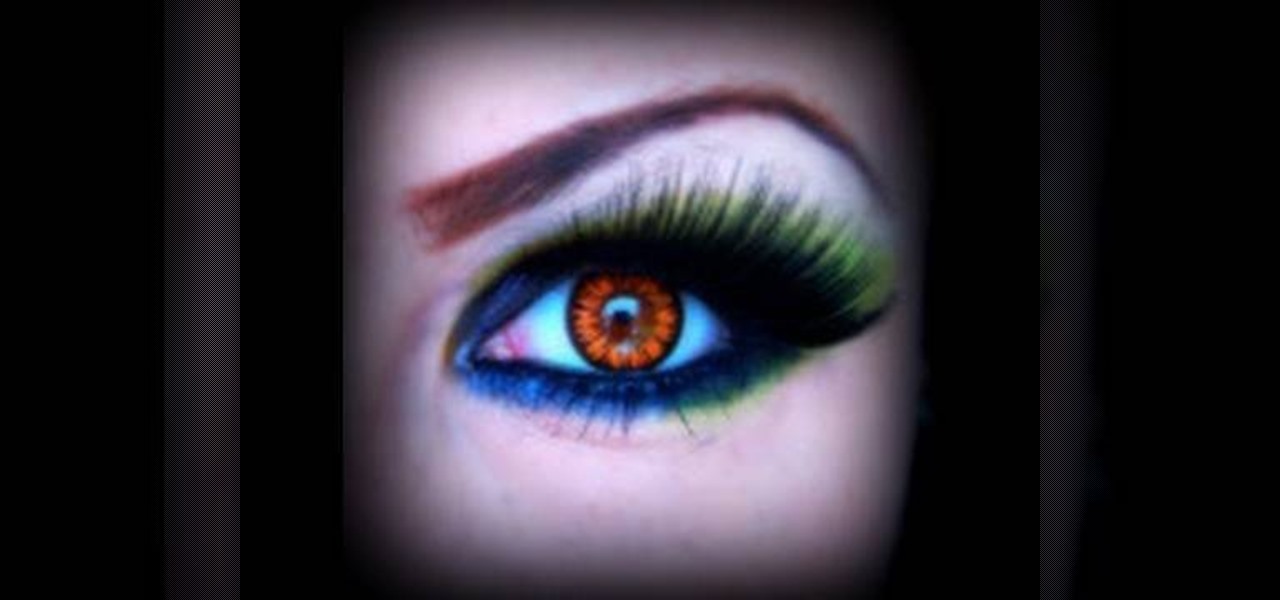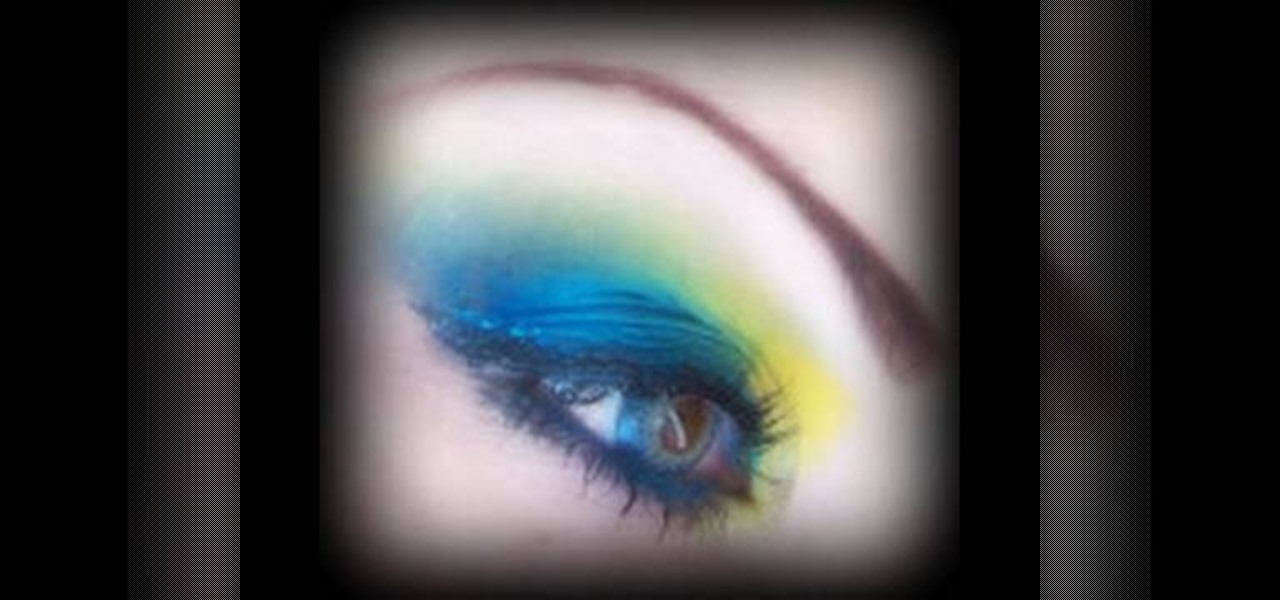
As the cooler weather starts rolling in your pet will need more than just his natural coat to keep the shivers away. Take him out in style by designing a simple yet elegant tailored coat that will fit him perfectly. Here is an easy lined tailored coat with a nice thick comfort strap to keep him snug. Watch this video and follow the accompanying written instructions.

This video will show you how to bleed the air out of the burner oil line on your furnace if you run out of oil. Shown on a Carlin EZPro burner, Weil Mclain Gold boiler. Also would work on most burners the same way including a Beckett.
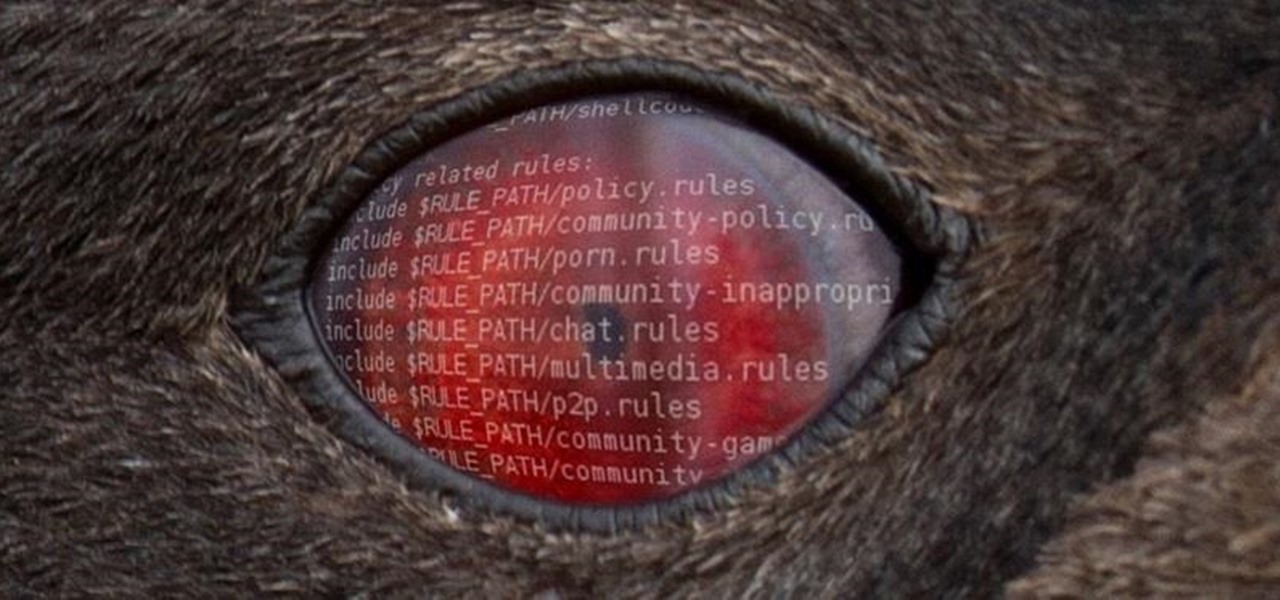
Welcome back, my aspiring hackers! As mentioned several times in previous Linux tutorials, nearly everything in Linux is a file, and very often they are text files. For instance, all of the configuration files in Linux are text files. To reconfigure an application in Linux, we simply need to open the configuration file, change the text file, re-save, and then restart the application and our reconfiguration is applied.
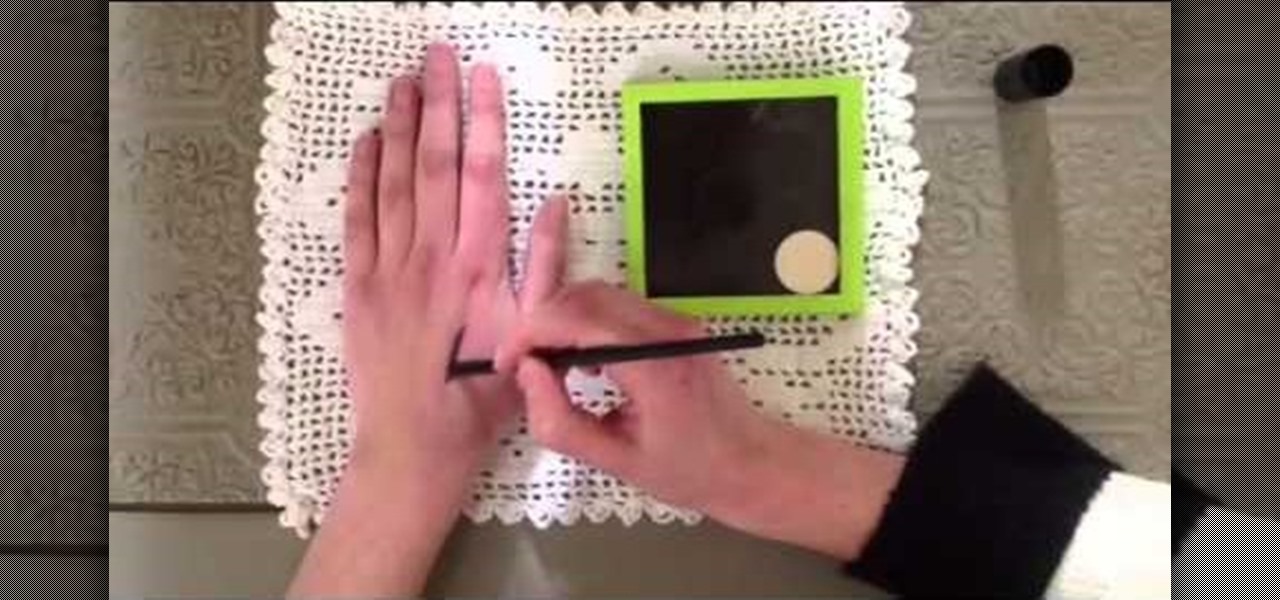
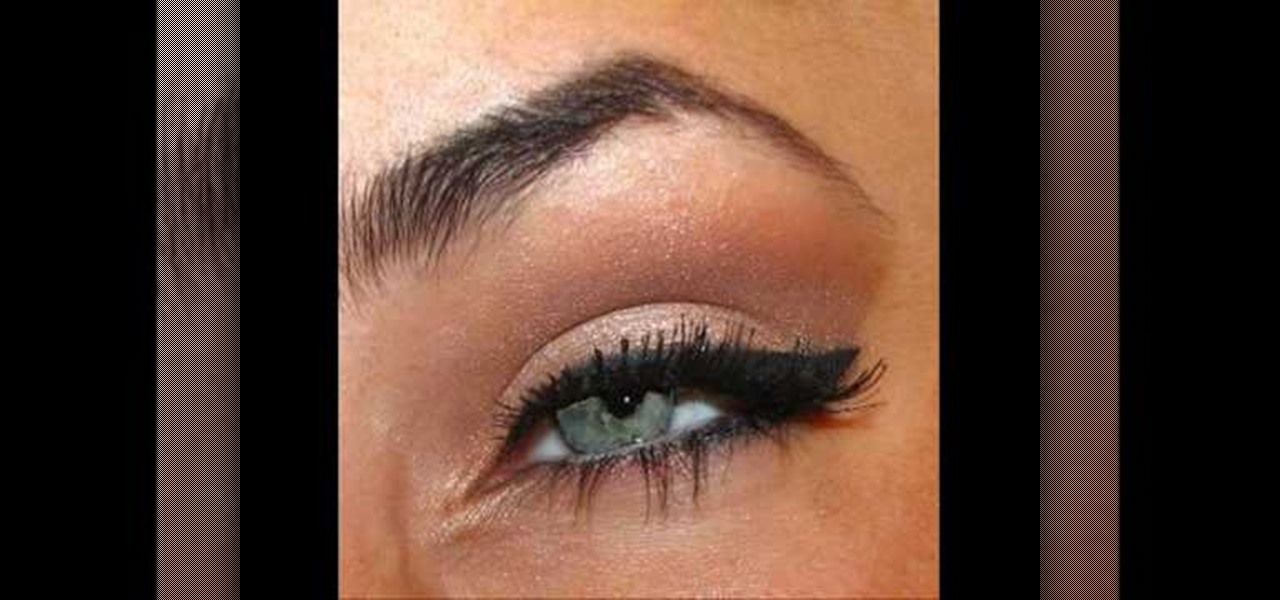
In this video you will learn how to make a gel like liner using Rallye Balm and Eyeshadow. Just swipe some Rallye Balm on the back of your hand, mix some eyeshadow into the Rallye Balm with a liner brush and then line your eyes. It's super simple to do, longer lasting and moisturizing at the same time!
Video: . Taking a Pregnancy test is really easy.

How to cut a straight line every time, like a pro, using a circular saw. Another renovating tip from Uncle Knackers.

Don't be afraid of blue eyeshadow. You can rock blue shadow for a night out! Here is the latest runway look and how to get it.

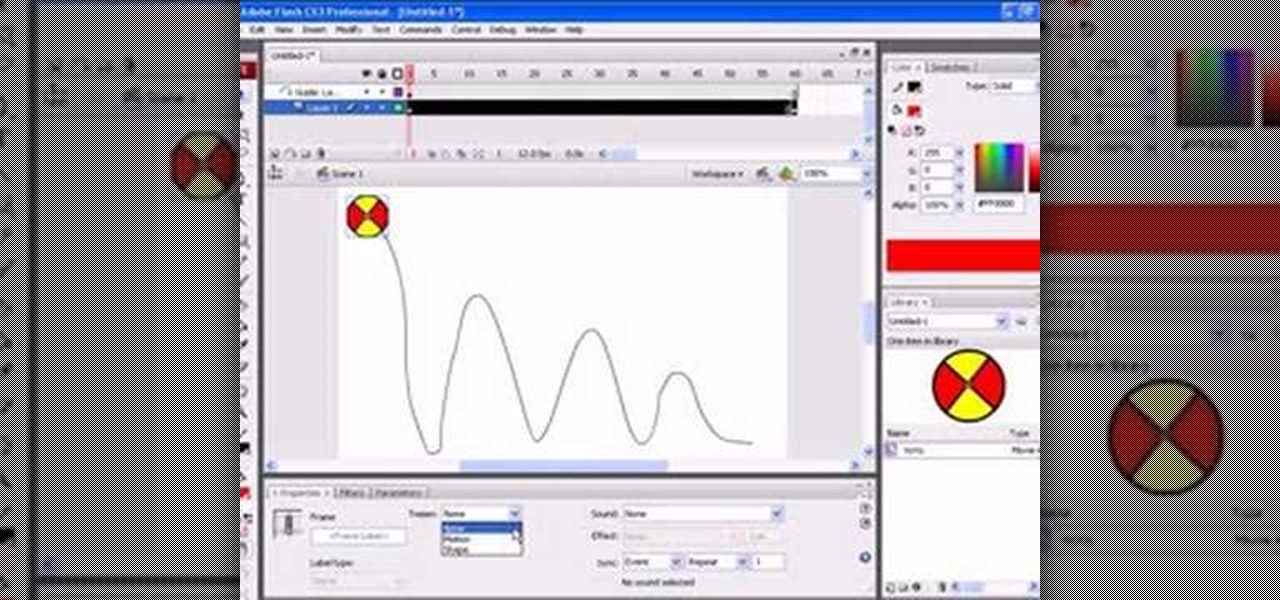
First go to import and click open external library and open your ball as shown before before and drag it to the library window. Now drag it to the first frame and insert key frame to 60 frame.

It's like magic. Creating a .LOG file has never been easier. And all you need is Notepad on your Windows PC. After creating this LOG file, Notepad automatically inserts the current date and time after the last line. Check it out. If you've ever wondered about LOG file types, this Notepad trick is must.

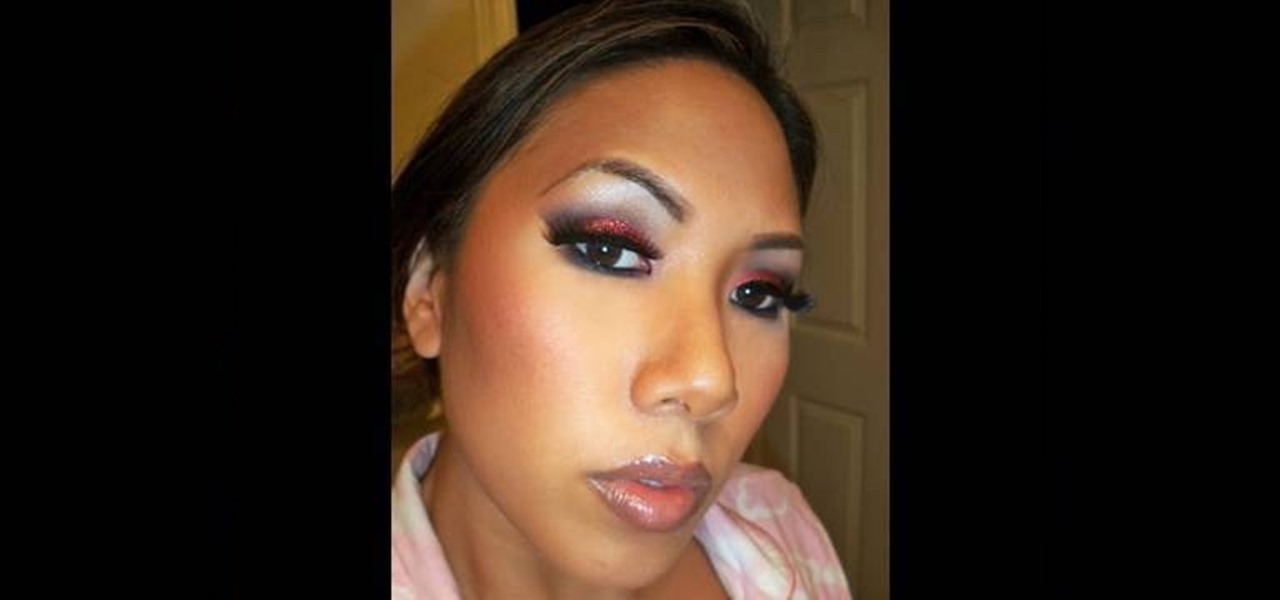
In order to re-create Nene Leake's glitter eye makeup look from the Real Housewives of Atlanta, you will need the following: lipstick, blush, false eyelashes, eye shadow, primer, foundation, tape, powder, glitter, eyebrow pencil, lip gloss, lip liner, and black eyeliner.

Mr. G shows us how to craft a mobius strip out of paper in this video. First, take a sheet of copy paper and fold it in half length wise and crease it down the middle. Now, cut the paper on the crease so you have two strips of paper. Next, lay the papers end to end and tape them together. Now, the strip and give it half of a twist and attach it together with tape on one of the ends to the other. Now get a felt tip pen and draw a line down the middle of the strip. Now as you roll the paper, yo...

First of all you have to draw the rough sketch using light color lines. You have to draw blocks to the size of helmet, chest, two arms, legs and boots. Now start from the helmet and draw the outline. Draw the glass for viewing. Draw the lines as shown on the helmet. Also darken the spots as shown. Now draw the chest guard. Draw the lines to make all the different straps and marks over the armor. You also have to draw a tank at behind. Make the arm and the gloves. Now draw the outline of a gun...

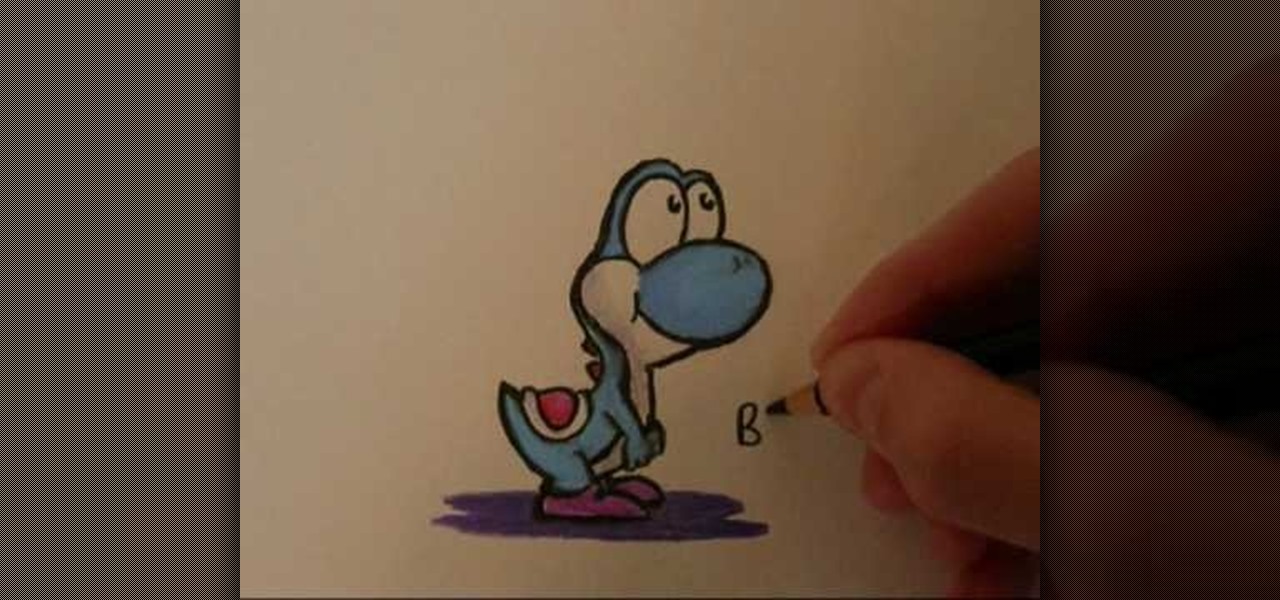
First of all you have to start by drawing an oval for the nose. Draw the rough lines so that they act as guide for your sketch. You have to draw the finishing lines later. Draw the head with the two large eyes. Make eyeballs in the eyes. Now draw the two round cheeks. Draw the body with the two arms joined at front. Now draw the tail and the legs. Now use a pen and draw the final lines. You have to start by drawing the lines thinner and then gradually thicken it to ease out any mistakes. Fina...

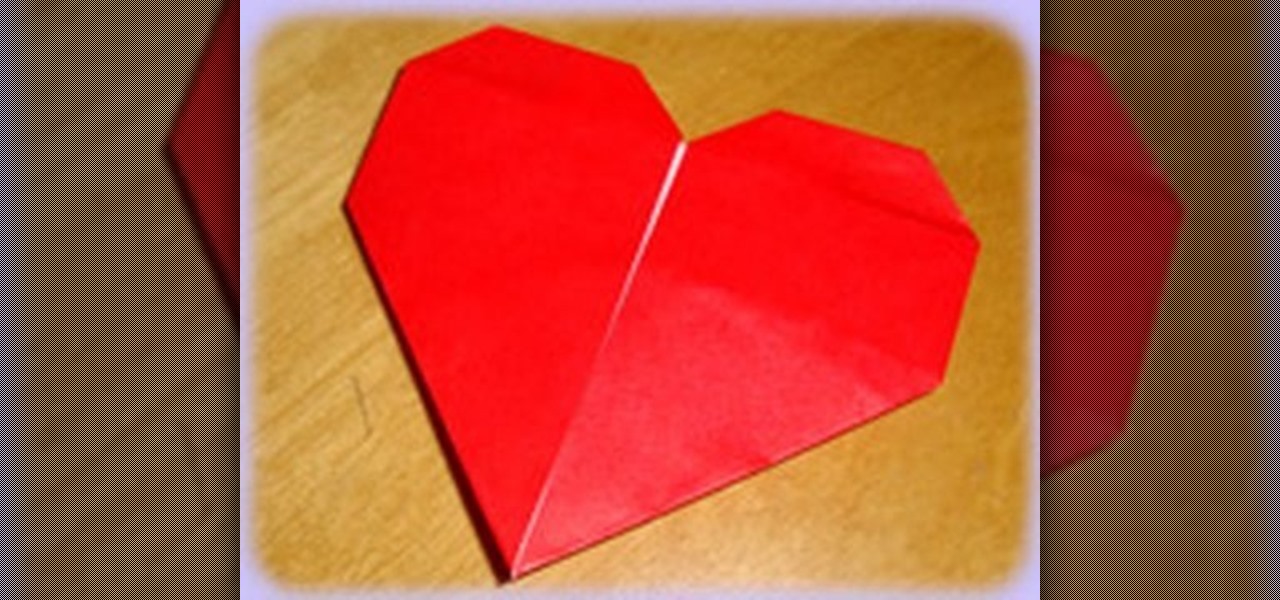
This video shows us how to fold a simple origami heart. Firstly a piece of paper is taken and is cut in the form of a square and then it is folded into half to form a rectangle. Then it is properly creased and then using a knife it is cut into two halves. Then one of the pieces which are in the form of a square is taken and is folded vertically to form a thinner rectangle. It is creased and then unfolded and then the paper is folded horizontally to form a square and it is creased and then unf...

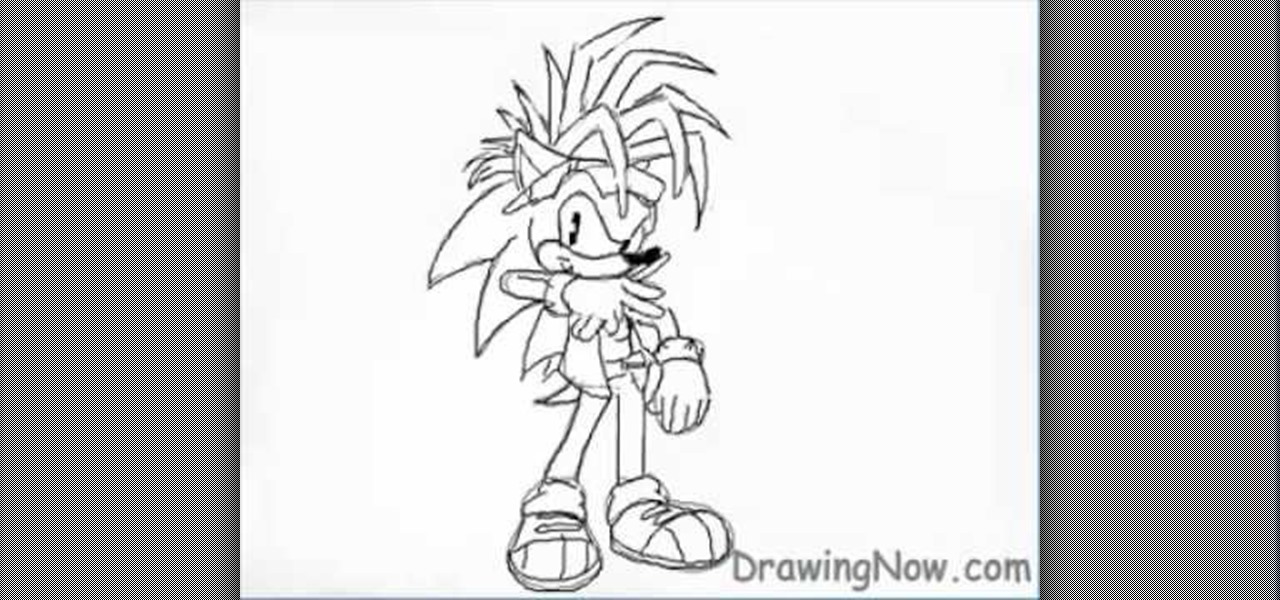
To draw Manic the Hedgehog, you should start by sketching a rough outline of the body, including Manic's hair. Once you have your sketch outline, start drawing over the outline with a darker line, including details like the eyes, nose, mouth, arms, hands, clothes and shoes. Once you have your final outline, go back and erase your initial rough sketch, so that your line drawing looks clean. Now that your line drawing is ready, you can start filling in with color! Start with Manic's green areas...

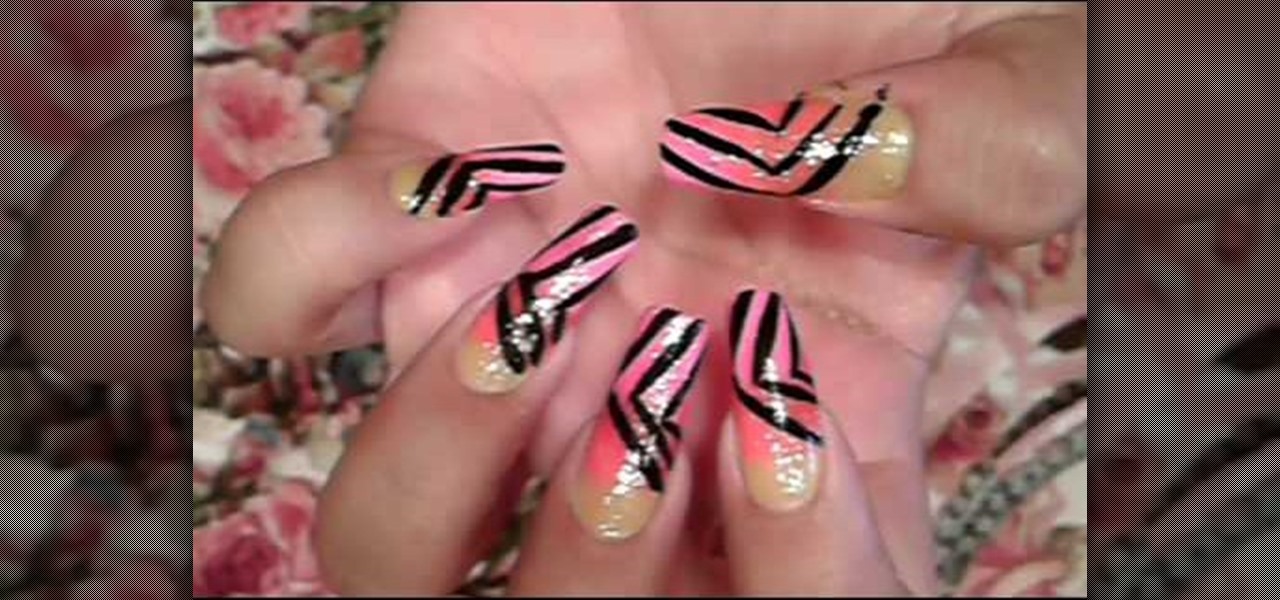
This video on nail art shows how to paint your nails with a summer rainbow stripe design. The nail colors needed for this design are yellow, orange and pink, a glittery color, a transparent clear polish and a black thin nail polish. The first step is to color only the bottom of the bare nail with yellow, here neon colors are used. Next the middle portion with orange and the tip with the pink color. Quick drying polishes can be applied one after the other or else the colors are applied after d...

Steve Auxley shows how to add tippet to a fly fishing line. He mentions here that you do not add tippet to fishing line, you add it to the leaders. So lets see how you do it. You hold the leader in one hand and about two feet of tippet in another hand. Now you are going to tie a knot between these two. It is called as a “improved surgeons knot”. You just take six inches of the leader and six inches of the tippet and put them together. Then you make a big loop. Next you put the tag end of the ...

Mark The Shark is educating any outdoor enthusiast as to how to use his a spinning reel when fishing. After establishing a spinning reel is what you are using, it is best to adjust the tension of the line using the drag wheel. The drag wheel is a dial that can usually be found on the top of the reel, and it turns clockwise to increase tension and counterclockwise to decrease tension. Once the tension is adjusted properly for what you are fishing, it is time to cast. To begin, you should open ...

In this beauty tutorial, learn how to get the dramatic eye synonymous with Ed Hardy-Inspired makeup. The first thing you will need to do is apply a foundation over your entire eye area. Because so much makeup is being used, you really want to make sure there is a foundation in place to keep all of the color in place. Then, with a no. 217 brush, sweep a dark navy blue color over your entire lid as well as the crease. Line your lower lash line with a dark blue cream eye shadow and also fill in ...

In this beauty tutorial learn how to use Mac and BitchSlap! Cosmetics to obtain a tropical punch-inspired makeup look. The look incorporates yellow and blue tones to the eye area. To begin, make sure to apply a foundation onto the entire eye lid and under eye area. Use a brush to apply the light blue color on the middle section of the eye lid and crease. In the inner part of the eye lid and crease, brush on a yellow shadow. A dark navy color should be applied to the outer portion of the eye. ...

SOLOMATION Cy Porter, the owner of the mentioned website demonstrates how to draw a hand from the thumb perspective. He says that this tutorial is to bring out the thumb's measurement and relation to the rest of the hand. First he draws the palm and the wrist, giving as a square shape to the palm. The he draws the first joint of the thumb saying that the center point of the line joining the knuckles and the wrist and the center point of the thumb's first joint forms an arc. Then he draws the ...

Make up artist Katie teaches viewers easy to follow techniques in achieving a Megan Fox make up look. Using a make up brush, apply concealer below the eyes and areas all over the face. Use a sponge to apply the foundation and gently blend it with the concealer to achieve a flawless look. To achieve a glow in your face, use a blush brush and apply blush on shade with a fine shimmer all over the face with emphasis on the cheeks and forehead. Perfect-shaped eye brows is achieved by applying blac...

This is really cool, you can make these awesome neon glowing lines using your Adobe Photoshop. This is a fun way to make creative and colorful designs and it looks really neat without spending time working on detailed shapes.

Learn how to split a circle into segments with Xara Xtreme. First select the shape editor tool. Drag the tool to the circle. The dialogue at the bottom communicates what steps to choose next. Holding the Ctrl key drag a straight line within the circle, click on the selector tool (yellow arrow on the left of the middle row) to enable the option of selecting. This saves 1 line on drawing layer 1 also and enables the marquee (flexible box) that you want to manipulate around the circle encasing t...

Michael Weiner (2D Illustrator) explains that before drawing an elf ear, one should have a clean white sheet and a drawing utensil (HB Pencil). Especially a light graded pencil helps to save time. While drawing an elf ear one needs to draw the outer line of the ear i.e. to draw a small base of the ear. In the step, you would need to draw the point which connects the outer line of the ear for example, the outer line of a leaf. In the step, after completing the base of the ear, you would need t...

This is a very cute look and if you like pink you will like it especially if you are a girly-girl that really loves pink.

- First, use a Maybelline Quad in Chai Latte and use the lid color and put into the crease of you eyelid (use a color slightly deeper than your natural skin color).

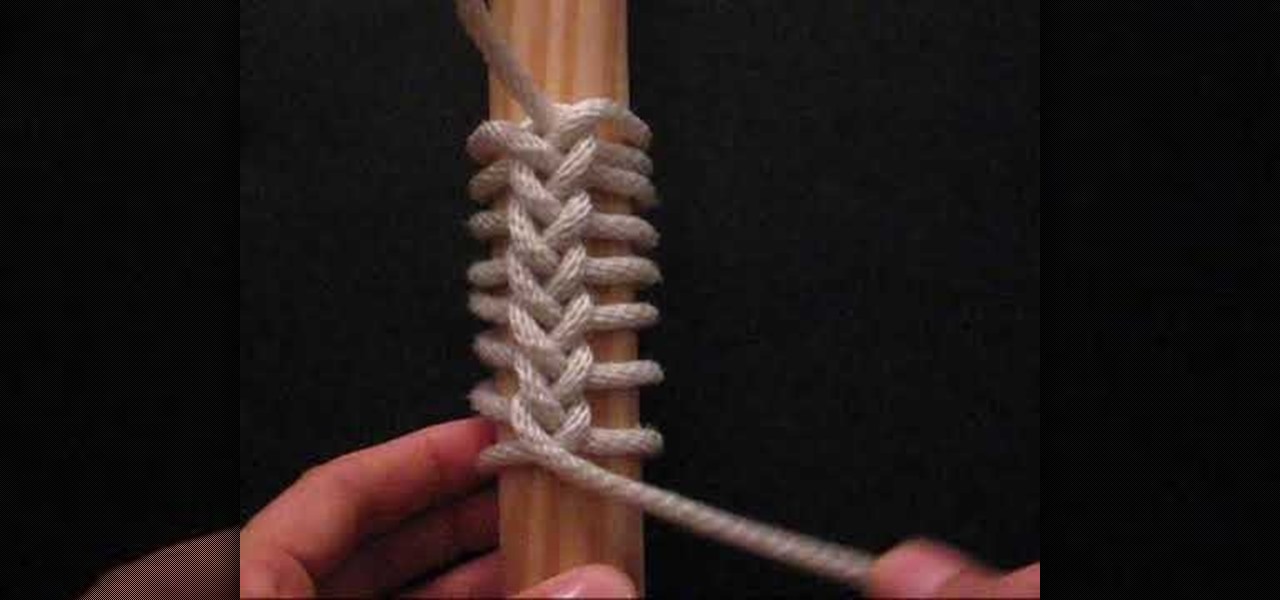
JD of Tying it all together, is the instructor. He has many instructional knot tying videos. This particular video is focused on tying a single strand ringbolt hitch, A.K.A. Coxcombing. This was a common knot used by sailors to decorate items and parts of their ship. However, actually creating this tie is much easier said than done.

With this video you can learn the few simple steps it takes to give yourself a beautiful look, no matter how little time you have.

Extend the life and luster of your copper pots with a few items that are probably in your kitchen. You Will Need

Make the most of your height with these wardrobe tips. You Will Need

Sharpen your listening skills and coordination by playing a round of Mother May I. You Will Need

This tutorial teaches you how to apply individual false eyelashes video tutorial. Applying individual false eyelashes is a great way to achieve a dramatic and glamorous evening look. You will need individual false eyelashes, individual false eyelash glue, a piece of tin foil, a small pair of scissors and a pointed pair of tweezers. Apply your desired eyeshadow first, a light shimmery eyeshadow creates the best effect for this look in terms of contrast against the false eyelashes. Pour a very ...

One of the best things about The Elder Scrolls V: Skyrim is the ammount of flexability there is in how to carry out a quest. And one of the best quest lines in the game is for the Dark Brotherhood. You know, the evil scumbags that are pretty much hire blades within the game. My favorite mission actually happens pretty early on in the quest line. The mission requires you to slay the emporer's niece, Vittoria Vicci, on her wedding day.

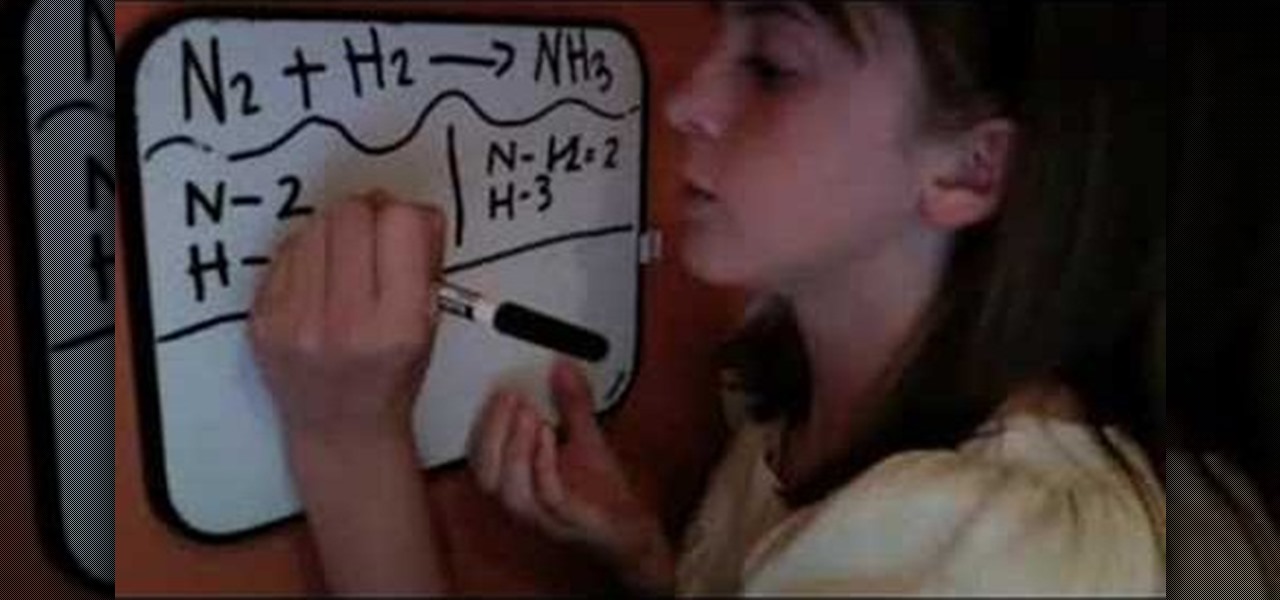
In this video, we learn how to balance a chemical equation. First, take a look at both sides of the equation and figure out how many atoms there are for both. Once you write this out, you will have an idea of how unbalanced it is. Now that you've done this, you need to think about how you can make the equation equal. Look at the first line and then see how many you have to add to one side to make both equal to each other. Then, go to the second line and do the same. When finished, you will ha...

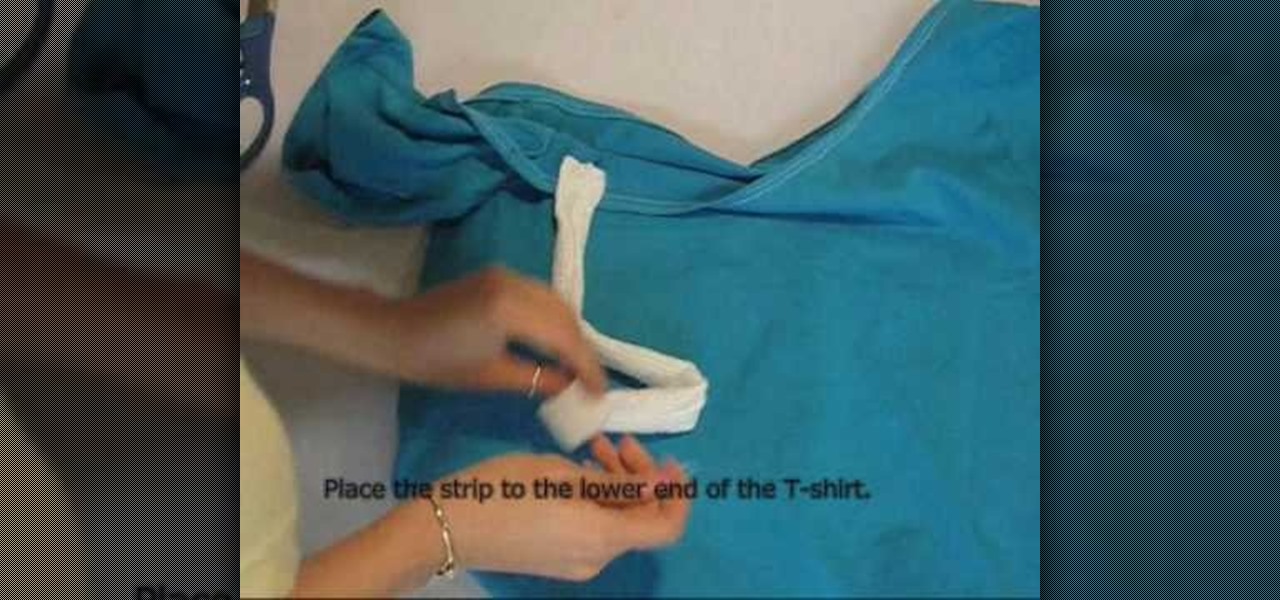
In this video, we learn how to reconstruct a t-shirt into an off the shoulder top. First, take a large shirt of your choice color and cut along the line on the shoulder, leaving a 1/4" seam allowance. Next, roll the hem and sew with a sewing machine. Next, cut a strap 4" wide and fold in half, then sew along the edge. After this, use a safety pin to pin one side to the shirt and then to the other side of the shirt. After these are secure, draw marks along the neck line of the shirt. Cut out t...

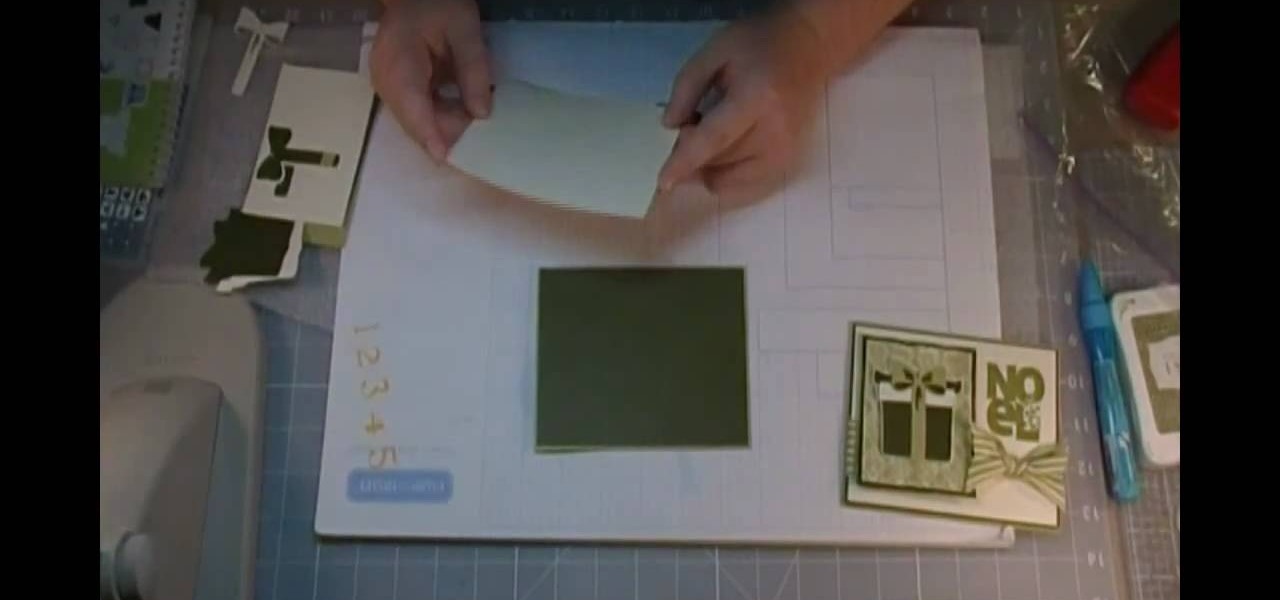
In this video, we learn how to create a Disney inspired Christmas card using Cricut. First, you will need to grab a green card stock and the background, then us ea cream colored card stock to place over the top of this so the green just looks like a background. After this, line this with a small black line all the way around. Then, cut out a gift and stick it onto a holiday piece of paper. Wrap a piece of ribbon around this, then add in a holiday sentiment on the side of the paper. Once finis...

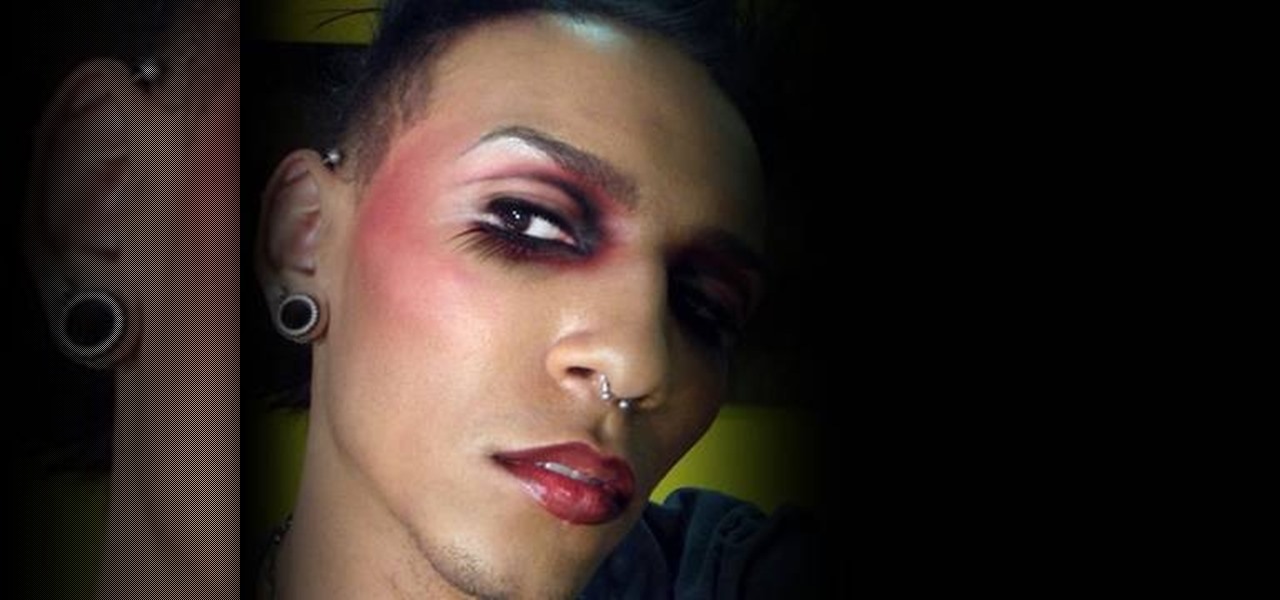
In this tutorial, we learn how to create a space age Mars inspired makeup look. To start, apply red pigment on the inner corner of the eye up to the eyebrow. After this, blend this over to the crease of the eye on the outer edge. Create a long line on the outer edge of the eye. Next, apply a darker red color on the crease of the eye and continue to blend all around the eye. Next, use a light red color to brush on the eyelid, then apply black eyeliner on the top and bottom of the eye . Use fal...

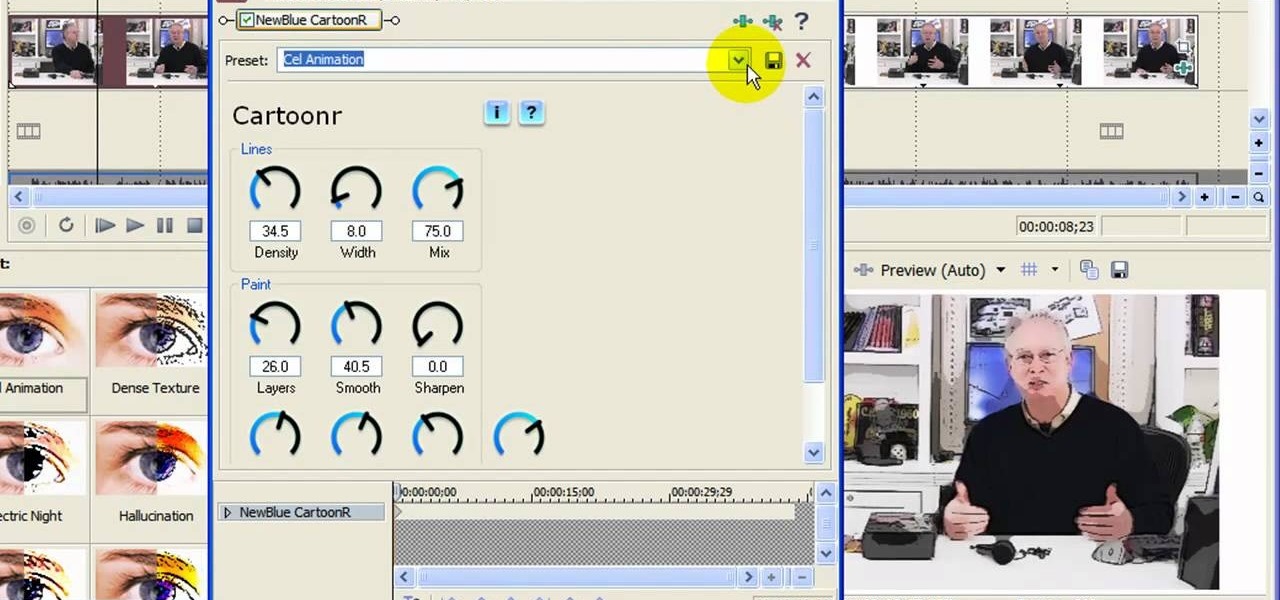
In this video tutorial, viewers learn how to create a cartoon effect from video in Sony Movie Studio. Begin by importing the video clip(s) into the time line. Then click on the Video Effects tab and select New Blue Cartoon R. This is a plug in that needs to be downloaded. Users are able to select various different cartoon styles from the Preset drop-down menu. Users are also able to configure the lines and paint of the cartoon effect. This video will benefit those viewers who enjoy create and...


