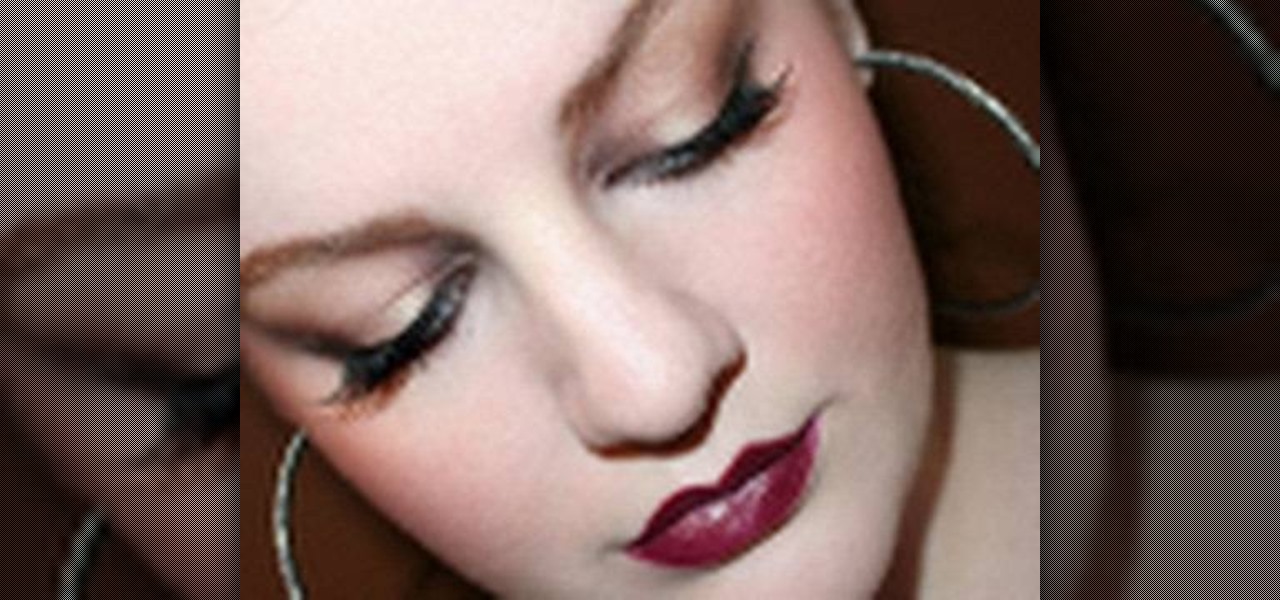
In this video we learn how to apply Nina Flowers inspired drag makeup. Start out by using black eyeliner to draw on the mask around the eyes. Fill this in with black face paint and then create lines above it for the rest of the mask. After this, apply white makeup over the top of the black and underneath the eyebrows. Apply bronzer on the cheeks and underneath the chin. Add in green glitter to the mask and then false eyelashes and mascara. Apply black eyeliner on the lips and then fill in wit...
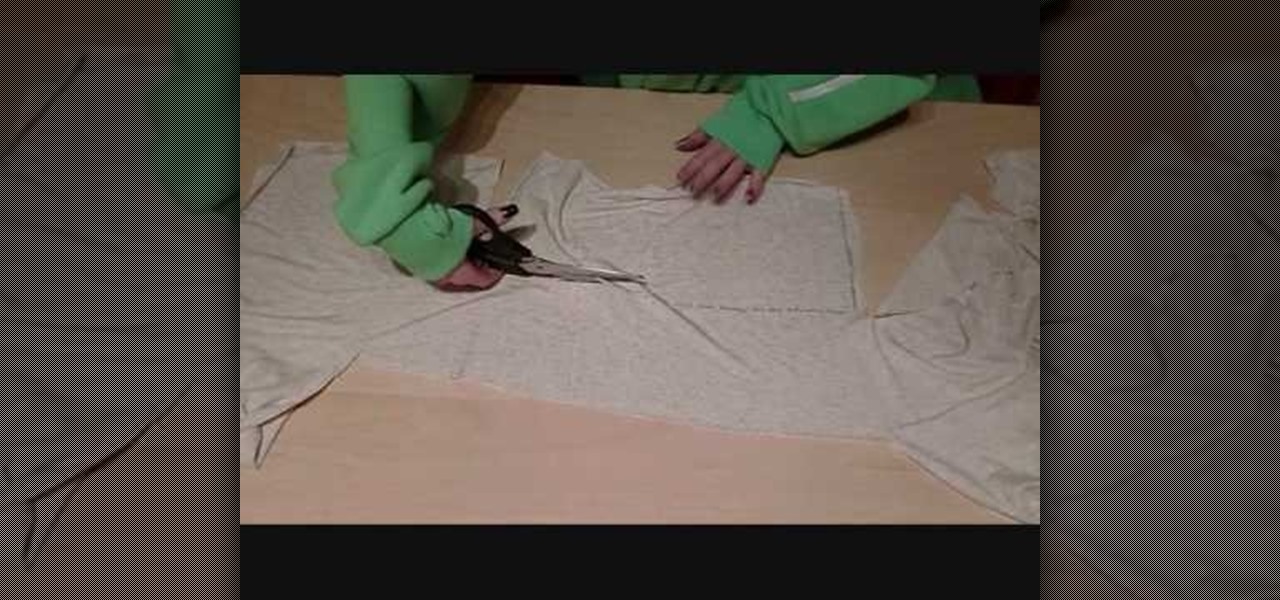
In this video, we learn how to make a feminine, long fitted sweater. First, lay out your fabric and use a pen to trace the lines for the sweater, measure it out so it's a good fit. Make sure to cut around the edges so you have room to sew. Now, sew along the edges and then turn the shirt inside out. Then, take extra fabric and cut out rectangular pieces that you will then attach to the bottom of the sweater by sewing them on. Once you are finished with this, try your sweater on to see how it ...
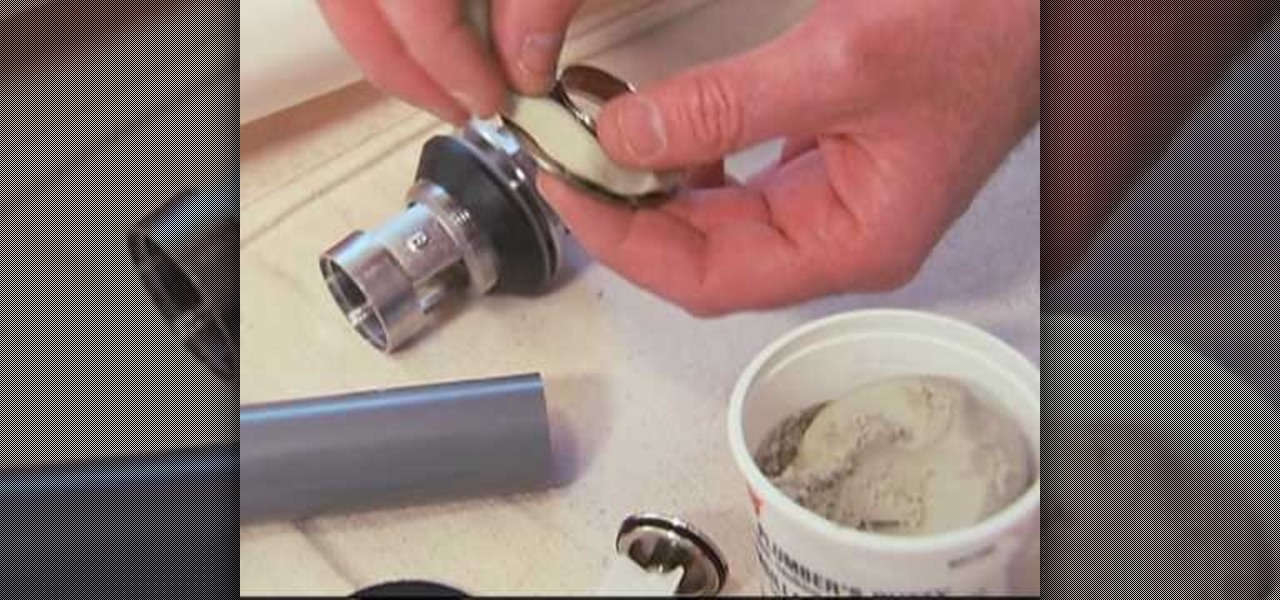
In this video, we learn how to install a vanity and sink with Lowe's. A great way to give your bathroom a makeover is to give it a new vanity and sink. First, turn off the water from the water line, then take down the pipes from under the sink. Use a bucket to catch extra water that's falling out. Next, separate the top from the base and then remove the old vanity. Remove the old base unit from the bathroom and then install the new vanity. Measure out the area to make sure it will fit. Place ...
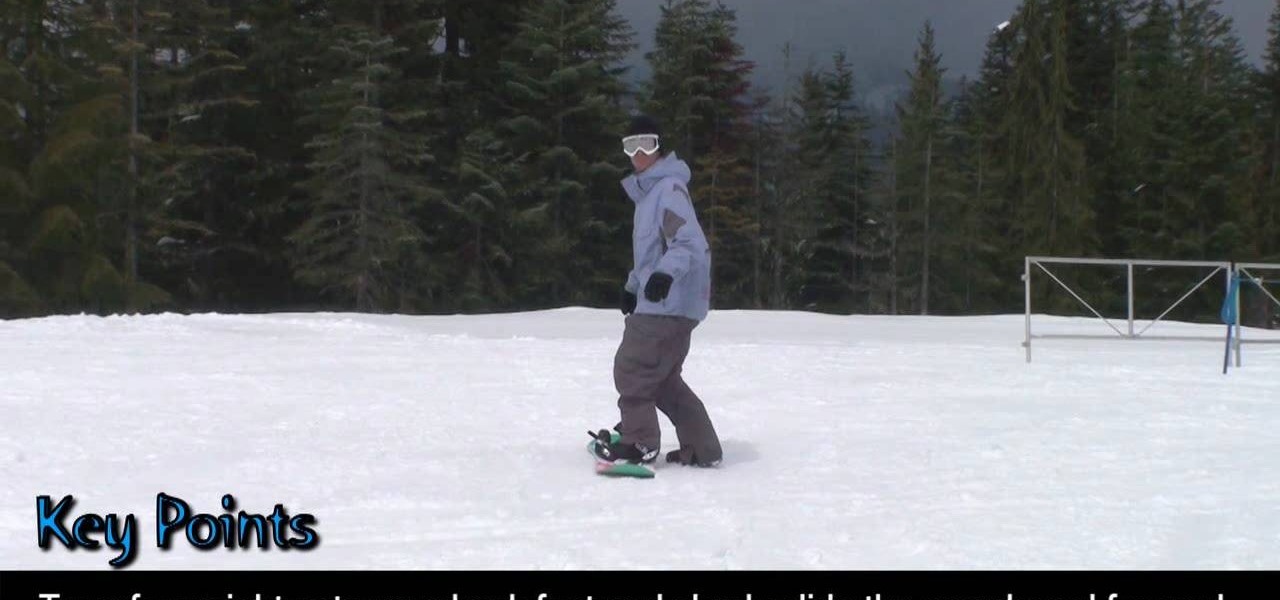
In this video we learn how to master basic mobility on your snowboard. Look and point in the direction you want to travel then transfer weight onto your back foot and slide the snowboard forward. Transfer weight onto your front foot to enable the board to glide forward. Change direction by lifting the snowboard and pivoting on the back of your feet. To climb, place your snowboard perpendicular to the fall line. Then, step your free foot over the snowboard and dig your toe edge into the snow. ...
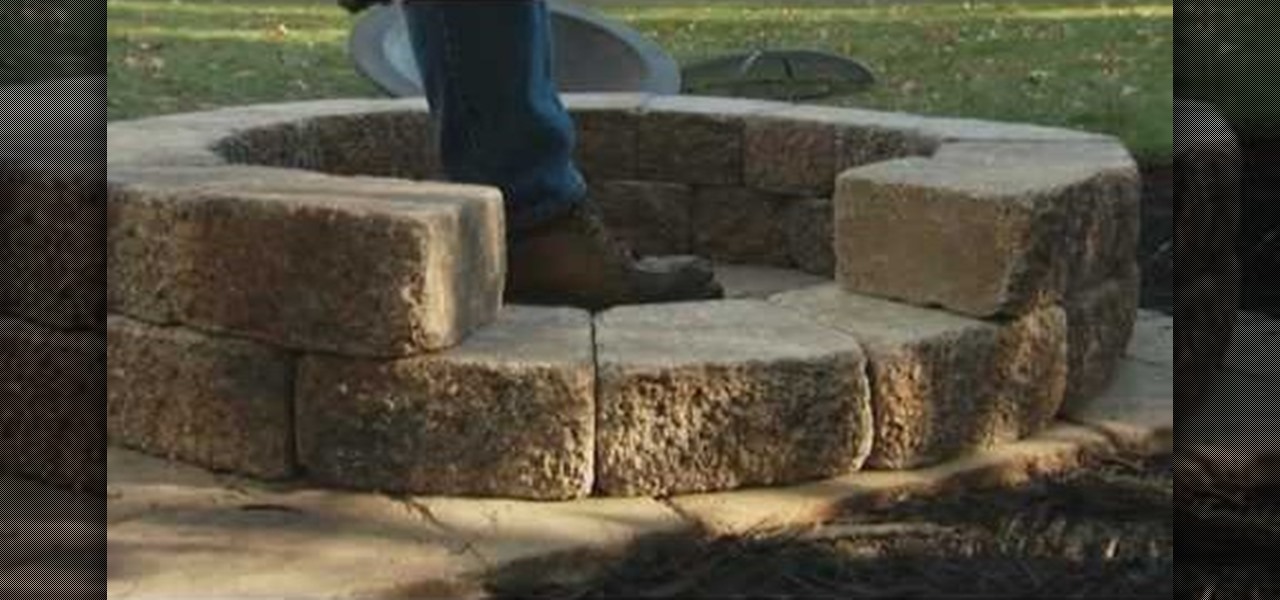
In this video, Mike Craft from Lowe's teaches us how to build a fire pit. First, check to make sure there are guidelines permitting you to place a fire pit outside of your home. Then, make sure you have a clear area to place the fire pit. Once you have a spot picked out, you will need to make a paver base for your fire pit to lay on top of. After this, lay a circle of blocks around the cover for the fire pit. Layer three sections of blocks, then line with bricks on the inside and place in the...
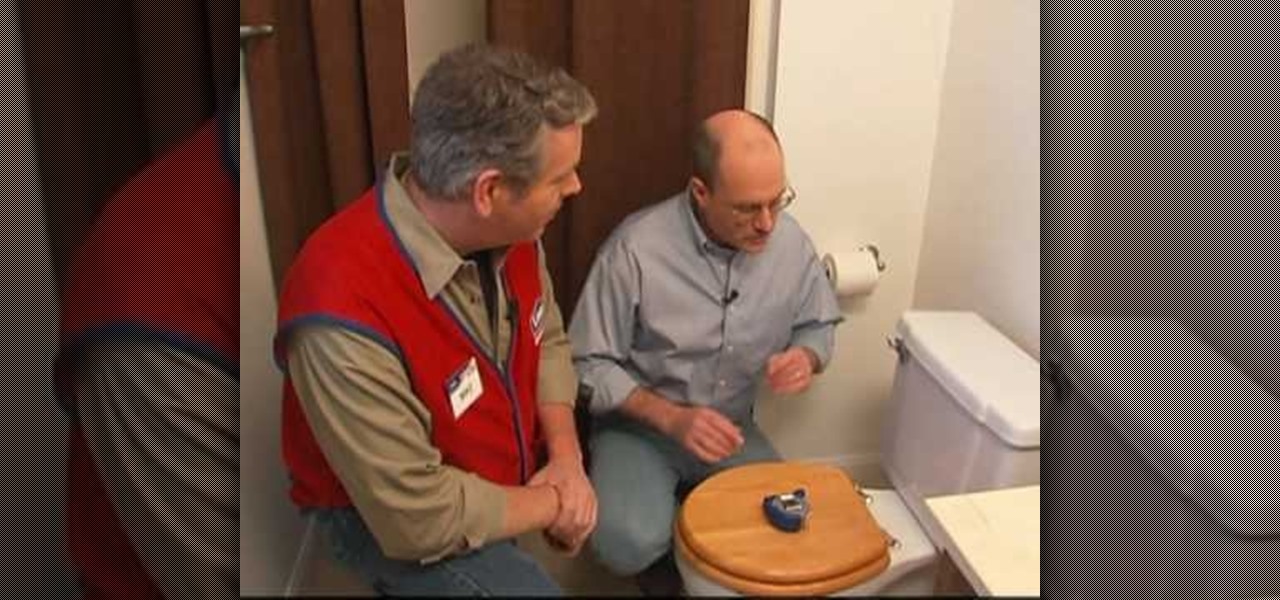
In this tutorial, we learn how to replace and install a toilet with Lowe's. To get started, you will first need to turn off the water to your home, then take measurements around the toilet. Next, remove the top of the tank, then flush the toilet and remove excess water. After this, remove the water from the bowl using a sponge or towel. When finished, disconnected the water supply line and drain the water into a bucket. Now, leave the tank connected to the bowl and remove the bowl caps. Loose...

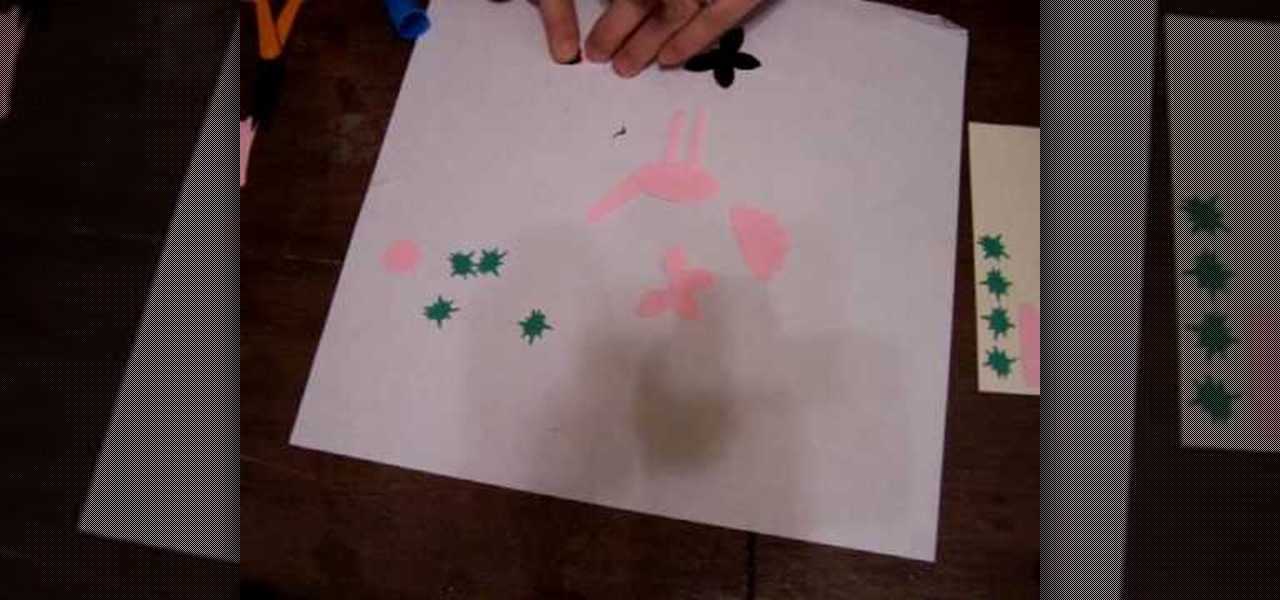
In this tutorial, we learn how to make a flamingo using Stampin' Up punches. First, you will need to punch out two five petal punches (black and pink), pink scalloped punch, large oval pink punch, 1/2" circle punch, and 2 long window punches in pink. Also, four green star punches. First, put the long lines together to make the legs, then attach to the oval shape and another long one to make the neck. After this, make the beak, head, and wings of the flamingo as well. To finish this, draw on e...

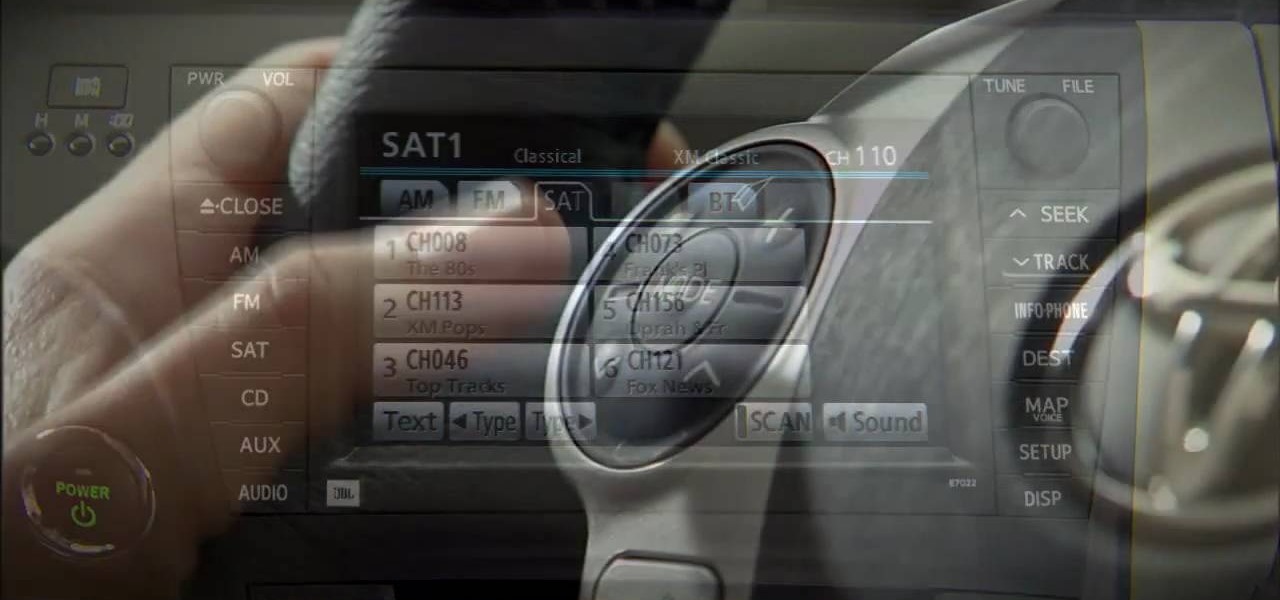
In this video, we learn how to use steering wheel controls in the 2010 Prius. The Prius has steering wheel mounted controls that come with touch tracer display. When you press these, the display produces the duplicate on the panel to see what you are doing. This is located in the driver's line of sight. You will find radio, volume, and radio channel controls on the left hand side. You will also find voice activation and phone on the left hand side. The switches on the right hand side will hel...

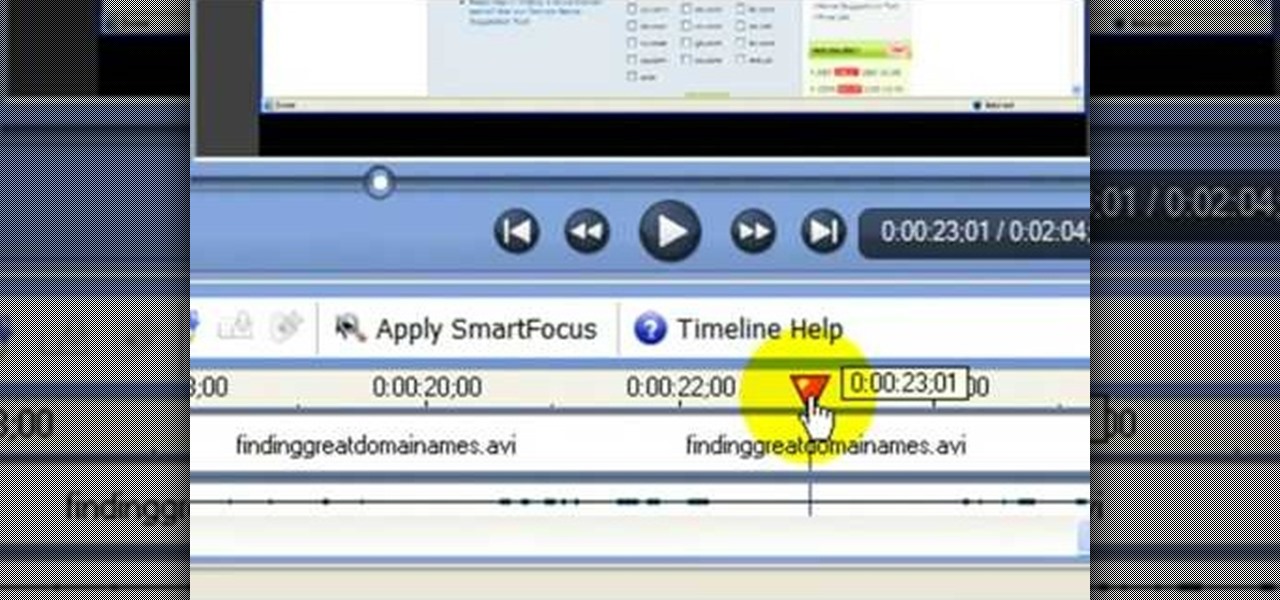
In this video, we learn how to enhance the audio in your Camtasia Studio 5 videos. First, set your video to 640x480 and then choose the option to zoom yourself. Now, click the zoom in button to zoom in on the time line with your audio. Then, right click the audio and go to "audio enhancement". Once here, click the first option under background noise removal, then click the remove background noise button. Now, when you play back your audio, you will hear a huge difference in what you just play...

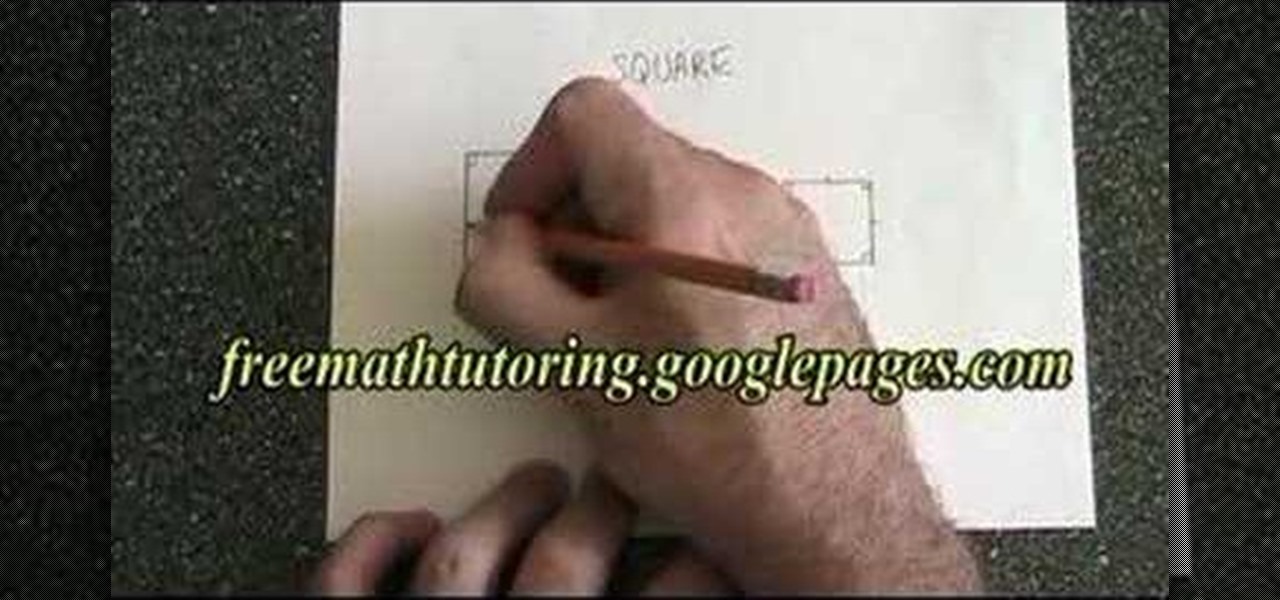
In this tutorial, we learn how to understand the properties of a square in Geometry. The four angles on the inside of a square have to be right angles. All but be 90 degrees and add up to 360. A square has four equal sides, which you can notate with lines on the sides. The diagonals of the square cross each other at right angles, so all four angles are also 360 degrees. Diagonals have to be equal in length to each other as well. Once you better understand this, you will be able to learn more ...

In this tutorial, we learn how to build your own hydroponics system. To do this, you will need: square line rain gutter, 6x end caps, 3x gutter running outlet, 1x small pond pump, 2 meters pond pump tubing, timber for framework, large plastic container, and gutter leaf guard. When you start, you will need to measure out how tall your pump will need to be, then build the framework to surround it. Then, grab all your gutter parts and put them together. Once you do this, start to set up all the ...

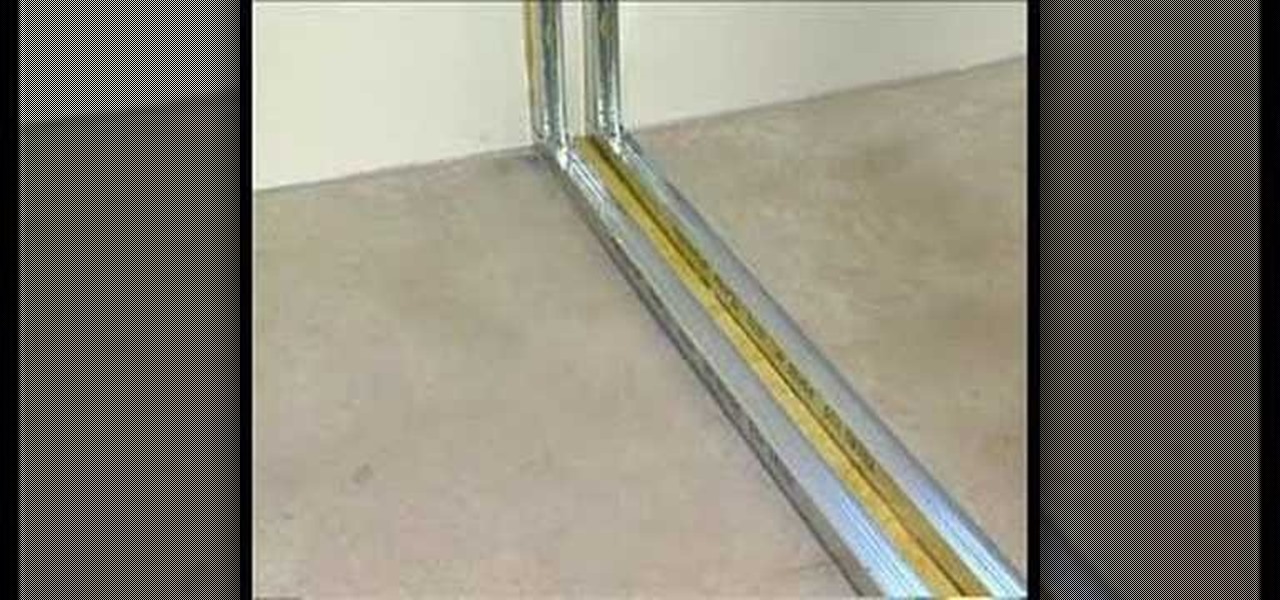
In this tutorial, we learn how to drywall partition with Fermacell. This is a great alternative to plasterboard and is environmentally friendly with no plastering required. First, measure out the floor and mark it using chalk. After this, make sure the walls are level, then measure them out. Mark out doorways and any other special requirements after this. Now, layer a resilient layer between the slats. Then, these are placed into the floors using drills and nails. The rest of the studs will b...

In this tutorial, we learn how to make a tubular peyote bracelet. To get started, string your beads onto the string and leave a 10 inch tail. Then, bring it into a loop and tie it into a square line. After this, use a needle to sew more beads through the beads that you just strung on. As you do this, skip beads so that you have interchanging colors around the circle. You will have a total of four beads on top of the eight that you started with. Continue to do this until you reach rows that go...

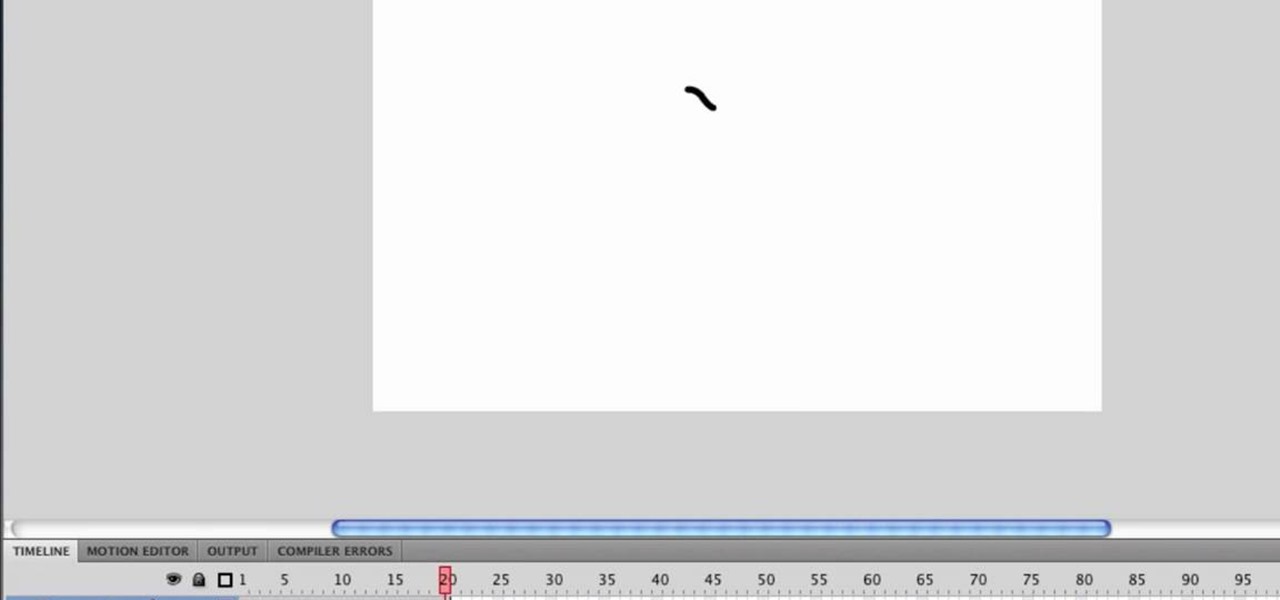
You can resize keyframes in Adobe Flash and you can do this for anything like images, animation etc. So to do this first click on your first keyframe and hold down the shift key and then click on the last keyframe. Now select the free transform tool and resize that as showing in the video but it only resize the keyframe on which the header currently is. So now this time right click on the keyframes and choose copy frames. Now make a new layer and hide your old one. Now select the pencil tool ...

In this video tutorial, viewers learn how to use the noise removal tool in Camtasia Studio. Begin by uploading the audio track into the time line. Then select and highlight the region that contains the noise. Now click on Edit and select Audio Enhancements. Under Background noise removal, users are able to select to automatically or manually remove the noise. Once selected, simply click on the Remove Noise button. Users also have the option to adjust the sensitivity. This video will benefit t...

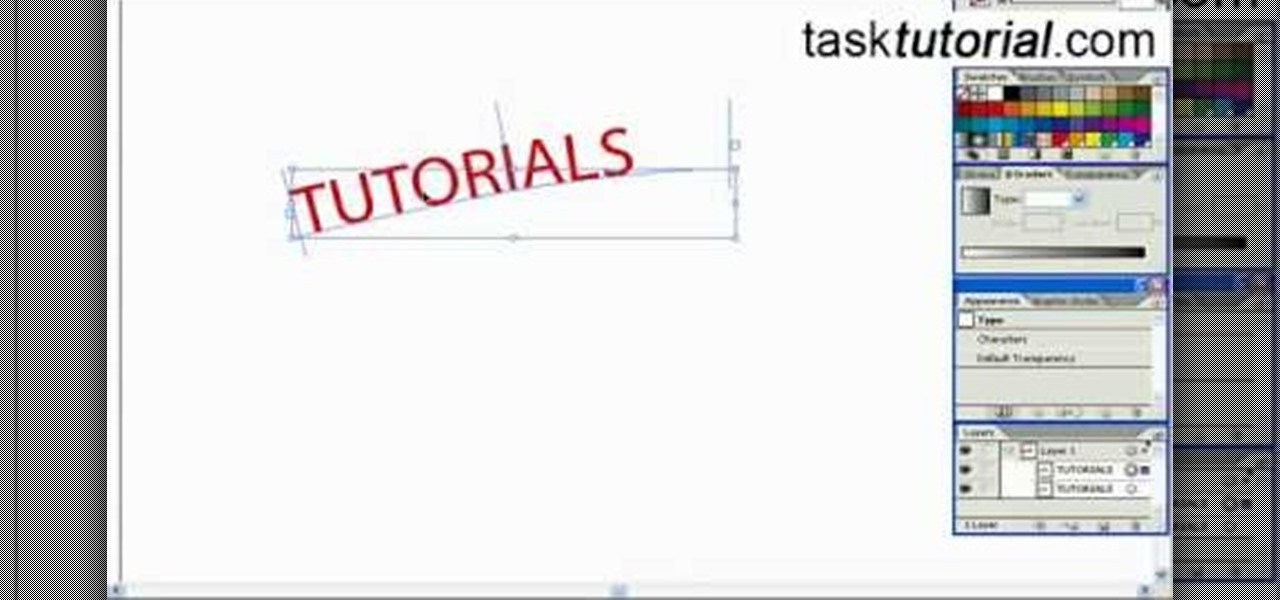
In this tutorial, we learn how to create a cool blend text effect in Illustrator. First, open up Illustrator and draw a path, then change the color to black. After this, click on the line and type in your desired text. Increase the font size to 36 points, then select the red color. After this, copy your path and select the duplicate button. Now, move the duplicated path and change the background color to yellow. Now, scale the path and resize, then place on to of the red path. When finished, ...

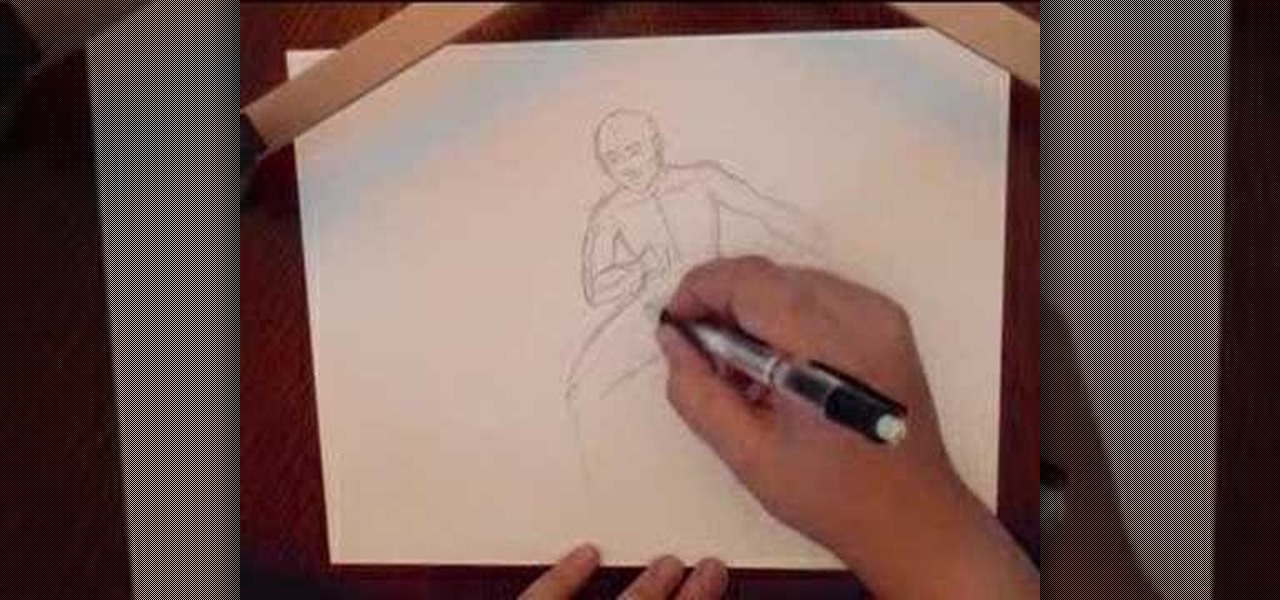
In this video, we learn how to draw a basic human figure. Start with a circle first as the head, then draw cross hairs over the circle to indicate the tilt and direction the head is facing. Then, add in the chin, shoulders, then circles where the joints are. Draw in the rib cage and spine, then the hip bones. After this, draw the legs and continue down until you reach the feet. When you finished with this outline, use a darker line to draw more details and shading in on the face and body. Whe...

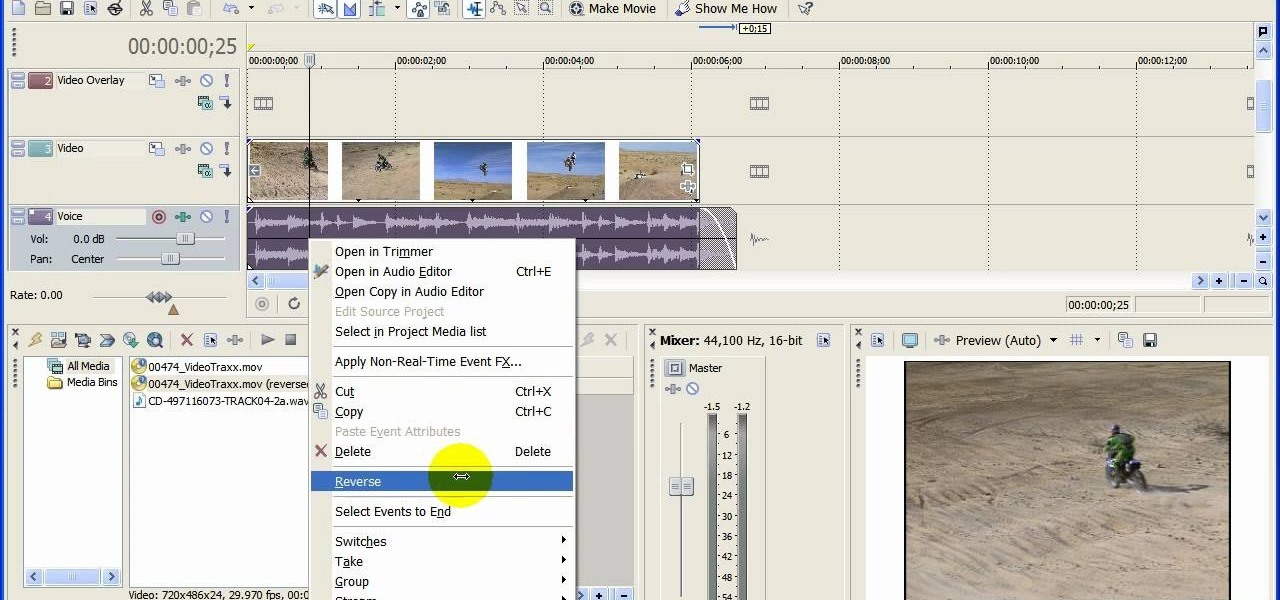
In this video tutorial, viewers learn how to reverse video direction in Sony Vegas Movie Studio. This task is very easy, fast and simple to do. Begin by importing the video clip(s) and/or audio into the time line. Then right-click on the clip and select Reverse. To reverse the audio, right-click on the track and select Reverse. To undo the video or track, right-click it and select Reverse once again. This video will benefit those viewers who enjoy editing and creating videos, and would like t...

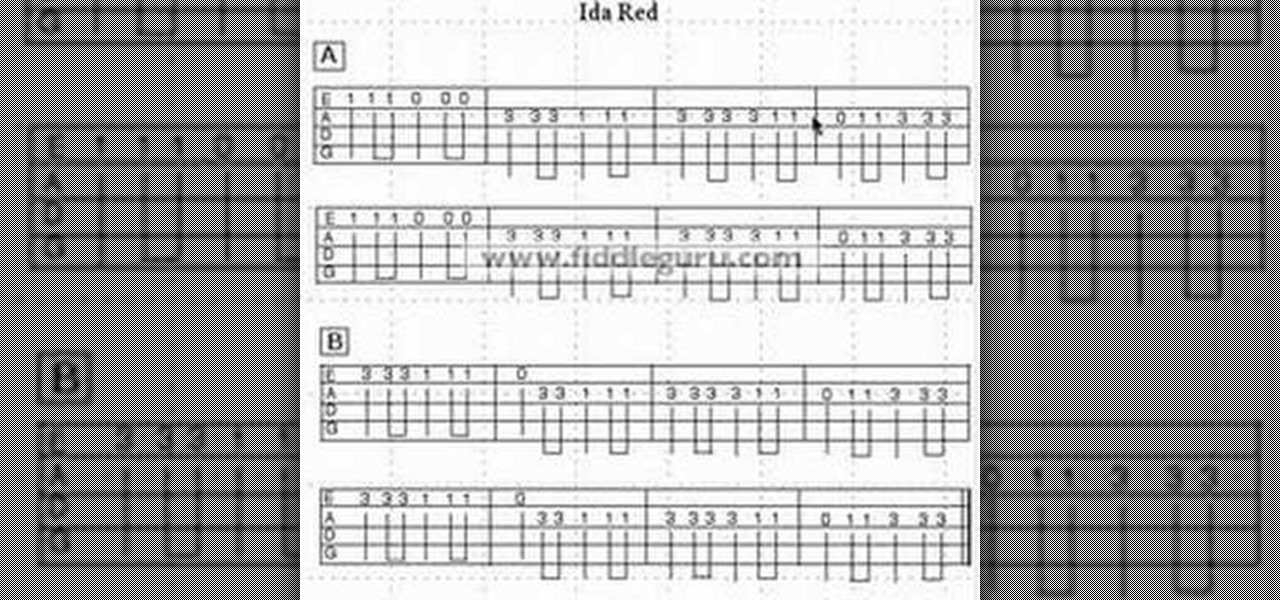
In this video, we learn how to read fiddle tablature. These will have an A part and a B part on them. You may see a repeat part along with a part that is written out more than once. A tablature shows what strings to play on and what finger to use instead of using notes. A "1" indicates putting the finger on the first string, and so on for the different numbers. Bar lines measure off a certain number of beats in each bar. Count the different beats and learn where the divided beats are so you k...

This video tutorial is in the Fine Art category in which you will learn how to chroma key green screen video. Chroma key is the magical process of making images where the background or any object in your scene can be made transparent so that you can replace it with a different image. First shoot some footage in front of your Chroma key backdrop. Then shoot the background footage. Next put the 1st video track over the background track in the editing time line. With Chroma key you can have some...

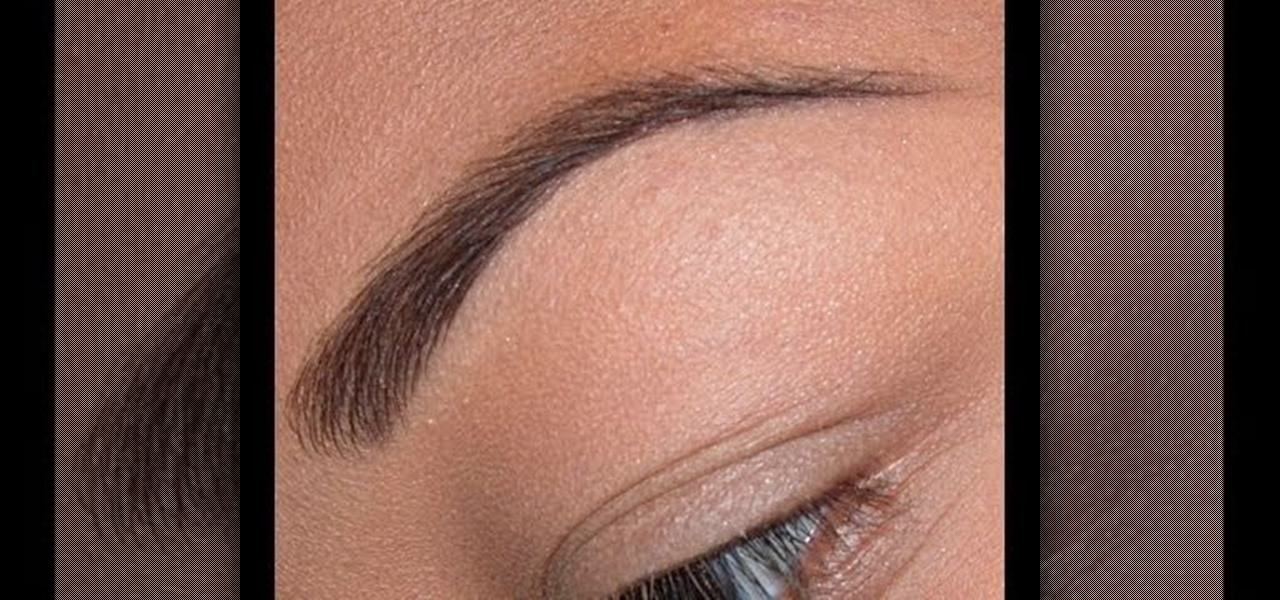
Katy Perry doesn't leave the house without first filling in her eyebrows. Why? Well, other than curling your eyelashes, it's the one big - yet easy - thing you can do to instantly make yourself look more awake and youthful. Additionally, drawing in your brows makes your face look more structured as it adds face-framing and slimming lines.

The runways are not the likeliest of places to look for makeup trends that are immediately wearable (think the recent fashion show in Spain where models went bald and wore thinning gray beards), but this fall the overall makeup trend has been one that's surprisingly translatable off the runway.

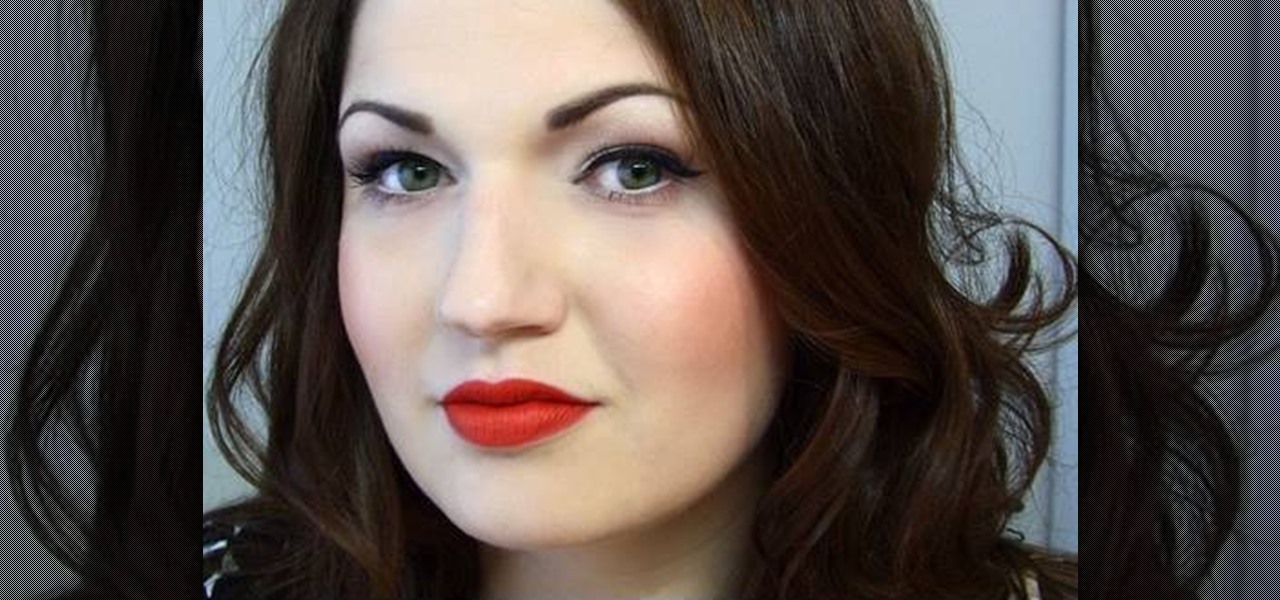
Dita Von Teese knows makeup. And by that we mean she probably has a whole closet of the stuff, given the fact that she says she takes hours to put on her "lady face" before heading out the door. And with her beautiful retro red puckers, siren eyes lined with liquid liner into a cat eye, and softly flushed pink cheeks, it's easy to see why she puts in the effort every day.

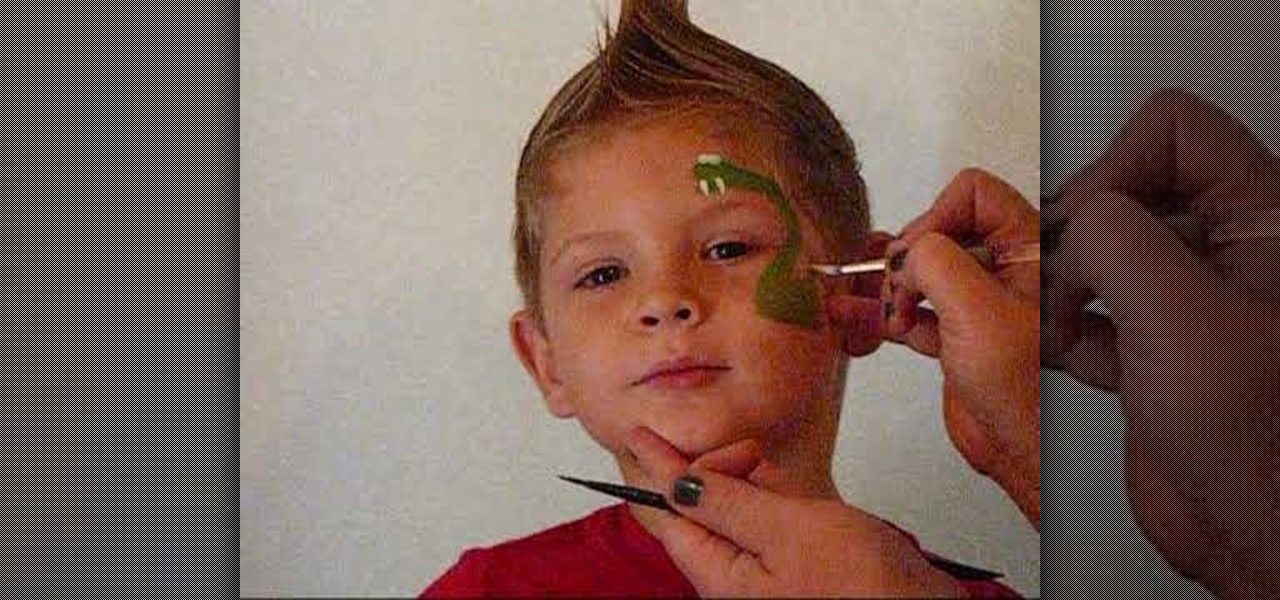
In this video, we learn how to face paint a snake design. First, dip a paintbrush into dark green paint and place it on the forehead. Bring the brush down in a snake shape until you reach the cheek. Make a lump at the bottom of the snake followed by a small line for the tail. After this, dip a different brush into white and make a small dot on the face to make eyes, then make two teeth fangs. Also fill in the bottom to make the rattle on the bottom of the tail. Next, use red to make a snake t...

While some clubs have separate rooms that maintain themselves as only hip hop and r&b, or only pop music and rock, often, no matter where you're dancing, the DJ will switch up a track out of the blue that's totally not in line with the Eminem song you were dancing to before.

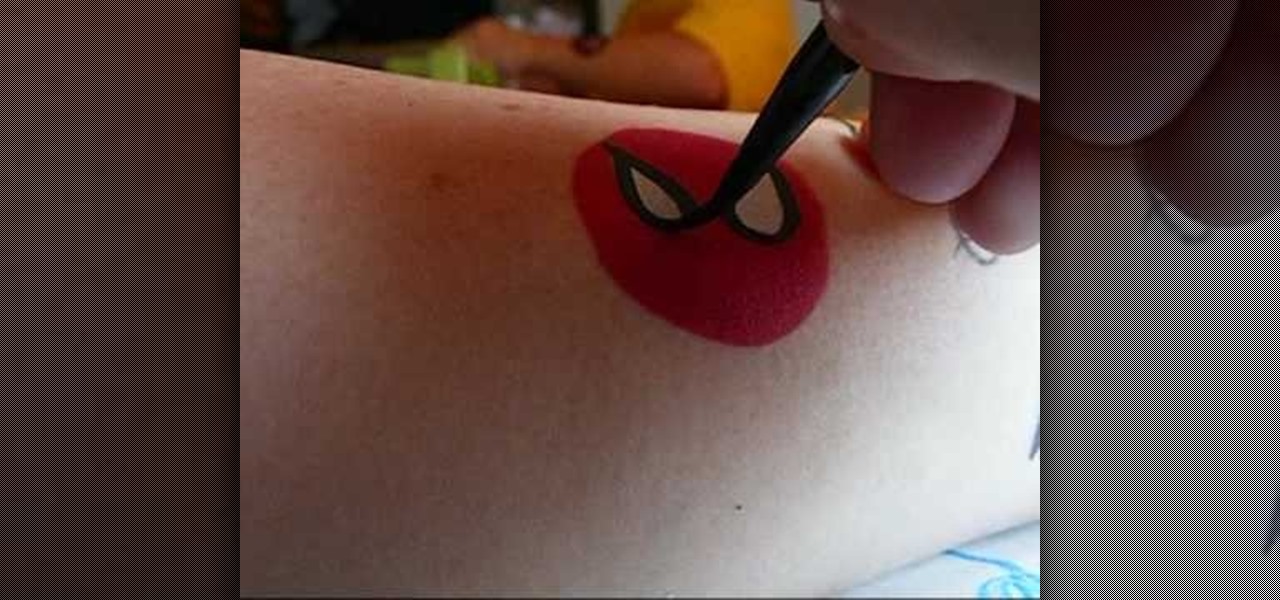
In this video, we learn how to make five easy face or body paint designs. First, to make a shooting star, grab a sponge and apply your paint to the edge of it. You will want to paint three colors next to each other on the edge of the sponge. Now, drag this across the skin and make a point at the end, then paint on a star. Next, to make a flower you will paint four hearts that are all touching with their points in the middle, then paint on leaves by swiping the brush sideways. To paint Spiderm...

In this video, we learn how to draw a game character in motion. First draw the outline of the game character and make the body more prominent with details. After this, start to add in darker lines around the outside, then start to shade in the drawing and make the different parts pop out of the page. Next, add in colors throughout the sketch and add in white marks to show the glare on the picture. You will want to keep adding in all the small details to make this picture look even better. Whe...

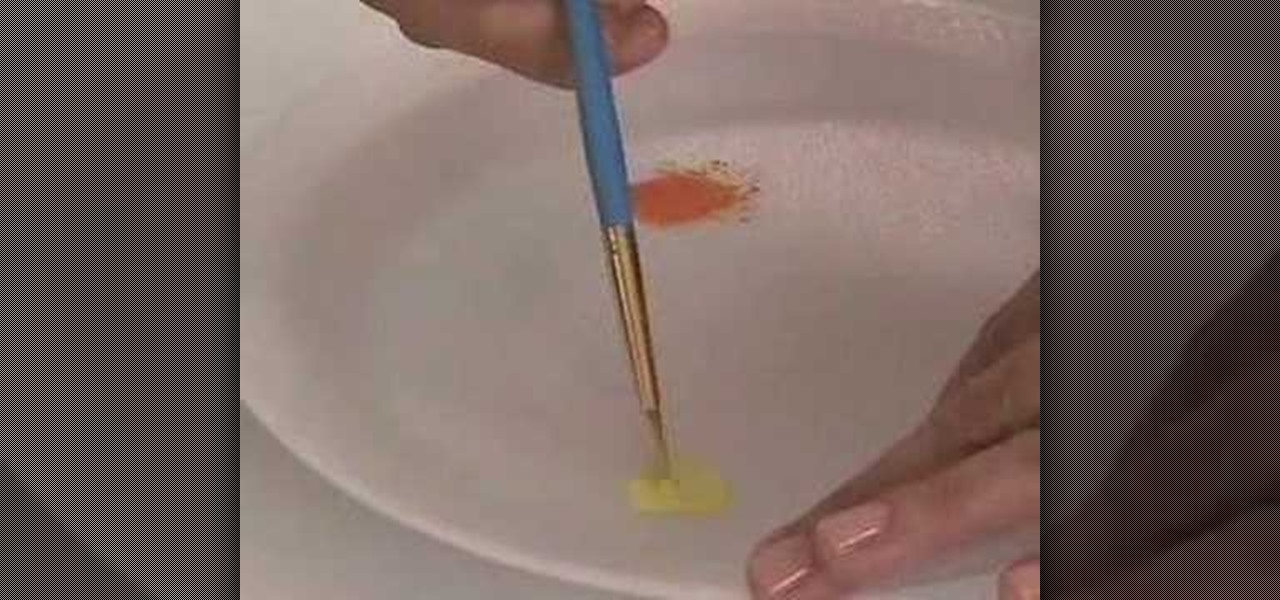
In this Arts & Crafts video tutorial you will learn how to use the cross stitch 'n paint technique. It combines simple back stitching and water color painting. Most of the materials are found in your kitchen. You will need wax paper, paper towels, and a plate to use as your paint palette, some water colors and paint brushes. After choosing your design, back stitch the outline on the fabric. Place the white paper towel over the wax paper and spread the stitched fabric over it. Now you are read...

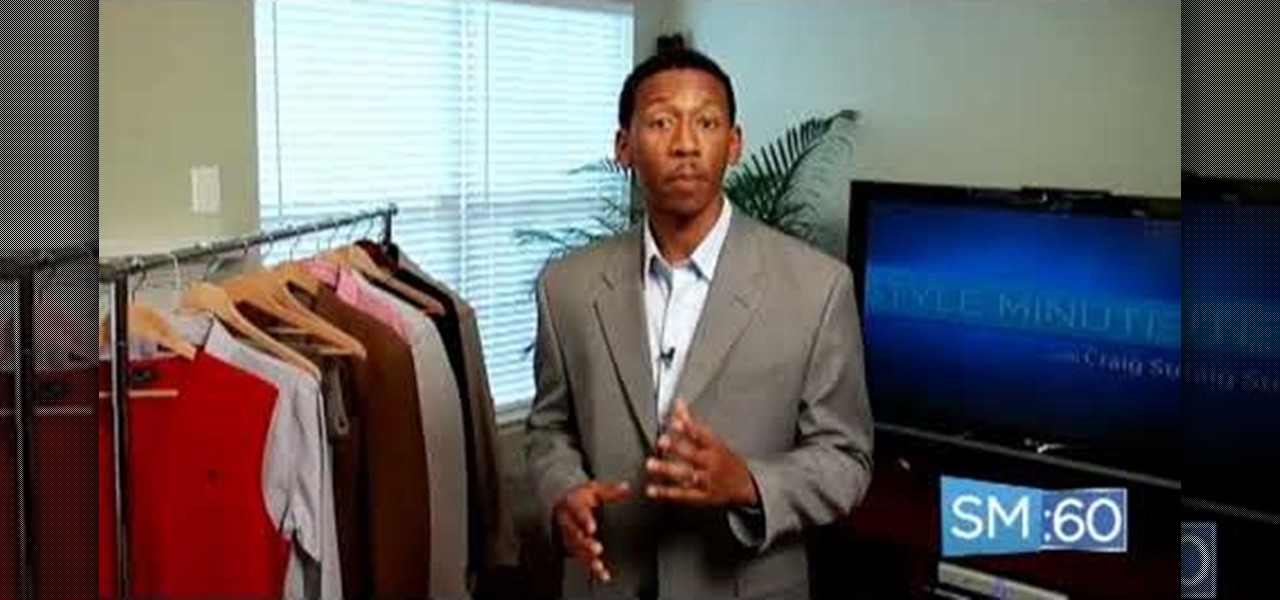
In this tutorial, we learn how to properly fit a blazer or suit jacket. First, try the blazer on and make sure it is not too baggy or too tight. You want the buttons to be able to close and you want the sleeves to be long enough to reach your wrists. If you need to get it altered to be shorter, mark where it should be, then bring it to a tailor to get altered. You wan to make sure the inside lining of the jacket is sewed on properly and that the shoulders are not too pointy or high. Once you ...

In this tutorial, we learn how to create Tyra's makeup look from "Ru Paul's Drag Race". First, apply eyeliner onto the eye, going from the inner crease out to the brow bone and making a rectangle around the crease of the eye. Next, make this line darker and smudge out the edges of it. Now, get gold sparkly eyeshadow and brush it onto the eyelid underneath the crease where the black liner is placed. After this, paint on silver shadow underneath the brow and then blend the black and silver toge...

In this video tutorial, viewers learn how to suture. Begin by lifting up the skin on the far side of the laceration with the tissue forceps and insert the needle with some distance far away from the wounded edge. Then lift up the skin with the near side laceration and mirror the course of the needle. Now move somewhat to the right of the subsection of this stitch, parallel to the incision line. Place the second subsection of the horizontal macro-suture like the first part. But this time from ...

What happened to those carefree days in our childhood when we didn't care how we looked and slapped on our mother's makeup, completely out of the lines, drawing and doodling on our face just because it was fun? These days, putting on makeup is all about making impressions. Going to the office? Slap on some neutral, non-intimindating shadow and pretty but not too sexy lipstick. Going to the club? Go a bit smokier with the eyes to try outdo all the other girls there and get the guy.

Given that we now have Edward Cullen vampire skin glitter (no joke, check out Hot Topic), felted reconstructions of Bella's womb, and an entire makeup line inspired by the Twilight Saga (it's called Twilight Beauty), it's no surprise that cocktails are the next thing to be taken over by the vampire craze.

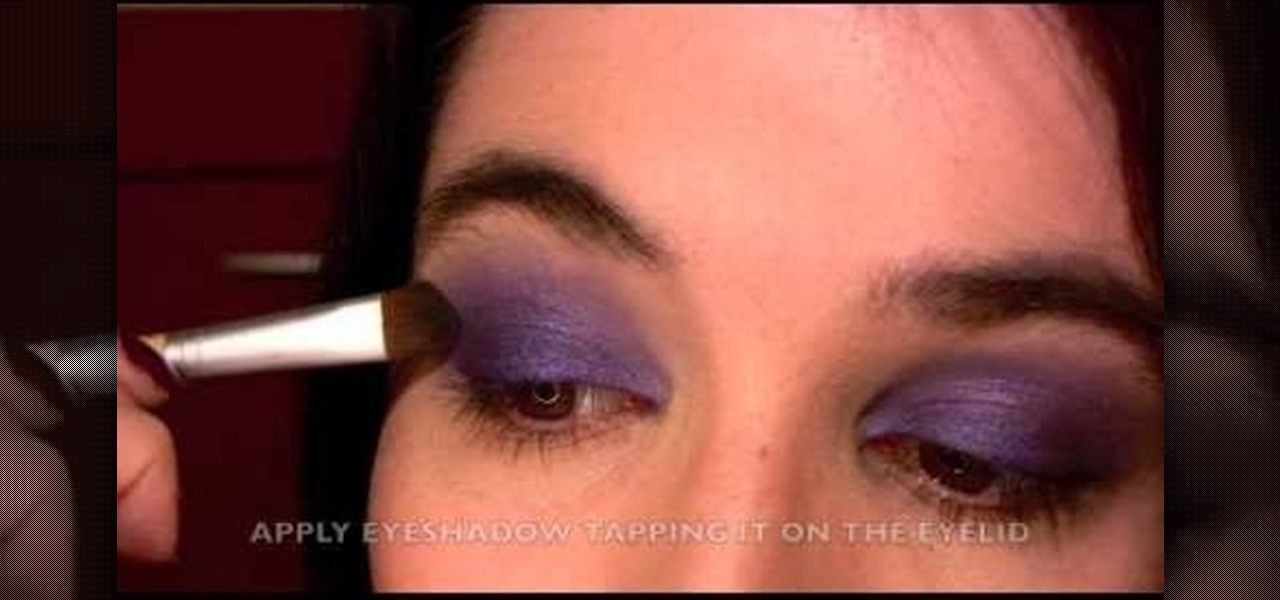
Love purple? Then this purple-filled eyeshadow style is sure to rock your boat. Croatian photographer Marina Filipovic Marinshe sets aside her usual fashion, portrait and art photographs, and brings you this makeup tutorial for recreating her rich purple eyes look. Check it out. You won't be sorry.

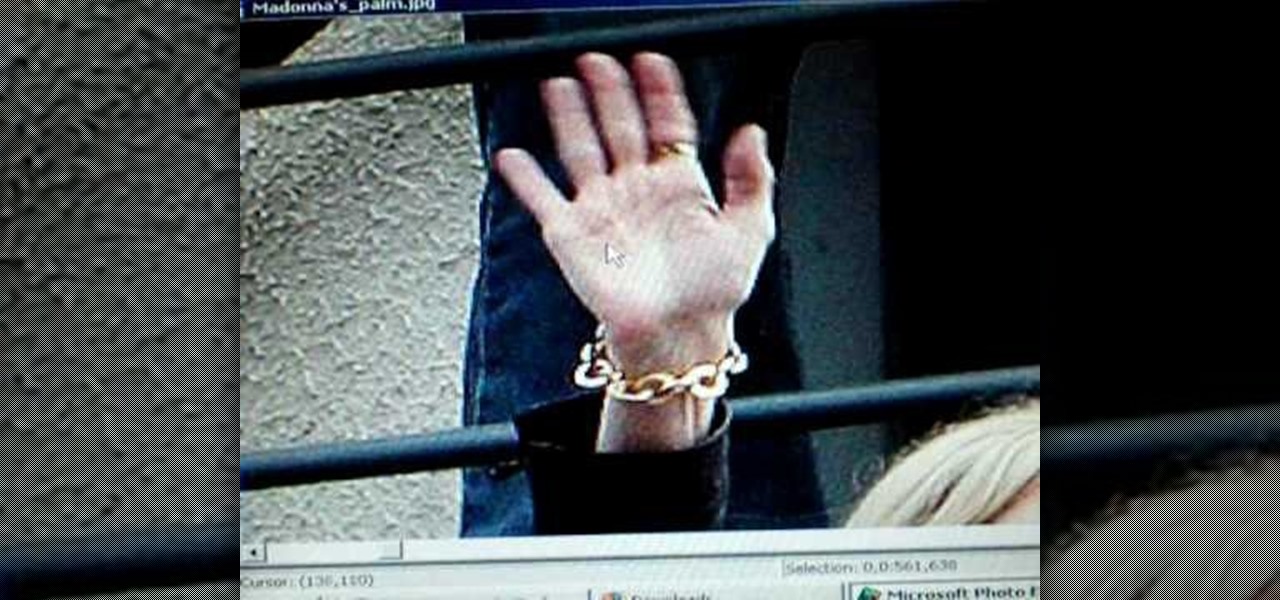
In this tutorial, we learn how to palm read Madonna. Her hand shows she has a practical mind and her fingers are the same length. This gives a sign that someone is ambitious. The ring on her first finger gives the person a manner of difficulties and problems connected with their career. The pinkie finger away from the ring finger shows a need for independence. A square palm says that she has a need to move and other people are attracted to her. The lines on her hand how that she loves others ...

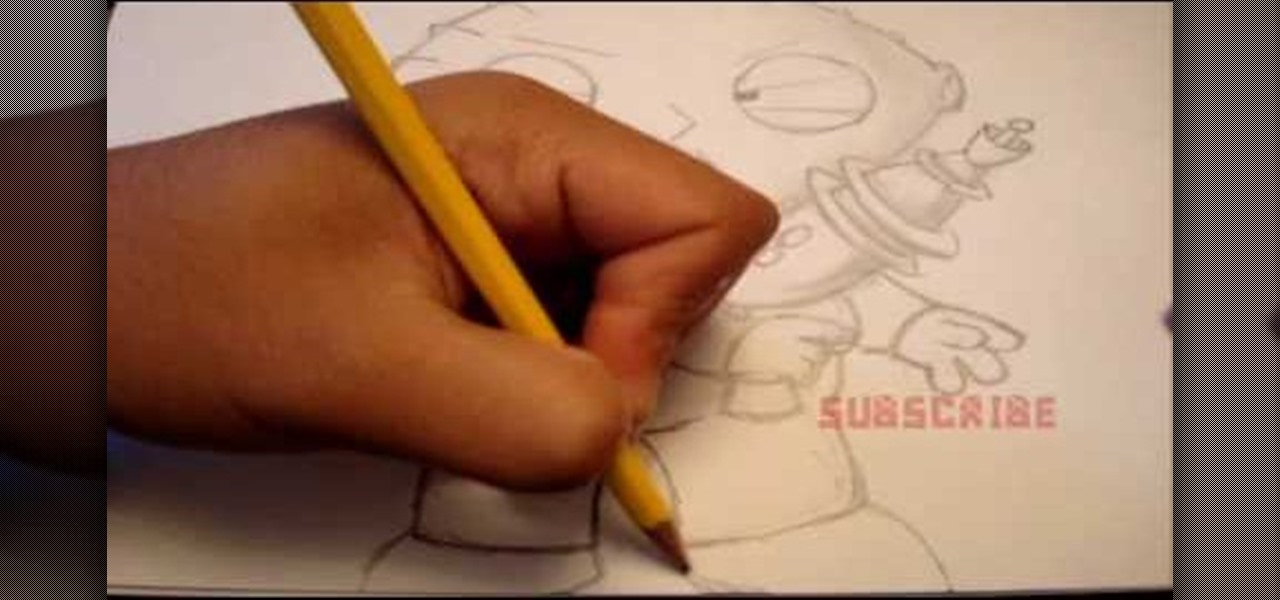
In this tutorial, we learn how to draw Stewie Griffin from Family Guy with a pencil. Start off by drawing the ears, then the football shaped head around the ears. next, draw the arms with the shirt on it, and make the hands. Also, draw a rocket with Stewie holding it. Keep drawing downwards, making the arms around the rocket and the body with pants and a bib on top. Draw in the details of the face, giving the character large eyes and a triangle shaped nose. Give the character narrow eyebrows ...

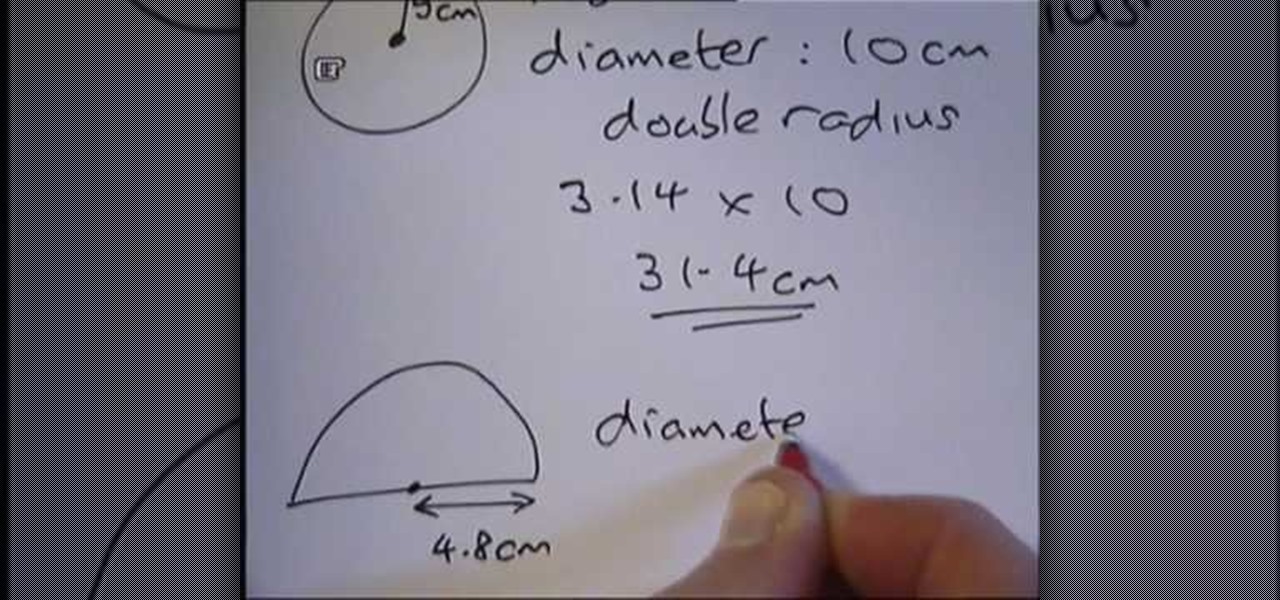
In this video tutorial, viewers learn how to find the circumference of a circle. This task is very easy, simple and fast to do. To find the circumference of a circle, multiple Pi with the diameter of the circle. The value of Pi is 3.14. The diameter is equal to 2 times the radius. Simply multiply the radius by 2 to find he diameter. The diameter is the straight horizontal line in the center of a circle. This video provides a demonstration for viewers to easily understand and follow along. Thi...

In this video, we learn how to draw a polar bear. Start off by drawing a round circle for the stomach, then draw the head next to the stomach. This should make it look like the polar barn is crouching low to the ground. Next, draw on the four legs to make it look like the bear is walking. After this, draw in darker lines to outline the bear further and then draw in a baby polar bear next to the mother. To add a special touch, draw in snow and ice around the bears. When finished, sign your nam...

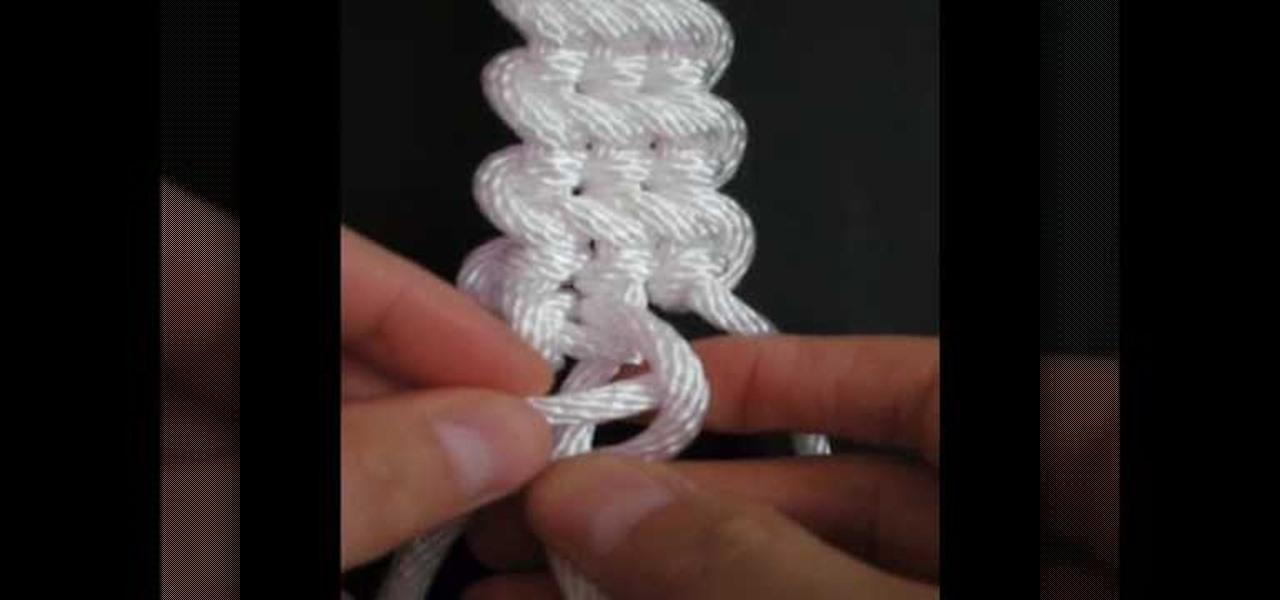
In this video, we learn how to make the guitar bar decorative knot. First, set up the bard then cow hitch two strips of rope side by side. Next, measure each bar to 12 inches long and make sure you have 12 feet of rope. After this, build the frets of the bar, and while you are doing this you will flip the bar over and start to half hitch. Continue to do this, tying all of the ropes together into the knot. Next, turn the knot over and continue on the other side. When you are near the end of yo...

In this tutorial, we learn how to install anti-sway bars on a 2008 Ford Mustang GT. First, take off the bolt off the end link, then use a socket to remove the nuts off the sway bar. After this, remove the sway bar and set aside. Now, insert your new sway bar, making sure you line it up properly. Then, place the bushings in with it and apply all the bolts in place to keep it secure. After you are done with this, replace all the parts that you took out of the car in the first place. When you ar...


