Elizabeth Chamberlain, with Space Lift, demonstrates how to make room for love with feng shui at home. First, find your focus room with your energy map by laying the energy map on top of your floor plan. The love area is the far right corner from the front door, facing in. If the love area turns to be an outside area like a patio, clean it up. Remove the cacti and pointy plants to reduce arguments in the relationship. Clear out any unfinished materials and projects. Next, complete the area by...

This video shows how to crave a whole chicken. You will need a sharp chefs knife. Cut off the legs of the chicken. Slice them where the thigh meets the chicken breast. As you look at the chicken breast you should notice that there is a large breastbone that travels the length of the bird. Place your knife on one side of that bone and slice it down and out. We now have the breast with the wing still attached. Repeat on the other side. Now that we have four main pieces we need to slice them int...

DrawingNow teaches you how to draw musical instruments on a computer. Start by drawing a guitar and then draw all the other instruments on top and near it. Use straight lines for the neck and interior. Use curves on the outside. Make sure to draw simple shapes and add detail later. Also, don't over complicate your drawing. Remember to keep proportions. The trombone is all about curves and circles. Don't be scared if it doesn't come out smaller than the guitar. Finally add drums and you can al...
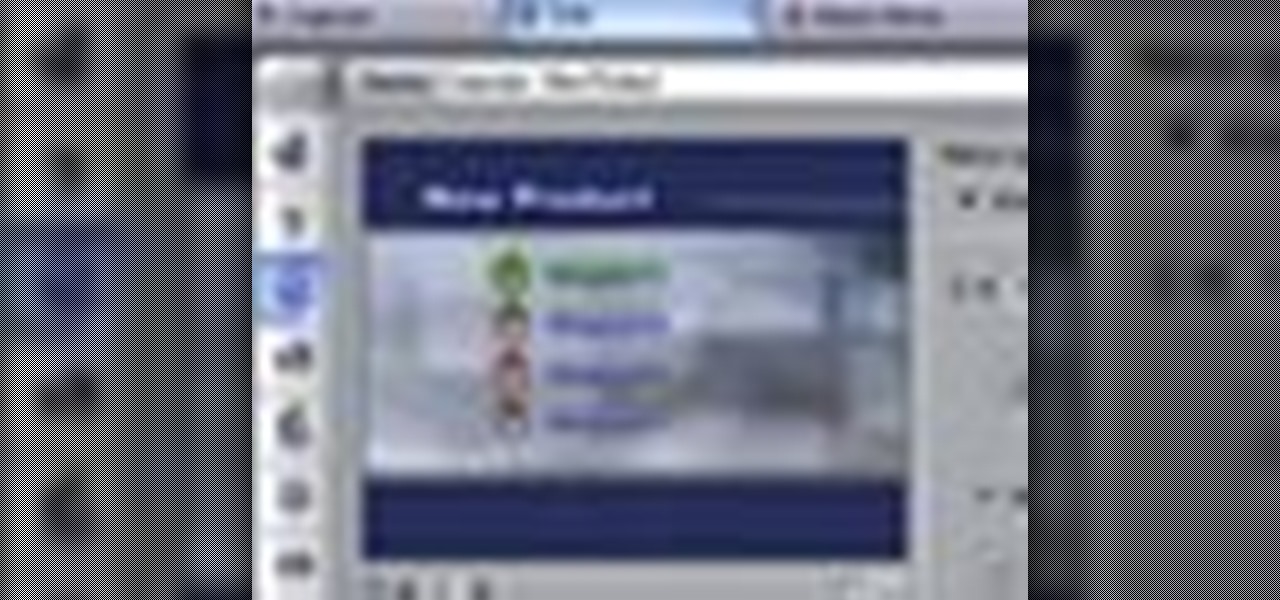
This tutorial shows you how to use Pinnacle Studio to add a menu screen to your video for a DVD. They have a list of preset menus you can use, which each have different appearances. First you select the menu you would like, and drag it to the start of the "video line" which is where the movie you want to add a title screen to sit. After you have selected a menu, the how-to show you how you can edit the menu items and change the titles of the chapters. It then shows you how to write your disk ...
An elderly woman demonstrates how to create a rose made of icing with which to decorate a cake. Beginning with a bag of icing and a special tip that forms flat wisps of icing, she shows how to create the beginning of the rose with a small dollop of icing for the center and begins to add small, flat wisps of icing for the petals onto the middle, turning the flower as she goes. Most American Beauty cake roses consist of three rows of petals. She finished off the rose by using a separate bag of ...

This is a very quick and easy step by step guide to drawing a flower. First, you want to take a sheet of plain white paper and a writing utensil of your choice and draw a large circle. Second, you want to make large parenthesizes shapes about an inch and a half apart and put four of those on the circle separating each by less than half an inch. Lastly, you want to finish off the petals of the flower by just creating lines outside of the ones you just made and connecting at a tip to create fou...

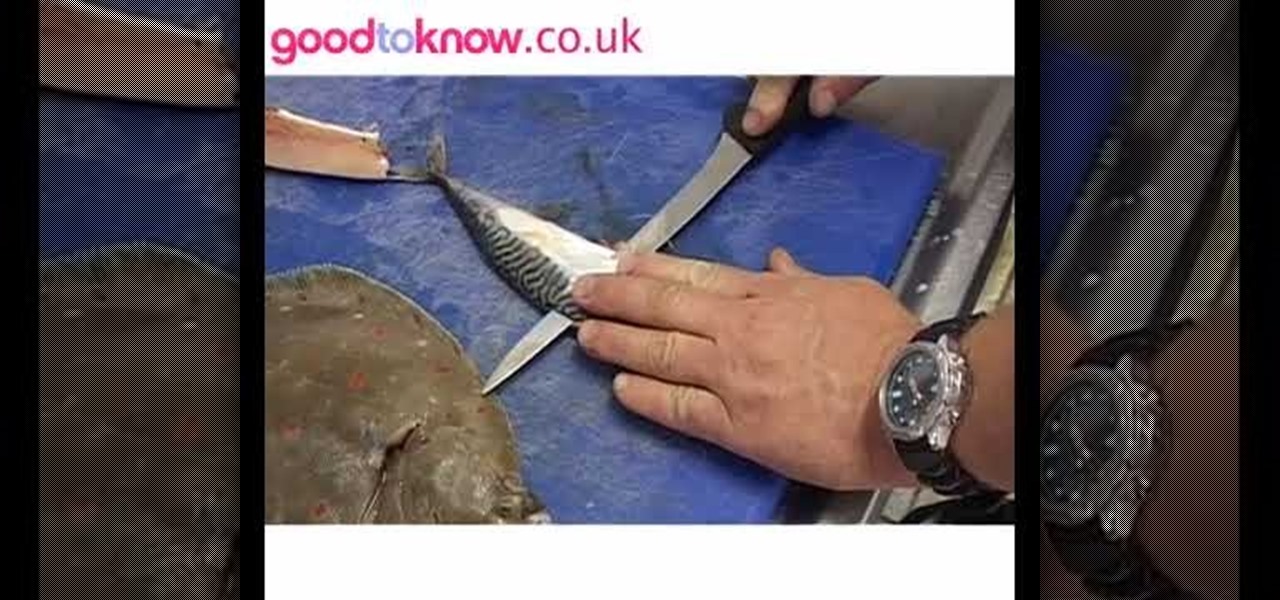
There are two classical fish cuts. There is a flat fish and a round fish. Having a sharp knife is important, because a work done by a blunt knife does not look good and it might look like a laced curtain at the end of the day. You cut a line parallel across the fish's gills. Then you dig in a little bit and cut across the body of the fish down to the fin. Then you take that piece aside and trim off the stomach area. Thus, you have one piece of fillet! Do the same procedure for both sides of t...

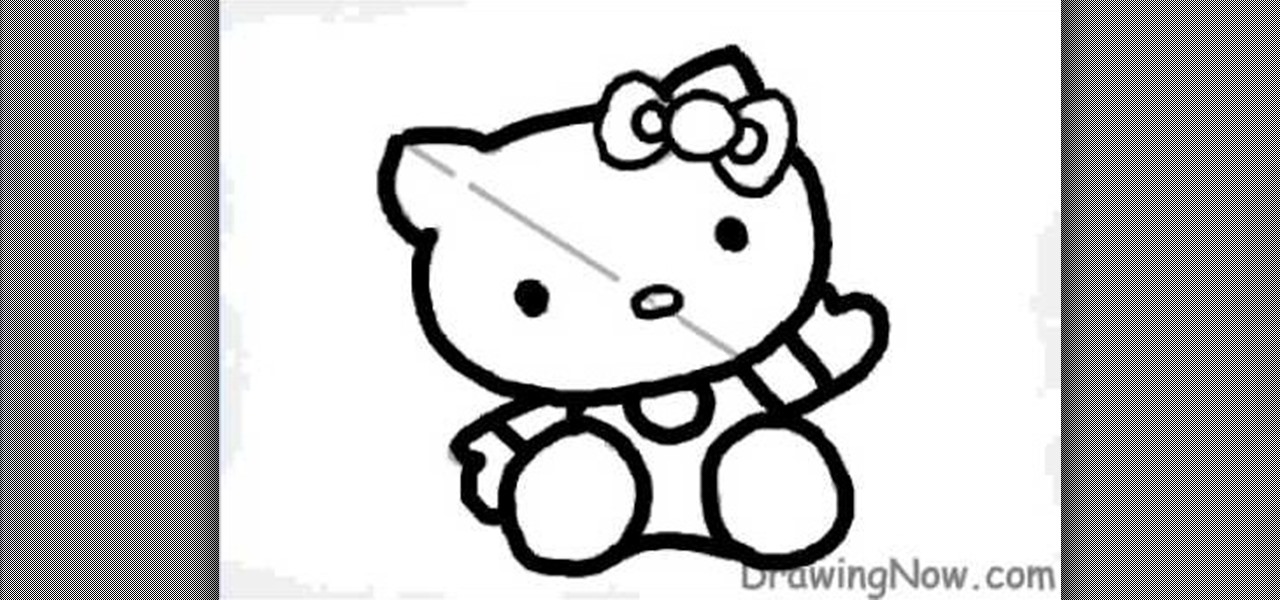
DrawingNow teaches you how to draw Hello Kitty. Start with an oval and make lines for where the eyes and nose will be. Make sketches of the ears, the bow on her head and of the body. You now draw on top of that and you can erase the first outline, as you go along. Draw the nose and color it yellow. The eyes should remain black. Draw 3 whiskers on each side of the face and go on to coloring the body and bow. The bow is a bright red and so is the front of the body. The shirt underneath should b...

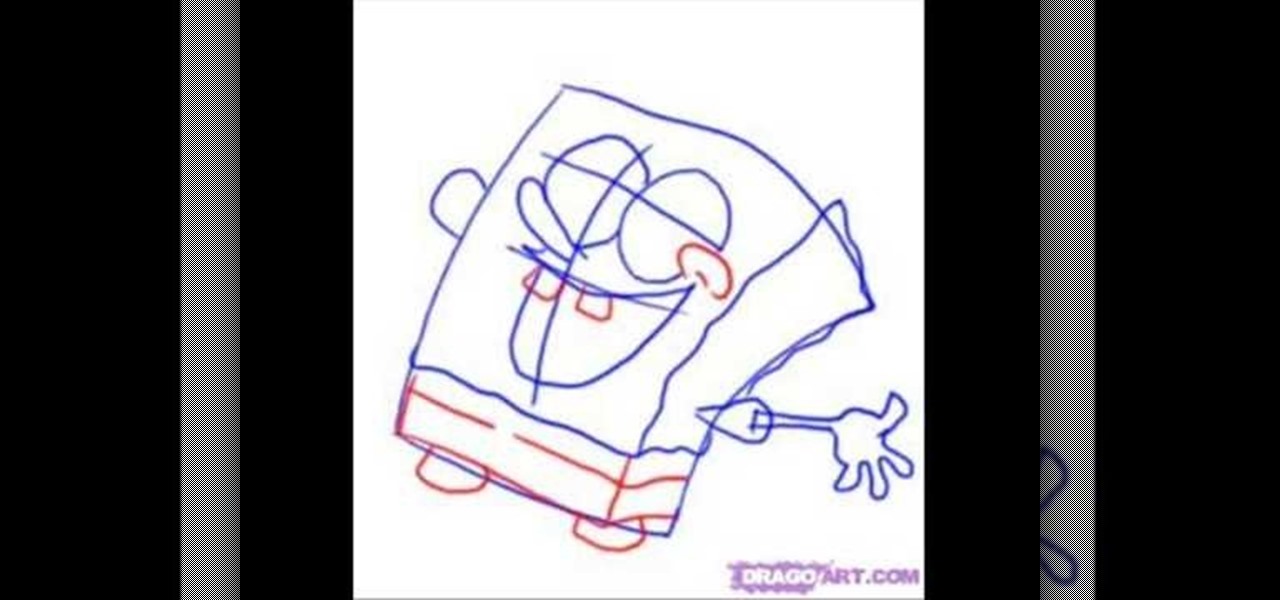
Who lives in a pineapple under the sea? Spongebob Squarepants!! In recent years, Spongebob has become a lovable part of America's cartoon family. This cute little sponge is not difficult to draw, and is mostly made up of simple shapes and lines. This video tutorial will take you through drawing Spongebob step by step. Once you master Spongebob, why not try and draw the rest of his underwater gang? Have fun!

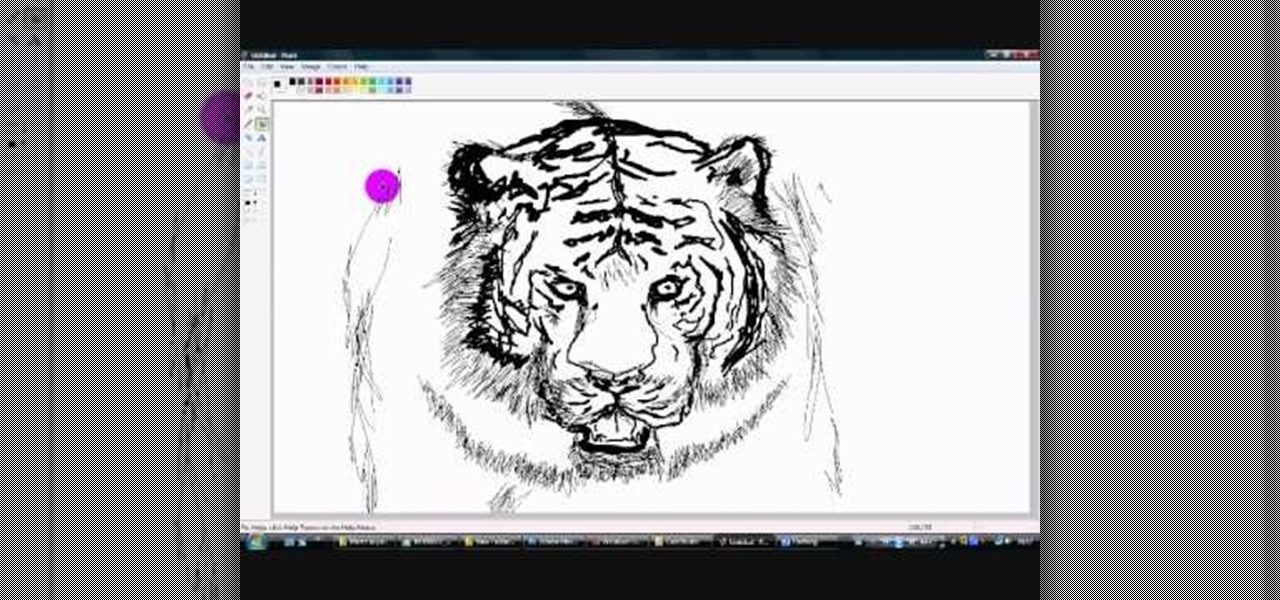
FreshLove8 teaches you how to draw a tiger in Microsoft Paint. Start with the thick pencil or paintbrush to first draw the whiskers and the nose. Connect this to the mouth that you will draw open, underneath. Continuing upwards you will draw pointed ovals for the eyes and then forehead. You can now start adding more details to the drawing, accentuating the contour. Draw the lines on the tiger's face and also add fur around it. Give it a menacing look and complete the head by adding ears. The ...

Learn how to draw a cube in 3D with two point perspective in simple steps. First draw a simple cube on a piece of paper by outlining it using a pencil. Now darken the right front side and its top side by sketching the area with the pencil. Now sketch out an image coming out from right side of the cube like a shadow. Sketch the insides of the shadow part and darken the right side of the cube. When finished sketching draw a line to the left and right side of the cube in its middle.

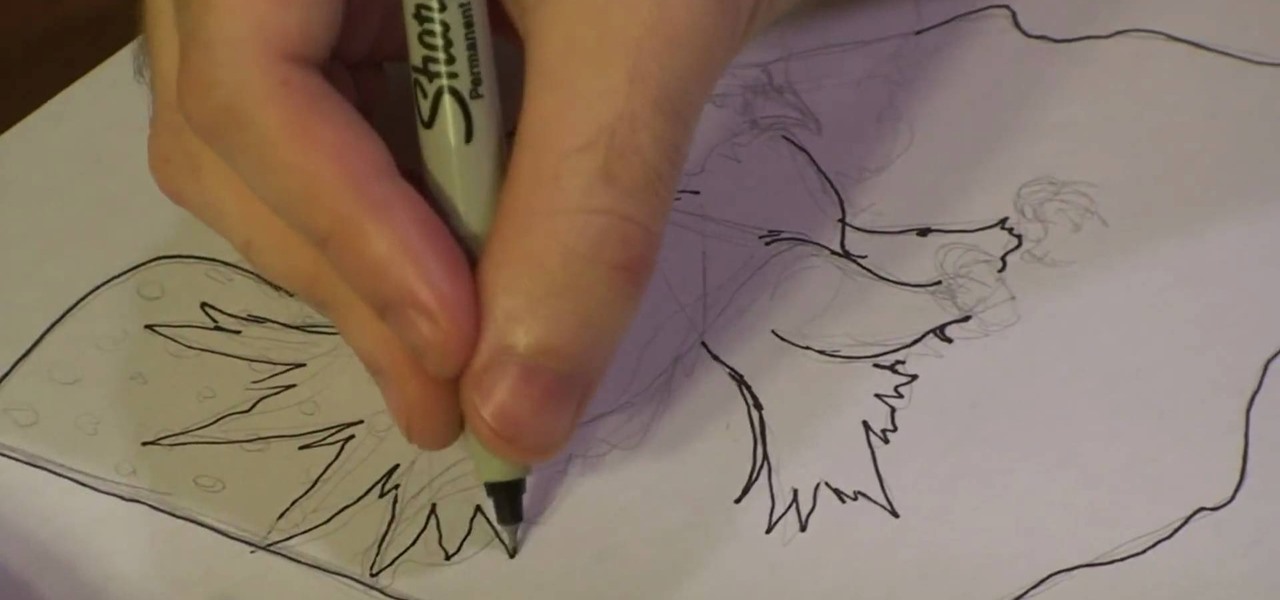
This video is about how to draw an eagle with the American flag. For this you have to remember only a few easy steps that are the following: (1)Draw the flag. (2)Draw the body and head of the eagle. (3)Draw the eyes, beak, feathers, and legs. (4)Draw boxes and stars. (5)Draw stripes and add shaded lines to it. Your eagle with the American flag is ready in just a very few simple steps. It's a good task for students and others also.

Interested in sketching and drawing some sceneries? We could start it with a palm tree on a beach scene. You'll require a piece of paper, a pencil and a sketch pen. First draw the base (trunk). Then add some details with circular lines going along the trunk. Then we could start up with the coconuts as well as their details to give a rough effect. Now comes the highlight of the palm-tree leaves which have to be drawn properly to have that edgy effect. Finally add some details on the base of th...

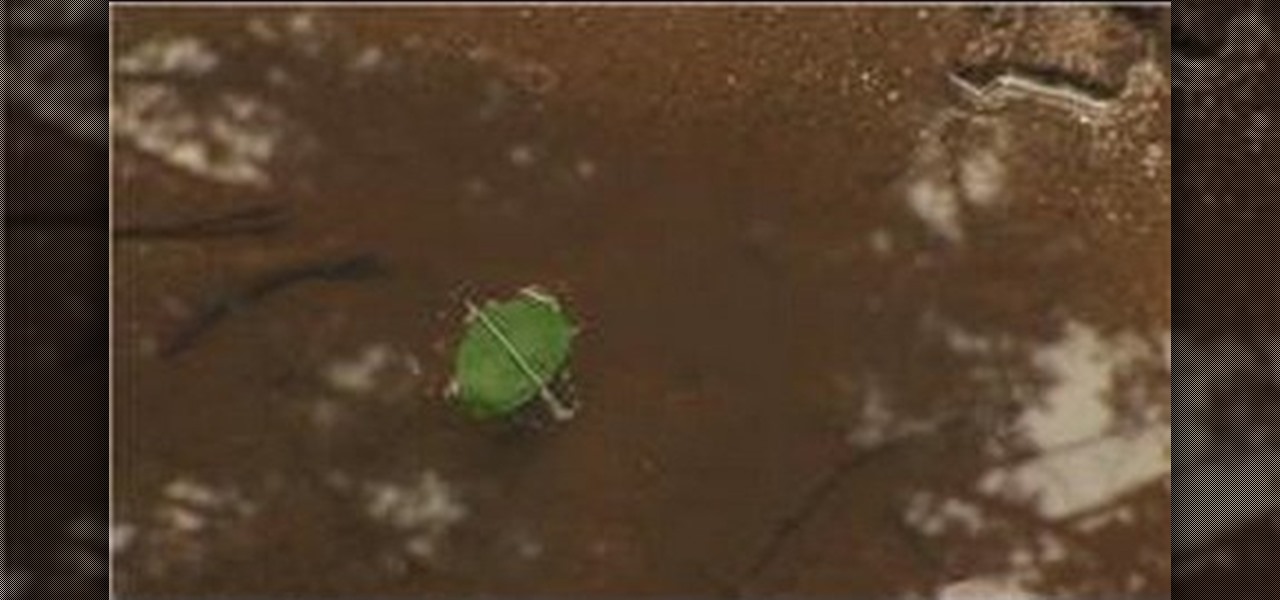
Matt Preye shows you how to make your own emergency compass. Here are two ways of making your own compass: If you have a sewing needle and a magnet you can magnetize the needle by running it down the magnet a few times. Find some stagnant water and set a leaf in it. Now set the pin down on the leaf, and the leaf will swing just like a compass. If you don't have anything other than the sun, you can do the following: Put a stick in the ground and then add more sticks at 9am, 11am, 1pm, 2pm and ...

If you want to know how to make a bibliography master list for your research paper, this video is made for you to watch. At the center of the first line of your index card, write the title of your research paper. Make a list of all your references. It can help you save time locating the source of your notes. Take note of the Bibliography Code number, author, and the title of the material used or needed. Highlight important texts for you to see it easily. Compile your working bibliography alon...

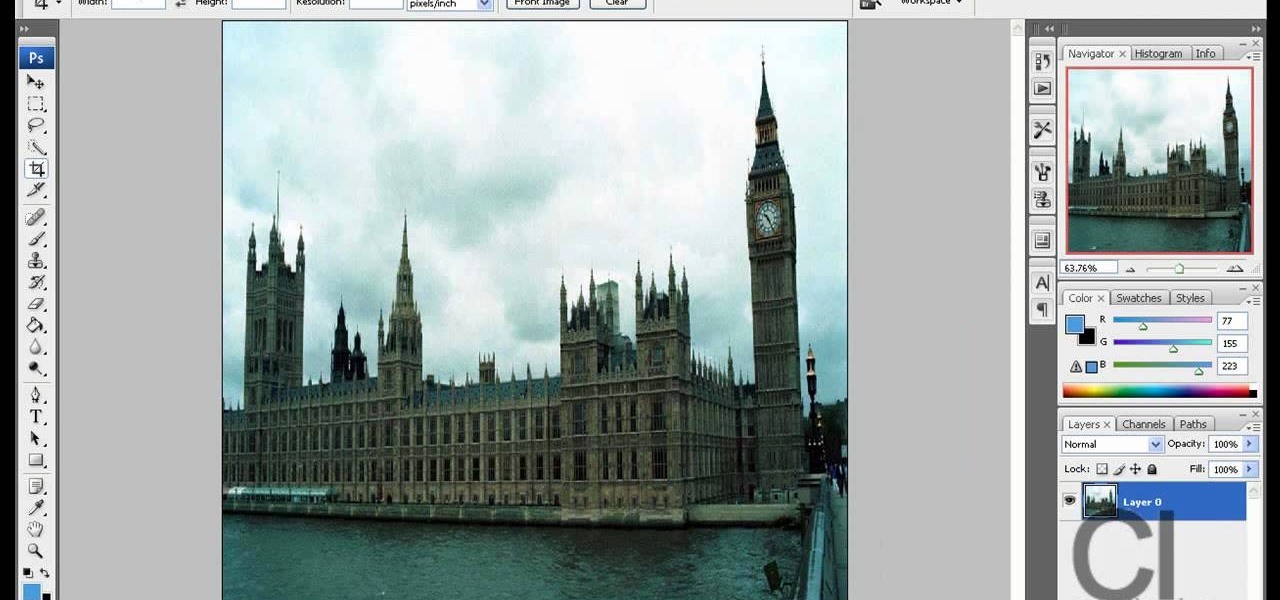
This video demonstrates a way to use the lomo effect on pictures in Photoshop. The effect makes colors stand out more, thus making the picture stand out more. The first step in adding the lomo effect is to change the color curve levels of the picture by going to Image > Adjustment > Curves in Photoshop. They should be changed very slightly, from a straight line to a slight "s" shape curve. After this, the gradient map should be changed to a black to white gradient. Finally, the mode of the ne...

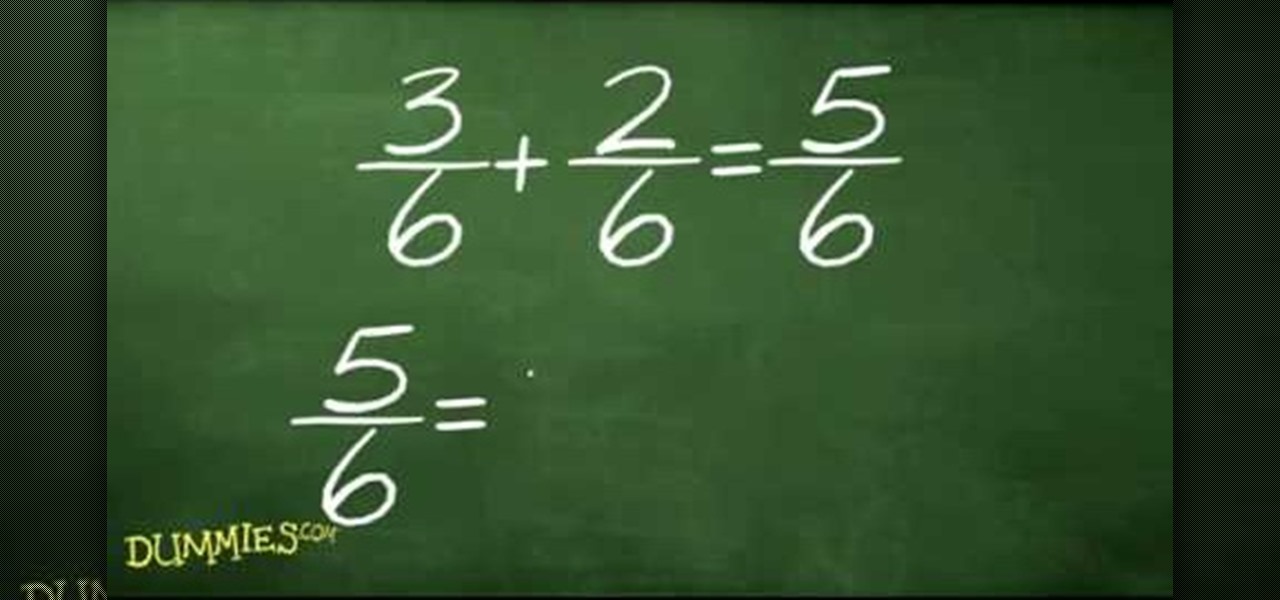
Learn how to add or subtract fractions with math in simple steps. First convert any story line you have into a fraction. Now you have to convert the denominators so that both the fractions have the same. To do so multiply both the numerators and denominators with the same number. Now when you have the same denominators add the numerators to get the answer. Reduce the fractions to a lower value if you wish. Try this out with some other examples.

Curt gives a few tips on the art of seducing a woman. To impress a girl, especially a beautiful girl, the only thing you really have to do, is to not try and impress her. She wants to be with a man who already thinks of himself as equal to her, not someone who is trying so hard to reach her level. She wants someone who knows his own value. Approach the woman with confidence, letting her know that you already have self worth and respect for yourself. Never use pick up lines or buy her a drink....

How to massage a baby's teething gums in four easy steps. Use the pad of your fingers to rub in a circular motion all along the gum line. You can do this both inside and outside the mouth. When you do it inside the mouth, use the pad of your finger and just rub it all over the gum. Rub the baby's gum back and forth. Rub the bottom gum, front of the gum and the top of the gum. Just rub all around the gum and you might also feel if there's a teeth coming out.

This video helps us learn how to make a well-balanced paper football. Get a square paper. Fold the paper in half. Fold it again in the same direction. Fold the paper diagonally to make a triangle. Flip the triangle up so the point lines up with the left edge. Continue folding triangles up the paper until you reach near the top. Fold the top corner down so that the two points meet, making a triangle in the opposite direction. Tuck the extra paper into the pocket. Now you have a paper football.

Are you interested painting in 3D mode? Let's try the human mouth first. First, get the basic shade of the lips with a single color. Then, fade out the top side of the upper lip part and give it a less sharp edge. Then paint the depth area above the lips. Edge out the top lip and add more shades on the bottom one. Then add those small vertical lines with low opacity. Add a gradient map over it and another pink layer(color burn).The lips are ready and it will help you in your painting skills.

Watch this video to learn how to make a little planet effect in Photoshop. Go to Image>Image Size and resize the picture making the width and height equal . Don't forget to unmark the "Constrain Proportions" option. Now that you have a squared photo go to Image>Rotate Canvas>180. Go to Filter>Distort>Polar Coordinates and select the option "Rectangular to Polar". Now rotate as you want to and remove any failures.After you select the picture, make sure the sides are alike and that the horizont...

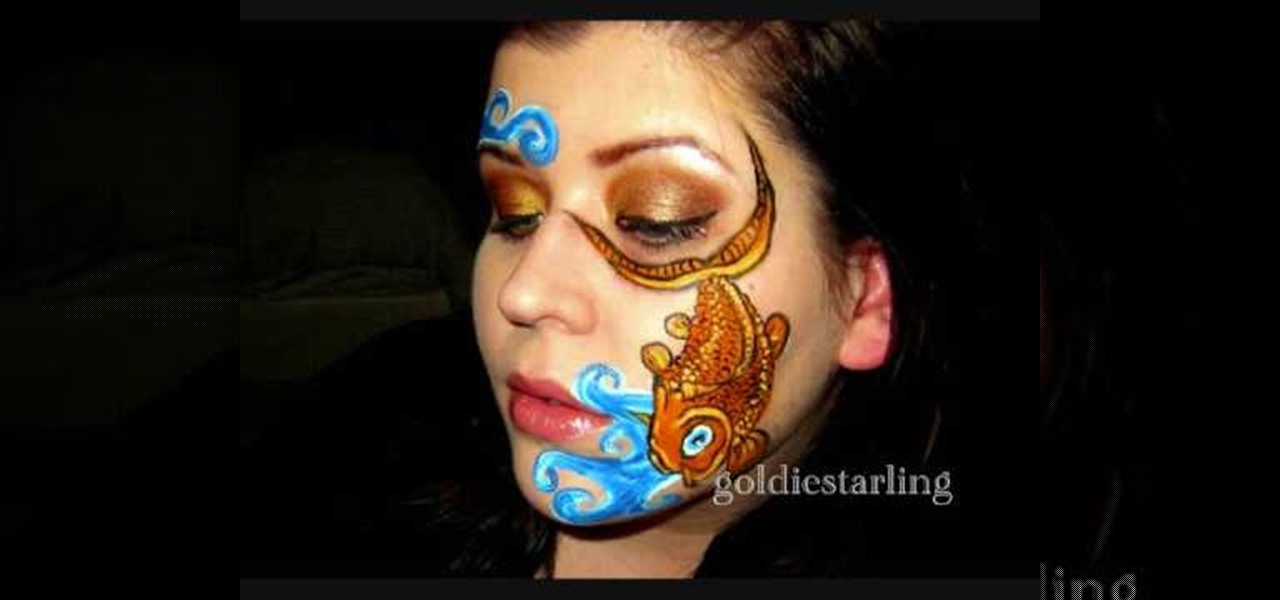
Watch this video to learn how to apply a koi fish arty makeup look in four easy steps. Draw design on the face with a white eye liner. Apply the blue from the Mehron Tropical palette to the waves. Apply white to the waves from the Mehron Basic palette to define them. Mix yellow and red in the Mehron Basic palette and fill the fish with color. Outline the fish with a black liquid eyeliner. Draw eyes and added highlights to the scales with the Mehron Basic palette. Clean the black lines with q-...

Learn how to make a simple paper box with this short video. You will need some strong paper like construction paper or light cardboard, a pair of scissors, and tape. For a neater box you will also need a ruler. First you will draw the shape of the box, which looks like a plus sign. Use a ruler for straighter edges. Then you will need to cut out the shape and fold along the lines. Add decorations to your box if desired. Last, you will be taping it to form a box shape.

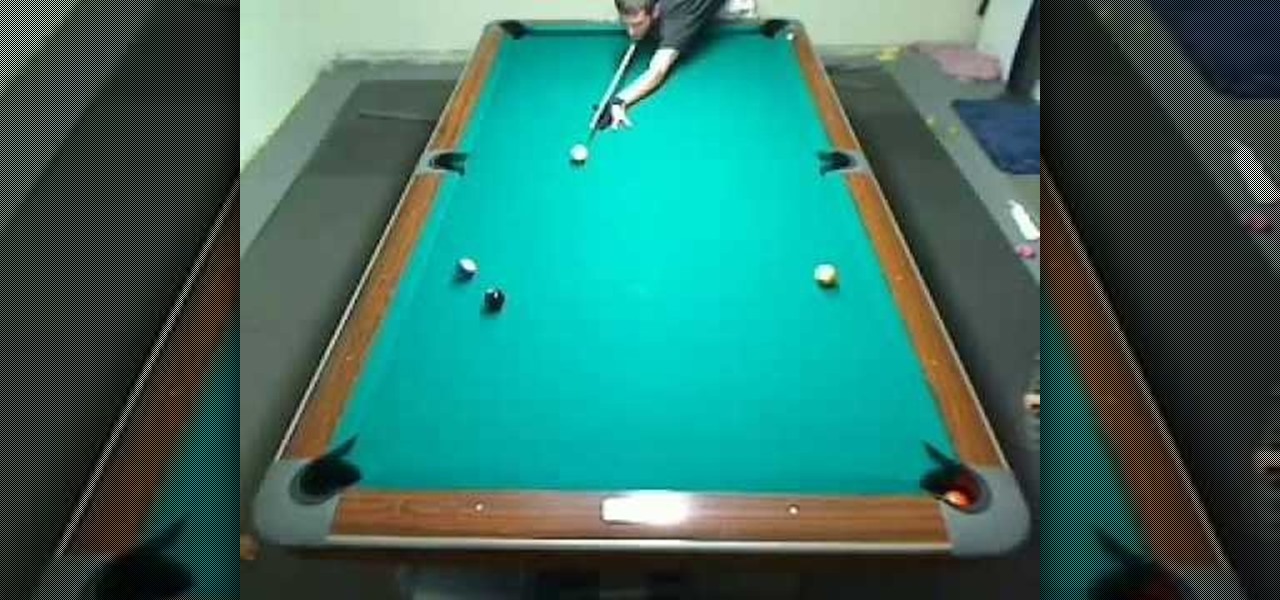
Use this tutorial for a simple and shot accuracy improving technique in pool! The steps for this tutorial are simple, yet effective in improving shot accuracy in pool. Align pool balls in a triangular formation at the far side of the table. Note that this is not the standard triangular formation for pool. Two lines are to be made diagonally from the center back of the table outward. Similar to this formation: \/ where the point would be directed to the back of the table. Leave space in betwee...

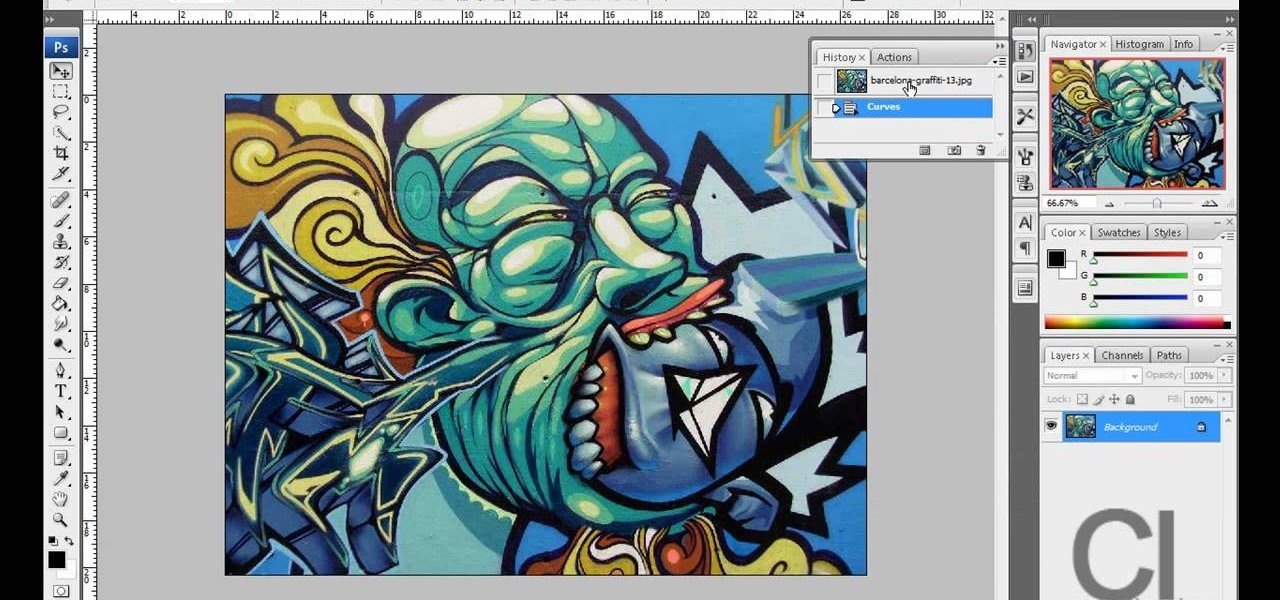
This video shows you how to draw graffiti in Photoshop. The information relates to Illustrator and Adobe Photoshop CS2 or later. The presenter started in Illustrator and started to draw using the draw tool, created three letters, adjusted the thickness of the line, copied and pasted the letters to create a shadow effect. The presenter then used Photoshop. He used at least 3 layers to create the background and highlights. Three types of brushes and at five different colors (White, Black, and a...

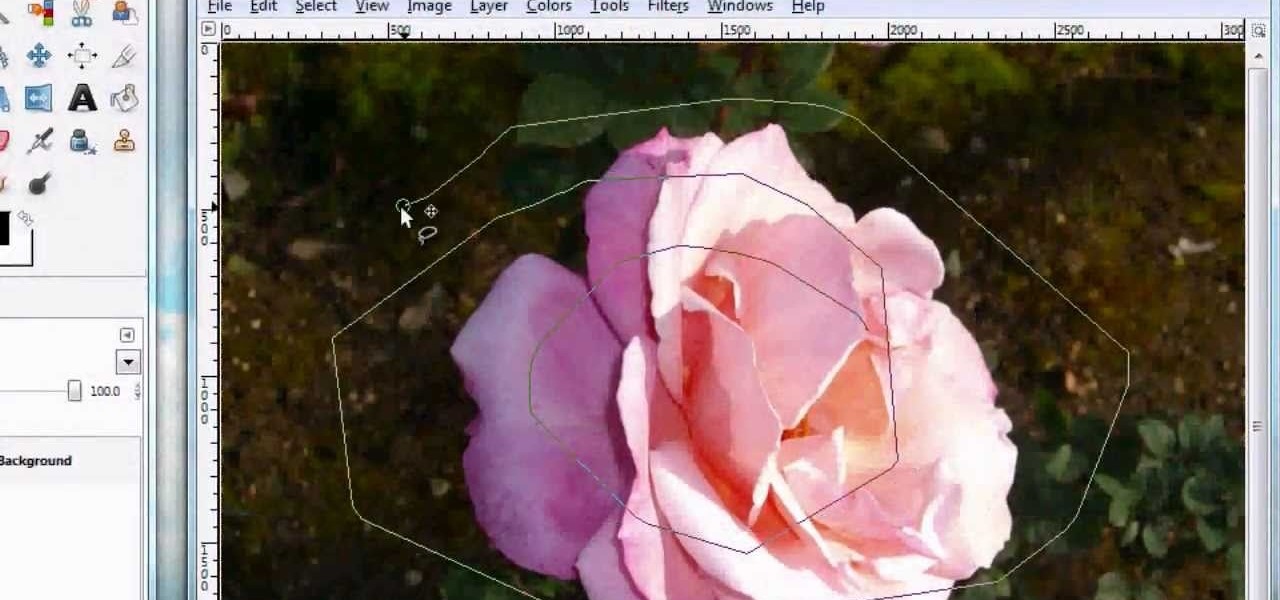
For anyone looking to edit a picture with one or more persons down to just a single person in the picture, you can use GIMP. This video tutorial goes over how to utilize the paths (or pen) tool and foreground select tool. The paths tool allows a person to select a part of an image to create a series of lines, or paths, that allow you to create a path around whatever you want to select in a picture. This item can then be moved and copied to a completely different photo. The foreground select t...

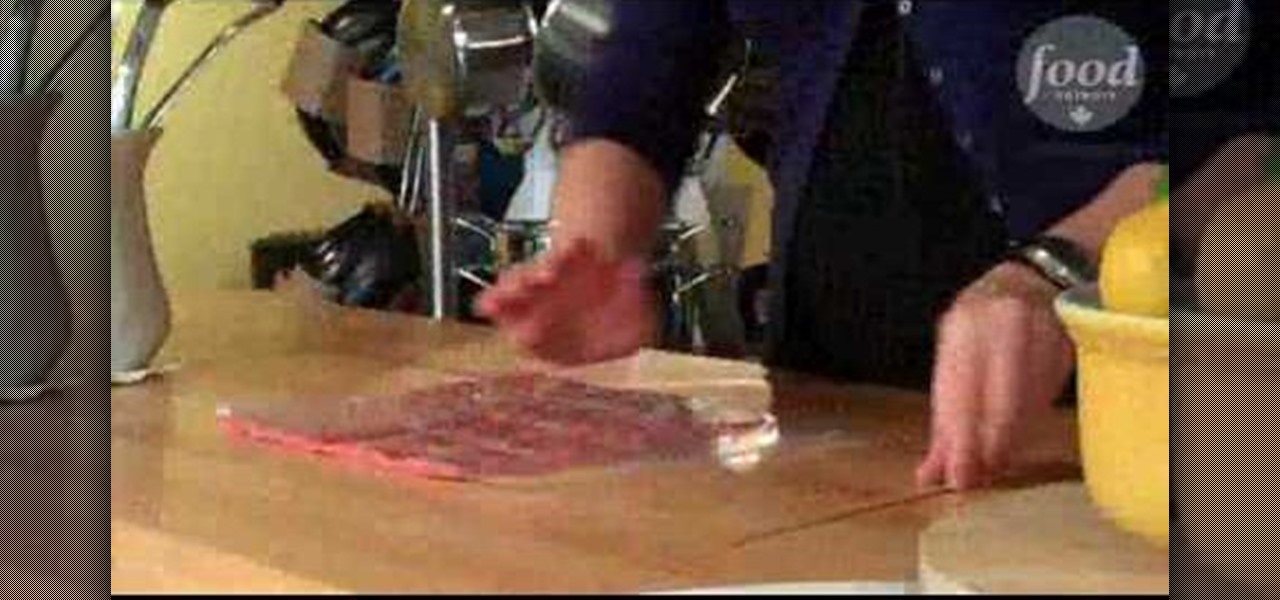
This video describes how to store large quantities of meat for a rather long period of time. To start, take the meat and season it if you like, then place it in a plastic bag. Roll the meat down flat and get all of the air out of the plastic bag and then seal it. Take a skewer and press down to create three (or more) lines in the meat to create a grid. Finally, freeze the meat and then when you need some of it just break off as much as you would like and put the rest back in the freezer. This...

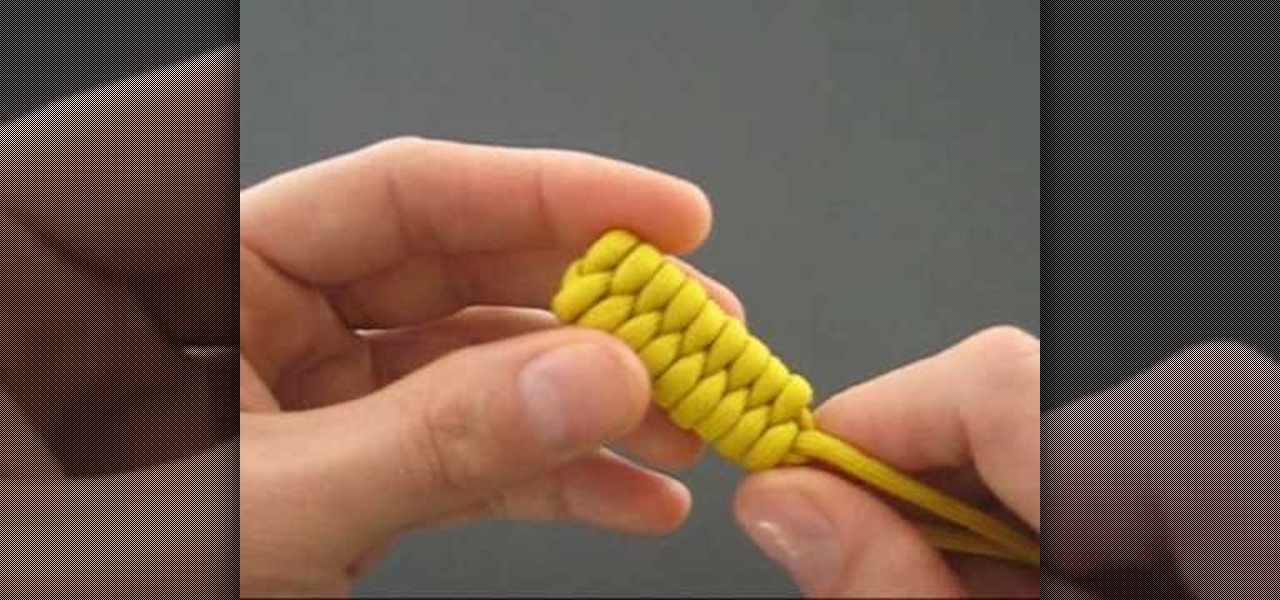
Looking for a stylish, slightly menacing way to store your keys? The "rattlesnake tie" is in actuality Clifford W. Ashley's Over-And-Under Heaving Line Knot or ABOK #541. That said, the rattlesnake tie is a whole lot easier to say and remember, so that name is used here.

Learn to make a beautiful spiral rose of paper, by watching this video. Things you will need to make this rose are: Red colored paper (or any color of your choice for the rose), a toothpick or small stick, glue, scissors. Begin by drawing a spiral on a square piece of red colored paper. With the help of scissors, cut along the lines of the spiral till the centre. Next, begin winding the spiral strip onto one end of a toothpick, from the outer end. Keep winding till you reach the other end of ...

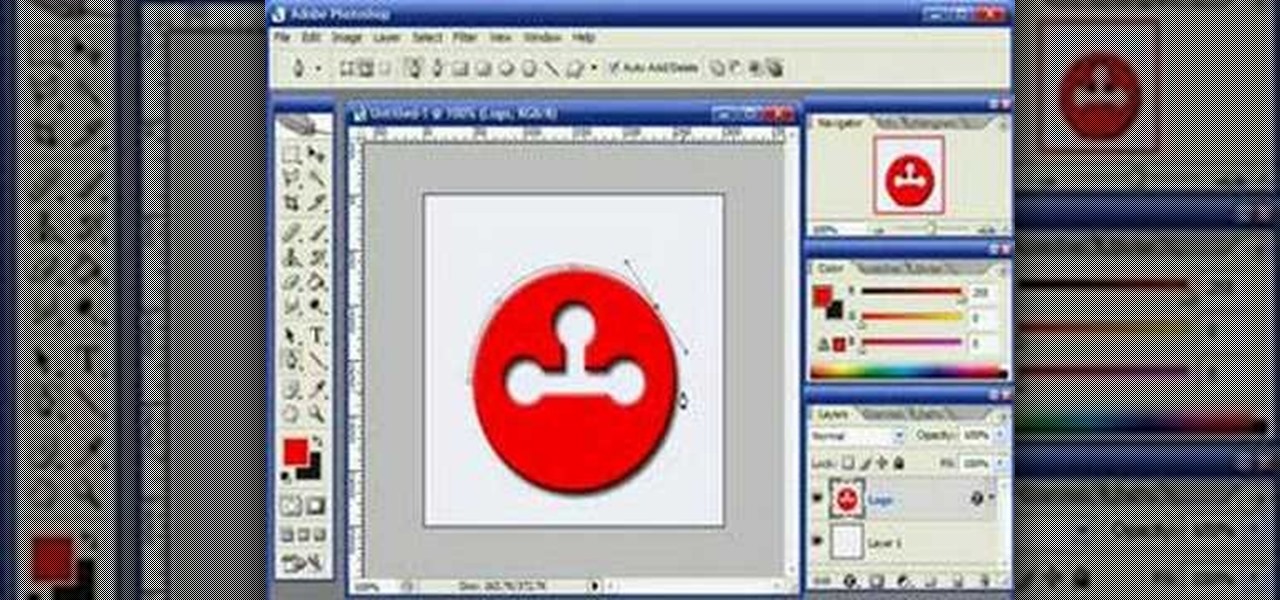
This video demonstrates how to use Photoshop to make text follow a path. First use the pen tool and draw the path you want your text to follow. They demonstrate by drawing a curved line above a circular logo. Select the type tool and start from the beginning of your path, then type your text. Select the path selection tool and fine tune the text placement by dragging the X. This video is easy to follow and shows how you can make text on a curved path.

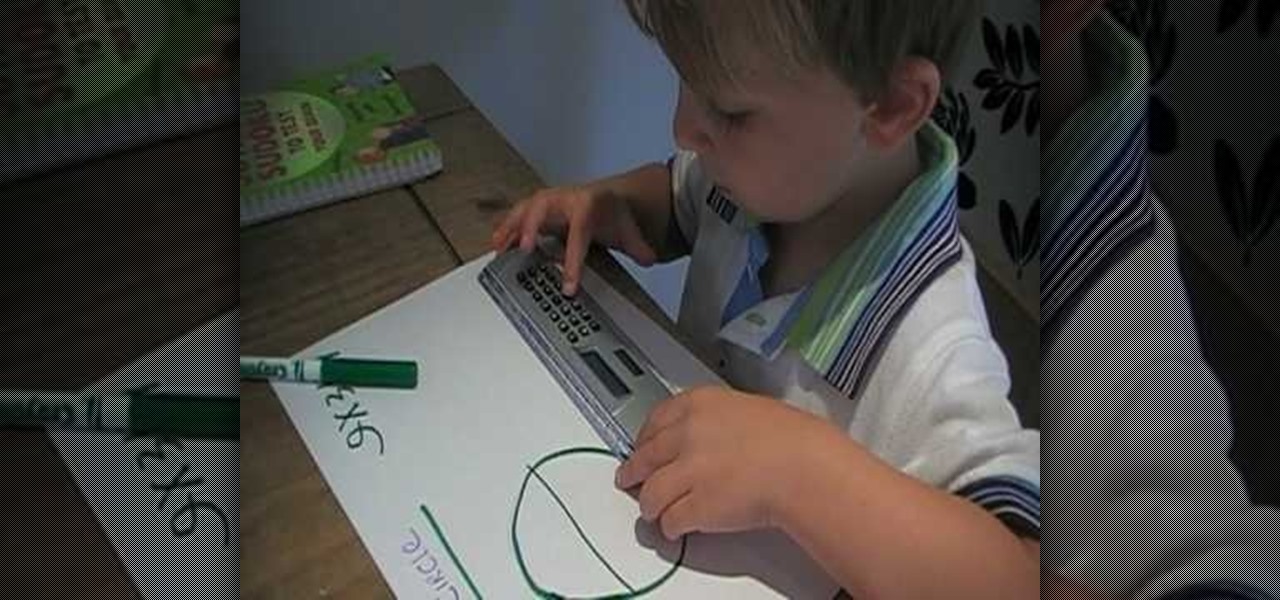
Simonc1973 teaches you how to work out the circumference of a circle. You start with a circle and draw a line across the circle. That's called the diameter. You multiply the diameter with Pi, which is 3.141. The video is even more amazing being taught by Harry Chapple, a 4 year old MENSA member, who is a maths child genius. He simply takes the ruler, measures the diameter and then calculates the result of multiplying it by Pi's value. The common value for Pi is 3.14. For very accurate results...

The video describes the effect known as the Boomerang Scratch. The author describes the technique and shows the sheet musical note equivalent. After explaining the sheet music notation, the author shows a video of the technique being performed on a scratch deck with a cross fader. The video then covers volume levels as indicated on sheet music and how to read these notations. This video provides a few different examples of the boomerang scratch along with close-up videos of the authors and ha...

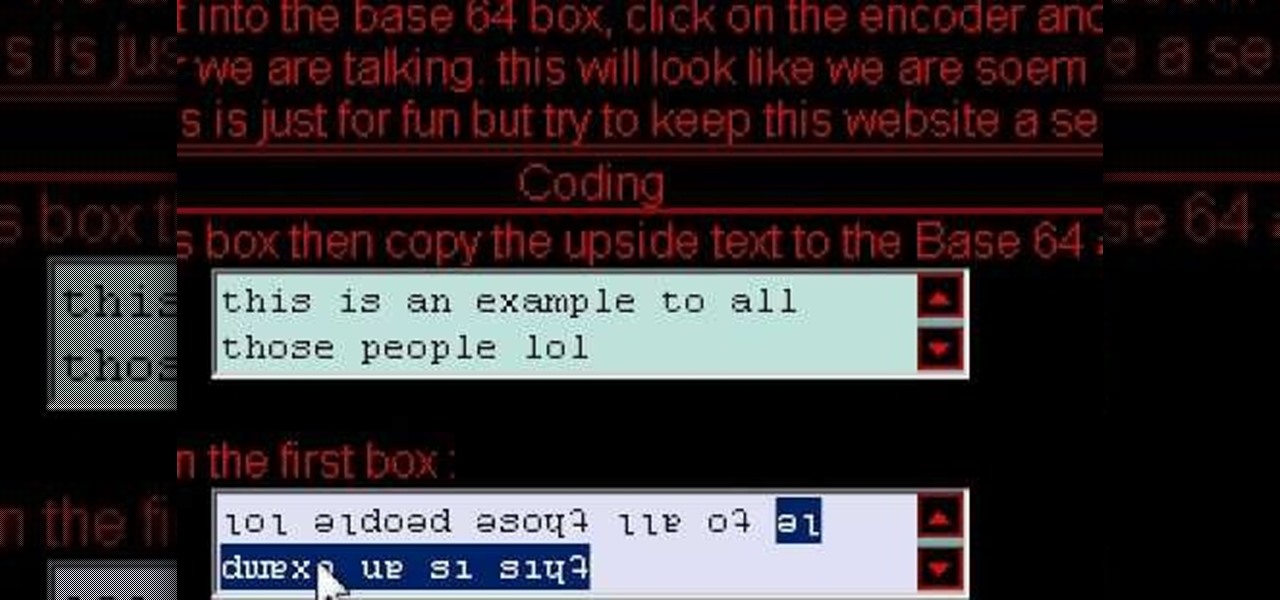
Cool tips and tricks on Facebook give you some extra edge on others. This trick will demonstrate that how to talk to your special loved ones that no one else can understand.

This video shows you how to graph an equation in standard form. In easy to understand instructions, you will learn how to find the x and y intercepts in order to put those two points on a graph, creating a line. Finding the intercepts is as easy as plugging in zero and solving for either x or y. This creates an ordered pair, which can then be graphed. The points are plotted easily on a Cartesian plane, which completes the problem.

This video demonstrates using Xara Xtreme to align and stitch two images. This is useful for putting together panoramic images. The presenter instructs us to look for similar points in the two photos. Once the points are found see how the images line up. In this case one of the images needs to be rotated. To find the correct rotation the presenter will make one of the images 50% transparent. With the image somewhat transparent he can rotate and position until the images match up perfectly.

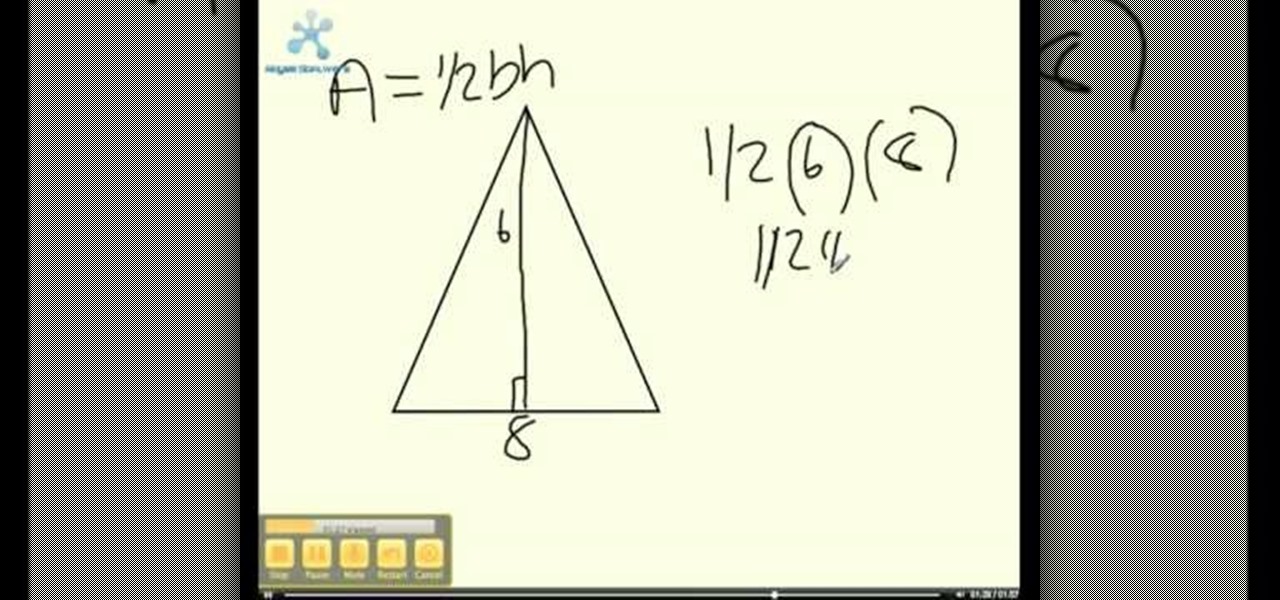
This video shows you how to easily find the area of a parallelogram and the area of a triangle. The first part of the video teaches you how to find the area of a paralellogram. The area of a parallelogram is BxH, where B is the base and H is the height. The height is obtained by drawing a perpendicular line from one corner to the base. The second part of the video teaches you how to find the area of a triangle. The area of a triangle is (BxH)/2, where B is the base and H is the height. That's...

Learn how to make simple tri-fold cards with these instructions. What you will need: -5 1/2" by 11" cardstock paper -Scorer -Scissors and paper cutter -Pencil and Ruler What to do: -Score the cardstock to 3" by 7 1/4" -Using the 3 3/4" flap, from the corner measure 2 1/2" and mark with a pencil. -Repeat on the horizontal side of the cardstock. -Cut the corners using the marks as your guide. -Round the pointed end with your scissors. -Fold the card at the score line. -Embellish your card as de...

In this video tutorial, viewers learn how to perform a straight right hand punch in boxing. Viewers learn how to throw a straight right hand jab and learn proper positioning. Users begin in a guarding position. The hands should be near the chin. The user releases the punch in a straight line. For additional power, users turn their shoulder and hips as they follow up with the punch. This video will benefit those viewers who are interested in boxing and learning combat skills.

A PDF Portfolio is a bundled collection of content compressed into one PDF file. Watch this 5 minute overview and learn how you can bundle documents, e-mail, drawings, flash presentations and even video into one sleek package that can be used for presentations or project management for your organization. Your portfolio can include introductory text and sets of data that can be sorted geographically by being linked to clickable maps. Not only can the entire portfolio be branded with your logo ...


