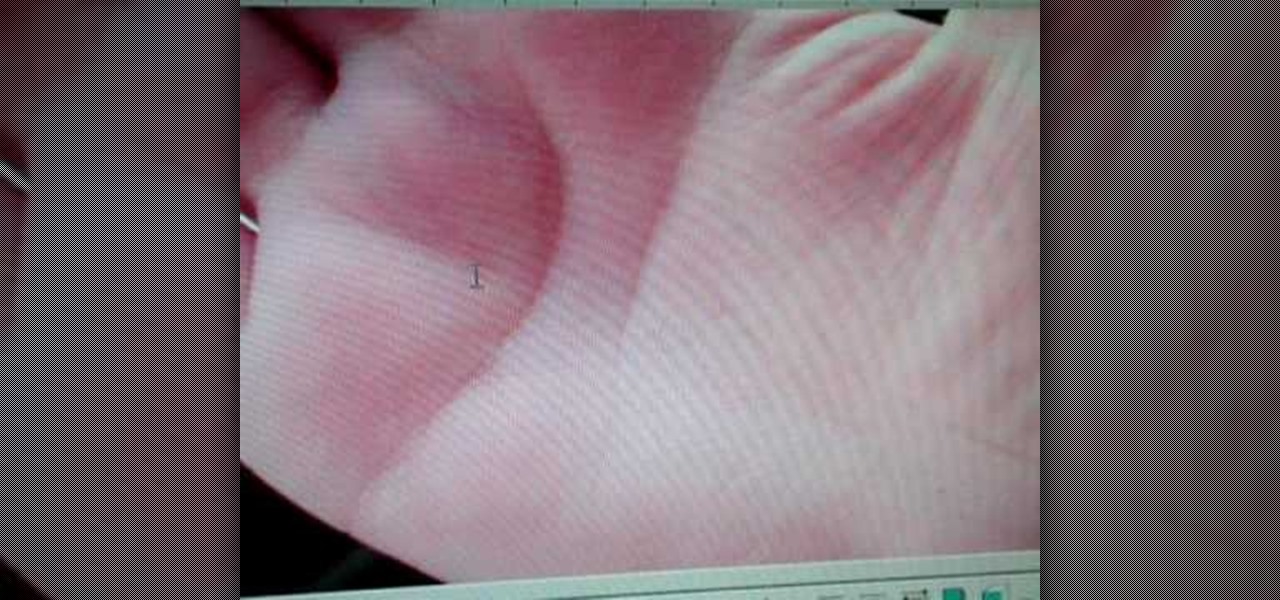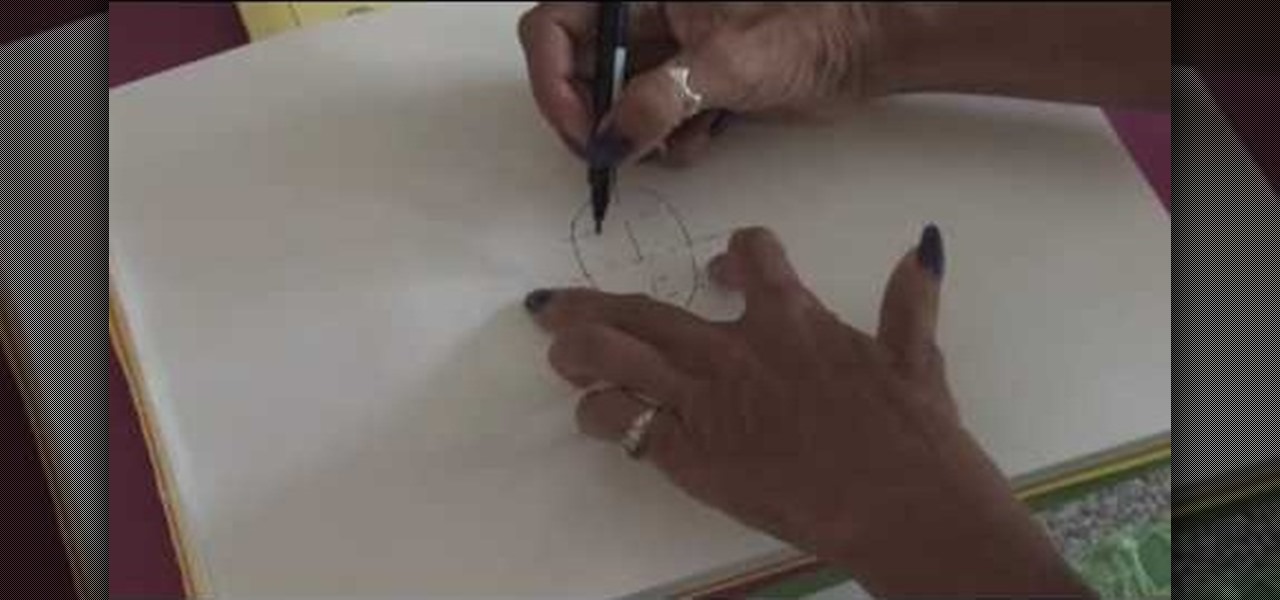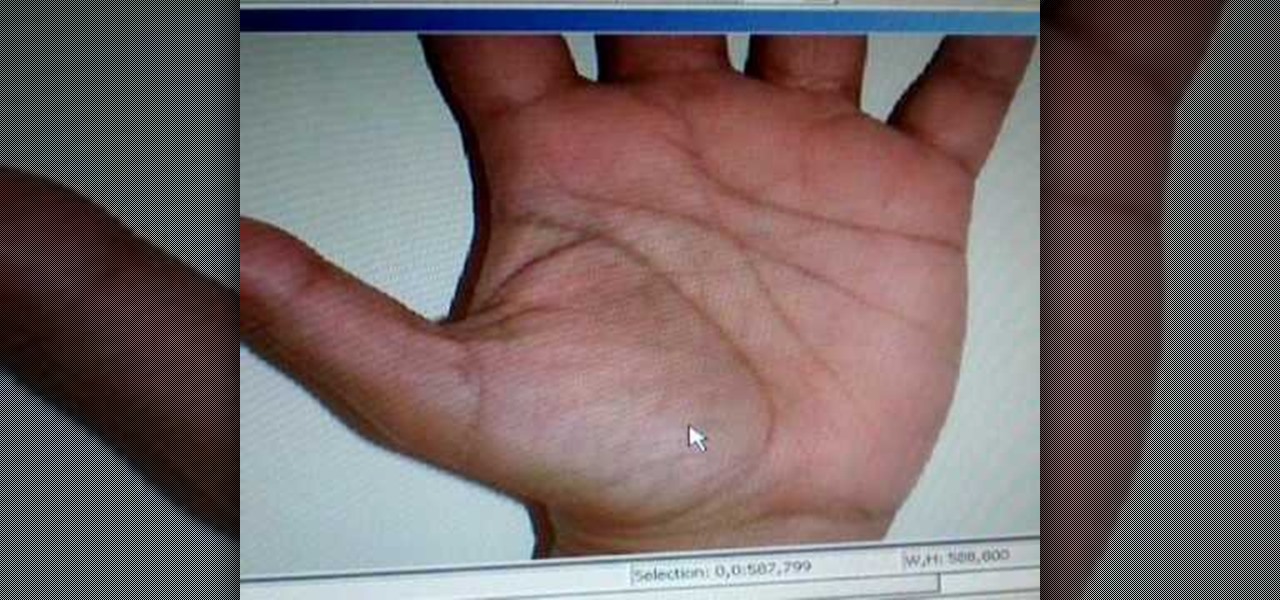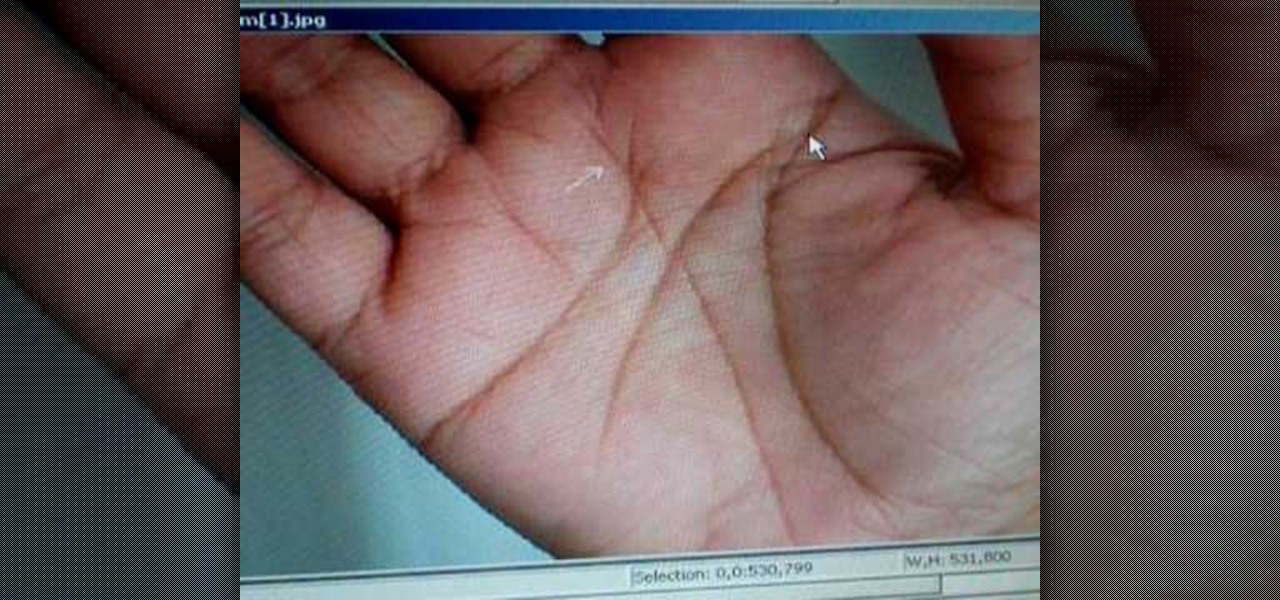
In this video, Peter John analyzes the right hand in palm reading. Once you have the hand turned over, you will see lines that are underneath the middle finger. The half line means that someone is emotional because the line arcs more than usual. The person also likes to show their emotion and have the emotions shown to them. Then bait line on the side of the hands should be slightly clear, which will tell how affectionate someone is and how much they show love. Right hand palm reading can be ...

In this tutorial, we learn how to draw Danzo. To start, you will draw the outline with the light touch of the pencil. After this, draw in the final outline darker and then erase the background lines. Next, you will add in the details around the character and then add in lines to show creases and make it look more realistic. From here, you will add in shading to make the drawing have some more depth. After this, you will finish up by cleaning any stray lines with an eraser. You can also use th...
In this video, we learn how to draw Ino from Naruto. Start off by drawing a circle for the head, then drawing lines in the middle to create reference for where the facial features will go. After this, draw in the hair on the top of the head along with the eyes, eyebrows, and creases of the eye. Then, draw the jaw line around the face and erase the lines you used for reference. After this, add in additional lines and hair to make it look more realistic. Use shading around the face to show ligh...

In this tutorial, we learn how to draw skulls the easy way. First, draw a round circle on the page followed by a smaller one connected at the bottom. From here, draw in two sideways triangles on the middle of the large circle. Then, draw in lines on the face and create the section of the nose. After this, draw in large teeth on the skull and then connect lines around the circles to make the jaw line. After this, draw on lines around the skull to make it look like it has depth. Then, shade in ...
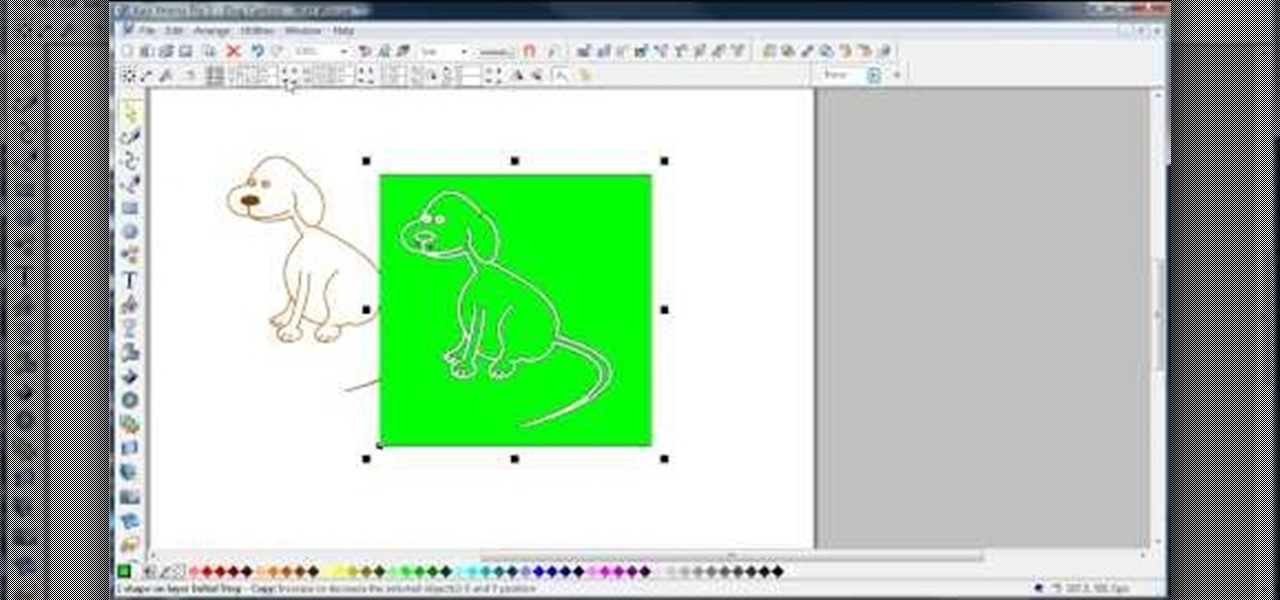
In this video, we learn how to join lines in Xara Xtreme. All the lines in this are independent, but they can be joined together to make an object. First, open up the object gallery and then duplicate the layer. After this, copy the image and increase the line size by four pixels. Then, go to "arrange" and "combine shapes". From here, the shapes will all combine together to make one total image. Make a rectangle around this and then select "subtract shapes". Combine the layers to finish, then...

In this tutorial, we learn how to draw eyes with a pencil. First, draw the outline of the eye, giving it an almond type of shape. From here, you will add in the lines to the eyes and shade it in to make it look more realistic. Add in the crease above and below the eye, then draw another line on the bottom for the lash line. Then, darken in the areas around the eyes, then add in the lashes to the top and the bottom of the eyes. Shade in the pupil, then use lines to create a more realistic insi...

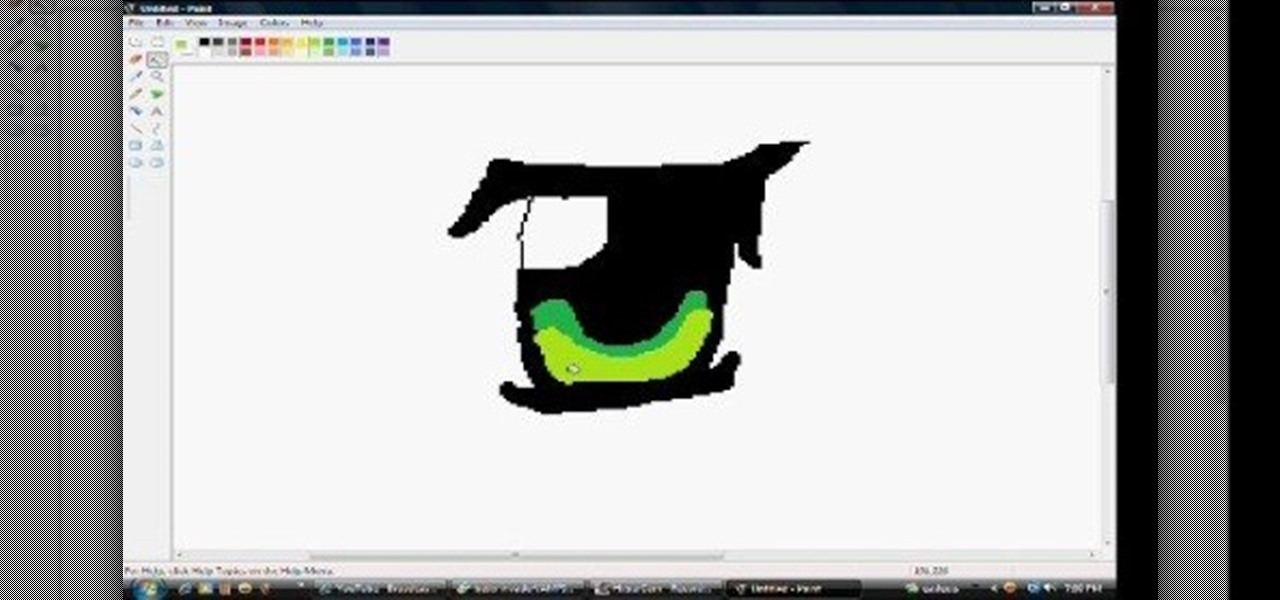
In this tutorial, we learn how to draw anime eyes in MS Paint. First, open up MS Paint and then grab a marker that is thick. From here, draw in a thick line that will be the top of the eye. Then, draw in the round area underneath the eye and the pupil inside of this. Draw in the bottom lash line of the eye, then start to add detail to the middle of the eye. Use the dark line to create a thicker line around the pupil, then fill the eye in with black. Leave a white part to make the eye look glo...
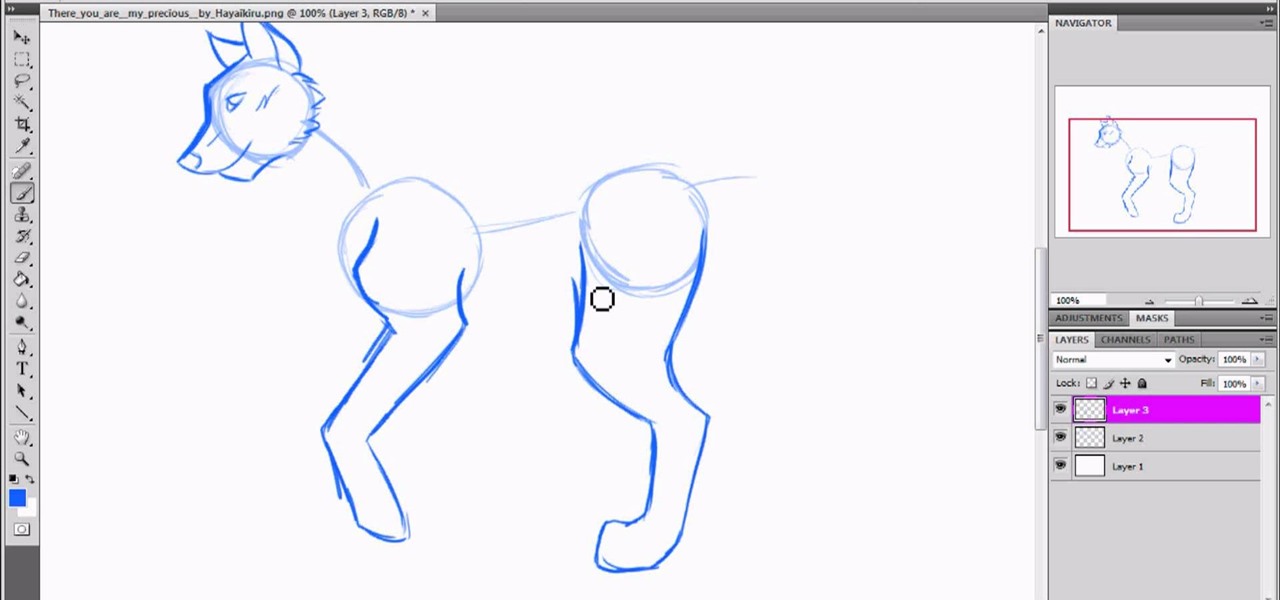
In this tutorial, we learn how to draw a wolf with basic guidelines. First, draw in circles from where the main sections of the wolf is. Now, draw a line connecting all of these and draw in the details of the face. Now, draw the back legs starting with the front leg and then the back leg. After this, draw in the stomach and the main part of the body. Erase the circles and background lines, then draw in the hair of the wolf and the stomach. Create a tail on the back, then add in the ears and t...
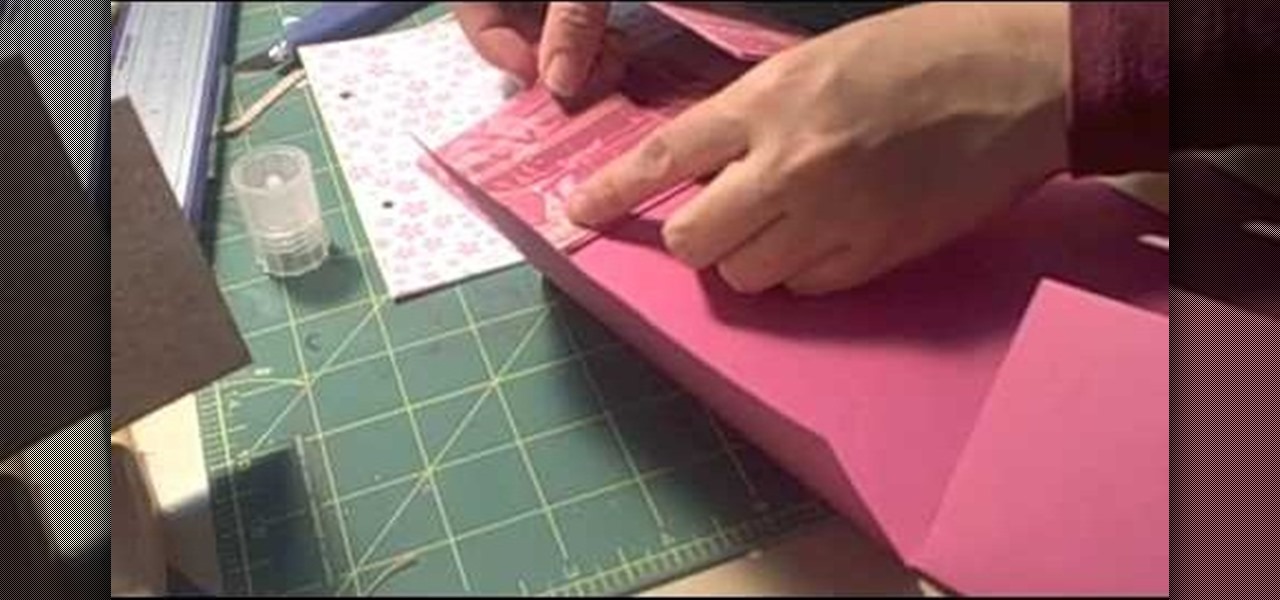
This video tutorial is in the Arts & Crafts category which will show you how to make a flip square album. Take a 12 x 12 inches square cardstock and make a score line at 3 inches on all 4 sides of the paper. Now cut along the score line at the top and bottom of the paper up to the 3 inch line. Next you fold along all the score lines inwards and you have all the flaps ready. Then mark along the edge of the center part of the sheet and punch two holes for tying the album as shown in the video. ...
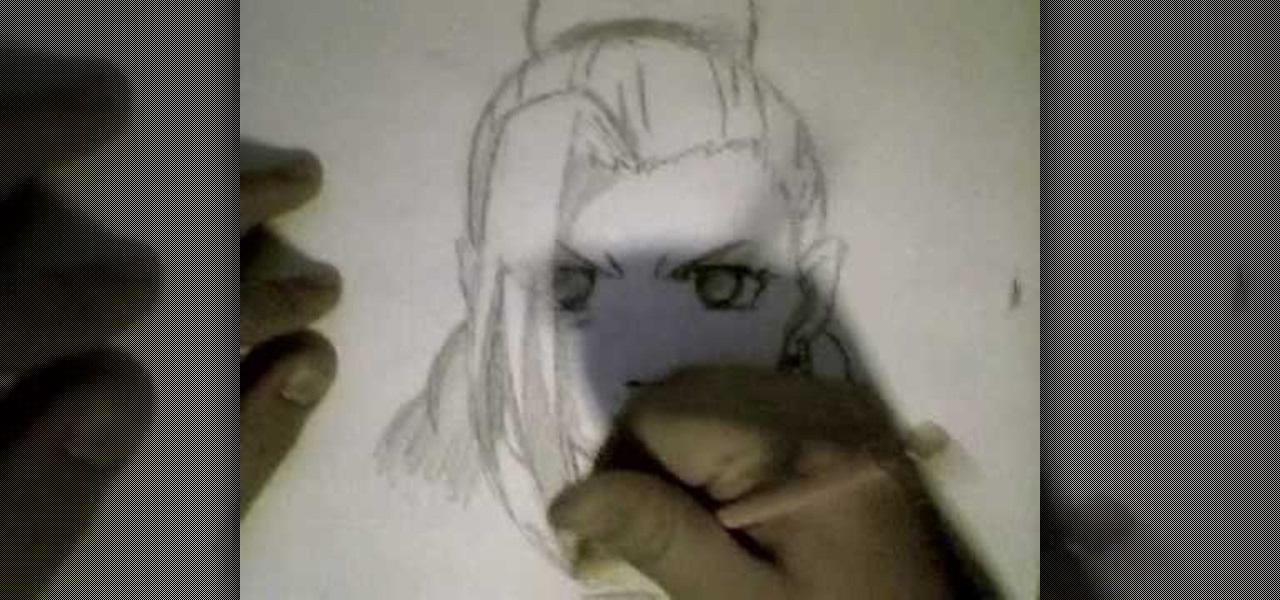
In this tutorial, we learn how to draw Tenten. To start this character, draw a light circle along with lines in the middle for reference points. Use a bolder line to draw the chin and then the eyes, nose, and mouth. also make sure to draw in slight eyelashes and eyebrows above the eyes. After this, draw a line around the head and erase the background lines. Draw ears on the top and then start to fill in the hair for the bangs on the front of the face. Finish this off with a headbands, then dr...
In this tutorial, we learn how to draw Ino Yamanaka. Start off by drawing the head, drawing lines in the center to use as reference points. After this, draw the rest of the body, including the hands, torso, and neck. Now start to draw in all of the details. Draw the eyes evenly apart, then add in frown lines, a mouth, eyebrows, and any other details of the face to make it complete. Next, start to erase the reference lines and draw in the hair of the character. Draw around your basic outline t...
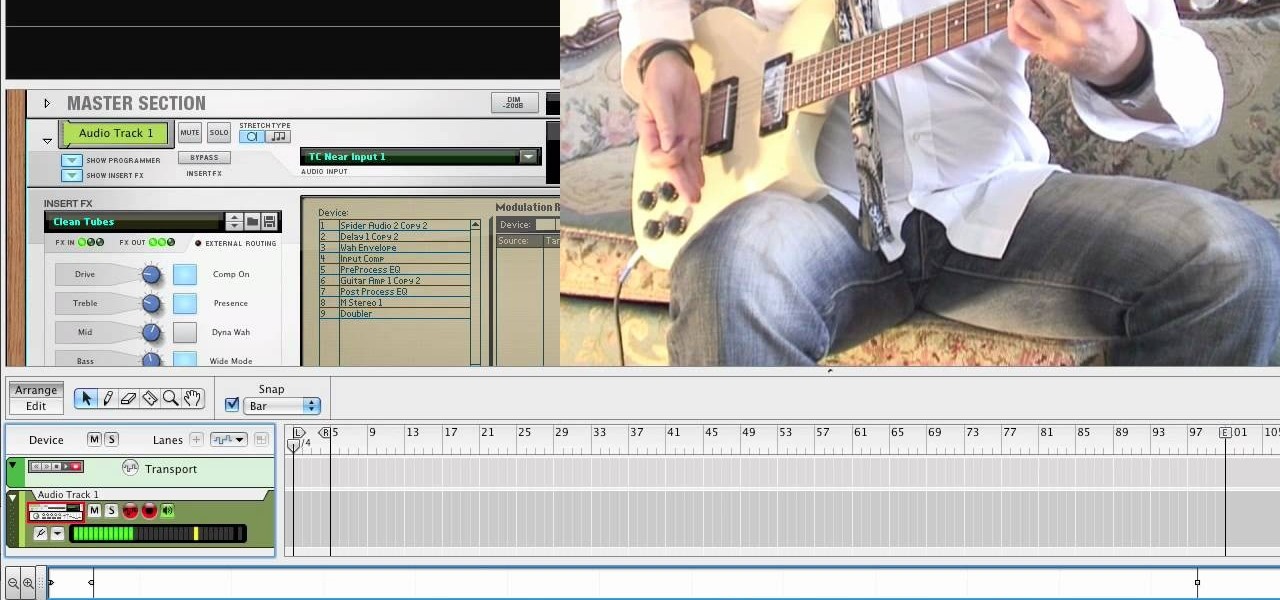
In this tutorial, we learn how to use guitar, bass amp, & speaker emulation in Line 6. First, plug in your guitar, create an audio track, and add a line 6 amp. The line 6 amp comes with 3 amplifiers. While the bass amp lets you choose between two. When you change the amp, the compute will change cabinets to go with it in the program. To load a combinatory pre-set, click the folder to open up the path browser. The record sound bank includes a lot of sound bank options, so choose the ones that ...
In this tutorial, we learn how to draw Misty from PokŽmon. Start by drawing the basic shape of the head, a circle with lines inside of it to use as reference lines. After this, draw on ears to the side of the face and then draw in the cheeks. Now, draw a stick figure for the body and then draw in circles to create the other lines for the body. Then, draw the back of the neck and start to fill in details. Erase any background lines as you continue to draw. Make sure to add in details and facia...
In this video, we learn how to get a bronze smoky eye inspired by Ashley Tisdale. First, prime your eyes and then apply a dark gold color to the eyelid. After this, apply a brown color to the crease of your eye and blend it outward with the gold. Next, apply a white color underneath your eyebrow as a highlight. Grab a black eyeliner next and apply it in a thin line on the upper lash line. Now, dip the pencil brush into black eyeliner and smudge it out onto your upper lash line. To finish, app...
In this video, we learn how to get a black and white costume makeup look. First, apply white cream makeup to the eyelid and then underneath the eye. After this, line your crease with black eyeliner and end it with a tail. Then, line your lower lid doing the same thing as you did on the top of the eye. Blend black eyeshadow in with the liner after this on the top and bottom to make the line thicker. Now, apply a white powder makeup over the white and connect them together in the crease of the ...
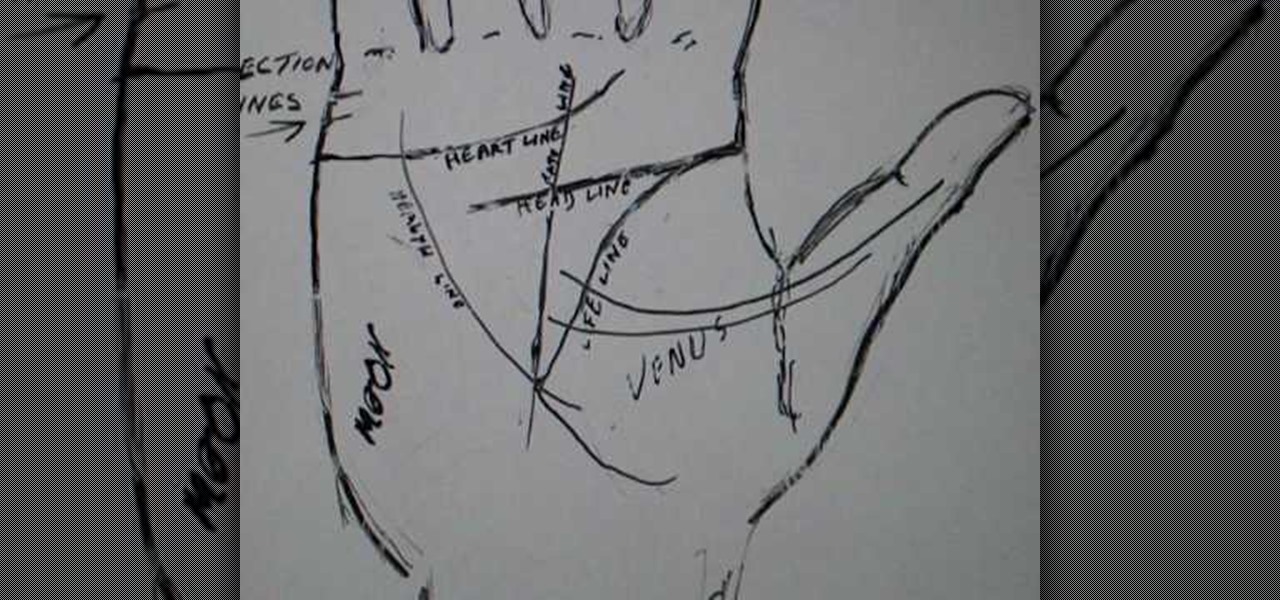
In this Spirituality video tutorial you will learn how to palm read with Peter John. If the heart line, the first line on top of the palm, is well formed and curves around towards the center of the first finger, the person is quite good and balanced. If the head line is quite long along the palm and bends towards the lower part of the palm, the person is more practical and mathematical. When you see more than one line on the mount of Apollo or the mount of Sun, the person could take more than...
Many beginning students of palmistry erroneously believe that when the hand lines meet on the palm, it indicates death for the reading. Peter John rejects this notion and explains what connected lines really mean, and how to interpret each line individually.
In this video, we learn how to create a white, purple, and black swirl nail art. Start off by applying purple glitter to the side corner of the nail. Next, draw on a black thick line underneath the purple, followed by a swirl at the end of the line. Then, take white nail polish and make the same line underneath the black line. Make sure you let the black dry before you paint the white on underneath it. When all colors are dry, apply a clear coat of nail polish over the designs. Now your swirl...
From Ramanujan to calculus co-creator Gottfried Leibniz, many of the world's best and brightest mathematical minds have belonged to autodidacts. And, thanks to the Internet, it's easier than ever to follow in their footsteps. With this installment from Internet pedagogical superstar Salman Khan's series of free math tutorials, you'll learn how to calculate the value of angles formed between transversals and parallel lines in basic geometry.
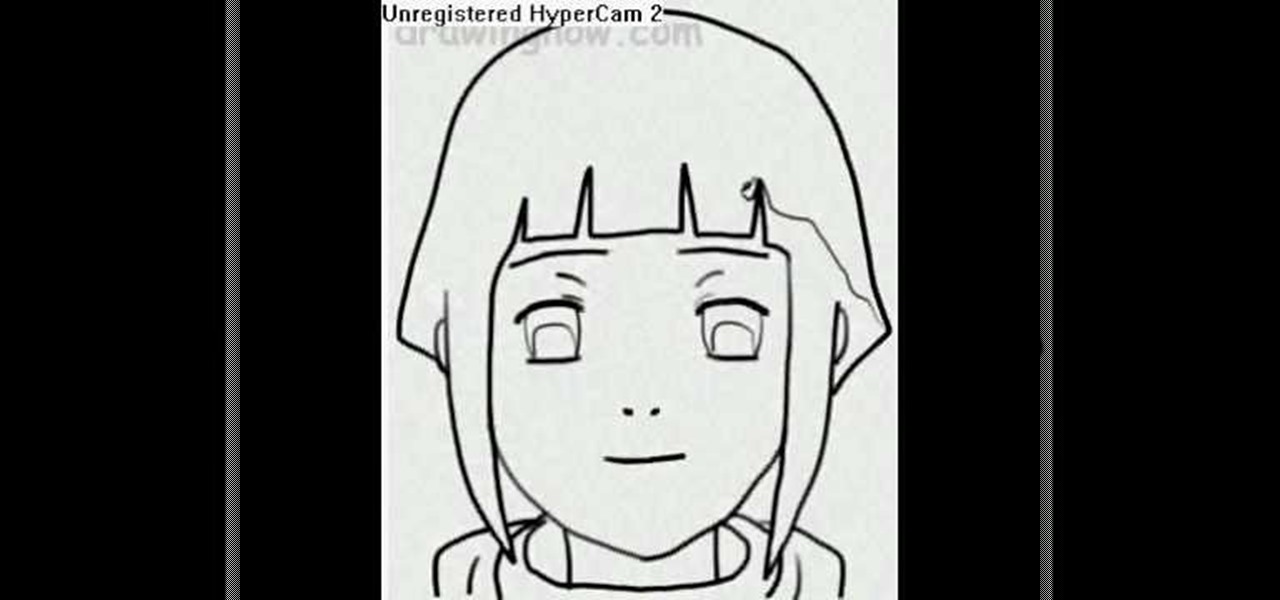
In this video, we learn how to draw Hinata. First draw a circle, then draw crossing lines through the circle. Draw in eyes where the lines intersect, then draw in the nose and mouth. Make the eyebrows after this, then remove the lines inside of the face. Next, draw in the hair and make the bangs lie flat on the face with long bangs on the front of the face. Draw on the top of the shirt and then start adding in further detail. Add lines to the face, then add in color if you prefer. To finish, ...
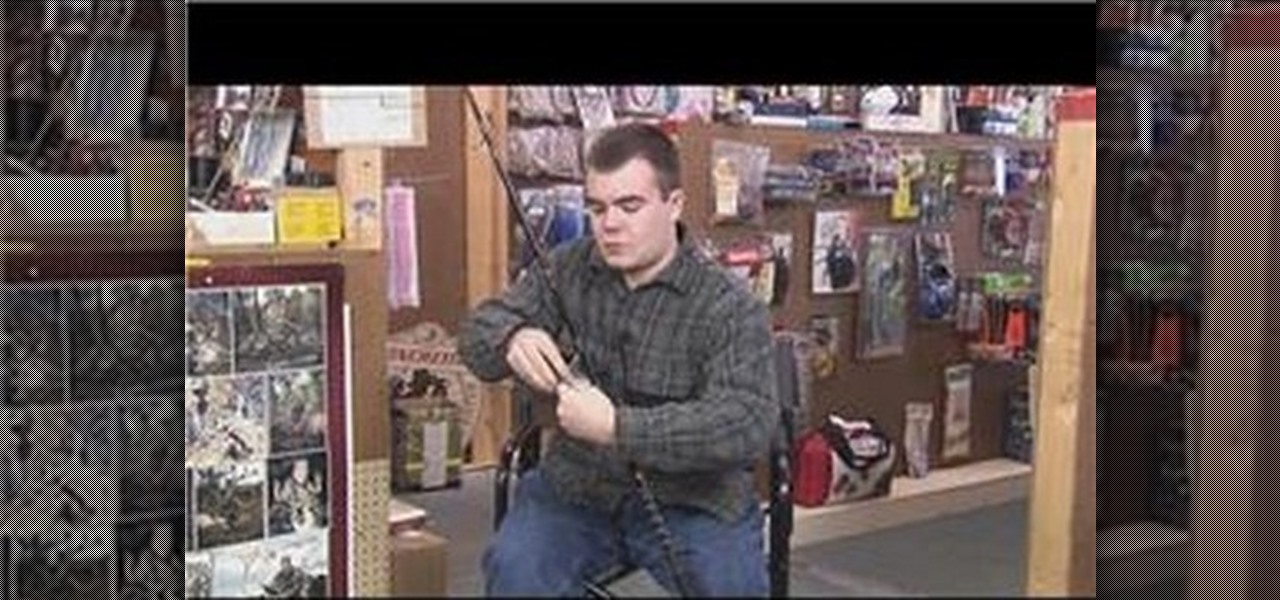
Take your fishing line and run it through the guides on the fishing pole. Of course, for you beginners, start at the bottom as the line in on the reel and work up. While doing this, release your bail. After you have finished running the line, pull the bail back over. This keeps the line from running out. Now we are going to do a overhand loop by making a loop which doubles the line. Make an overhand knot, about 8 inches up from the lower loop. You will twist the loop and then run the double l...
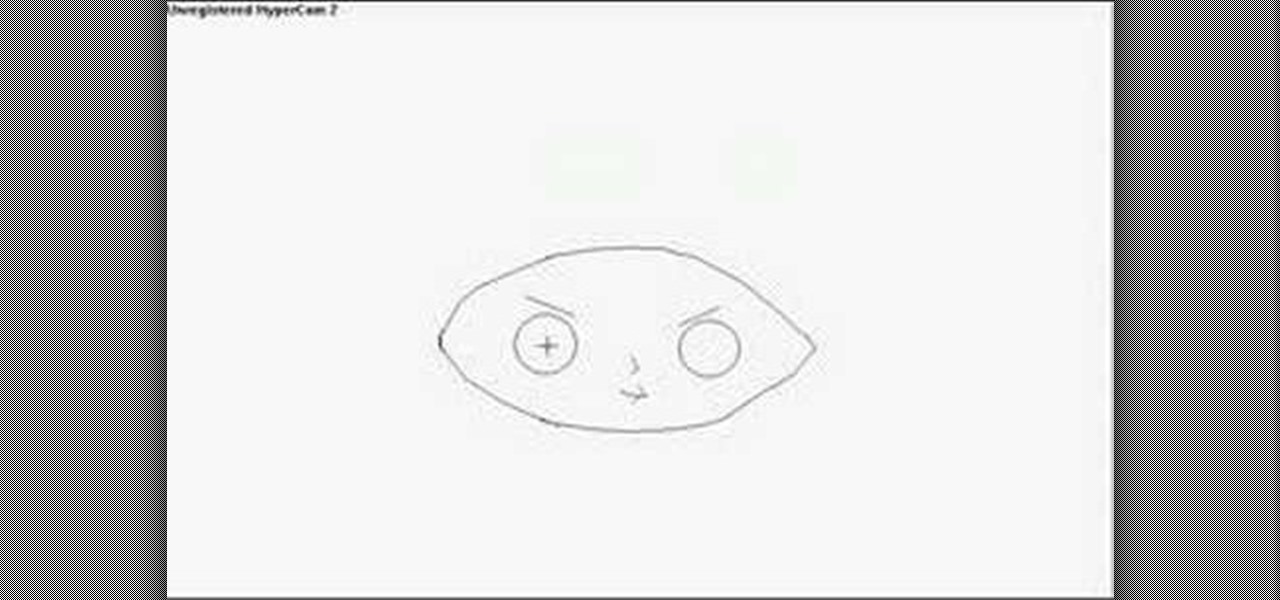
Draw a persons face with this lesson by a professional artist. Start with a basic oval shape. Draw a light guideline through the middle of the face, then a cross line where the eyes might go. Then, draw a line for the nose and mouth. This will leave your drawling divided in three sections. Next, you begin the eyes. Draw oval shapes on the eye line. Then, draw the circles for the middle of the eyes. Then draw in the brows. Next, begin drawing the nose then the mouth. Now you're ready to draw t...
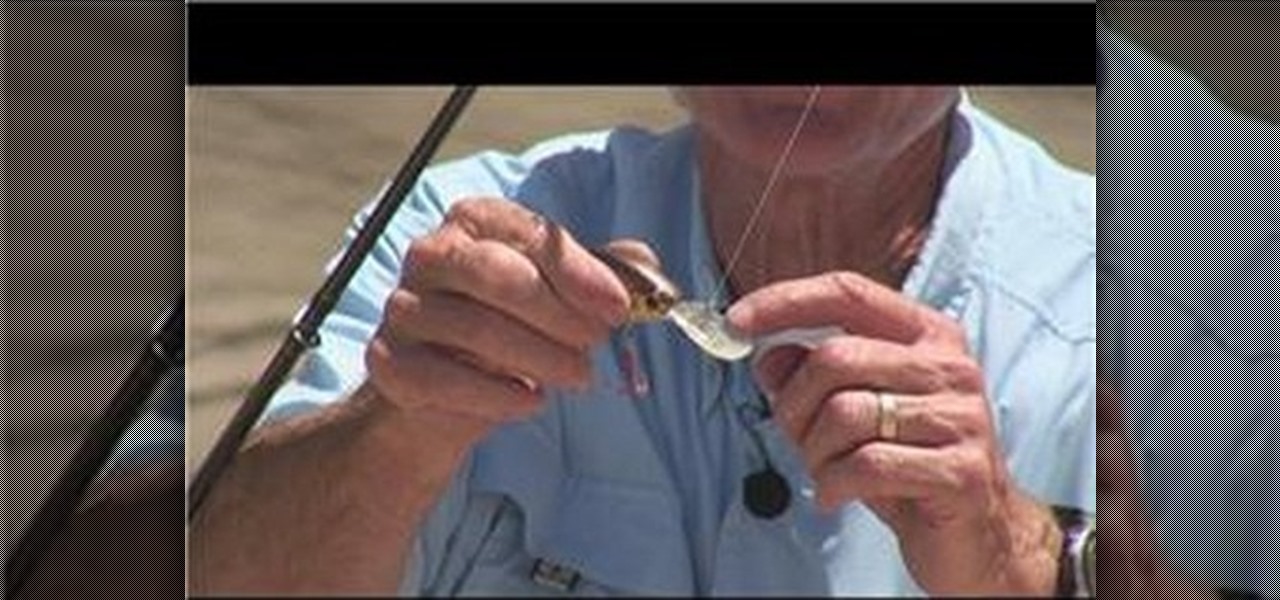
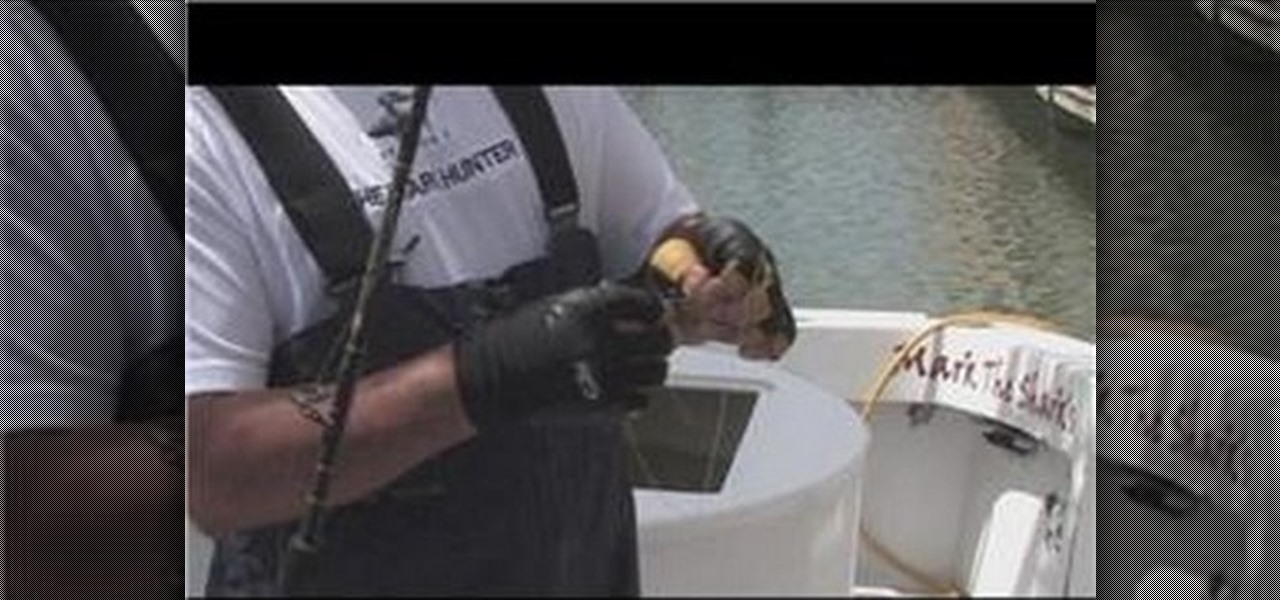
In this Outdoor Recreation video tutorial you will learn how to rig a crankbait. It is so named because it floats on the water and does nothing until the crank is turned. The turning of the crank provides the action to the bait and attracts fish to it. To rig it, there is an attachment point on the diving lip of the crankbait; it can be a small hole for the line to be passed through or a split ring to attach the line. Tie the line to the lip with a clinch knot and you are in business. In case...
At first glance, this drawing looks like nothing special, just an odd design of lines, but then you notice the two bolded lines. They look like they are different sizes, but are they? No! They are the exact same length. Tricky… very tricky.
When hunting for trout, you will need to know how to set up your rod. Different types of fish require different set ups. In this tutorial you will learn to master the technique behind rigging a fly fishing line for trout.
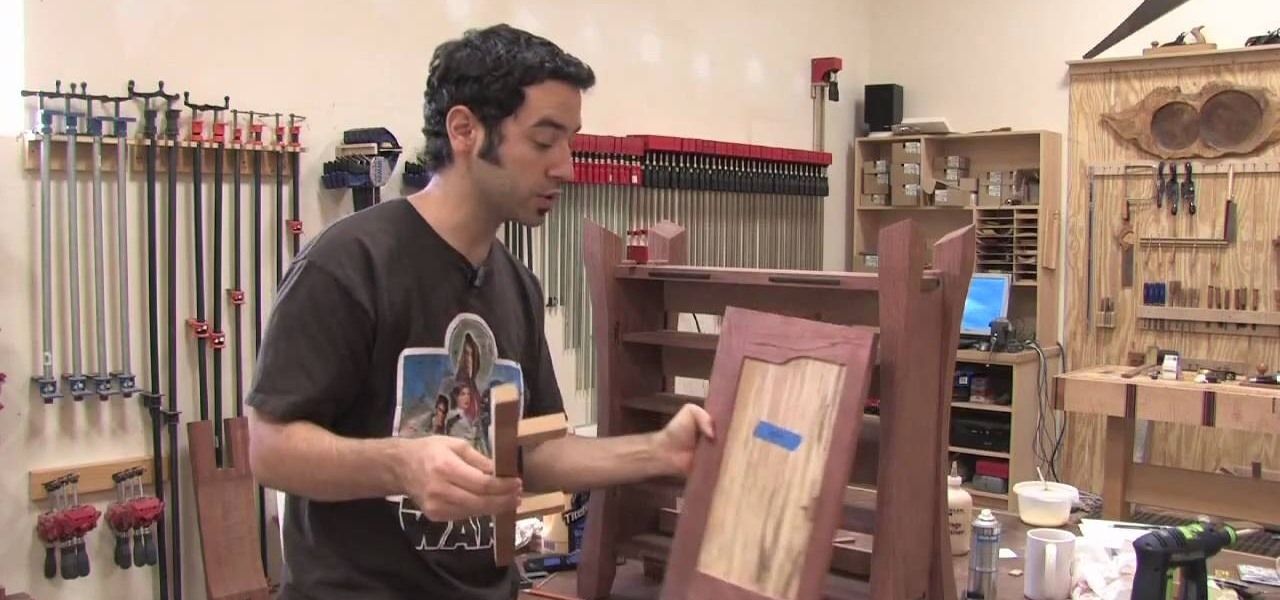
The Wood Whisperer demonstrates how we can install hinges on a cabinet without a tape measure, using relative dimensioning. In this example, we use center lines instead of marking the top and bottom of each piece that needs to line up. Using shims at the bottom and top of the door, we center the door on the cabinet to the desired spot. At this point, it's as simple as marking the center lines where you want your hinges to go on both the door and the cabinet frame. Now we can simply attach our...
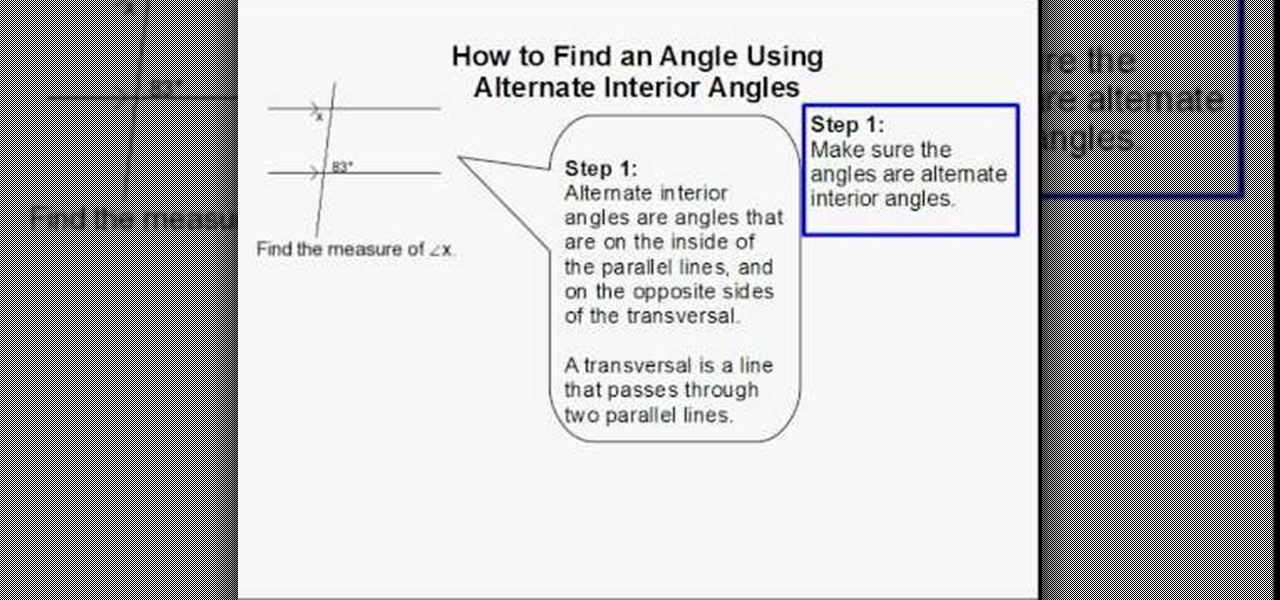
In this video tutorial, viewers learn how to find an angle using alternate interior angles. Make sure that the angles are alternate interior angles. Alternate interior angles are angles that are on the inside of the parallel lines, and on the opposite side of the transverse. The transverse is the line that passe through the two parallel lines. If both angles are inside the line and are opposite to the transverse, then they are alternated interior angles. If you know two angles are alternate i...
This video shows the method to suture arterial lines using a curved needle. We will use the new arterial line kit for our demonstration. We will use a curved needle as it is safer than the straight needle. Hold the suture with the hamostat at about sixty percent from the tip of the needle. Do the turn the key method to bring the needle out from the other side. Unclamp it and re-clamp it at the tip of the needle. Continue the turn the key method. Pull the suture up and through. Cut the suture ...
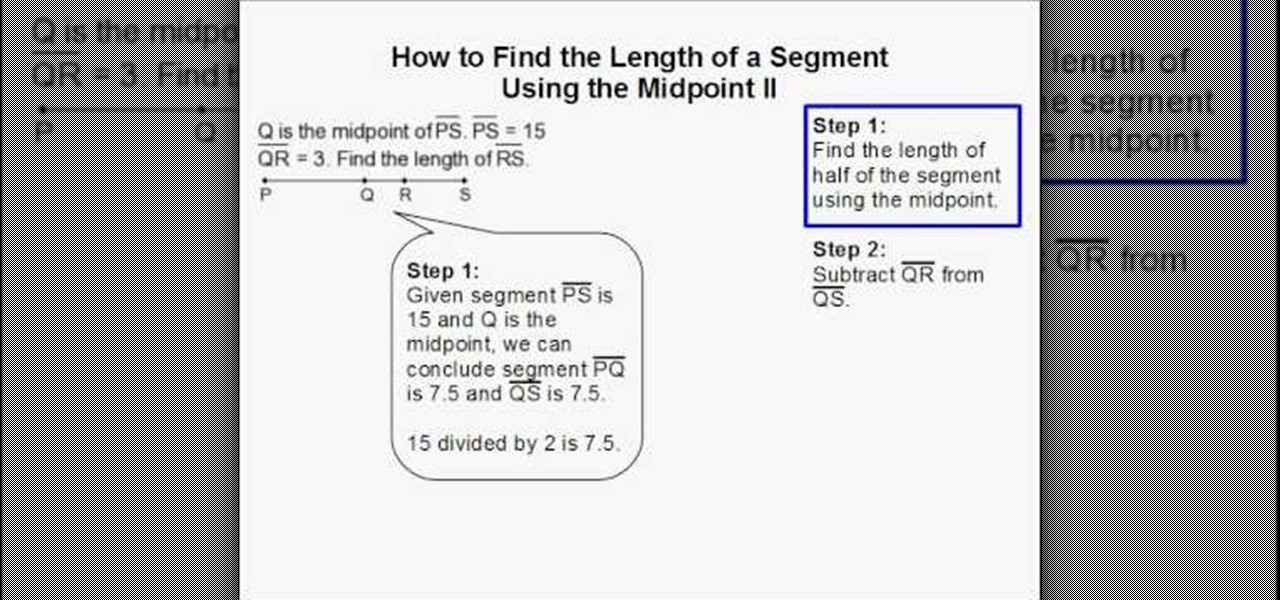
First of all in the given question you have to write down the values of the total length of the line segment, PS=15. The length of the line segment, QR =3. Now you have to find the value of line segment RS. Because you know that the Q is the midpoint of the line segments PQ and QS must be equal. Therefore you can find out the length of the half of the segment using the midpoint. Subtract the value of QR from QS. Given that segment PS=15 and Q is the midpoint, you can conclude segment PQ=7.5 a...
First of all you have to open the 'notepad'. Now you have to type in "<html>" in first line. Write "<head> in second line. Write "<title>this website contains text wrapped around images</title>". In the fourth line you have to type '<body bgcolor="#999999">'. This shall add a light orange color. Now find out the name of the image. Here the name of the file is 'image.png'. Then in the next line you have to type in "<img src="image.png">this text should hopefully wrap around the outside of the ...
Drawing the letter D as a 3D block letter is easy and fun. To start simply draw the D like you normally would. Next, you need to draw another smaller D inside the first D. From there, draw another D on the outside of the first D. Color in the 3 stacked Ds with your first color. To continue, choose a darker version of your original color. In the bottom left hand internal corner of the D draw a short line that extends at about a 30 degree angle in reference to the bottom of the D. From the end ...
Ian shows us how to draw Yoshi from the Mario Brothers video games. First, you draw three quarters of a circle, for the snout. Next, on the top right edge of the circle, before the opening you've left, you draw two ovals on top of it for the eyes. Next, finish out the circle (snout) by connecting the bottom end with back of the farthest-right eye, using a outward-bulging line. Draw a smile at the bottom of the circle, then fill in the eyes with a black oval in the bottom right corners of both...
In this video, Mr. G demonstrates how to draw a wintery snowflake. You will need a plain pencil, or a blue and black colored pencil for this drawing. Start by writing your name and the date on a white sheet of paper. Then, begin lightly drawing the base of your snowflake. After you have drawn your base, Mr. G will show you how to make the lines darker to form the shape of your snowflake. Then, you will learn how to detail your snowflake by drawing small triangles inside the basic shape that y...
Mark the Shark demonstrates how to place sinkers when deep sea fishing. A trolling sinker is made for high speed trolling. A bank sinker is made for deep dropping. An egg sinker is made to slide on your line. To use the egg sinker, put it through the line, attach a swivel and tie a knot on the swivel. Next, attach the leader to the sinker and then attach your hook. You can catch a lot of bottom fish with this method. Attach the bank sinker to keep the weight on the bottom of your line. The ho...
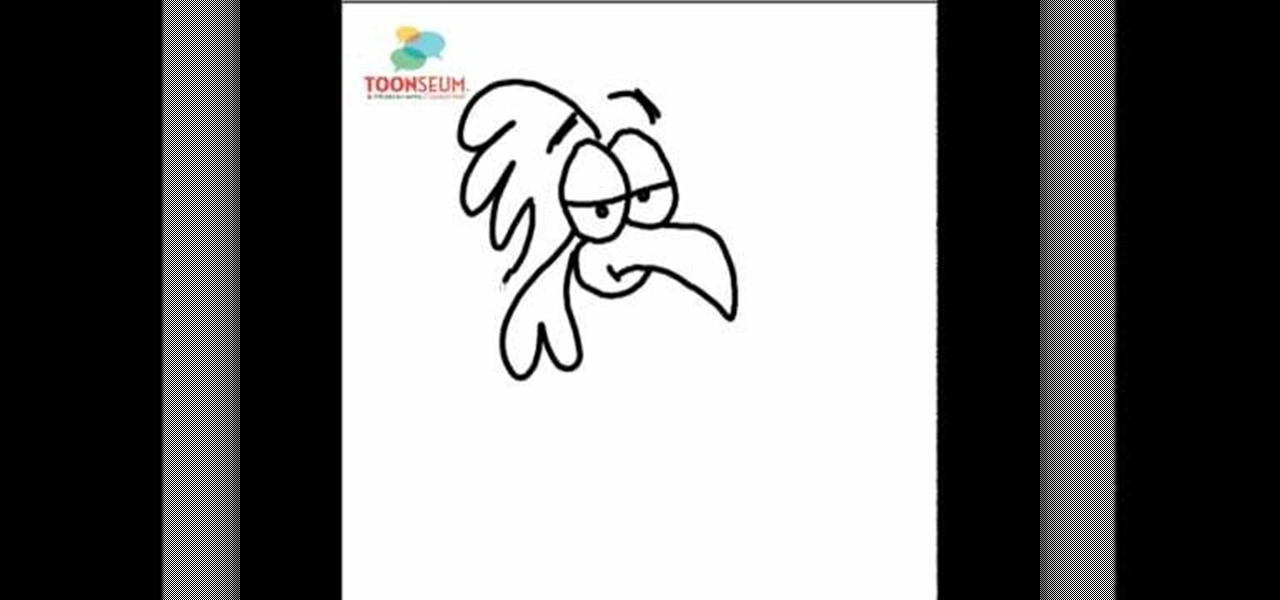
the video starts out with Joe talking you through the basic steps in how to draw or sketch a chicken. Starting with the eyes, shaped like to ovals, side-by-side, touching. Drawing a curved line all the way across each one to represent the eyelids and two small dots to form the eyes. Next draw a sharp curved line down from the eyes forming the beak, with a c like shape towards the back, connecting back to the eyes completing the formation of the beak. Draw an upside down, narrow heart at the b...
Watch this video to learn how to draw a rose in just seconds. • To draw a rose, you need a paper and three sketch pens of light green, dark green and red colors.
Drawing Stewie from The Family Guy on your computer is fairly easy. First you're going to make a horizontal oval, then draw what looks like a football shape just in between those lines. Now erase the excess lines outside of the head shape. Next, insert two circles-fairly far apart on the head-with a slanted line above both for the eyebrows. A small line in the middle pointed towards the right makes Stewie's nose, and a simple mouth is completed with a three small lines at the bottom. Draw two...
First of all pass the line through the eye of the hook and do it across seven or eight times. Run it through the loop again and then pass it through the main loop of the line. Make sure that your line is wet. Another different way is that you can tie a loop on the line and then make another loop and then pass it through the eye of the hook and then tie it and cut it off. Another way to make a knot for the live bait is first make a loop and then pass it across over three or four times. Now pul...
Sugarray844 teaches you how to read the left hand in palm reading. The left hand can tell you what that person inherits from his or her family. You look at the lines, the size of the fingers and the strength of the thumb. If the thumb is strong, this means that person has strong logic. The head line is separated from the life line, which means independence in the way of thinking. The hear line is curved, which shows a break in the beginning and a good emotional side to the person. This also m...
First, begin by drawing a big circle in the middle of the page. Then draw a smaller circle (about a third the size of the bigger one) above your first circle. This will be the head. Next draw two lines where you want the arms to be, and one leg on the right side. Next draw two big eyes and a big half circle mouth as well as a little curl (for the tail) on the left side, opposite the leg. In heavier ink trace over the head and face and begin to draw arms around the arm lines you drew earlier. ...