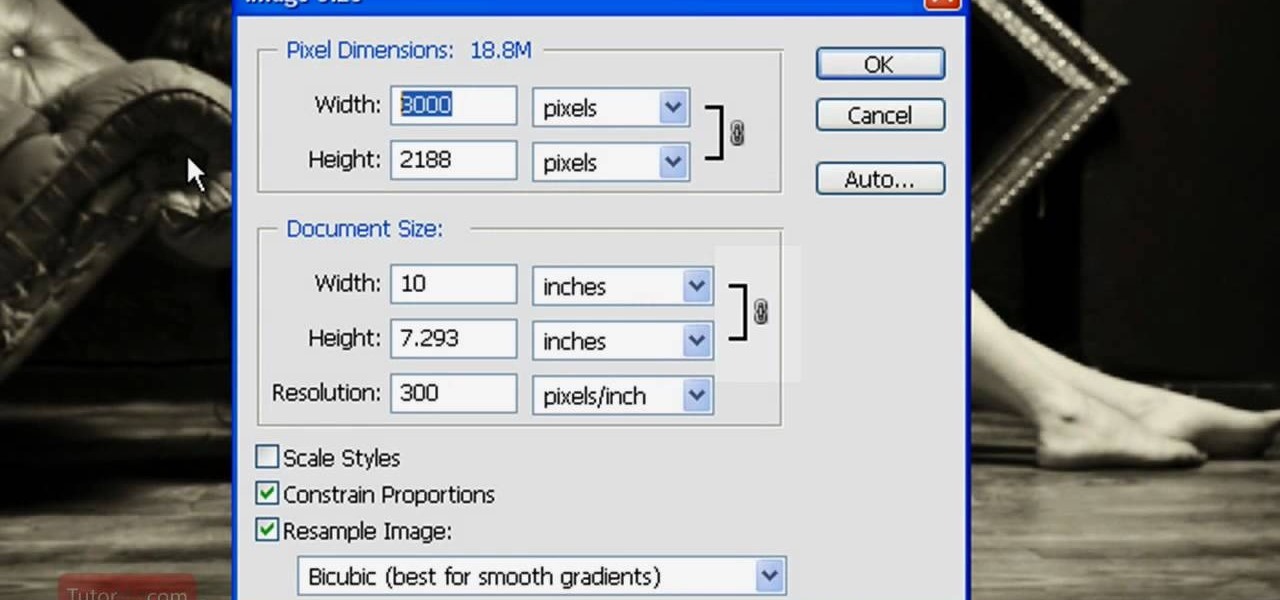
In this Software video tutorial you will learn how to resize a custom image using Adobe Photoshop CS4. Select your image. Click on ‘image’ tab and select ‘image size’ from the dropdown menu. In the ‘image size’ box you can change the height and width pixels. But, if you check the box ‘constrain proportions’, then when you change one pixel dimension, the other will automatically change. Similarly, for resizing drop shadows proportionately, check the ‘scale styles’ box. The ...
Windows 7 uses several options to make it easier to change and locate the cursor on the screen. 1) To access these options select “Start” then click on “Control panel“from the menu.
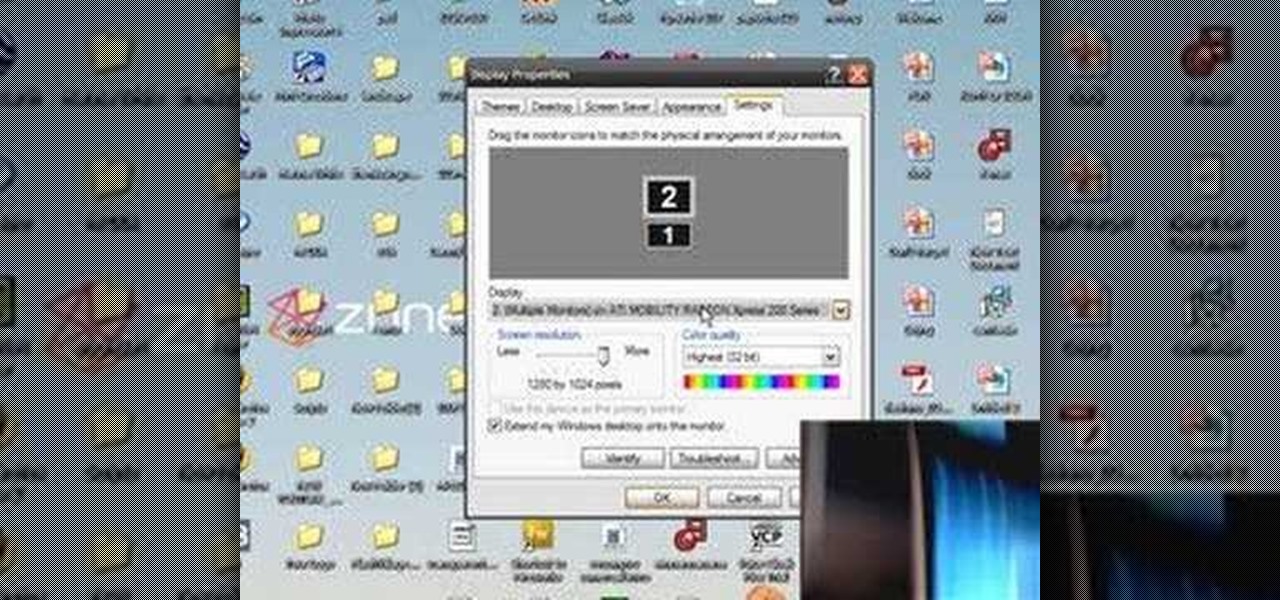
In your computer you can setup up two monitors on the same screen. This is the dual monitor setup which will give you more space to work with. So if your desktop is cluttered with icons and other program shortcuts, then you can use dual monitors. To setup a dual monitor system, the first thing you will need is two monitors. Now right click no your desktop and select properties from the menu. In the properties window go to the settings tab. If you see two monitor screen pictures over there the...
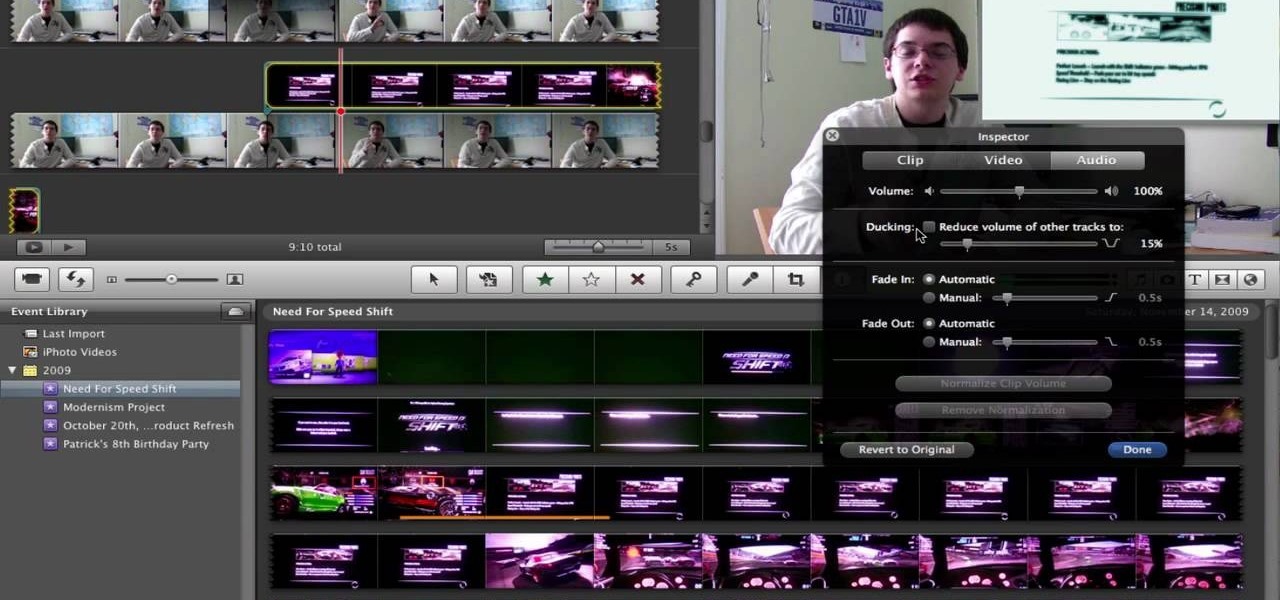
This video will show you how to take advantage of one of Apple's iMovie advanced editing feature, picture-in-picture effect. This feature allows you to embed either another video, or images into a base video. To enable this valuable tool in iMovie, go into the iMovie preferences by clicking on "iMovie" in the top left hand corner of your screen. Under the General tab make sure "Show advanced tools" is selected. Import a video from your event library by dragging it into iMovie and selecting pi...

In this video Mike Callahan walks you through using Skype on the iPhone. To start, download it from the Apple App Store. Next, launch the application on your iPhone. It will immediately prompt you to enter your name and password. If you don't have one you can use this screen to create one. Once you've logged into your account you'll see your list of contacts. Touch one of your contacts to place a call to them. There is a call option at the bottom of the screen that will launch your dial pad. ...
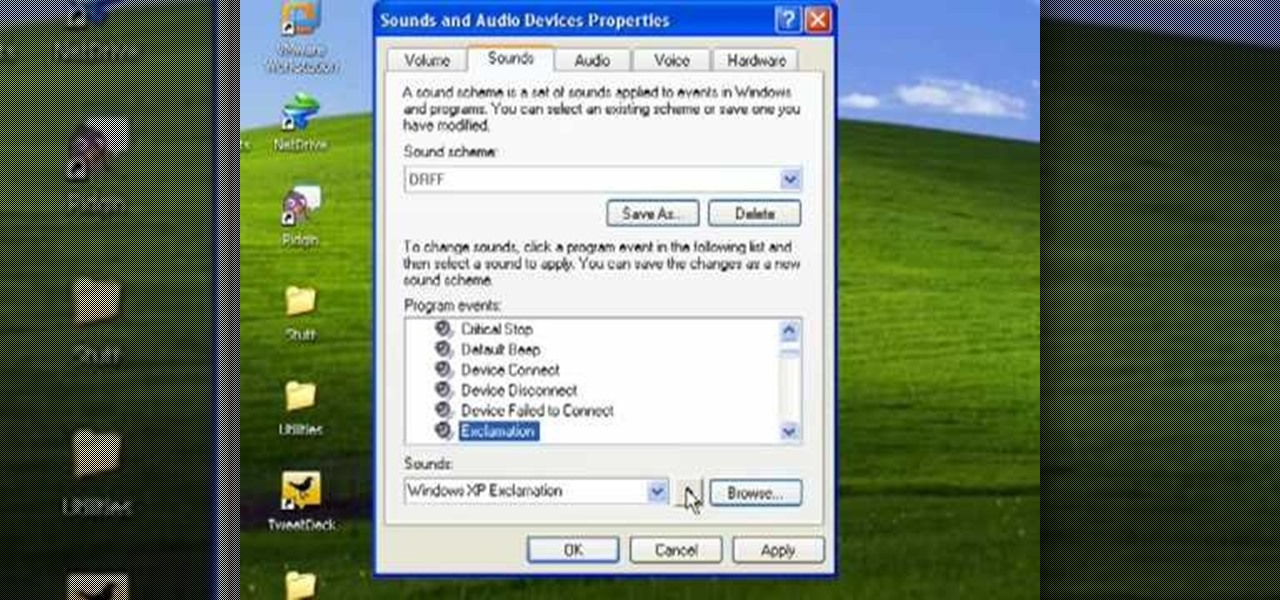
Butterscotch is here to help you create a sound profile in Windows. First, go to "start", then click "settings", and then "control panel". When the "control panel" menu comes up go to and double click on "Sounds and Audio devices". Once you have that window up, click on the "sounds" tab. After doing so you'll see a menu called "program events" which is all the sounds that Windows uses. You can highlight one of the titles and click the play button on the bottom to preview the sound. But in thi...

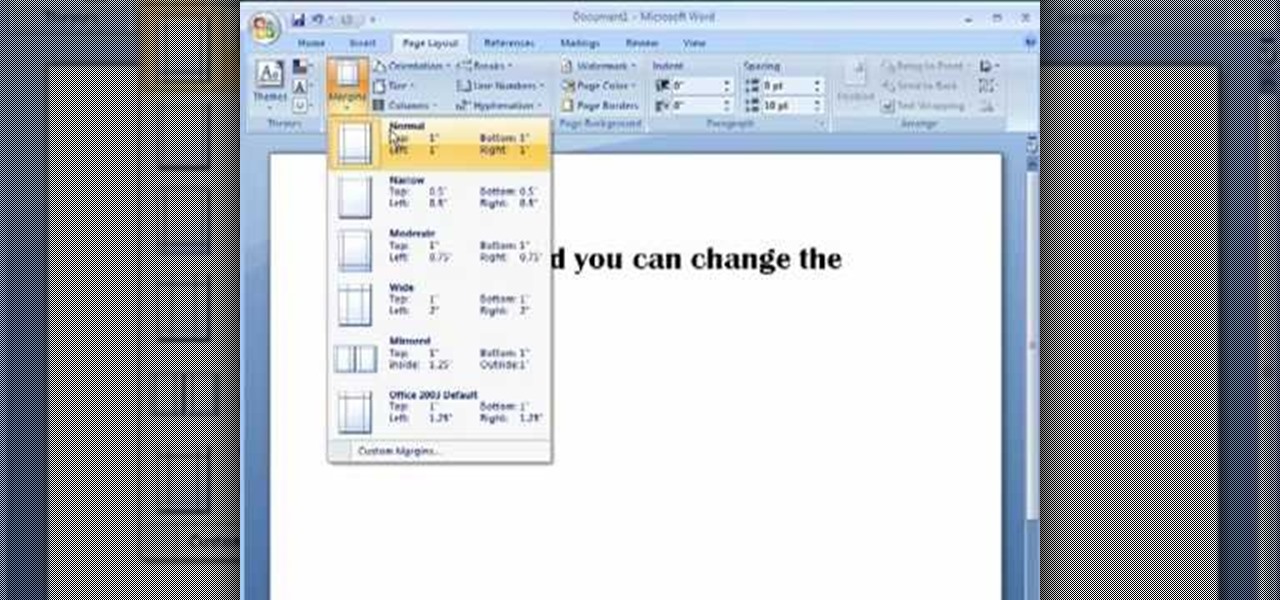
Mike Callahan aka Dr. Filefinder of Butterscotch explains how to adjust the margins in Microsoft Word 2007. While working on a document navigate your mouse to the 'Page Layout' tab at the top, center of the page. On the far left of the resulting page you will find 'Margins', click on that. A drop down window will display some default options that may suit your needs. If not, then click on the bottom option 'custom margins' to change the margin width to any size that you choose. You will now b...
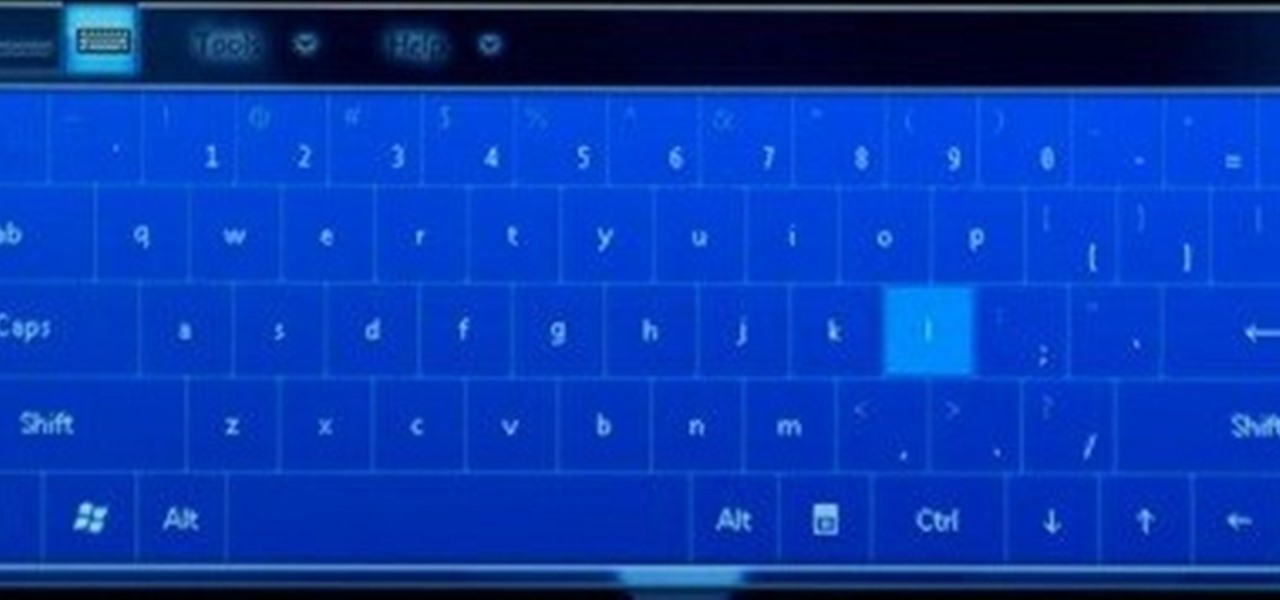
This video tutorial will teach you how to use the onscreen keyboard on the HP touch smart. Very informative video that goes through several steps including teaching you how to add an event to your calendar. It starts by showing you how to add the event and then takes you through the keyboard and teaches you how to capitalize your words using the shift key as well as caps key. It demonstrates the input panel tab and how to move your panel as well, teaching you all the techniques for good use o...
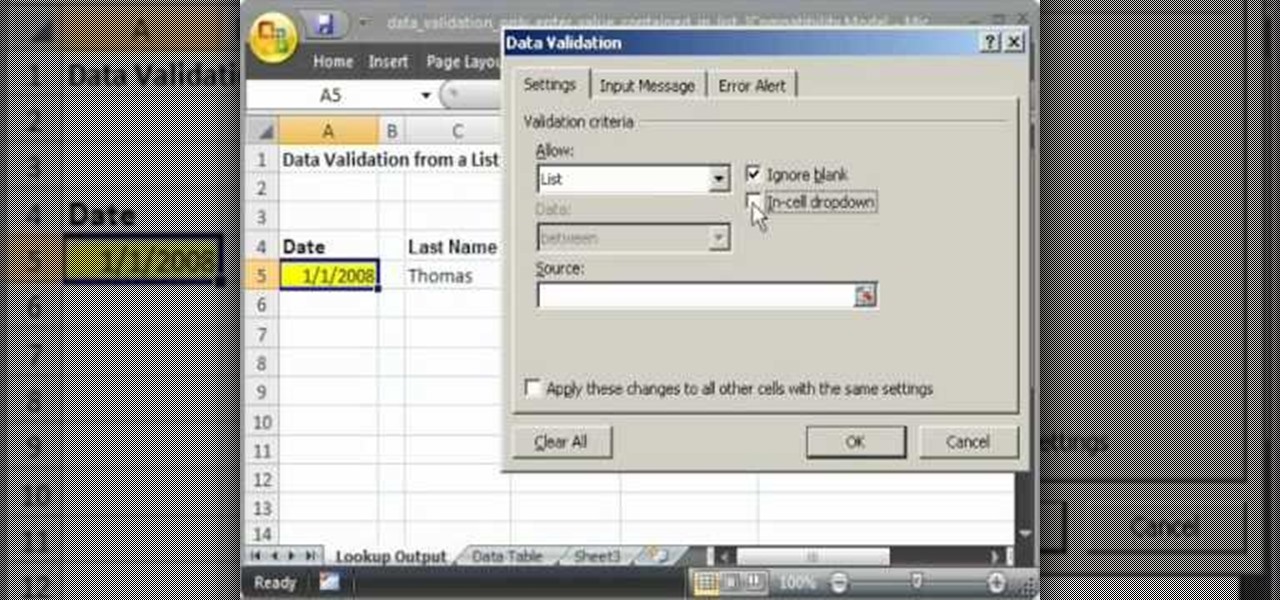
This video shows you how to idiot-proof a data set in Excel pretty much. It demonstrates how to enable data validation in a cell, so that when you type something in it must be in a predetermined list or will not work. Start by typing in your data table in a second tab. His example is a date, then information about certain employees based on that day. To enter the data validation menu, click the cell you want to use and then hit ALT+D+L to bring it up. Go to settings, then under the Allow menu...
Mike Callahan with Butterscotch demonstrates how to work with tables in MS Word 2007. Tables are useful for creating information charts and address lists. First, open up Microsoft Word. To create a table, click on the insert tab on the top tool bar. Highlight the elements that you would like to appear in the table by selecting the desired number of columns and rows. Pressing enter inside of a table, it will increase the side of the cell all the way across the table. It will not just increase ...
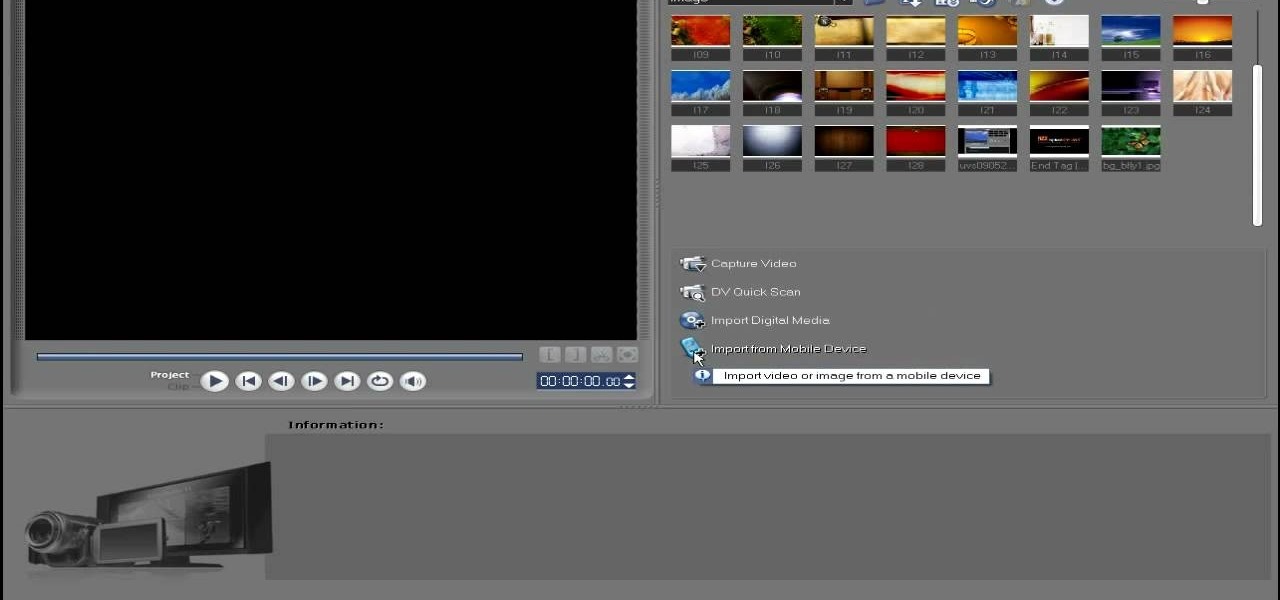
In this video tutorial, viewers learn how to import media from devices in Corel Video Studio. Begin by connecting your mobile device to the computer. It can be any device with a memory card or hard drive. Open the program and click on the Capture tab. Click on the option, Import from Mobile Device and select the device that you want. Select the file(s) that you wish to import and click OK. The program will then import the media to your selection window. This video will benefit those viewers w...
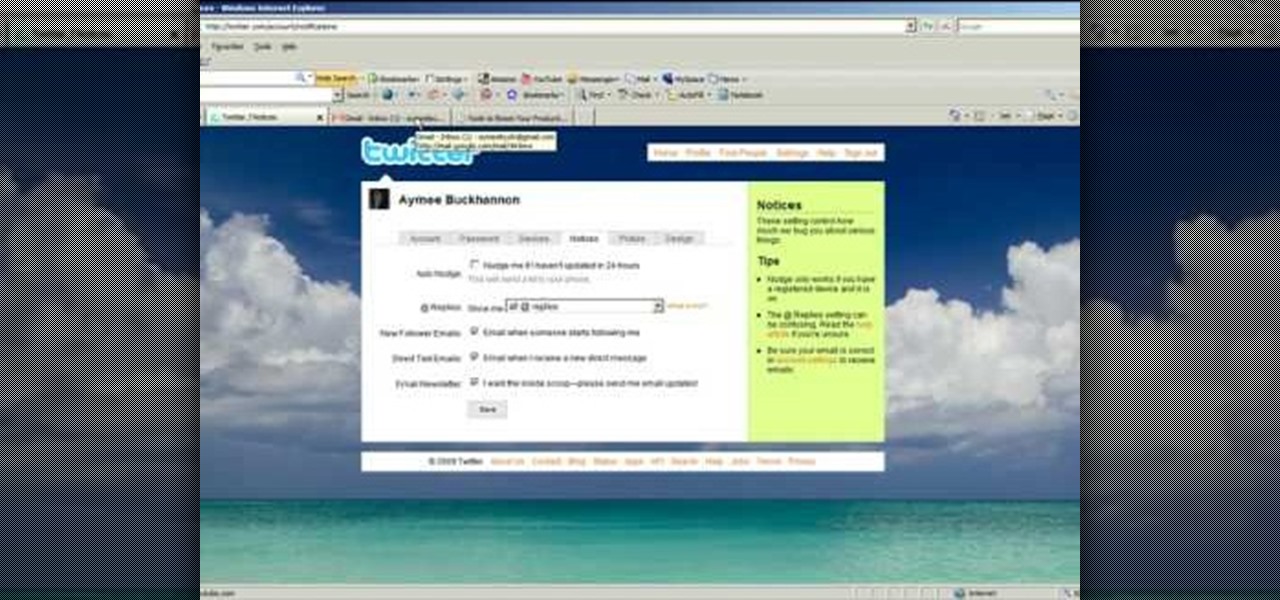
Twitter is the latest popular social networking forum. Twitter is used to keep your friends updated with what you are doing using 140 character messages called tweets. In twitter you can follow your friends and you will be notified when ever your friends posts a new message. Similarly other people can follow you on twitter to know what you are doing. In twitter you can customize to send an automatic private response to your new followers. To do this open your twitter account. Go to the notice...
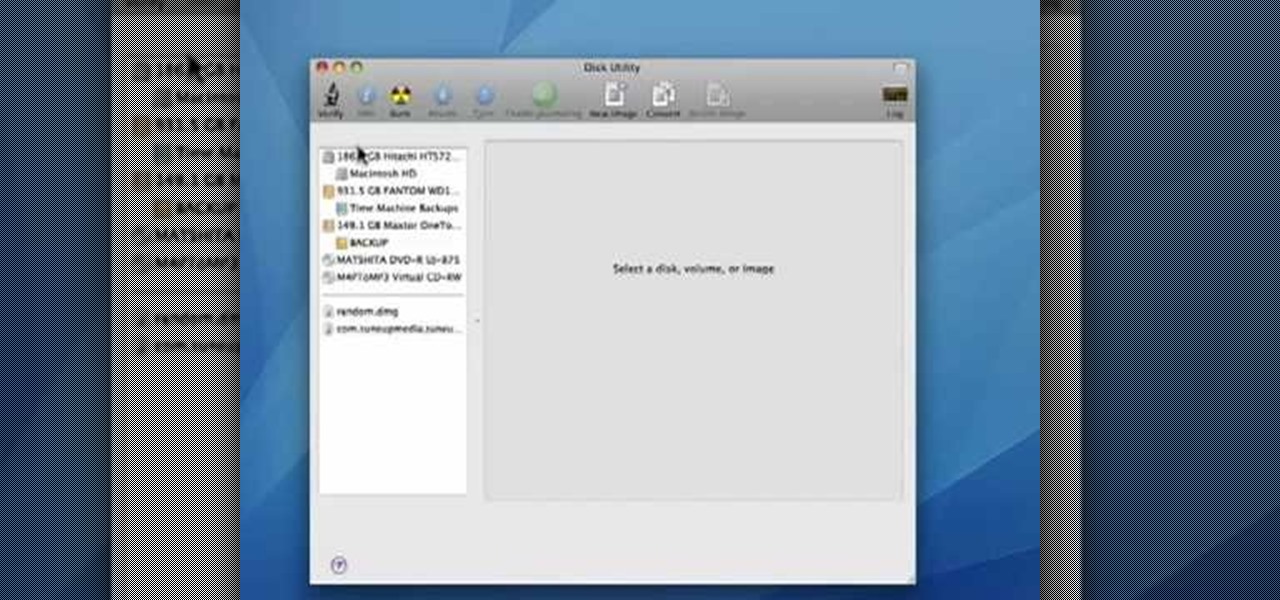
In this video tutorial, viewers learn how to verify a drive on a Mac computer. Begin by opening Finder and select Applications. Open Utilities and then select Disk Utility.app. Now select a disk drive that you would like to verify. Make sure that you are in the First Aid tab and check the Show Details. Then click on Verify Disk. Now wait for the drive to be verified. Once finished, it will display all the items that were checked. This video will benefit those viewers who use a Mac computer an...
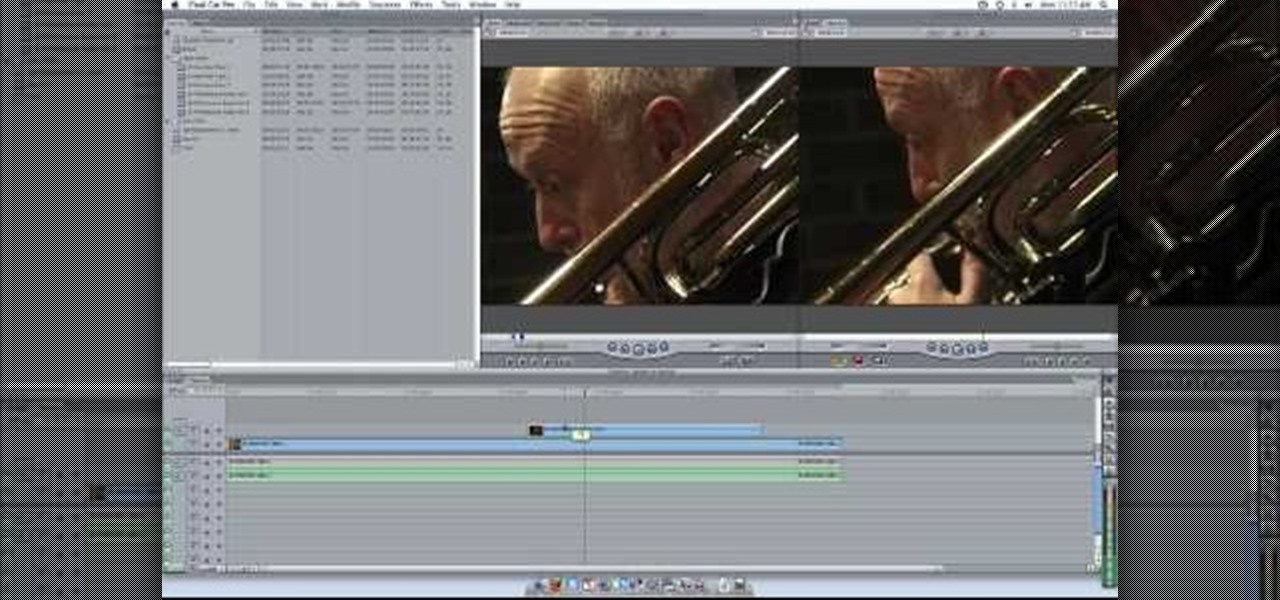
Plangere Culture Lab demonstrates how to use the opacity feature in Final Cut Pro. The opacity feature is a beneficial tool to use when working with layers. Opacity is an attribute which relates to how much you can see through a clip. To layer clips, create a new video track on the timeline. Make sure that the source tab is in the right position. The track on the top of the stack is the dominant track and will be shown. Select the volume and opacity overlay button. Click on the line over the ...
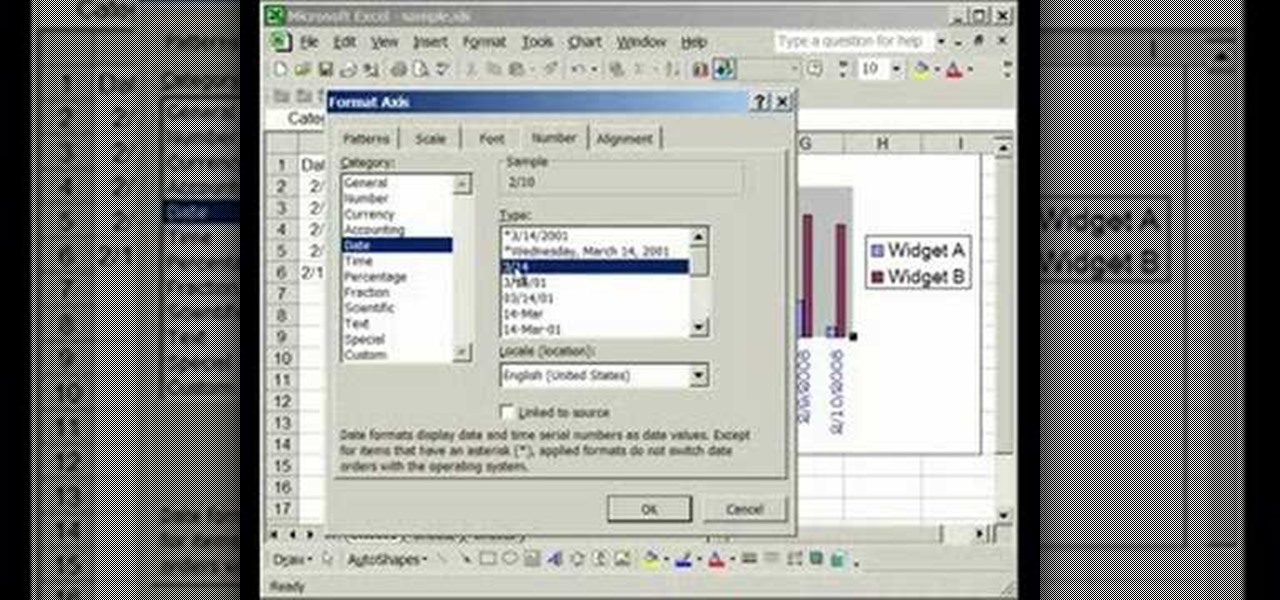
This video is about formatting the charts in Excel especially the x and y axes. The video begins by selecting a chart and right clicking the dates at the bottom of the data points. The format axis window pops up and by making changes to the style, color and the weight of lines given in the patterns tab, you can change the way the x-axis looks like. You can also change appearance of characters appearing close to the x-axis by selecting options in the font menu. You can also change the format o...
The speaker in this video will show you how to find basic computer information of your computer. In this video, he is using a computer with Windows XP. You begin by clicking on the "start" button located at the bottom left corner of the screen, then highlight "settings", and then click on "control panel". A window will then pop up. Double click on the icon labeled "system". Under the general tab, the basic computer information for your computer will show up. You will see various information s...
Ken Appleby demonstrates how to mask a domain with GoDaddy. Masking a domain enables the domain owner to customize what appears in the viewer's address bar. First, log in to your GoDaddy account. Then, click on the domain manager function located on the left hand side of the page. Next, choose the domain that you would like to work with in the domain name list. Click the forwarding option. In the next window, click on the masking tab. Tick the enable masking function. Choose a masking title. ...
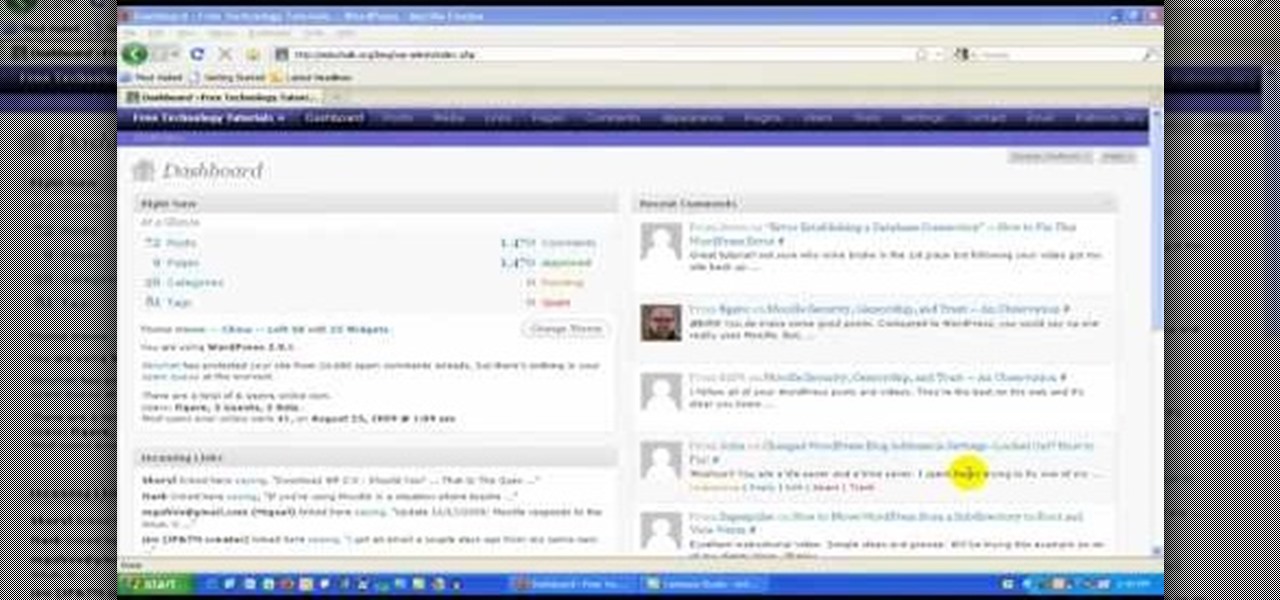
In this video tutorial, viewers learn how to locate and remove spam accounts from a WordPress blog. Begin by logging on your blog and select the User tab. Search through the user list and look for suspicious email accounts. Some keys that reveal spam accounts are: emails that have .ru, poker, Viagra, pharmacy and accounts with more then one dot. Use your common sense to find spam accounts. Select the account you want to delete. Select Delete and click on Apply. This video tutorial will benefi...
In this Computers & Programming video tutorial you will learn how to make a simple CD / DVD cover in Google Picasa. Go to ‘Tools’ and select ‘Options’. In the box that opens up next, click on the ‘Printing’ tab and from the drop down menu, select ‘CD Cover Size’ and click OK. Then on the top left hand corner, go to ‘File’, select ‘Print’ from the drop down menu. On the next page, click on ‘CD cover size’ and you get the print preview. Then all you need to do is to just print that out and you ...
In this video you will learn how to remove your friends and acquaintances from Facebook. To do that just follow these simple and quick steps and instructions: The first thing that you need to do is to open your browser and go to Facebook. After you login to your account click the Friend List tab and select All Friends. To remove a friend in Facebook, click the X button located on the right of his/her name. A warning will pop-up and to complete the process just click the Yes button. Now you ar...
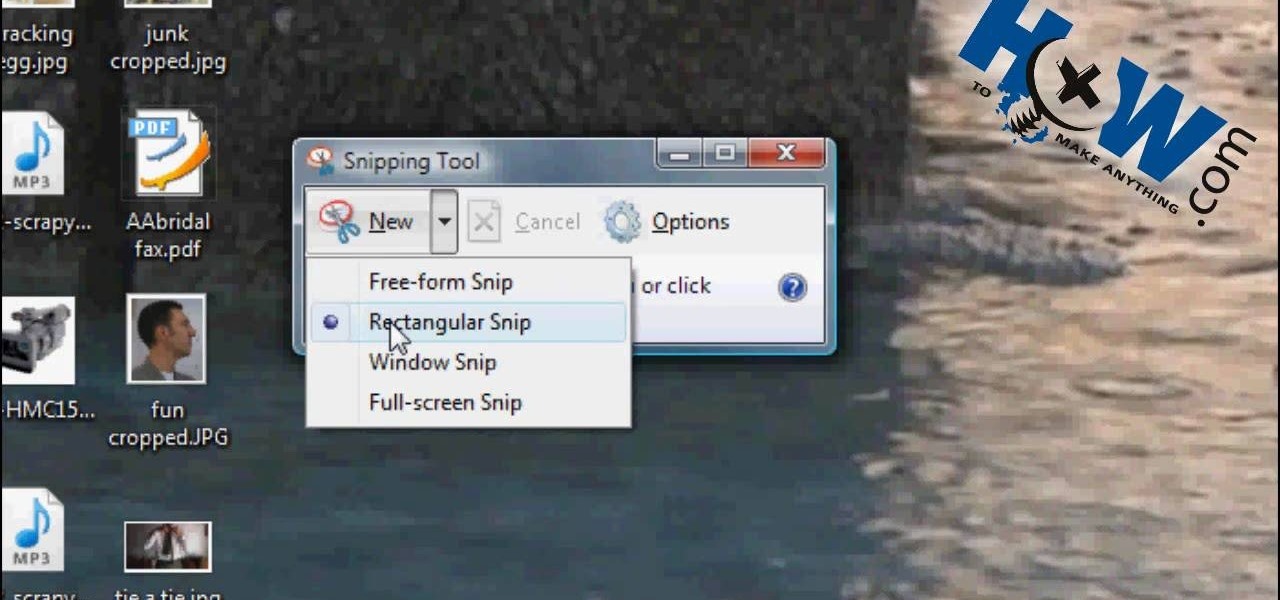
How to Make Anything demonstrates how to use Window Vista's snipping tool to make a screen capture. With previous operating systems, you'd have to install a third party application to make a screen capture. To find the snipping tool in Windows Vista, go to the start menu and type "snipping tool" into your search box. The snipping tool box will appear. Click on the options tab. In the next screen, tick display icon in the quick launch toolbar to enable the snipping tool in the toolbar. Click o...
As you type in Microsoft Word, take care to notice when the computer puts a red squiggly line underneath a word you typed. If you see a red squiggly line, the word is spelled incorrectly. If you right-click on the word, MS Word will show you a list of correctly spelled words that it guesses you were trying to spell. If you wish to check the entire document, you can click the Tools tab at the top of the page and then spell check. This will go through the document and point out every misspelled...
This video shows you how easy and convenient it is to use the Office clipboard in MS Word 2007. Go to the "Home" tab. Then click on the little
In this video you will learn how to insert the current time and date in MS Word 2007. In order to do that, just follow these easy and quick steps and instructions. The first thing you need to do is to click the Insert tab. Now, you need to select a space where your date and time will be placed. The next step is to click the Date & Time button, and select the format that you want. Click the OK button, and you are done. If you followed the simple steps correctly, then you won't have any problem...
This video demonstrates how to show and hide the ruler in Microsoft Word 2007, along with working with page margins. The presenter indicates that if you click the small button above the vertical scroll bar, Microsoft Word will then display Rulers. To work with margins you'll need to click on the Page Layout tab to display the Page Layout ribbon. The video shows the different options located on the Margins menu. There are several built in settings for wide, narrow, normal, moderate, and mirror...
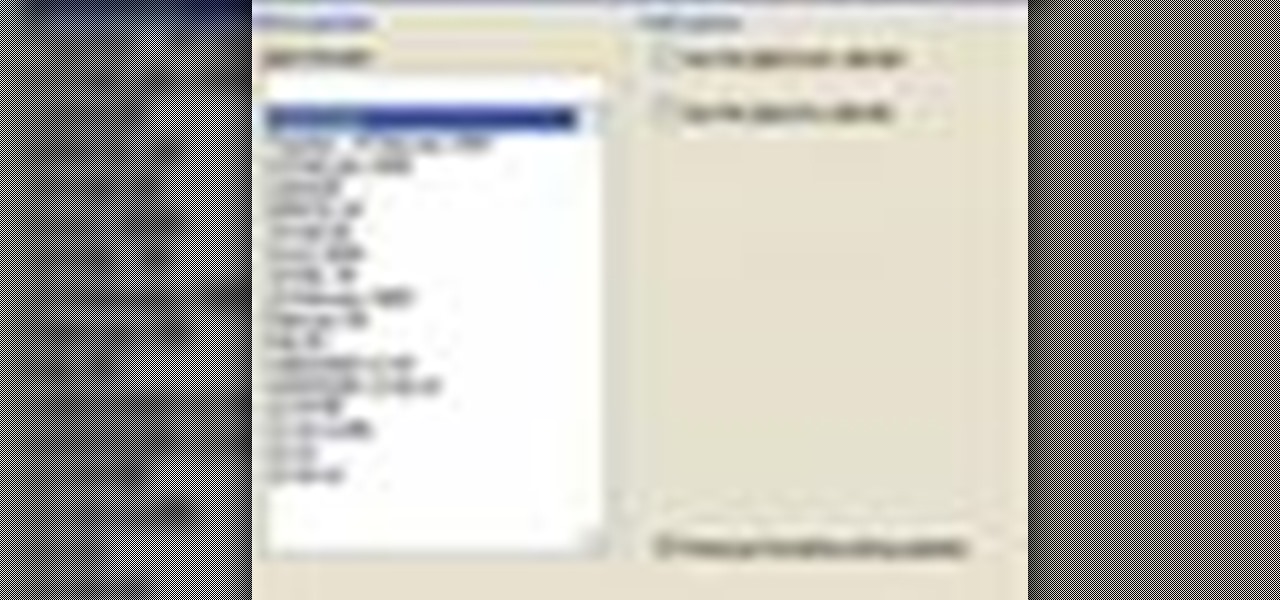
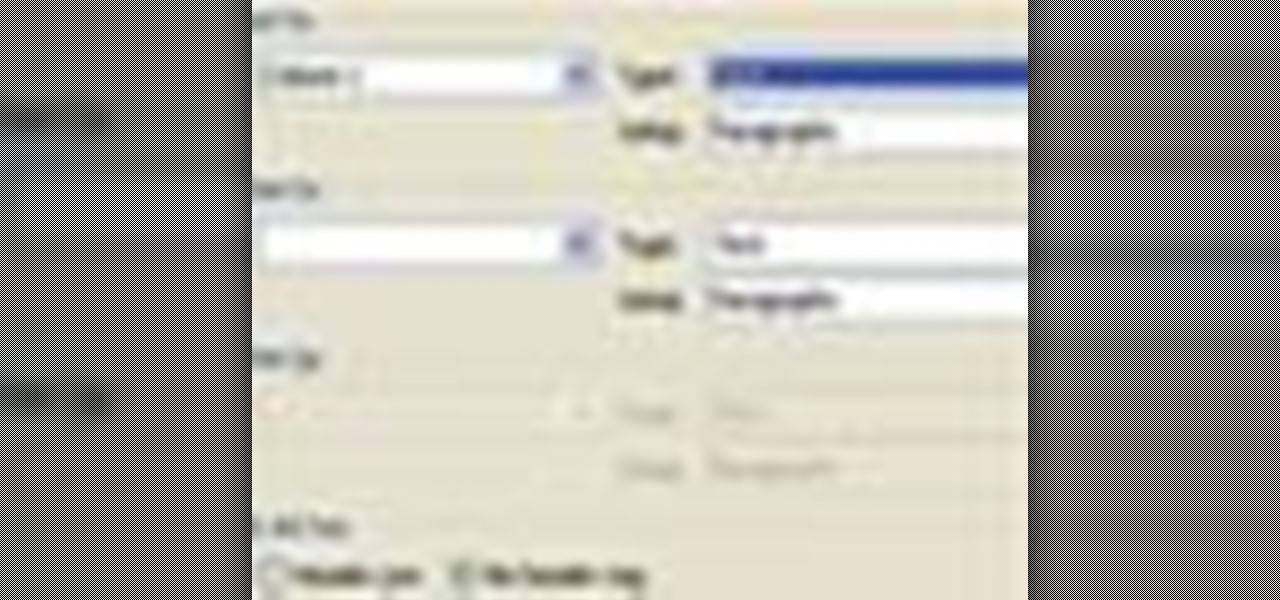
This is another HelpVids.com technology video. This video will teach us how to sort table contents in Microsoft Word 2007. The video starts out with a Word 2007 document with a sample table. When you click on the table, you will see the Table Tools tab appear above the ribbon. Click the Table Tools button, then click Layout and finally the Sort Button. The sort dialog box allows you to choose which column to sort by, which direction you would like to sort, and any secondary sorting you would ...
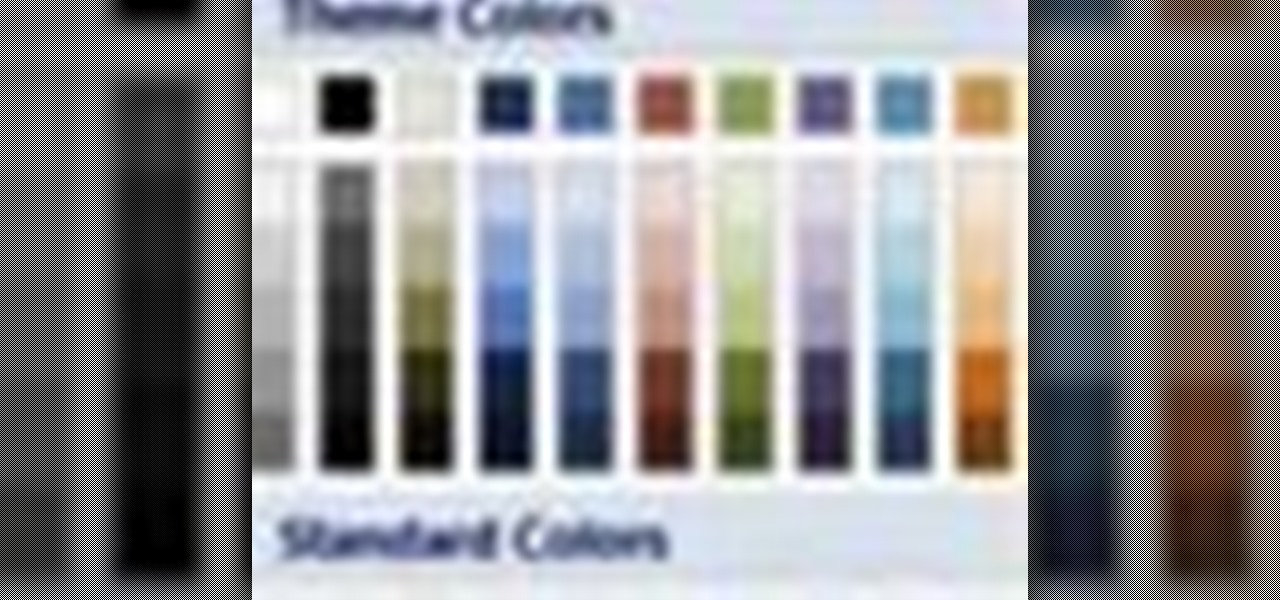
This video shows you how to change the background color and watermark in your Word 2007 document. Both settings are found on the Page Layout tab. The background color can be chosen from a wide palette. The most frequently used colors are immediately applied to the current page as a preview. You can also choose to add a fill effect, like a color gradient, by clicking the Fill Effects item in the Page Color list. The watermark feature allows you to add either a predefined notice, an image or a ...
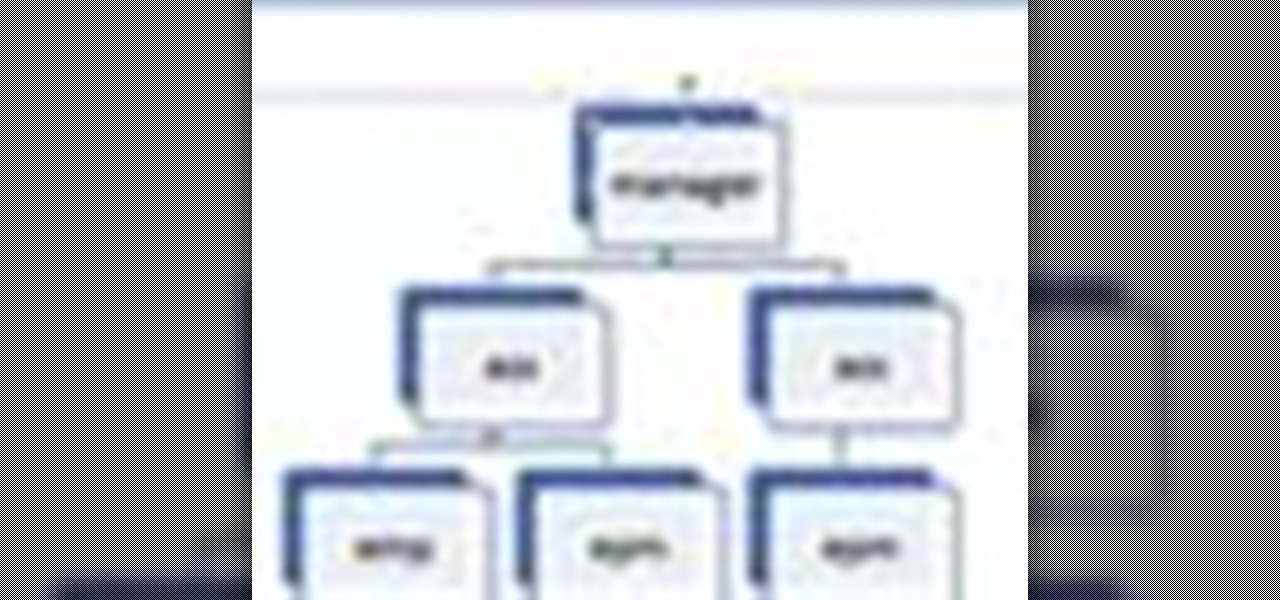
This video will show you how to create a flow chart in MS Word 2007. First click on the Insert tab. You can see the smart art option, click on it. A "Smart Art Graphic" window will appear.
This video will demonstrate the process to implement page numbers in your Microsoft Word 2007 documents. The video starts out by showing the Insert Tab on the Microsoft Word 2007 Ribbon. On the Insert Ribbon, you will see an icon titled Page Number. All of the Page Number options are available when you click the down arrow directly beside the icon. The are many different position options such top of page, bottom of page, page margins, or current position. The customization options are as endl...
In this video the instructor shows how to create charts and graphs in Microsoft Word. First, open the Word document and select an area to insert the charts. Now go to the Insert tab in the ribbon and select the Chart icon. The Insert Chart window opens up with various chart templates. There are various categories of charts like Line, Pie, Bar in the left hand side. In the right hand side you can see the sample charts available and you can select any of them that you want. Now it transfers you...
[url=http://www.youtube.com/watch?v=wo3tzkZLsWs] Bobbycrispy teaches you fingerboard tapping.[/url] Bobby crispy teaches you the basics of fretboard tapping. Learn through doing several basic exercises demonstrated by bobby at a learner's pace. Also pick up beginner's tips like where not to put your hands while tapping on the fret board to stop interruptions while tapping. Tabs are included to keep you on the level with bobby at all times from a musical point of view along with the video for ...
Looking for a new song to play on your acoustic guitar? Justin Sandercoe's instrumental ballad, "From Katie's Window," might be just the ticket. Learn how to play it in this exhaustively thorough four-part guitar lesson.
This tutorial shows you how to fix a frozen browser. One way to fix these pages when it happens to you is to go to the tools tab, and click on clear recent history. When the window opens it will ask how much you want to delete. Select everything. Now sometimes when you are using a browser it will not minimize or maximize and you can not close out of it. When this happens you just have to hit ctrl, alt, delete and open the task manager. Click on the program that says Firefox, then just hit end...
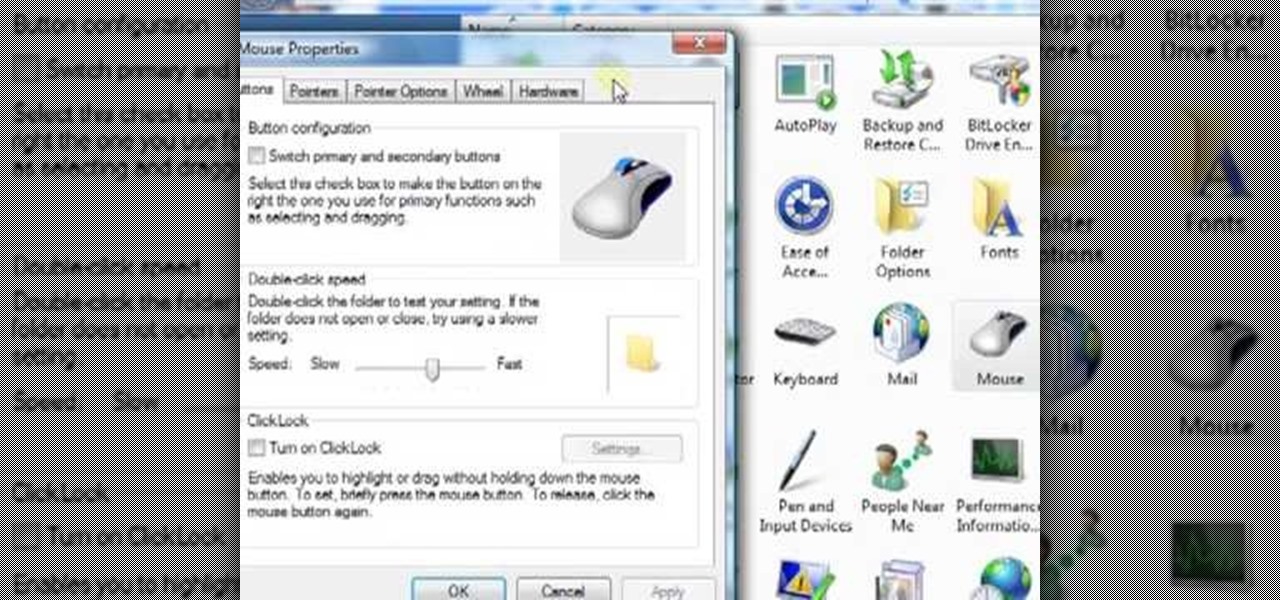
Clearinfo.com helps us how to change the keyboard and mouse settings in windows operating system. The video actually shows us the tutorial in windows vista but this can be applied also in windows xp. First go to Start button then click on control panel and on the Control panel Home view, select Hardware and Sound where you will get the mouse and keyboard setting options. Under the Classic view there will be keyboard and mouse option. Under the Keyboard options, it will show various settings a...
Mike Lively of Northern Kentucky University shows you how to create a light switch in Second Life with scripting. Part 1 demonstrates how to create a prim switch which turns on (brightens) a prim in Second Life. Part 2 goes through the Light Switch code line-by-line and adds a rotor to the light switch. The code is provided for free distribution on Google Code at
Watch this visual demonstration on how to fold the Mirage. The Mirage is an excellent paper airplane. I was amazed the first time this left my hands and sailed -- nay -- floated to a perfect landing. The large wing area makes this glider easy to trim and especially graceful in the air. The "landing gear" helps the aircraft stay graceful during landings and on the ground, but I've surprisingly noticed that it seems to fly better with the landing gear "down and dirty" than with those tabs tucke...
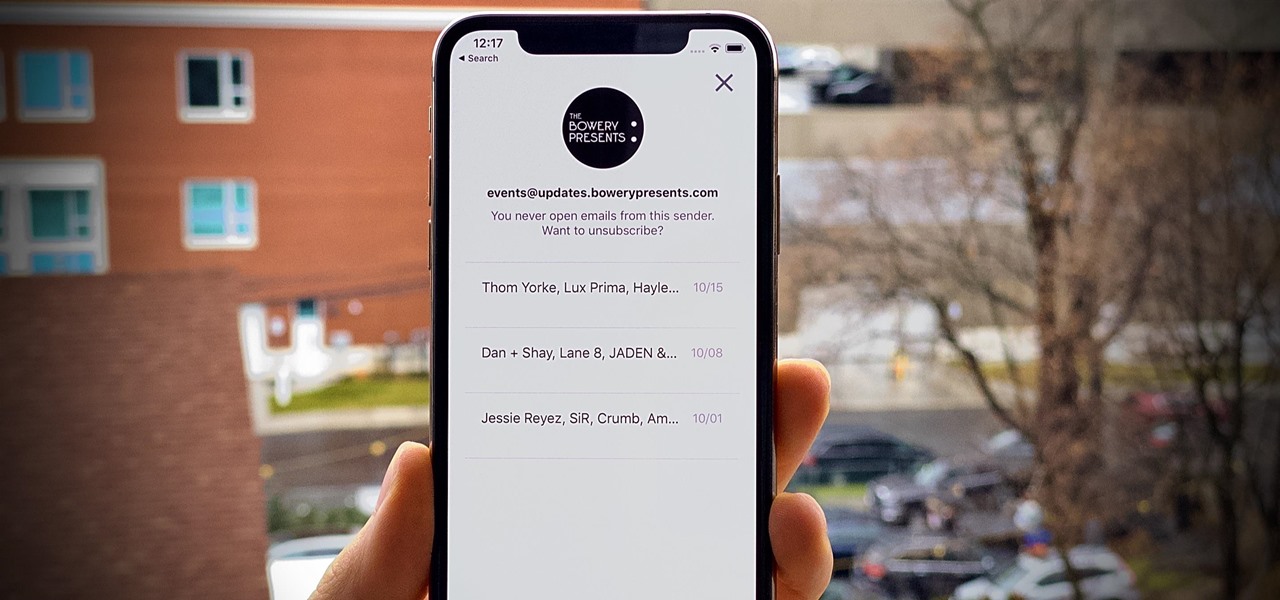
Edison Mail's big 1.17.0 (iOS) and 1.12.0 (Android) updates introduce a new, powerful Assistant to the mix. Aside from the fresh calendar integration and extensive customizability, you'll probably be most interested in the Assistant's unsubscribe feature. It helps to locate and cut down on your inbox's ever-growing jungle of spam. Here's how it works.
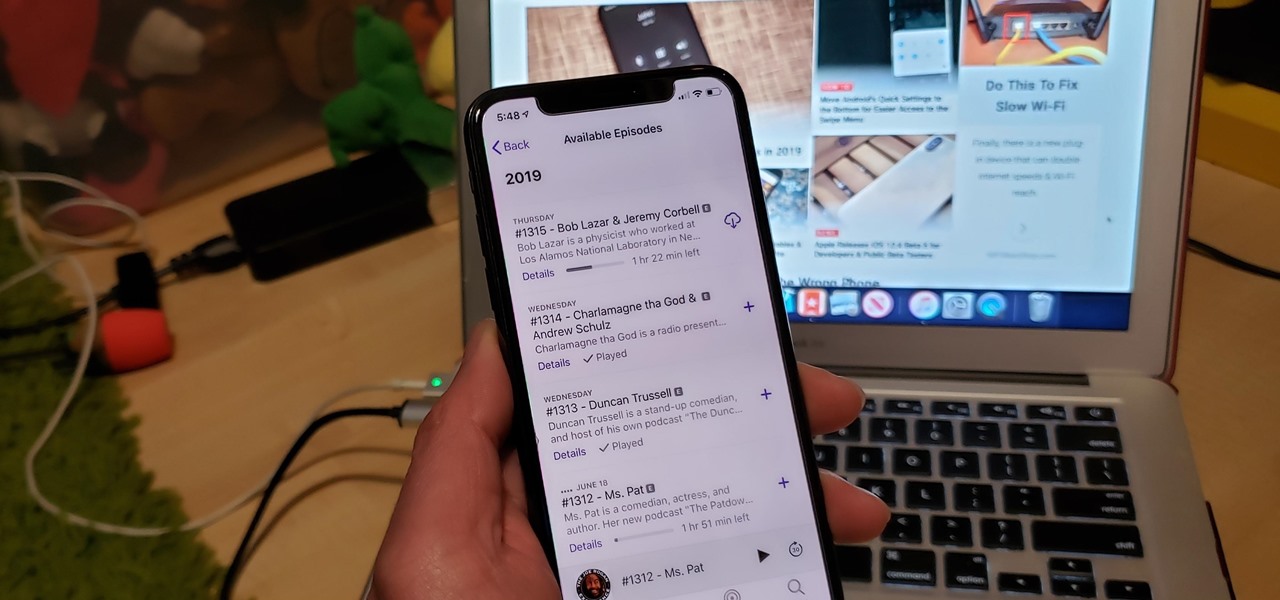
A typical hours-long podcast can cover a broad range of topics, and it's not uncommon to stop listening halfway through an episode or to skip through the parts you don't want to hear. Unfortunately, in the Apple Podcasts app, unfinished episodes remain within the app's My Episodes list and will play again automatically once you've finished a previous episode.
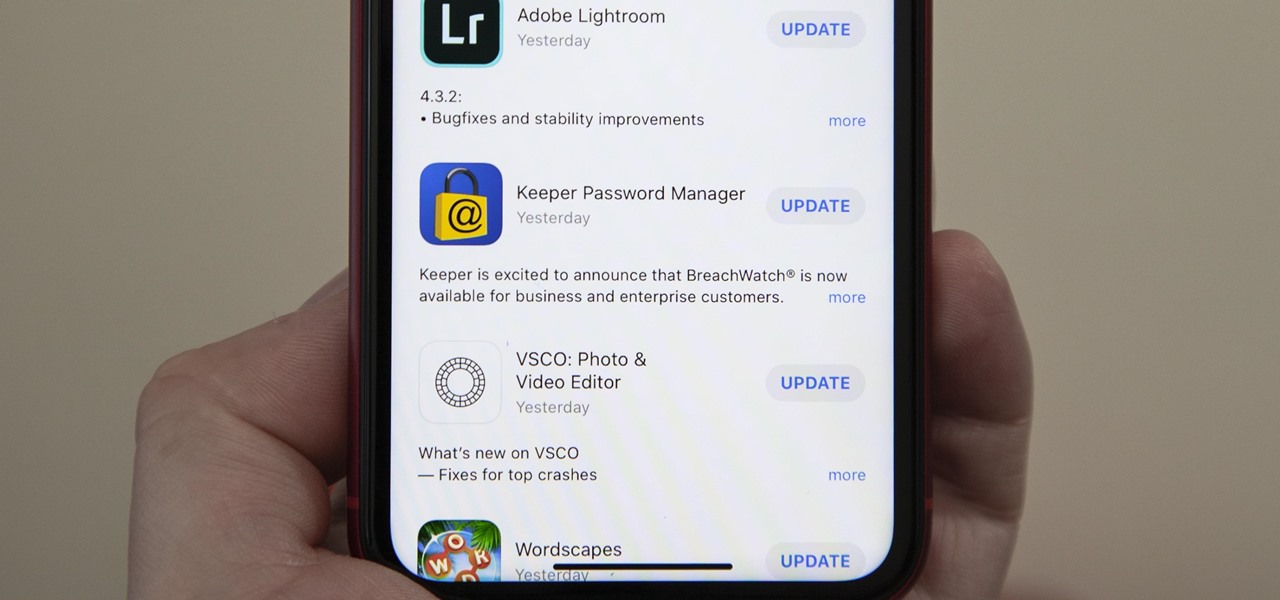
Viewing available app updates and recently updated apps on your iPhone is more confusing and less obvious on iOS 13 than it was in iOS 12 and older.
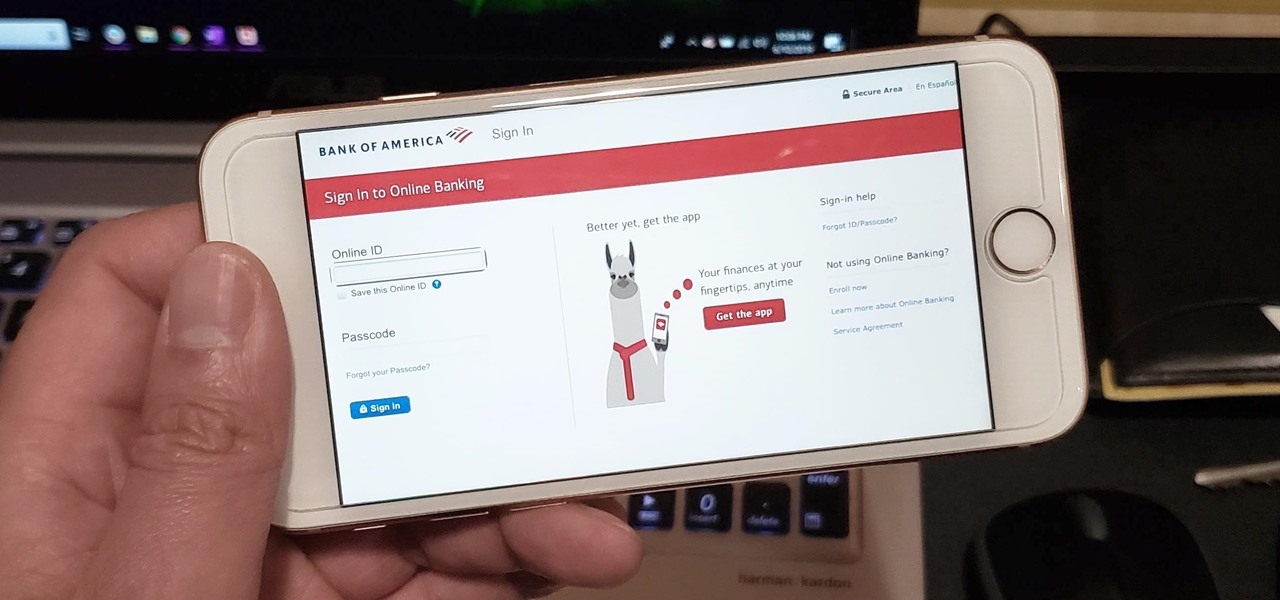
Ever since iOS 7, you could ask Safari on iPhone to show you the desktop version of a website, and in iOS 9, it became even easier to do. However, it's always been a hidden feature, something you wouldn't know is there without reading articles or tips online telling you what to do. Apple's iOS 13 update shines a light on it so everyone will know it's there, ready to use.