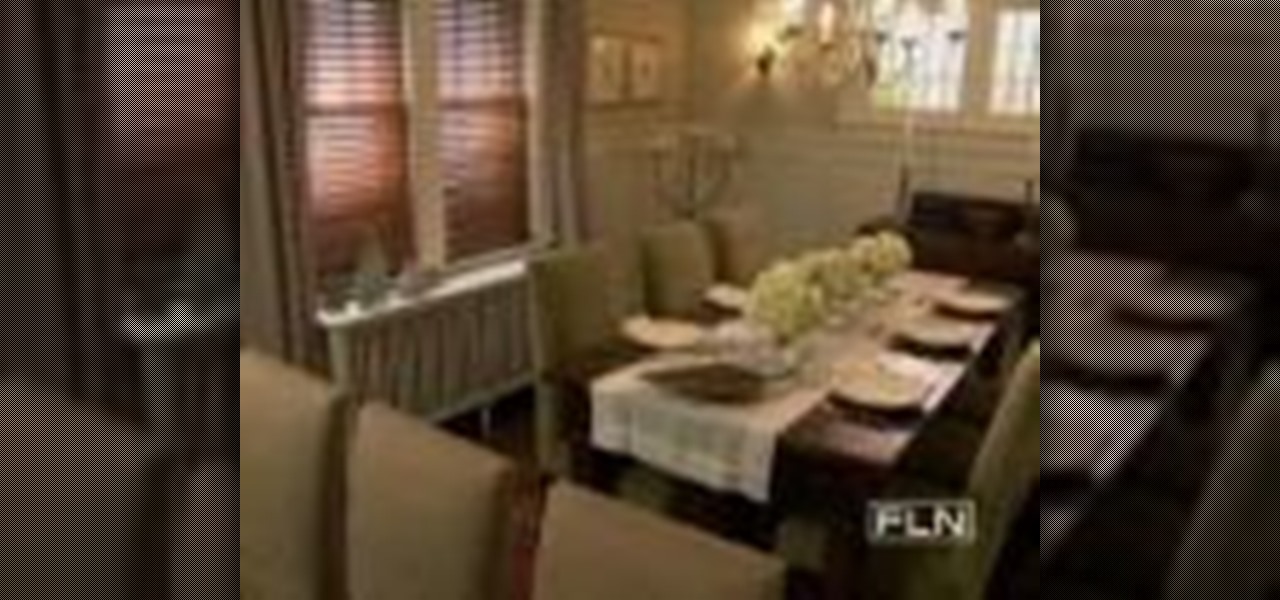
In this tutorial, get some helpful hints that will help you maximize your space and create an elegant design scheme for your home. This video from Fine Living will show you how to spruce up your dining room/kitchen combo so that it really stands out.

In this video tutorial, viewers learn how to make a stencil. The materials needed for this project are: contact paper, scissors and a pencil. Begin by drawing the design, shape letter or number on the contact paper. Make sure to draw the stencil on the back of the paper and make it reversed. When finished drawing, carefully cut out the design. To use it, simply peel off the invisible paper and place it onto the surface of the artwork. Then trace over it. This video will benefit those viewers ...
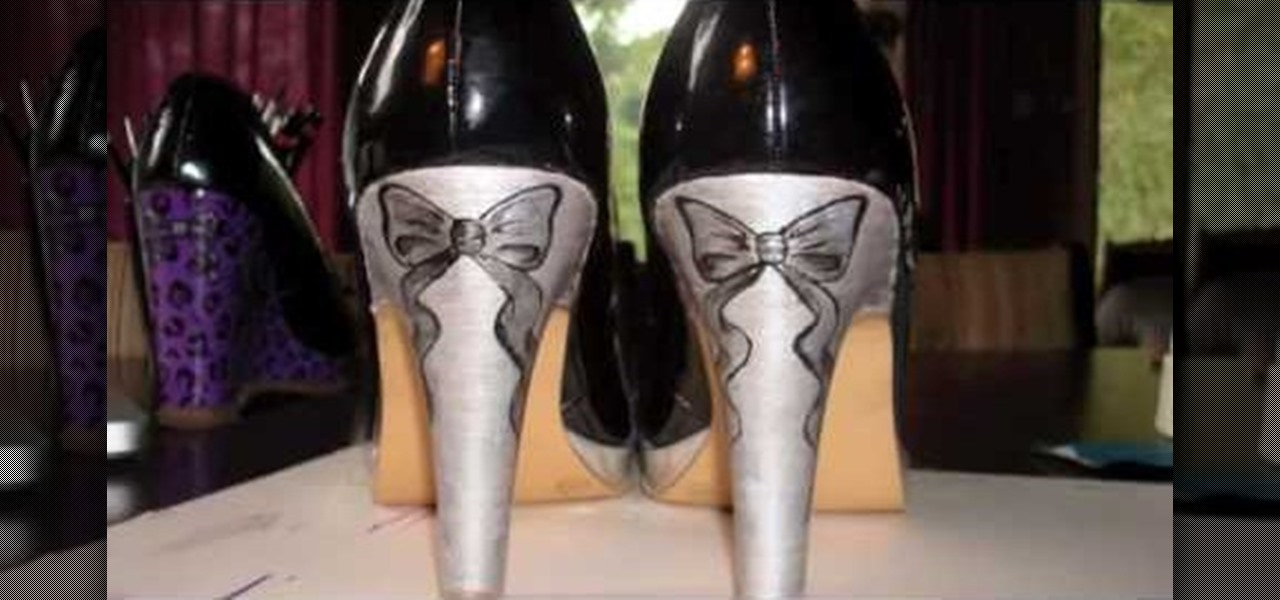
In this tutorial, we learn how to paint a pair of high heels with Anne. You will need: paints, varnishes, paintbrushes, pencils, pen, designs, scissors, sticky tape, and carbon paper. First you will need to paint both of your heels with a solid color, doing two base coats. Next, pick out a design you like and cut it out with carbon paper and tape it to the heels with sticky tape. Make sure to place the carbon paper facing down. Next, use your pen to trace the pattern along the heel. Now use a...
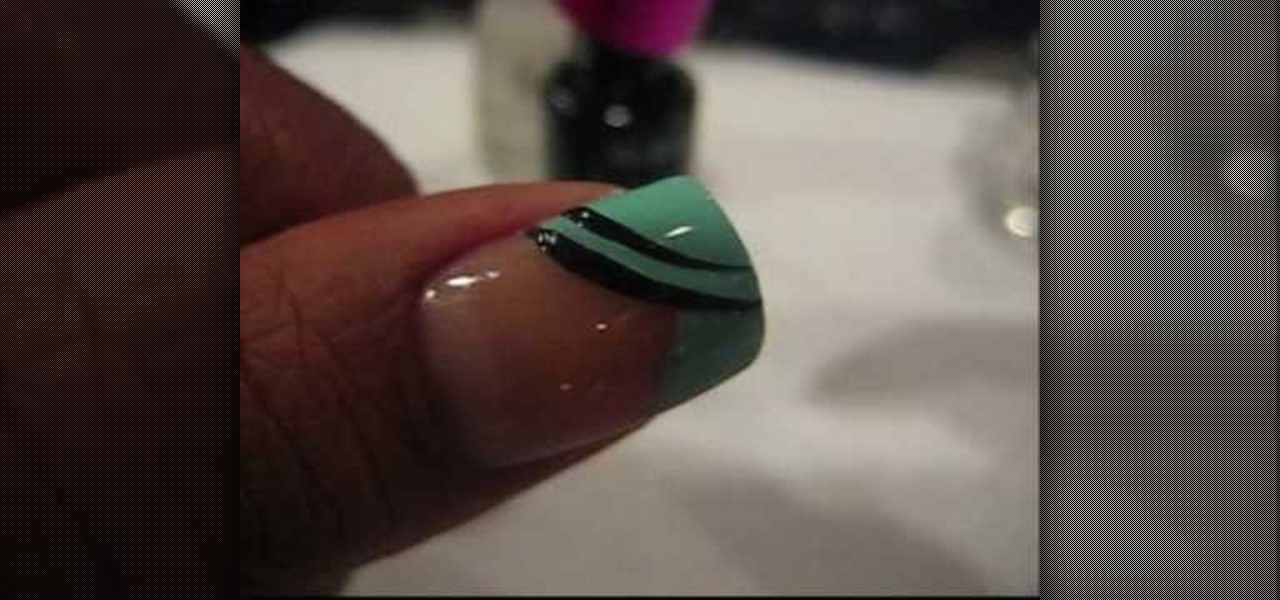
Named after the famously classy Audrey Hepburn, these "For Audrey" French tipped nails are a similarly classy yet very modern take on the French tip.

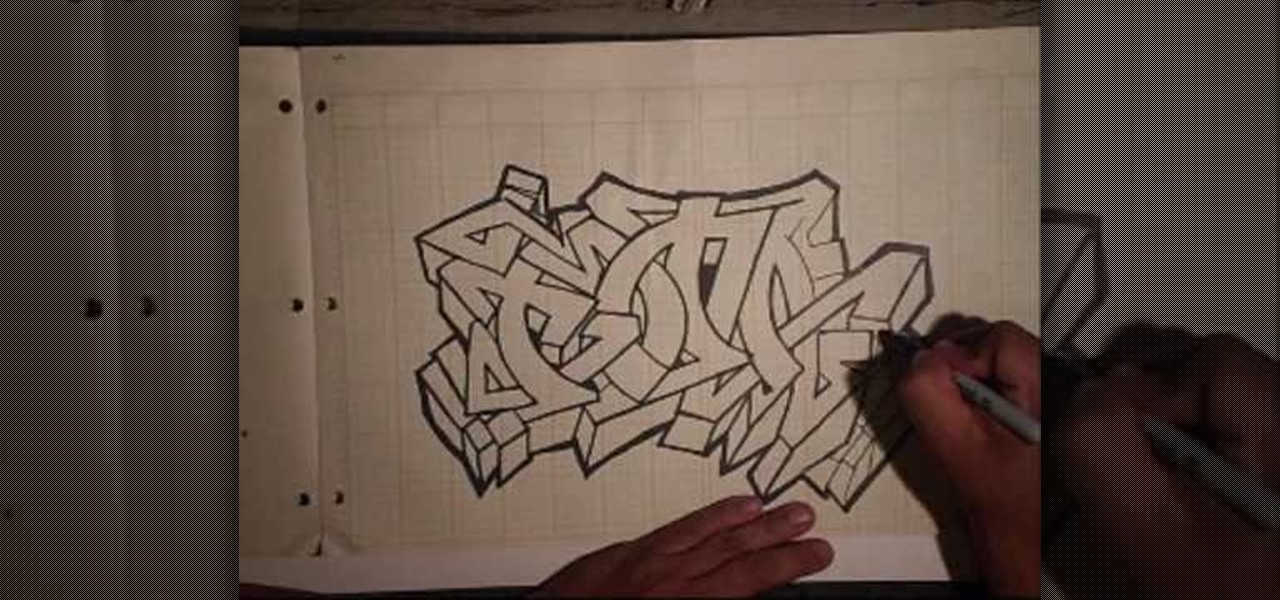
Hard-working, request-taking graffiti artist Wizard spits his game all over this design, a script tag of the name of viewer Serk. It bears all the earmarks of Wizards clean, traditional style, and as with all of his work would make a very rewarding exercise for any aspiring graffiti artist.

The master of online graffiti design videos Wizard is working his magic on another user-requested design, this one of some very elaborate script. He does work with a pencil underdrawing this time, but this does little to downplay the sheer skill necessary to draw something like this so quickly.

Talented graffiti-artist-for-hire Wizard here demonstrates a user-requested drawing of a cholo figure and some very elaborate script. As will most of his demonstrations, he works in pencil and black ink on grid paper, creating small and somewhat austere designs with undeniable virtuosity and charm. His demonstration services are quite a bargain at only $5!

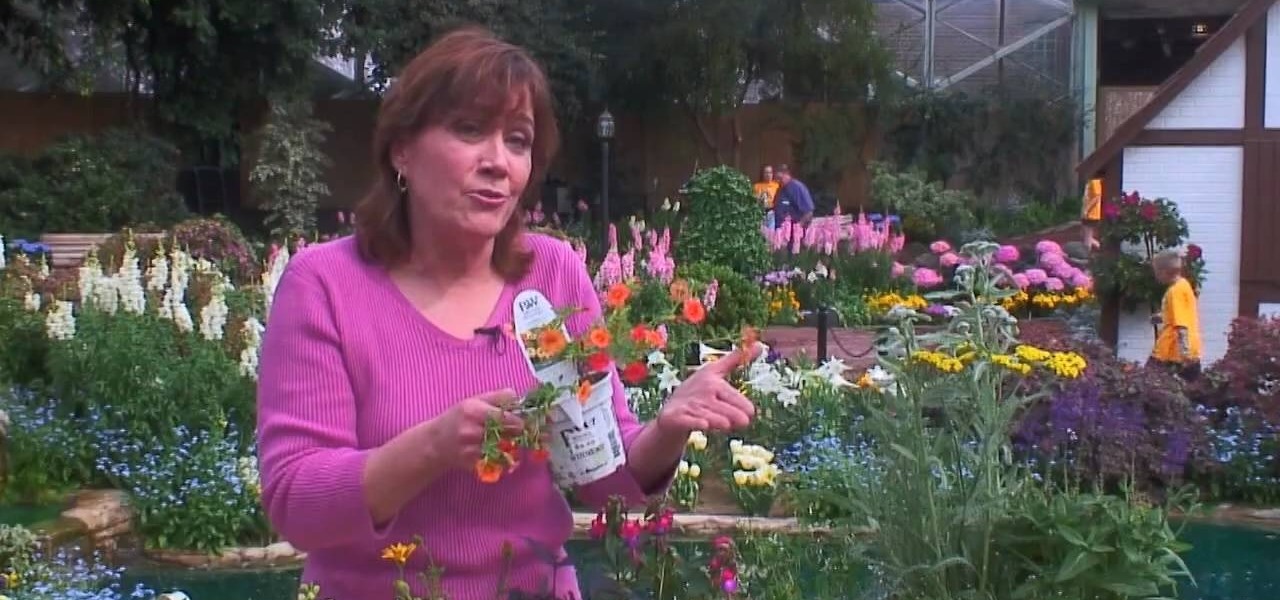
Get your garden started by brainstorming and plannng out the lay-out. The trick to designing a great flower garden that will bloom all season is matching the plant to its preferred growing condition. Learn how to do this with help from expert, Melinda Myers, a world-renowned expert gardener with a critically acclaimed TV show, Melinda's Garden Moment, and a popular radio program, "The Plant Doctor".

Learning to decorate cakes? Try this design on for size. In this video, learn how to decorate a buttercream tulip cake with a basket of tulips on the front face of the cake. Get tips on how to perfect this design from cake decorating expert, Serious Cakes.

First, open the Excel worksheet you have previously created that you would like to create a table for. Click on any of the cell that contains data for your table. On the menu found on the upper portion of the application, go to the Insert Tab. Find and click Table. Your entire worksheet will now be selected. When a prompt window appears, click OK. Your table should now be created automatically.

This is a video about how to make a greeting card in circle shape. First take the card and fold it into half. Next take the colluzle and place it on the card. Mark a circle using colluzle on the card. Cut the card on the marking and leave some space at the folding of card. Take the design paper to place on the card. Next cut the design paper in round shape. Make sure that the shape should smaller than the card you have already prepared. Next stick the design paper to card. Next take one ribbo...

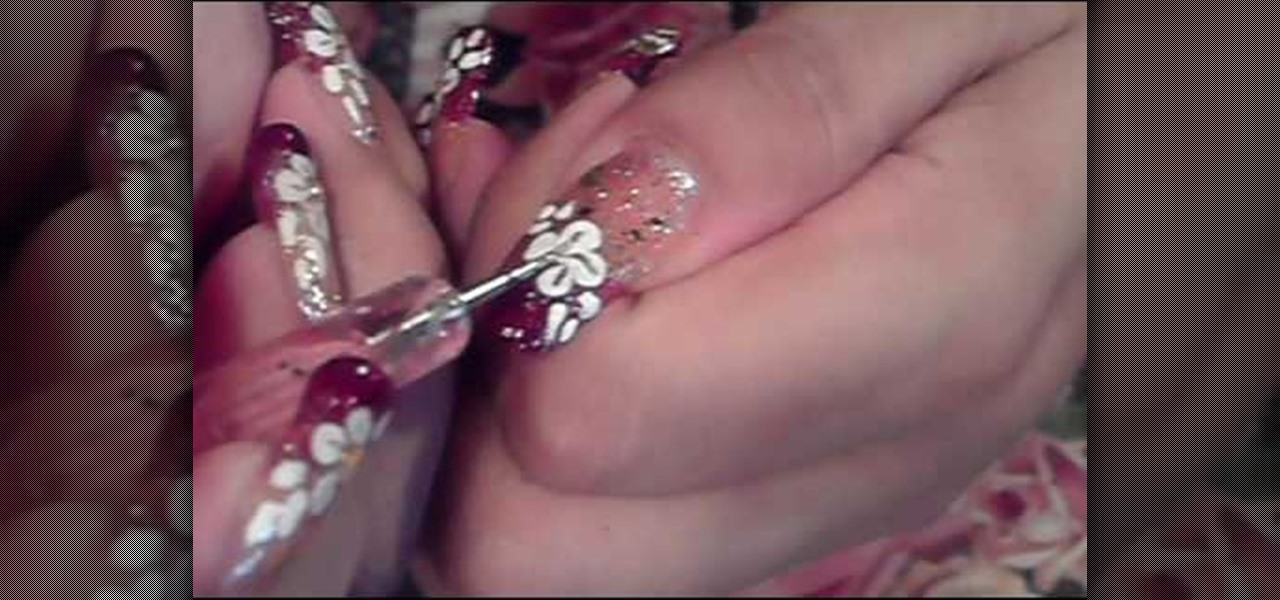
In this video it is demonstrated that how to Paint nails with a gold glitter flower design. First of all apply red glitter French tip manicure on your nails, now reapply red glitter nail polish on it so that tips get darker. Now take a golden polish and apply it to half way rest nails with the help of sponge. Now apply big and small glitter to your nails to become more shiny. Now to make flowers on your nails, take white nail polish, gallop paper and start making dots such a way that it looks...

This video shows the method to select the right set for your web show. The video tells us what a set is and its importance in the show. A set is a place for shooting your own show. The set should be designed carefully and properly. A typical set should be bright with various colors. It should not look depressing like a blank wall. Make a set which will look fine on camera. There should be an element of fun in the set. The set should be made to grab the attention of the viewers. The design of ...

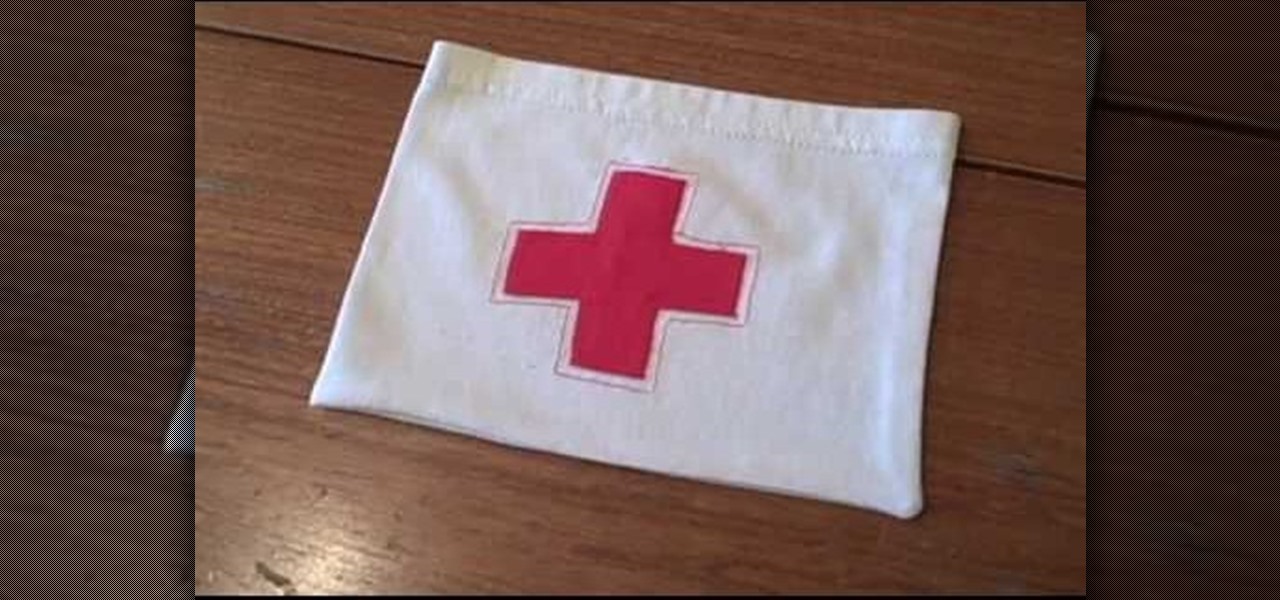
Whitney shows a quick way to make a bag out of t-shirt sleeves. This bag has so many household uses and is easy to make. You'll need a sleeve, safety pins, scissors, scrap fabric, pins, thread, an iron, and a ruler. Start by cutting a 1 inch wide strip of fabric and any design you'd like. You can make the bag as large as you like. Cut your rectangle using the ruler. Position your design to the fold. Sew around the design you choose, refold your rectangle and pin. Sew along those two lines. Tu...

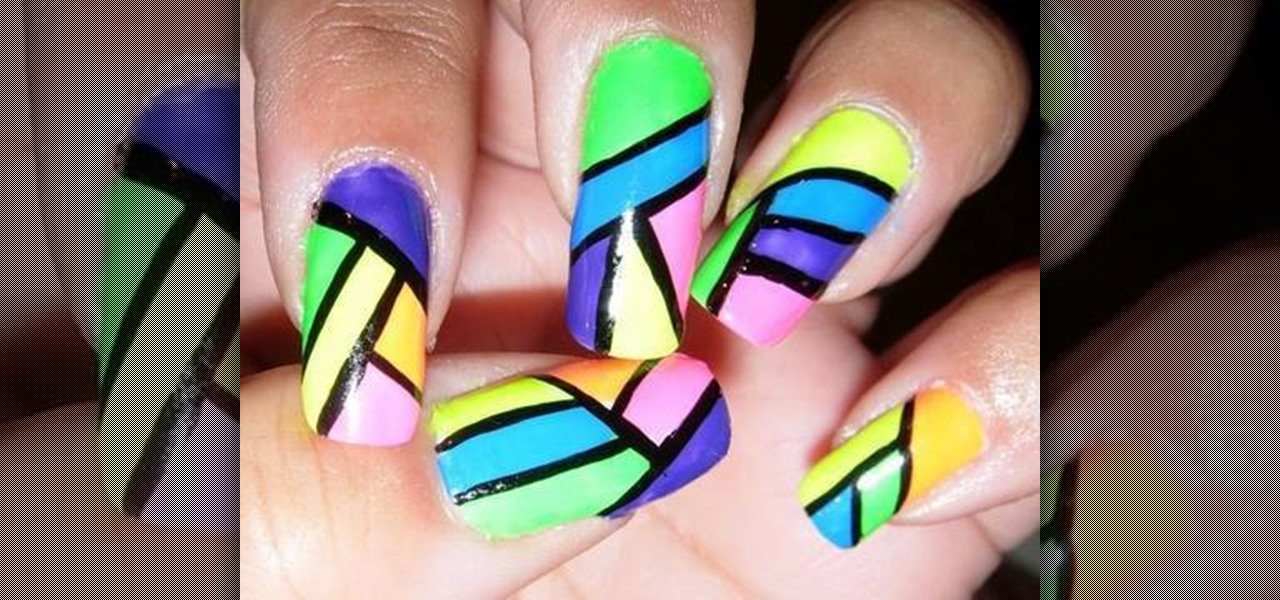
This video illustrates how to paint the nails with a neon pink and black design. Here are the following steps:Step 1: First of all remove any previous nail paint applied.Step 2: Now apply primer on the nails for the nail paint to stay longer.Step 3: Now take neon pink paint and apply it on the nails and let it dry.Step 4: Take black paint and apply it in in geometrical design over the pink nail paint. Let it dry.Step 5: Apply polka dots in black over the nail paint. Here you are ready with th...

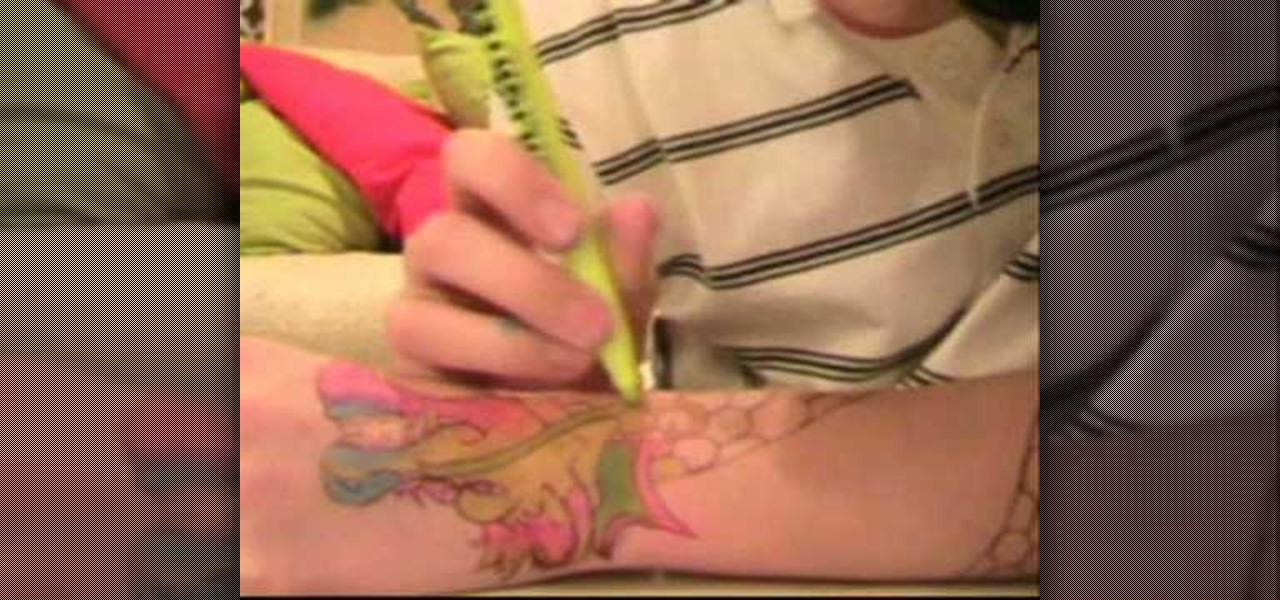
Learn how to draw a ‘Fake Tattoo’ using a ballpoint pen and some colored highlighters, by watching this video. Begin by drawing a faint design of your choice at the back of your palm, using a ballpoint pen. Darken the outlines when you are done with the image drawn. Now according to your choice, fill colors in the drawing using colored green, blue, yellow and pink highlighters. Begin with the yellow color and blend it together with the other color applied in each area, using your fingers. Use...

This video is a demonstration of how to do an interesting artistic design on your nails with dark orange, pink, yellow and white, which can be done in different colors if you like. First apply neon pink to the end of the nail in a diagonal pattern. Quickly, while the pink is still wet, add some white dots and use a toothpick to marble the white by swirling it into the pink. Next use orange, overlapping the pink a little, and dot some white into the orange while it's wet to create a swirled ma...

This video explains how to paint nails with a cobalt blue and flower dot design. The first step taken before applying the paint is to do a white wash manicure. The instructor begins by covering her makeup sponge in a dark blue color and then makes many small dots along the whitened part of the nail. The instructor then makes many more small blue dots along all of the boarders of her nails. After the blue dots have dried a white coloring is used to make flower pedal like designs within the blu...

If you're just starting out using Adobe Photoshop, then this is the perfect thing to try out. Creating a smiley face is one of the easiest things you can do in Photoshop, so it's the perfect design project to learn from. Just follow along with the steps in the video, and you'll have your very own, shiny, smily face icon.

Mark Nelson shows how to make a very simple ring using a squiggle technique in this video tutorial. You will need 6 inches of 16 gauge silver wire (or whatever type of wire you want to use). You will also need 6 inches of copper wire (16 gauge), which will act as the template. Take the ring sizer and bend the copper wire to make whatever size ring you need. Use clippers to create the template. Use pliers to straighten out this template. Place this template in the middle of your silver wire ma...

Handmade cards with rubber stamps can be made easily with the following instructions. First, fold a sheet of cardstock in half horizontally or vertically, whichever way you prefer to make your card. Then, trim around the edges with scrapbooking scissors to create a design, or leave the edges straight. You can also find rubber stamps with inspirational messages that you can stamp straight onto the cardstock. Now you can decorate the card front with any rubber stamp you like, but stamp it onto ...

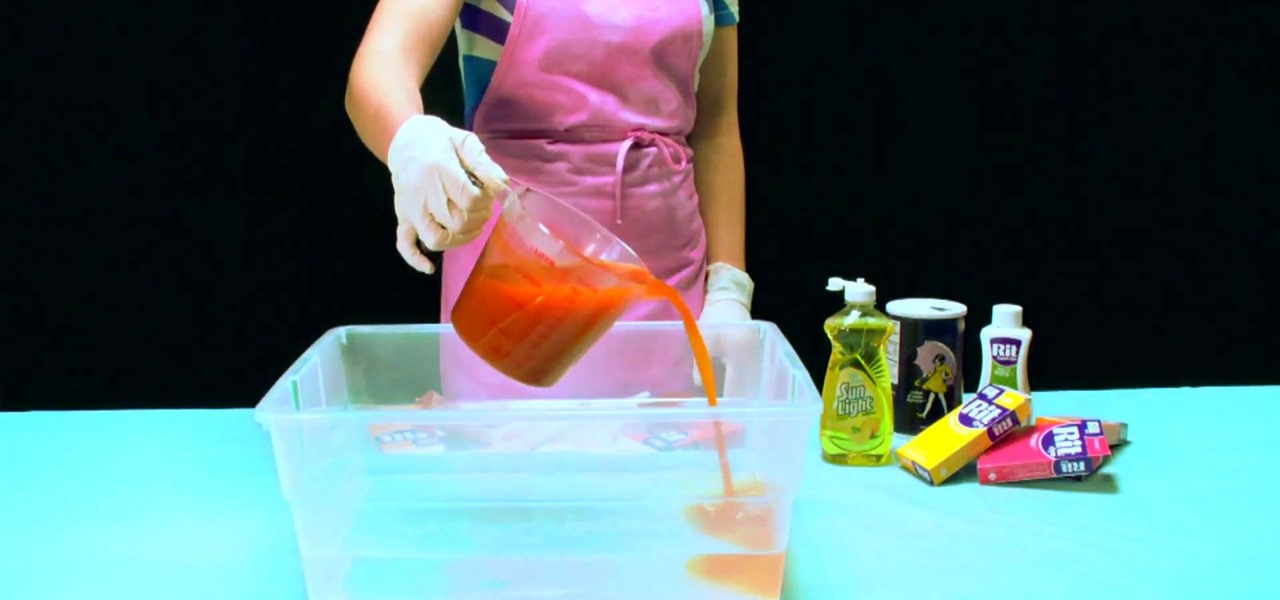
Eddie teaches the secrets of designing your own clothes & mix dying your clothes. First mix together 1 tablespoon golden yellow, 1/2 teaspoon sunshine orange, 1/2 cup salt and 4 cups of hot water. Dip a piece of cloth to check the color, add more dye to make it darker or some water to make it lighter. Pour the dye solution in a big container with water, add some detergent and batter to mix the dye well. Put you plain shirt in hot water for sometime, squeeze it out and put it in the container ...

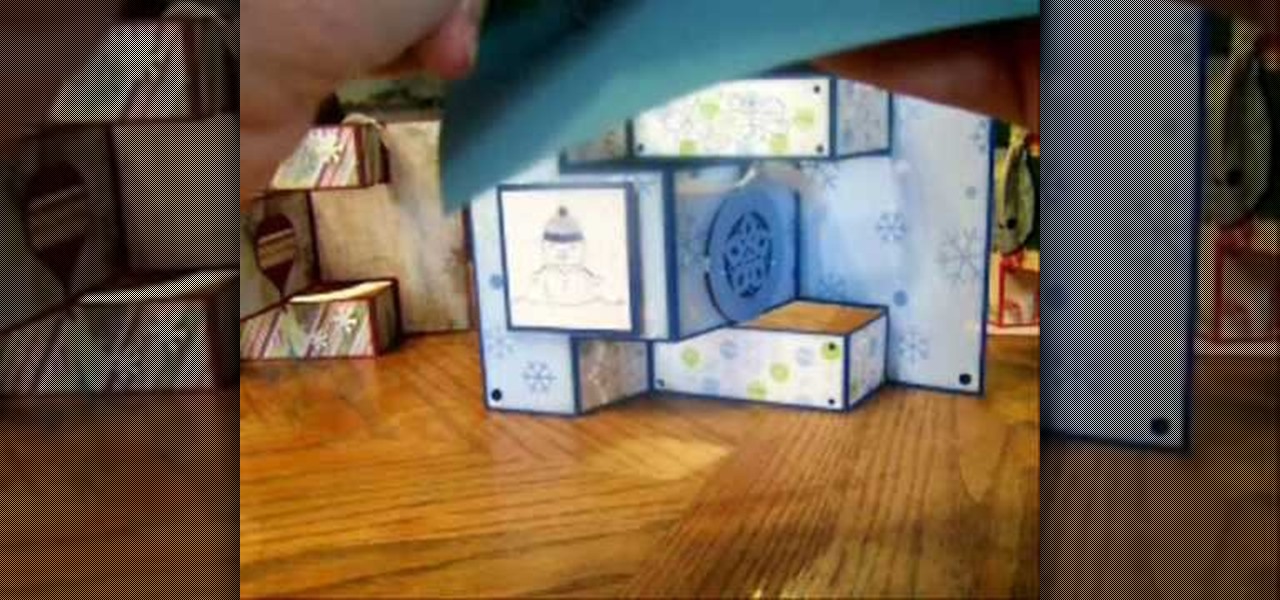
This tri-fold card idea can be used to make an assortment of great cards for any occasion. This card design may look a bit difficult but in reality it isn't at all. Once you get your card in the accordion fold you are ready to decorate. This video will demonstrate how to fold your card stock into this awesome fold design and make a tri-fold shutter card for any occasion. This scrapbooking design will awe whomever you share it with, just make sure to decorate it to the tee.

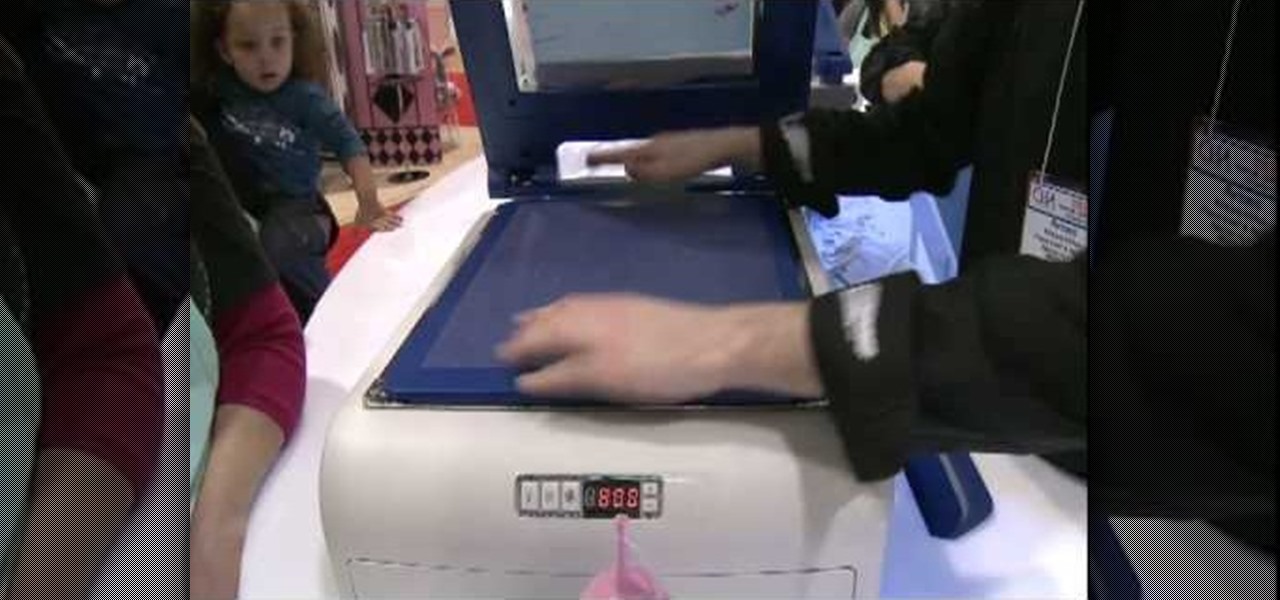
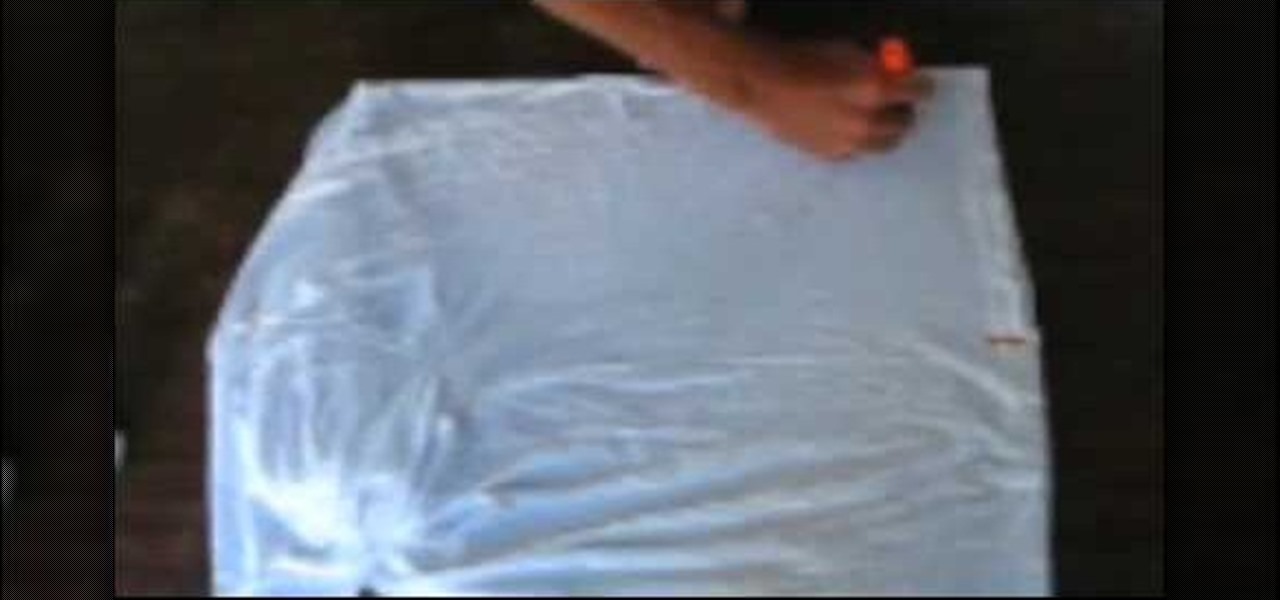
CreativeXpress shares a video regarding the usage of the Yudu personal screen printer. Put the plastic foil over the design you want on your t-shirt and turn on the light on the printer. This will cause the design from the page to be transfered onto the foil. Then you simply place the shirt onto the foil and place a good amount of ink on top of the foil. Use the squeegee to spread the ink over the design and onto the shirt. Let it dry for a bit, then iron the shirt using a cloth or piece of p...

dubstepfm brings you this instructional video on how to create a peace sign design using tie dye techniques. Your host for this video takes you through the entire process from laying out the peace sign design on your shirt, to how to fold the shirt and band it properly to create this unique look. Whether you are an experienced tie dyer, or a newbie to the art, you will appreciate the level of detail dubstepfm provides in this great how-to video.

Crochet the half-double stitch with these easy steps and achieve that beautiful design you've been longing for. Insert your crochet hook to the two loops found at the end of your cross stitch. Yarn over your stitch and make three loops wrapped around the crochet hook. Always count the number of stitches that you do and continue step number 2 to the rest of the yarn. Skip the first loop at the end of every row and insert your hook on the second loop. repeat the process until your desired desig...

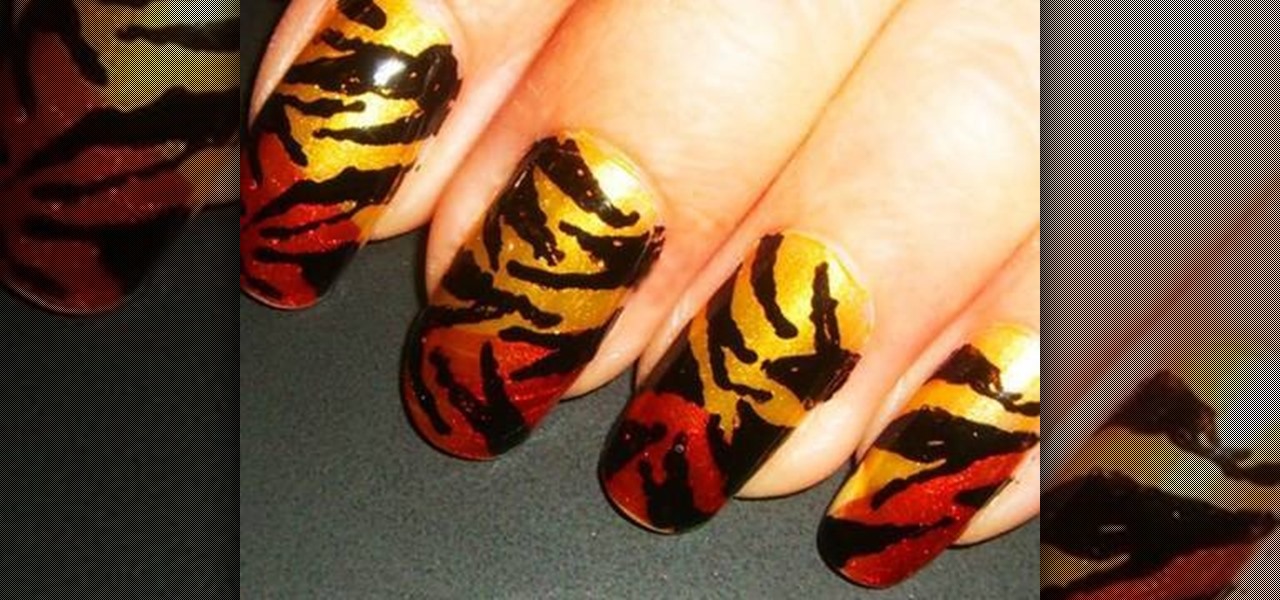
Julie teaches the secrets of creating tiger print nails inspired by Rihanna. You will need: a base coat, top coat, nail polish of gold, black and copper colors. First apply a base coat of your choice to the nails and let it dry. Now apply a gold color nail polish on the base coat. Use a copper color nail polish and fill in the tip of your nails as shown. Now use a black color nail polish to draw the tiger stripes. Start drawing a triangle and end up with a line in crooked directions to get ti...

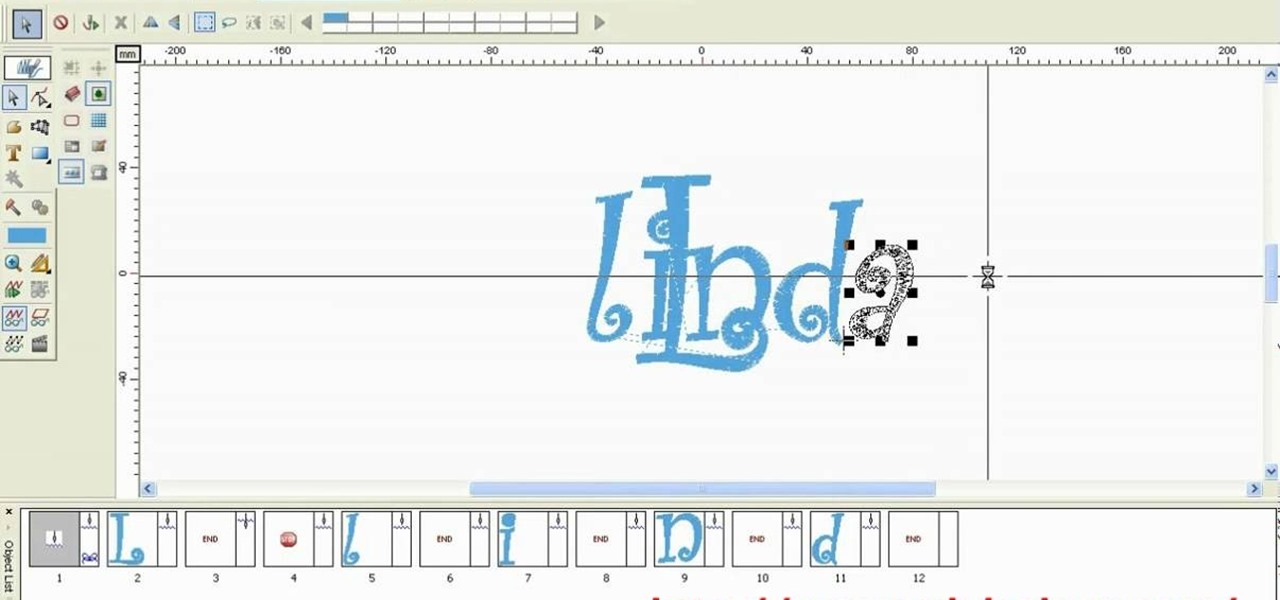
Make your embroideries more accurate and beautiful by designing the letters and words on a computer software called Compucon EOS 3.

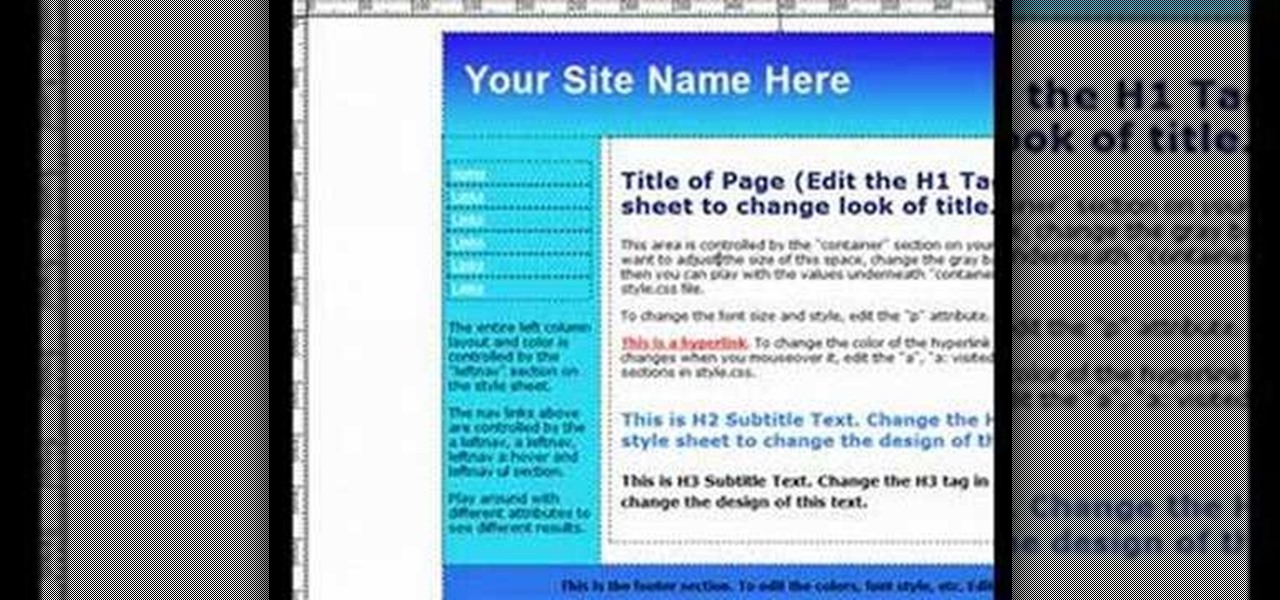
Want to create a web site using the latest web standards but don't know where to begin? This tutorial outlines the usage of a CSS website template file designed to help those who are not familiar with programming. This is a great resource that will not only kick-start your first web design project, but it will also help you to learn how to manage your web site layout, fonts, and colors using CSS through simple experimentation of changing values in your style sheet.

In this how-to video you learn how to apply neon color nail polish. The process begins by applying a base white coat and allowing it to dry. You use white because it brings out the neon the best. Once you have the base coat you begin applying the neon colors in any design of your choosing. If you use an outline it helps solidify your design and the results are much clearer. The entire process takes about six to seven minuets and is perfect for teenage girls.

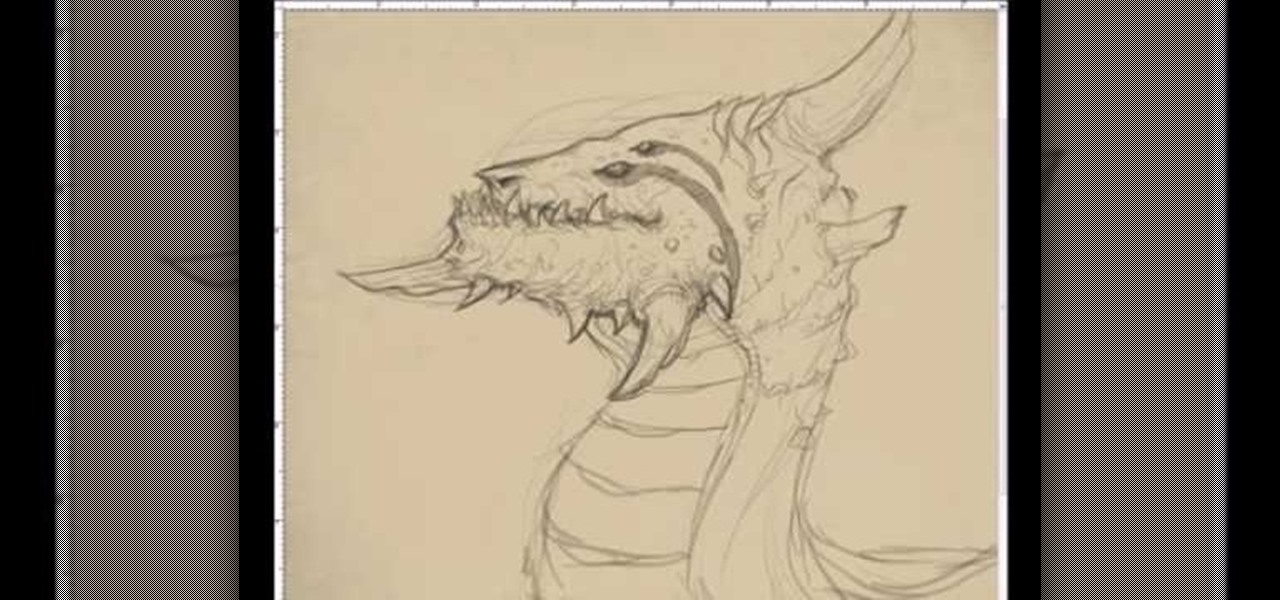
Learn how to sketch a dragon-like fantasy creature design. This step by step video tutorial lesson covers concept design sketching and drawing perfect for comics cartoon illustration, manga, and anime.

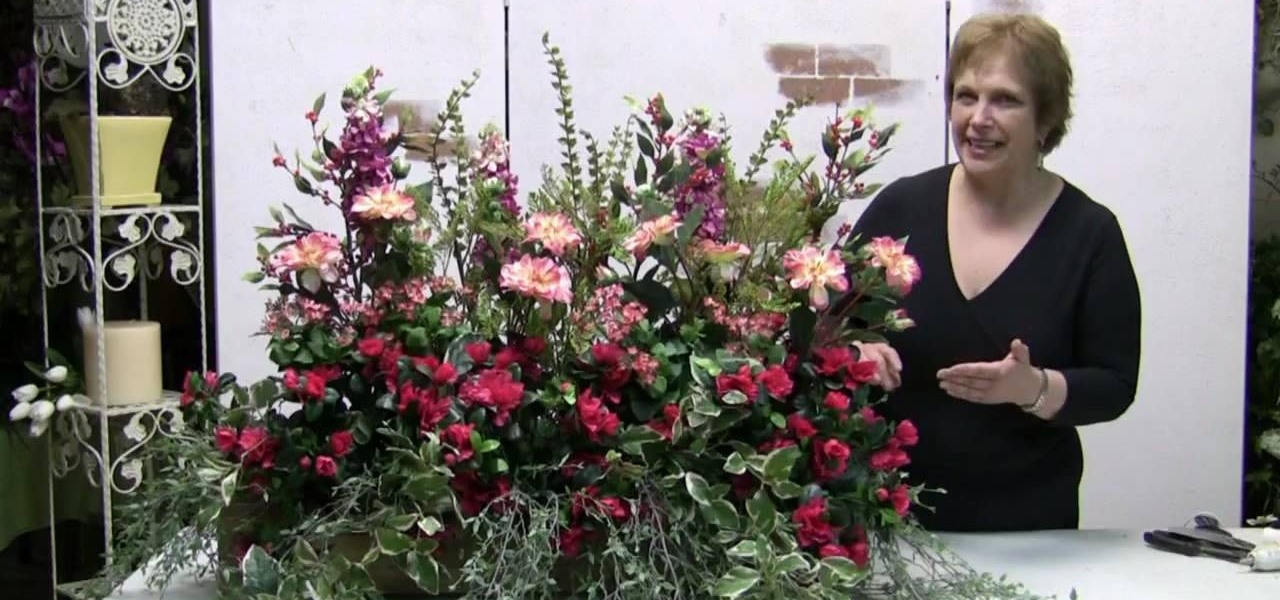
The art of floral arrangement is a fun and valuable skill. Dana Plazyk of Flowers by Design lends useful tips and tricks on making simple flower arrangements.

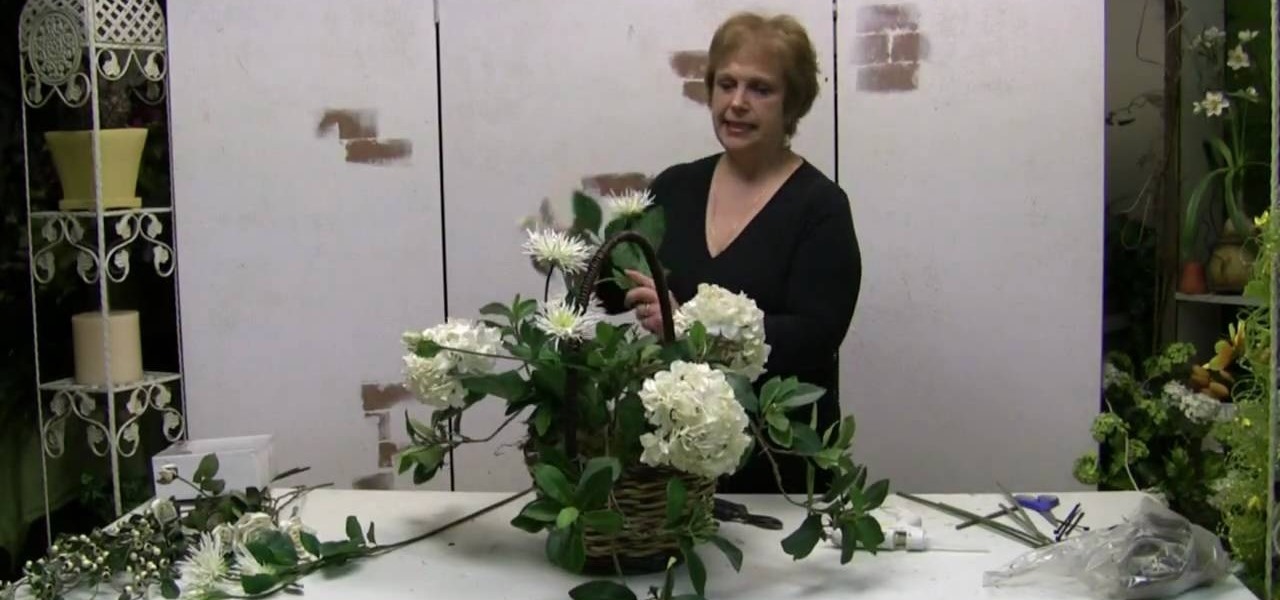
The art of floral arrangement is a fun and valuable skill. Dana Plazyk of Flowers by Design lends useful tips and tricks on making simple flower arrangements.

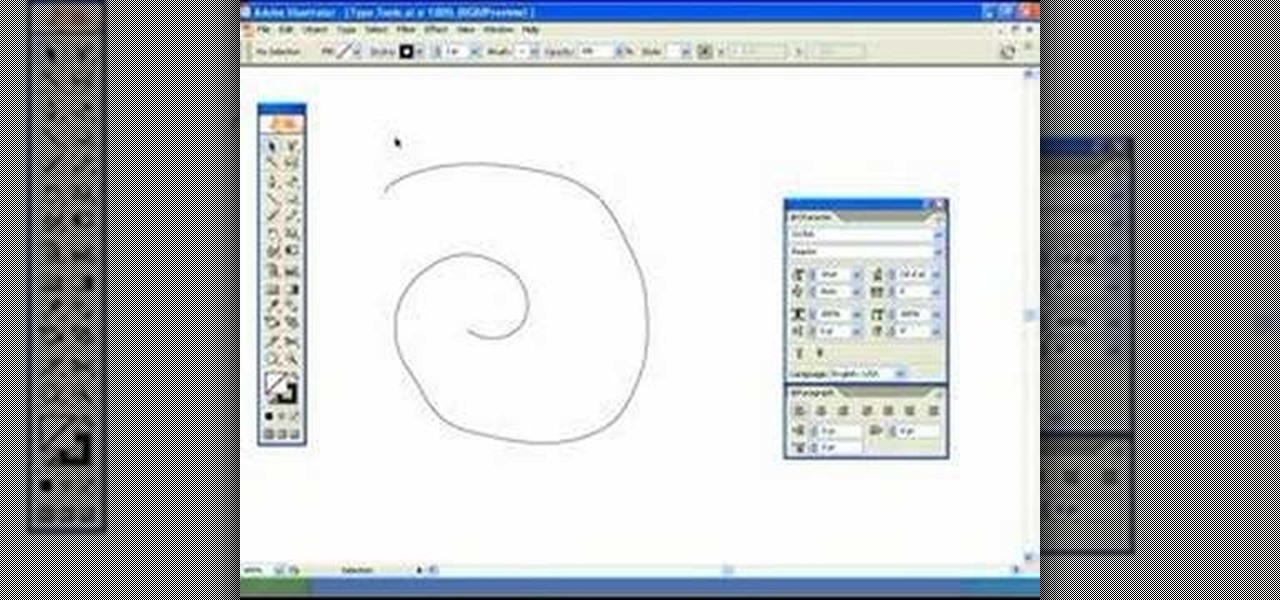
Check out this video on creating type areas and paths in Illustrator. This uses more than just text boxes. You can adjust the font, color and area using the area type tool.

Create an elegant space around your fireplace that's fabulously decorated, incorporates smart design ideas and makes good use of space. This is critical to designing a warm and welcoming space.

If you've worked with silks, you know that sometimes stems are hard to cut. In this video tutorial, Dana Plazyk of Flowers by Design shows you some simple techniques and special tools to get the job done! See how to design and cut silk flower stems for floral arrangements.

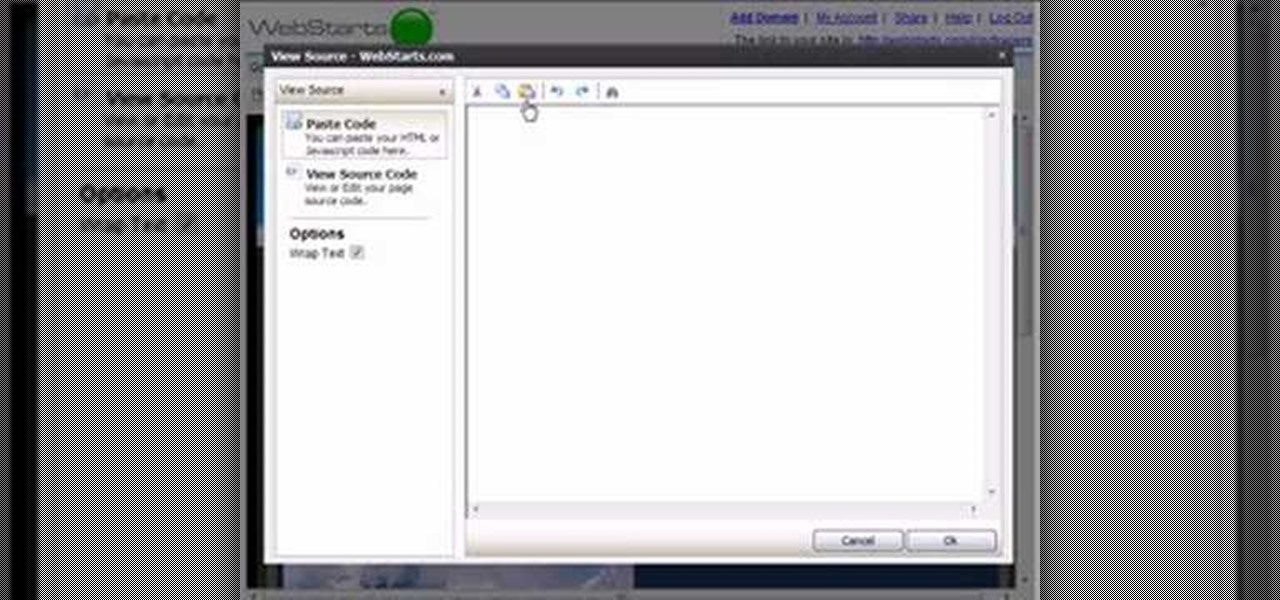
WebStarts.com is a free website creation and hosting interface with a powerful drag-and-drop design interface. In this video tutorial, you'll learn how to add streaming video to your WebStarts website. For more information, and to get streaming live video from your own WebStarts site, watch this web design video tutorial.

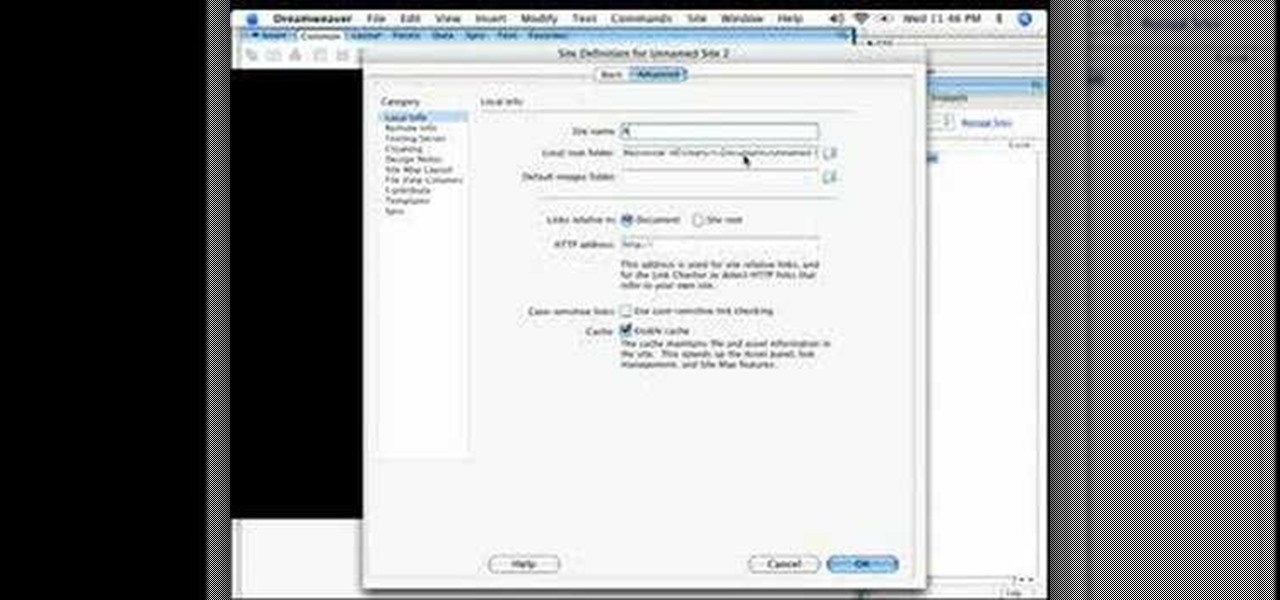
In this web development software tutorial Layers TV Host RC shows you how to create rollovers in Photoshop and Dreamweaver CS3. Since ImageReady is gone in CS3, you may be feeling lost as to how to create your rollovers. Don't worry, this tutorial will show you how to design rollovers in Photoshop and then bring them in to Dreamweaver to add to your web design.

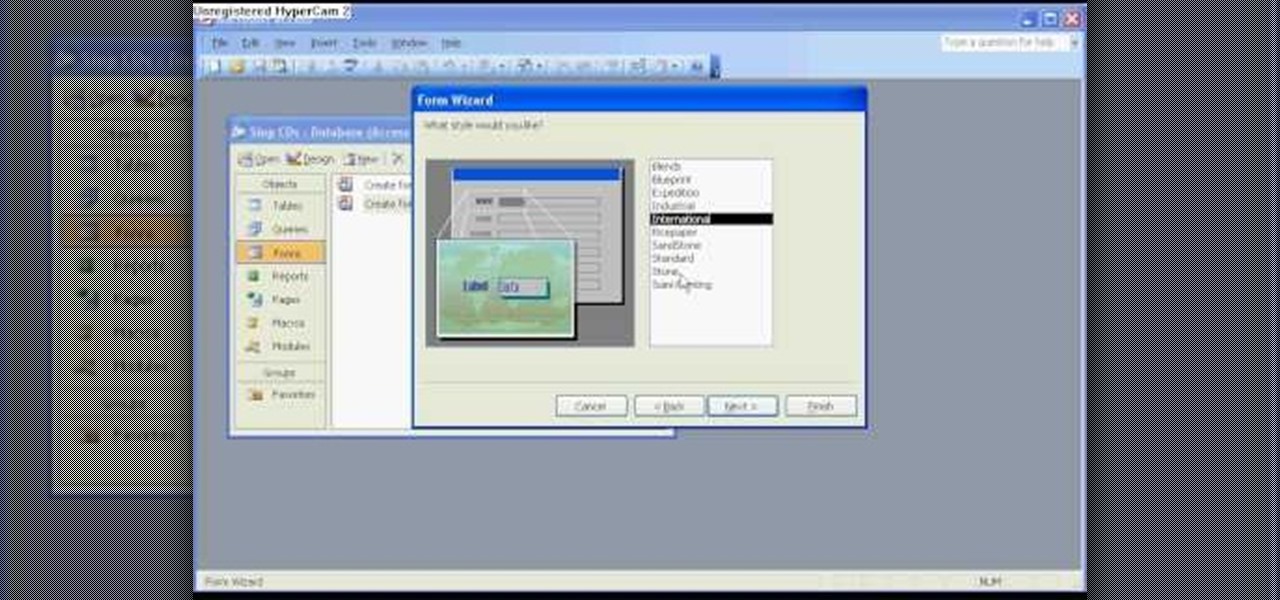
The Microsoft Office Access 2007 relational database manager enables information workers to quickly track and report information with ease thanks to its interactive design capabilities that do not require deep database knowledge. In this Microsoft Access video tutorial, you'll learn about basic form design using tables. For more on creating forms in Access, watch this how-to.

This image editing software tutorial shows you how to create custom brushes in Photoshop CS3. After creating a brush, you will learn how to use it as a design element in a very basic business card. The tutorial assumes you know the basics of the Photoshop CS3 interface.


