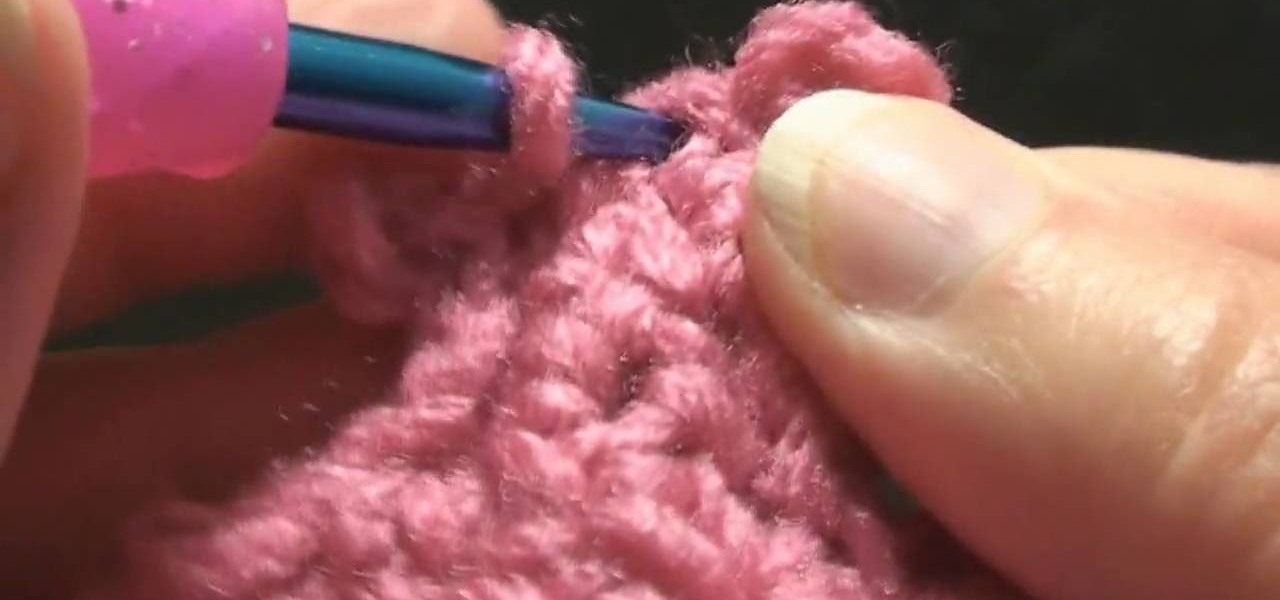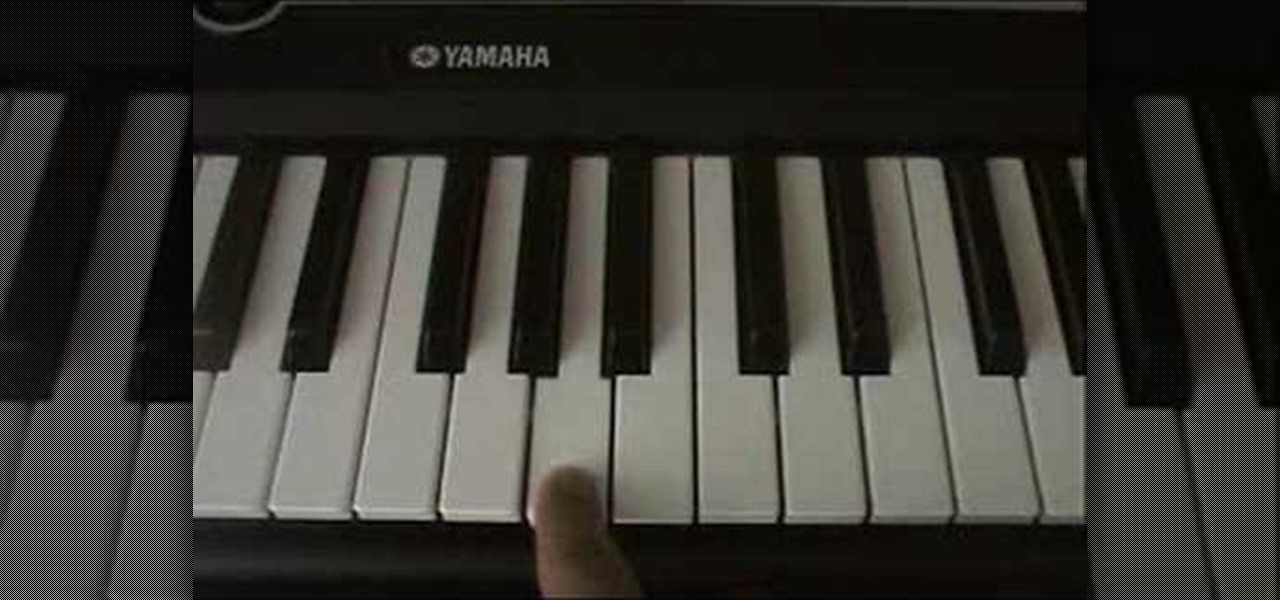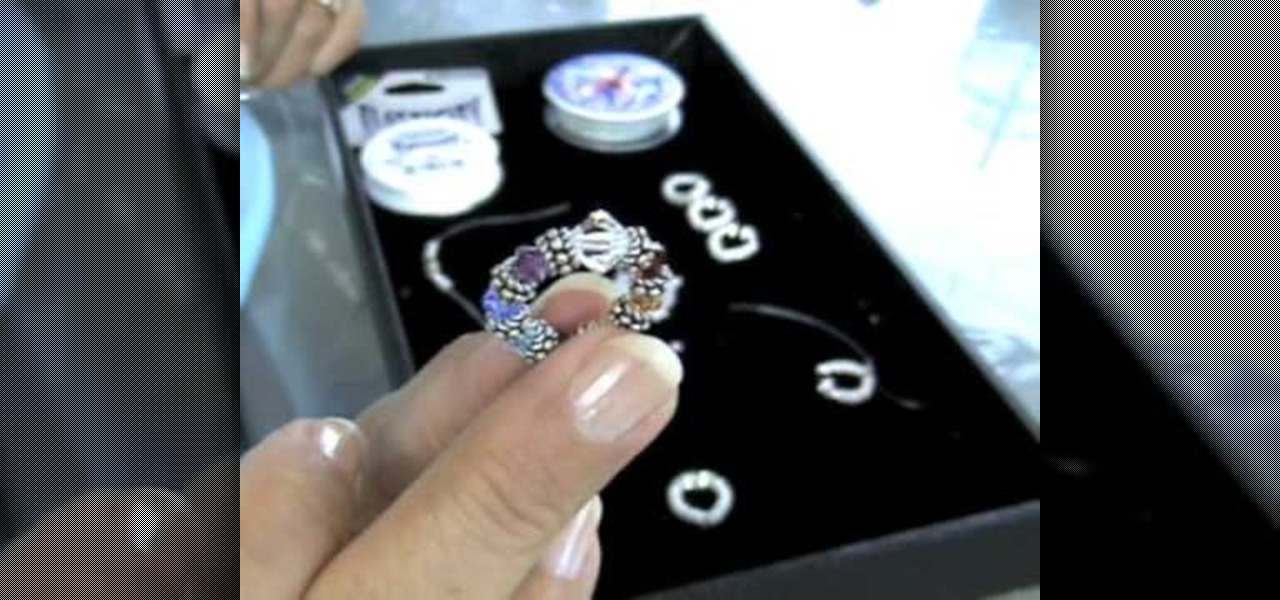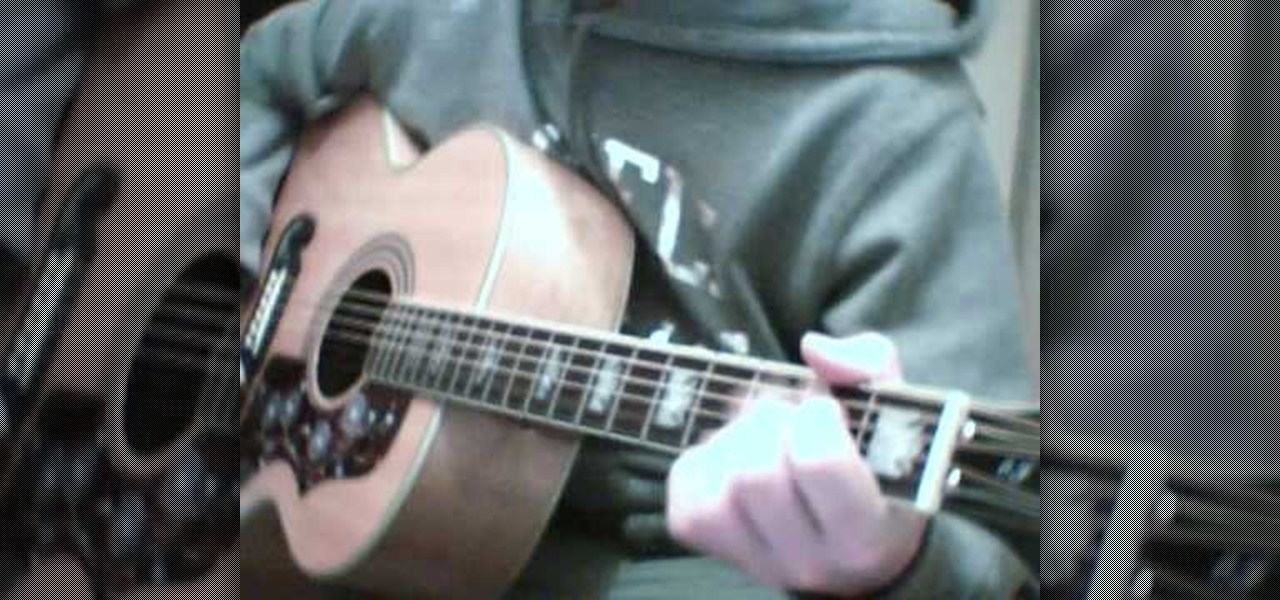
In this tutorial, we learn how to knit a scarf for an American Girl doll. First, make a slip knot on one knitting needle. Next, case on the stitches. You may do this as many times as you want to create a thicker scarf. Do this by grabbing the loose yarn, wrapping it around your finger and needling through it once. Then, pull one on your finger and then up and over the needle. Repeat casting on the stitches as much as you need to. Do this for each of the stitches, then when you are finished ti...

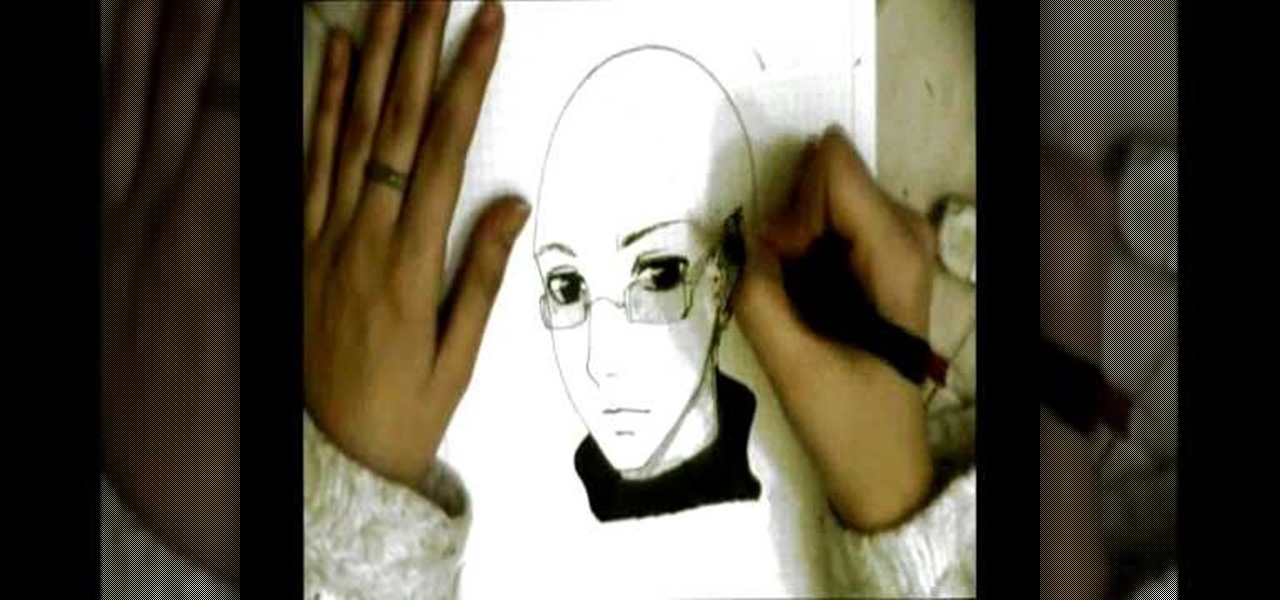
In this video, we learn how to draw Karin. First, start drawing a circle and then add the eye line to help you place the eye. After this, draw in a triangle at the bottom of the circle as a reference to where the chin will go. Then, draw in a line for the body, then circles for the body and shoulders. After this, draw in the neck and then draw the rest of the body. Now, draw in the hair and the details of the face. Once you have finished this, erase the background lines from the face and then...
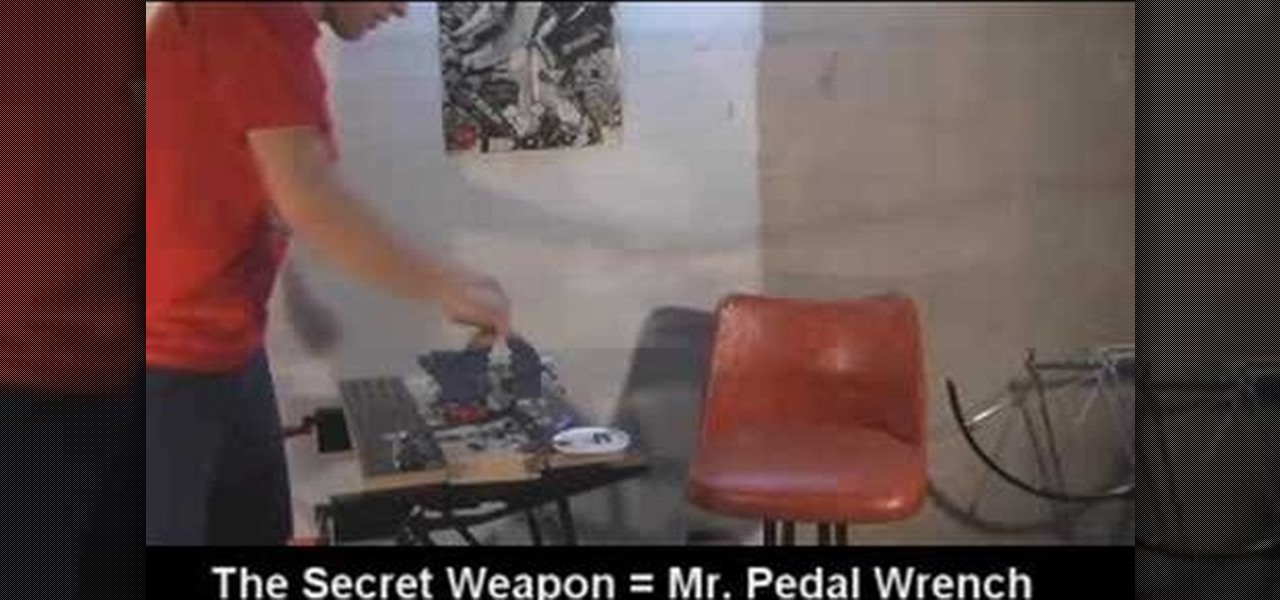
In this tutorial, we learn how to remove a stuck freewheel. First, take your crescent wheel and place it on the outside piece of the wheel axle. After this, use a wrench to remove the bolt that is around this, using a big push to help it get out of place. This should be pretty tight, but will come out eventually. Now, place a wrench in the vice and rotate the wheel counter clockwise. When this is finished, you can put the parts back onto the wheel. When finished, the parts should be free to t...
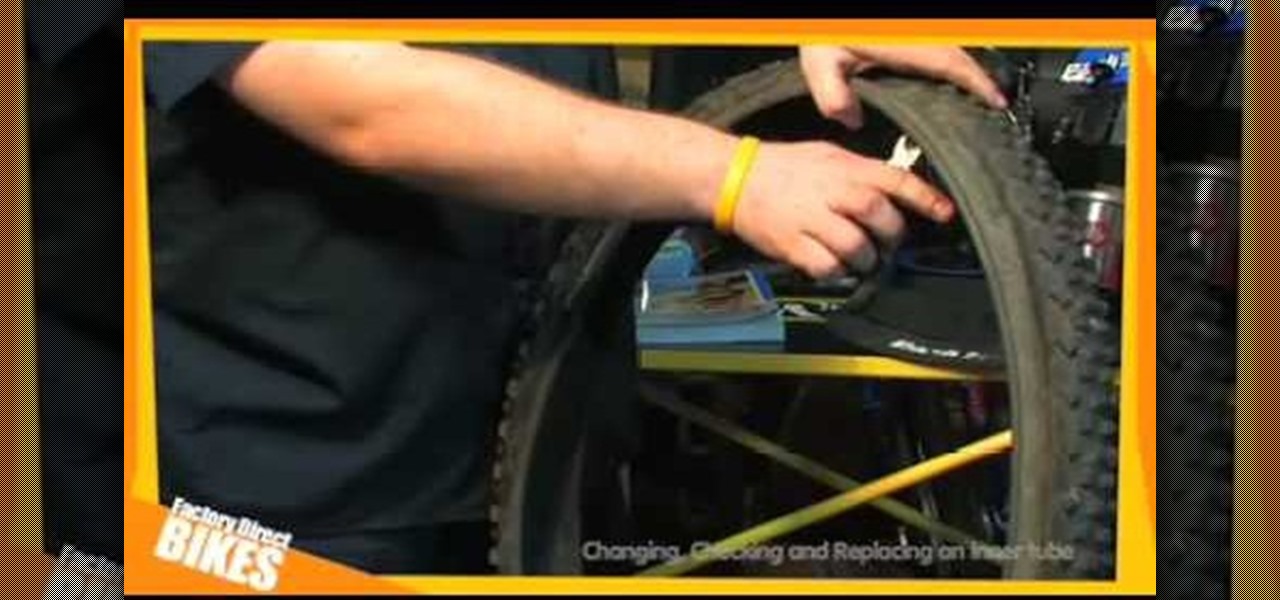
In this tutorial, we learn how to change a bike tire or tube. First, you will want to take the wheel off of the bike entirely. Then, remove the cap from the wheel and take off the nuts. Release any remaining air, then remove the retaining washers. Now use a lever to remove the wheel and tube from the rum entirely. Once you do this, grab your new tire or tube and inflate it slightly. Next, you will place the tire on and then insert the tube underneath it. Once finished, inflate the tire and th...
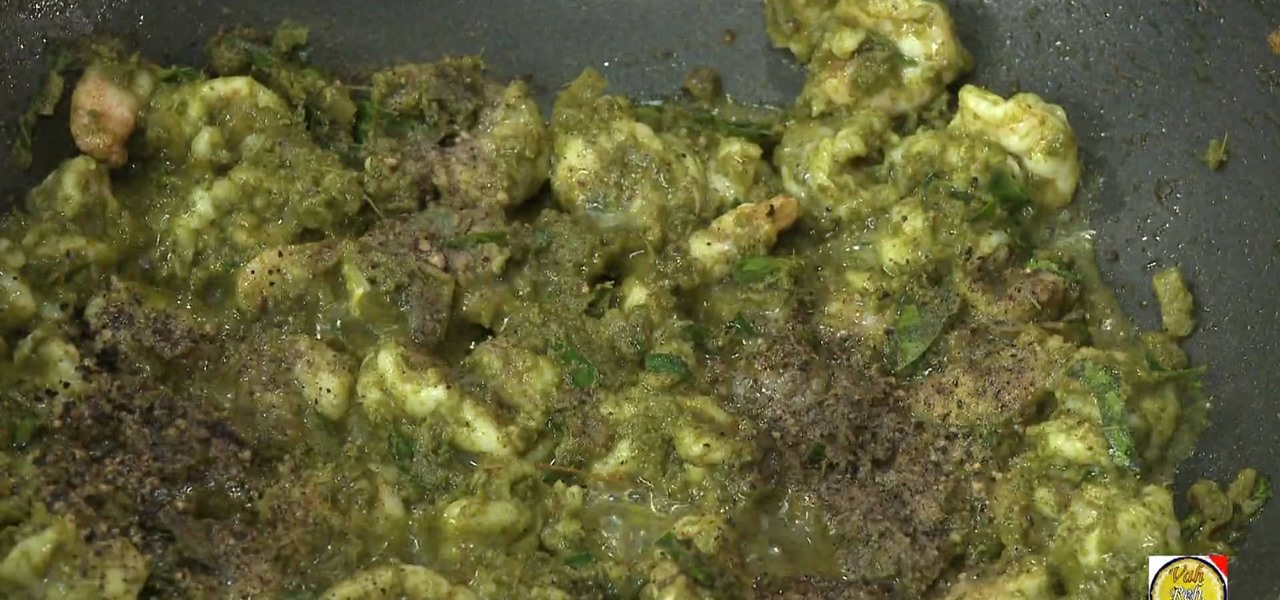
In this tutorial, we learn how to cook shrimp with green masasla spices. Green chilies, coriander leaves, mint, and shrimp are used to make it green. To start, place oil and chopped onions inside of a sautŽ pan. Then, add in a pinch of salt and fry until they are brown. Once brown, add in turmeric, ginger paste, garlic paste, coriander powder, mint, and green chili paste. Cook this until it's thick, then ad din chopped curry leaves. Once finished, add in some shrimp and mix the sauce onto the...
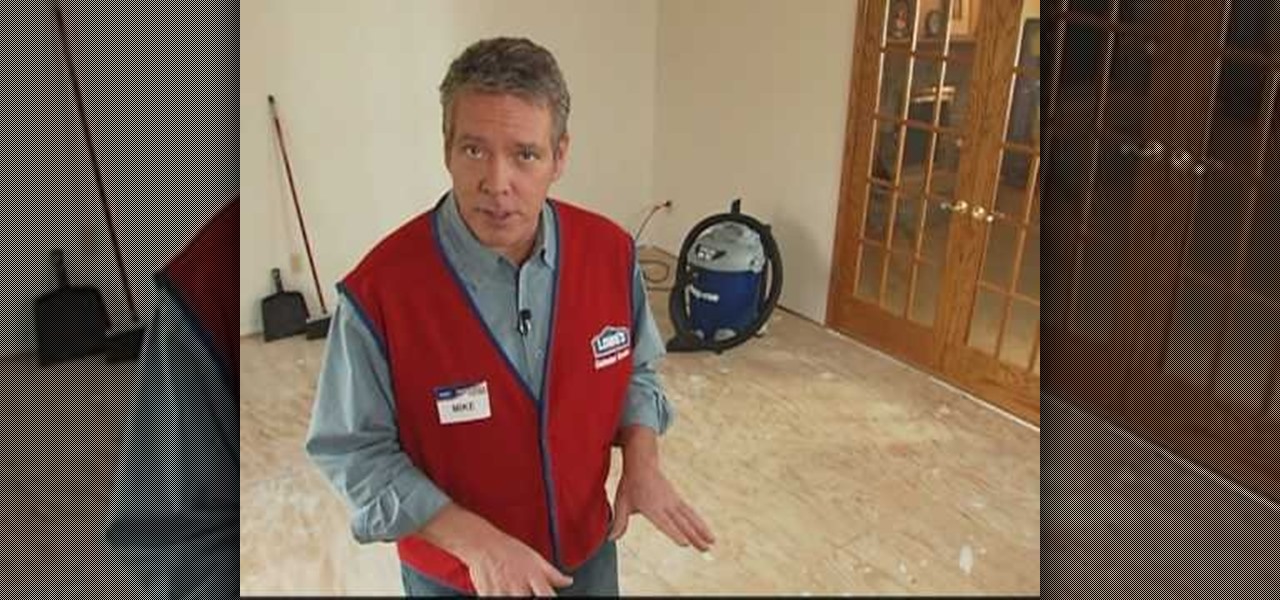
In this tutorial, we learn how to prep plywood subfloor for hardwood and laminate with Lowe's. Before you prep your floor, read the manufacturers direction and information on the flooring. After this, gather all of your materials and tools you need to complete the job. Then, measure out the floor to figure out how much material you will need. Take off all the carpet and base boards from the room, then clean off the floor from dirt or dust. When finished, cover the subfloor with the right type...

In this tutorial, we learn how to draw wavy manga hair. Start off with your manga face shot and then grab a pencil. Draw in strands of hair on the forehead and create bangs across to the eyebrows. After this, draw down hair on the head going down around the ears and throughout the rest of the head. Use a light touch of the pencil to create most of the strands coming from the root of the head, then use a darker line to create different types of strands. When finished, add in additional details...

In this tutorial, we learn how to draw Karin 2. Start out with a circle for the head, then draw in your reference line so you can align the different features of the face. After this, draw in circles where the joints of the body would be for the upper body, then draw around this using bold lines. Once you are finished with this, draw in the rest of the arms and create clothing on the body as well. Next, you will need to draw in the features of the eyes as you would like, then add in the detai...

In this video, we learn how to cut side bangs. Fist, you will need to grab some shearing scissors, a comb, a trash can, and water. Now, get your bangs wet in the area that you want it, then part your hair where you usually part it. Once you do this, separate your bangs from the rest of your hair and clip the rest back. Next, use your scissors and cut at an uphill angle from the bottom of your bangs to the top. When finished, continue to cut until you have the desired length. Keep in mind your...

In this tutorial, we learn how to draw the Black Queen of Chess. First, you will need to draw the outline of the character using a light pencil on paint or another drawing program on your computer. After this, use a dark blue pencil to draw the outline of the body on darker and to make it more detailed. Next, add in the details to the drawing all over the entire body. Make sure to draw on the clothes after you do this. Once finished, you will need to draw on the facial features and the hair, ...

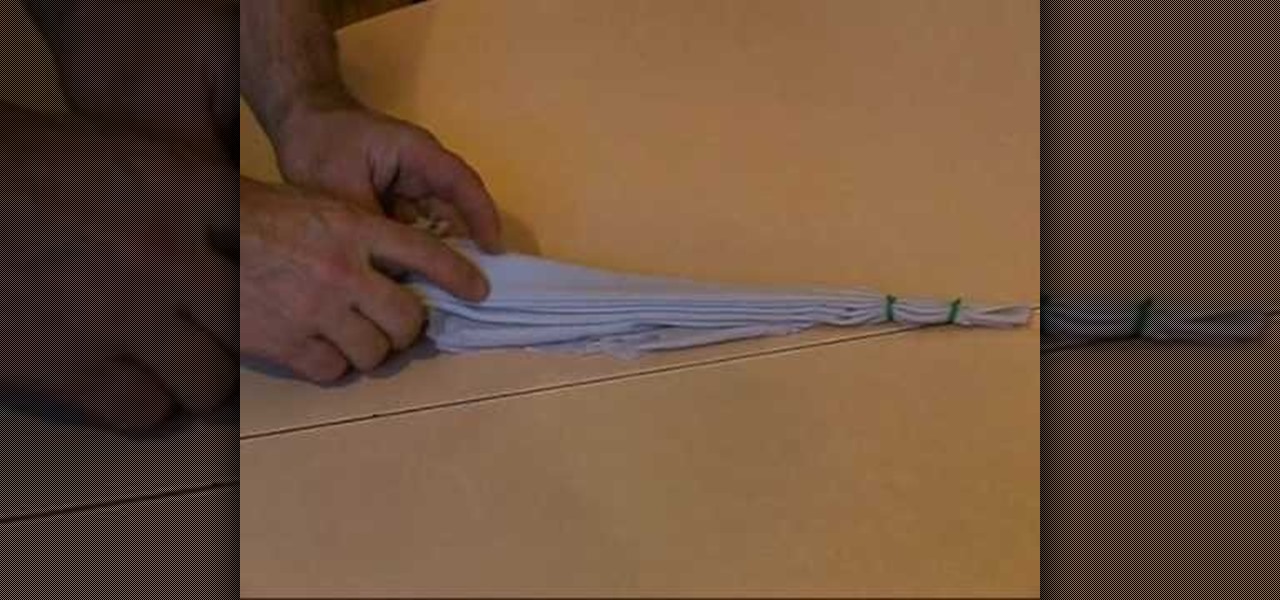
In this tutorial, we learn how to tie dye an oval style shape. Start with a square piece of a shirt that is damp, then fold it in half. Then fold it in half again, then in half again. After this, fold the shirt accordion style, paying attention to where the main corner of the shirt is. Once finished folding, tie two knots in the bottom, then fold the fabric up until you reach the ties. Now, tie or secure this bundle tightly with rubber bands. Apply your favorite colors of die on the shirt, ge...

In this tutorial, we learn how to create a Kim Kardashian-inspired cat eye makeup look. Start by using a nude color eyeshadow on the eyes and tape to create an edge on the outer corner of the eye. After you do this, apply a white shadow underneath the eyebrows to create a highlight. Now, take a gray eyeshadow and apply it to the entire eye up until you reach the crease. Blend this out to the corner of the eye. Then, take a thick black eyeliner and apply it to the upper eye, creating a cat eye...

In this tutorial, we learn how to draw bat/demon wings. Start out using a light pencil marking to make the outline of the wings. You will want to draw wispy lines and make them light to create a light effect on the ends. Once you have the outline finished, use a hard pencil mark to draw over it. Create large wings with hard edges and mark in lines along the middle and the edges of the wings. After you have done this, make sure there is another wing on the side of the wings and then shade to f...

In this tutorial, we learn how to draw Johnny. Start off by drawing Johnny's head, then draw a stick for his body, arms, and legs. Once finished, draw an outline over this body to create the shape. Next, draw in the hair for him and then draw his eyes in. Next, draw in the hands and arms, then a knife in his hand as well. Erase any background lines that you have drawn, then shadow and add more lines to the entire drawing. Once you have done this, add in his eyebrows and any other details to f...

In this tutorial, we learn how to draw Stitchpunk. Start out by drawing the outline of the entire body. After you do this, draw in the details of the feet and the hand. Next, start to draw in further details of the hands so you can clearly see the claws and the hand area. Once finished with this, draw in the details of the face. After you do this, you can erase any reference lines that you drew and fill in further details. Draw in any other details needed throughout the character, then erase ...

In this tutorial, we learn how to create a genuine Italian pizza. After you have your dough, knead it out on a heavily floured surface. Move your hands in a circular motion and use the palms to create the circular shape of the pie. The, bring the dough into the air and pat off any excess flour. Throw the dough into the air, then catch it and bring it back down to the surface. When you have the circular shape of the pie, add the sauce to the top of the dough. Next, sprinkle on any type of chee...

In this video, we learn how to draw Toad. Start out drawing toad with the out line of the body. Make sure to incorporate the mushroom helmet on top of the head. After you have the basic outline finished, draw on the features of the outfit. Include the pants and the scarf around the neck. Also, add on the features of the face and darken up the eyes. Next, draw in half circles on the mushroom helmet and then shade around the character to make it look 3D. Practice drawing this to perfect the cha...

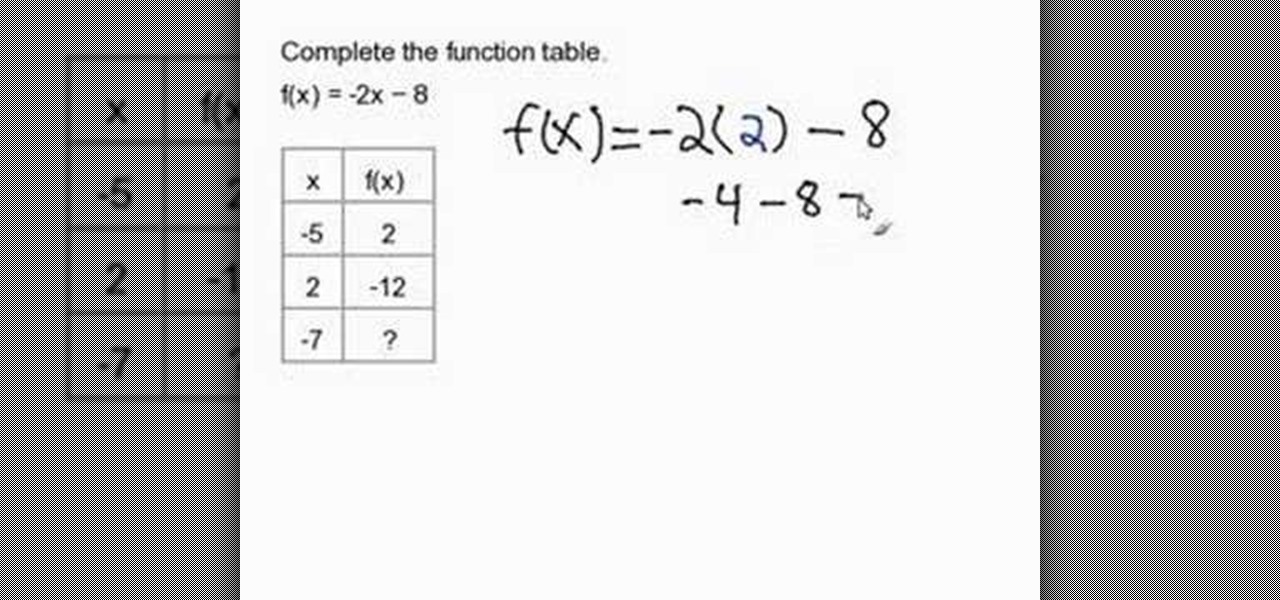
In this tutorial, we learn how to evaluate functions. A function is an equation with an input and an output. For the value of "X" there is going to be a value for the rest of the values that are in the equation. To start, write out the equation, then substitute the "x" with the appropriate number. After this, substitute the "x" in the rest of the equation where it belongs. Once finished, work out the rest of the equation in the appropriate order. Now you will be able to finish it and get the ...

In this tutorial, we learn how to get high definition settings in Camtasia Studio. First, open up Camtasia Studio and your movie. After this, click to open up the link and go through the wizard. Instead of clicking on the pre-set mode, you will be able to choose the file format, which can be high definition. You can also change the name and add in a description. Then, click next and go through the QuickTime options. Go to the settings and change the frame rate to 30 and the quality to best in...

In this tutorial, we learn how to paint with basic latex painting techniques with Lowe's. First, you will need to determine how much paint you need by figuring out the room size. Next, you will need to paint the ceiling and apply blue painter's tape to all the areas you don't want paint to touch. Make sure to stir the paint before you use it and open up windows and fans to circulate the air. Cut the edges by painting around 2" inside first. Once finished with the ceiling, start cutting the ed...

In this video, we learn how to make a pizza with pre-made dough. First, shred 1 lb of mozzarella cheese fresh and then grab some frozen dough from your local grocery store. After this, oil some baking pans with olive oil so the dough doesn't stick. After you have let your dough thaw out and rise, place two of them into each pan and spread them out by hand. Once finished, put some chopped tomatoes and oregano onto the dough. Sprinkle each pizza with the cheese after this, then bake this in the...

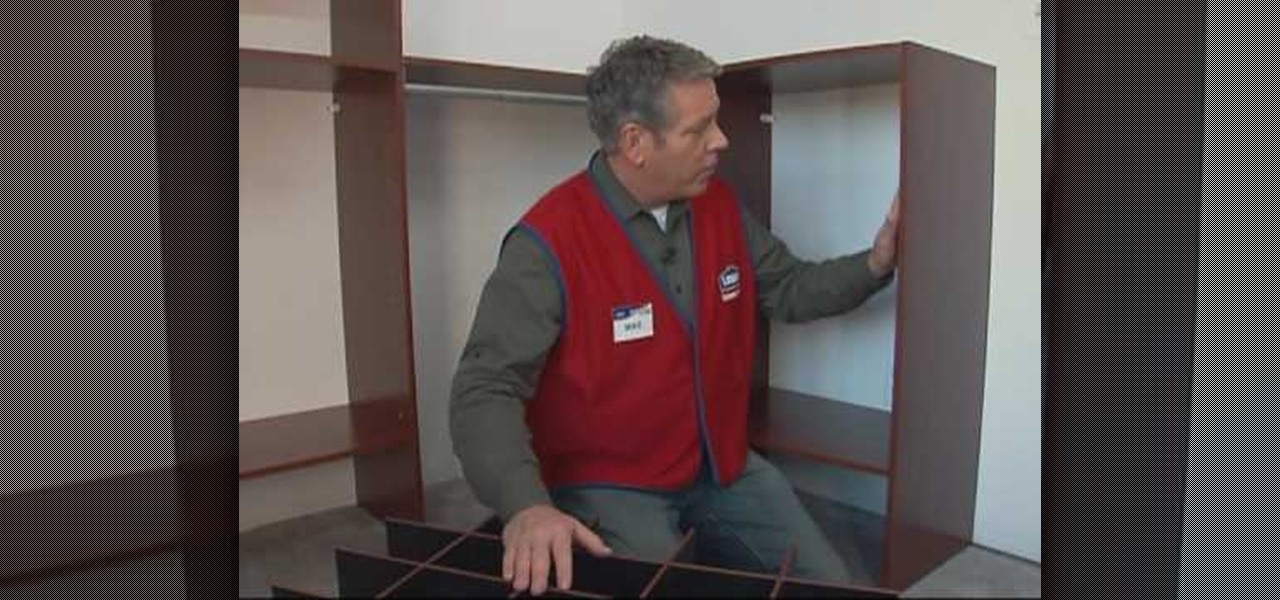
In this video, we learn how to install a laminate closet organizer with Lowe's. First, you will need to gather all your tools for installation and for the closet. After you have all of these, you need to anchor your units to the walls, removing the base boards from the wall first. After you have the brackets into the wall and the shelves installed, you can start to add in brackets for the rest of the closet. Once you have the tower unit or corner unit finished, install the expandable rods to ...

In this tutorial, we learn how to draw Raichu from PokŽmon. Start off with a pencil on a piece of white paper, then start to draw the face of the character. Add in the outline of the facial features, then all in the details of them as well. Next, draw the ears of the character on, then start to draw the rest of the body. Make sure to add on the feet and the arms of the character as well. Make sure to draw on details that are needed, then draw on the tail coming from the back. To finish, add i...

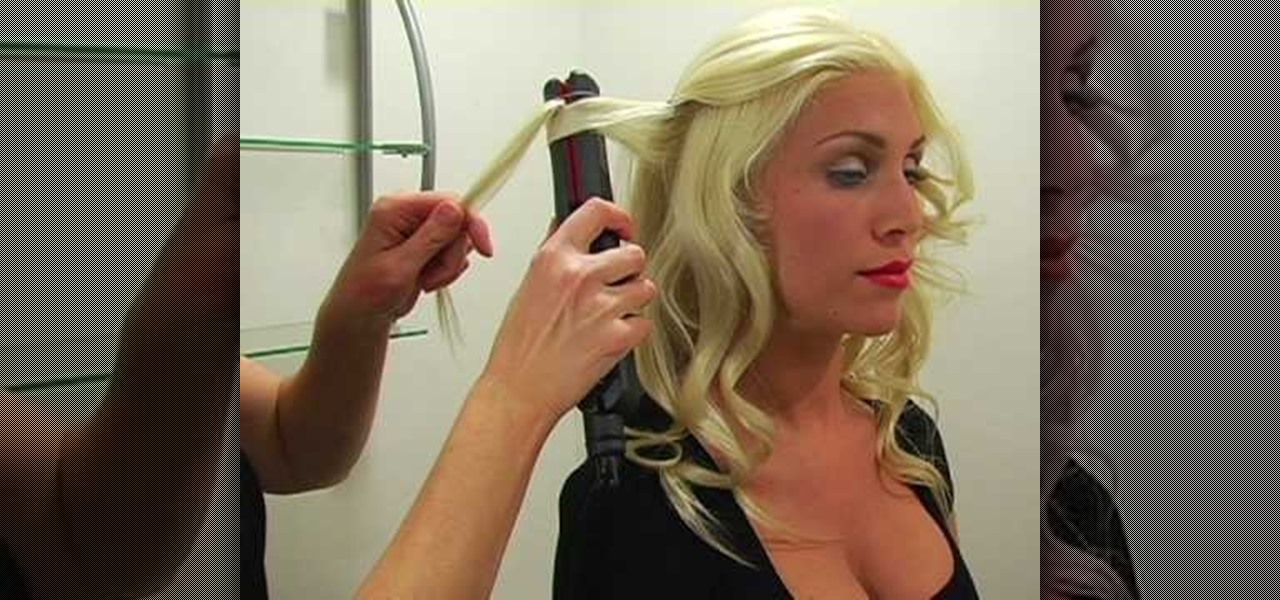
In this video, we learn how to curl hair using a straightener or flat iron. First, you will want to heat up your straightener in its highest setting, then spray heat protector in the hair. After this, take small sections of the hair, then place the straightener 3" down from the top. Twist the iron and then pull down straight through the hair, stopping just short of the bottom. When finished, you will have a nice and loose curl. Continue to do this throughout the entire head of hair, then spra...

In this tutorial, we learn how to draw Husky. First, you will start by drawing the dorsal fin of the character. After this, draw the rest of the body including the lower and upper body. Also make sure you draw the head. Now, draw the arms crossing, then go over the drawing with a harder pressed pencil. Draw in the details of the face, then start drawing in the details of the fins and the upper body. Once the details are in, draw the hair and add in some scales along the entire body. Once fini...

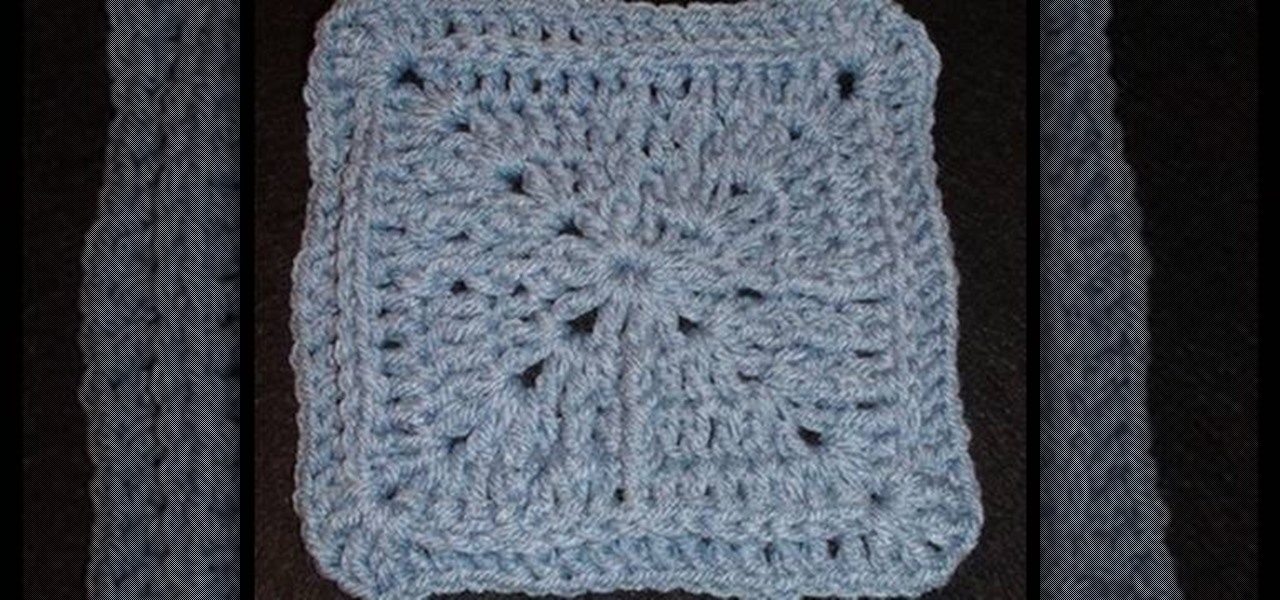
In this tutorial, we learn how to jacmel crochet a granny square left-handed. In round 1, you will chain 1, then work 3 double crochets. Then, chain one four times from the original stitch and end with a single crochet. For round 2, you will chain 1 and work 2 double crochets in the same space. Next, work a double crochet in the next stitch and work over the next stitch. Work in 2 double crochets in the next chain 2 space, then chain 1 and chain 4 times ending with a single crochet. For the n...

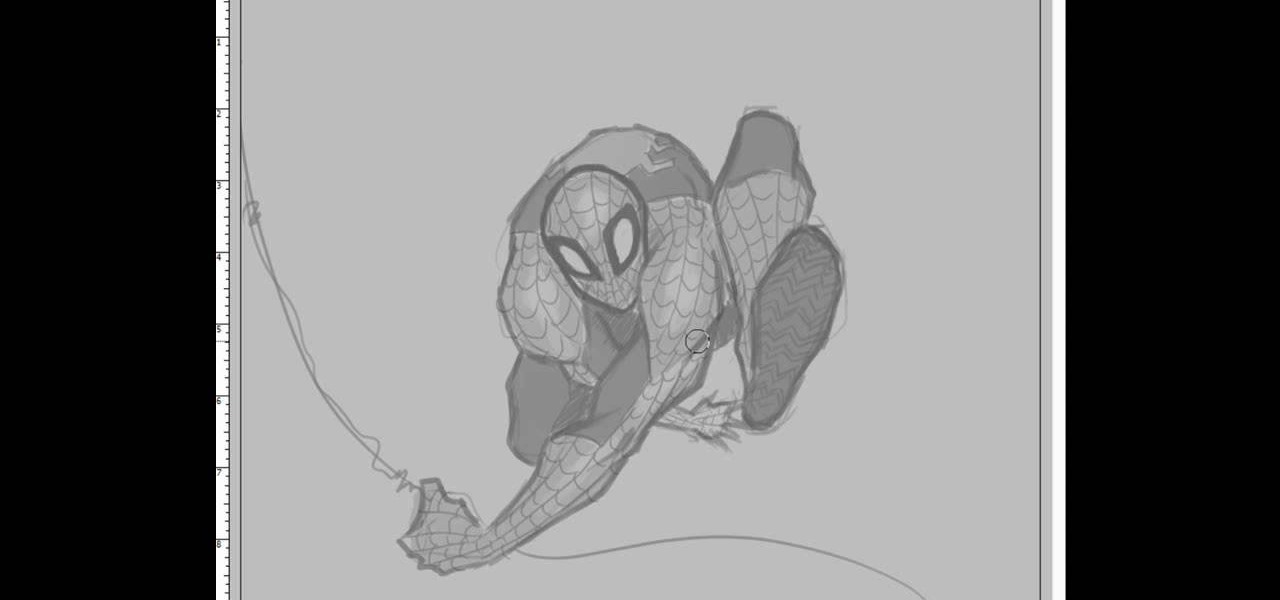
In this tutorial, we learn how to draw Spiderman. First, draw the outline of Spiderman's body while hanging from a web up in the air. Then, use a darker line to draw over the original sketch of the body. Start to fill in details of the entire body and the face of the character. Next, fill in the small details of Spiderman. Draw the details down to what the bottom of the shoes on his suit look like. Make sure the face has all the right details, then add in lines to the web to make it look more...

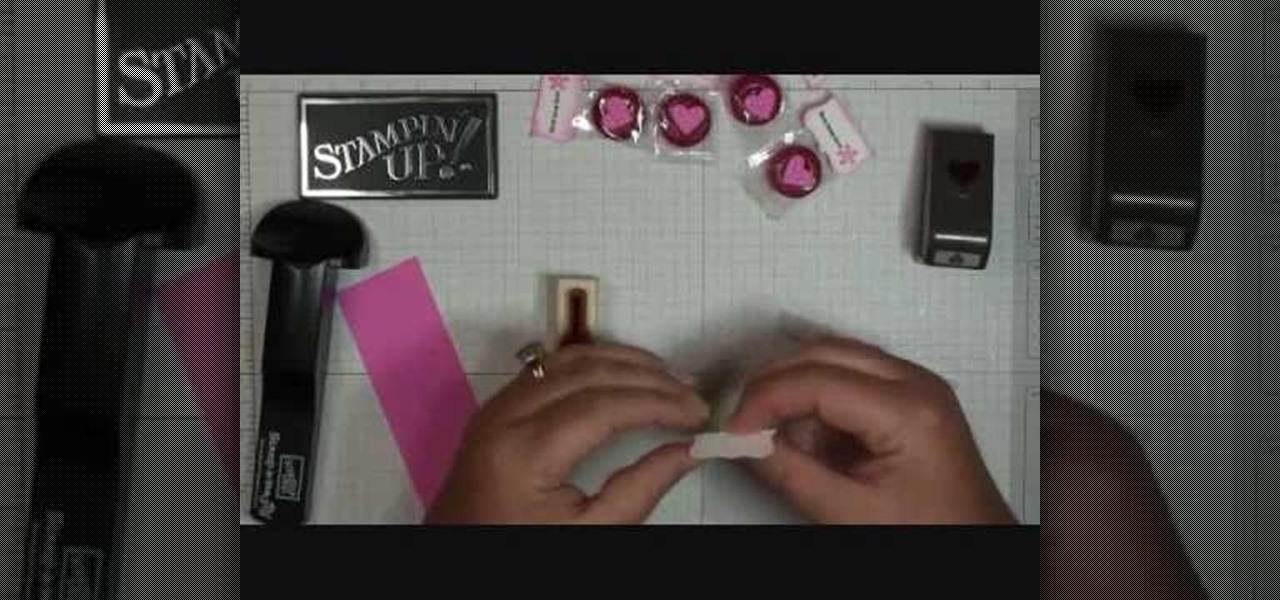
In this video, we learn how to make Life Savers treats. First, use the curly label punch and punch it out of a white paper. Next, fold this in half and then use your stamp-a-ma-Jig on card stock with a love and flower stamp. Use a black and pink marker to fill in the colors of the stamp. Next, stamp this on the piece that was folded in half, then punch out a heart and use sticky strip to adhere the individual life saver to the middle of the sentiment. Once finished, apply the heart and you ar...

In this tutorial, we learn how to create a crafters tool caddy for your desk. First, you will need to gather a few pieces of chip board coasters and cut them to the specifications you would like your caddy to be. After you have done this, put your caddy together by locking them together using cut lines inside the middle of each of them. Once you have finished this, place additional pieces of chip boards inside to create different sections of the caddy. Once you are finished, place in your mat...

In this video, we learn how to draw a Pikachu PokŽmon. First, you should have a picture of the character in front of you so you can better draw it. Start out by drawing the eyes and filling them in with marker. Next, draw in the rest of the face, including the nose and the mouth. After this, draw the ears at the top of the head, then connect in the middle to create the head shape. Draw the sides and bottom of the head, then draw the body. Add in circles for the cheeks, then continue to draw u...

In this video, we learn how to draw Maplestory Bigfoot. Start out by drawing the outline of the character, then start to draw on the details. Once you have finished the outline of the entire character, start to use a darker pencil or pen to make it darker. Add in shading on different parts to make it look 3D, then add in lines to make the character look more realistic. Add as many details as you would like, then when you are finished you can color in the picture as you would like. You can rep...

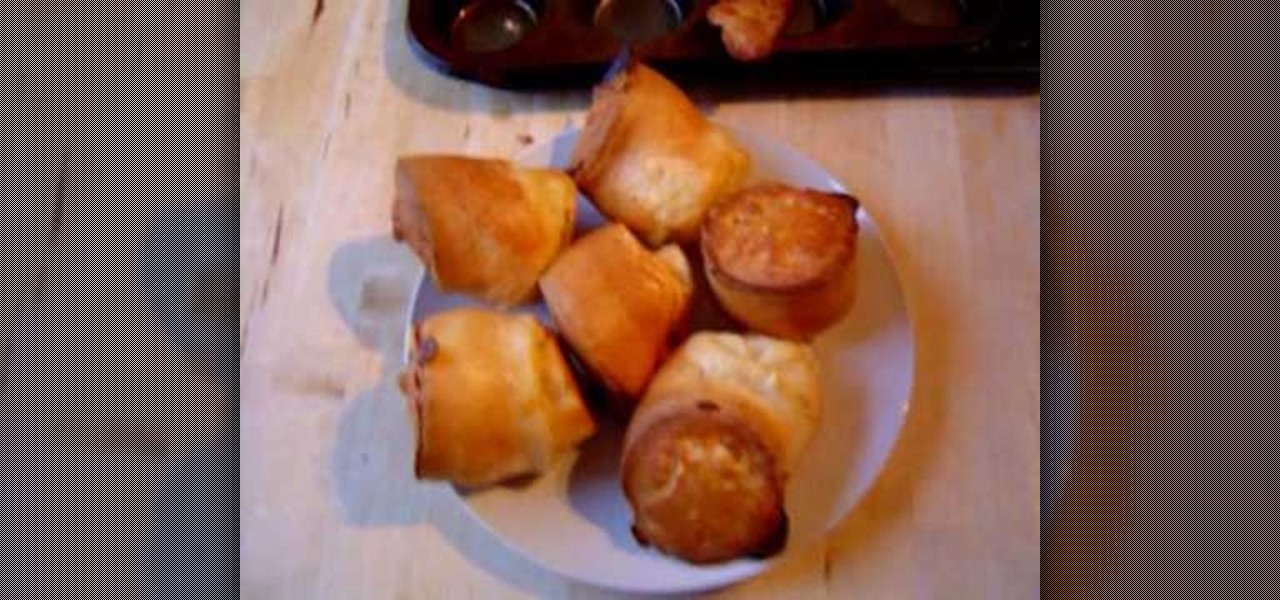
In this video, we learn how to make a Yorkshire pudding with roast beef gravy. First, take a saucepan and add in 1 c plain flour with 2 eggs. Combine these together until well blended, then add in milk to the mixture (about 1/2 c). Now, sprinkle in a little bit of salt and get rid of all the lumps that exist. When you are finished, grab a muffin tray and grease it up underneath another pan so it catches any spillage. Pour the mixture into the muffin spots until you reach the top. Then, place ...

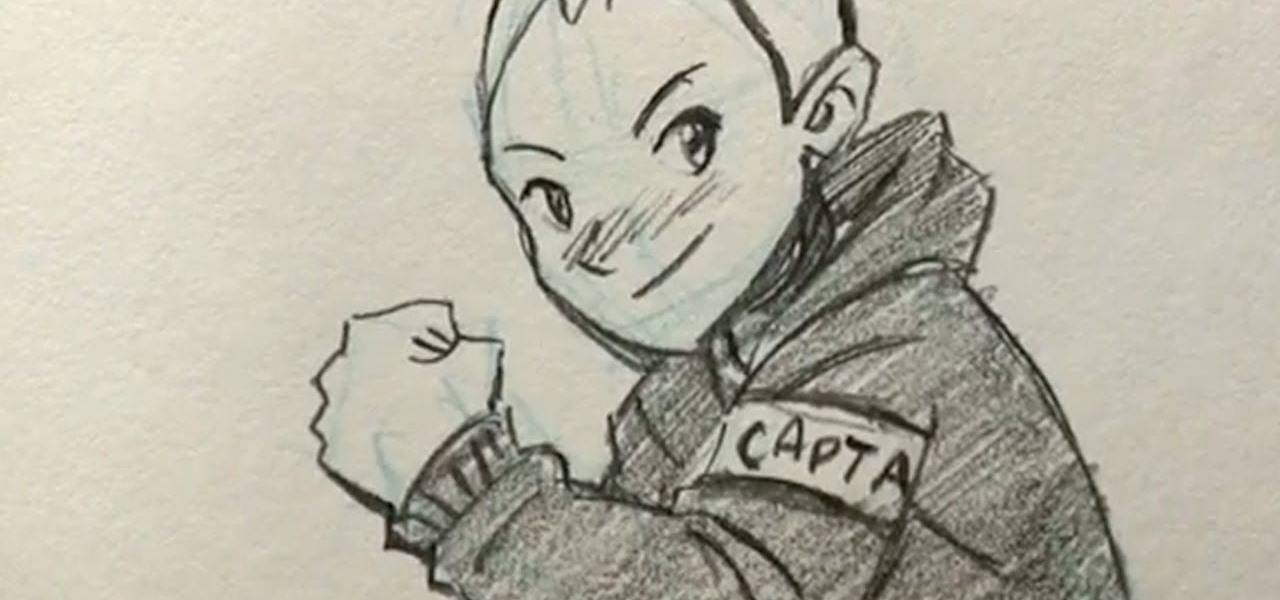
In this tutorial, we learn how to draw a teenage manga boy. Start off with the outline of the boy in a light blue pencil. Next, take a dark pencil and draw over the outline, adding in details and clothing to him. Draw in the features of the face and add in short spiky hair on his head. Then, draw in the details of the clothing, making sure to add in lines to make the folds in the clothes. Next, continue to draw in the rest of the boy, then finish with the feet and pants. When you are done, sh...

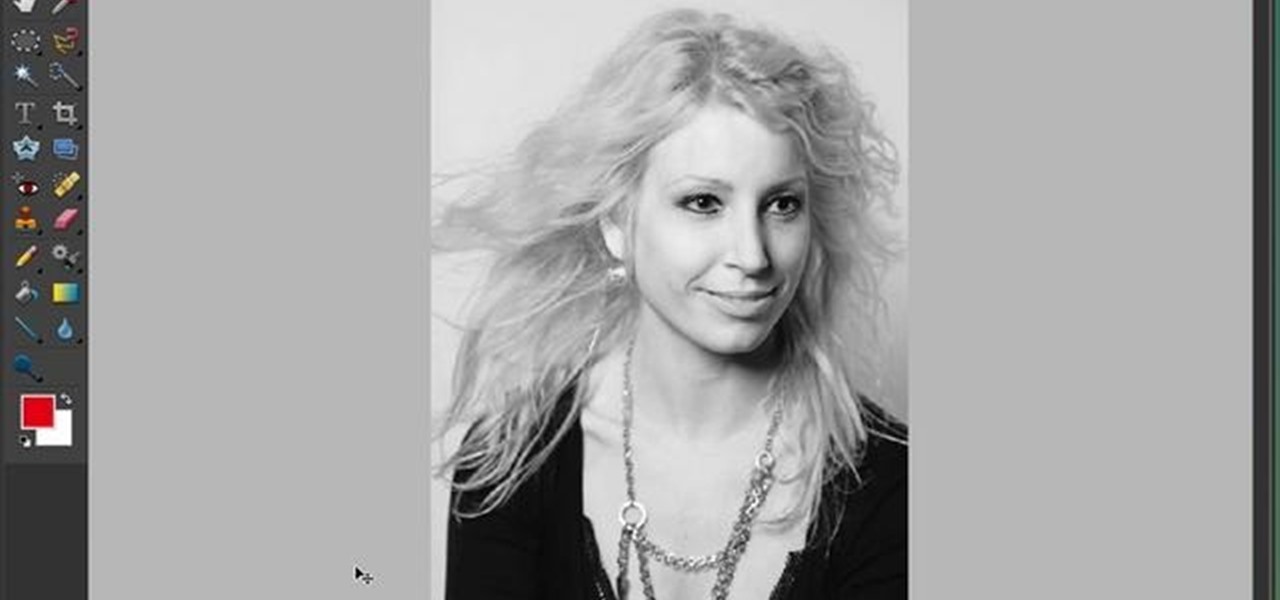
Resize your images and photograps in Adobe Photoshop Elements without losing content, having to crop the edges or ending up with a distorted image. There are several tools you can use in PSE which will let you resize the images, and this tutorial demonstrates how.

In this video, we learn how to join a crochet round left-handed. First, join with the top level of the crochet. After this, half double crochet of the shell and join with the beginning of the shell. Now, join with the beginning of the double crochet. Go around to the beginning and join with the beginning of the single crochet using a slip stitch. Then, slip stitch between the joining. Now you will want to join with the slip stitch in the beginning of the double crochet. To finish, join with t...

In this tutorial, we learn how to play Bingo on the piano. You will want to start out with the notes in front of you so you know which keys to play. Play the first part of the song first. You will notice that you play the same keys over and over again while doing this song. Break it down into sections so you have all the correct keys and listen as you are playing. Once you have finished playing all the sections, bring it together to create the entire song. Now add in the lyrics to the song an...

In this tutorial, we learn how to make an elastic Bali bead & crystal ring. First, you need to get all of your supplies together, which include: elastic cord, crystals, glue, beads, and scissors. Start by cutting a 6 inch piece of the elastic cord, then string a bead to the middle of it. Then take a crystal and string it onto one side along with another bead and a silver bead. After this, place more beads around the other side of the middle bead then put it around your finger to see if it's t...

In this video, we learn how to perform a cable cast-on. Start this with a slip knot, then grab your working yarn and create your first stitch. After this, go between the two stitches with your other needle, then tighten the last stitch that you just made. Now, go in between the last two stitches and tighten up the yarn again. Continue to do this by making different stitches and as you go down you will have a cable cast-on. As you finish, you will have a longer and longer row, so tie off when ...

In this tutorial, we learn how to play "Champagne Supernova" by Oasis on guitar. Start out with the chords E, A, D, G, B, and e. After this, you will have learned how to play the intro to the song. Once finished, you will play Asus2x0220, then Asus 2/g-302200. As you continue to play the different verses of the song, start singing the lyrics that go along with them. It's easiest if you break the song up into different parts so you can master each of them before you bring at all together. Afte...

In this video, we learn how to play "The Master Plan" by Oasis on guitar. First, play the A minor at 9 with G sharp and with G. Continue to play the A minor at 9 with F and D, then you will have the introduction to the song finished. Continue to break the song down into different sections, playing out each part until you have the chords memorized. You may need to take more time with others in the middle of the chorus because the finger placement becomes tricky. Once you have this mastered, mo...


