So you have gotten Grand Theft Auto: Chinatown Wars for your iPhone or iPod Touch, but now it turns out that your firmware is too low to be able to play the game! If you have a firmware older than 3.1.2, this tutorial shows you how to get everything working so you can proceed to play your game. The process is easy - get to your app through the iTunes interface and then use Payload to change a few things around.
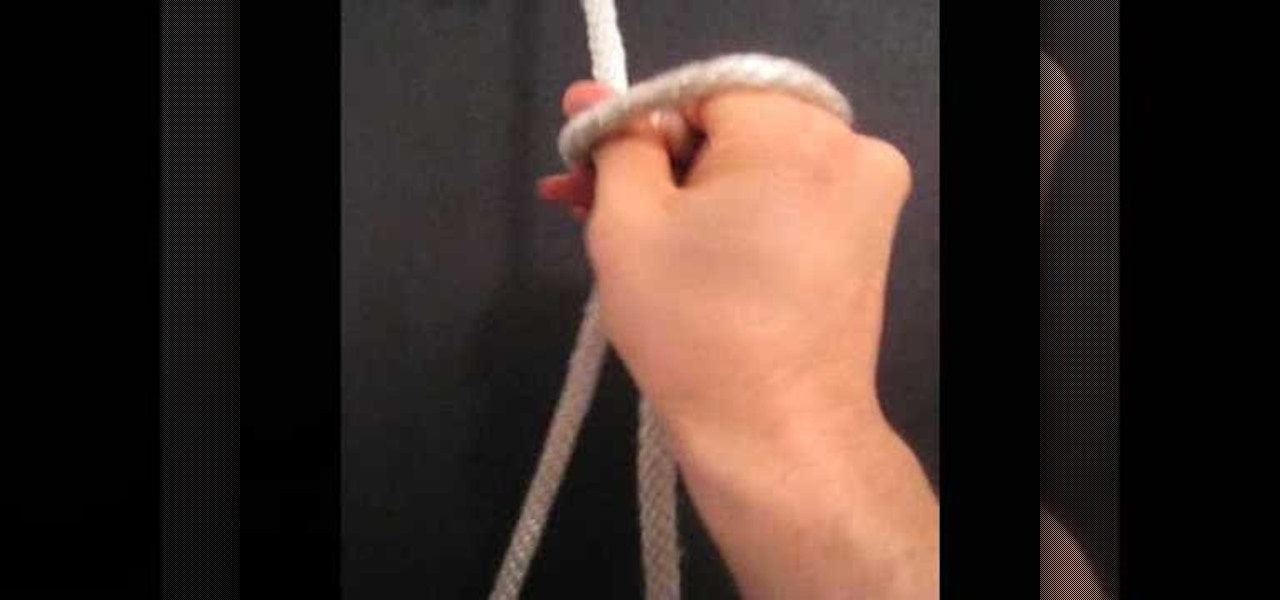
This is a video tutorial in the Arts & Crafts category where you are going to learn how to tie a Bowline knot with one hand. Doing this is really simple and easy and doesn't take any time at all. Hang a line from any support. Take the lower end, that is the running end in one hand and pass it around the standing end. Then take it out through the loop and pass the running end around the standing end and pull it out through the loop. Tighten the knot and it's done. It's really that simple and e...

In this video, we learn how to get rid of a double chin with face exercises. This works the chin muscle, known as the metalis. It also works the muscles at the front of your neck. This exercise exerts a gentle pressure on your chin and the front of your neck. It will tone and tighten your neck to make it look youthful and vibrant. It also tones your jaw muscle to define your jaw line and get rid of those jowls. First, stretch out your neck as far as it will go. Then, open your mouth and close...
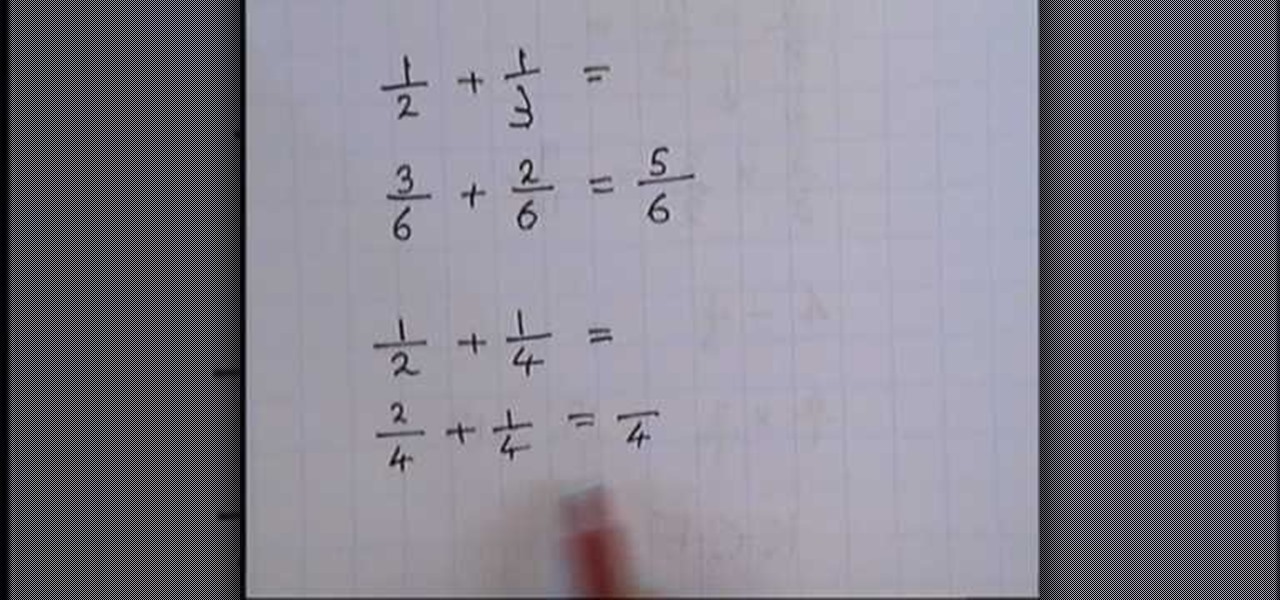
In this video, we learn how to add fractions together. First, try doing a simple equation like 1/2 + 1/2. From here, you will simply just add together across the board. Once you get the answer, it will be 2/4, but you must simplify this so it's lower. Check this and do the reverse to make sure it's correct. Do this for all of the fractions that come your way and you will be doing fractions more easily each time! Just make sure you simplify when you reach the end, or the answer will not be cor...
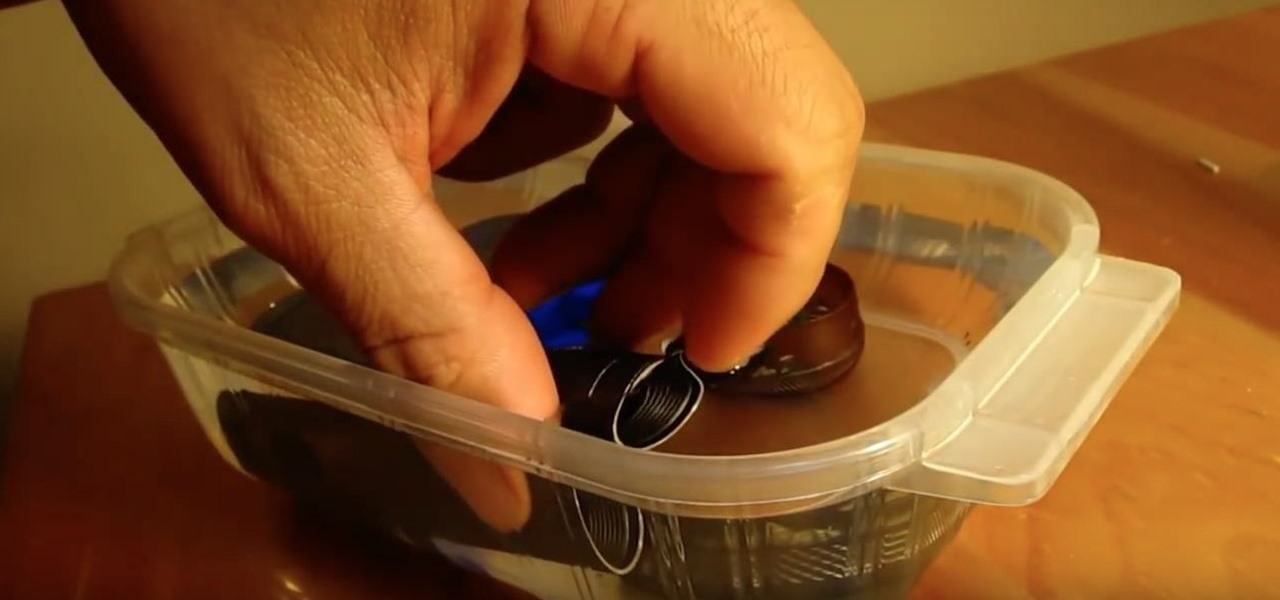
The pressure underwater is undeniably strong. If you were to fill a balloon with water and take it underwater, it would not burst but would stay the same size because liquids are not compressed. The pressure is the same, inside and outside of the balloon. If you were to fill that same balloon with air instead, the lower it dives into water, the more it shrinks, until it eventually can't take the pressure anymore and bursts.
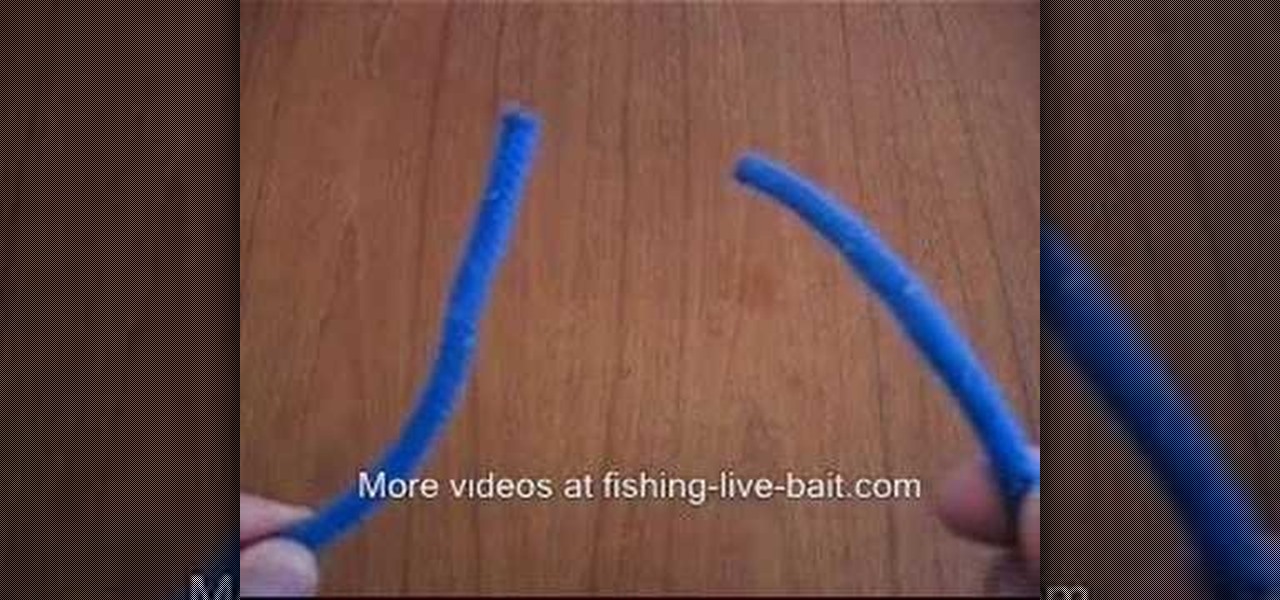
In this video we learn how to tie an easy fishing knot system. First, put the line through the hook and pull. Then, take the end of the line and make it come through the loop. Bring this over and then you will have a hole at the bottom of the string. Take the end of the line and put it through the hole around six to eight times to get a strong knot. Then, pull on the main line and you will see the knot glide up to the hook, To go lower, just pull it down. This creates a strong and efficient k...

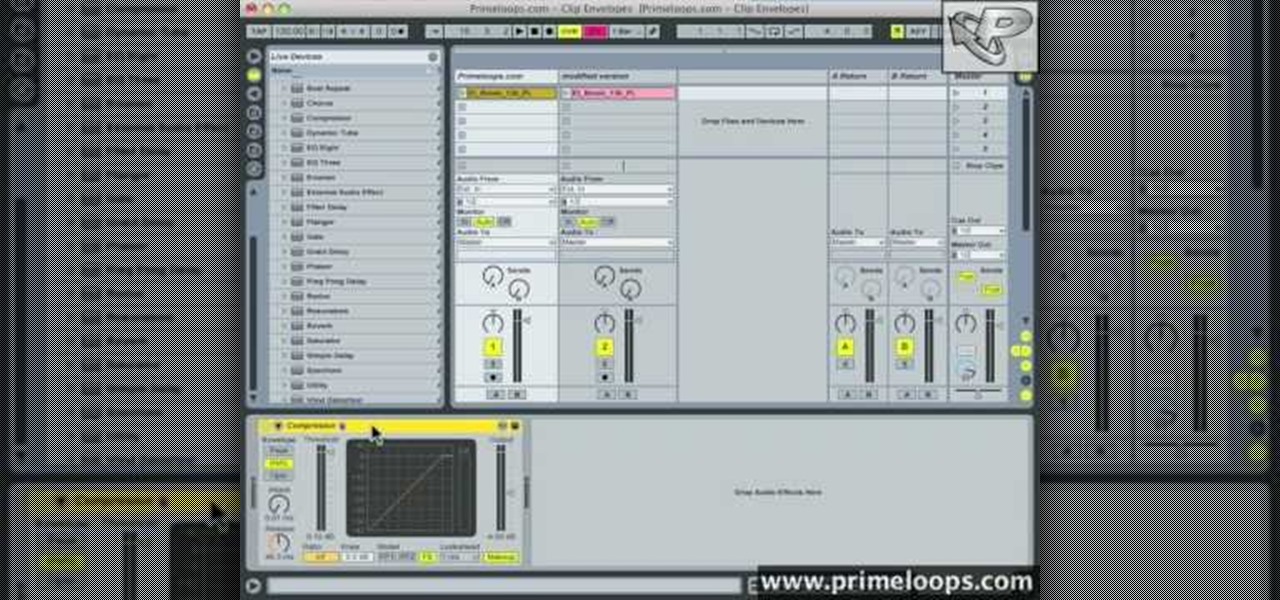
In this tutorial, we learn how to use clip envelope modulation in Ableton. This allows you to change parameters over time. You can access this by selecting your audio clip, then hitting the "E" button in the lower left hand corner. Now, you will see the envelope section where you will be presented with drop down menus. These will allow you to choose parameters and modify the tuning or position. This is an easy way to do extreme tuning changes in your audio. Continue to play around with the cl...

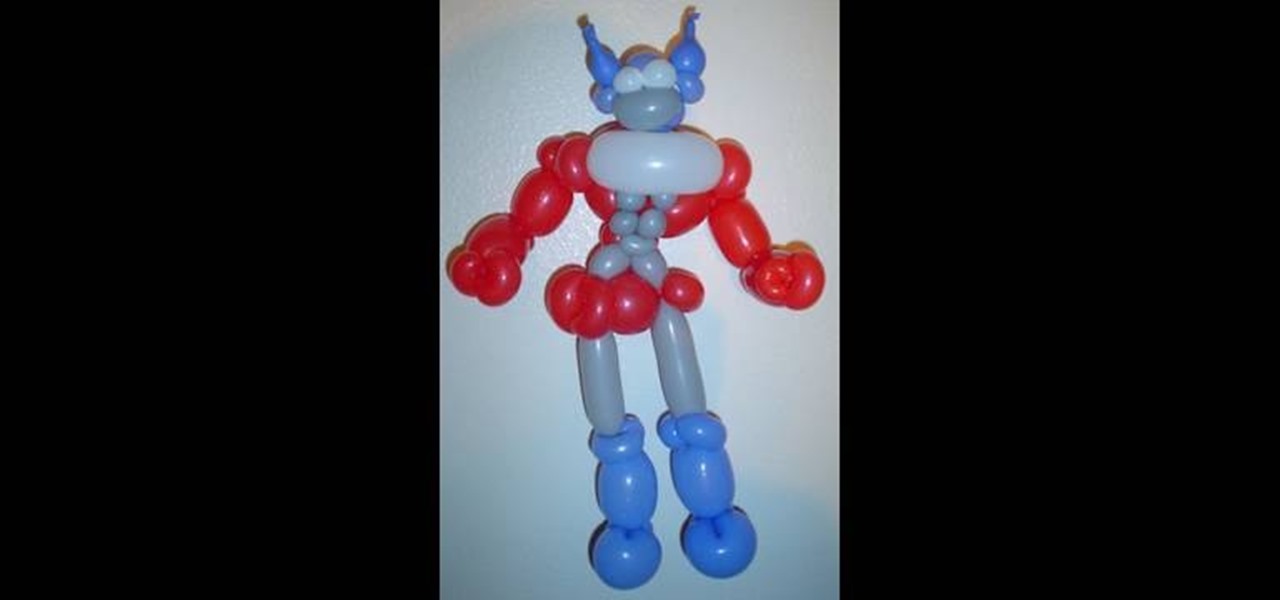
Balloons in skilled hands can be used to model your favorite cartoon characters as well. Watch this video to learn how to create the leader of the Autobots Optimus Prime with balloons.

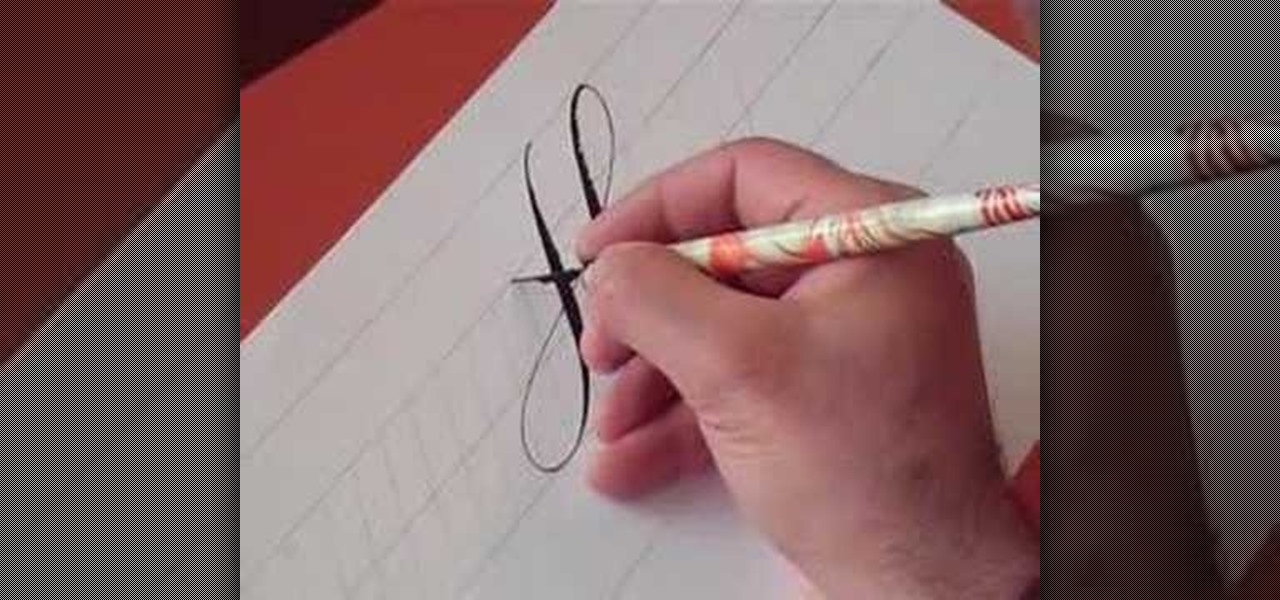
In this video, we learn how to write numbers in calligraphy copperplate. To write the number five, you will simply make the shape of the number, but add in a thick edge to the bump and curved edges to the end. To write the six, use a thick line on the side of the number and a thin line for the circle in the middle. To make the seven, the top should be curved and thick, and the lower line should be very thick with a straight edge. To make the eight, draw the number so that the left edge is thi...

In this video, we learn how to use secure online passwords. There are a ton of things to consider when creating a password. A weak password is something that someone can easily guess. If you are using a birthday, common dictionary word, child's name, or something common then you are at risk. Your password should combine letters and numbers, and be at least eight characters long. It should also be completely random and have upper and lower case letters. You can use a password assistant if you ...

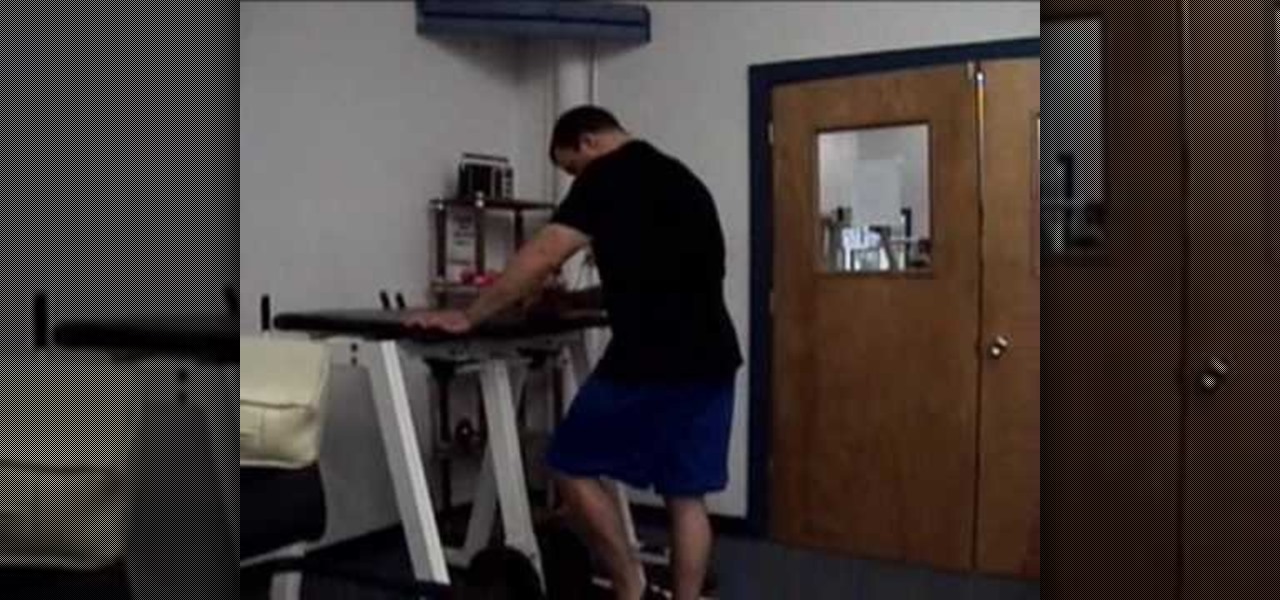
In this video, we learn how to use the reverse hyper to protect and rehab the back. First, you need to lay down on the machine correctly. Make sure your core is out and your arms are holder the levers. Now, lift your legs up on the straps and slowly lower them down. Continue to do this as you work out, this will result in a great work out in just a few reps. As you continue to do this you will be able to do heavier weights. This will help protect your back from injury and get it back into shape!

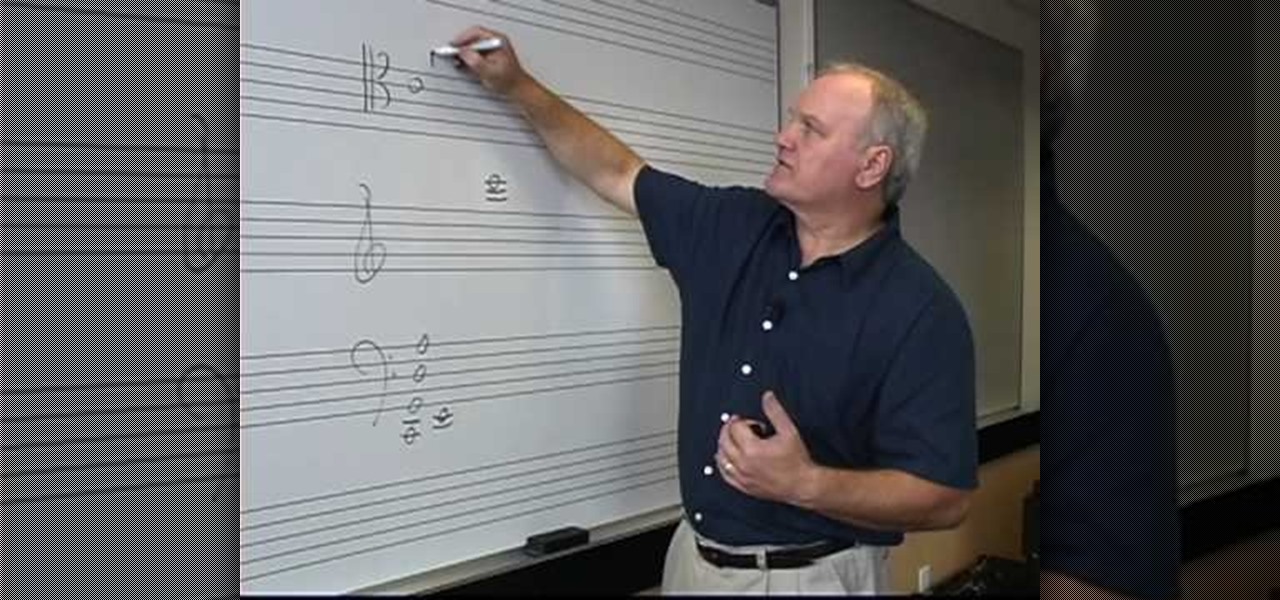
In this video, we learn how to play the cello with range and clefs. With the cello, you have the C string, the G string, the D string, and the A string. This is just like the viola and violin, just an octave lower. You will read in three different clefs. The tenor clef looks similar to the alto clef but the middle C is in the middle of the clef. As you get above the staff, you will get to treble clef. The main clef will be the base clef, but try using the treble clef for a melodic tune that s...

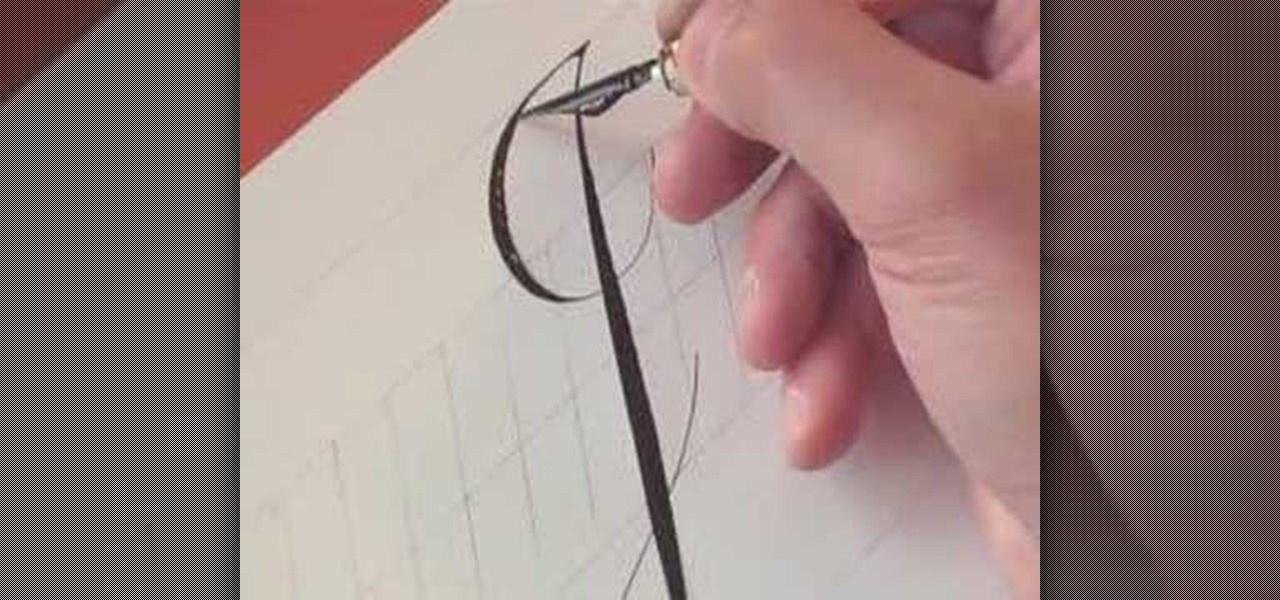
In this video, we learn how to write the letter H in calligraphy copperplate. To make the upper-case letter, start off drawing into a thick line, with a curve at the end of the letter. Make the curve end touching the line, then draw it out to the right side of the letter, bringing it back down to a line to make the "h" shape. Next, draw a line across the two lines with a curve at both ends. To make the lower-case letter, start by drawing a thin line to make a loop at the top, then bring it do...

Google is the biggest and best search engine on Earth, and if you are a webmaster and want your website to be a big success it would really behoove you to know as much about how it works as possible. The Google Webmasters series of videos and website were created to teach webmasters, SEO professionals, and others how Google works by answering their questions and giving them insights into how they can best integrate and utilize Google's functionality to improve their business. This video will ...

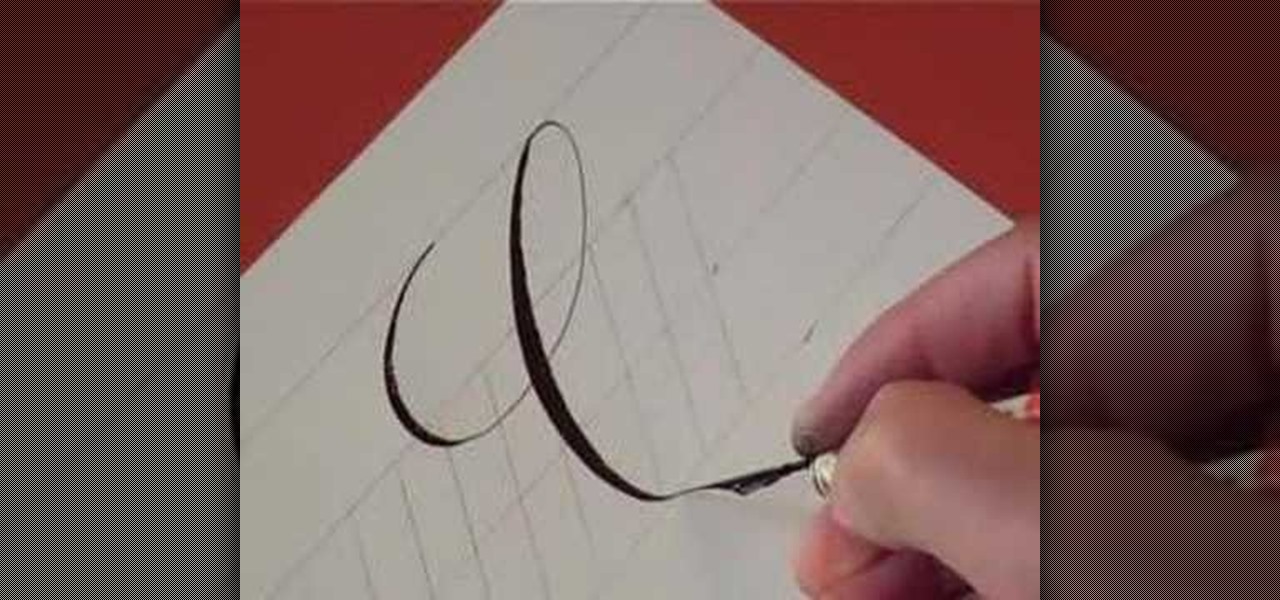
In this video, we learn how to write the letter "c" in calligraphy copperplate. First, dip your calligraphy pen into ink and start out making a large half circle on the paper. Dip the pen into ink again and make a loop with the top of the letter, then drag the pen down, making the "c" shape. End the letter with a loop on the bottom that isn't touching the inside of the letter. Make the lower case "c" by drawing the basic shape of the letter and adding a ball filled in with ink to the top of t...

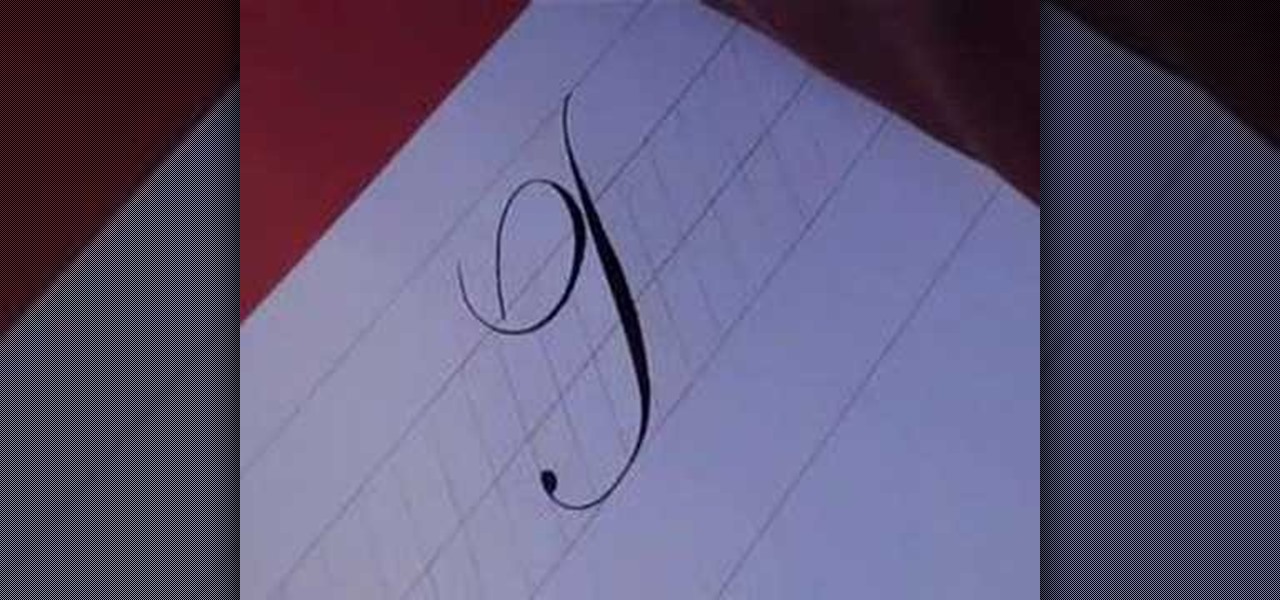
In this video, we learn how to write the letter J in calligraphy copperplate. For the uppercase letter, start by grabbing your calligraphy pen and drag it down so you have a thick black line with a thin line at the top. End the letter with a loop around it, then bring the top line to the left and loop it around, making a semi-thick line with it. To make the lower case letter, make a thin line going diagonally to the right, then dip the pen in ink and bring the pen down in a thick line down. C...

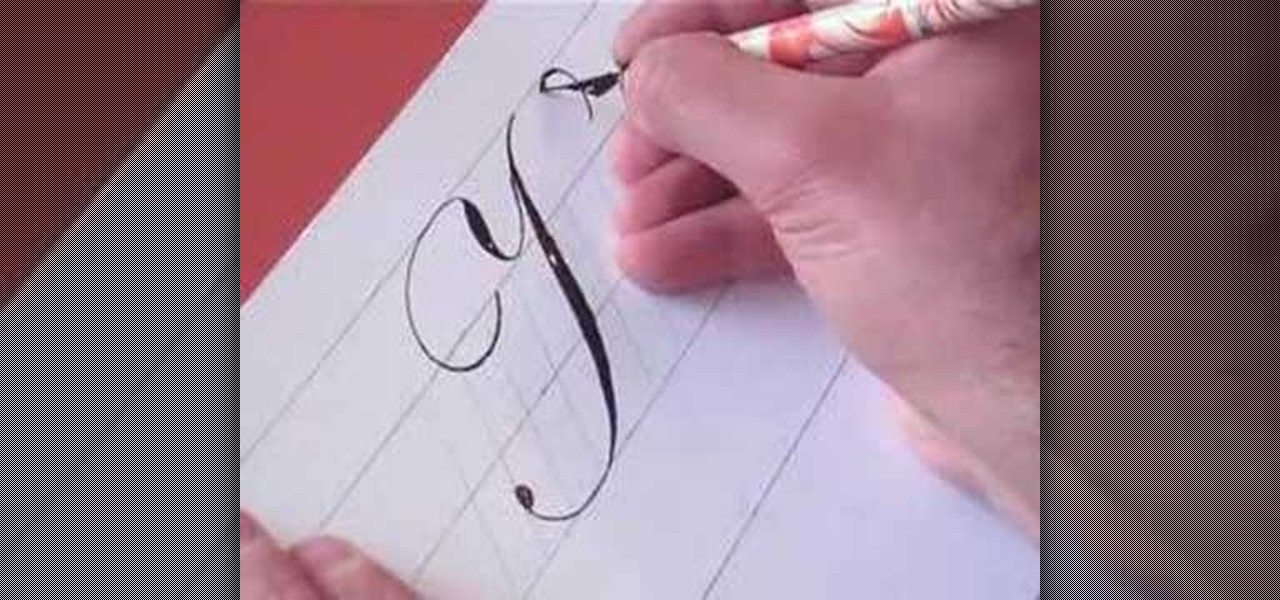
In this tutorial, we learn how to write the letter Y in calligraphy copperplate. First, make a thin line with the pen, going thicker as you go down, make a loop and then come back down. Make a "u" shape, then connect a curved line to the other side finished with a dot on the bottom to complete the letter. To make the lower case letter, make a small thin hump, then drag the pen down to a thicker line. Make a new line on the other side, making a thicker line and connect it with the other shape ...

In this video, we learn how to write the letter T in calligraphy copperplate. Start by drawing a thick line that follows out a loop that curves to the left hand side. After this, create a loop at the top of the line, on the left hand side. Draw this out and cross the line over the top to make the T shape, ending with a slight curve at the end. To make the lower cased letter, draw a thin line, then draw a thick line over it, then cross a thin line across the top middle of the letter. Now you w...

In this video, we learn how to write the letter K in calligraphy copperplate. Start by running your calligraphy pen on the paper going from a thin line to a thick, making a line curved to the left ending with a dot at the end of a small loop. Next, make a loop to drag out across the top on the right hand side and curve it down to make the K letter. Do the same to make the lower case letter, except making a loop for the top of the letter instead. When finished, let the ink dry and you've got y...

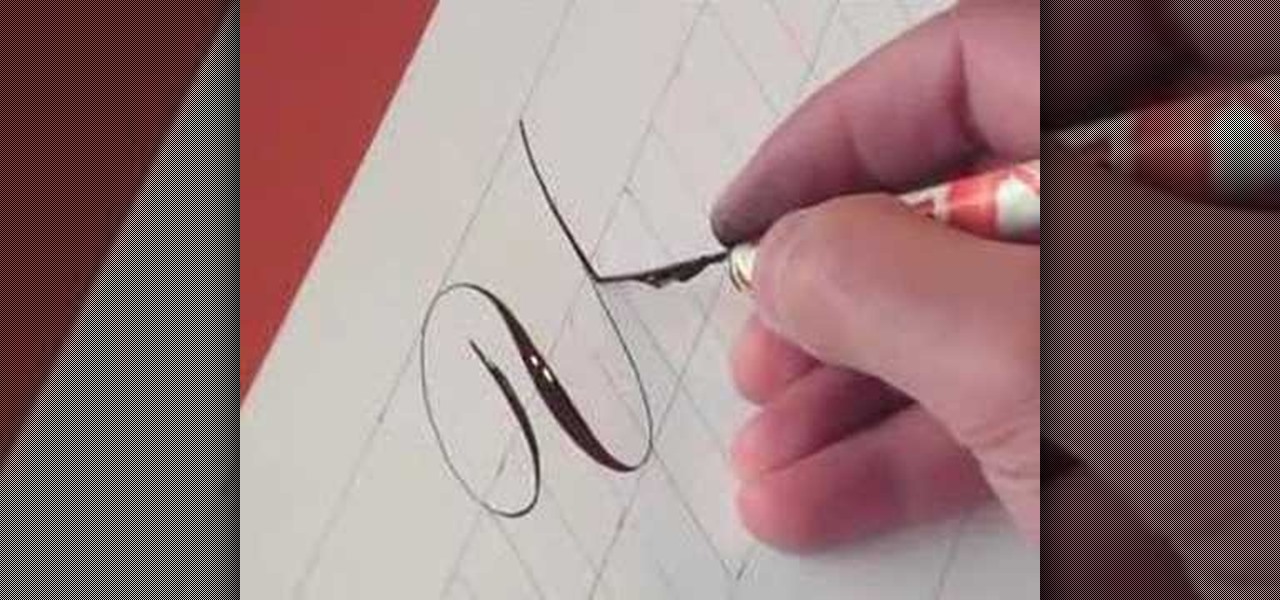
In this video, we learn how to write the letter "S" in calligraphy copperplate. First, dab your calligraphy into ink, then start to writ on a your paper. Make a large half bowl shaped curved line, then make a loop and go down, creating a curved line with a dot at the end. To make the lowercase letter, make a thin line, followed by a thick outer line that curves into the large line making a lower case s. When you are finished with both of these, you will have beautiful letters that look great ...

In this tutorial, we learn how to measure your petticoat size for a sari. First, measure around the waist with a measuring tape. This will be a simple measurement of your natural waistline. Next, you will need to measure the length of the petticoat. Measure from the waist down to the ankle. After this, measure out the hip area. The hip is roughly 9" lower than your waist is. After this, you will have all the measurements you need to make the petticoat the right size for your sari. Use your fa...

In this video, we learn how to write the letter "r" in calligraphy copperplate. Start out by dipping your calligraphy pen into ink, then creating a curved line with a dot at the end of it. Next, fill in the line so it is smooth and there are not ragged edges. Next, draw a large swirl on the left side next to the curved line, then draw it over to make the initial loop on the "r". After this, create a loop in the middle, then draw it back down to make the end hump of the "r". After this, draw i...

This video tutorial is in the Music & Instruments category which will show you how to sing octave and unison. Unison singing is two or more people singing on the same note. The singing has to be in sync. It is important to make sure that the phrasing and the lines are together. Also the tones should be identical. One should not be too loud or overbearing. Octave singing is like unison singing except for the fact that one person will be above or below the other person in terms of tones and not...

This video tutorial is in the Arts & Crafts category which will show you how to tie a decorative Door Knocker knot. Take a piece of rope and make a loop at the center with the left hand end of the rope over the right hand end. Now pass the right end above and through the loop to make a half knot. Twist the loop to make a figure of eight, pass the right hand end through the lower loop of the "8" and back through the upper loop. Repeat this once again. Now repeat these steps with the left hand ...

In this video tutorial, viewers learn how to use the auxiliary audio port in a 2010 Toyota Prius. This car is equipped with a mini plug auxiliary input port in the lower rear section of the center console, below the armrest. This will allow users to use personal playback devices such as an iPod. Simply plug the device into the mini plug socket and press the AUX button to listen through the car's audio system. This video will benefit those viewers who have a Toyota Prius car, and would like to...

In this video tutorial, viewers learn how to the "Grant Green" exercise circuit. This exercise circuit contains exercises. The exercises are: 10 raps of donkey kicks, 20 reps of scorpions, 20 reps of iron cross, 8 reps of both lateral leg lifts with toe out and in, 5 reps of Rockies, 5 reps of donkey whips, 10 reps of lower body crawl, 10 reps of Australian crawl, 20 reps of pedestal lateral leg lift, 20 reps of groiners, 10 reps of hurdle seat exchange, 50 reps of Russian hamstrings, 20 reps...

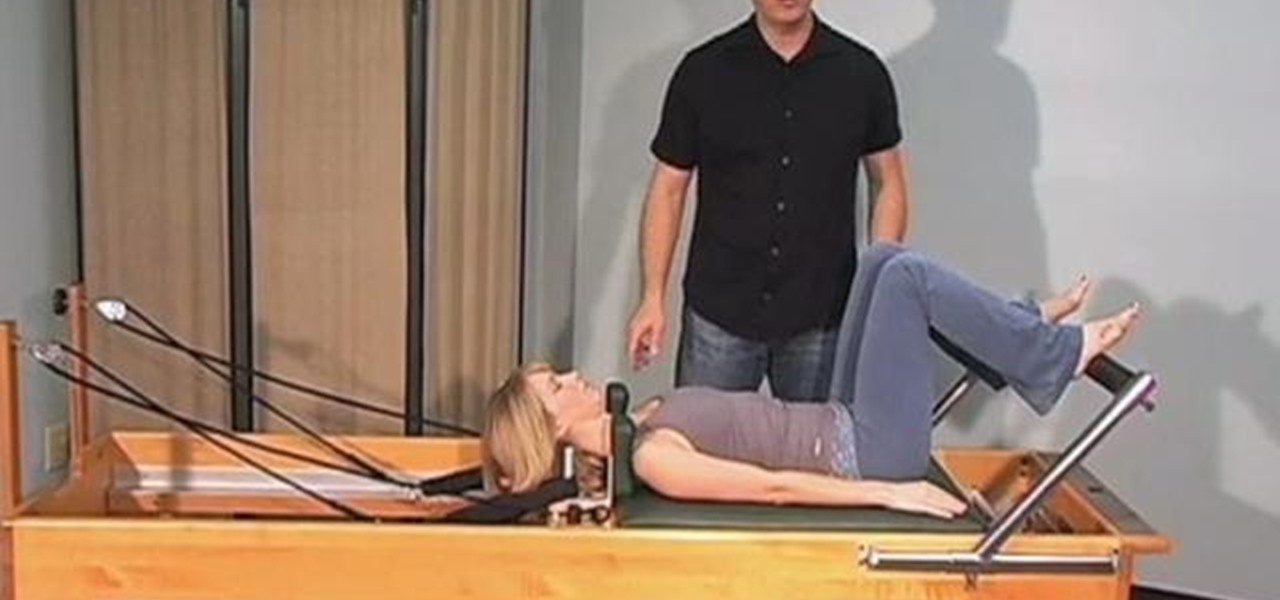
In this clip, you'll learn how to reduce pack pain through use of a Pilates Reformer exercise device. With Pilates, as with any physical fitness system, a basic mastery of proper technique is essential for both maximizing the effectiveness of your workouts and avoiding accidental injury. Whether you're looking to slim down or merely tighten up your core, you're sure to be well served by this home fitness how-to from the folks at Balanced Body Pilates. For complete instructions, give this free...

In this video tutorial, viewers learn how to create a tilt shift effect with Adobe Final Cut Studio. Begin by changing the video's speed to 300% and disable the Frame Blending. Now click on Effects, go to Video Filters, press on Time and select Strobe. Change the Strobe rate to 7-15 fps. Now switch to Motion and Duplicate the group. Then create a simple mask in the upper group and apply defocus to the lower group. Under Mask, increase the Feather rate up to 100%. Now add another mask around t...

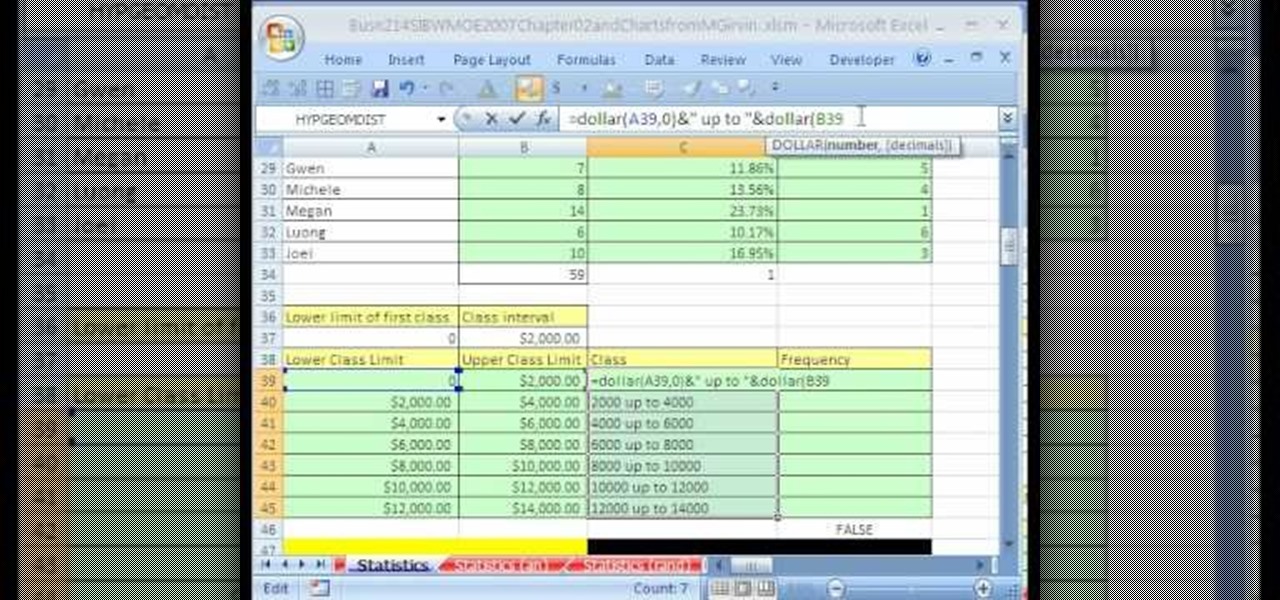
Whether you're interested in learning Microsoft Excel from the bottom up or just looking to pick up a few tips and tricks, you've come to the right place. In this tutorial from everyone's favorite digital spreadsheet guru, ExcelIsFun, the 31st installment in his "Highline Excel Class" series of free video Excel lessons, you'll learn how to build frequency tables and simple histogram charts in Microsoft Excel. Specifically, this video addresses the following subjects:

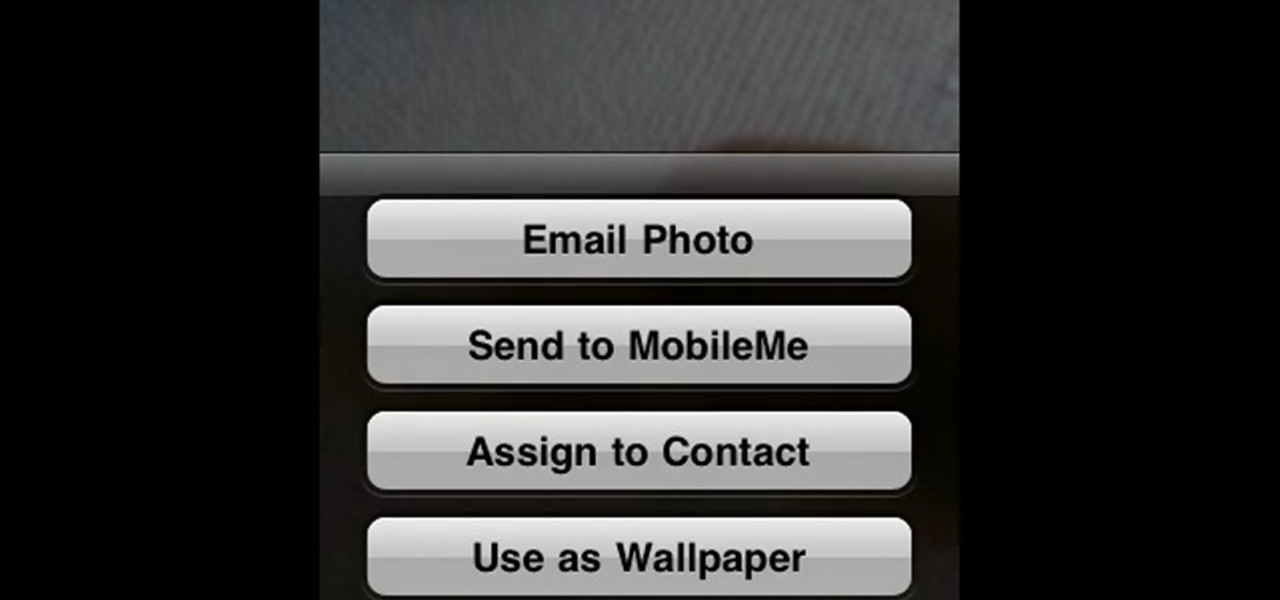
In this Electronics video tutorial you will learn how to Email photos from your iPhone. This is really very easy and simple to do and takes practically no time. On your iPhone go to the camera icon and tap on it. Then find a picture that you want to email. Then tap on the little icon on the lower left of the screen as shown in the video and then select email photo. Then you put in you want to send the photo to, type in a subject and add some text if you want. And the final step is to tap ‘s...

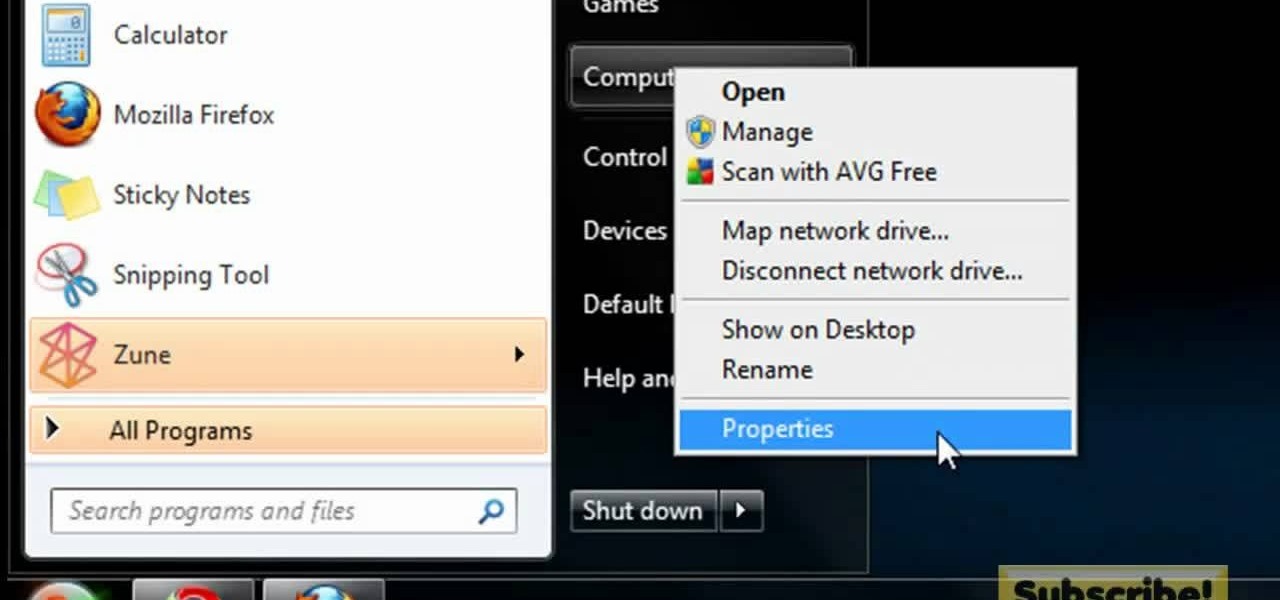
In this video tutorial, viewers learn how to make the System Restore feature use less space in Windows 7. Begin by clicking on the Start menu. Right-click on Computer and select Properties. Under Tasks, click on System protection. In the System Properties window, select the hard drive and click Configure. Under Disk Space Usage, drag the slider to the left for a lower amount. Then click on Apply and OK to confirm. This video will benefit those viewers who have a Windows 7 computer and would l...

in this video Evan Burse teaches us an easy way to draw Toothless from the 3D cartoon how to train your dragon.

In order to apply cologne properly, you will need to choose the best cologne for you in advance. The cologne will need to mix well with your own natural scent. It is important to avoid overuse. Stick to a three (3) spray rule: never exceed 3 sprays. The distance from the body is important. Therefore, you should spray a distance from your body.

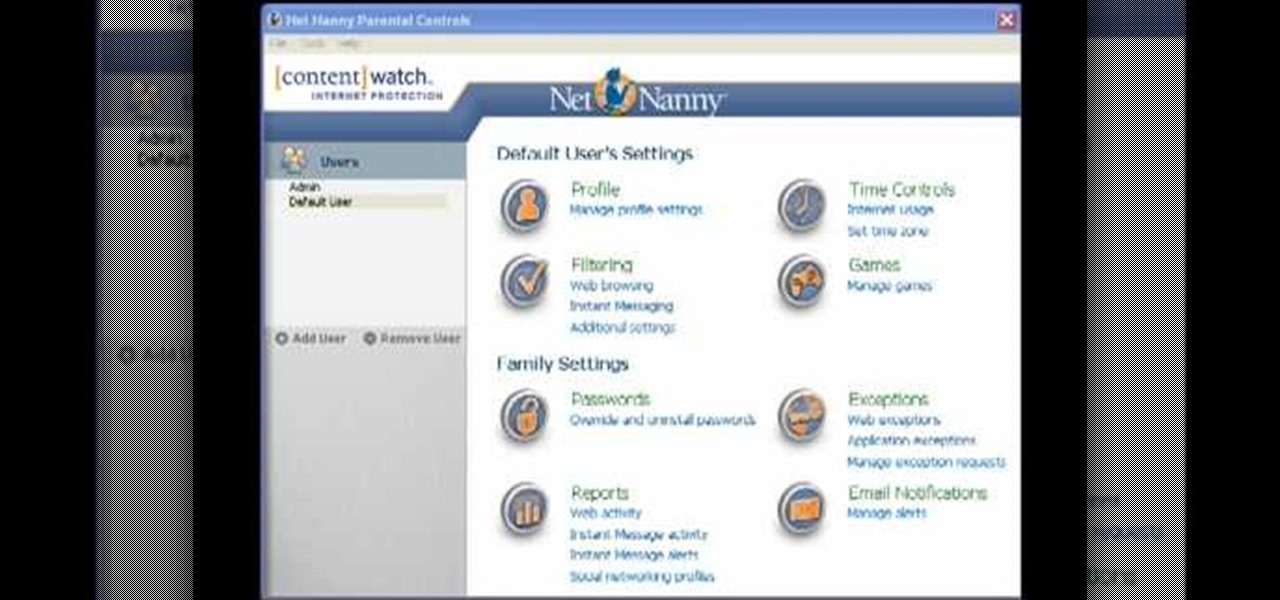
If you are a parent trying to protect your children from websites you don't want them to see or just a person who doesn't want to stumble upon certain websites by accident then this video is perfect for you. By using Net Nanny you can block any website you want in a fast and simple way. First, open Net Nanny to the dashboard screen and look under "Exceptions" on the lower right side of the screen. Under exceptions click on "Web exceptions" and then click the "Add" button. Now, type in the URL...

In this how-to video, you will learn how to make a paper snowflake. This is great for the winter. The best way to make a good snowflake is with the way you fold it. Start off with a square piece of paper. Fold the paper into a triangle. Now, fold the triangle along the height into another triangle. Take one of the lower corners and fold it 60 degrees. Fold the other side the remaining 30 degrees. Snip off the trails with scissors. Now, cut patterns into the sides of the paper. Unfold and then...

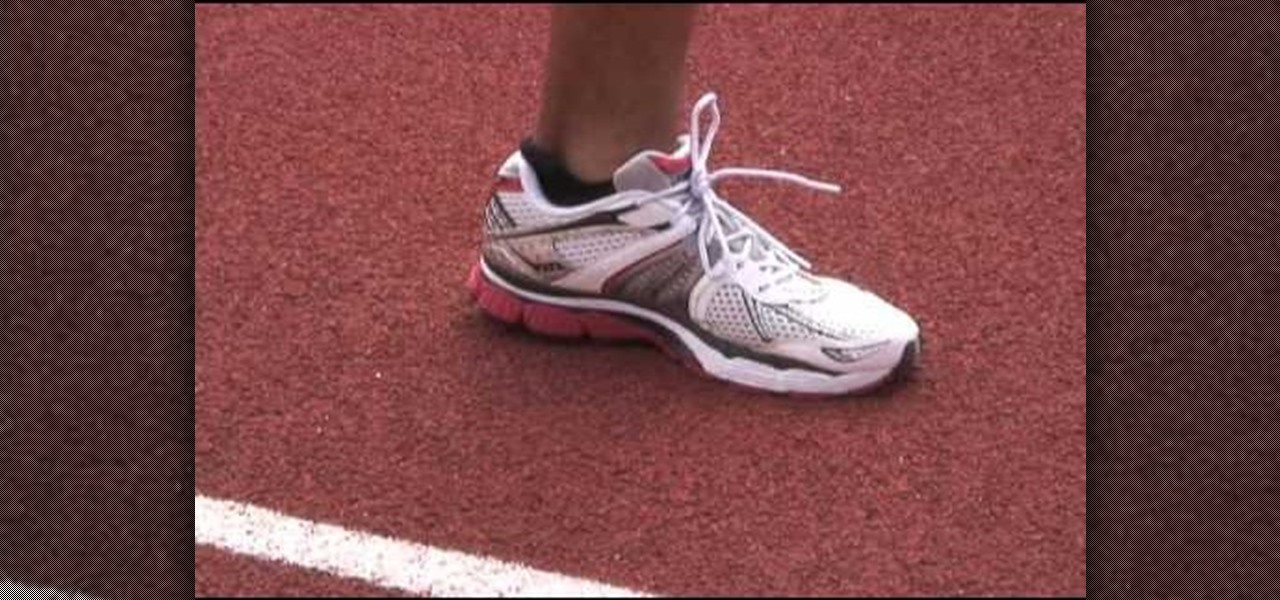
First, as you run you need to maintain good breathing techniques. Therefore, it is important to look straight forward, not clench your jaw but keep it relaxed, and just breath in a natural manner, not worrying about whether you are breathing through your mouth, or nose, nor other respiratory concerns. It is important to remember "that your body naturally finds the most efficient and effect way to run." Consequently, you should let your body guide your style. Next, you need to maintain a good ...

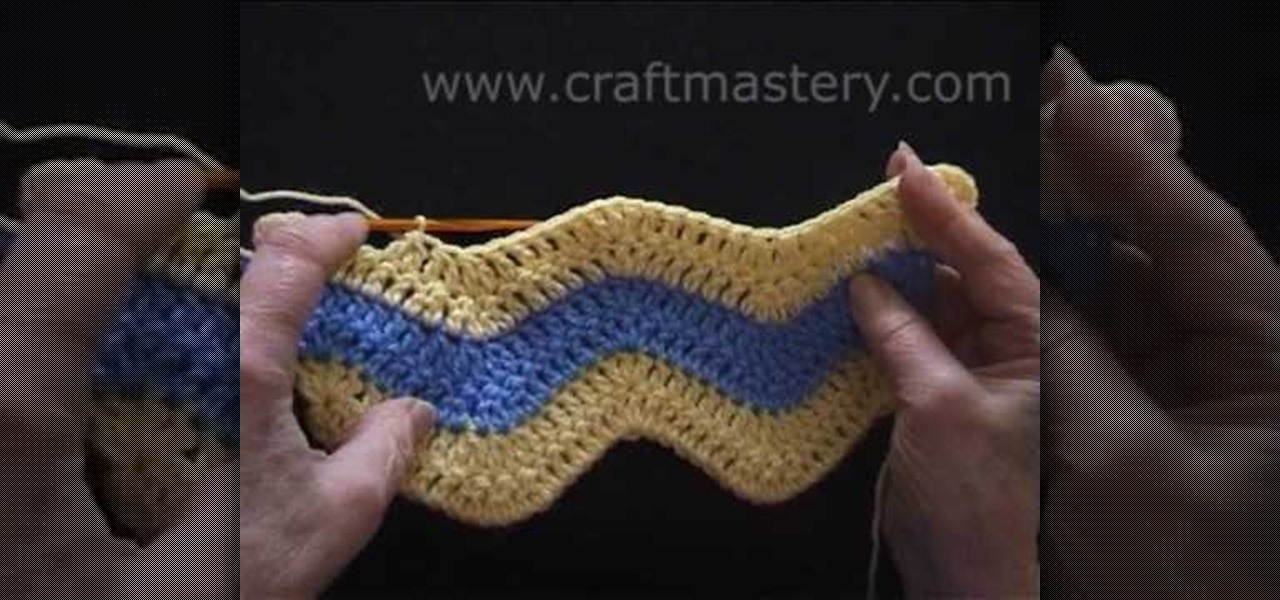
This video shows how to crochet a chevron stripe pattern using stitching techniques. The instructor shows you to make a patterns of three loop stitches to create the chevron stripe pattern. The instructors shows that after six standard stitches you decrease your stitches to create the waving design in the creases. This pattern is done many times until the you will see the waving formation in the stitches appear. at the peak of the waves you are instructed to do another decrease. Following the...

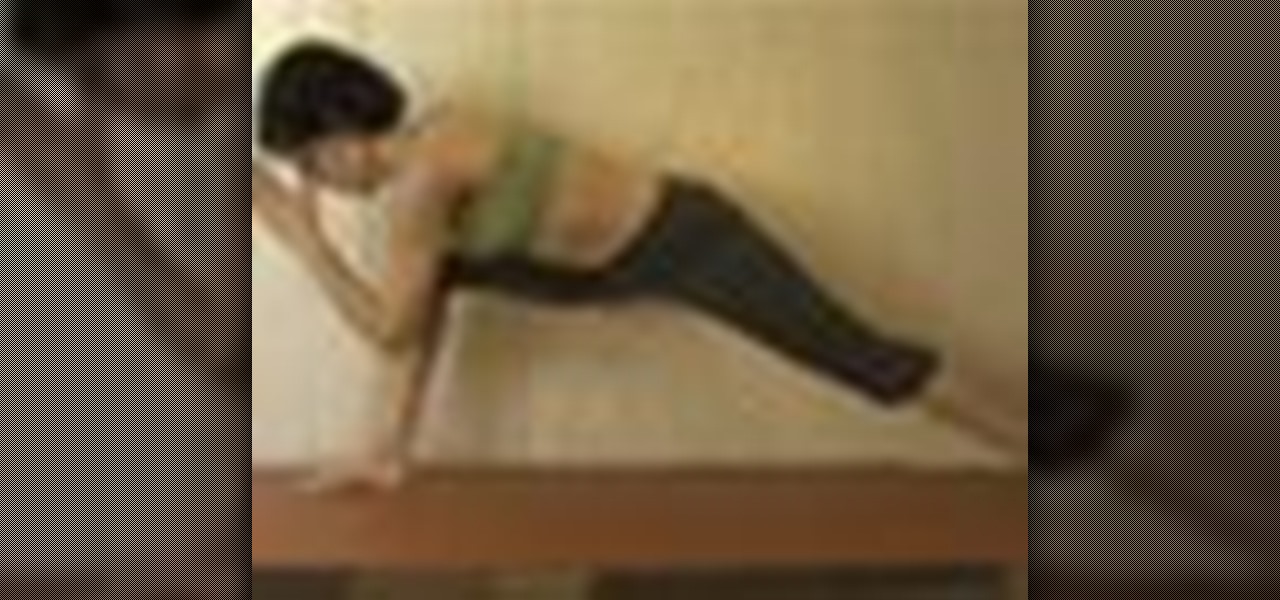
In this video from Shiva Rea we learn how to perform hip opening tiger stretches in yoga. Shiva oozes with sensuality and loves what she does. Coming forward into a lunge, take right arm in front of right shin, turn head to right side, and come back into the runner's stretch. Next time you come forward you can tuck the left toes under and turn to the left, a give a HA HA cough. And last, come forward, you can come to the edge of the right foot, turn head to the right, and get even lower, and ...

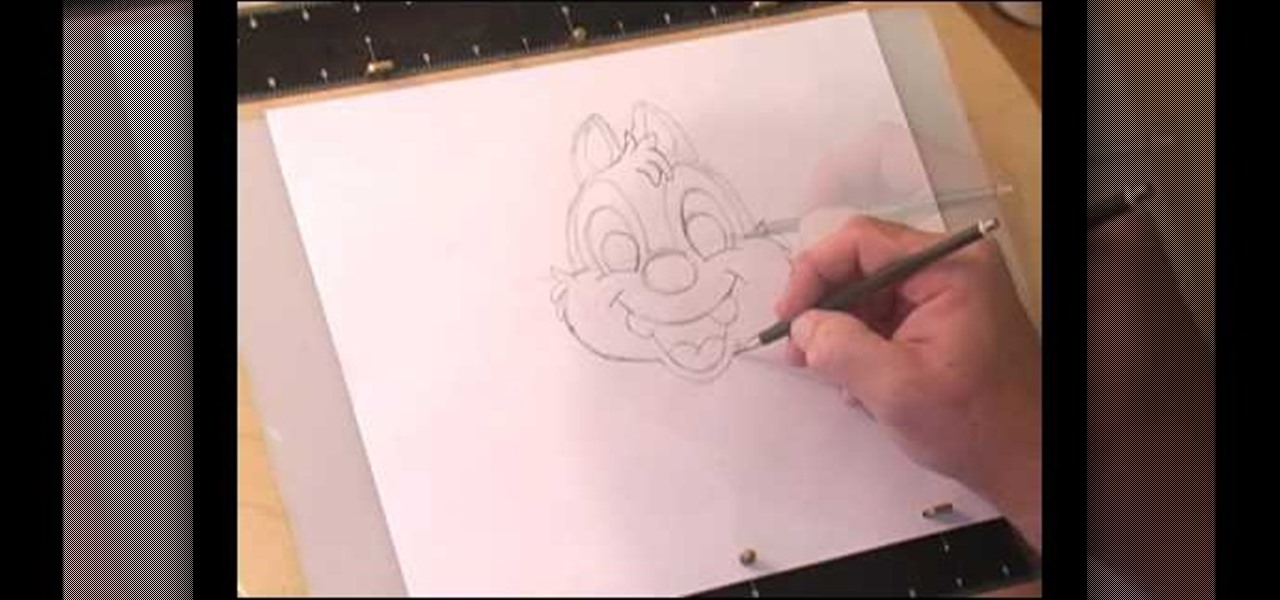
This video shows us how to draw a Dale character. First you draw a ball about the size of an orange. Insert construction lines in the shape of a cross. Starting with the small middle area, draw the mask outline and add the ears at the top. Draw in the nose under the middle line. Draw the cheeks outside the construction line on both sides. Add smile lines on each side and draw a curve between them for the mouth. Extend the lower part of the mouth outside the construction line. Insert teeth and...

This video shows the viewer how to make their own organic lip balm. This is a good idea as many commercial lip balms contain preservatives designed to preserve the balm – these preservatives can have detrimental effects. The ingredients used are 2oz of bee’s wax and 1oz of coconut oil. Grate the bee’s wax into a Pyrex boil, add the coconut oil and lower the Pyrex bowl into a saucepan of water. The water should be at a low heat. Gently stir the mixture until it has melted. Allow the mixture to...


