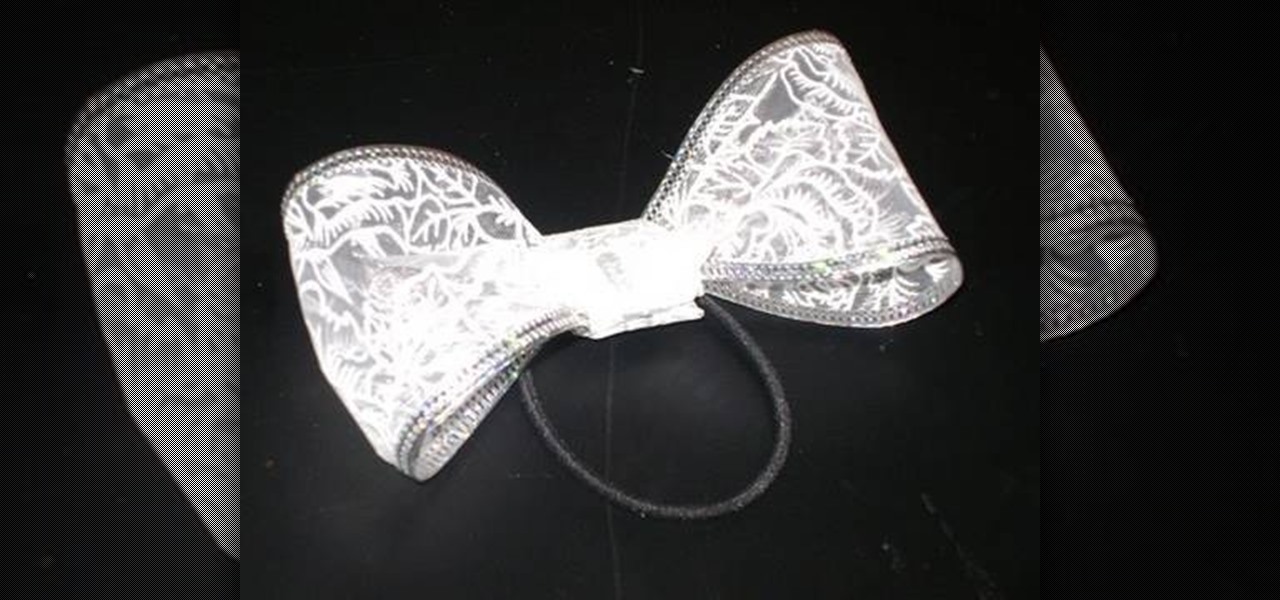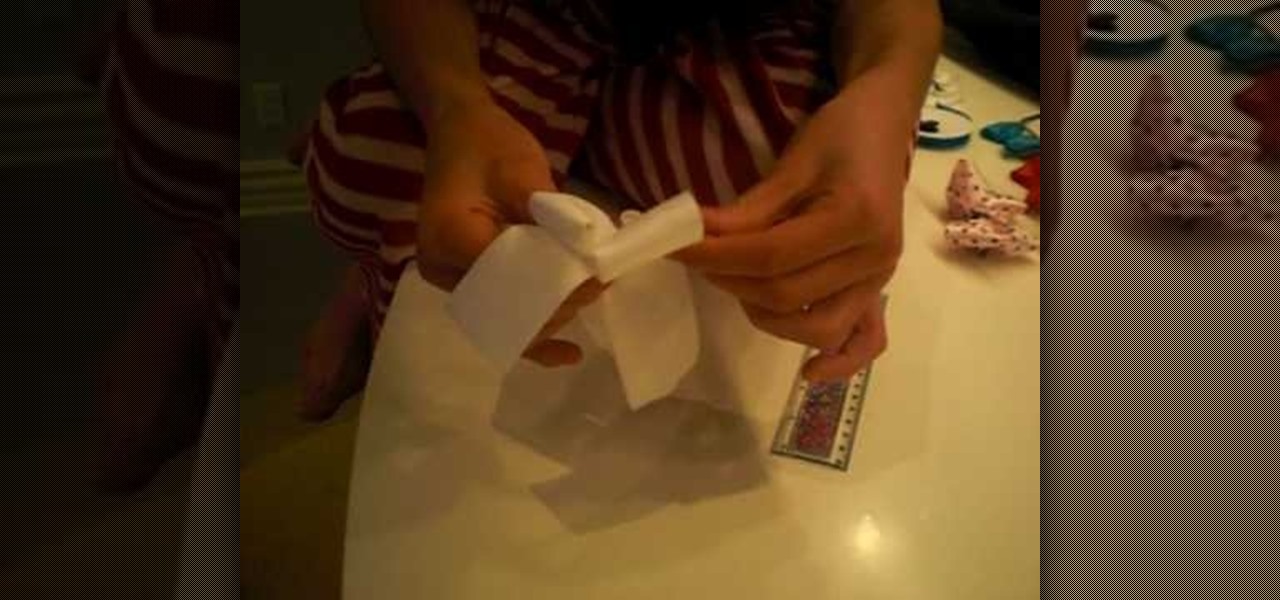
This video teaches the viewer how to make a bow for your hair. You need a few materials to do this including 12 1/2 inches of ribbon that is approximately 1 inch wide, Two to three inches of contrasting ribbon for your center piece, a glue gun, 5 inches of craft wire and a hair clip. You can chose the colors or create several different ones to coordinate them with your wardrobe. They take only about 5 minutes to complete as long as you have all the materials on hand. Make sure to have a pair ...
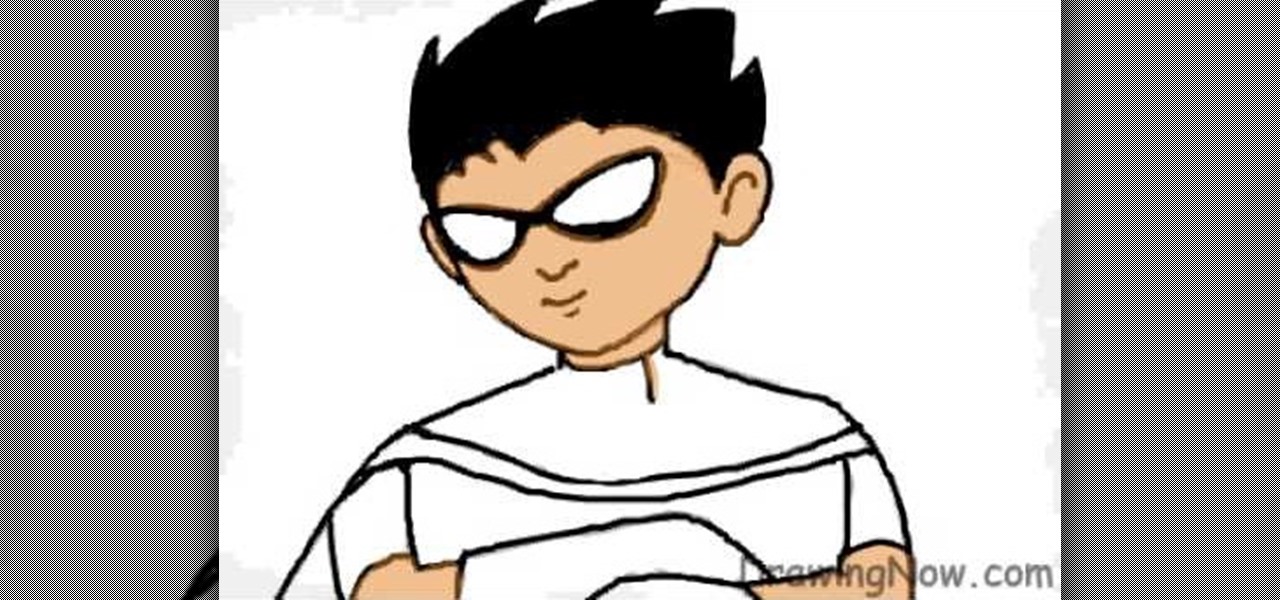
In this video tutorial from Drawing Now, learn how to draw the character Robin from Batman & Robin. You will need to first draw a circular shape for Robin's head. Then draw ears as well as a series of lines that looks like hair. These lines will actually serve as the raw form of your character, but will actually be erased once the real lines are drawn. Using a series of lines as shown in the video, you will add facial expressions, shoulders, and arms to your character. Darker lines will add R...
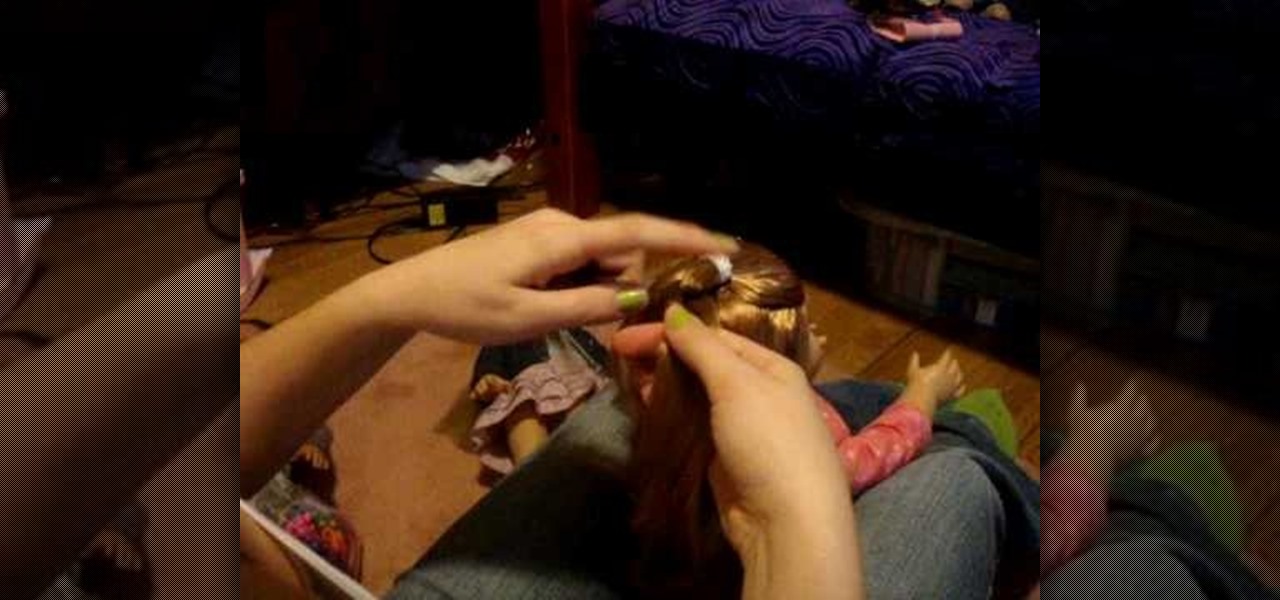
This quick video will show you how to do a basic braid on your American Girl doll. Follow these easy steps to do a basic braid for your American Girl doll: Put the hair into a ponytail and split into three sections. Take the outside section and put it over the middle section, then take the other outside section and put it over the middle section. Repeat this till you get close to the bottom of the hair. Put in a rubber a rubber band and you are all done!

In this video tutorial, you'll learn how to use a headband and curls to create a cute and fashionable look with your hair. Use any headband (She uses one from Jcrew) a curling iron and hairspray. You tease your hair a little for volume, curl in sections and spray to hold a "poof" behind the headband. Then, you curl the bottom sections in loose waves. You end up with a hairstyle that will work for any occasion be it casual or formal!

The host of this video teaches you how to get random curls using your straightening iron. Several different techniques are shown and repeated so that it is easy to understand how the process works.
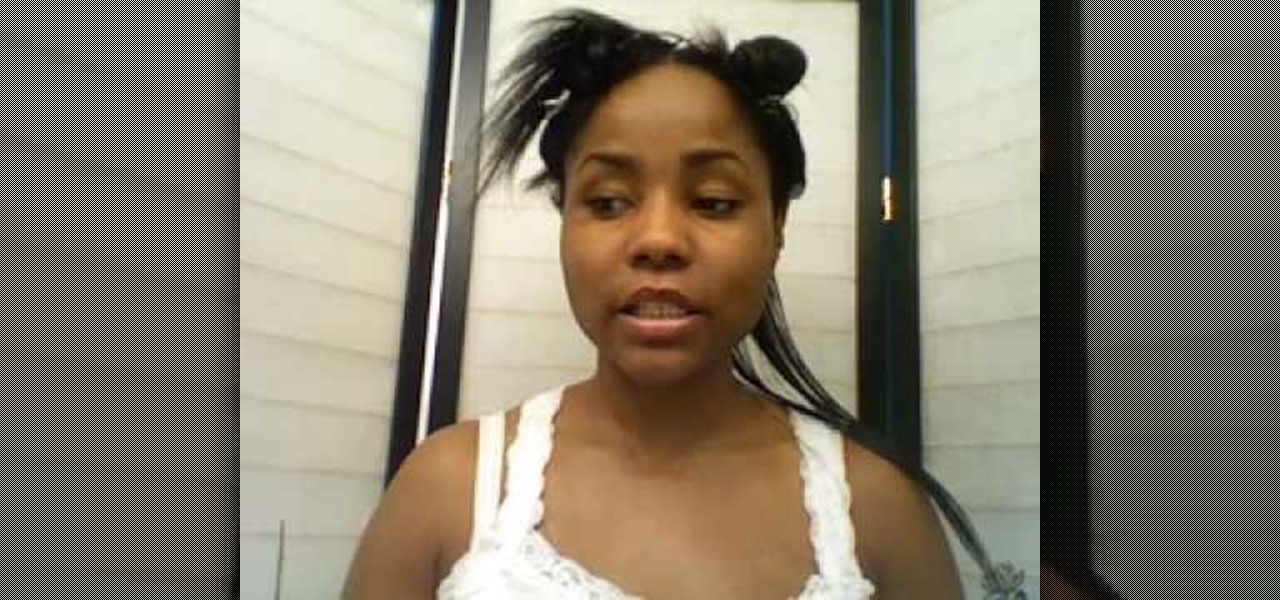
This video is about how to trim your split ends. This video gives detailed instructions about how using heat and trimming too often can lead to split ends and how they can lead to breakage. The instructor teaches you that just randomly clipping your ends does not fix your split ends, but makes them worse. She tells you to twist your hair before you start to clip to expose the hairs that are hidden from you. This last step is very important.

In this video, with hostess Candy, we are taught how to construct a hair bow for any occasion. With a mellow manner, Candy reveals that we need very few materials, just a ribbon and a clip, and, from there, shows us, distinctly and helpfully, each fold necessary to achieve the bow shape. After clipping it together, it's set, and she shows it off in her own hair. Perfect for any occasion, from Christmas to Valentine's Day to Easter, these festive looking holiday bows are indeed very charming, ...

Having problems with dandruff? Cant seem to get rid of it?? This instructional video shows you the "right way" of shampooing to get rid of that pesky dandruff. The right shampoo is the key, then comes the technique. Many people are incorrectly shampooing their hair causing large amounts of dandruff. With this video you will learn the correct way to wash your hair learning to keep it clean longer and getting rid of dandruff in an effective way that will keep it away.

This video tutorial incorporates braids and blunt bangs to teach you how to do an asymmetrical French braid. You need to already know how to do a French braid, so you may want to brush up on those skills first. You'll need a brush, hair tie, comb, bobby pins, hand mirror and an optional flat iron for the blunt bangs. After combing out your hair, you start the braid on one side of your head and then braid down the back. Then you pull the bottom of the braid through the middle. Finish off with ...

In recent years these hairstyles have gained momentum worldwide. This hairstyle was inspired by Japanese cartoons. It also requires enough attention and many hours spent in front of the mirror to try all combinations. Watch this video to learn how to style your hair like an anime character. Look like Goku from Dragonball Z! Warning: you are definitely going to need tons and tons of gel. Don't forget the hairspray, and definitely don't forget to finish it off with your fingers. Remember, detai...

YouTube user s2pandapple shows viewers and subscribers how to self French braid. Before beginning with simple step by step instructions, s2pandapple provides personal tips on simplifying the braid process. Using down to earth terminology, s2pandapple proceeds to verbally instruct viewers on the process of French braiding while performing the tasks and providing viewers with multiple angles of the braiding procedure. While this tutorial is mainly a precursor to s2pandapple's instructional vide...

Learn how to get tight spiral curls. - Make sure your hair is already flat ironed.

A frozen pipe doesn’t have to mean major trouble. You can keep your water flowing all winter long. You Will Need

The front side-braid is best known as the Lauren Conrad braid. Conrad loves working the effortlessly cool, braided bohemian hairstyles, and for good reason. This front side-braid style is the perfect combination of practicality and beauty. It gets all the pesky hair out of your face while creating beautiful nymph-like pleats.

A kanzashi, as shown in this how-to video, is an ornamental hair pin used in Chinese and Japanese hair styles. While they're more of a traditional piece, they're still commonly worn by brides and as part of a kimono costume (for geishas). This video tutorial shows a method of making this beautiful piece yourself out of any chopstick. You will need a chopstick, 10cm of wire, a charm, a big bead, two split rings, 3cm of chain, a 5mm x 2cm scrap of cloth, a pair of nippers, a pair of pliers, a k...

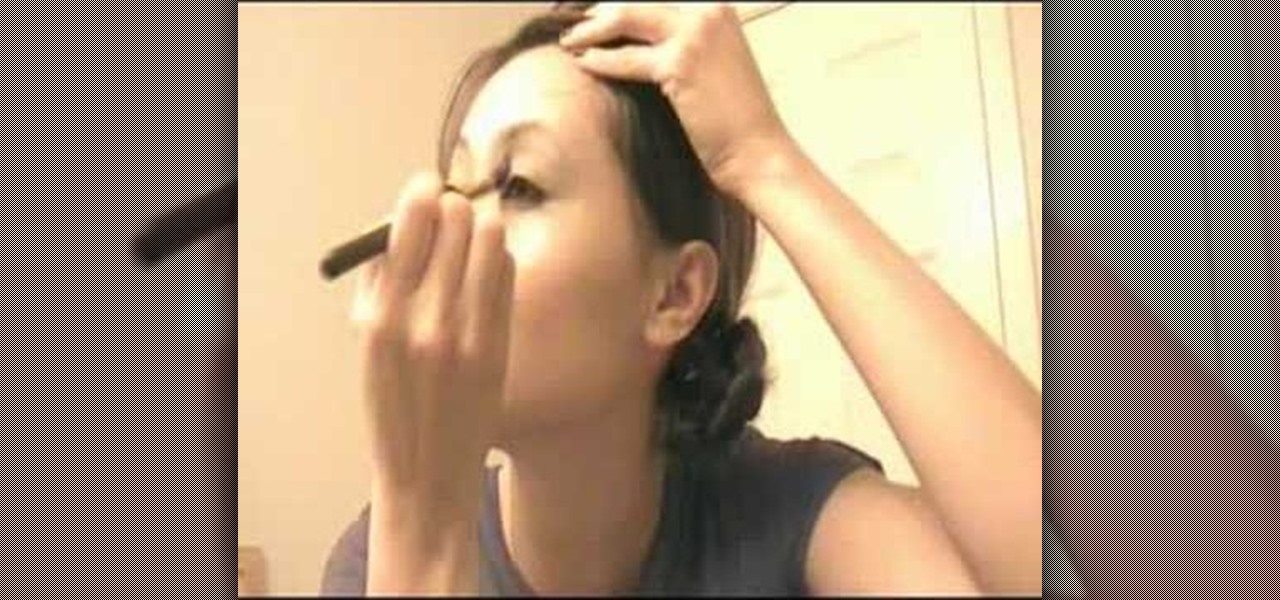
The look you sport in the summer usually doesn't work for the fall. In this tutorial you will learn how to transition your hair and makeup for the darker fall fashions. All you need is a taupe eyeshadow, a darker brown concealer, mascara and a red lipstick. This look can be done in less than 10 minutes. Watch this how to video and you will be able to get this great look for the fall.

This tutorial haircutting video will show you how to give a haircut that's done with a razor. Cutting hair with a razor is a a great way to keep hair look natural.

You shouldn't have to labor for hours on end to achieve great hair. And if you have to wake up early for school or work it's even more important that you don't lose your precious ZZZs just to make sure that French braid is perfectly plaited and pinned up.

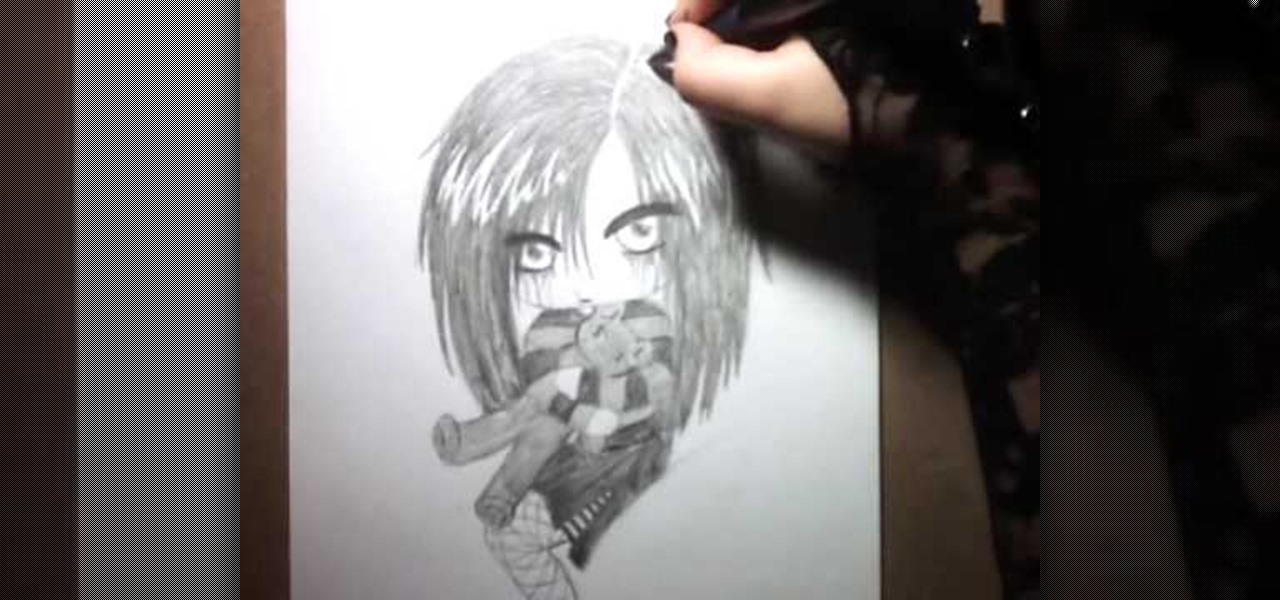
This video describes how to draw an emo-angel chibi. First draw eyebrows, make sure they are dark and thick, then draw half circles going down from them- these are the eyes. Then draw in the eyeballs centered in the middle of the eye. Next draw dark around the bottom of the eyes. Draw lines drooping coming from the darkness around the bottom of the eye, on both eyes. Next draw other dark lines coming down the forhead. Next draw a line coming down from both eyes, and curve them to make small c...

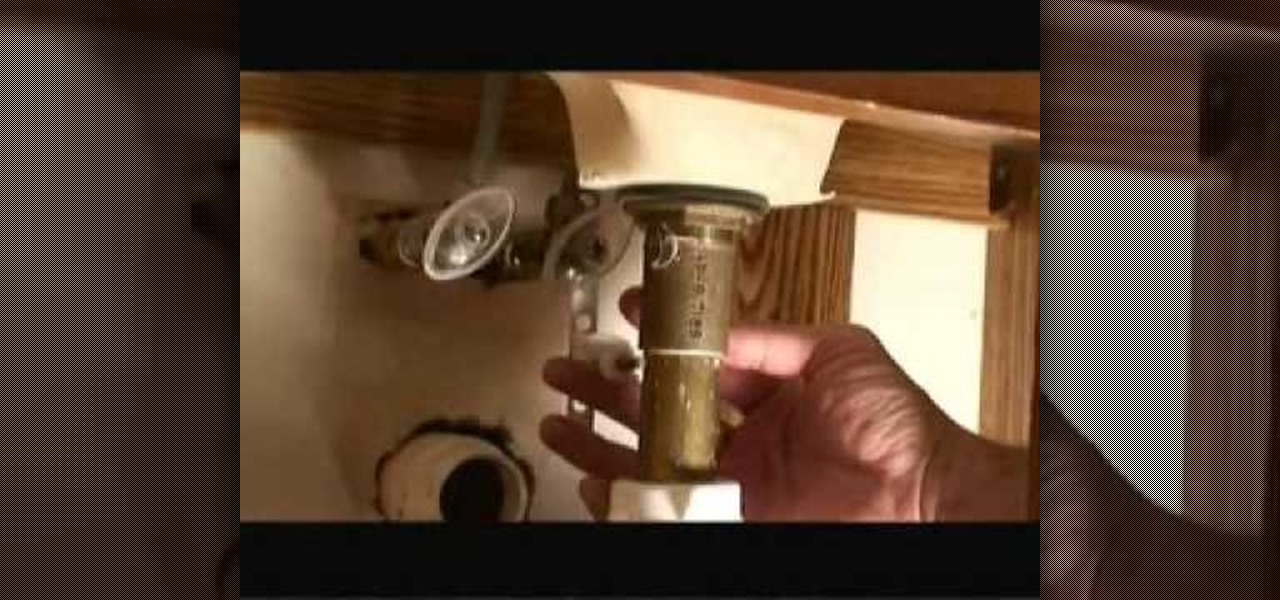
First of all put a bucket under the trap. Now use your hand to loosen the handle of the PVC type trap. Loosen both the two plastic nuts on the ends. Remove the nuts that are holding to the drain pipe. Now when you remove this trap from the drain pipe a little dirty water comes out of it which gets collected in the bucket. Now check the trap for some hair and other clogs. This you have to remove and clean it out completely. Also check the drain pipe outlet for removing any hair or other clog. ...

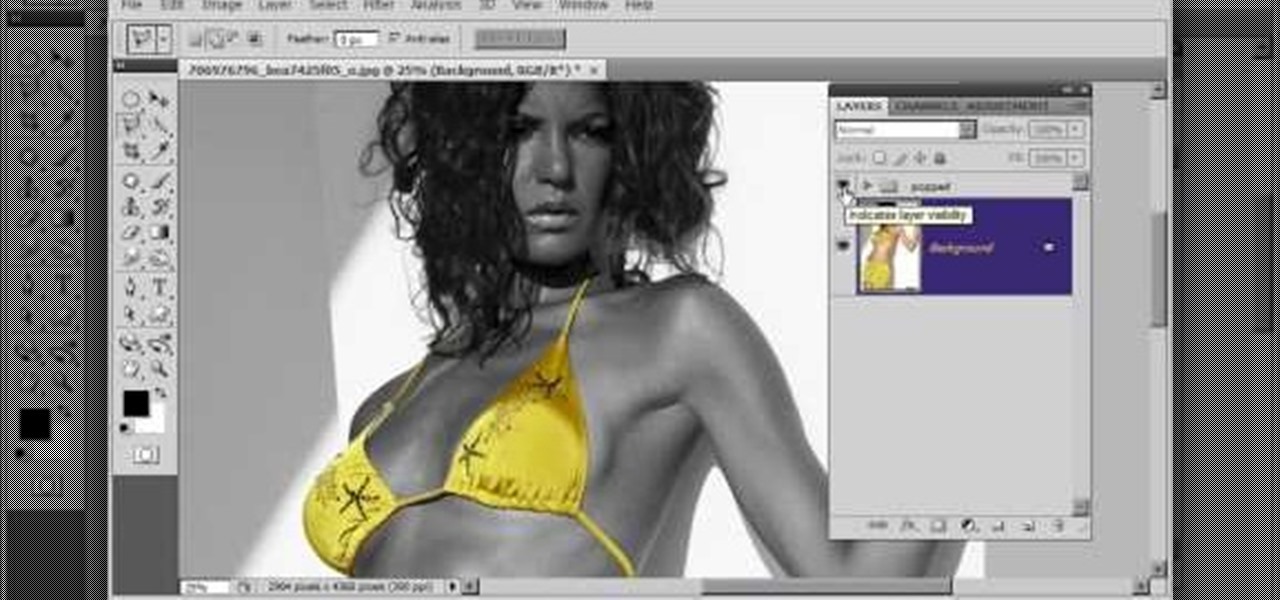
Learn to create a fashion editorial style color in Photoshop! 1. From CHANNELS button select color of the Model. It will show different colors select as per your choice. 2. Click on Levels it will show the image selected. 3. Right click and select Black&White it will open ADJUSTMENTS button adjust the color. 4. Go back to CHANNELS button they all images will look same. Copy channel Blue and Select Blue copy3 and color model's body and hair with black. 3. Click on ADJUSTMENT button and adjust ...

Getting your hair cut can be incredibly frustrating. You struggle to describe what you want, and if the stylist gets it wrong, you're stuck with a haircut you hate. Follow these tips to make every day a good hair day.

No need to run home from work to change for an evening on the town. With some simple switches, you can be on your way. Follow this Howcast guide to learn how to change your look from day to evening in just five minutes.

Since its debut, retro thriller Stranger Things and its characters have become ingrained in our popular culture — especially the telekinetic Eleven. For cosplayers, it didn't take long before they grabbed their boxes of frozen Eggo waffles, blonde wigs (or bald caps), and pink smocked dresses to transform into El herself.

Video: . How to Do a No-Knot Invisible Part Crochet Weave.

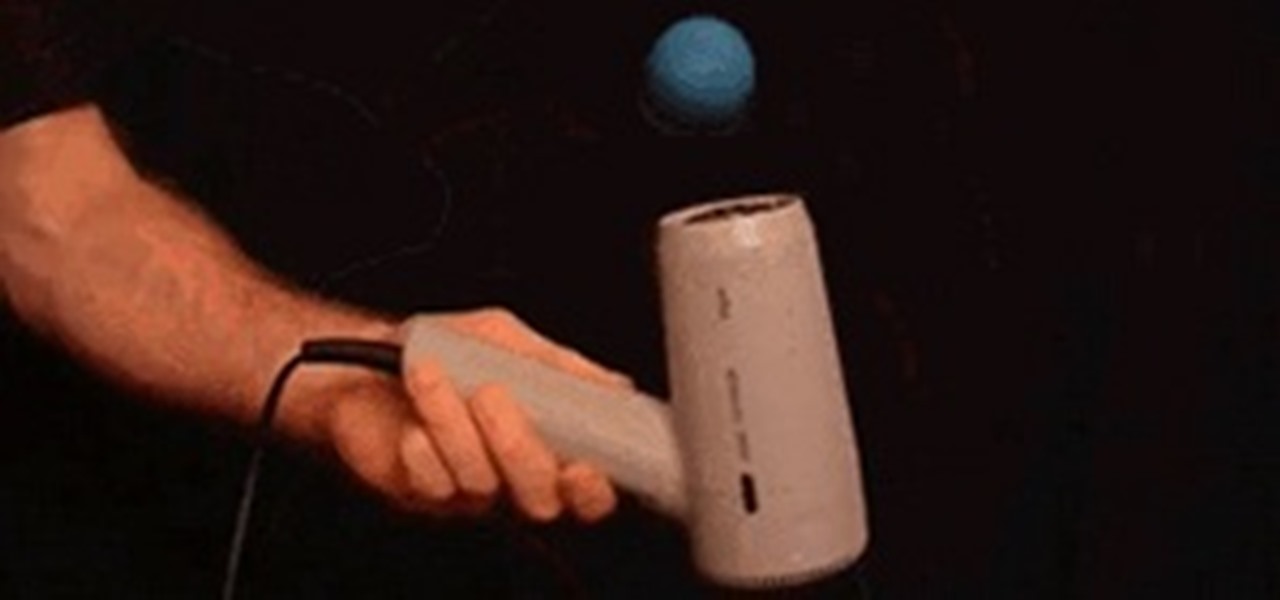
What can you do with a hair dryer besides dry your hair? Lots. You can remove stickers from clothing, clean up crayon marks, and mold your plastic eyeglasses for a better fit. But how about something a little more fun? Well, you can levitate things. Ping pong balls, to be exact.

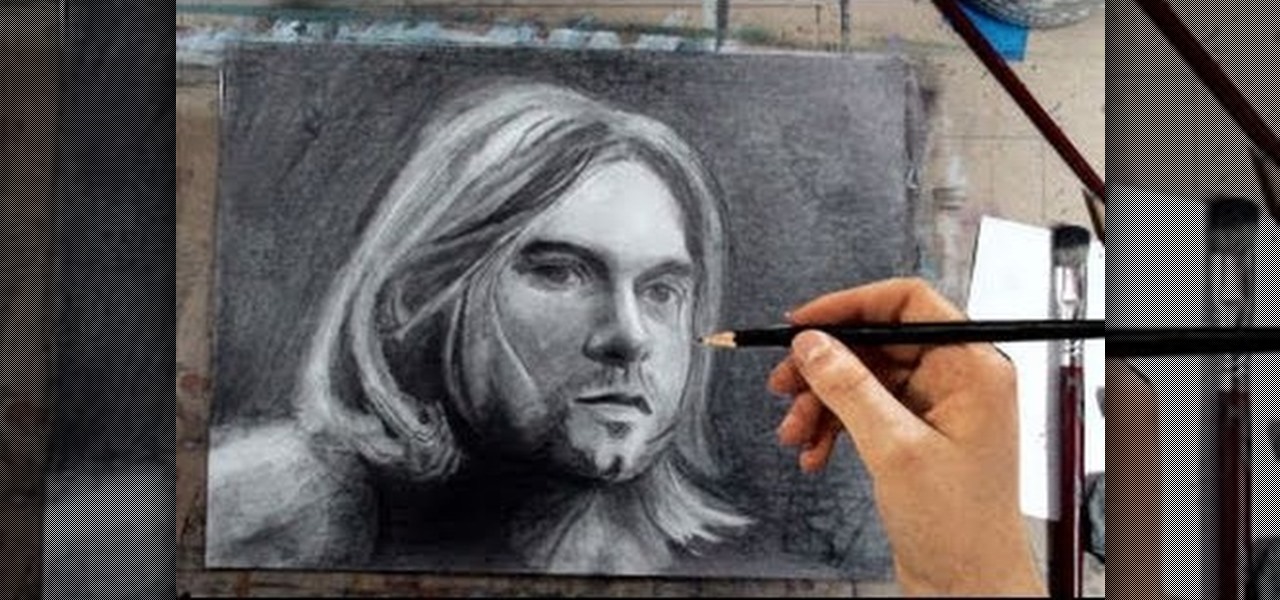
Merrill never fails to amaze. In this video, he instructs you to "come as you are— but bring a pencil." And you don't have to be a diehard Nirvana fan to understand what this tutorial's about— Kurt Cobain. Watch and learn how to draw Kurt Cobain in a portrait, step by step, using pencils and a few art tricks.

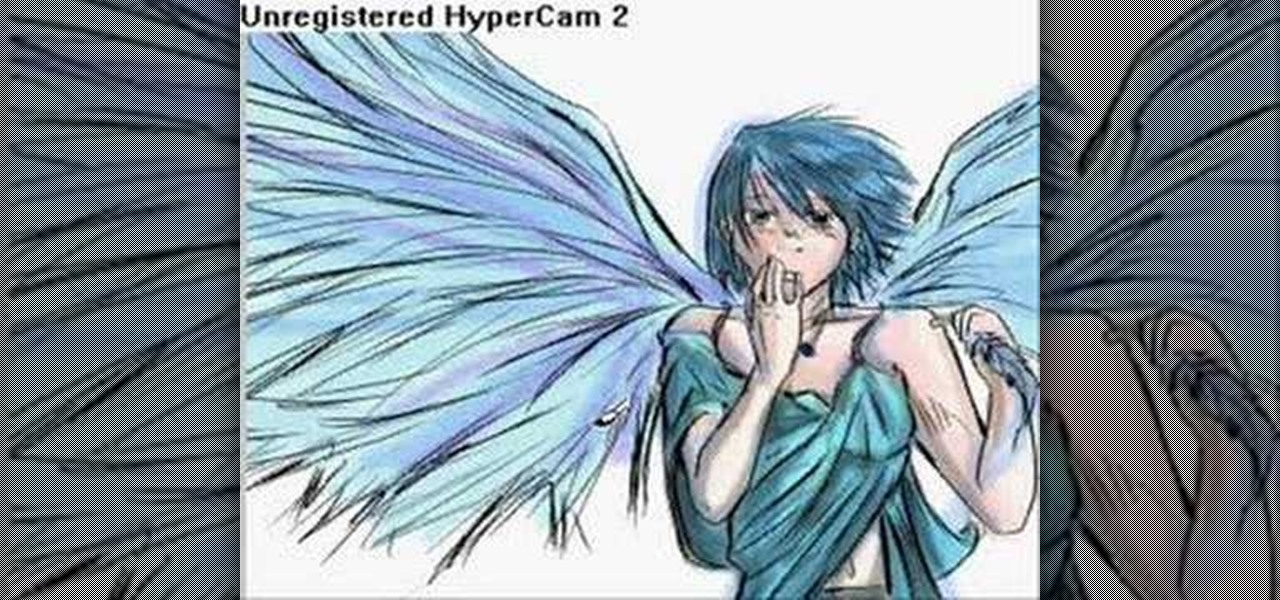
In this how to video, you will learn how to draw an angel. First, start out with the basic sketch of the drawing. Remember, eyes go in the middle of the head. Drawing the head first will help proportion the rest of the body. Use long strokes with the wrist to draw the hair. Try to make the hands the size of the face and try to make the fingers look like fish sticks. It is easier to draw if you study anatomy books. Next, erase the sketch and start going in with further detail. Exaggerate the w...

Watch this video tutorial from the Polish Guy to see how to clean and polish Ford Ranger alloy rims using Autosol Polish. In this polishing tip, we polish an alloy wheel on a 2004 Ford Ranger 4X4 pickup truck. The tutorial includes detailed work instructions and best practices.

In order to recreate Victoria Secrets inspired waves and makeup for Valentines Day, you'll need the following: eye shadow, lipstick, false eyelashes, highlighter, mascara, eyeliner, liquid eyeliner, base, a bronzer, a wave enhancer, rollers, a volumizer, shampoo, condition, and a blush.

Okay, we're not going to lie: threading hurts. Like, not just an "ouch, I gave myself a papercut" hurt, but an "ouch, I just got a nipple piercing" kind of pain (okay, not really, but do get that the first few times do require you to bite down hard on a rolled up towel).

It's post Memorial Day, which means one thing: Summer has officially kicked off! And less homework, stress, and exams means more time for impromptu road trips across the country with your best gal pals!

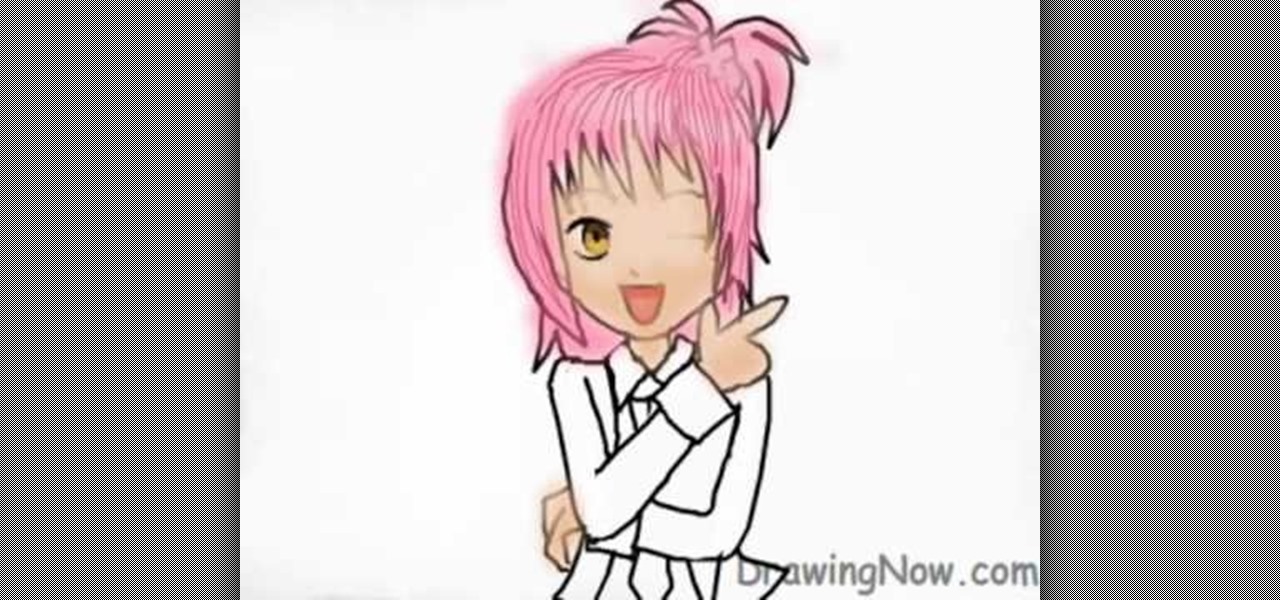
If you love the prolific schoolgirl manga series Shugo Chara, you have probably wanted to draw a replica of the iconic title character for yourself. This video tutorial will teach you how to draw her on the computer quickly and with great detail and color.

BeautyTipsNTricks shows viewers how they can do a Eva Mendes Inspired Updo! All you need for this is a comb and bobby pins. You will also need clear elastic pony tail holders! First, you want to section off your hair. Take your hair up to the top of your ear and go all around - this is your first section. Tie this section off. Now, the bottom of your hair, you should split into two bottom sections in half. Tie each of these off with pony tail holders also. Now, with your bobby pins, starting ...

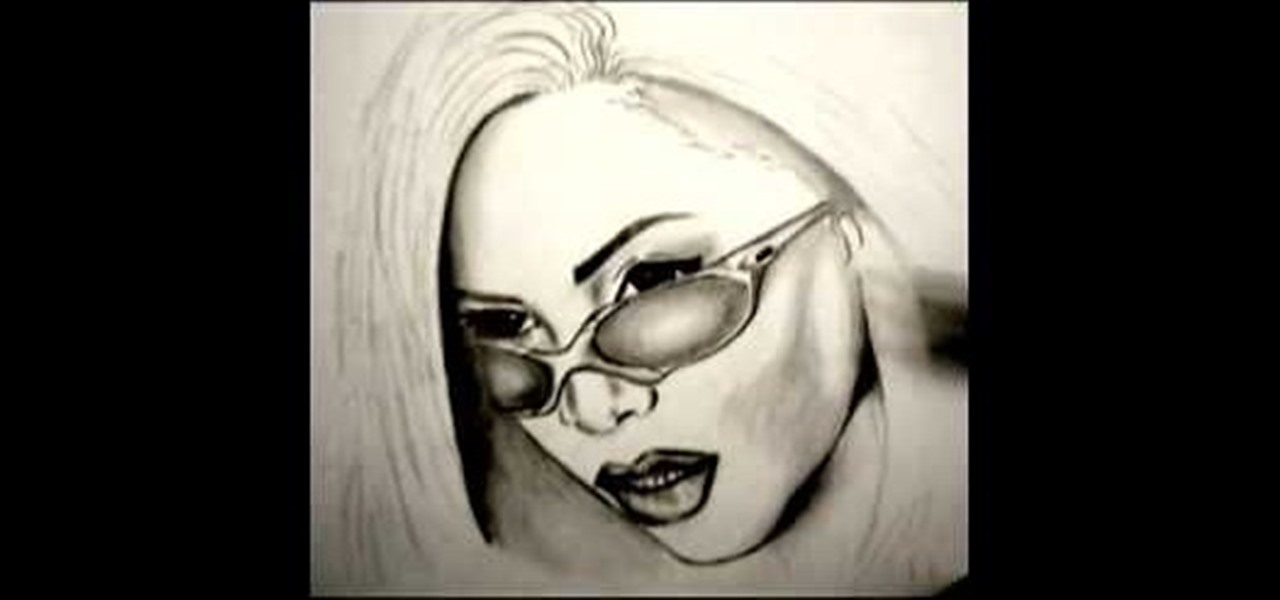
First of all you need to draw the complete outline sketch by drawing very light color rough lines. Now you have to take your pen to start sketching the outline. First you have to start by drawing the sun glasses. Now draw the left eye. Now you have to draw the right eye, nose, the lips and the teeth. Now you have to draw the hair. Make the hair long. Then you have to darken the eyes and the eye lines. Now darken the eyebrows. Then draw the screws of the sunglasses at the side and then shade t...

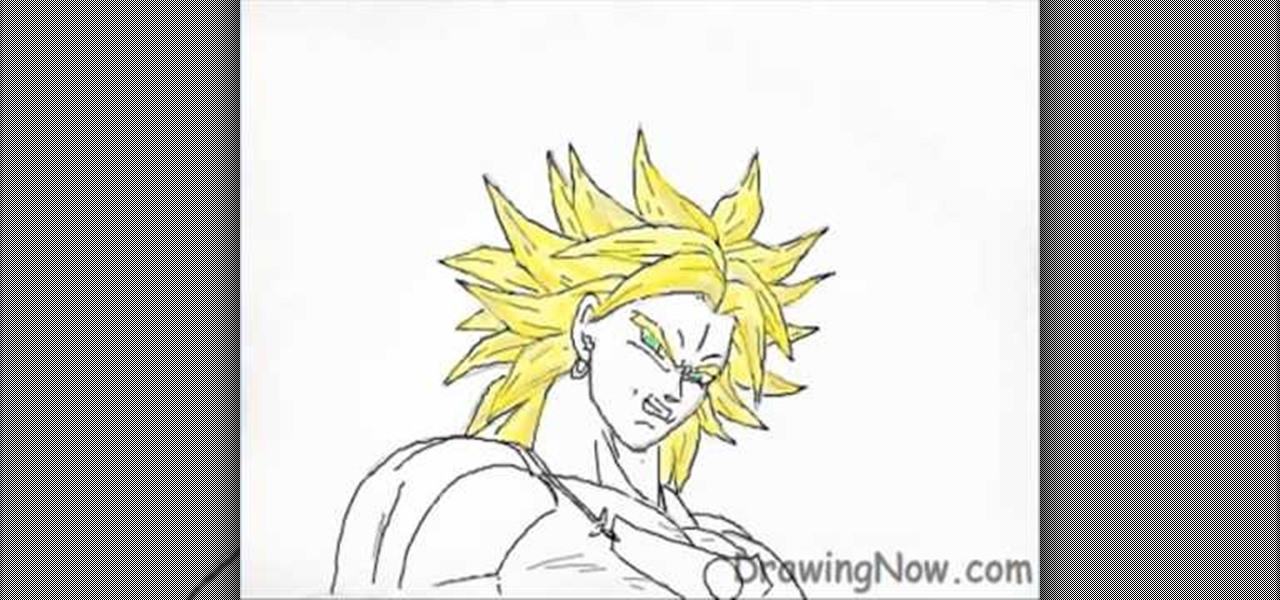
In this how to video, you will learn how to draw Broly. First, start out with an oval shape for the face. Next, add another for the ear. From here, you can add the neck, shoulders, and chest. Next, draw numerous spikes for the hair. The basic outline is complete. Go into the drawing with more detail by adding lines inside the spikes to simulate hair strands. Add the eyebrows, eyes, nose, and mouth. Next, draw in the muscles of the shoulders and chest. Add the outline of the necklace. Now you ...

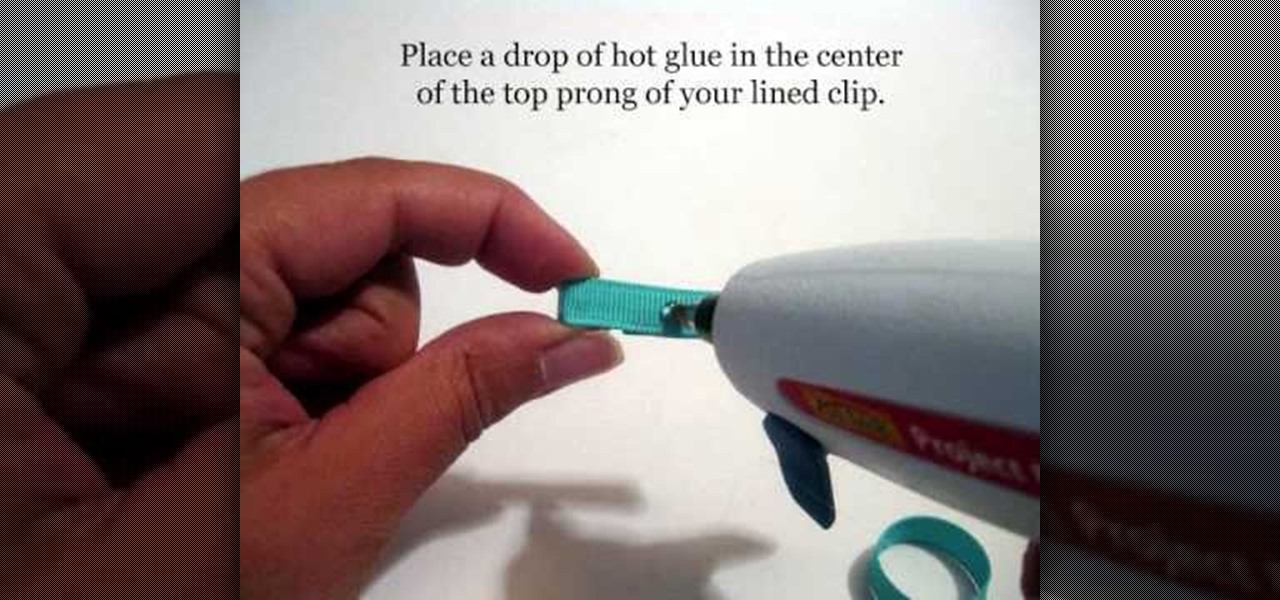
This video shows us how to make infant mini clip hair bows.This requires a high temperature hot glue gun.Three ribbons of the length 4",3" and 1.75" are required.Also needed are an alligator clip,sharp scissors and a lighter.Take the ribbons and seal it with a lighter just enough to melt the ends.Insert a 4 inch long ribbon in between prongs of alligator clip.Make sure the ribbon is centered and flat side of alligator clip is down.Quickly fold the ribbon over the top prong and press firmly to...

Materials required are lace, hair band, scissors and glue. Start by cutting off a piece of lace around ten inches length using a scissors. Now apply glue at the edges of one end of the lace. And then join the other end of the lace together to form a circle. Now hold this lace at the middle and then push in the middle. Press in at the centre so that it is divided into a Bow as shown. Spread the edges a little to make it appear fine. Now cut off a piece of lace around four inches using a scisso...

In this how-to video, you will learn how to draw Madara Uchia. First, start off with an oval shape for the face. Next, draw several spike shapes for the hair and bangs. Now, move on to the armor of the character. From here, draw a circle behind the body. Now you can fill in the details of the character. Move into the face and draw the eyes, nose, and mouth. Outline the armor in more detail so you can see straps and metal folds. Erase any of the previous lines that were used for guides. Once y...


