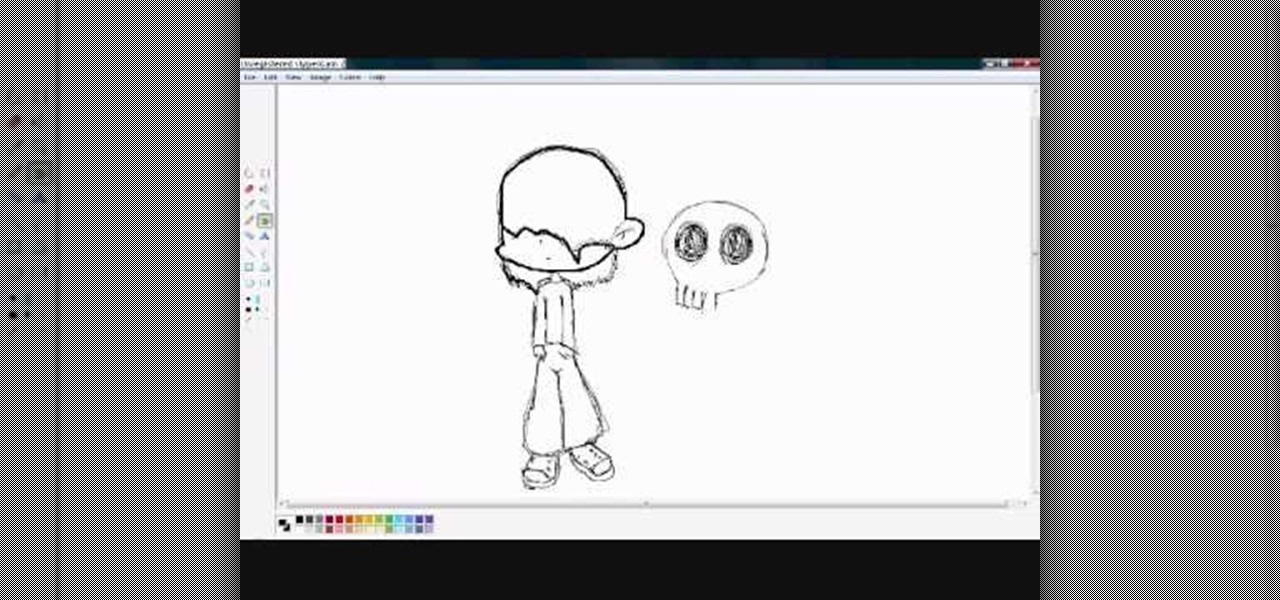
How To: Draw an emo cartoon boy
Are you feeling moody and emo? Do you feel like relaying that attitude to your doodles? Well, check out this tutorial and learn how to draw an Emo style cartoon boy.


Are you feeling moody and emo? Do you feel like relaying that attitude to your doodles? Well, check out this tutorial and learn how to draw an Emo style cartoon boy.

In this how to video, you will learn how to draw a full moon. First, draw a large circle. Now fill the circle in with an orange color. Add shading with a darker shade of orange to create texture. Next, fill in the back of the moon with a black color. Make sure no white is showing. Next, a silhouette in front of the moon will be created. This is done by creating tree shapes in the bottom half of the moon in a black color. Fill in the outlines with black. Once this is done, your full moon image...
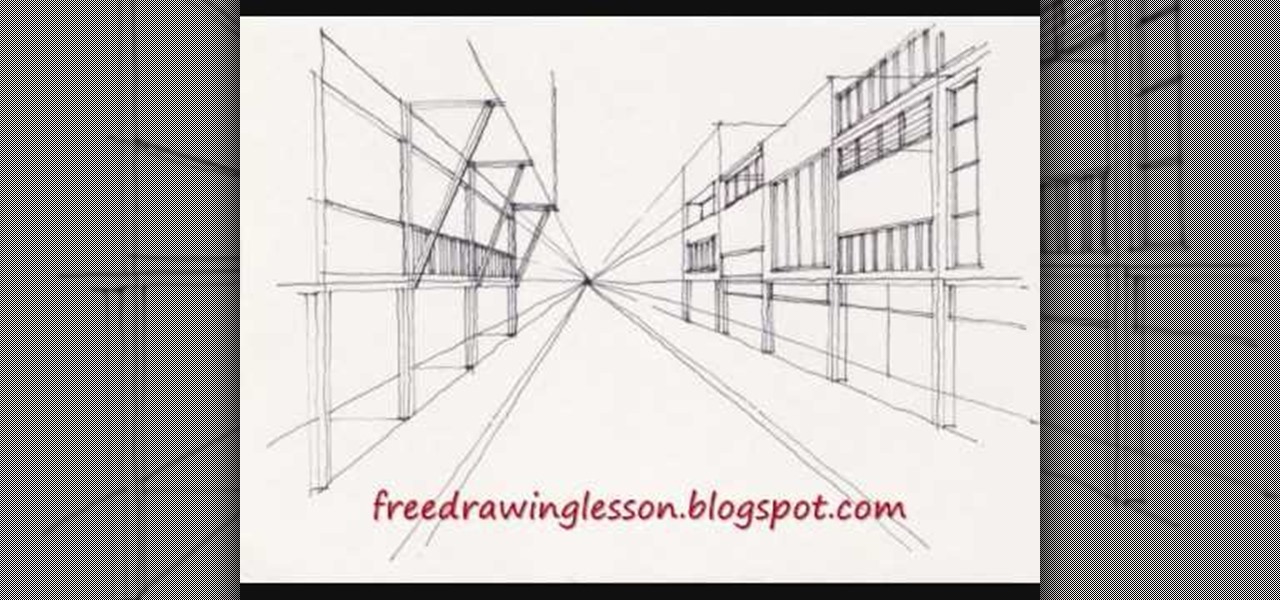
Miandza teaches you how to sketch a busy street. You start by drawing a horizontal line and add 2 diagonal lines, for all 3 lines to meet in the middle. Using those diagonal lines, draw vertical lines, at the same distance from each other. These will act as buildings. Also start creating the road in the middle. Add details to the buildings like doors, windows or pieces of decoration. Create trees and two large towers in the far end. The road will have a truck and the pavement should be filled...
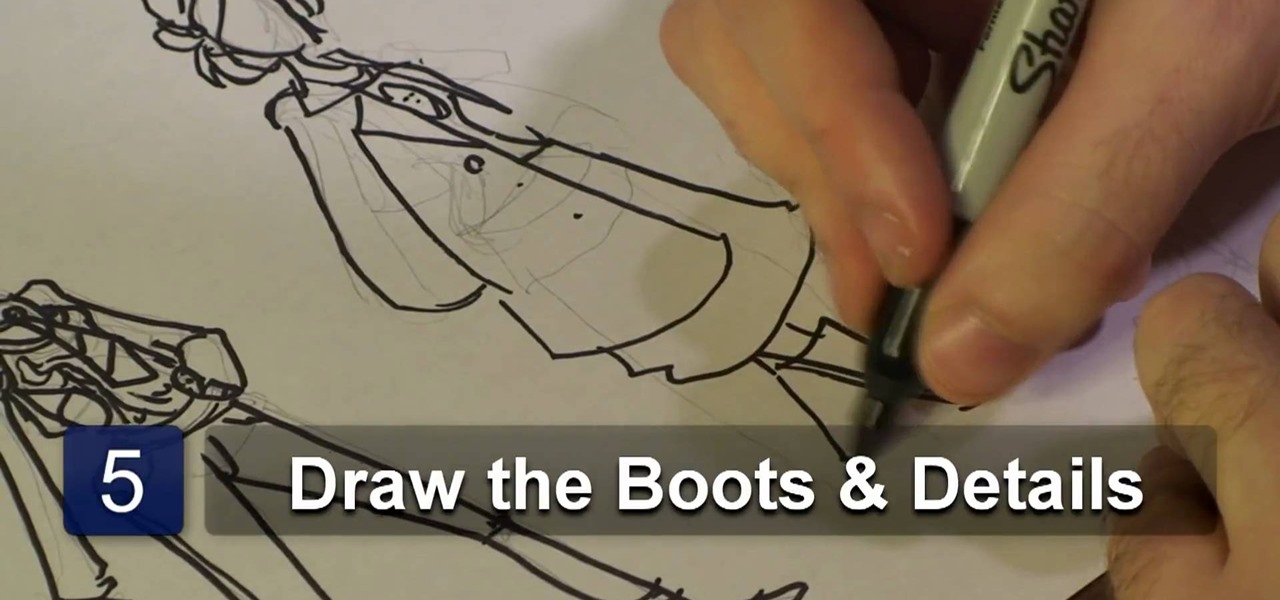
Is your artwork lacking style? Are your characters just not popping off the page? Learn to design and shape an image of today's fashion standards with a How To video on drawing fashion clothes. This video will show you three different drawn up models with a variety of casual fashion trends you would be likely to see in many urban hot spots. From edgy to classy, this video will give you eight easy steps that will help improve your understanding in illustrating with fashion and style.

Check out this video to learn to draw an anime face in side and 3/4 perspective for manga and comics.
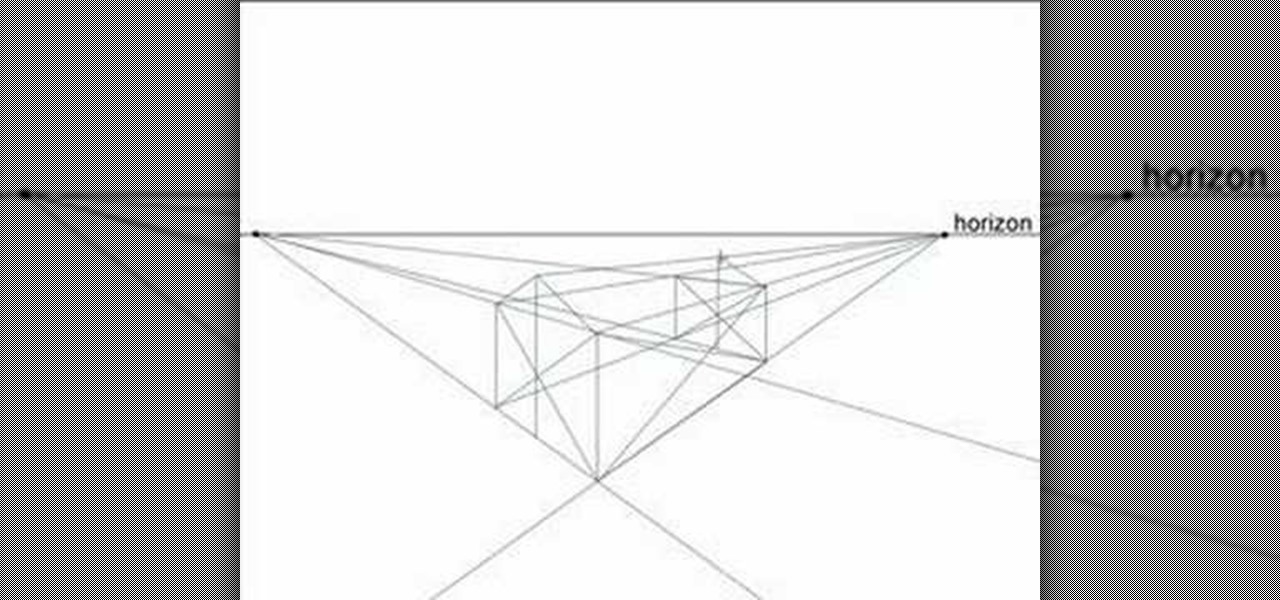
Without perspective, drawings would never look realistic and would instead be flat, remedial depictions of reality. Luckily, the discovery of perspective during the Renaissance lets us simulate reality if we know the mathematical principles behind it.

It's real easy, just watch it in slow motion. Watch this video as it will show you how to draw Bugs bunny.
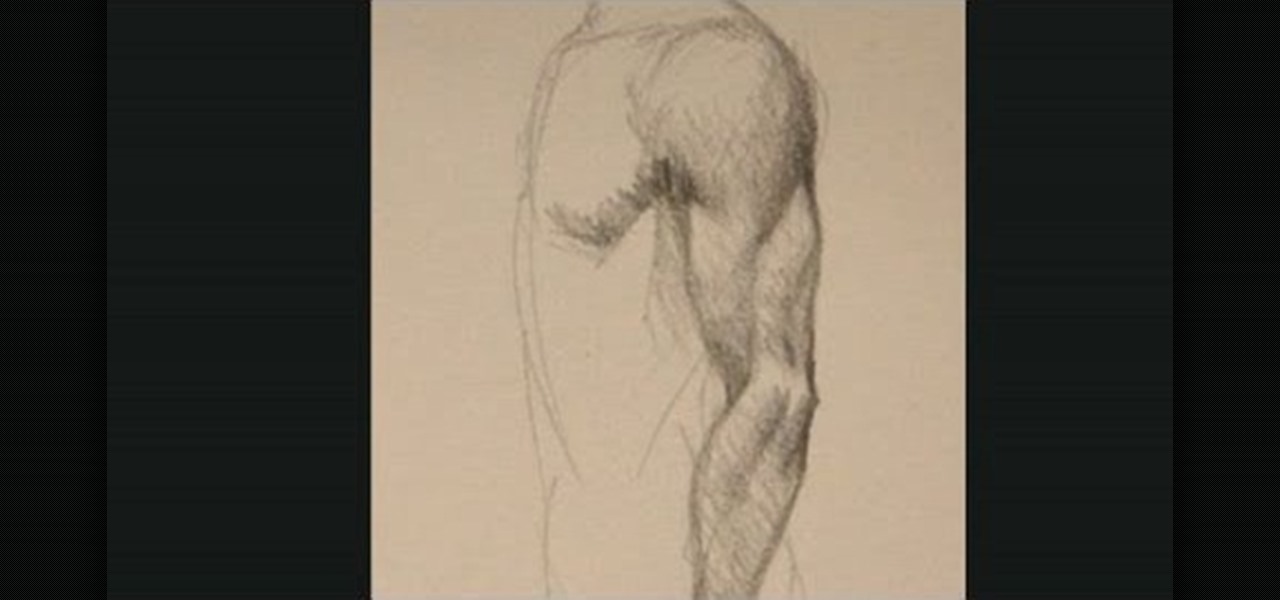
If you're drawing someone in profile, and they have strong, muscular arms, you'll need this tutorial. It demonstrates how you can draw people from the side and, using perspective and a strong working knowledge of the human body, draw realistic arm muscles.
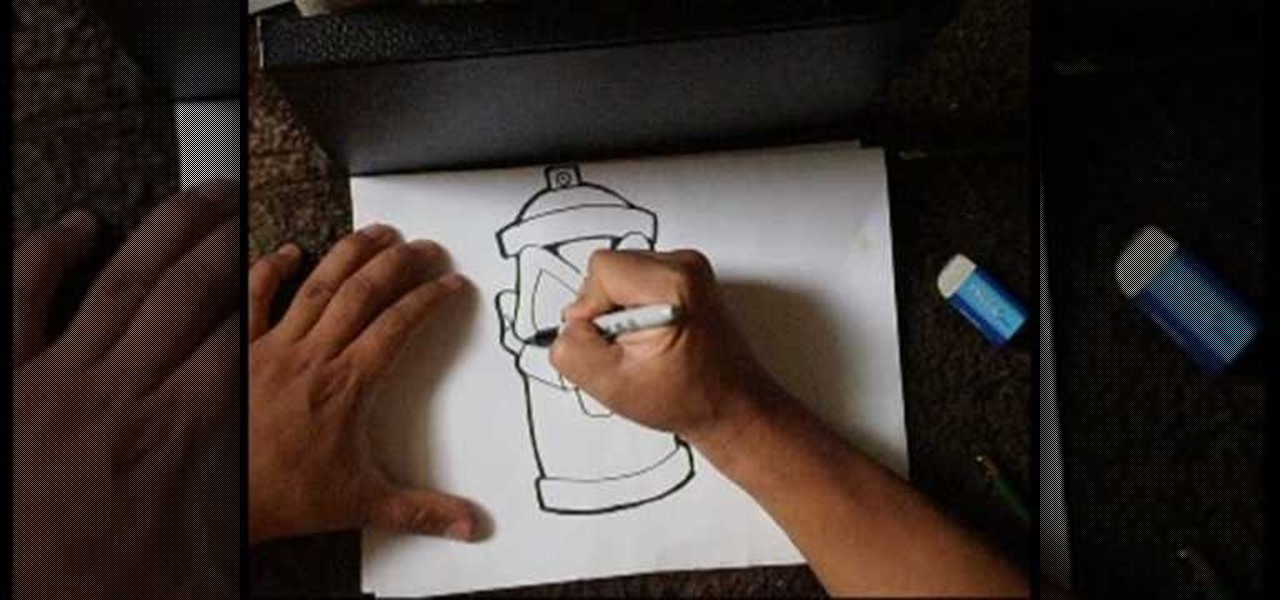
In this tutorial, we learn how to draw a spray can sketch. First, draw the face of the can on the piece of paper, drawing the eyes, nose, and mouth. After this, draw the surrounding parts of the can around the face. Draw the bottom and the top of the can as well as the top with the middle open area where the spray will come out. After this, draw in as much detail as you would like on your spray can. Use a black marker to shade in on the sides and make lines darker. When finished, save and enj...

In this tutorial, we learn how to draw Sonic the Werehog. Start by drawing the outline of the character, making sure to draw in the spiked hair on the back of the head. Then, draw in the circle for the head and use crossing lines to reference where you want the features of the face to go. Draw in the features and then add in more detail to them as well. Erase the background lines and then draw in the details of the body. From here, color in the body and then shade in corners to make it look m...
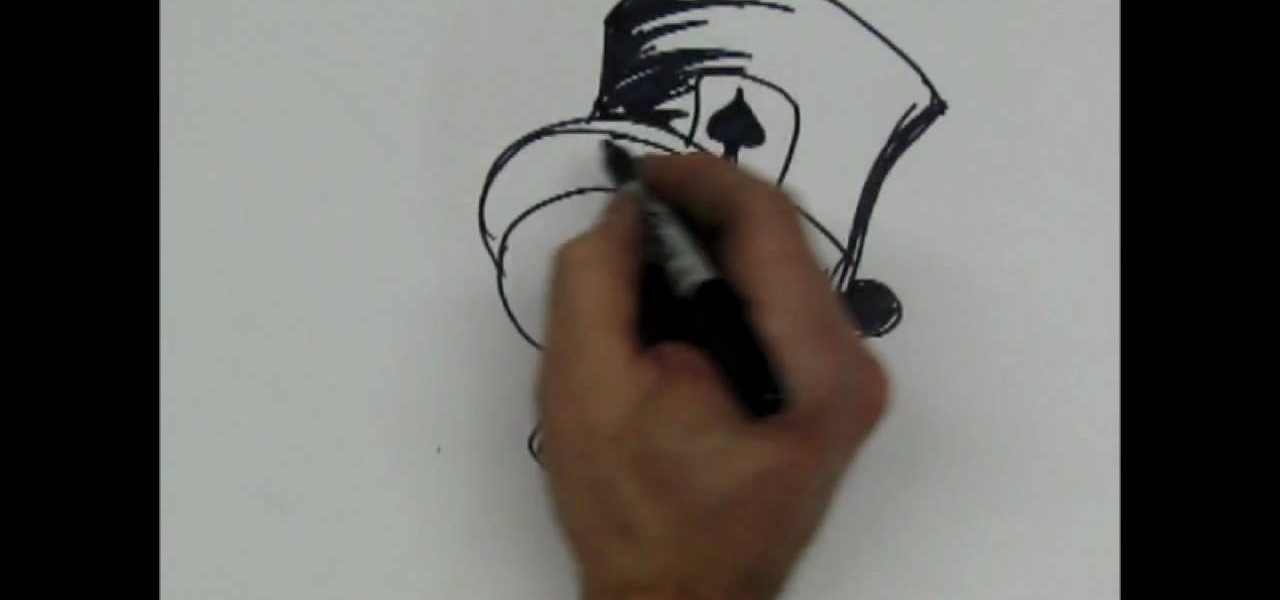
In this tutorial, we learn how to draw a skull with a top hat. First, use a Sharpie marker to draw the nose of the skull and then the eyes. Color these in completely black, since you want be drawing eyeballs in them. After this, draw the skull around it. Draw in the teeth clenched together and then add in lines around the head of the skull to show cracks in the bones. After this, add in additional details around the jaw line and on the head of the skull. When finished, draw on the hat to the ...
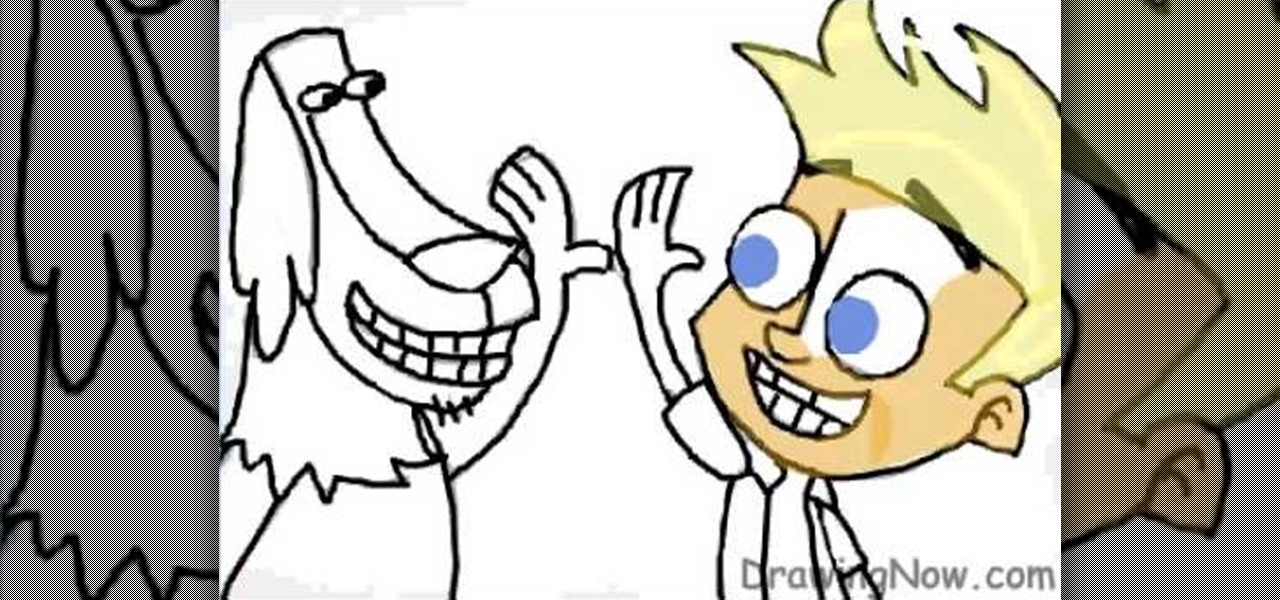
In this tutorial, we learn how to draw Johnny Test & Dukey. Start out by drawing the outlines for both of the characters. Next, you will draw in the features of the faces and then draw the details to both of the characters. Next, you will use a bolder line to draw on all the features to make it look like it's 3D. Next, add in the shading to the characters to make them look more realistic and draw the clothing on as well. To finish, color in the characters and their clothing. Finish off with f...
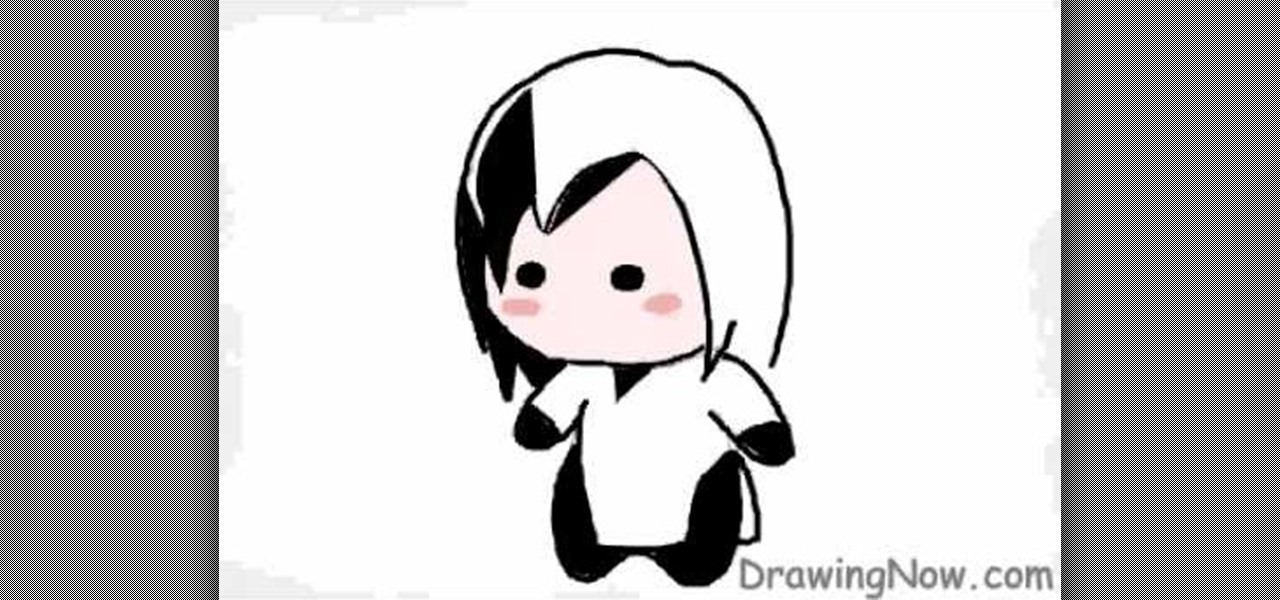
In this tutorial, we learn how to draw a Chibi Orochimaru from Naruto. Start off by drawing the outline for the character, then add in the details for it as well. After this, you will start to draw in the shading and the additional lines to give it more details. Then, you will need to erase the background lines that you used as a guide to draw the final product. From here, you will start to shade in colors on the character and then draw in any additional details or facial features. To finish ...
In this video we learn how to draw Neji Shippuuden. First, draw the outline for the head, use lines in the middle of the face to figure out where to place the facial features. After this, use a pencil to draw on the hair around the face and then draw on the headband. From here, add on the details to the hair and then start to add in shading around the face to make it look more realistic. After this, draw in the shoulders on the side and then draw in the rest of the details of the face. Finish...
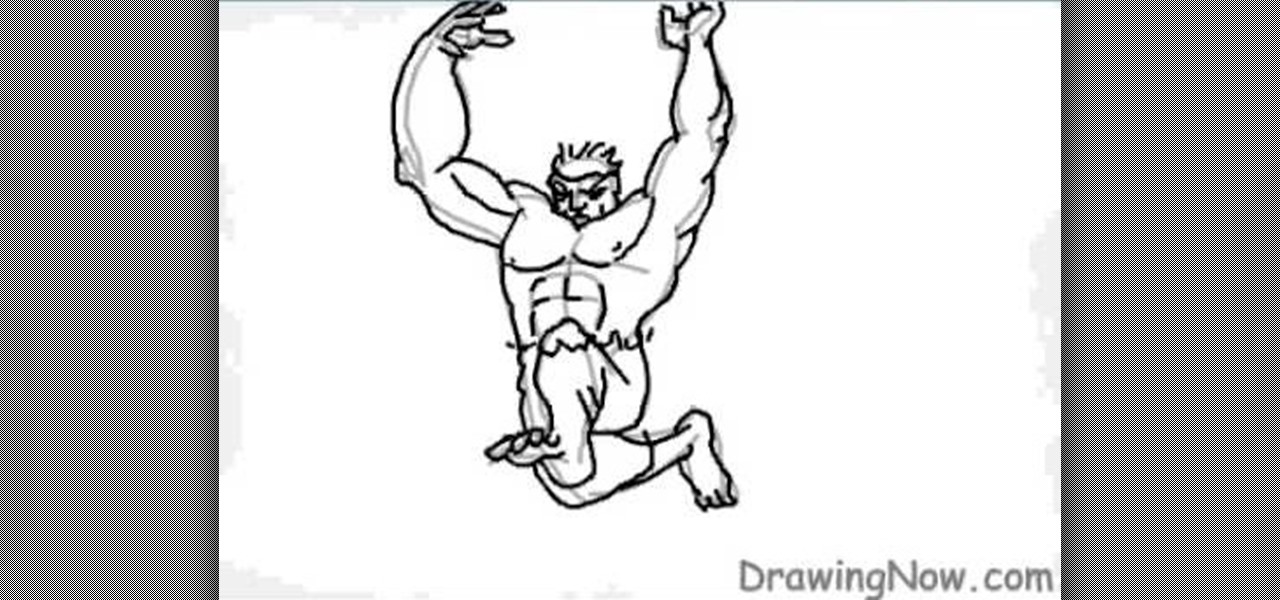
In this tutorial, we learn how to draw the Hulk. Start off by drawing the outline of the body. Make sure you draw the character's body large and keep the proportions accurate. After this, start to draw in the features of the face and the rest of the body. Use lines to make the muscles appear, then shade around them to make it look more realistic. Next, you will need to add some color to the drawing. Green would be most accurate, with some parts darker than others with shading. Finish this dra...

In this tutorial, we learn how to draw a skull. First, draw the letter c with flames inside of it. After this, draw a lightning shape next to that and then draw teeth on the bottom of it. From here, you will draw in the rest of the head to the left of the side. Add in details and lines to show the bones curving and the jaw bone. After this, draw in the teeth on the bottom of the mouth on the jaw line. To finish this up, you will use your pencil side to shade in the side of the skull and add i...

In this tutorial, we learn how to draw the 8-Tails Jinchuuriki, Killerbee. Start out by drawing the outline of the character. You want to make sure you draw reference lines on the head so you know where to place the eyes, nose, and lips. Next, you will start to draw in lines to show wrinkles on the face and then the headband on the top of the head. After this, add some shading into the face to add some depth. From here, you will draw in the hair and the band around the head, giving it more de...

In this tutorial, we learn how to draw curvy steps using pencil. To start, you will draw a thin horizontal line with a small point on it. After this, you will draw lines out from this, using a ruler to keep them straight. From here, draw your steps on the bottom of the page using the lines to keep them proportioned and in place. Draw them in a triangle wedge shape and then color them in. Shade the bottom and the sides to give them depth and dimension. After this, draw in the area around the s...

In this video, we learn how to draw Sonic the Hedgehog in his soap shoes. First, draw his muzzle and nose. After this, draw in angry teeth in the mouth and then draw in the eyes and the ears. From here, you will draw in the rest of the spiky hair around the head. After this, draw on the arms and legs, as well as the feet and shoes. The shoes should be larger than the entire body and have lots of details on them. When finished, add in shading around Sonic with the side of the pencil to give hi...
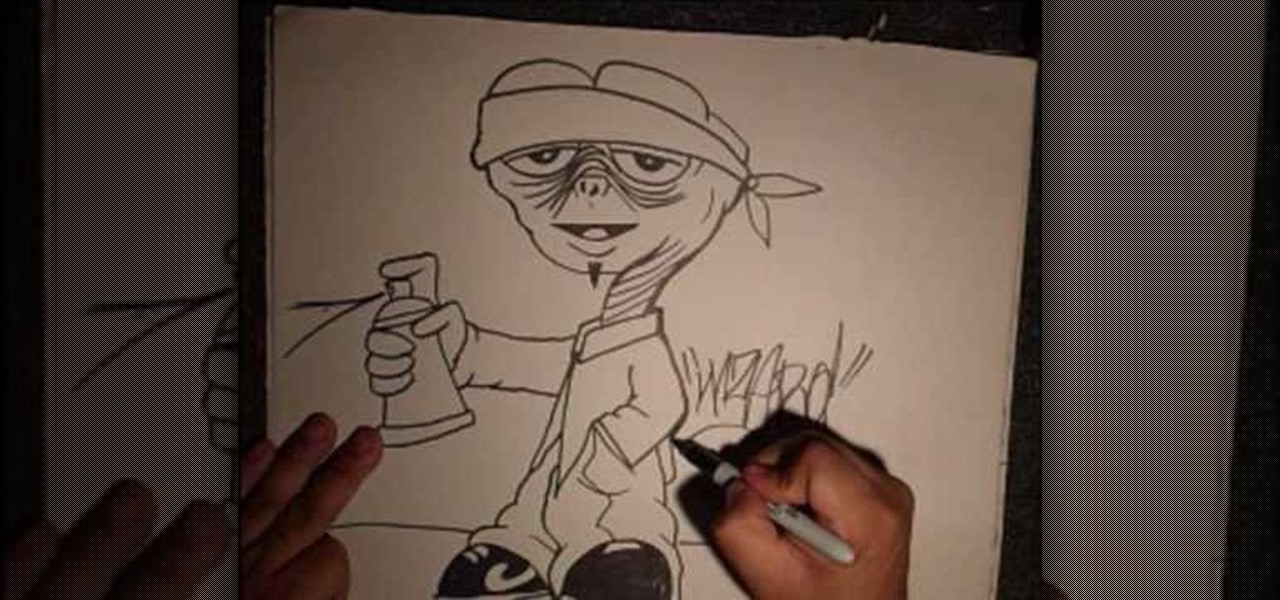
In this tutorial, we learn how to draw a gangster graffiti ET character. Start out by drawing the eyebrows and the hat, then draw down to make the eyes. After this, draw in the details of the eyes, then make the nose and the mouth. From here, create the head and the neck, as well as the rest of the body. Draw on large pants that look baggy on the legs and a large collared shirt. One hand should be in the pocket and the other should be facing out with a finger on a spray paint can. From here, ...

In this video, we learn how to draw an eye step by step. First, draw the curve of the eye on the top and on the bottom. Then, draw in the pupil of the eye and the inner corner of the eye. Use a light touch with the pencil to make the circle in the middle of the eye. Then, draw around it with a bolder line. After this, draw the crease above the eye, then draw shading to show where the crease line is. Next, fill in the pupil and add in a circle to make the eye appear glossy or that light is hit...
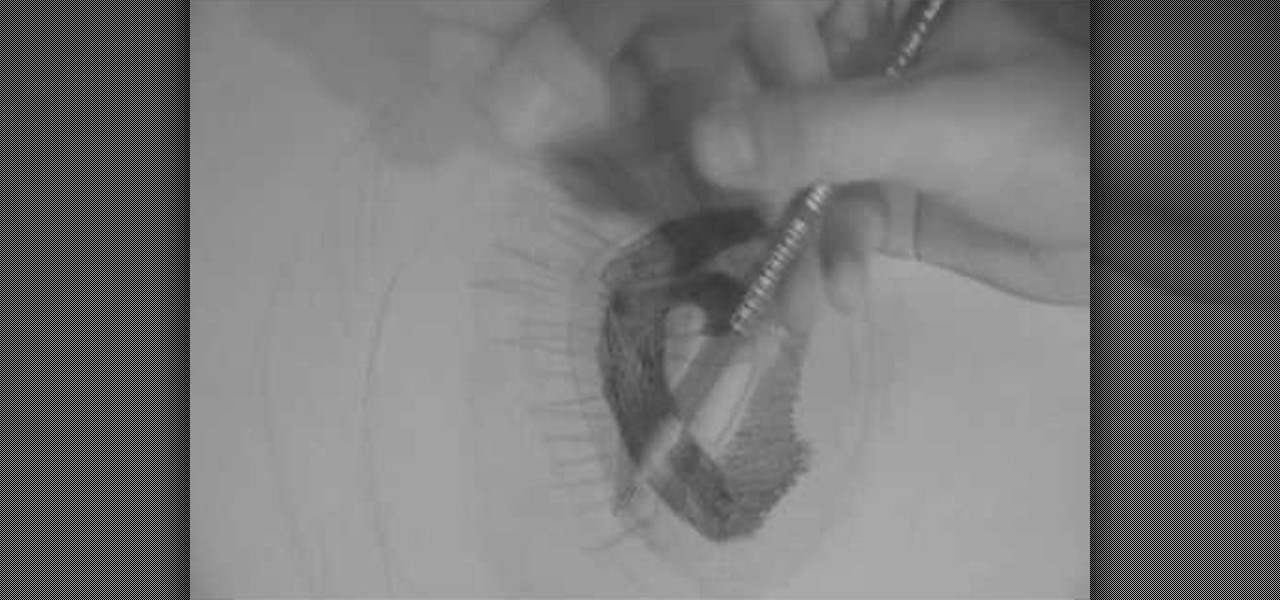
In this tutorial, we learn how to start a drawing with an outline. For your outline, you can use a grid system which will make your drawing easier and more precise. It will also make positioning a lot easier so everything is proportioned. From here, you can start to draw in the outline of what you are drawing. You can make your own grid by using a ruler if you would like to. Once you have finished the outline for your drawing, you can start to add in details using the grids as well. This will...
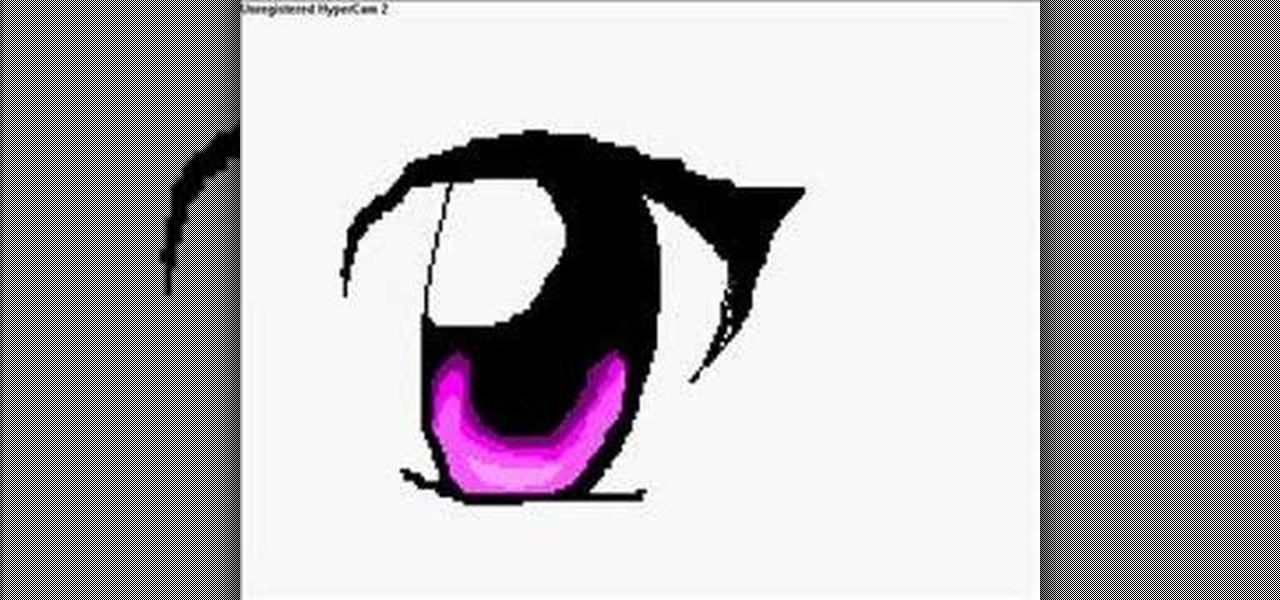
In this tutorial, we learn how to draw manga in MS Paint. Start by drawing false eyelashes to case the eyes inside of. Next, draw the false eyelashes underneath the eye, then draw the actual eyes in. Make sure to give them large pupils. Add in a bright color for the rest of the eyes, then add a lighter shade of the color at the top for a highlight. You can copy and past one eye, then flip it to make them both exactly the same. After this, draw the nose and the mouth underneath, making them mu...

In this tutorial, we learn how to draw Rock Lee. First draw a circle for the head, making a chin underneath and using lines to reference where the facial features will go. After this, draw eyes that are slightly aligned to the left hand side of the face. The right eye should be larger than the left, both off center. Then, draw two dots for the nose and a "u" shape for the mouth. After this, draw a larger circle around the head and then draw in angry eyebrows above the eyes. Start to erase the...

In this tutorial, we learn how to draw Marik Ishtar. Start with the outline of the head (in a circle shape) and draw the reference lines around the front of the face. After this, draw in darker lines around the features of the face and start to add in details throughout the entire head. Draw in hair, a nose, eyes, ears, and everything else. Once you have finished with this, draw in the neck of the character and then the shoulders. After this, finish the hair off on the back of the had, then a...

There's nothing quite like drawing a venemous villian trying to throw a bomb at you to awaken your senses and get your fingers flexible for the drawing-filled day ahead.
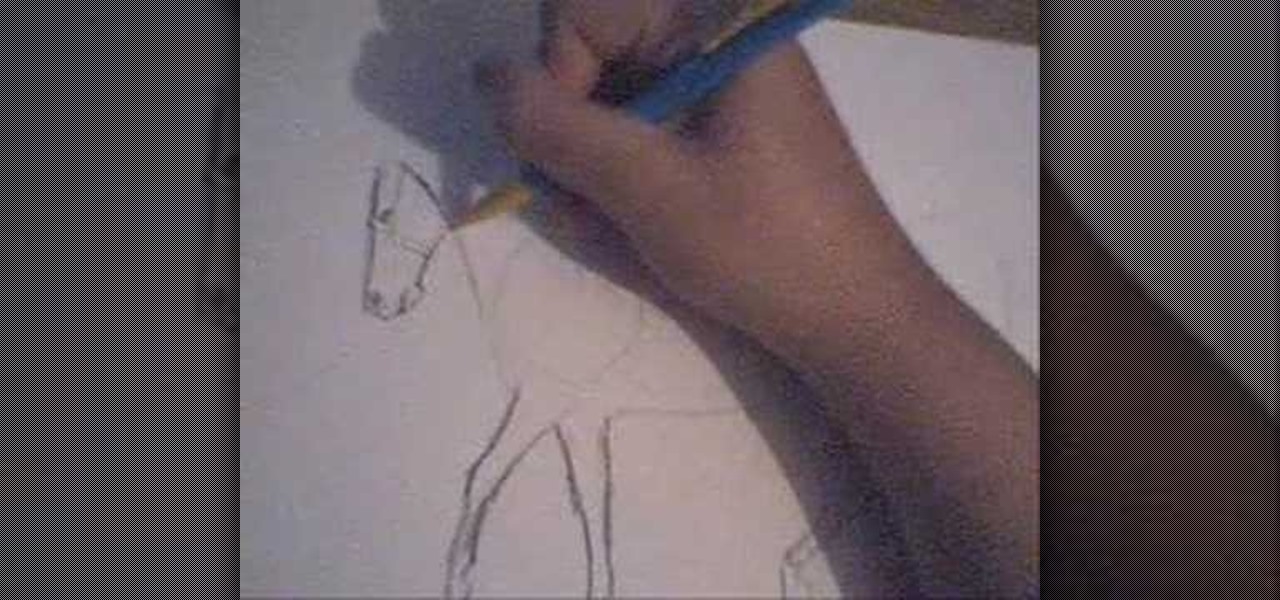
In this video, we learn how to draw a horse. First, draw the outline of the horse's body. Start with a circle for the head and wispy lines for the rest of the body. Make large shapes that connect to see where the mass of the body will be. Next, draw in the head, tail, back, and legs of the horse. After you have the outline finished, erased the lines inside of the picture. Now, draw in details on the horse. Add in lines to show where the hair is, then draw in the nose and eyes to the face. Als...

In this tutorial, we learn how to draw a palm tree. Start off by drawing the ground on the bottom, then draw the base of the tree. Make it curved, so it looks more realistic. Two lines will be going up until you start to draw the leaves on the tree. After this, you will want to start in and shade one side of the tree that the sun will have touched more than the other. Add lines to the tree as well, so you can see the textures that are on it. When drawing the leaves, make sure you are drawing ...
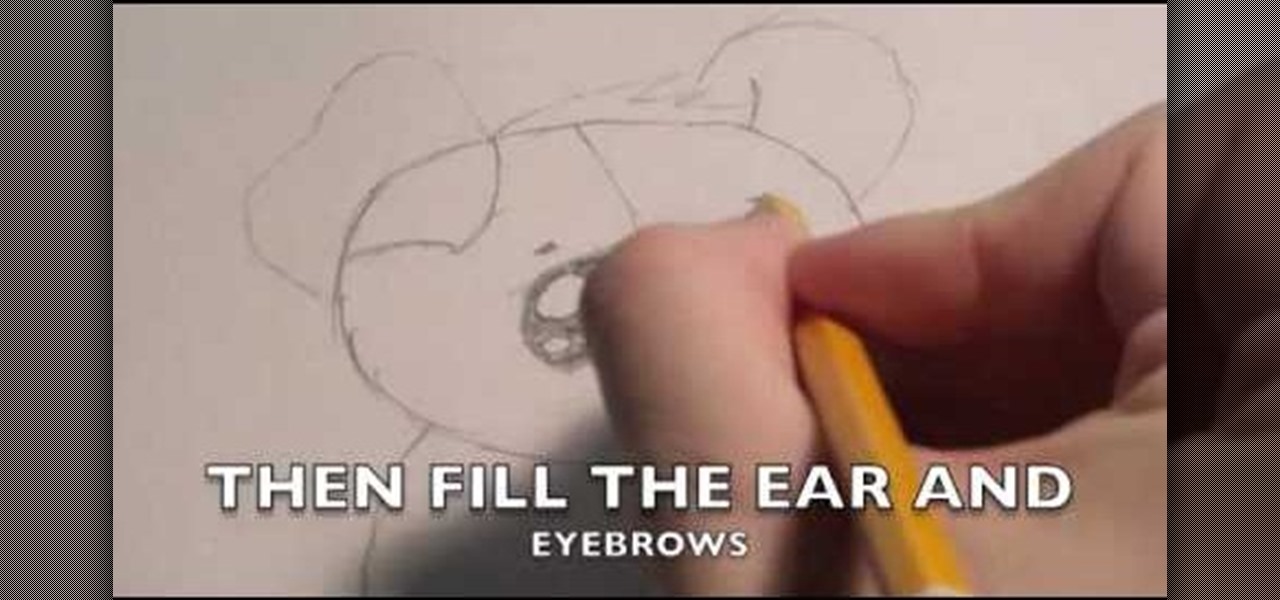
In this tutorial, we learn how to draw a cute puppy. First, you will use a pencil to draw the outline of the body of the puppy. After this, start to draw the details of the face and add in the ears and details for the hair. Next, draw in the pupils of the eyes and then draw in the nose and the mouth. After this, draw in the details on the body and add in lines and shadowing. After this, add details to the paws and then erase any lines that you don't need. When finished, color this in or leave...

In this tutorial, we learn how to draw different kinds of eyes. If you are drawing an eye from the side, make sure you show the eye bulging out of the eye, and show the long eyelashes and layers of the lids. If you are drawing an eye looking up, make sure to show the socket of the eye and the layers underneath the top of the eyelid. To draw an eye closed, you will show the brow bone and crease of the eye, as well as the lashes and the circles underneath the eye. There are a lot of different e...

In this video tutorial, viewers learn how to draw a chibi-style animation face. This task is very fast, easy and simple to do. Begin by drawing box-like face with any type of angle, depending on the character's emotion. Then add an ear. Now draw the eye. Make sure that the eyes are exaggerated and over-sized. Then draw a small nose in the center of the face and add a mouth. Add detail to the mouth such as: teeth, tongue and a chin. Finally, add the eyebrows and hair. This video will benefit t...
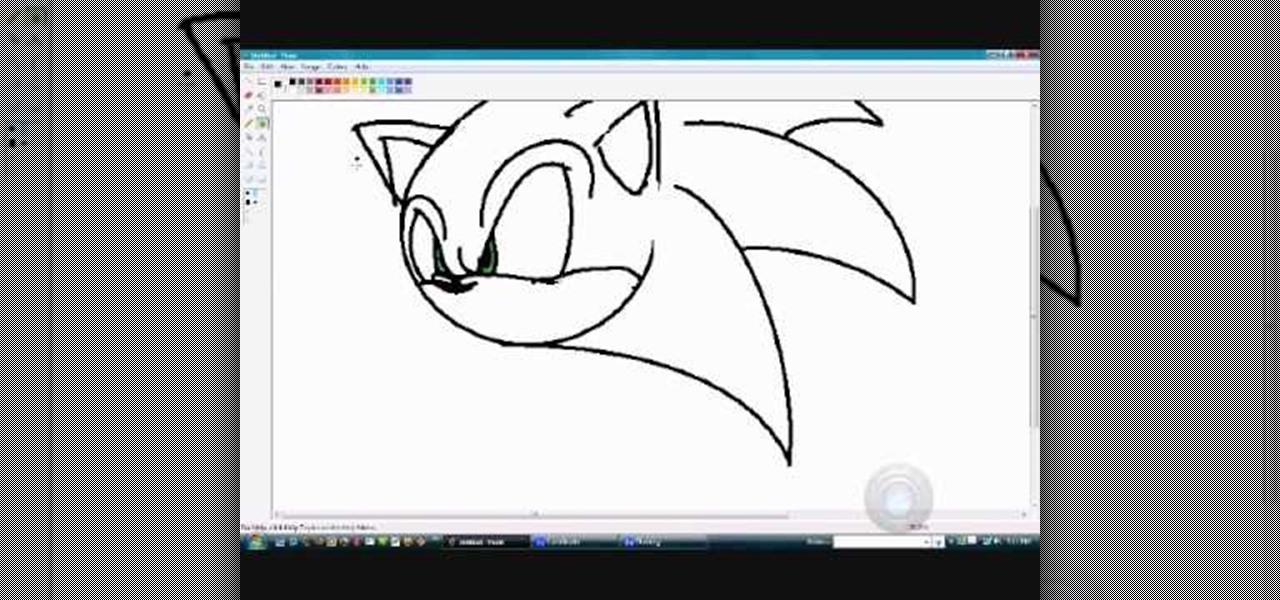
In this video, we learn how to quickly draw Sonic the Hedgehog. Start off by drawing the eyes and eyebrows. Next, draw the ears on the side and connect the head around it. After this, start going to the side to draw the three spikes for the hair. After this, draw in the nose, mouth, pupils, and inside of the ears. Add in shading where appropriate and add highlights to the top of the head. Use a black paintbrush to draw the outline of Sonic darker. After this, finish the picture by coloring it...

Drawing cylinders, like drawing circles, is easy stuff. But drawing perfect cylinders, minutely calibrated edges and angles and all, is often impossible unless you have the right method and the right tools. Rather than lazily sketching your way to a mediocre cylinder, why not improve your drawing and drafting ability by crafting a perfect one?

In this video, we learn how to draw Charmander. Start off by drawing the large eyes with lines inside of them. After that, you will connect the head around it, followed by the nose. Next, you will draw in the rest of the body including the feet. Draw in the tail with flames coming out the end of it. Add in lines around the body to make the figure look more realistic, then draw in pupils for the eyes. When you are finished, you can color the character or just leave it how it is and shade in on...
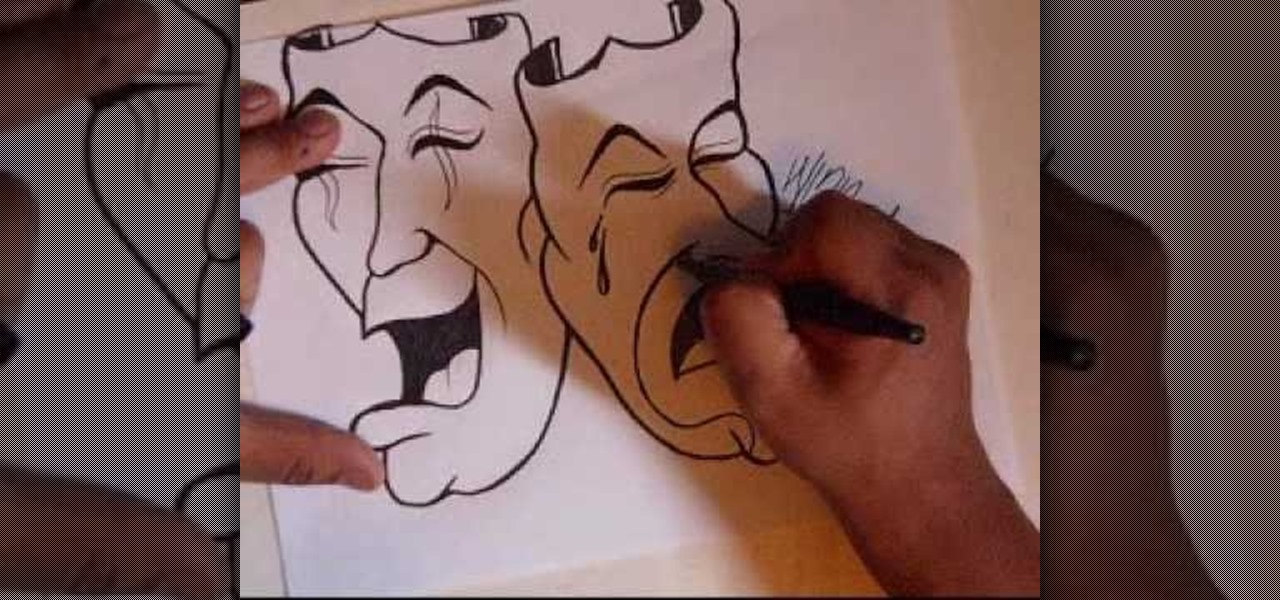
In this tutorial, we learn how to draw smile now cry later clowns. Start off by drawing a large laughing mouth with the tongue inside of it. Next, draw the eyes and then the nose and chin. Draw the eyebrows on the clown so it looks like a clown, with makeup on the eyes and face. After this, add details to the tongue and fill in the back of the mouth with black shading. After this, draw neighboring clowns the same way as the first, just changing up facial features to make them different. This ...

In this tutorial, we learn how to draw Umbreon from PokŽmon. Start off by drawing the head and using crossing lines as the reference points for the eyes. After this, draw the neck and body underneath the head. Next, draw the feet, rear legs, and tail as well. Use your pencil to add lines on the sides to make the fur look real. Next, start drawing in details to the character, including; ears, paws, and eyes. Also, draw the nose and mouth to the character. After this, start to shade different p...
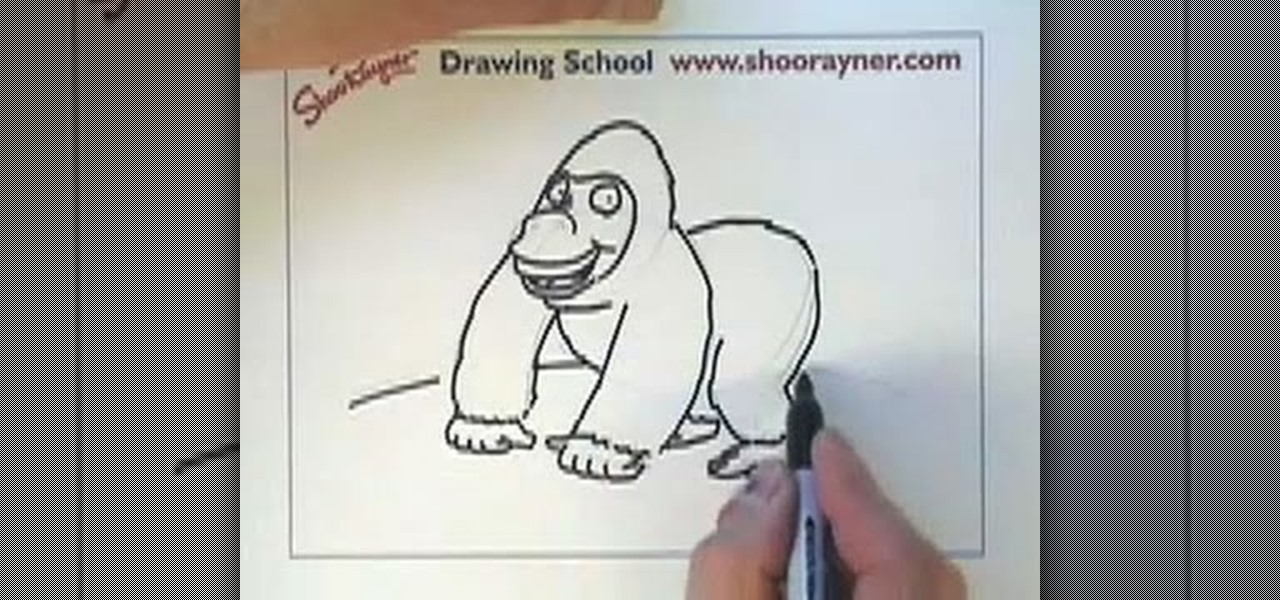
In this tutorial, we learn how to draw a gorilla. Depending on what type of gorilla you want to draw, there are various ways to change the look easily. To start, draw a bean shape that will be the body. Next, draw a smaller bean shape for the head on the side of the other shape. Now, draw the middle of the face, making eyes in the middle underneath the brow bone. Now, make the nose and mouth of the gorilla. After this, continue back down on the rest of the body and draw arms and legs for the ...

In this tutorial, we learn how to draw a fun bunny doodle. To begin, draw an upside down triangle with two straight lines coming out of the top middle. Next, draw a half circle over the eyes, then draw two large bunny ears on top of the half circle. Then, connect the curls on the end of the ear to the bottom of the head. Now, do an additional line to make the inside of the ear. After this, draw another circle around the bottom of the face, then draw a line with two humps at the bottom of the ...

This video tutorial is in the Fine Art category which will show you how to draw a deer from a triangle. First you draw an inverted triangle which will make up the face of the deer. Then you draw two small curves starting at the two top corners of the triangle to make the horns of the deer. You can also draw more short curves or straight lines starting from these curves to make up the complete horns. Then you draw the ears starting just below the horns. Draw the eyes and color in the ears and ...
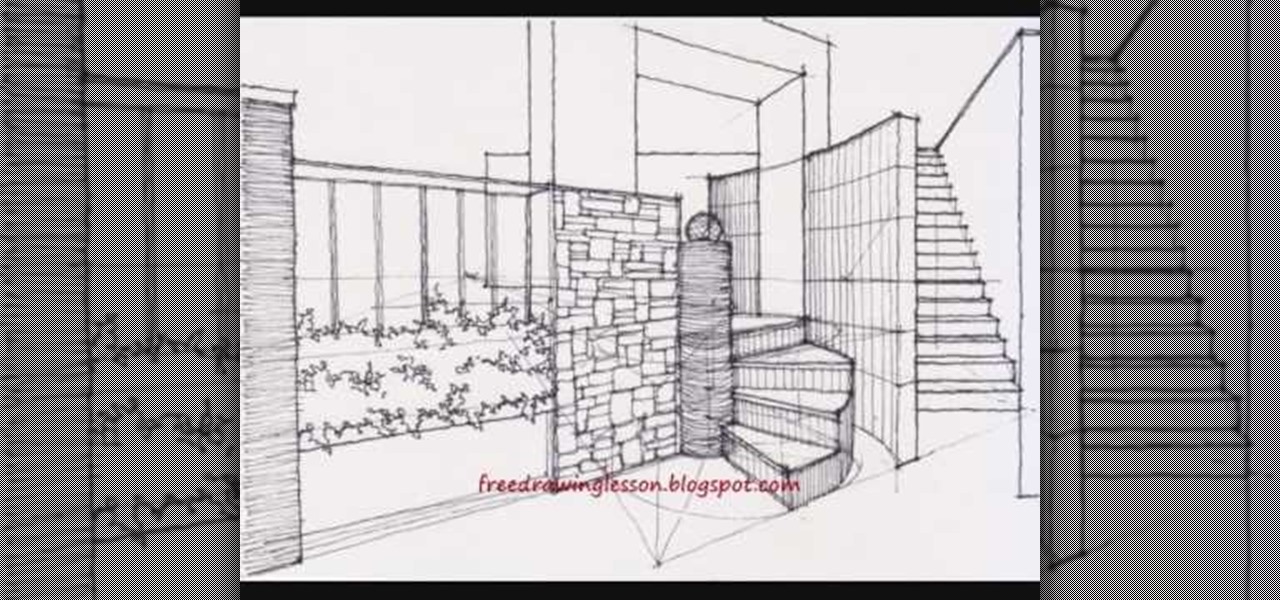
Are you a fantastically talented artist who's tired of scribbling the same circles and squares over and over again? Sprinkle some hot sauce into your drawing affairs by combining the two. Watch this tutorial to learn how to draw spiral staircases, which are much harder than normal linear staircases to complete but also much more fascinating aesthetically.