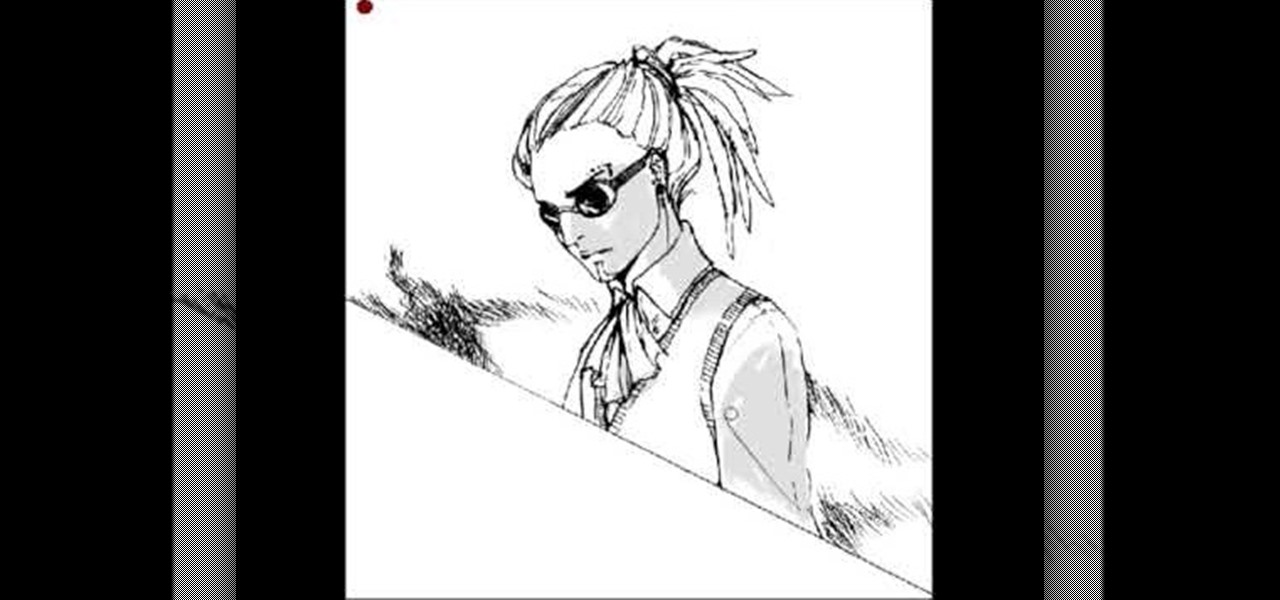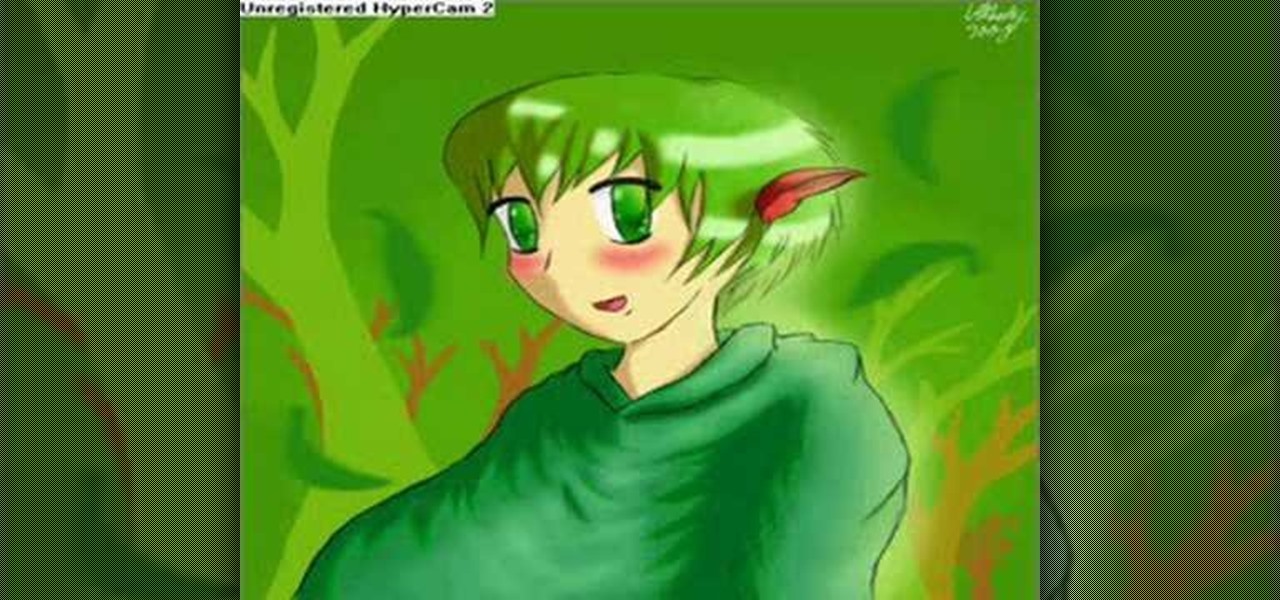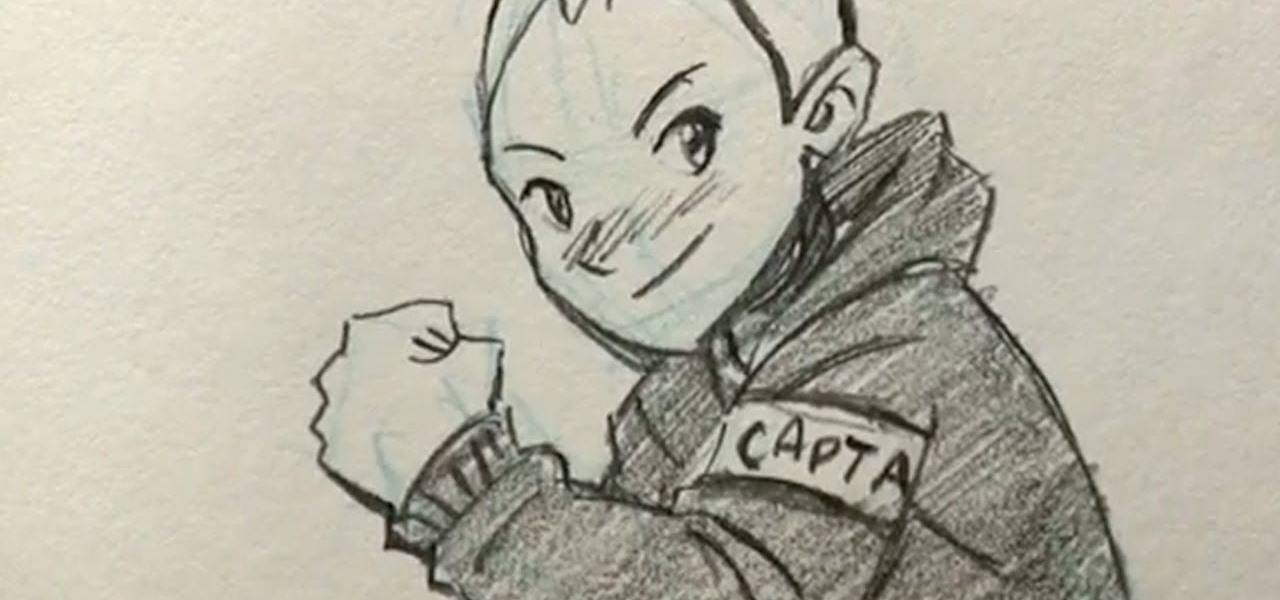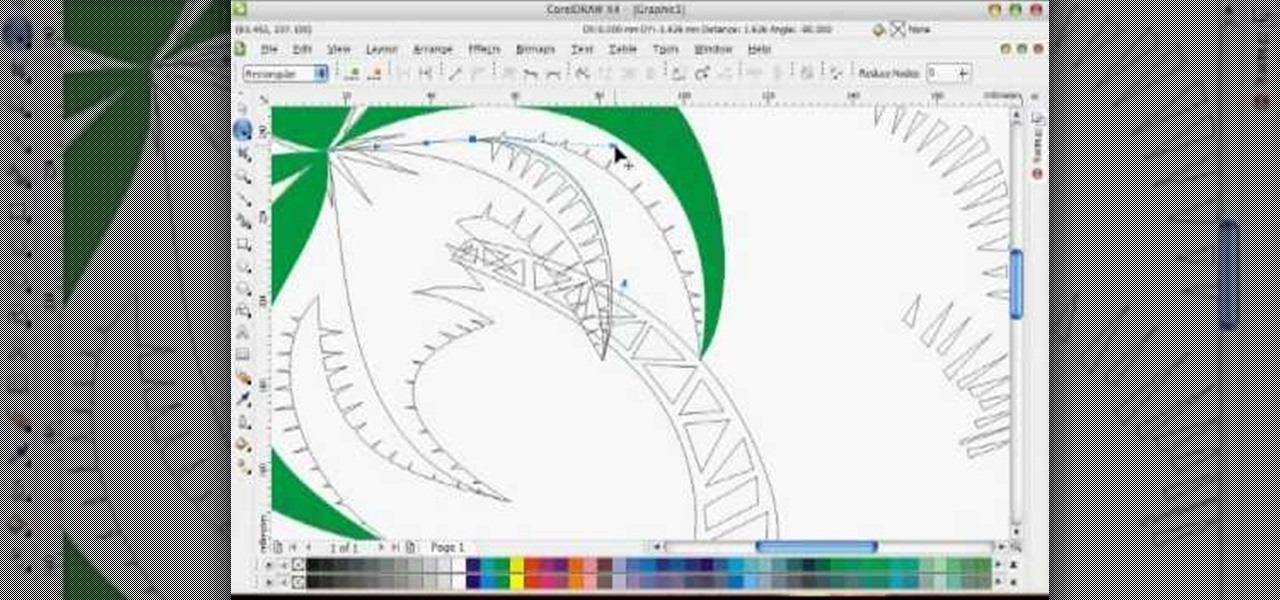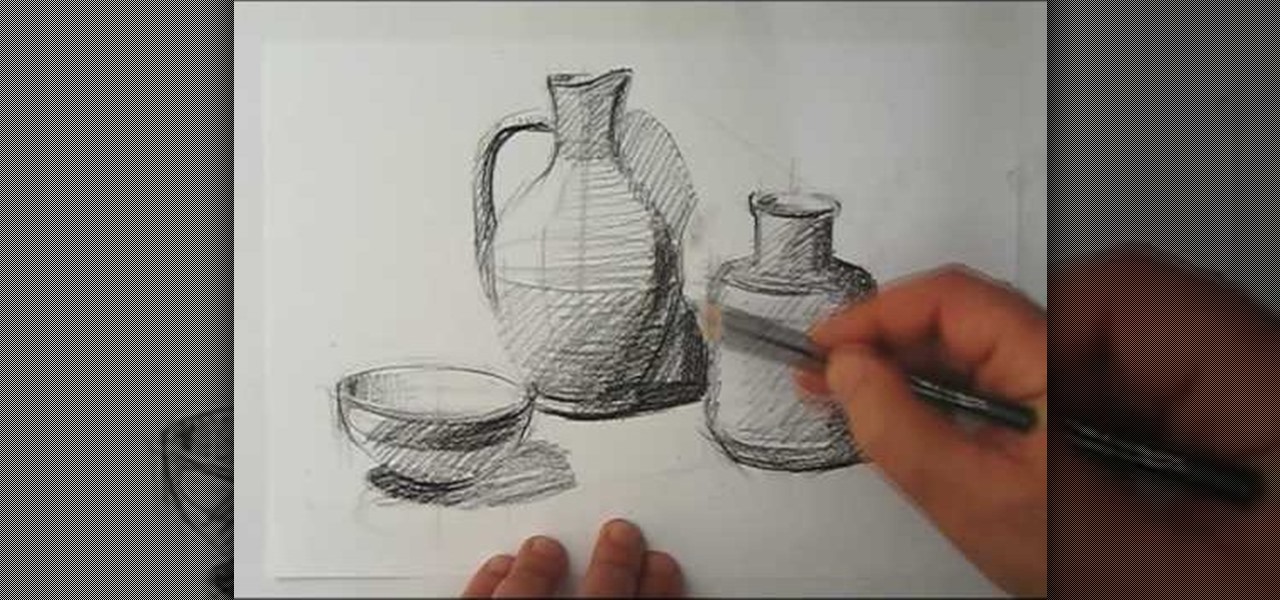
In this tutorial, we learn how to draw a still life. First, you will use the side of the pencil to draw the outline for the still life drawing. After this, continue to draw the outlines for all the objects that are in the model. Start to slowly add in the details, using the light touch of the pencil. As you continue, use the side of your pencil to shade and then use your eraser to blend. Continue to add in additional details as you go, then erase any background lines when needed. Enjoy drawin...

In this tutorial, we learn how to draw a foot. To start, you will first need to draw the outline of the foot. You can easily do this by first drawing out the ankle and then drawing the rest of the foot. Look at your foot if you need help to figure out where the different contours are. Then, draw in the toes and add in the toenails. Once you do this, you will be able to add in the shading around the foot as well as the lines to the skin to make it look more realistic. When finished, sign with ...
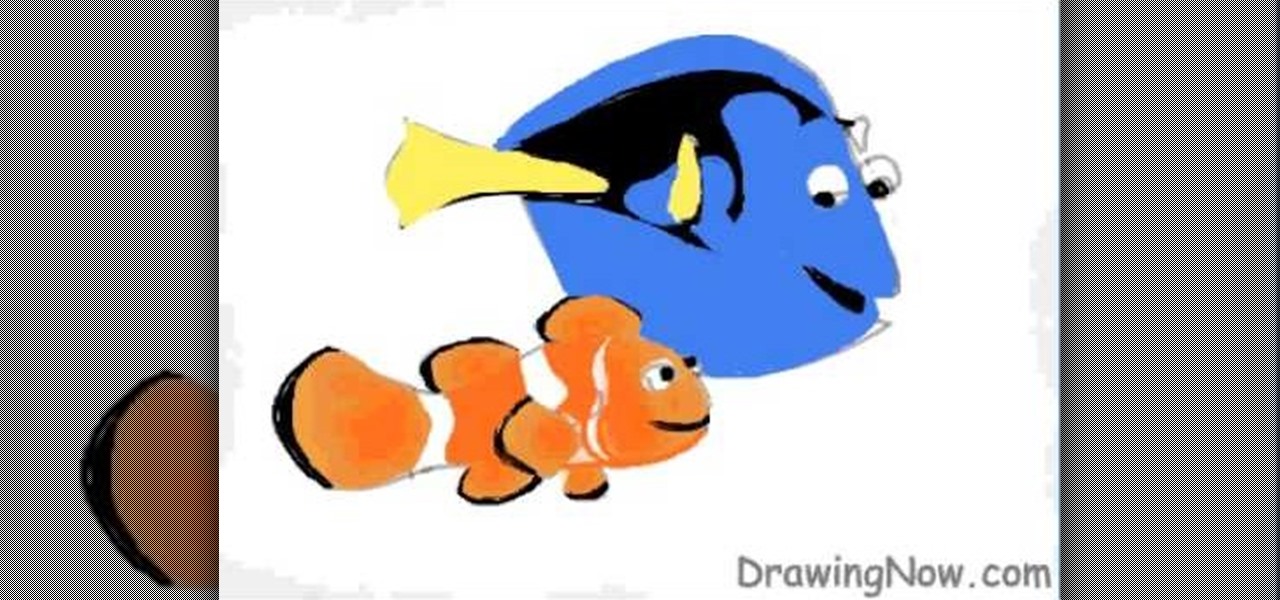
In this tutorial, we learn how to draw Nemo and Dory from Disney! Start off by drawing the bodies of both Dory and Nemo. Make sure to get the pattern of Nemo draw out correctly. After this, draw on the eyes and the fins for both of the characters. From here, use a black marker to draw on the scales of the fish as well as the rest of the details on the face. After this, color in Dory with yellow, black, and blue. Then, color in Nemo with orange, black, and white. When finished, color in the ba...
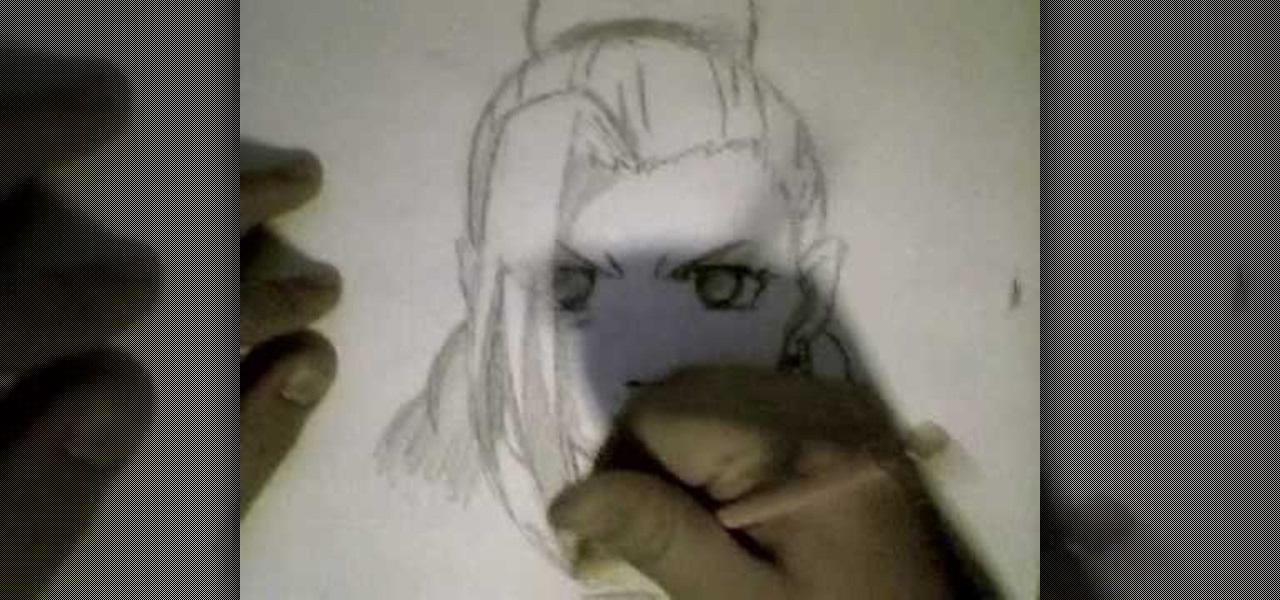
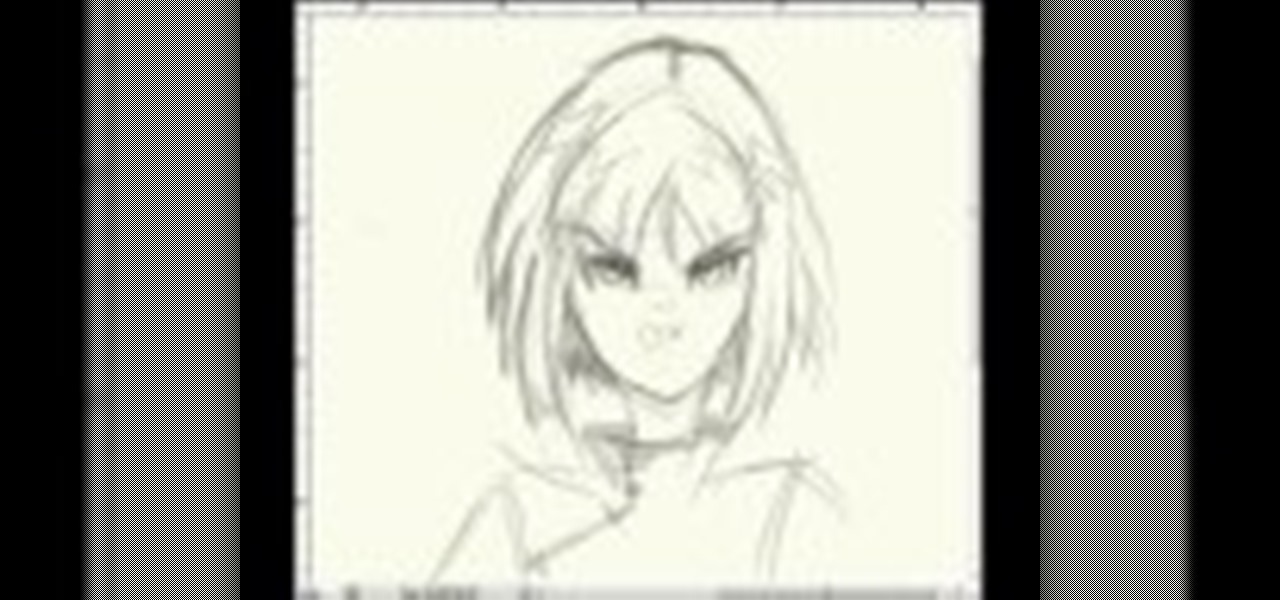
In this video, we learn how to draw Ino from Naruto. Start off by drawing a circle for the head, then drawing lines in the middle to create reference for where the facial features will go. After this, draw in the hair on the top of the head along with the eyes, eyebrows, and creases of the eye. Then, draw the jaw line around the face and erase the lines you used for reference. After this, add in additional lines and hair to make it look more realistic. Use shading around the face to show ligh...
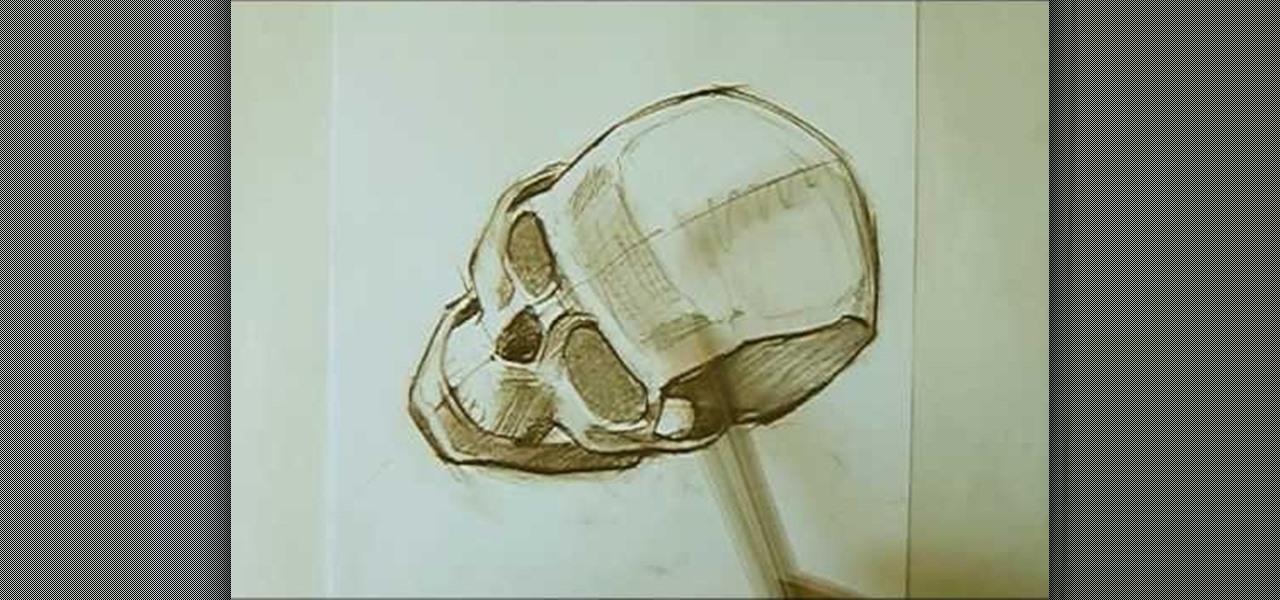
In this tutorial, we learn how to draw a skull with proper proportions. First, draw the outline of the skull with the light touch of a pencil. After this, use the pencil to draw two crossing lines that are the same length. Next, draw in the features of the face and head using the lines on the drawing. From here, you will start to add in the details to the features of the face and erase any background lines. Use the side of your pencil and the top of it to shade in the sockets and lines. To fi...
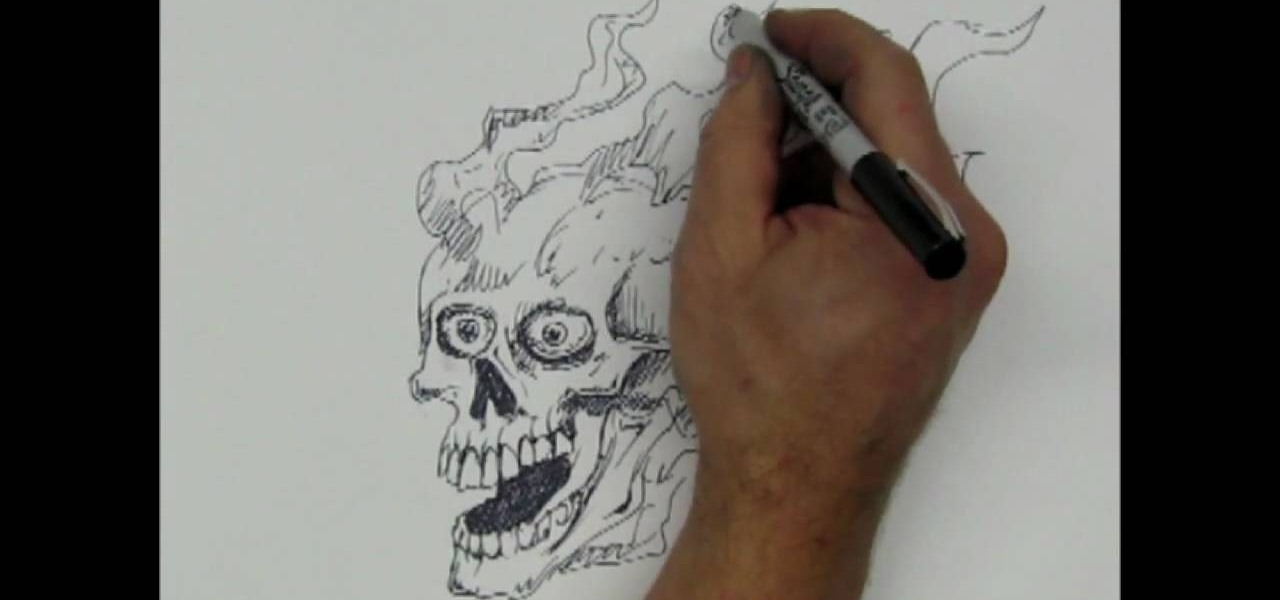
In this tutorial, we learn how to draw a skull with a Sharpie. First you will draw the eyes, make sure to draw lots of little lines around them then cross them to create depth. From here, draw the outline to the head and then the nose and the teeth. Make sure to add lines in around the head to show cracking and marks around the head. Use shading to create darker lines along the head and then add in additional details. Make this unique to you, it doesn't have to look one certain way. When fini...

In this tutorial, we learn how to draw Kazekage Gaara. First, draw the outline of the character using a pencil. Then, draw in the features of the face and the hair as well. From here, draw in lines on the clothing to create the folds and make it look more realistic. After this, continue to add in details on the clothing to show the arm and the backpack on the character. Start to add shading to the character and the clothing until you finish the drawing. Clean up any stray or background lines,...

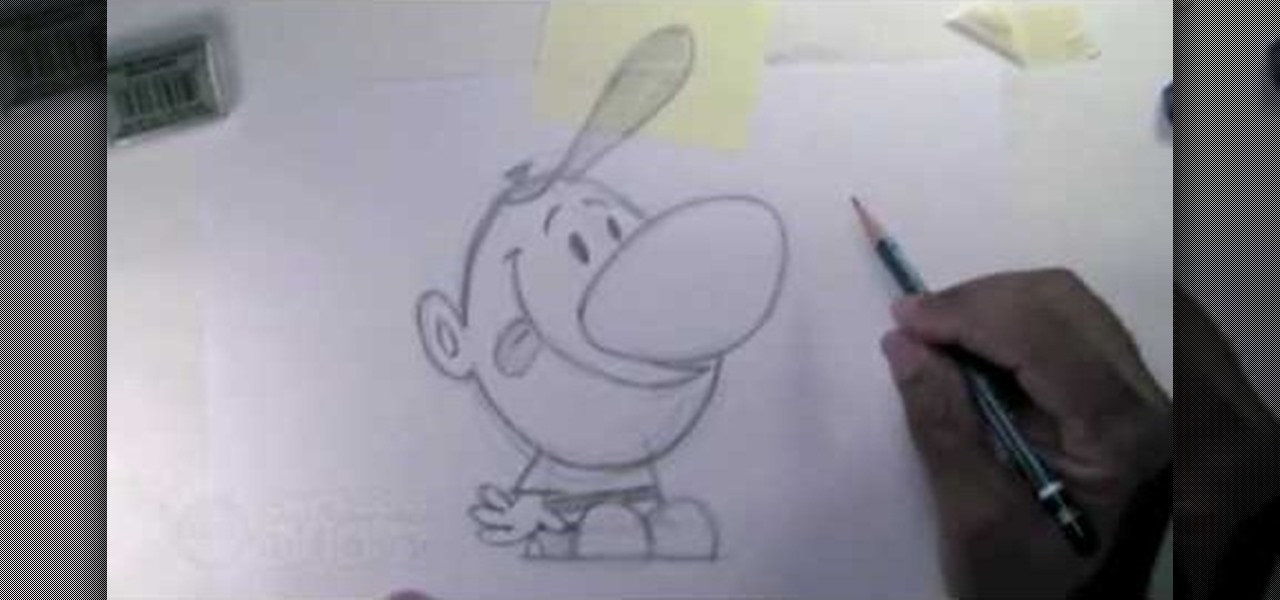
In this video, we learn how to draw Billy from The Grim Adventures of Billy & Mandy. Start out by drawing the egg shaped head with a pencil. From here, sketch on the body by using a block shape then draw the shoes as simple half circles. The arms and hands will be hanging to the sides. Now, draw on the huge nose in the middle of the circle. Attach the mouth to this and draw it all the way up near the eyes, which are simple dots. The brows are simple slashes. After this, add in the minor detai...

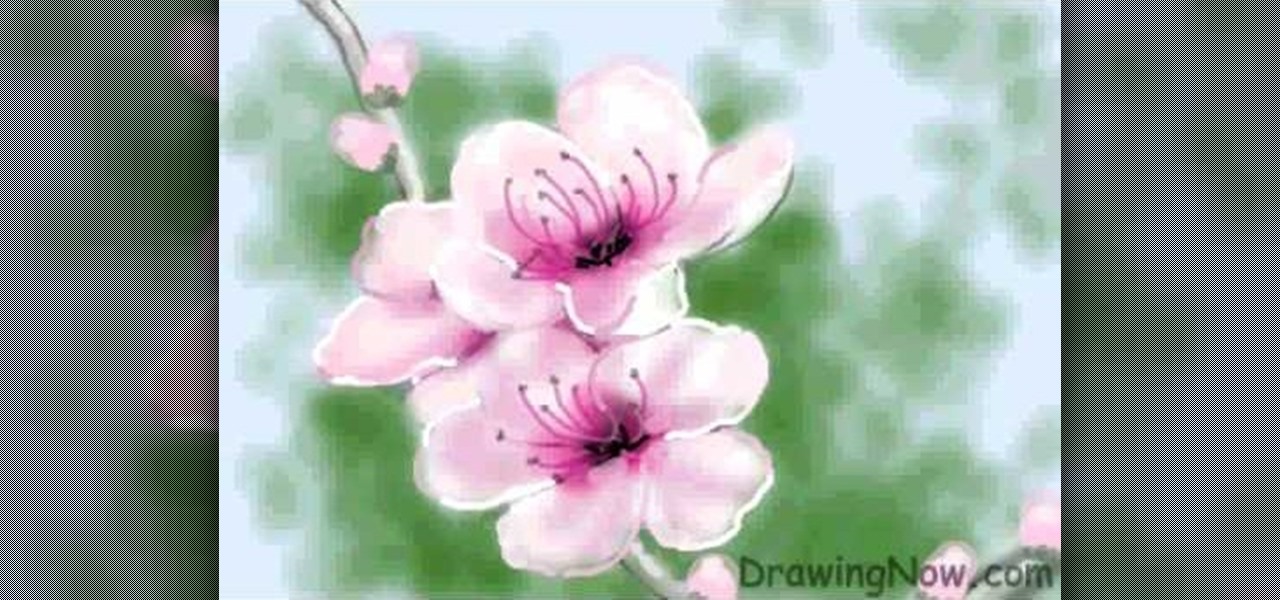
In this tutorial, we learn how to draw a peach blossom. First, draw the vine where the flowers will be. Then, draw the petals for the flowers, creating a basic outline. From here, you will color in the middle of the flowers with black and then a darker color of what the petals will be. After this, color in the petals and then create the background of the drawing. Next, color the vine in where the petals are on. Then, add white to the edges of the petals to show light hitting them. When finish...

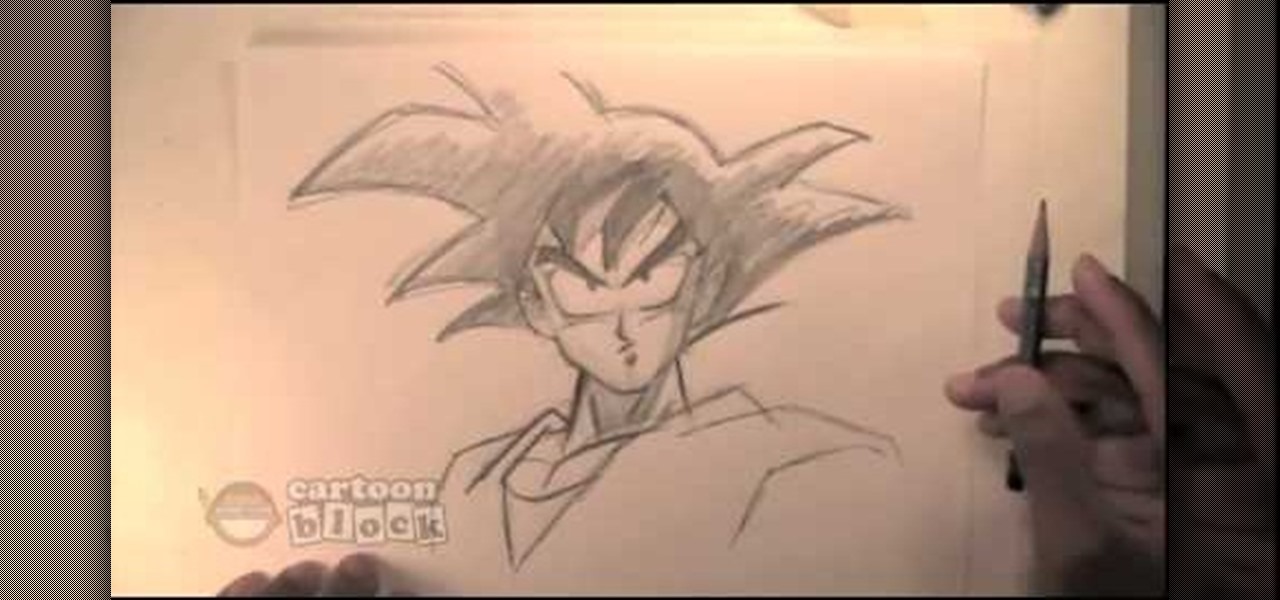
In this tutorial, we learn how to draw Goku. First, you will start drawing the outline of the face, including the features of the face. After this, darken around them by drawing with the pencil. From here, draw in the hair on the top of the head and the ears on the side of the head. Next, you will draw in the neck and the rest of the body as well. Add in lines on the body to show the contours and the muscle on the body as well. Finish this off by adding in shading and erasing any background l...

In this tutorial, we learn how to draw the female body. First, you will draw the outline of the body, starting with the basics. Then, start to shade in the different areas of the body and create contours. Make sure to draw longer and leaner lines to create a more feminine figure. Draw in her hips and make her body curvy, not just one straight line. After this, add in lines to the body to make it look more realistic and show the contours. To finish this, add in white for lighting and then cont...

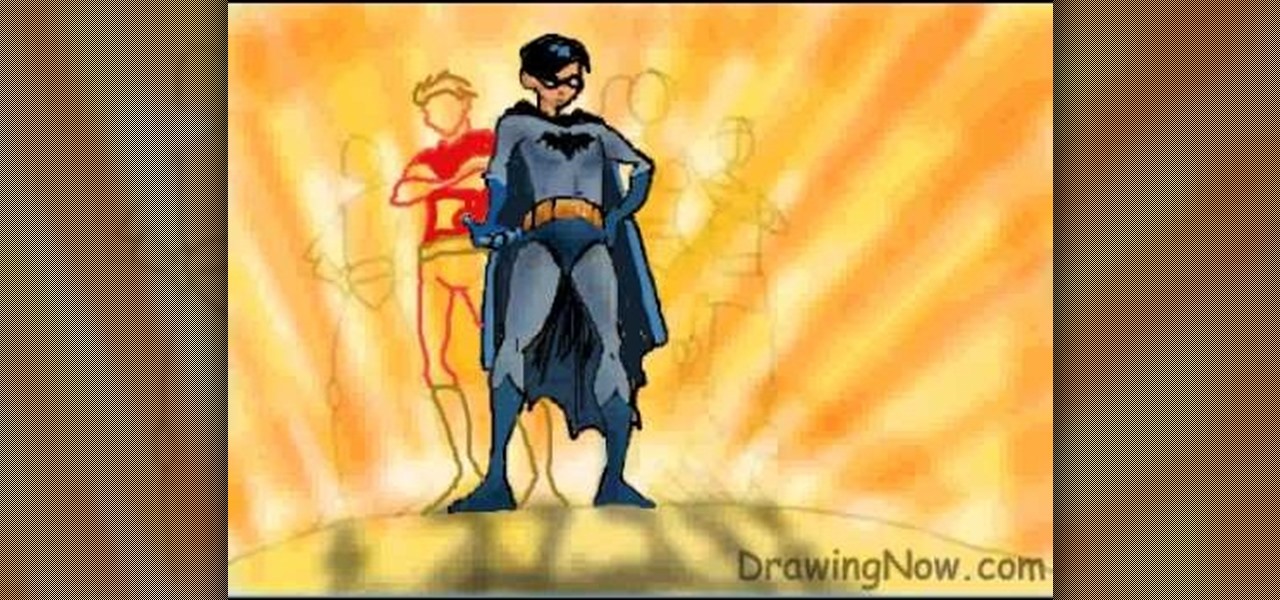
In this tutorial, we learn how to draw the cartoon Teen Titans. Start off by drawing the basic outlines of all the characters. Use circles and basic lines to draw out the outlines of them all standing together. From here, draw in the color for the background behind them, then start adding in details for each of the characters. Draw in each of their outfits, as well as facial features. Use lines and shading to make the characters look more realistic. Color them with the appropriate colors for ...

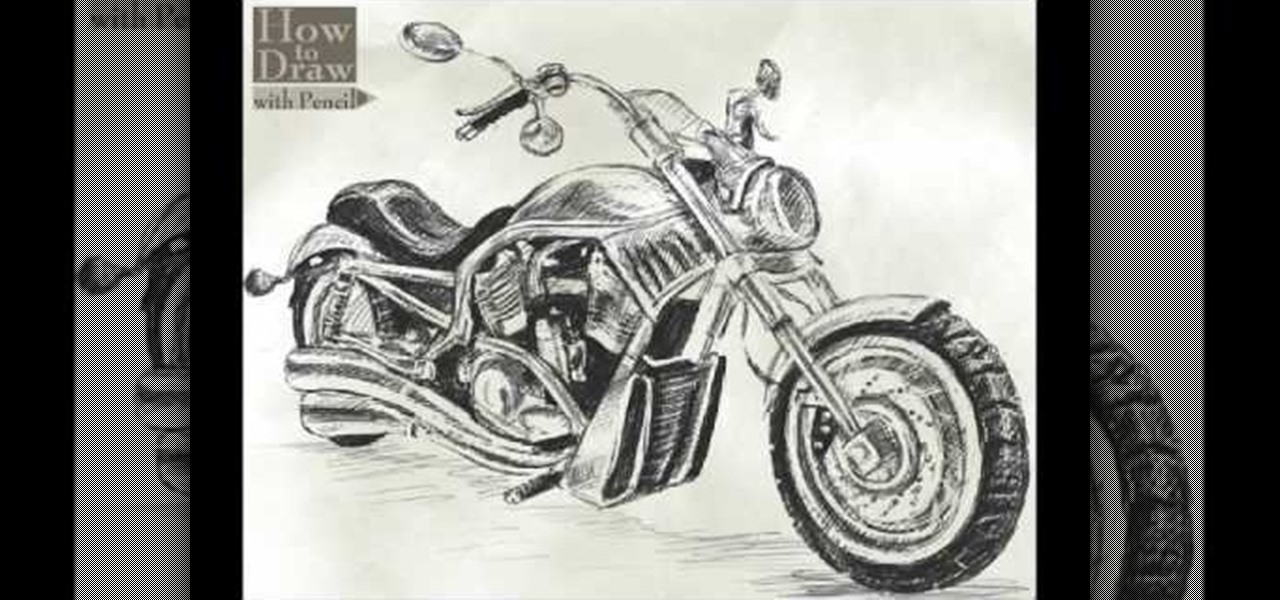
In this video, we learn how to draw a Harley-Davidson V-ROD. First, draw the outline of the vehicle using a light pencil. After this, start to add in the details of the wheel and front of the motorcycle. From here, add in shading and additional details to make it look more realistic. Make sure you draw on the small details of the motorcycle because this will make all the difference. Shade in additional details on the drawing and then erase any lines that you don't need. Use the eraser to crea...

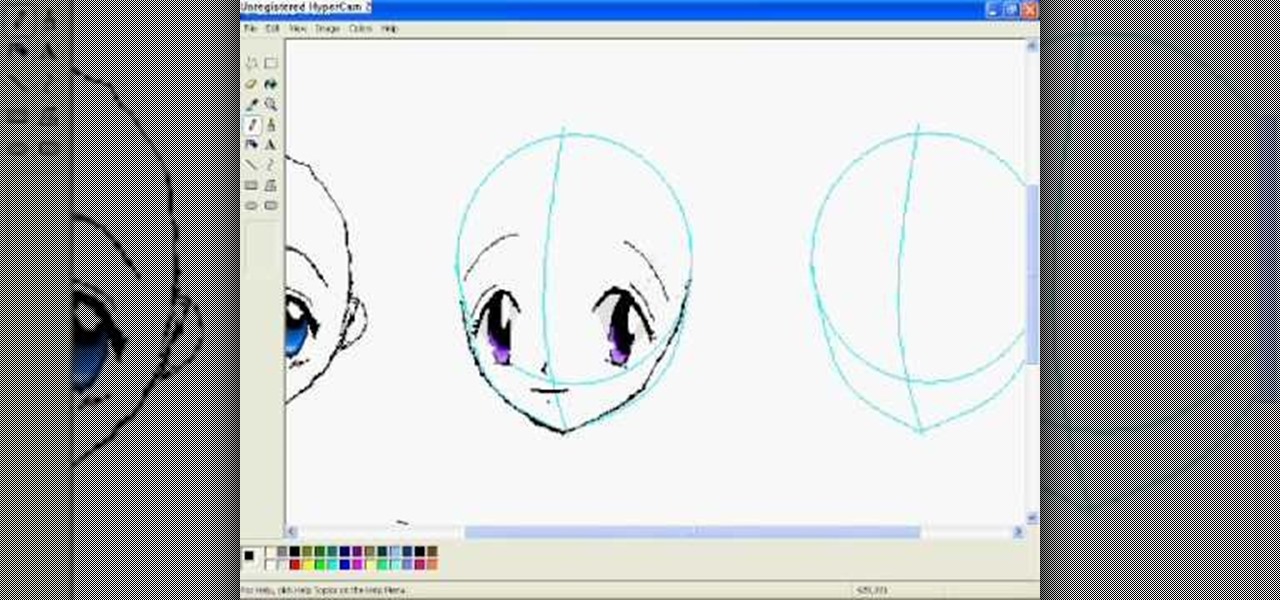
In this video, we learn how to draw anime eyes in MS Paint. First, draw the round circle for the head and draw a line in the middle for reference of where the eyes will go. To draw large eyes, draw two round circles and then a small pupil at the top. Color the pupils in black and color the rest any color you'd like. For female eyes, make the pupils much larger and add in eyelashes on the eyelids. Shade in underneath the lids and add white to show they are glossy. These are both great looks fo...

In this video we learn how to draw Pikachu from Pokemon. First, draw the ears and the top of the head. After this, create the sides of the head and color in the tops of the ears. Draw in circles for the eyes and then draw in the nose, cheeks, and smile. Continue on to draw the rest of the body and the details of the chin of the character. Add in the details for the side of the body and then add in shading and body lines wherever possible. When you are finished, share this with others and be a...

In this tutorial, we learn how to draw Electivire from PokŽmon. Start out with a very sharp pencil and lightly draw the outline of the body of the character. After this, use a firmer hand to draw a darker line on the outline of the body, then start to add in details of the face and the rest of the character. Next, draw the details on the body to give it more of a personality and make it look more realistic. Continue to draw on the rest of the body parts, using lines and shading where appropri...

In this tutorial, we learn how to draw PokŽmon heads. Start out by drawing a circle for the head, then drawing intersecting lines in it to create a reference point for the features of the face. Next, draw the ears coming out of the head and then draw the eyes, nose, and mouth. Once finished, you will need to fill in the eyes so they have the correct look, then add in further details along the face. Make sure to add lines to the edge of the head to make it look like it has fur, then add in any...

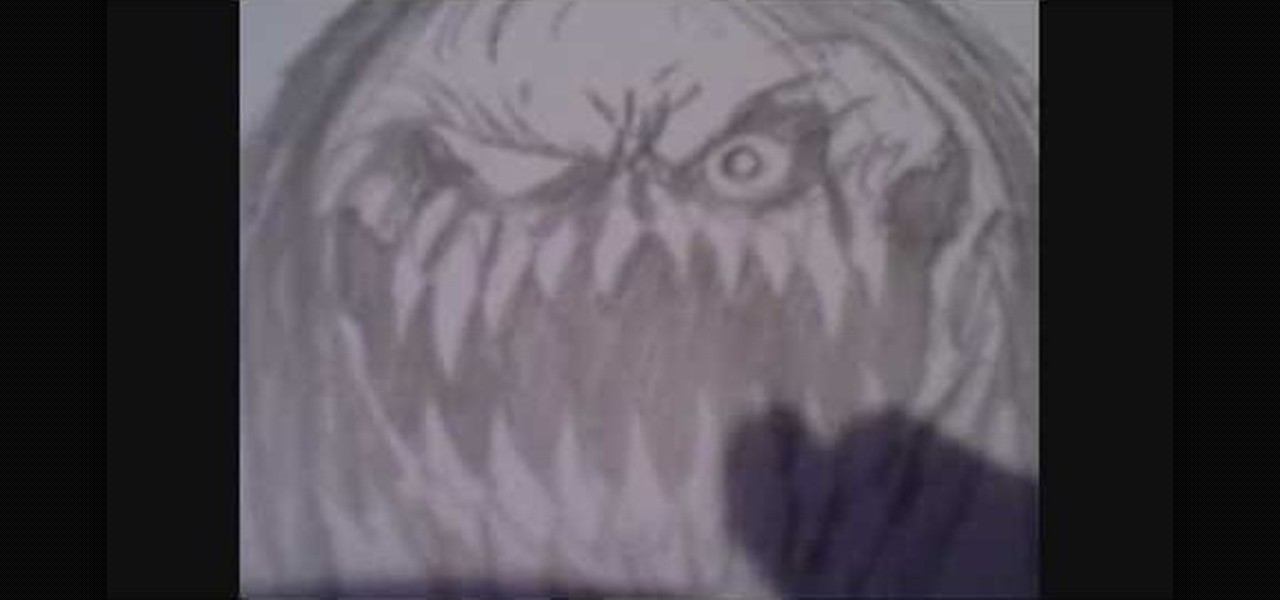
In this tutorial, we learn how to draw a scary demon mother. Start off by drawing a circle for the face with huge sharp long teeth and small evil eyes. Add in details around the face to create a more realistic feel and creases in the eyes. Next, draw in the hair by using your pencil and just drawing in straight and straggly hair. After this, add in additional details to the eyes and the rest of the face, creating a nose and other features you want. After this, draw in lines on the bottom of t...

In this tutorial, we learn how to draw manga facial expressions. To draw an angry face, you will draw a circle for the head with a point for the chin. Then, you will draw in a slight frown for the mouth and half circles for the eyes. Then, draw in slanted eyebrows above the eyes to make the character look angry. Add in highlights around the face to make the expression larger. Then, add in lines around the face to show it being crunched up and the person being angry. You can also make the mout...

In this video, we learn how to draw Toad. Start out drawing toad with the out line of the body. Make sure to incorporate the mushroom helmet on top of the head. After you have the basic outline finished, draw on the features of the outfit. Include the pants and the scarf around the neck. Also, add on the features of the face and darken up the eyes. Next, draw in half circles on the mushroom helmet and then shade around the character to make it look 3D. Practice drawing this to perfect the cha...

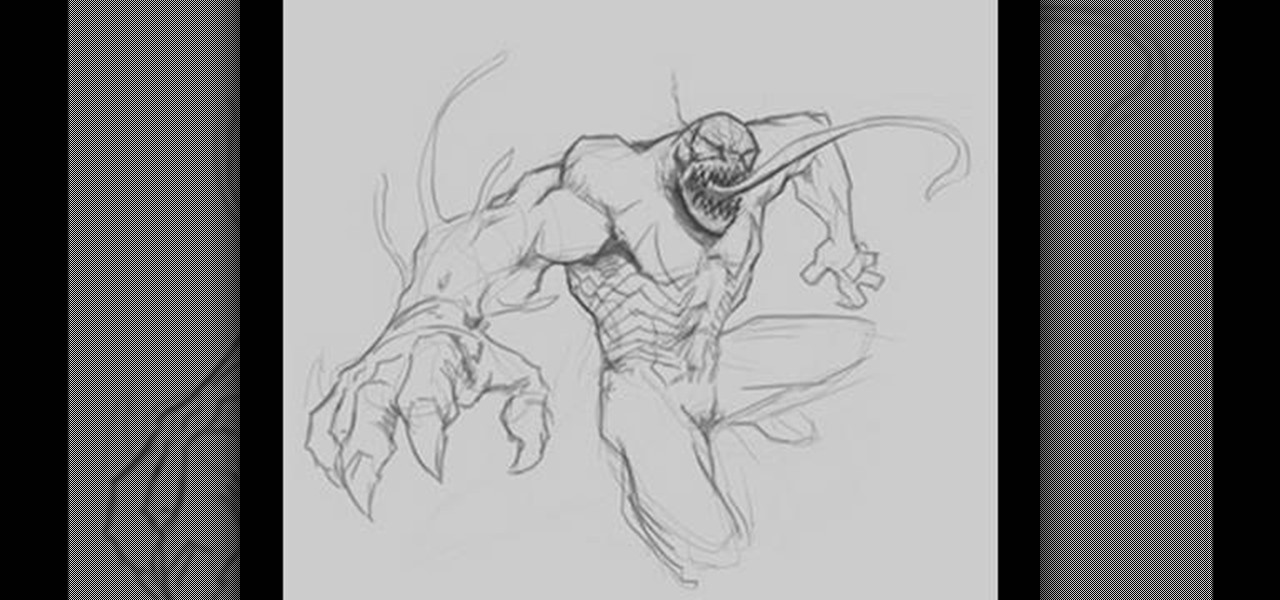
In this video, we learn how to draw Venom. Start out by drawing the outline of the entire body of the character. Use a soft line to create light lines throughout the entire body. After you have completed this, use a more bold line to draw around the body and start filling in details. Add the veins to the arms and then use shading to make them look more realistic. Draw in the details of the face and tongue, then continue on until you reach the torso to the feet. Once finished with the drawing,...

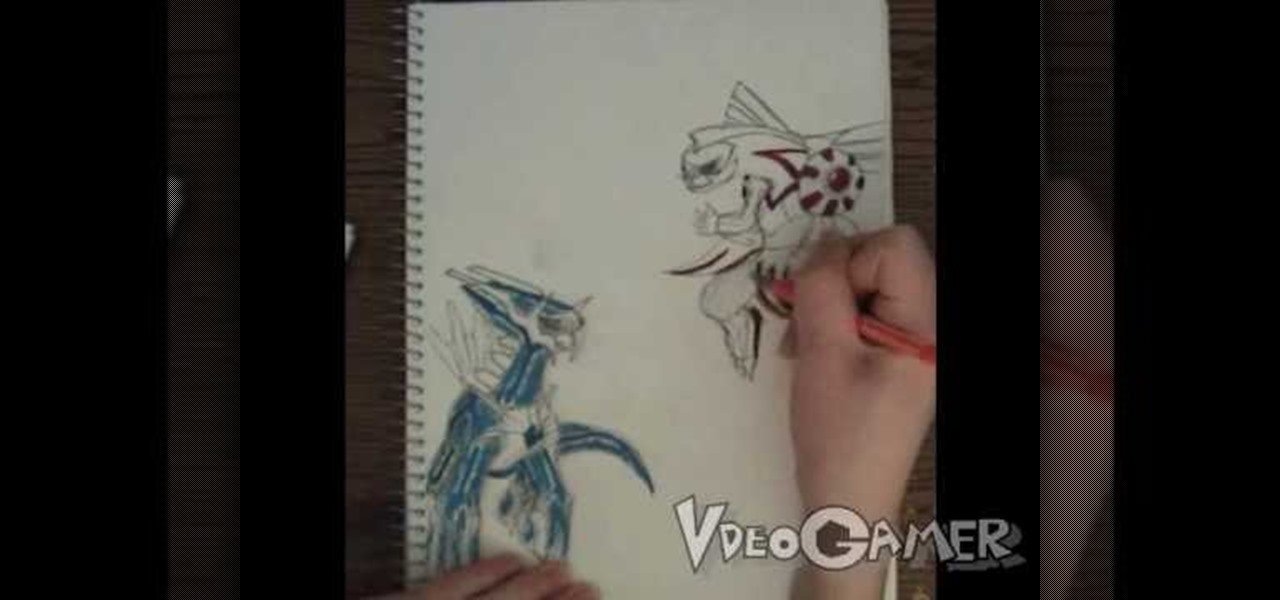
In this tutorial, we learn how to draw Palkia vs Dialga. First, you will need a pencil, pen, sketch paper, and colored markers on hand. Now, start to draw the characters by drawing the outlines of their bodies first. After you have completed this, start to draw in the details of both the characters. Make sure to draw in even the smallest details that are featured on their wings and throughout their body. Next, you will use a pen to shade in some areas darker and trace over, then use the marke...

In this video, we learn how to draw shadows in manga. When you are drawing shadows, you want to think in 3D. When you show the lights and shadowing, it's like you are drawing something you see a photo of instead of just a drawing on a piece of paper. Draw the shadows where you want the position of the light to be opposite of. If the shadow is on one side of the face, this would mean that the source of light is coming from the opposite side of the face. Use real pictures to figure out how to s...

In this tutorial, we learn how to draw anime. Start off by drawing the outline of the anime, then color in the face, hair, and clothing. Add in the ear on the side of the head, then add in the features of the face. Next, add in shading to the face, hair, and clothing to add dimension to the drawing. Next, add in details to the face to make this look more realistic. Then, draw in trees and leaves for the background of the drawing and color them green and brown. After this, add in a light sheen...

In this tutorial, we learn how to draw a teenage manga boy. Start off with the outline of the boy in a light blue pencil. Next, take a dark pencil and draw over the outline, adding in details and clothing to him. Draw in the features of the face and add in short spiky hair on his head. Then, draw in the details of the clothing, making sure to add in lines to make the folds in the clothes. Next, continue to draw in the rest of the boy, then finish with the feet and pants. When you are done, sh...

In this tutorial, we learn how to draw a vector art palm tree in CorelDraw X4. Start off in the CorelDraw program and create the base of the tree with a drawing tool in black. After this, draw small triangles inside of the base of the tree and then draw the leaves and branches of the palm tree. Fill this in with small spikes and then erase the middle nodes. From here, use a shaping tool to make the spikes on the palm tree more rounded and lifelike. After you do this, start to color in the ent...

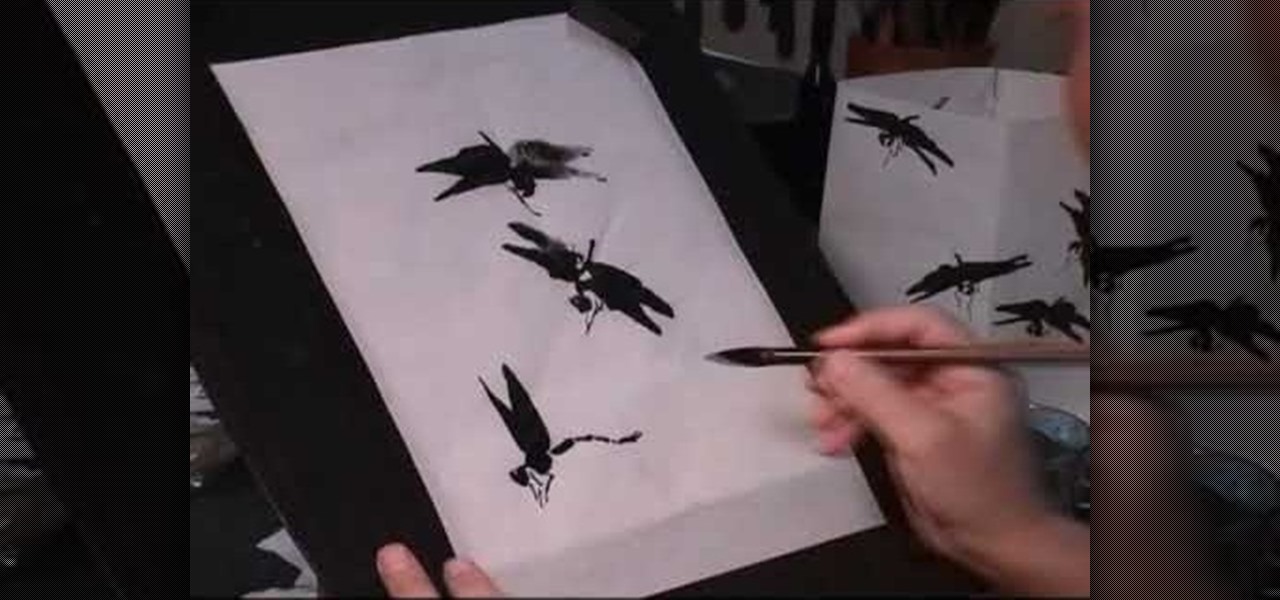
In this video, we learn how to draw dragonflies in Chinese painting. Start out with rice paper, then soak your medium sized combination hair brush in water. Next, squeeze the moisture and then push the ink out. Now, position the brush so it's comfortable and touches the paper lightly. Draw the wings on the insect first, then draw the tail on the bottom. After this, paint a small circle shape for the head and continue to draw the other dragonflies. You can vary how these look by making the win...

In this tutorial, we learn how to draw Totoro. Start off with the ears, then connect the top of the head around them and continue to draw the rest of the head. Fill in the eyes and the nose on the face, then make lines on the side of the face to show whiskers. After this, draw an egg shape as the rest of the bottom, then add hairs onto the stomach area. Draw small little lines on the bottom of the character to make it look like he is sitting on something. To finish, draw the character holding...

In this tutorial, we learn how to draw a cartoon critter. Start out by drawing a little fat body with two arms and two legs. Next, draw on two large bunny ears on the head and create eyes that are giving a mean look. After this, create the mouth to be open with sharp teeth inside. Next, use a dark paint brush to outline the image and draw a gun in the bunny's hand. Draw details onto the critter by making hair and a belly button. After this, paint in any colors you would like, then save and pr...

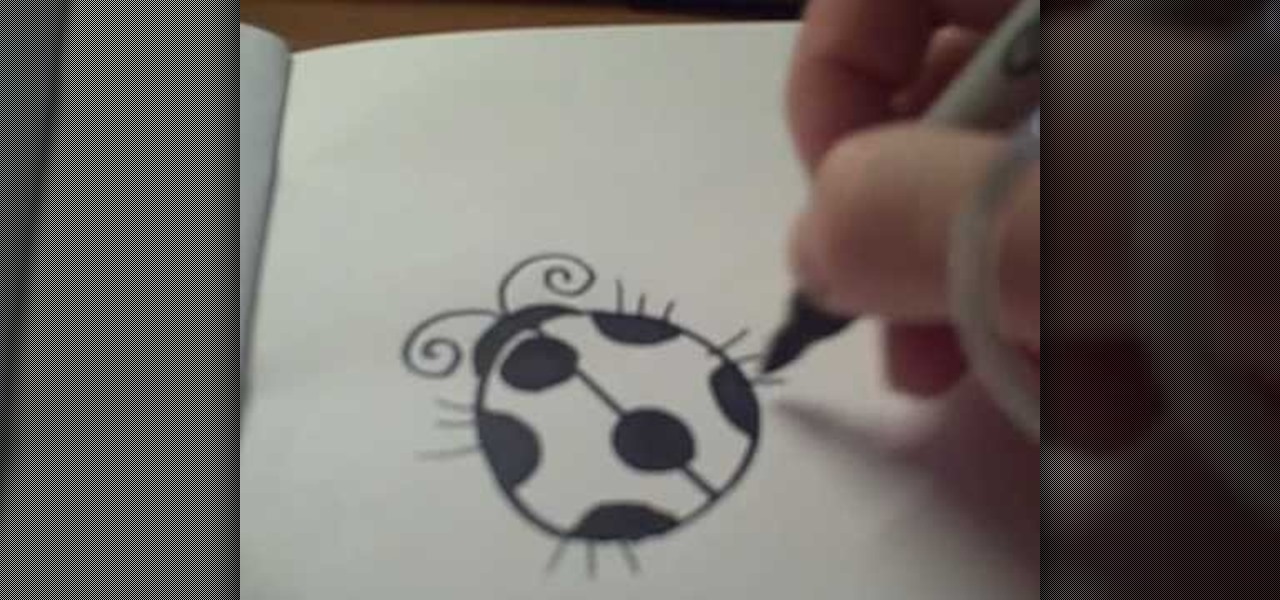
In this tutorial, we learn how to draw a cartoon ladybug. Start out by drawing a circle, then draw a line down the middle. Next, draw and color in some dots all over the circle. After this, make a head by making a half of a circle over the straight line. Now, add antennas to the head and color in the head. You can also add in legs to the ladybug if you prefer, or keep them off. When you are done with this, you will have a cute ladybug in just a few minutes. This is a very easy picture for kid...

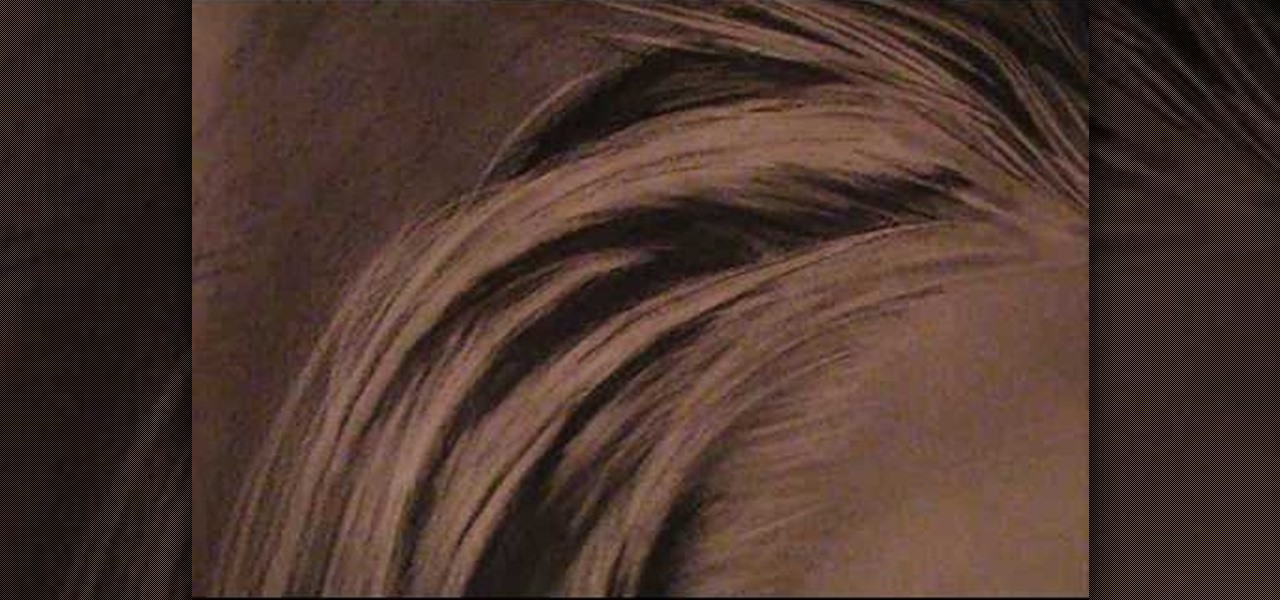
In this tutorial, we learn how to draw realistic hair. Start out with a rough outline and look where the hair is clustered together. Draw the clustered area first. Then, cross hatch over the entire surface of the area and blend in. Add hair to the forehead area, then use a darker pencil to form the shape of the hair. After you do the clusters, start to draw the hair that is separated from the rest. Keep looking at the picture you are drawing, then use an eraser to change the drawing to match ...

In this video tutorial, viewers learn how to draw a vampire. Begin by using the paint bucket tool to fill the entire background in black. Then start drawing the vampire in transparent blue. Sketch the outlines of the face and draw curves for the guidelines of eyes, nose and mouth. Now erase half of the face and fill it in black. The other half of the face is filled with tints of blue and purple airbrush. Finish by adding the details with opaque shades of blue, purple and white pencil lines. T...

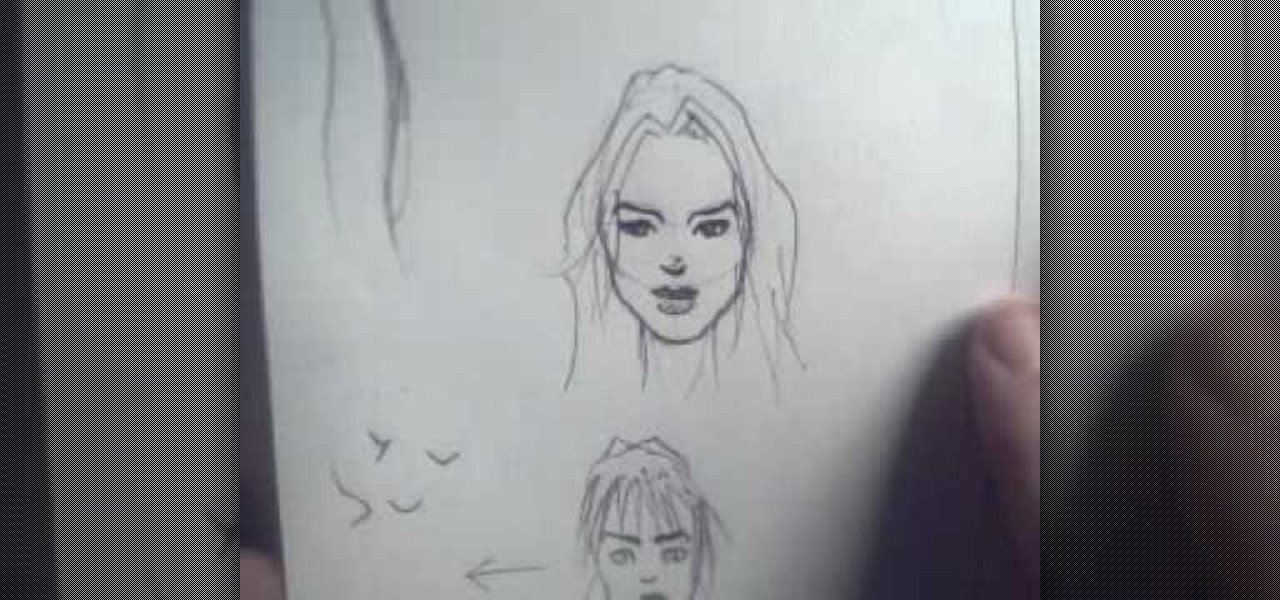
In this tutorial, we learn how to draw small faces on paper. This is best for drawing on comic books, because the faces are smaller than on regular drawings. First, give yourself a scale size to see how large you want the faces on the paper to be. If you are new at drawing, use the square method to learn how to measure the face and learn how to draw the face so the body is scaled to the size of the head. Start out by drawing the head and adding in shading details. You will start with the guid...

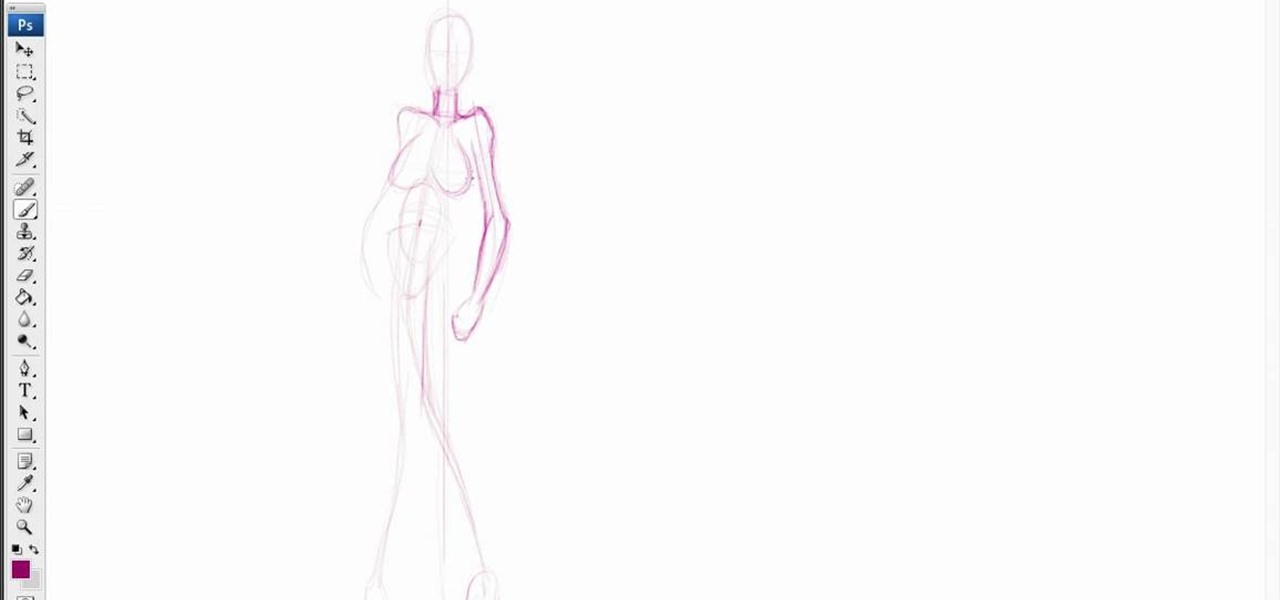
Fancy comic books, but don't have the skills to make them yourself? Comic book artists do nothing but draw all day, so it's no wonder they're good at it. But you may need a little more help, and this five-part series will help you along your journey into developing comic characters, specifically the female variety. Photoshop is used in the videos, but you don't need a fancy drawing application to get started. Just pull out the old paper and pencil and follow along. There's a ton of great info...

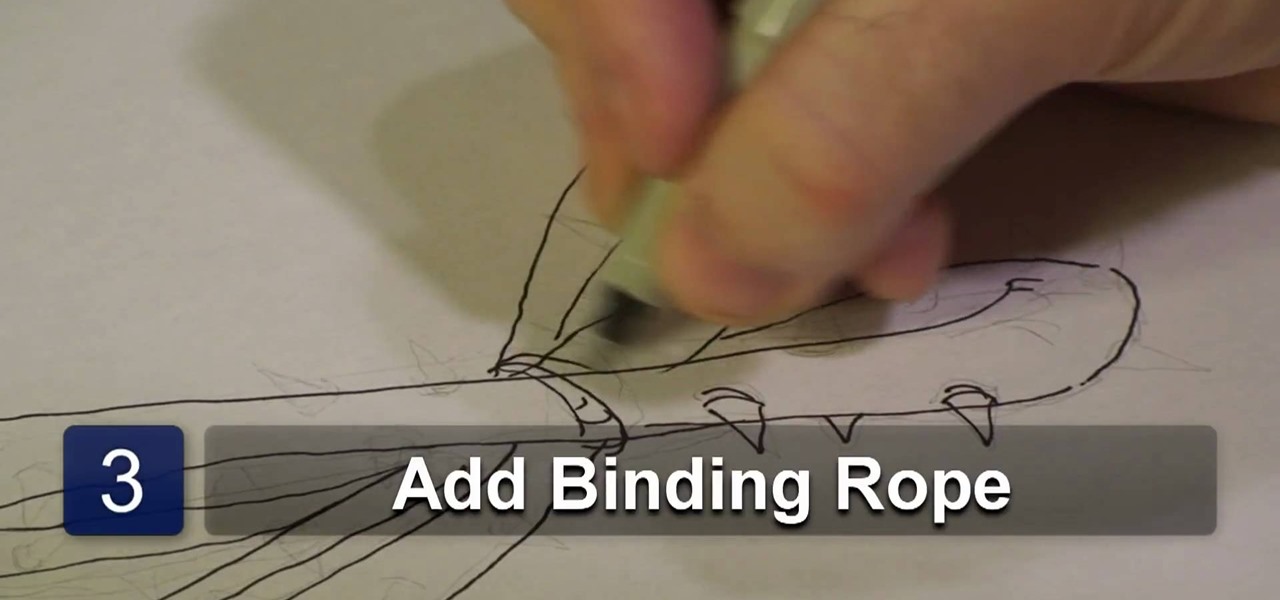
In this video tutorial, viewers learn how to draw a crown of thorns. Users will need a sheet of paper and a drawing utensil. Begin by drawing 4 semi circles. Then link the 4 circles together to form 2 vein-like thorn weeds. Now add detail by adding a rope to bind the thorns together. Then add barbs along the thorns and some more detail to give it realistic look. This video will benefit those viewers who enjoy drawing and art, and would like to learn how to draw a corn of thorns to utilize in ...

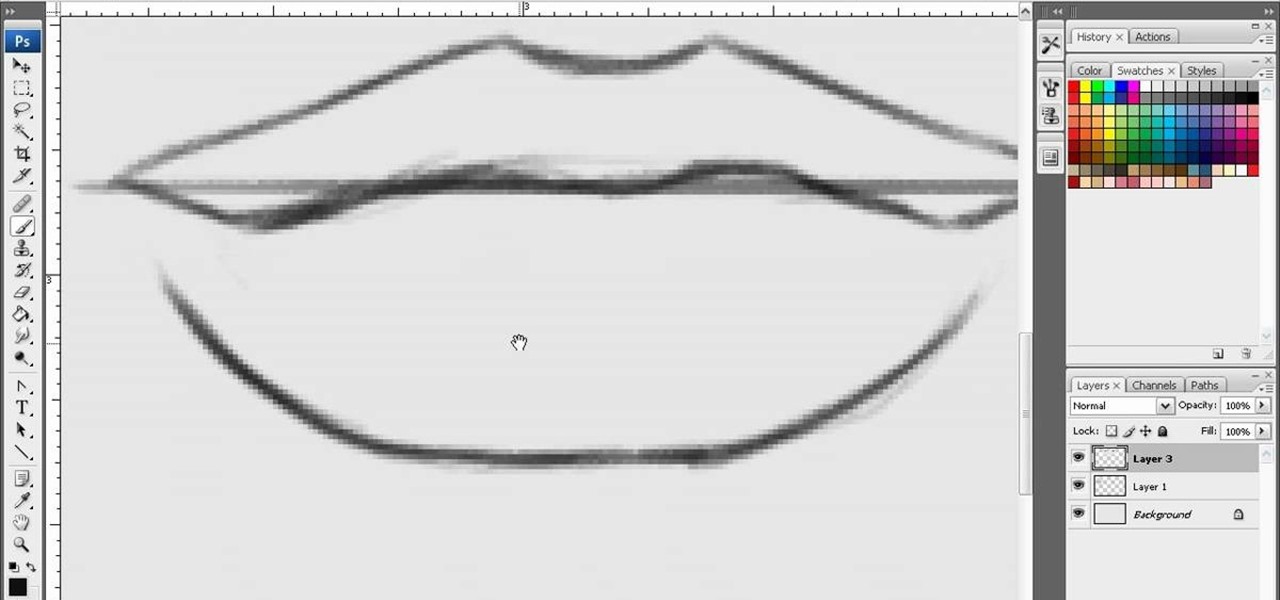
Do you feel that you could use more practice with drawing in Adobe Photoshop? This 2 part video tutorial will show you how to draw beautiful, gorgeous sexy lips in Photoshop. Step by step, ipaintgirls shows you the correct way to draw some appealing, attractive lips with the right tools in Photoshop.

This tutorial from Drawing Now demonstrates how to draw a bridge, one of the most common items in landscape drawing and one for which proper use of perspective is crucial. Watching this is sure to improve you art skills.

Anime is a very cool, fun form of animation. In this tutorial, learn how to draw one of the genre's most famous characters. This video will take you step by step through the process of drawing Goku, a character from DragonBall Z. This very cool Manga character is not too difficult to draw once you get the hang of it. Japanimation takes a bit of practice, because it is a much different style from more Western cartoons, but is not difficult to master.

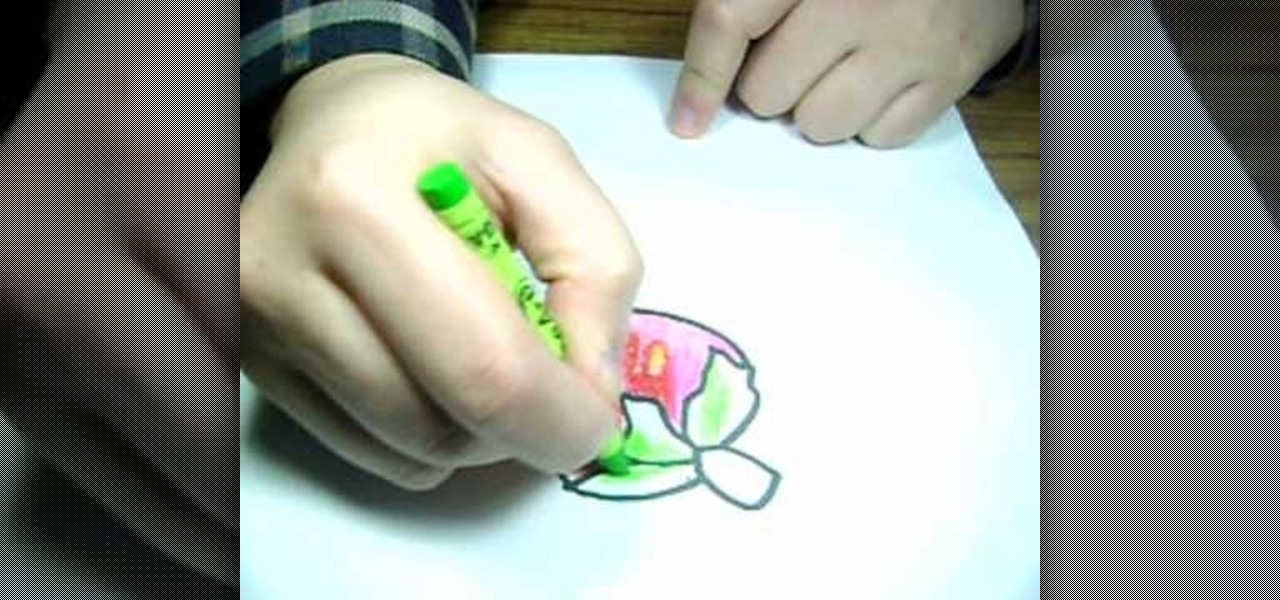
This video illustrate us how to draw a simple strawberry. Here is the procedure for the following: Step 1: First of all take a sheet of paper, pencil color and pencil.

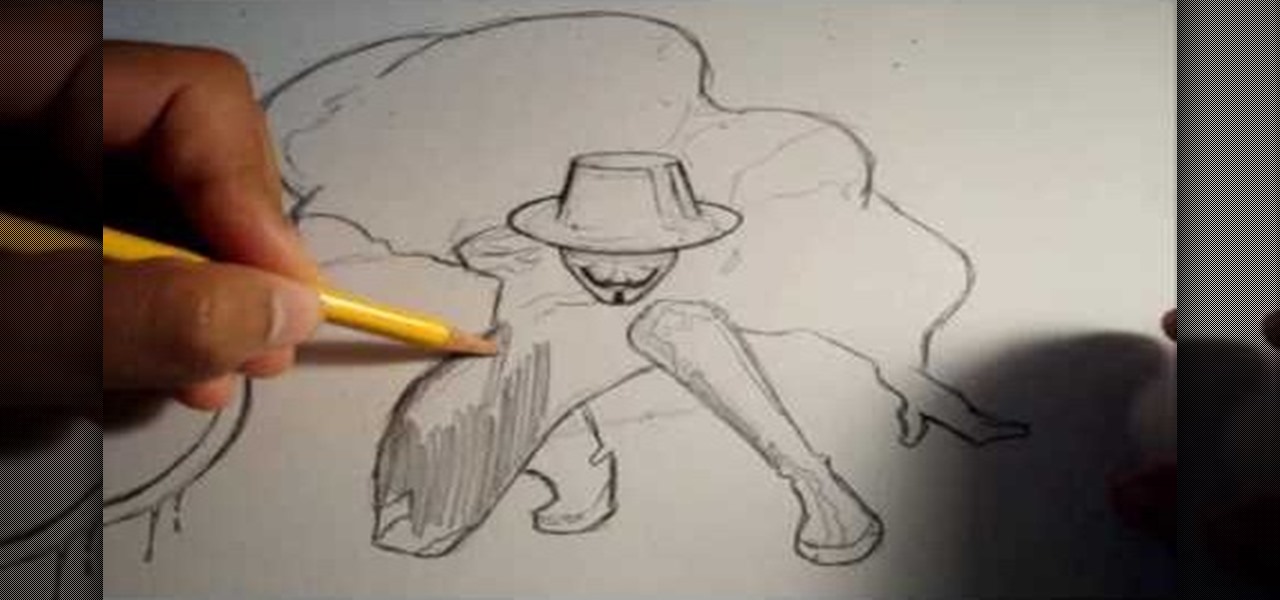
In this how to video, you will learn how to draw V for Vendetta. First, start out with the legs of the character. Draw the outline as if the character is squatting. Next, draw the outline of the cape and the hands. Next, draw the face of the character. Note that he wears a hat. You can also fill in his mask. Note that the mask has a mustache and a grin. Once the outline of the character is complete, add the basic details of his suit. This includes the areas of the highlights and shading. Make...


