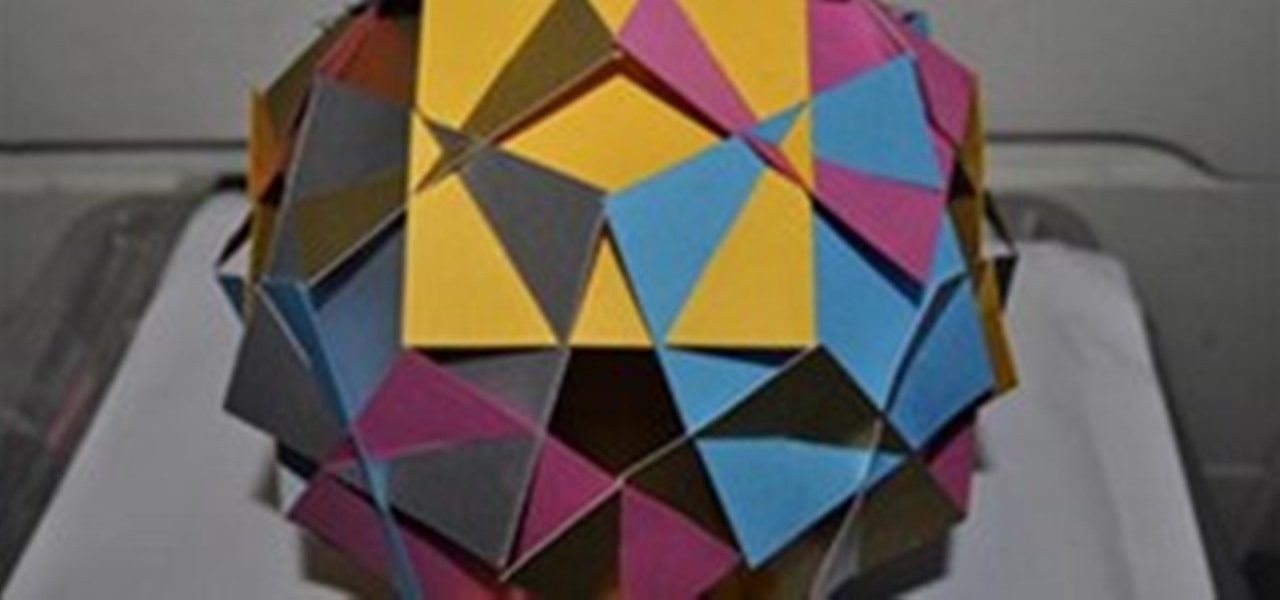
This is a zigzag tensegrity based on a small stellated dodecahedron. There are string pentagons on the outside of the model where the vertices have opened. It is made of thirty units, consisting of a barbecue stick pair with a loop of elastic. The stick pairs are all "floating", and weave through the model without contacting any other stick pairs. It is quite tricky to assemble, but can be done entirely by hand.
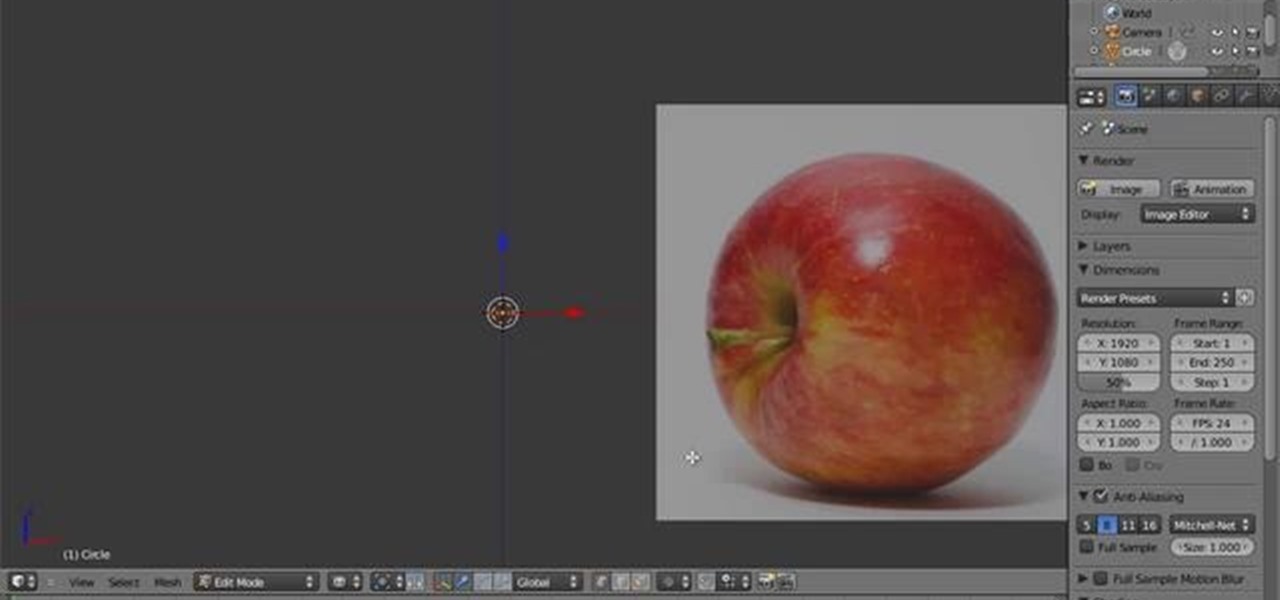
This clip presents a thorough overview of how to model a realistic apple within Blender 2.5. Whether you're new to Autodesk's popular 3D modeling program or a seasoned graphic artist just interested in better acquainting yourself with the application, you're sure to be well served by this free video tutorial. For more information, including detailed instructions, take a look. Create a 3D model of an apple in Blender 2.5.
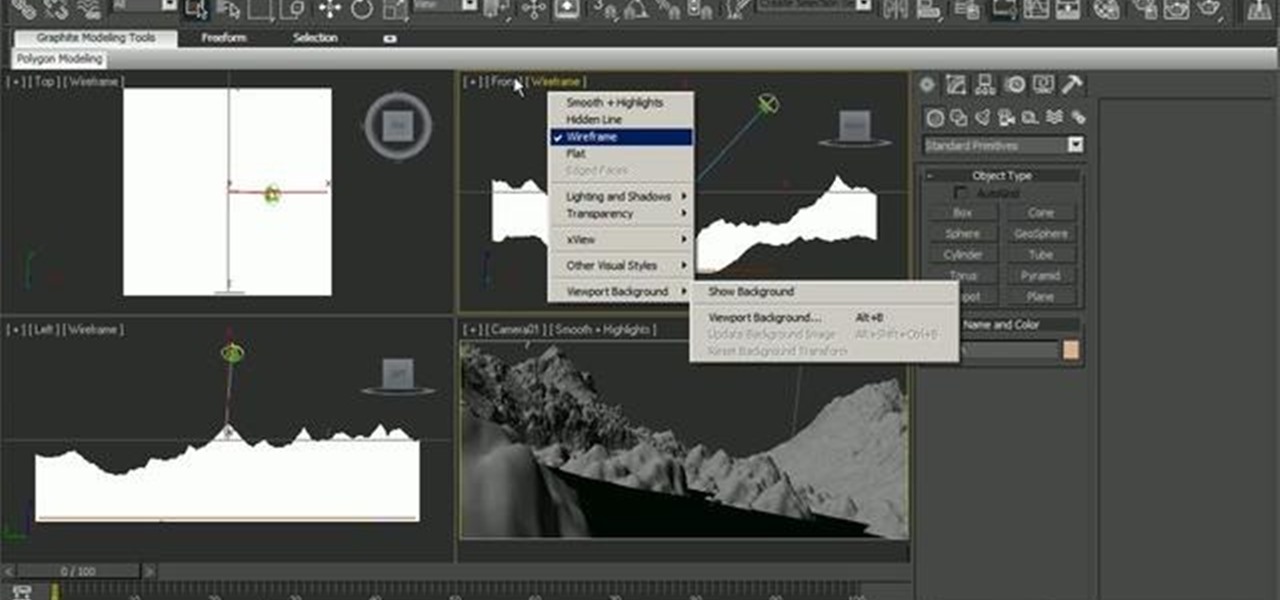
In this clip, you'll learn how to model a natural landscape in 3ds Max 2010. Whether you're new to Autodesk's popular 3D modeling program or a seasoned graphic artist just interested in better acquainting yourself with the application, you're sure to be well served by this free video tutorial. For more information, including detailed instructions, take a look. Model natural environment using only the procedural features of 3ds Max 2010.
Drawing cars is one of the most fun and practical things that a 3D artist can spend their time on and get employed doing. This video is a walkthrough for making a 3D model of a rim and tire of a car. It should be good practice for getting you ready to start designing your own cars on the computer. Make a 3D model of a rim and tire.

This 3D software tutorial shows how one can start to use Rhino’s implicit history tool for parametric design. The commands used in Rhino are Loft, and FlowAlongSurface. Using the implicit history tool in Rhino 4 allows you to update models by changing earlier steps or parts of the model and having those changes follow through to the end result. This procedural approach to modeling in Rhino means you can make changes quickly without starting over. Use Rhino’s implicit history tool in parametri...

LightWave Modeler offers strong subdivision surface modeling with a broad set of creation tools including N-Gons (polygons with greater than four sides), Catmull Clark Subdivision Surfaces (for patches with more than four sides) and full Edge support. In this video tutorial you will learn to get started with the subdivision surface tools in LightWave Modeler. Learn how to switch quickly between different modes. Model using subdivision surface tools in LightWave 9.

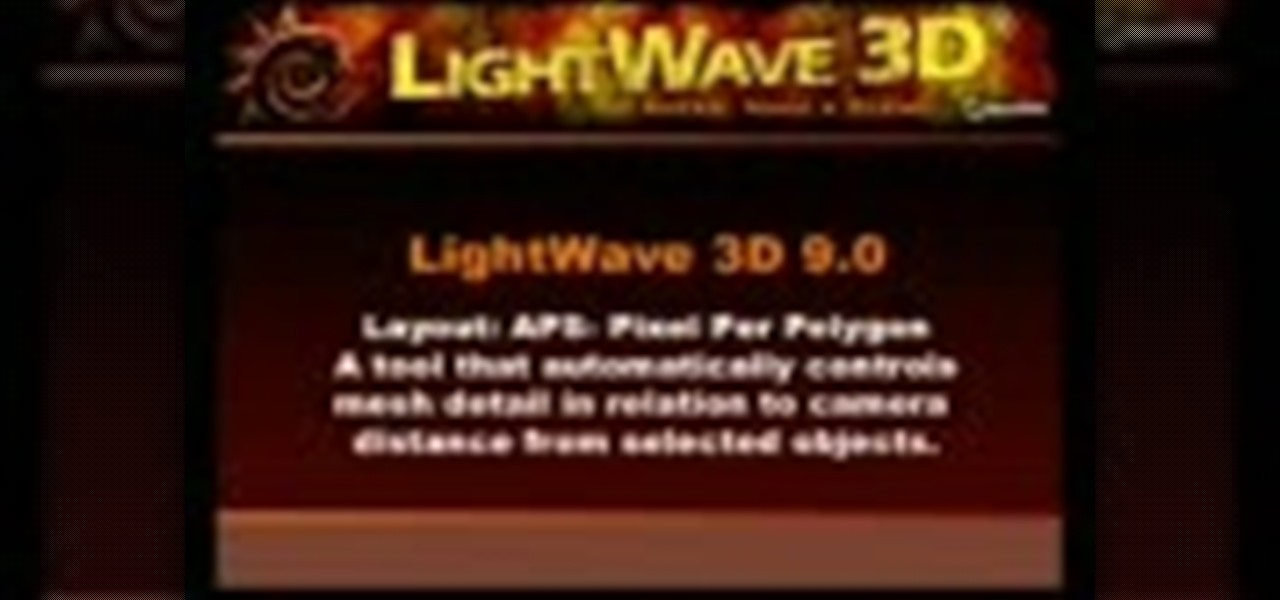
In this tutorial, you will see how to use the APS tool (specifically the Pixel per polygon function) in LightWave 9 to change the detail level of your mesh (or model) according to how close it is to the camera. This is a great tool because it will give your model details when needed, and less geometry to move around when detail is not needed. Set mesh details relative to camera in LightWave.
Today's segment of Making Art on Your iOS Device takes us into the third dimension. The below apps are suitable for beginners looking to venture into the world of 3d modeling, as well as pros who simply want the basics of Maya in their pocket.
Take a fastball from a major league pitcher to the nuts.. I mean it is a hit but i dont think a sledgehammer is much worse.. Would have a great affect in 3D
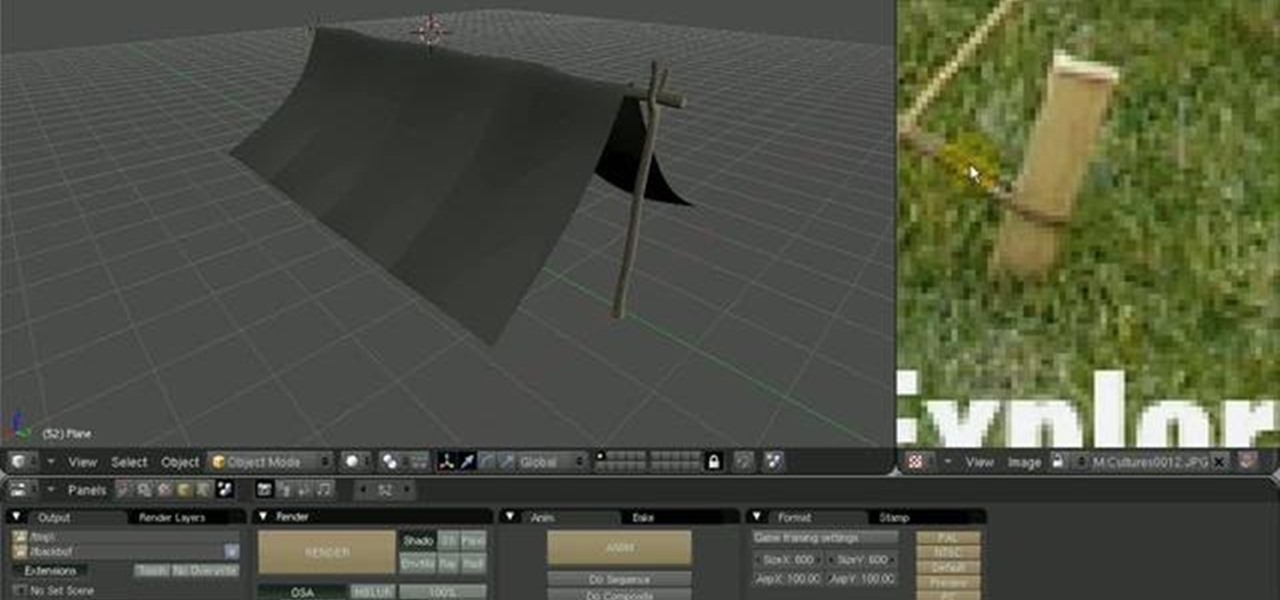
In this tutorial, you'll see the complete workflow for modeling a pup tent in a style that was popular during the 1800s in North America. This is a two-part tutorial, and in this part one you'll see how to use the Cloth simulator for the tarp of the tent, and also how to create the framing, stakes, knots, and ropes. The second and final part of the Pup Tent tutorial looks at applying procedural textures for the different aspects of the tent and shows how to use a paint application to extract ...
This is a tutorial on coding an iPhone App in XCode.
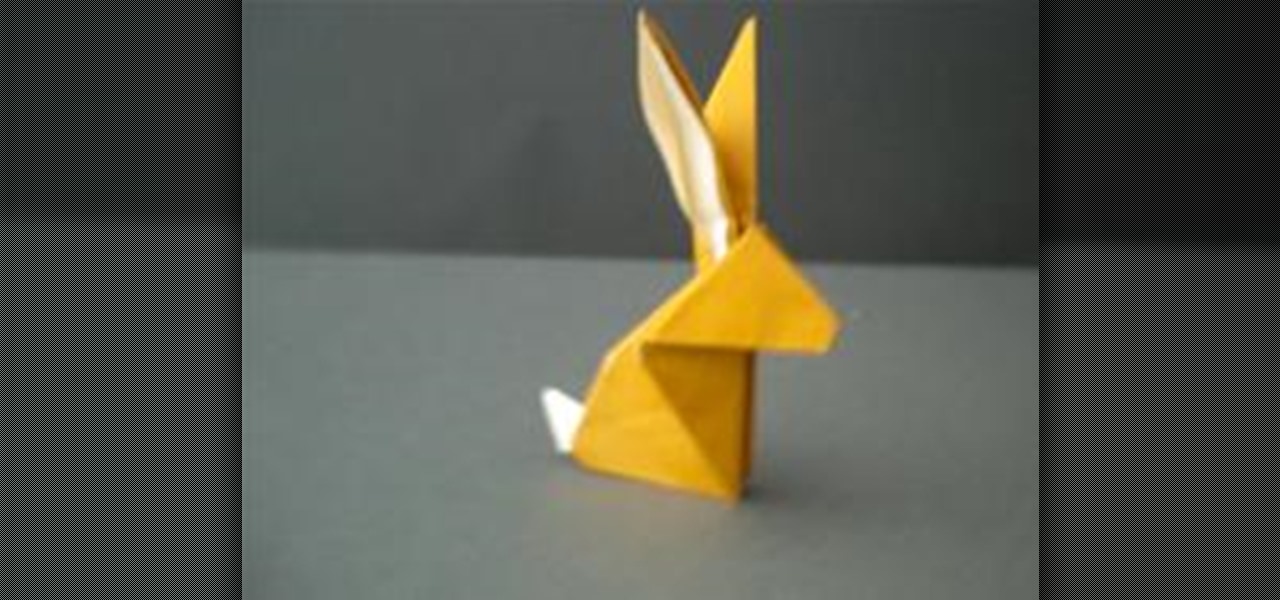
Origami Rabbit Choose your paper. Recommended Paper
In this Blender user's guide, you'll see how to set up a "toon" shader, and use the Edge settings to apply a nice 2D cell-shaded look to your 3D models. Whether you're new to Autodesk's popular modeling software or a seasoned 3D artist just looking to better acquaint yourself with the application, you're sure to be well served by this video tutorial. For more information, and to get started creating your own toon shaders, take a look! Create and apply a cartoon shader in Blender 2.5.
This clip covers how to add motion to hair within Apple Motion. Whether you're new to the Apple's popular motion graphics editor/compositing application or are a seasoned digital video professional simply wishing to get better acquainted with Motion 4, you're sure to find value in this tutorial. For more information, and to get started using this trick yourself, take a look. Animate hair for 3D models within Apple Motion 3 or 4.
This Blender user's guide discusses techniques for creating hair and giving them textures and materials. The first is Mesh hair using Bezier Curves, and the second is Particle Hair. Whether you're new to the Blender Foundation's popular open-source 3D computer graphics application or are a seasoned digital artist merely on the lookout for new tips and tricks, you're sure to be well served by this free video software tutorial from the folks at CG Cookie. For more information, including step-by...
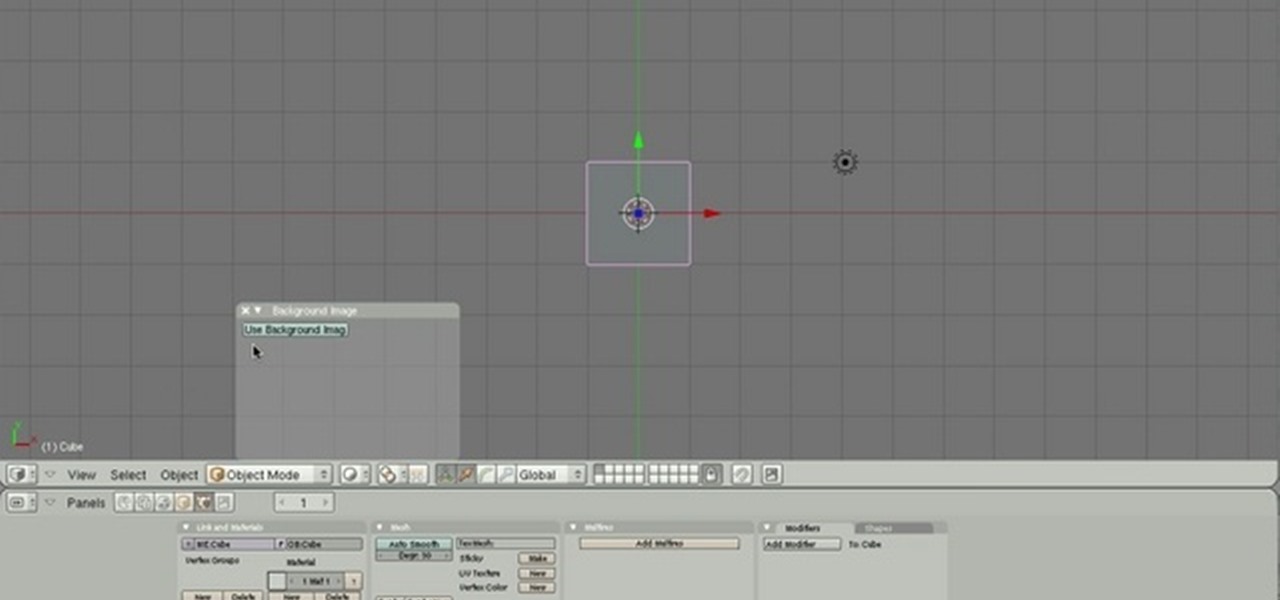
If you are modeling from a reference file, concept art, or model sheets. Setting the background up with an image can be extremely useful. Whether you're new to the Blender Foundation's popular open-source 3D computer graphics application or are a seasoned digital artist merely on the lookout for new tips and tricks, you're sure to be well served by this free video software tutorial from the folks at CG Cookie. For more information, including step-by-step instructions, take a look! Set up back...
This quick tutorial offers an overview of the 3D Studio Max Symmetry Modifier tool, a highly efficient means of modeling symmetrical objects. Whether you're new to Autodesk's popular modeling software or a seasoned 3D artist just looking to better acquaint yourself with the application, you're sure to be well served by this video tutorial. For more information, and to get started using the Symmetry Modifier in your own Max projects, take a look! Use the Symmetry Modifier tool in 3ds Max 2010.
If you're a diehard Apple fan, chances are the new iPad 2 caught your eye, stole your heart and emptied your wallet. Who couldn't resist the sophisticated slim-body design or its fascinating new Smart Cover? Well—it seems nobody could. And if you were late to jump on the bandwagon, you're still probably cleaning that dust out of your mouth because it took off without you—leaving the latest and greatest Apple gadget out of your reach.
In this video, Amy R. Hughes shows you how to breathe new life into a salvaged urn by creating this easy water feature in 5 quick steps.
Download the Software Go to the Antiprism downloads page. Download and install Antiprism 0.20.
Mario Marín has made an incredible collection of models and sculptures based on polyhedra, often using everyday and readily available items. The site is in Spanish, but click on the links on the left and there are plenty of photographs, and more can be seen in Mario's blog.
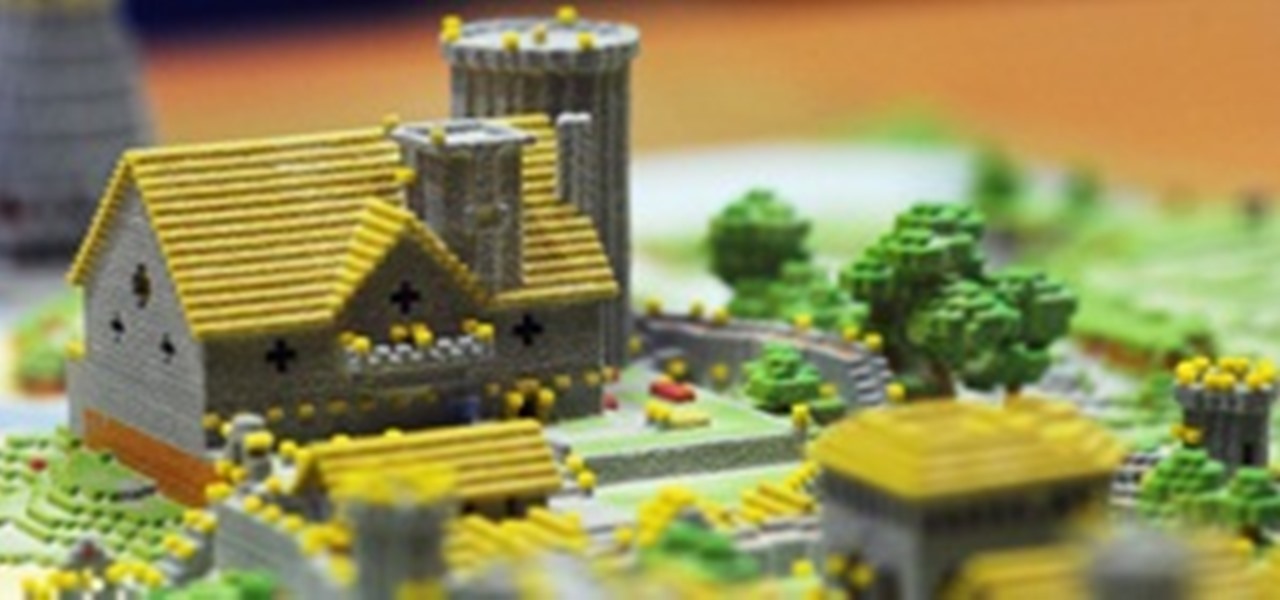
Want to see your Minecraft creations in real physical form outside of your server? Mineways is a free program for Linux or Windows users that renders all of your Minecraft builds into full color 3D model files. Those files can then be sculpted using your own 3D printer (if you have one), or uploaded to Shapeways, a company that will print your 3D models creations in colored plastic, which you can then purchase or sell in their online gallery.
Erik Demaine is a Professor of Electronic Engineering and Comp Sci at MI, but he is also an origami folder who has had work displayed at the Museum of Modern Art in NYC. He makes some beautiful models and intricate puzzles, but in my opinion the really inspirational work is the curved creased models. In Erik's own words describing the above models: "Each piece in this series connects together multiple circular pieces of paper (between two and three full circles) to make a large circular ramp ...
A source of inspiration... Models folded and photographed by Michal Kosmulski. There are only two sets of instructions on the site, but they are very well done. I wish he had covered more of the models. Here are a few I would like to tackle (I'll admit my eyes are bigger than my plate):
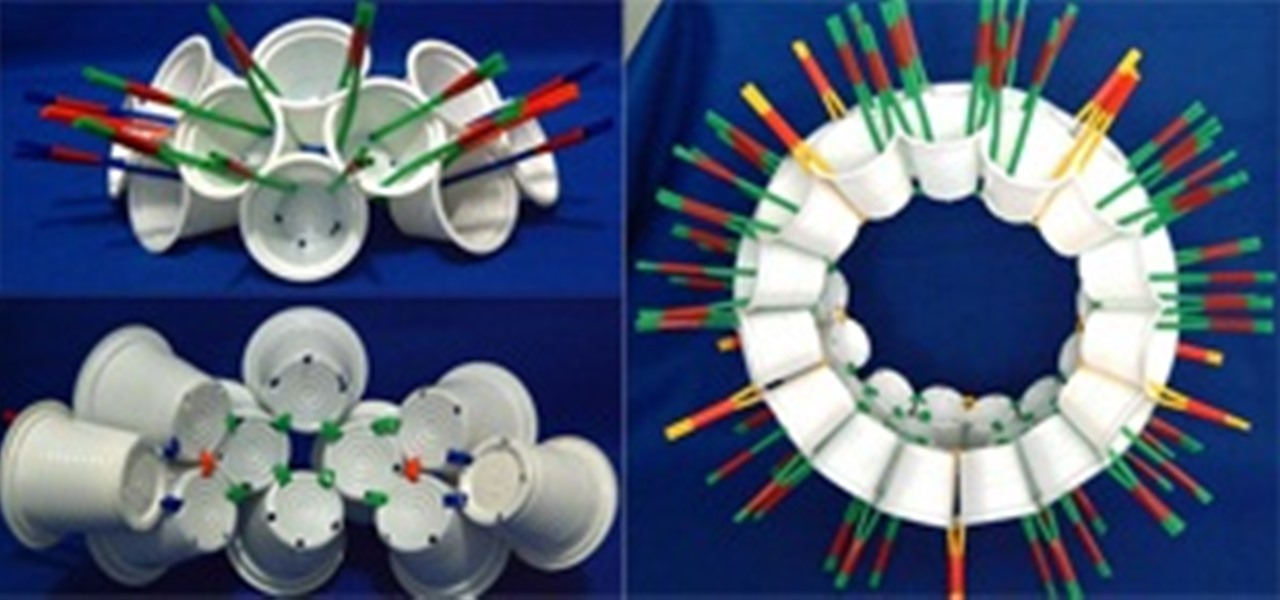
Cory's post with instructions and templates Here's my first attempt at the 30 squares model. I needed to be a little bit more careful in the measuring and cutting as not everything matches up - but it is still a really pleasing shape.
It's not actually a working telescope, but it is a cool model to show kids and Hubble image enthusiasts what the telescope actually looks like. Includes printable skins so the texture map looks like the actual satellite.
Meet DareDroid: sexy nurse, geek couture and mobile bartender, engineered into an all-in-one technologically advanced garment. Created by fashion designer Anouk Wipprecht, hacker Marius Kintel, and sculptor Jane Tingley, the team calls themselves the Modern Nomads (MoNo), and their series of garments fall into Wipprecht's invented family of "Pseudomorphs". Pseudomorphs are tech-couture pieces that transform into fluid displays—which is exactly what DareDroid does.
Last week in New York, I saw the new show Otherworldly: Optical Delusions and Small Realities at the Museum of Arts and Design, at Columbus Circle near the edge of Central Park, between Broadway and Eighth. Below is the museum’s description of the show:
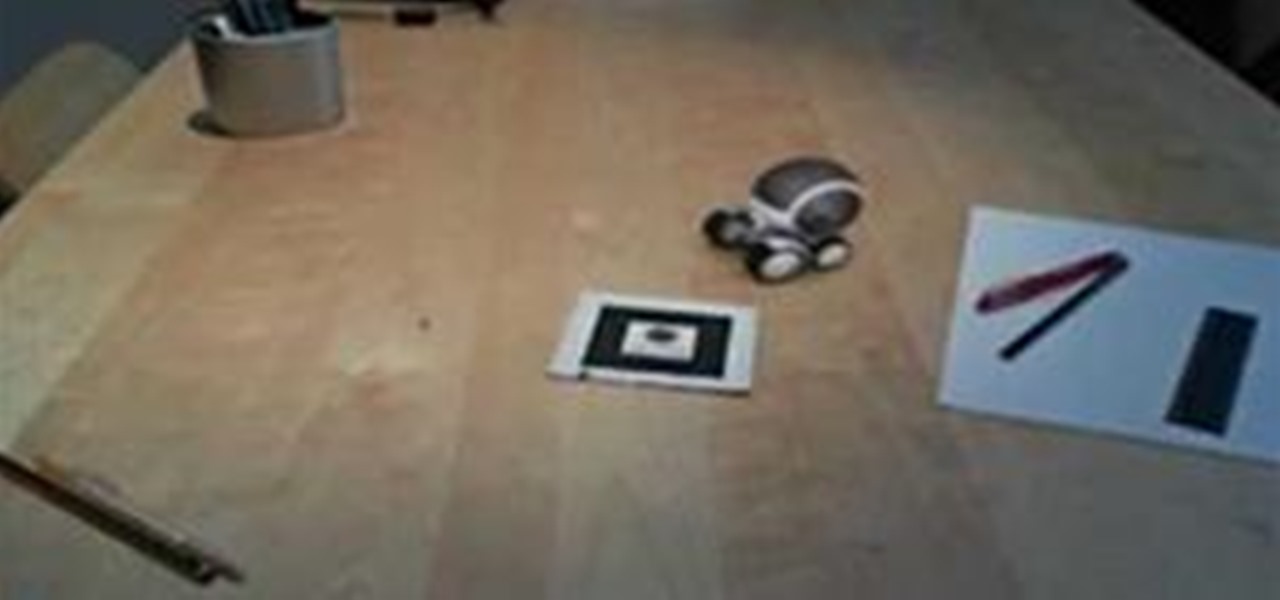
This was a Chicago AR meetup we had where we introduced the concept of using a tablet to view Augmented Reality objects. We used ARSights app for this demonstration. The great thing with this is that there are 10,000's of free models & the ARSights viewer/player is free. It is as simple as downloading the viewer and then playing the file. If you want to create your own models they sell software for that.
Instructables user BrittLiv uses a moldable silicone called sugru to sculpt this awesome doorstop of South Park's miraculously indestructible Kenny McCormick.
Campaign Finances, a map of the area,Major Bills
Learn some Photoshop skills in this software tutorial, which focuses on removing skin imperfections, like pimples and blemishes. You won't be using Photoshop, per se, but a piece of software that comes bundles with it — Camera Raw 6. Camera Raw has improved abilities in retouching your images, and there's a spot removal brush which improves the skin of the model by reducing the blemishes and imperfections. Perfect technique for any model pics. Remove skin imperfections with Camera Raw in Phot...
Photographer Zoren Gold and graphic artist Minori Murakami collaborated to create these eerie digital collages of chameleon-like models. From the looks of it, the two artists combined multiple digital photographs, using Photoshop masks and blend modes. Nicely done. The third image down is particularly spooky (in a great way).
The point of any workout is to stress your body and initiate an adaptive training response. Period. What are appropriate levels of stress necessary to achieve the adaptive response? In terms of the cardiovascular system, studies have shown that it usually takes about two minutes to get the heart rate into the training zone. Once there, the heart shows an adaptive response after five more minutes of training in the zone. Total minutes needed to get an adaptive response from your heart? Seven.
Do you like Starwars? You'll gonna love this: an Origami Tie Fighter Grab some black paper with a white backside
This is a great plugin for 3ds Max. It allows for simple animations & complex models to be shown in AR. ARmedia also has a player that someone can download to play your custom AR models, as well as custom markers.
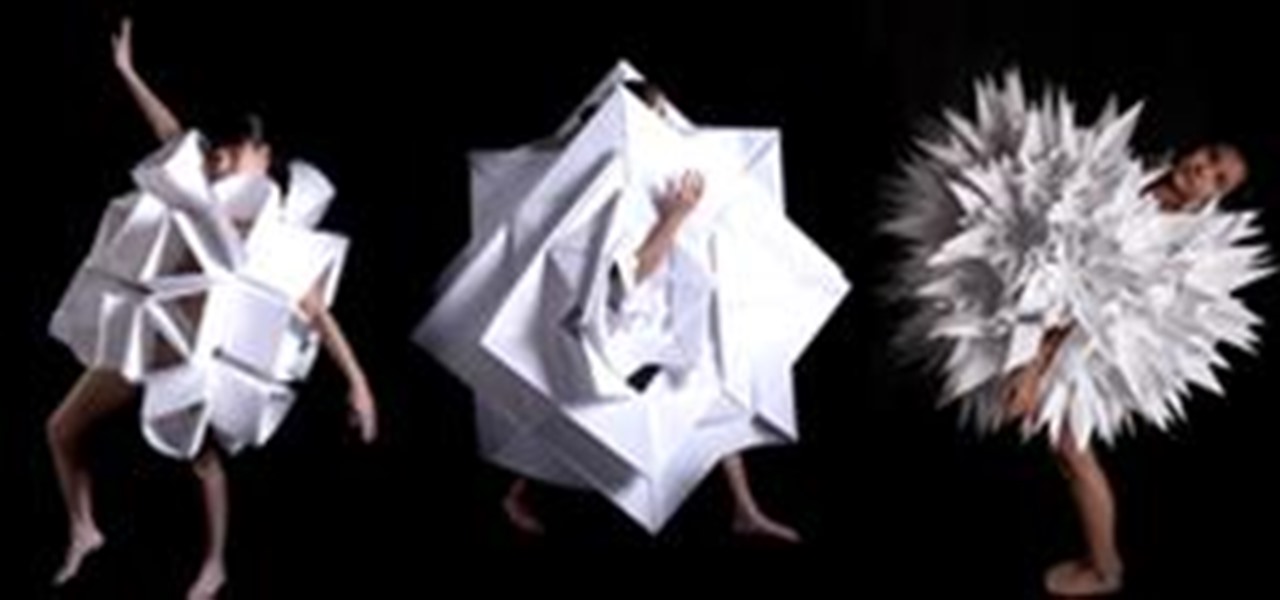
Origami + fashion = lots of fun. Origami dresses by Mauricio Velasquez Posada. Love how some of them completely engulf the models. Previously, Damn, This Dude Knows How To Fold Paper.