This video tutorial takes a look at the cut, copy and paste functions and how to use them on a Windows PC. If you don't know how to use the cut, copy and paste tools, you'd be well served to take a look. Get started using cut, copy & paste with this how-to!

Wonder how to become a great DJ? To be a good DJ you need to understand the concepts of mixing tracks, adding cool effects, and of course you need a good sense of rhythm to line up the beats. This how to video explains how you can cut music known as breaks with turntabless. This video demonstrates how to use the cross fade in a way in which you can go from one tune to the other in a motion known as cutting. This is a bit like mixing. Watch this DJ tutorial and you can learn how to cut from on...

Want to learn how to play Sheryl Crow on the guitar? With this tutorial you can learn how to play "The First Cut Is The Deepest" by Sheryl Crow on the acoustic guitar. The chords in "The First Cut Is The Deepest" are G, D, C, D or D(Dsus4),A, and G. This lesson is geared towards beginner to intermediate guitarists but it assumes prior knowledge of guitar playing. Watch this how to video and you will be able to sing and play along to "The First Cut Is The Deepest" by Sheryl Crow.

The Crayola Cutter makes cutting as easy as tracing a picture. The safe, easy-to-use cutting wand handles like a pen, so you can cut out intricate shapes anywhere on the page. Designed with safety in mind, the punch-tip action cuts paper by perforating it. This tutorial teaches you how you and your children can use the Crayola Cutter.

In this three-part tutorial series from the Scrollsaw Workshop, Steve Good will show you how to cut a floral clock pattern using a scrollsaw. As always, the pattern is available, free of charge, through Steve's blog, scrollsawworkshop.blogspot.com. Take a look!

In this tutorial from the Scrollsaw Workshop, Steve Good discusses inlays, and demonstrates one of the simplest inlay types, the bevel inlay. Watch as Steve guides you step-by-step through the cutting of his inlay box on the scrollsaw. As always, the pattern is available, free of charge, through Steve's blog, scrollsawworkshop.blogspot.com.

In this tutorial from the Scrollsaw Workshop, Steve Good demonstrates how to cut a tall clock using a pattern available at Steve's blog, scrollsawworkshop.blogspot.com. For this project, you'll need a clock face, wood of your choice (two 5" by 10" pieces and two 3" by 10" pieces) and a piece of contrasting wood for use around the border. Make time for this time-making tutorial; you'll be glad you did.

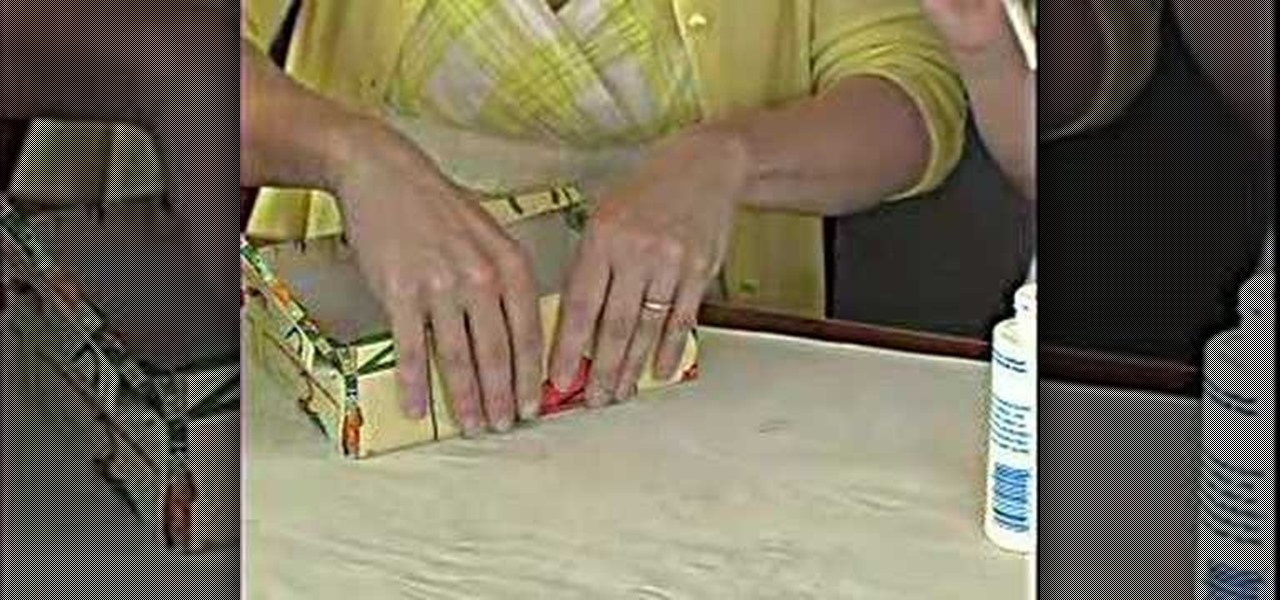
Is your kid's desk all cluttered? Help them stay organize by making an easy desk desk set for your child's school supplies. Watch this how to video tutorial as our host shows you how to make a pencil holder using a can, paper and some glue. Have your children help you with this fun activity.

Watch this winds tutorial video to learn a basic but crucial ornament, the cut, on the tin whistle. The cut is very similar to the hit and is a good technique for beginners to learn, but it takes a lot of practice. Tin whistlers of every level will find this instructional video helpful in learning how to play the cut on a tin whistle.

Watch this video to learn how to cut octopus.

Learn how to cut cards like a croupier.

Building a custom Oswald bicycle frame using hand powered tools. This shows you how to lug cut and tube miter.

Tim Carter shows you how to install the sink with these easy to follow tips. Watch this video for best results. Position the new sink upside down on the countertop and accurately trace the outline of the sink. This provides a guideline for the real mark for the cut-out. The cutout will normally be about 3/16" inside the original mark. This allows for the lip of the sink to overhang the counter top. Check the sink installation directions for the proper measurement. Don't make square corners wh...

A subtly sweet melon, cantaloupe is a refreshing summertime snack. See the different ways to cut a cantaloupe, from chunks to slices. You know your cantaloupe is ripe when it: yields to slight pressure, has yellowish skin, has a fresh aroma at the end where the stem was attached, has a healthy outer rind free of tears or cuts. Be sure to refrigerate the sliced melon in plastic bags or airtight containers within 2 hours of cutting it.

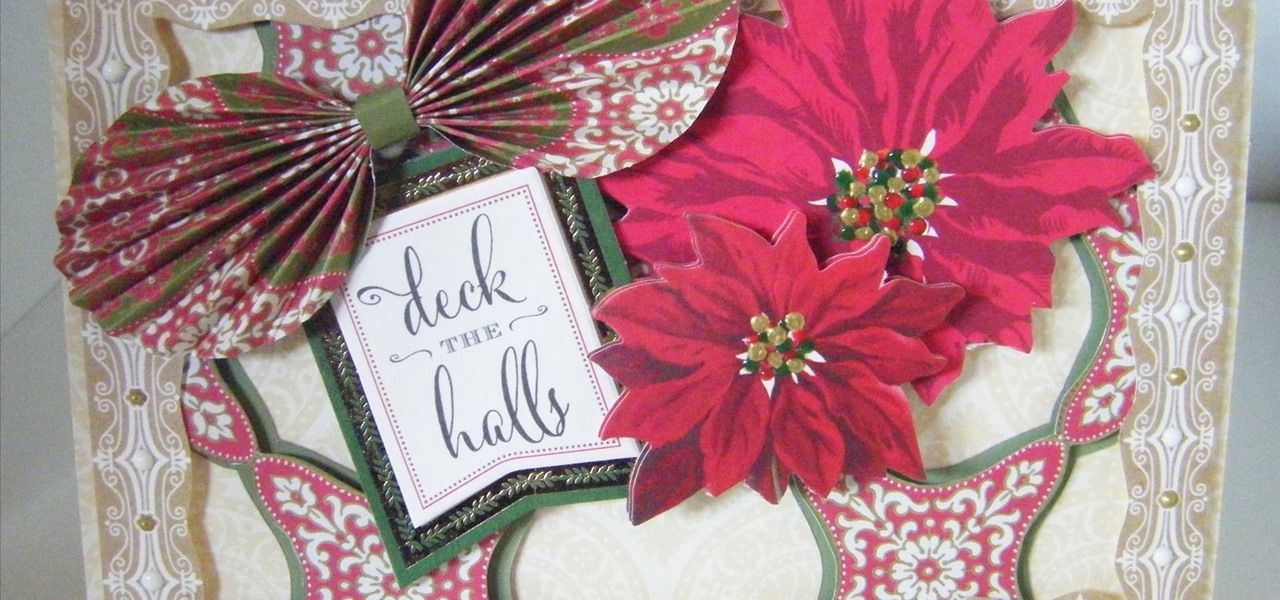
It is never to early to start making Christmas cards, after all its the most magical time of the year and there is nothing worse then leaving everything until the last minute!.. like me!! In this project I show you how I make this stunning Christmas card, and explain about using a cutting knife, I also show you how I use the cutting knife, I wanted to make it easy for you to see what I do when cutting out a pattern however it seems I make it look too easy, so practice on straight lines until ...

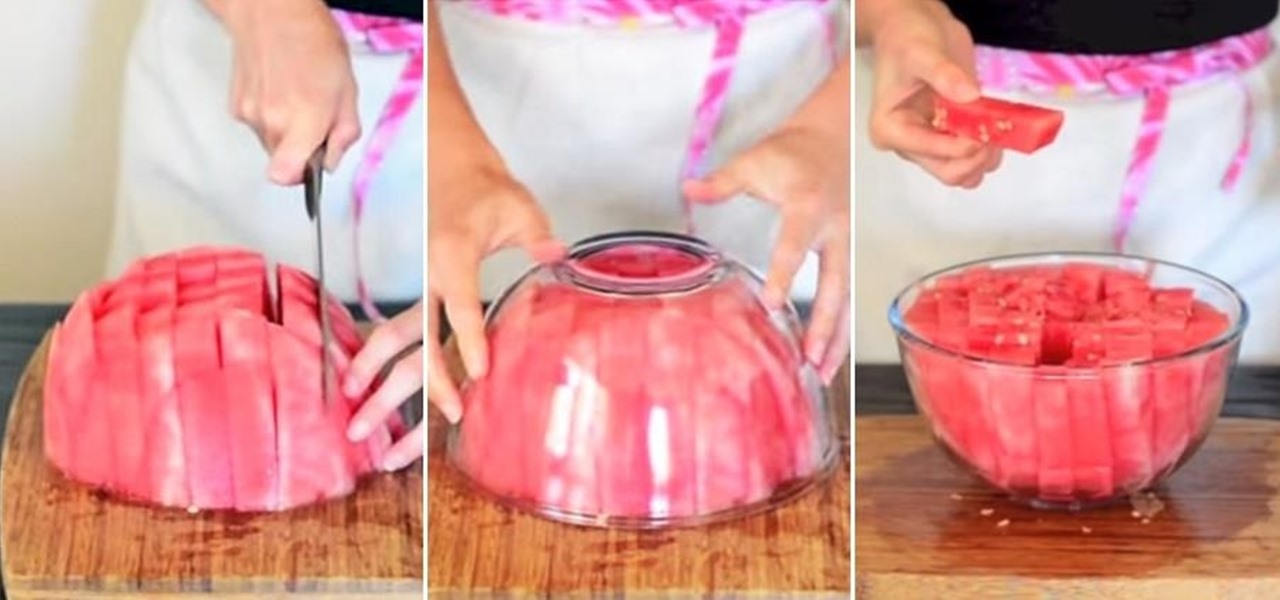
Watermelons scream summer like no other fruit, and there's nothing like biting into a sweet one on a hot summer day. Although there's no exact right way to cut watermelon, there are many occasions when you might not want to cut it into wedges. It may be the classic cut, but the triangular shape insures that you'll always get some on your face. And for parties, there's always the messy problem of leftover rinds.

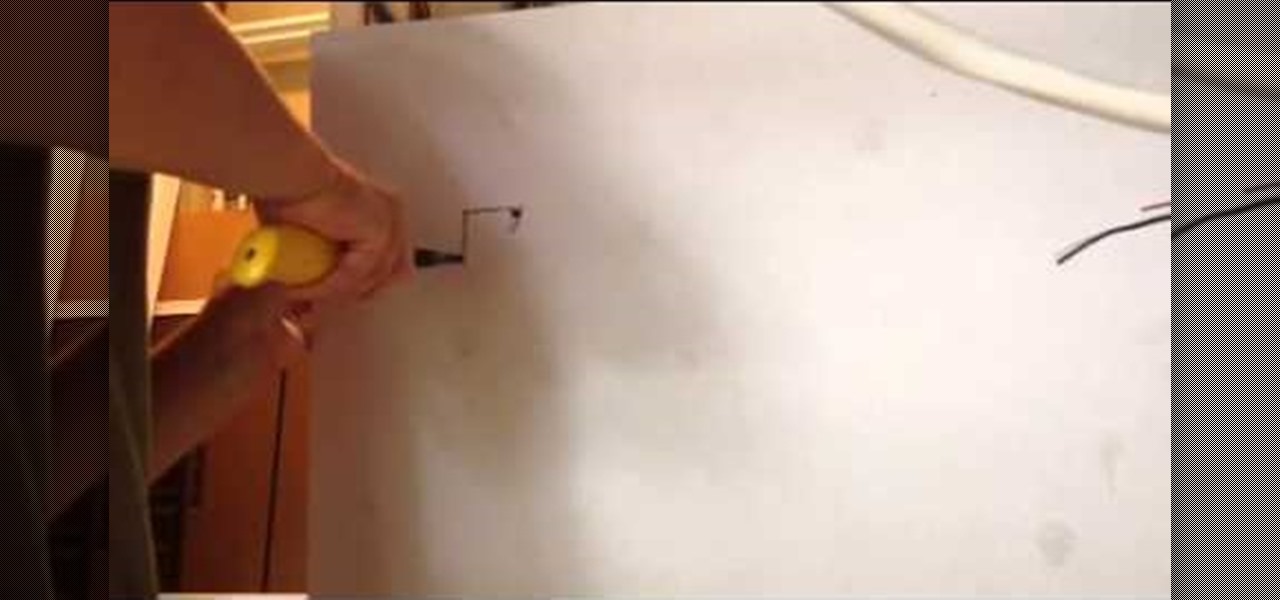
Learn How To Cut Outlet or Light Switch Hole in Sheetrock

How To Cut Pex Water Line With a Tubing Cutter

This how-to will show you easy step-by-step instructions for pruning your grape vines for growing great grapes.

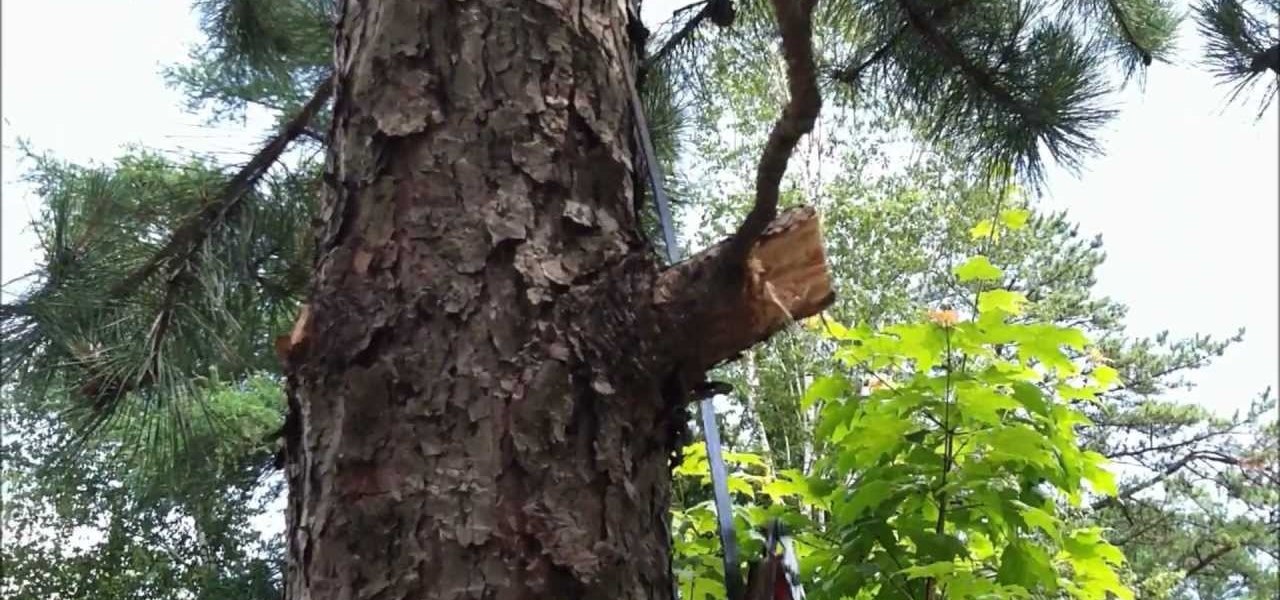
This video will show you how simple it is to prune large branches on trees. Video: .

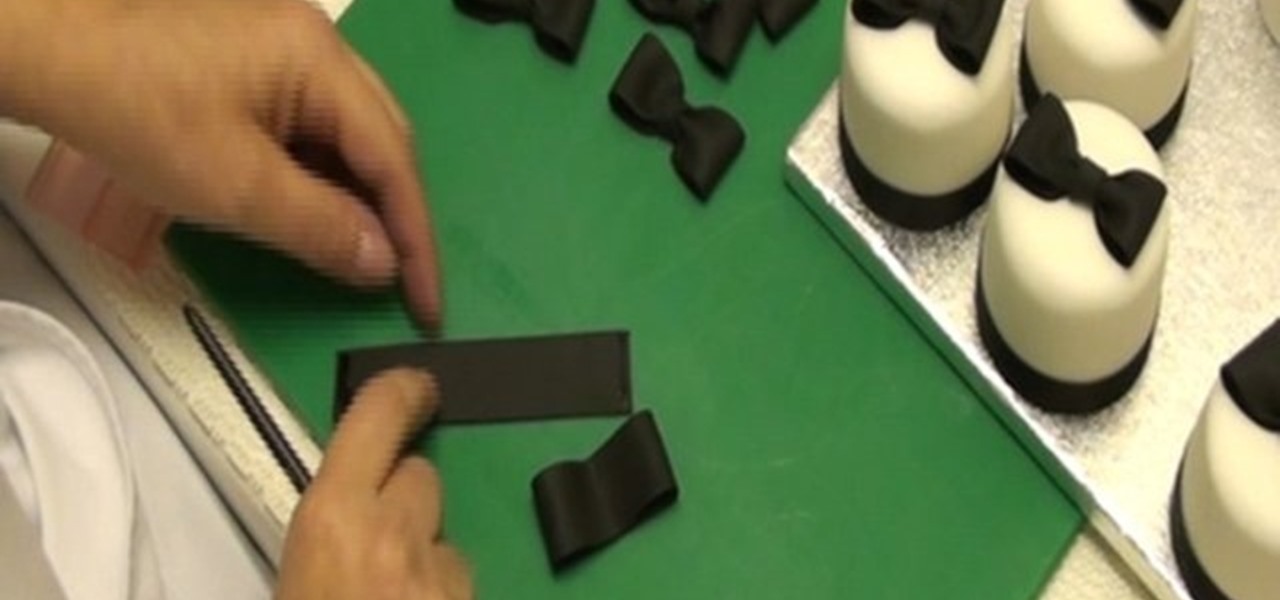
In order to make Decorative Black Bows for cakes, you will need the following: sugar floral paste, a small rolling pin, a strip cutter, ruler, sugar glue, a paint brush,

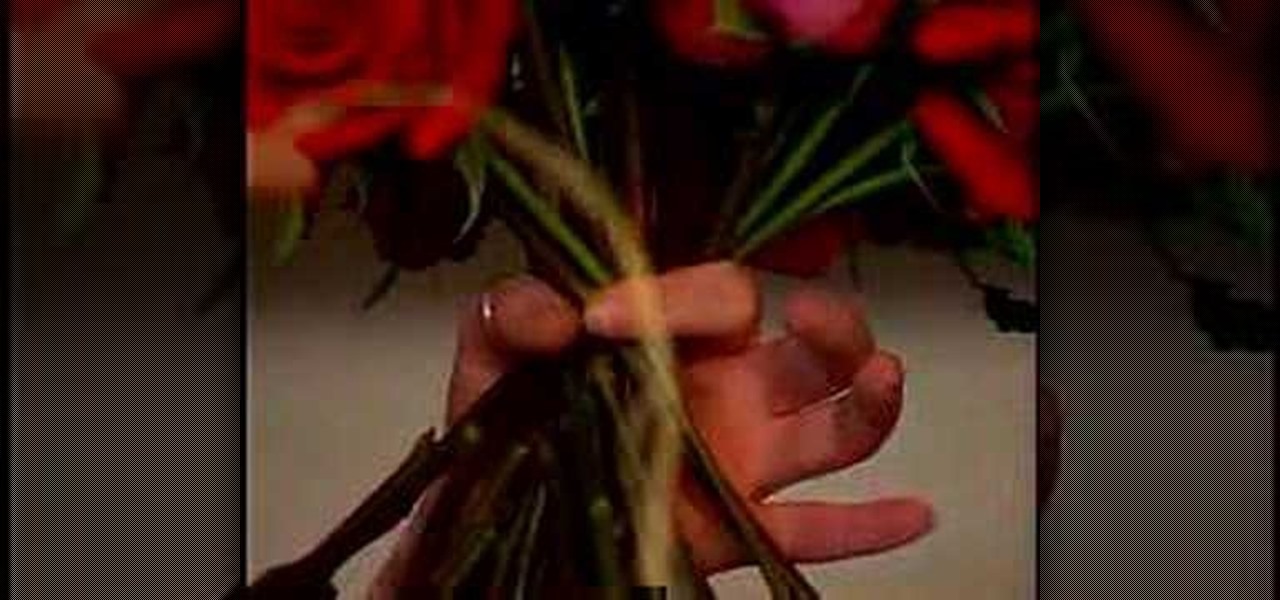
To make a french spiral bouquet you first start with straight stemmed flowers such as roses. It is very important that you rid the stems of foliage such as leaves as well as removing all the thorns. You can do this by using a gardening glove or washcloth and sliding it down the stem. Once that is completed it is time to begin the bouquet. The first step is to pick a base flower. It is important to use a flower that has a straight stem. From there you begin to add flowers by crossing them with...

Do you aspire to one day edit video on your Apple computer with Final Cut Pro X? Until then, while all you've got is iMovie, make the most of it! Watch this video to learn how to make iMovie look like FCP X.

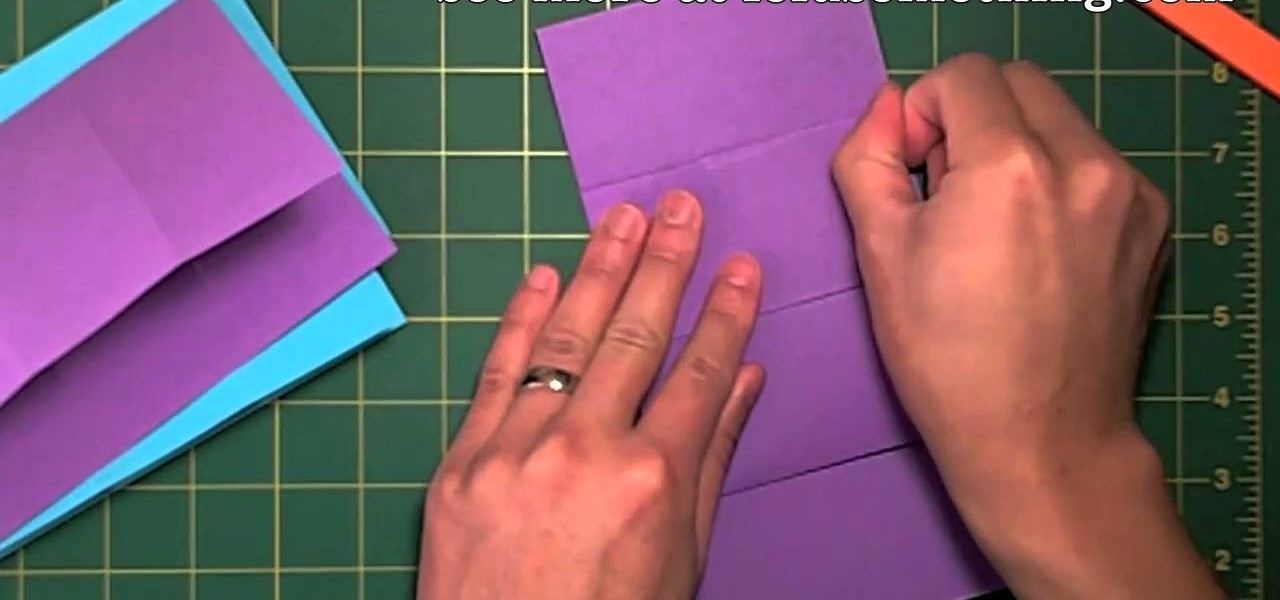
Origami infinite flippers are super cool creations, but some methods can require up to 24 sheets of paper. This method uses only 4 sheets of paper, but does require some cutting and pasting. You'll need 4 sheets of paper, scissors and glue. Glue, snip, fold and flip!

This tutorial covers the basics of manipulating audio in Final Cut Pro by using keyframes. Add fade outs, fade ins, adjust the volume up or down, and even edit out the sounds of breathing or other small flaws in sound.

In this video, we learn how to recycle plastic bottles to make hanging art. First, cut the bottom off of the bottle and then cut it in half. Then, cut the other end off of the bottle as well. After this, you can grab the bottle and start to paint your choice of color all over it. Use different colors and transition and blend with them. Lay these on one side to dry when you are finished. When you're done with these and they are completely dry, you can use them to decorate around your house. Th...

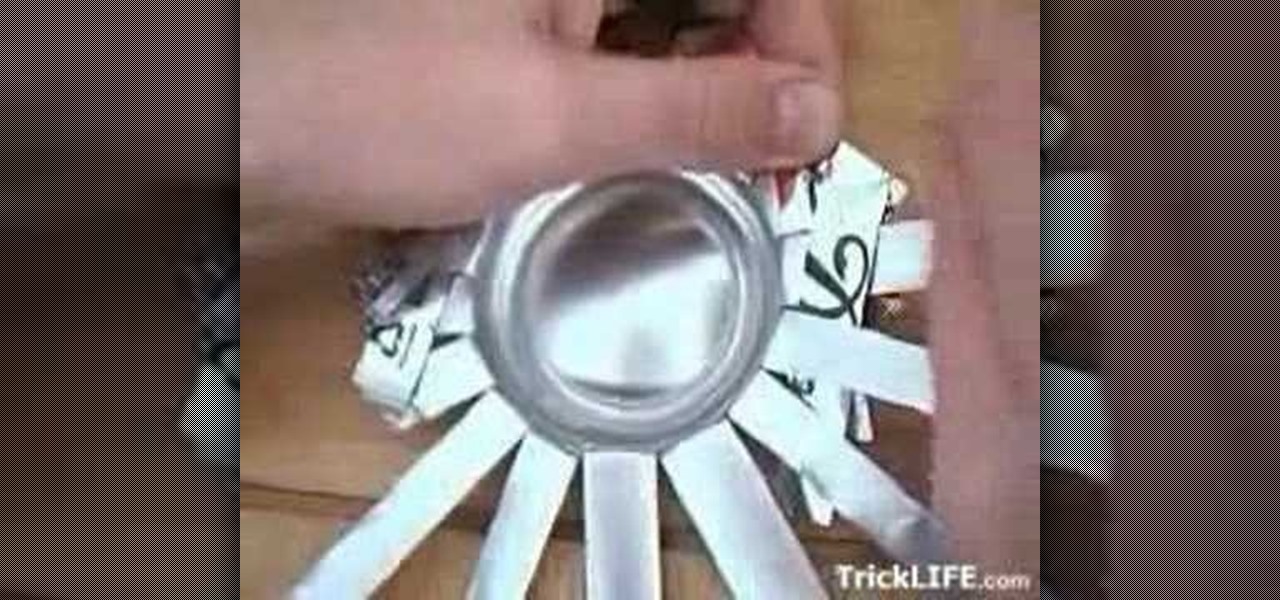
In this tutorial, we learn how to recycle an empty can into an ashtray. First, take your can and cut the top off. Then, cut 16 flaps into the can, not cutting the bottom off. Now, flatten them and fold them each into each other. Continue to do this until you have gone all around the can and you have a sort of star shape that has been make. Flatten all of the bends on the tray and then push the bottom of the can in. Now you can use this as a decorative ashtray without having to pay for it, enjoy!

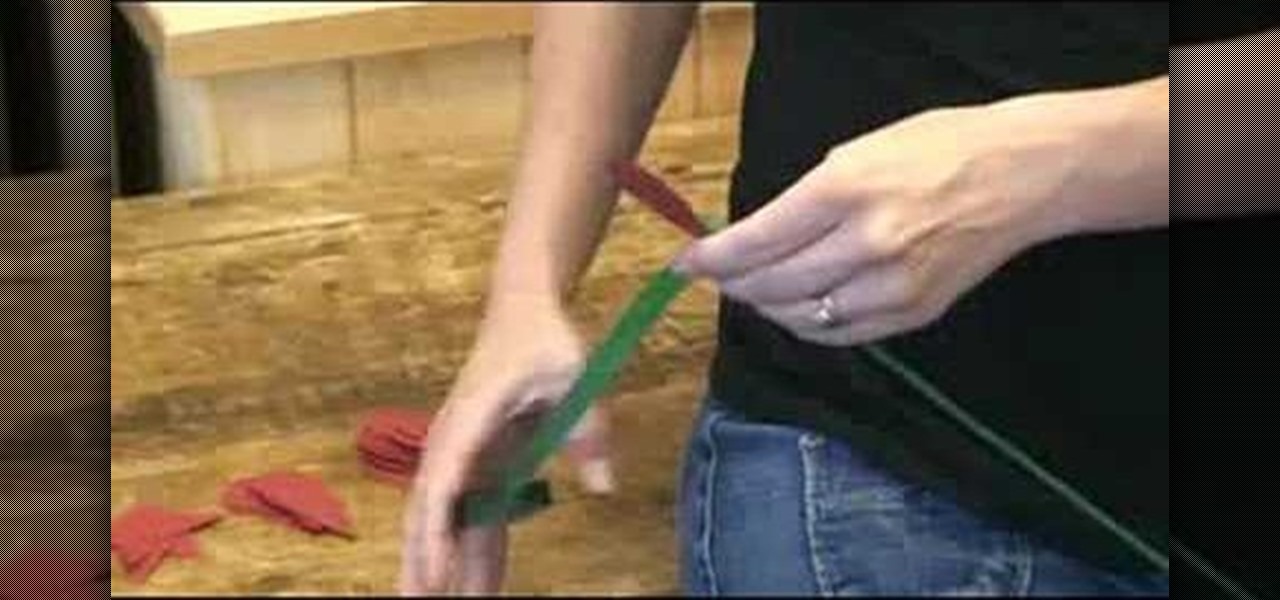
In this video, we learn how to make an ornate paper rose. First, grab your paper and some wire. Start by wrapping six of the wires with floral tape all the way around. Next, use your scissors and cut out 8 teardrop shapes from the paper. Then, cut 16 more in different sizes. From here, wrap the petals around the stem using the floral tape. Start in the very middle of the flower and then add on petals until you have created the entire rose. To finish this, you will make the leaf. Cut out the l...

The Craft Robo is a useful tool for papercrafters, card makers and scrapbookers, which will allow you to cut letters out of any type of paper and using any sort of font you have in your library. Add a professional look to your next paper craft project!

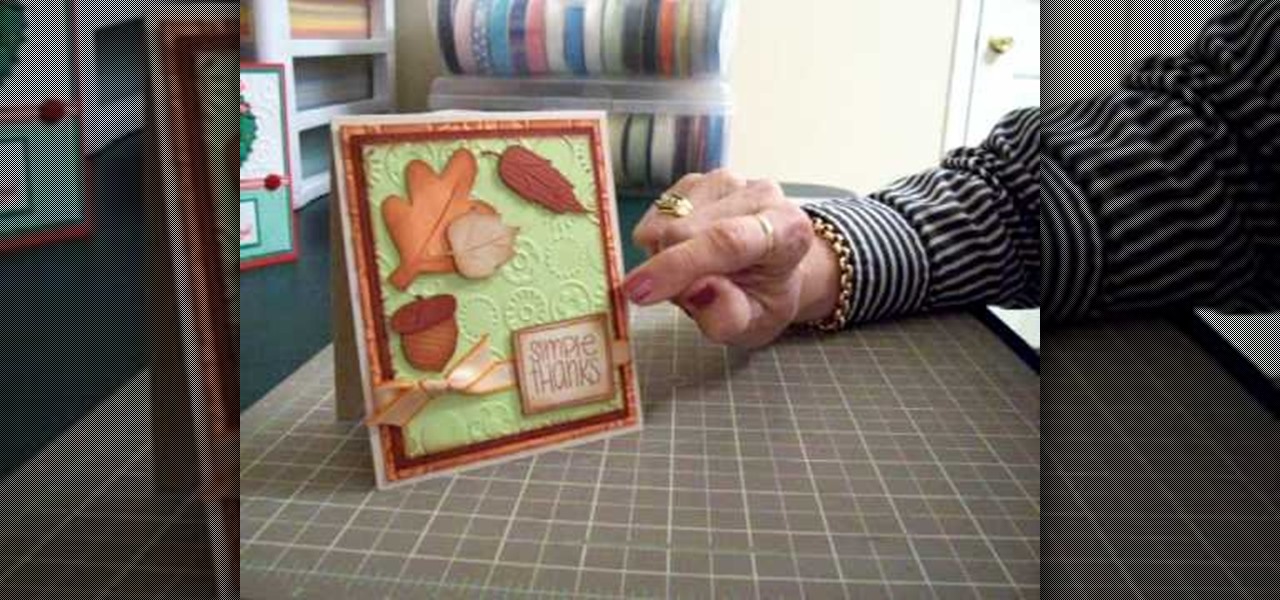
In this video, we learn how to make a thank you card using Cricut Doodle Charms and SYI. The card can be the size you choose. Layer orange, green, and brown mats, running the green and orange through the Cuttlebug using blue dots to give it texture. After this, ink around the edges with brown so the embossing shows up. Use the Cricut to cut the leaves and an acorn, using the Doodle Charms cartridge for one of the leaves cut at 2 1/4". You can also use the Stretch Your Imagination cartridge fo...

Need to make two recorded audio parts sound identical? Use the Match EQ feature in Sountrack Pro. Whether you're new to Adobe's popular motion graphics and compositing software or a seasoned video professional just looking to better acquaint yourself with the program and its various features and filters, you're sure to be well served by this video tutorial. For more information, including detailed, step-by-step instructions, watch this free video guide.

In order to make the side step Christmas card, using Cricut, you will need the following: card stock, cutter/trimmer, adhesive, rhinestone, ribbon, and a bone folder.

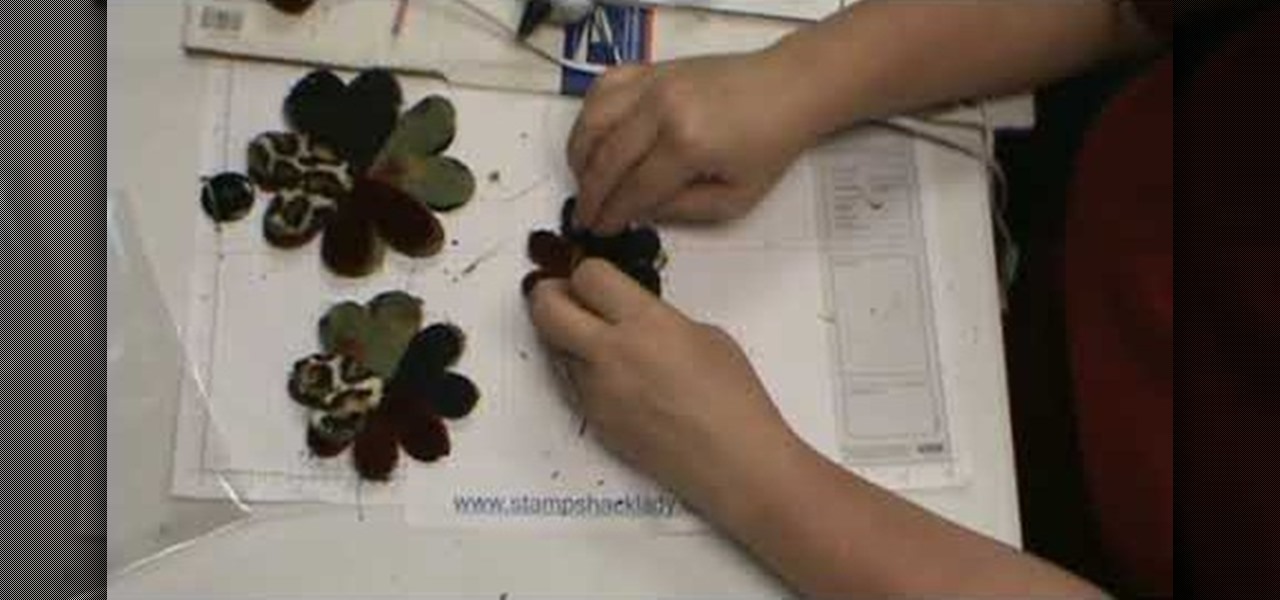
In this video, we learn how to assemble a flower-fold die-cut with a glue gun. First, cut out different fabrics in the flower shape. Put them all into different piles according to their sizes. After this, put hot glue into the middle of the fabric and fold the flowers in half. When finished, put the pieces together with hot glue going in a circle. Continue to do this with all the different sizes. When you are done, all the colors of fabrics should show, then place a button in the middle with ...

In this tutorial, we learn how to make a Halloween card using Cricut Paper Doll. First, cut a skeleton out of the PaperDoll Dressup package, then cut it out two more times. Glue these together to make the skeleton thicker, so it pops out of the page. You can place this next to a paper sentiment that says "bone to be wild", with a black card stock underneath it. You can use die cuts with a view papers to make it look more interesting. Use any other type of decorations you like to decorate your...

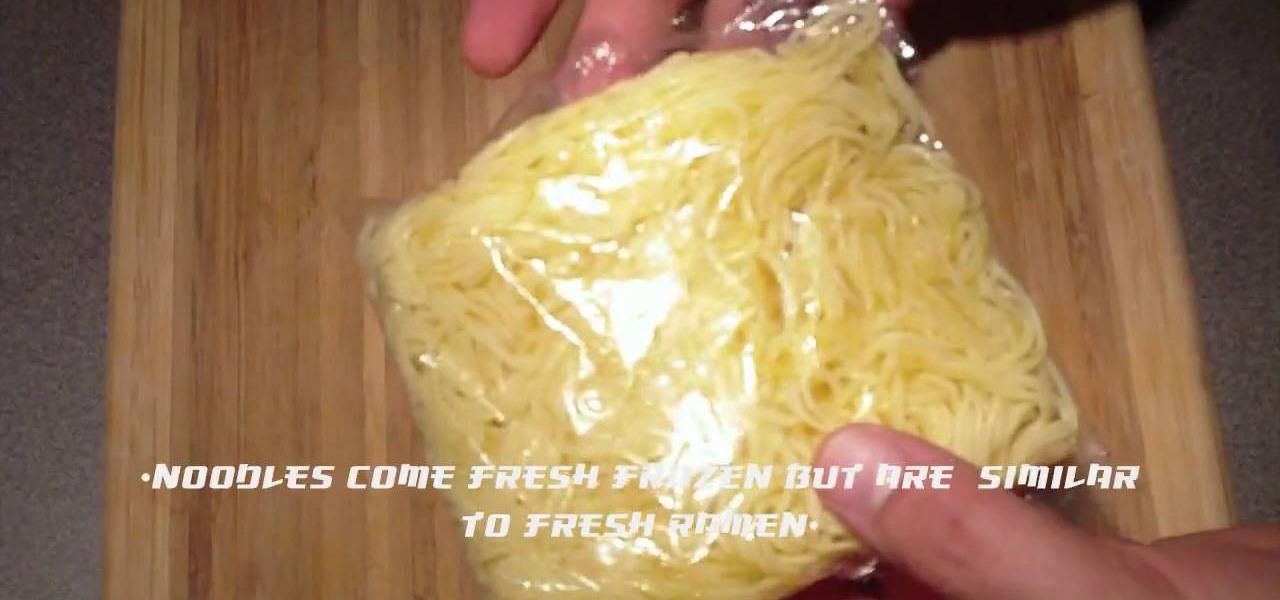
In this tutorial, we learn how to make Japanese beef yakisoba noodle dish. First, cut cabbage leaves into strips, then take the strips and cut into 1 inch pieces. After this, use a handful of bean sprouts and peel a half of a carrot stick, then chop into thin strips. Next, cut a sirloin steak into thin strips and then find yakisoba noodles and place them on a pan. Now, smash a garlic and add it in with the noodles. Fry the noodles on both sides, then add in sesame oil and sautŽ the meat until...

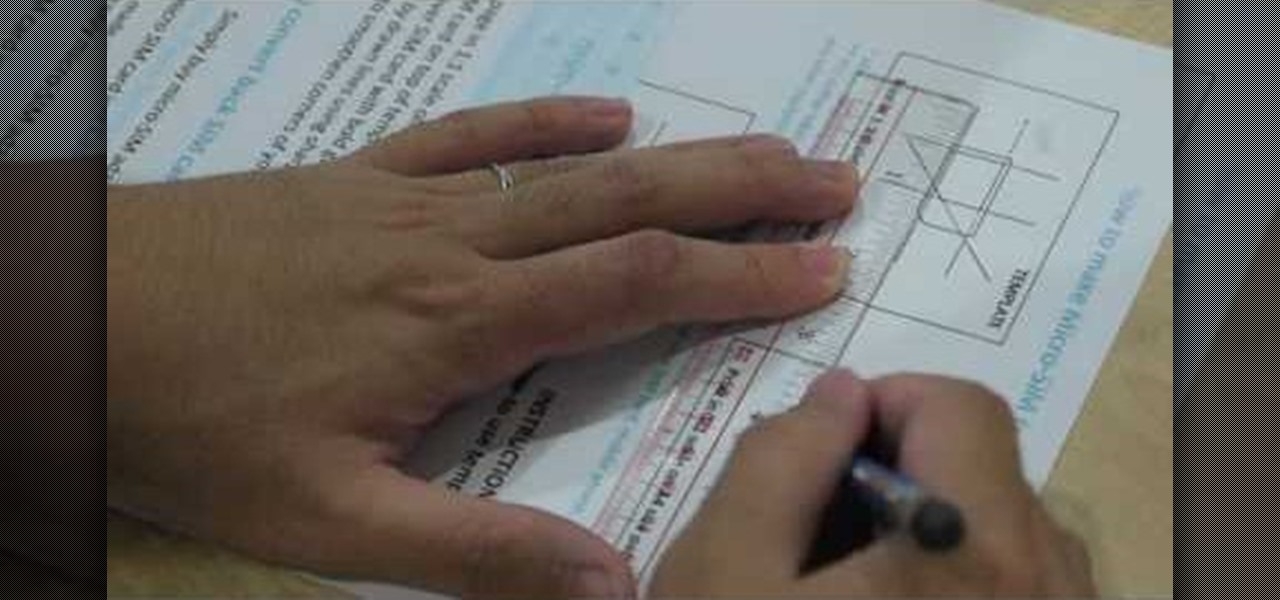
In this clip, learn how to trade phones and iPads back and forth by customizing your SIM card. This video will walk you through how to size and cut your SIM into the right shape for different devices. By customizing your chip, you will be able to move your data from one device to another with no problem. Use your old 3G SIM in your new iPhone 4 with this awesome hack.

Have you ever wondered what you would look like with bangs but don't want to cut your hair? Check out this tutorial, then! In this video, Judy will show you how to create fake fringe that looks totally real so you can try out a new look without a big commitment. Have fun and see how many compliments you get on your new bangin' bangs!

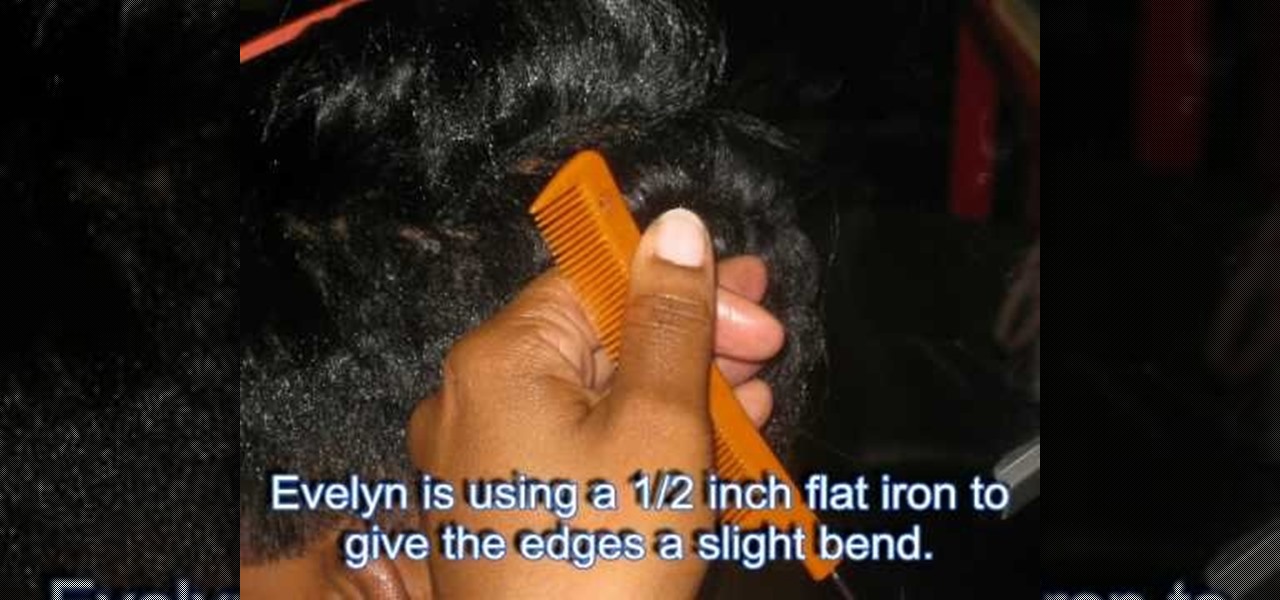
Rihanna is quite the trendsetter. Check out this tutorial from Evelyn-Mitchell Irby and learn how to create, cut and style your 'do just like the princess of pop. This video takes you step by step for African American hair - from extensions to cutting to heat styling.

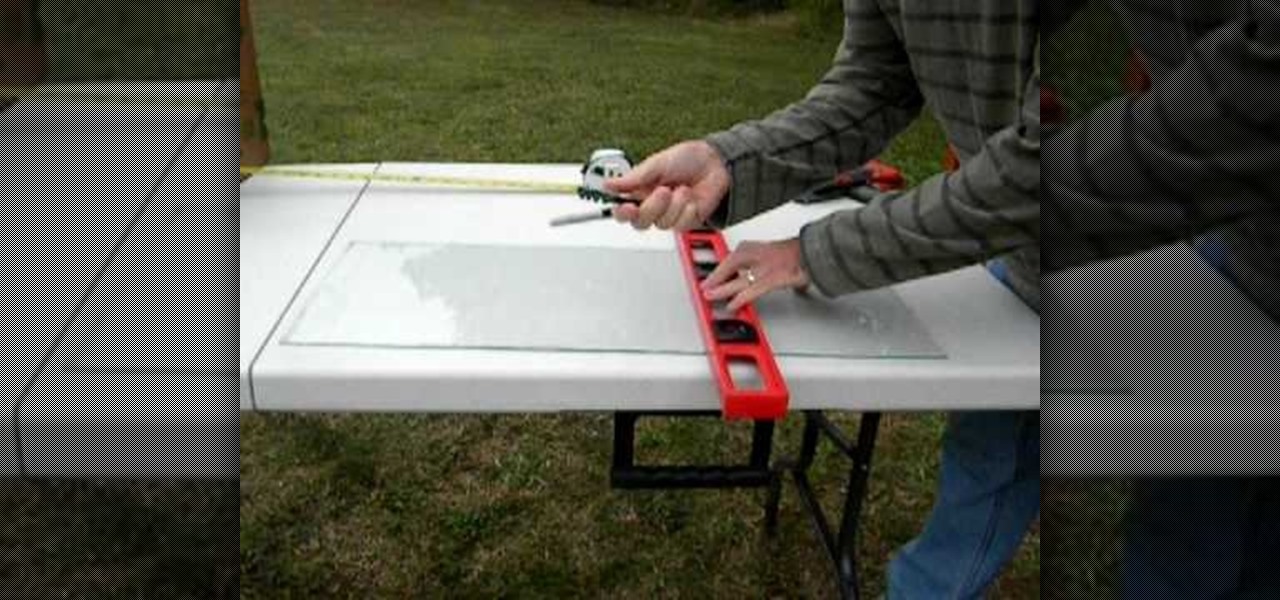
When you begin a hobby like custom framing or any other type of art involving glass, you will need to know how to safely cut and shape glass without breaking it.

In this how to video, you will learn how to make the finishing edges on pieces of ribbons. The hardest part is getting the spikes even on both sides. Fold up the ribbon so the two ends meet. If the spike is just a single angle, tape the edges at the top. If the spike has a center to it, bring the ends together and fold it in half. Take a piece of tape and place it around the ribbon ends. This will hold them in place for when you make the cut. If you want to make an angle cut, take your scisso...


