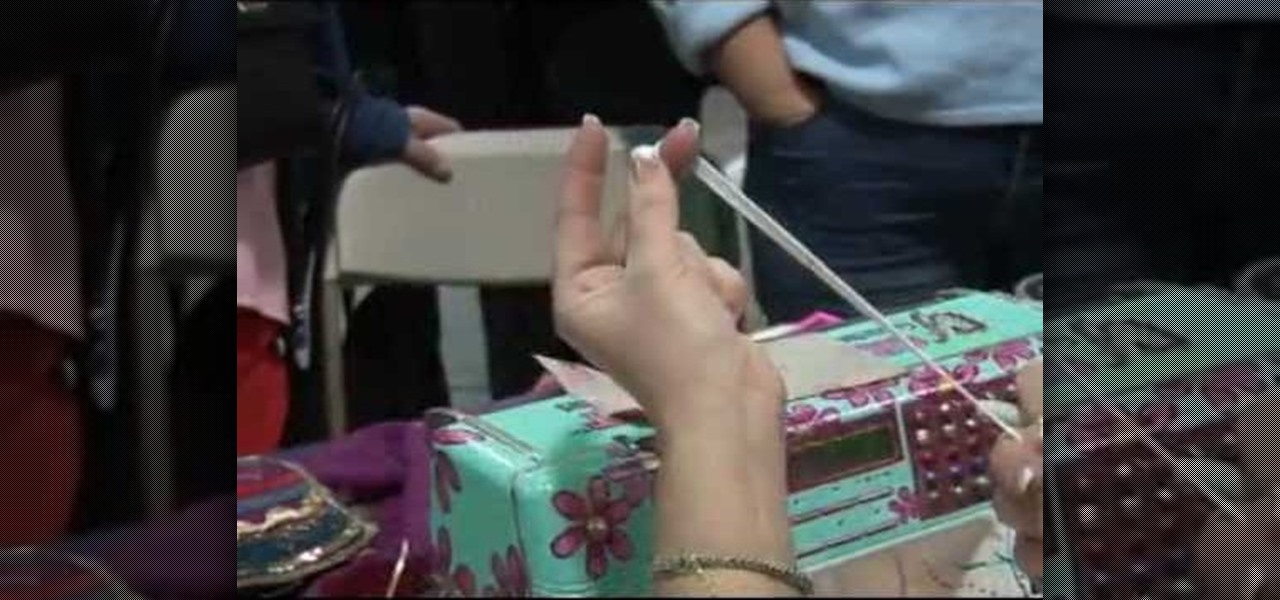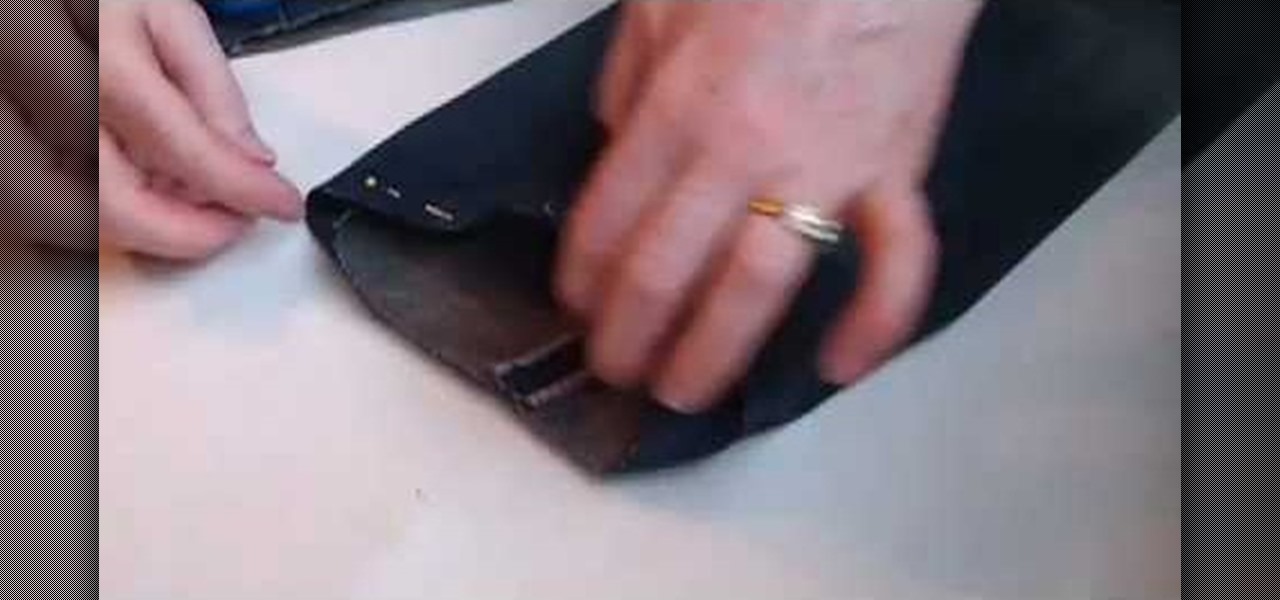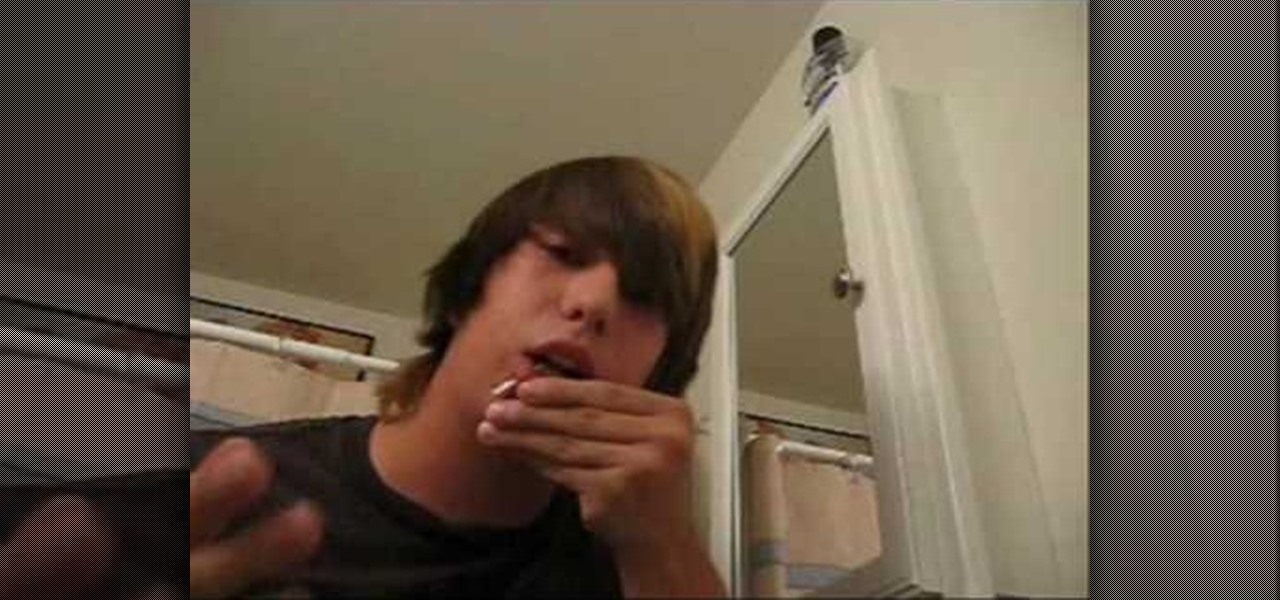
In this video, we learn how to pierce your own lip and avoid infection. First, mark the spot on your lip where you want to pierce it and then check it in the mirror. After this, grab your needle and clean it off with antiseptic or mouth wash that has alcohol in it. Push the needle all the way through the spot on your lip and then place the jewelry into your lip. Once finished, you will need to rinse your mouth out with mouth wash that has alcohol in it. Make sure to clean this regularly so yo...
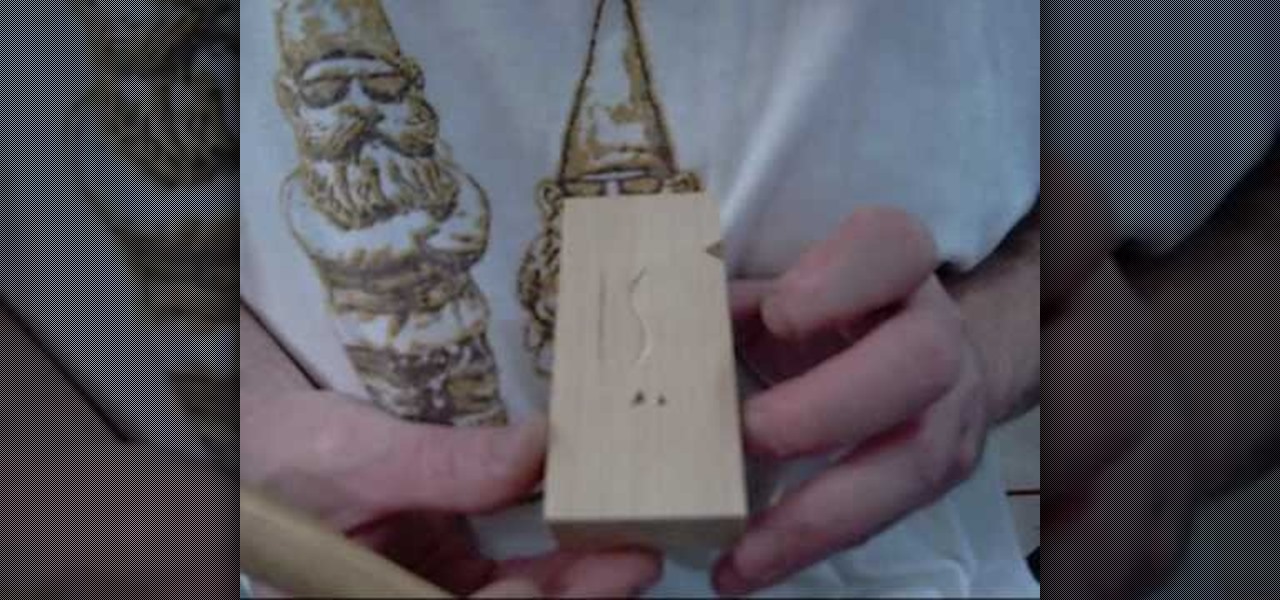
In this tutorial, we learn how to begin using a woodcarving knife. Before you go into the detail, you will want to make sure you have it carved right. The carving all starts in the block of the wood. There will be a couple initial cuts that you will do with a knife after marking the wood with a pencil. Do repetitive cuts to get the right shapes. Also do an 's' curve and hit the lines right. If you want to make this look like a v-tool then you just need to make it with your knife. Have fun and...
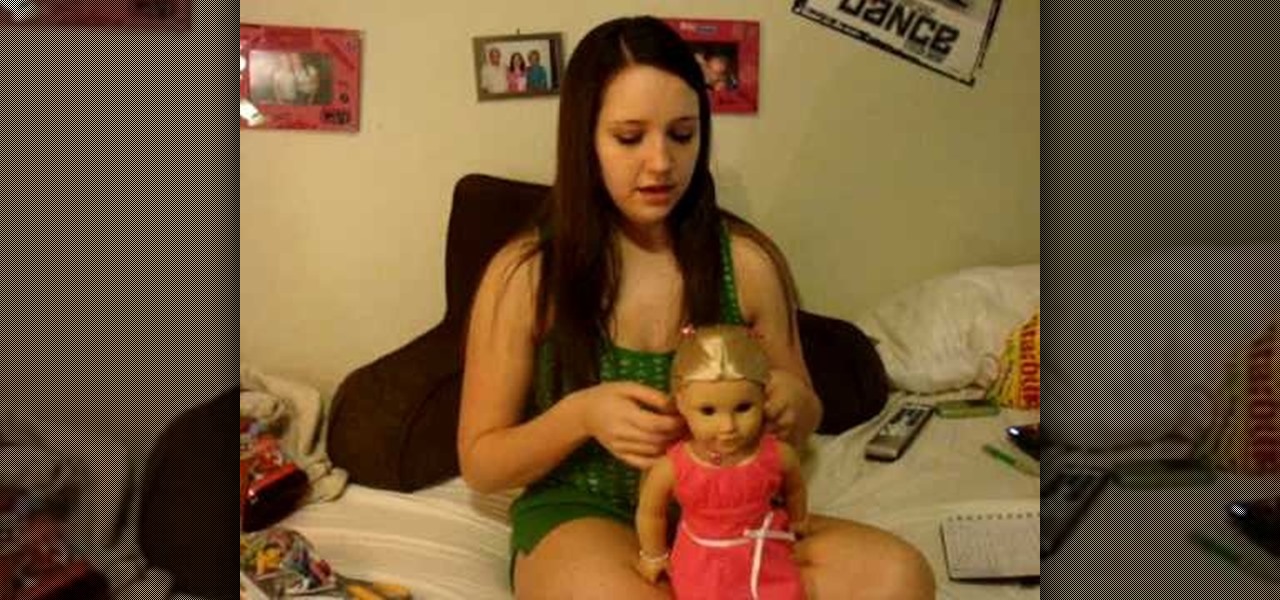
In this video, Sarah tells us how to care for your American Girl Doll. Tip number one is to not put any product on the doll's hair. The next tip is to not wash the hair on the doll unless you absolutely have to. Don't put pressure on her hair as you brush it, use a light touch with a comb. If your doll has frizzy hair, you can clip off the frizzy area with some scissors. If you get a mark on the doll, you can use a Mr. Clean Magic Eraser on her without damaging the skin. If you don't have tha...
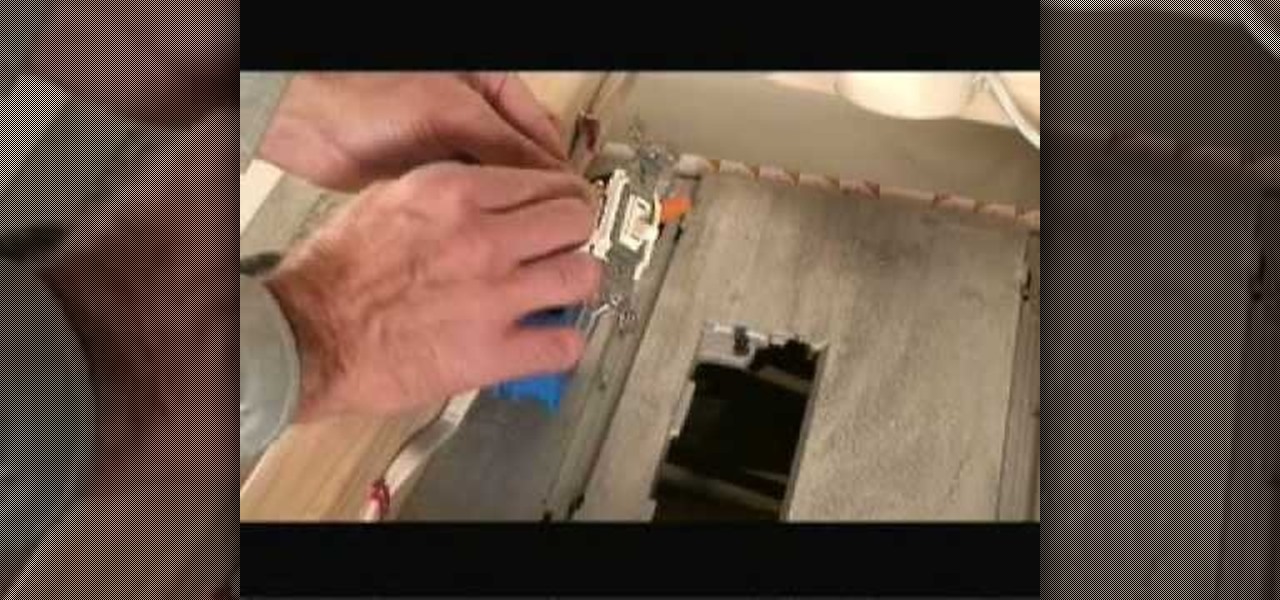
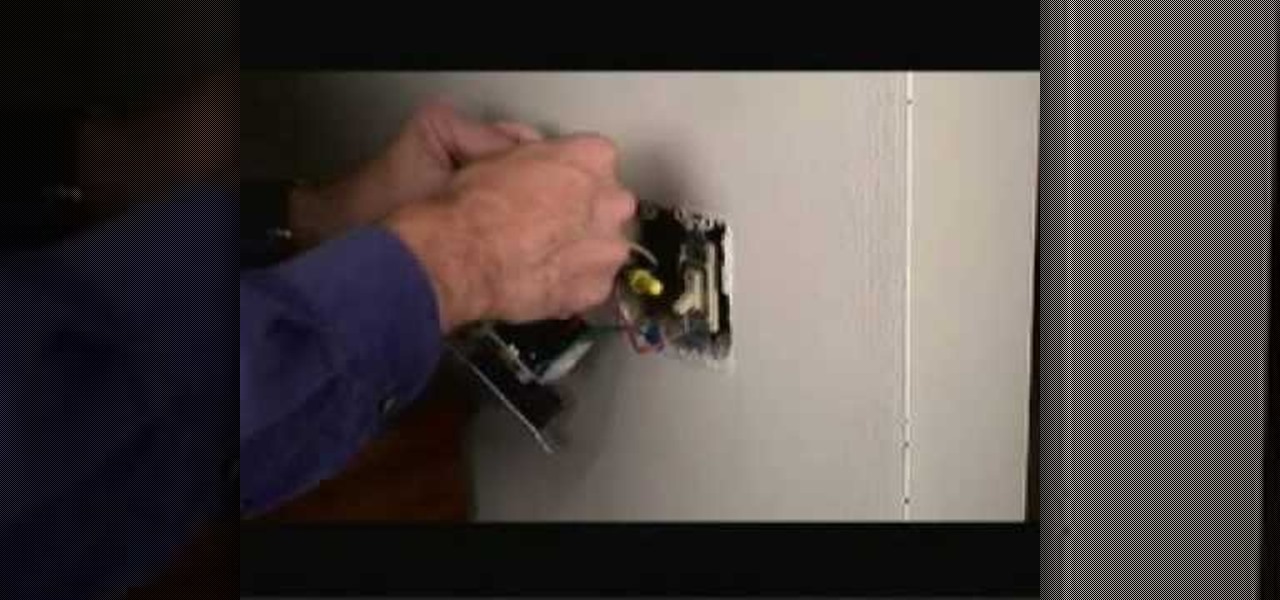
In this video, Mark Donovan teaches us how to wire a light with a 3 way switch. Before starting, make sure the power is turned off from the main circuit panel first, and you test to make sure it's off. You will have two switches for the same light fixture. For a 15 amp circuit, you can use 14-2 and 14-3 wire. These wires will have a black, white, and red wire. The 14-2 wire just has a lack and white wire with a copper ground. The power coming into the base should have all the wires that conne...
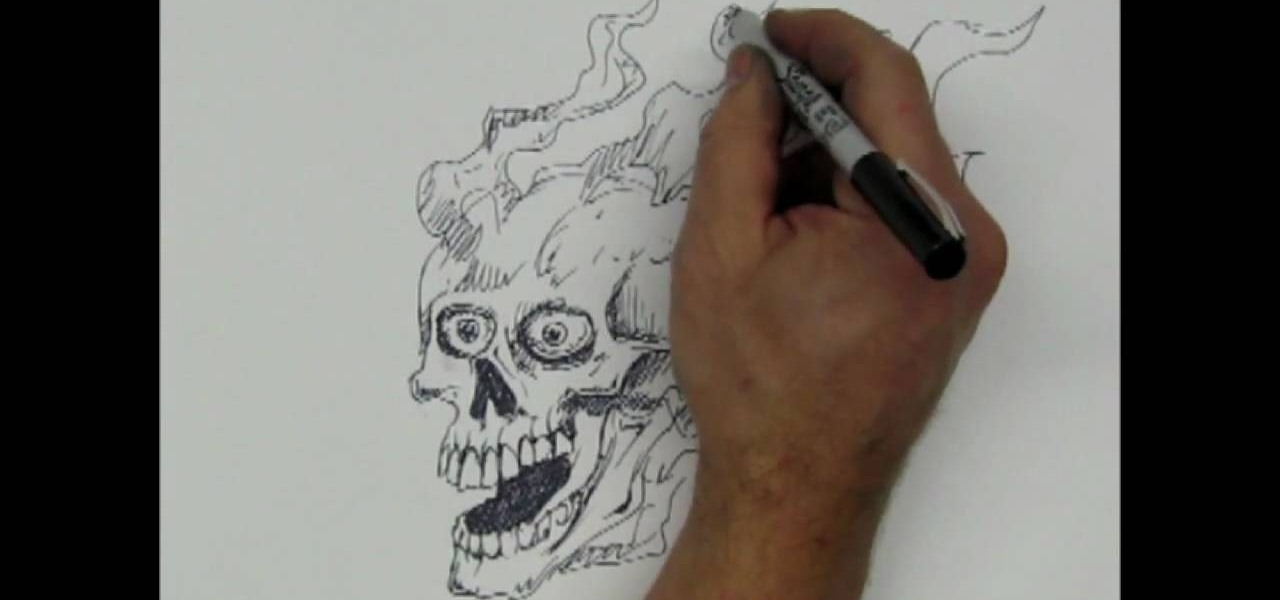
In this tutorial, we learn how to draw a skull with a Sharpie. First you will draw the eyes, make sure to draw lots of little lines around them then cross them to create depth. From here, draw the outline to the head and then the nose and the teeth. Make sure to add lines in around the head to show cracking and marks around the head. Use shading to create darker lines along the head and then add in additional details. Make this unique to you, it doesn't have to look one certain way. When fini...

In this tutorial, we learn how to pierce your own lip safely. First you will need to clean off your needle with a cleaning solution and clean out your mouth as well. After this, you will need to mark the spot where you want to pierce your lip at. Look at this in the mirror to make sure it's at the spot where you want it to be. From here, you will poke the needle through the lip at the spot you want it to be. From here, you will poke the jewelry through and then put the cap on that. To finish,...

In this tutorial, we learn how to fit a dry lining back box. This is very easy to install, and the sides will grip the wires on your light. First, determine where you want your switch, then mark a quick line using a sturdy level. Next, you will cut out a hole in the wall the size of the box. After this, push the box into the wall. Then, you can add in the light switch to the box and secure it with the wires that are inside. This will finish up this project, just make sure the wires are place ...

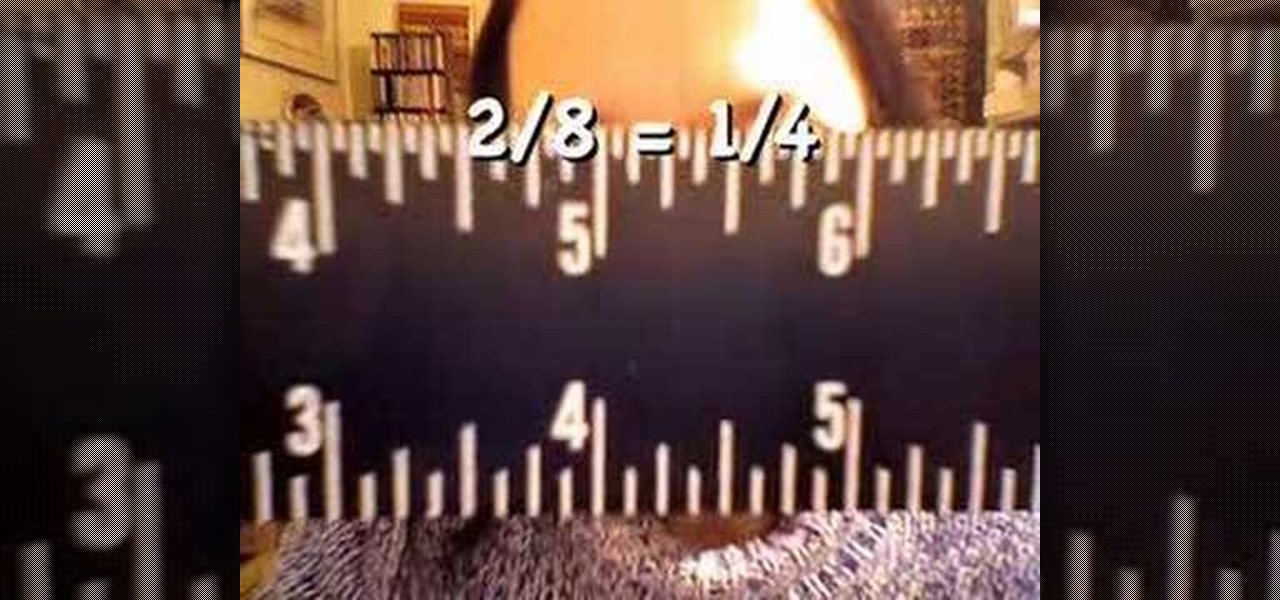
In this video, we learn how to read a ruler. First, grab you ruler and look on the top and the bottom of it. The top is divided into different marks that shows inches, half inches, and quarter inches. If you aren't familiar with reading this, just use the markers at the top to help you count between 1/4, 1/2, 1/8, etc. The other side of the ruler is used for centimeters, which you usually will not use in the United States very often. Learning how to read a ruler can help you get better with f...

In this tutorial, we learn how to make Splinter Cell prop goggles. You will need: goggles, a saw, pipe, a brush, black paint, duct tape, batteries, chop sticks, glue, a ruler, and a pen. First, mark three cuts on the pipe to 3 cm and 5.5 cm. Now, use the saw to cut these. Then, use sandpaper to smooth all the edges. Next, place these onto the goggles and glue them with a hot glue gun. Next, grab two batteries and wrap them in duct tape. Place these with them and then paint these all black. Af...

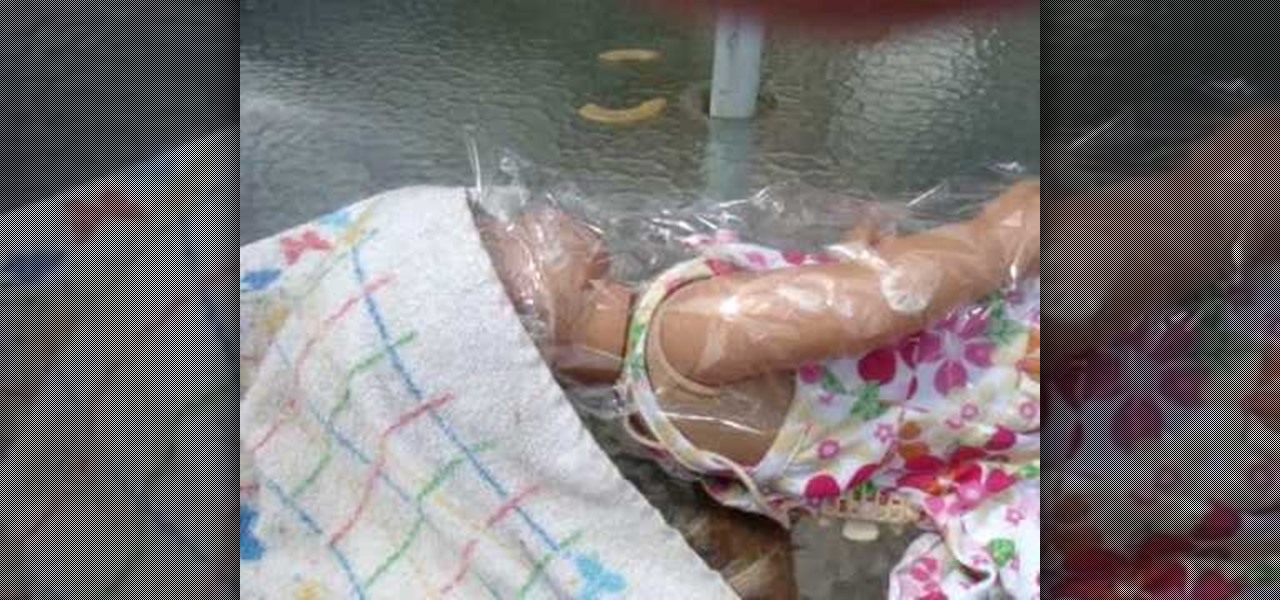
In this video, we learn how to remove ink stains from your American Girl doll. If you get ink marks on your doll it's pretty easy to get off with just some Oxy spot treatment clear. The main ingredient in it is Benzyl Peroxide, which is an acne medicine. After you have this, you will put a little bit of it onto the stain on the doll. Apply this using a Q-Tip and not your finger, to avoid oils. Press this all over the spots on your doll, then cover the spots with plastic wrap. Put the doll in ...

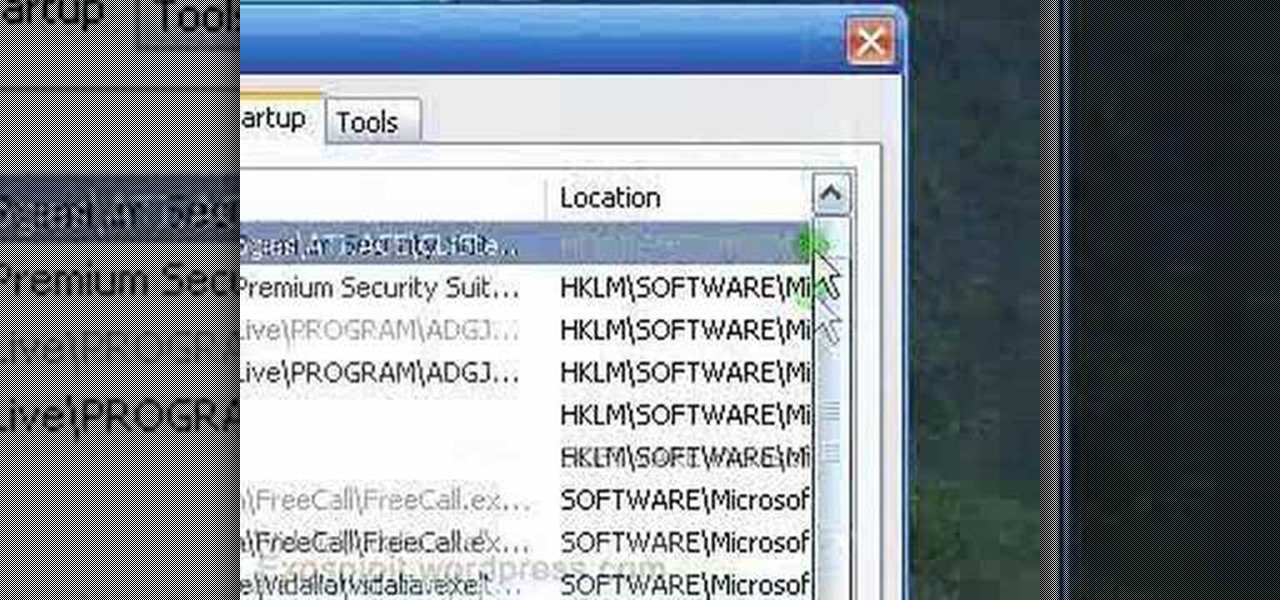
In this tutorial, we learn how to remove a program from your startup menu in Windows XP. First, hold down the start key on your keyboard, then hit 'r'. After this, type in 'msconfig' into the box that appears. Click 'ok' and then go to the start up tab. Find the applications that you don't want to start on your computer when you restart or turn it on. Check the check mark next to the ones that you want and remove it for the ones that you don't. When you're finished and have all the correct bo...

In this tutorial, we learn how to build plumb walls. A plumb bob is a weight that you can use to make sure your walls are plumb. This tool is the most accurate tool you can get to plumb up any wall. Your level is only good until it's dropped, this won't be ruined and will always be accurate. When using a plumb bob, you have to get up close and personal to the floor and the ceiling. You will need someone on the floor and someone on the ladder to make sure you get the bob exactly on the line. T...

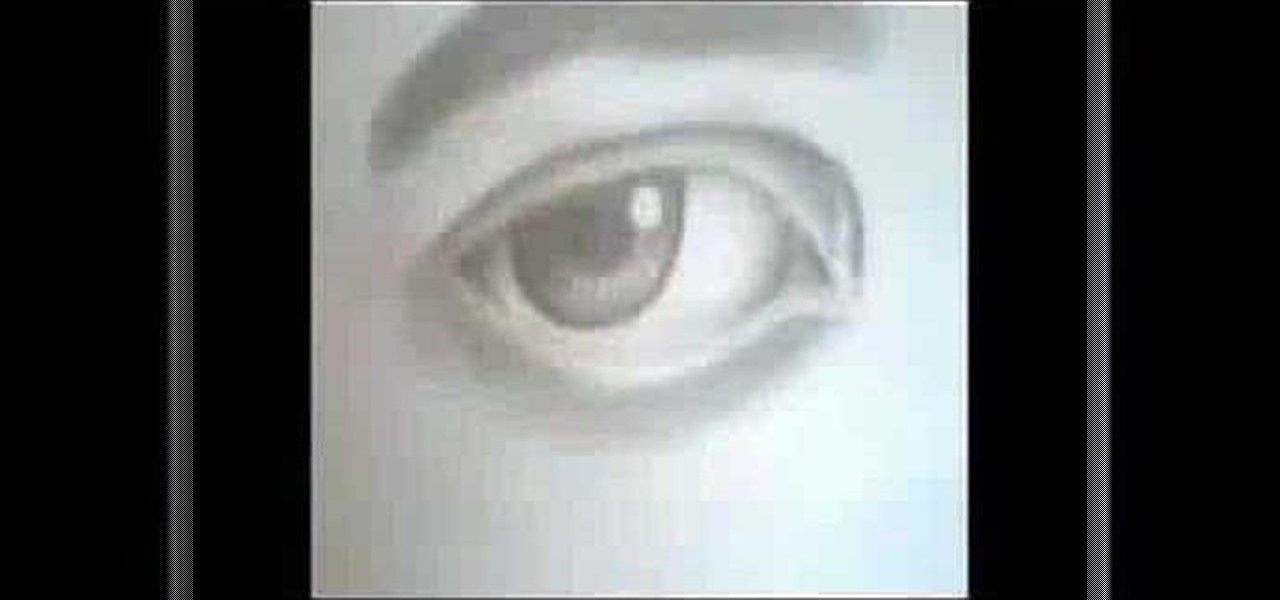
In this video, we learn how to draw a perfect eye. Start out by drawing the outline of the eye, the create the basic shape. After this, draw the crease above the eye and then the inside details of the eye. Darken the pupil, then add in lines around the pupil to show detail. Create a circle eraser mark near the pupil to show the eye having a glare, making it look more glossy. After this, shade in the sides of the eye and underneath where the bottom lash line is. From here, create the eyebrow a...

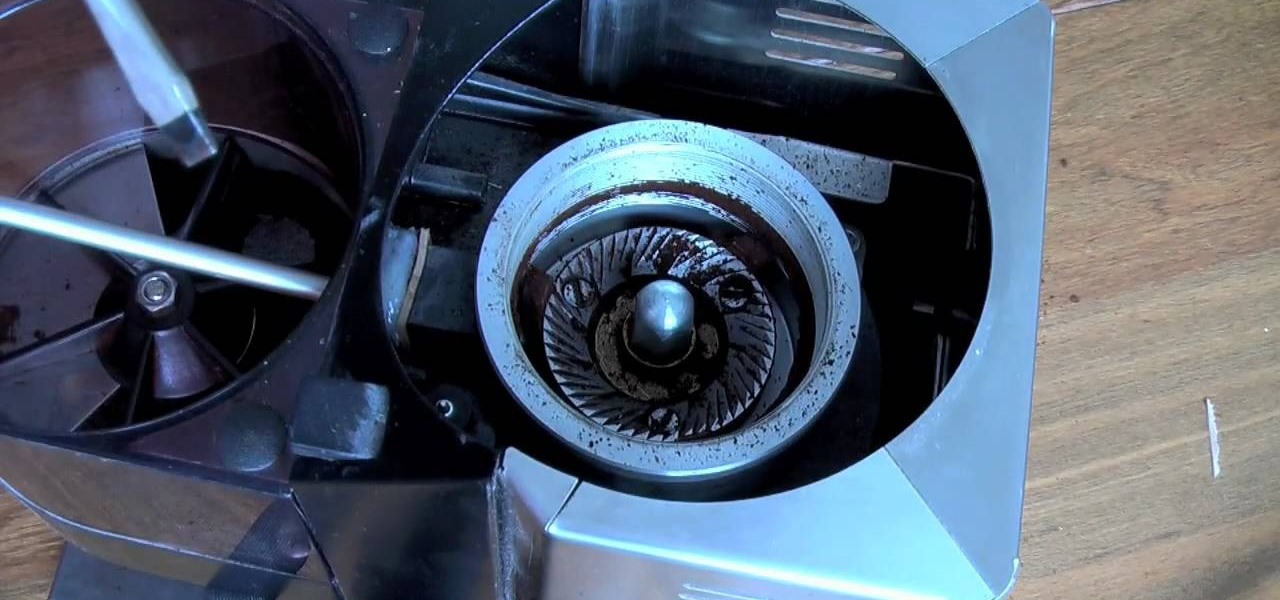
In this tutorial, we learn how to clean and replace the burrs in a coffee grinder. Start out by taking the bean hopper out, you will have to use a screw driver to remove this completely. Then, mark the top burr so you ,know where it was lined up, then spin the top until it comes off. Then, remove the parts off of this and clean them off. Make sure to put these all back together the way you took them off. Now, clean the bottom burr by prying it up with a tool and using an old toothbrush to scr...

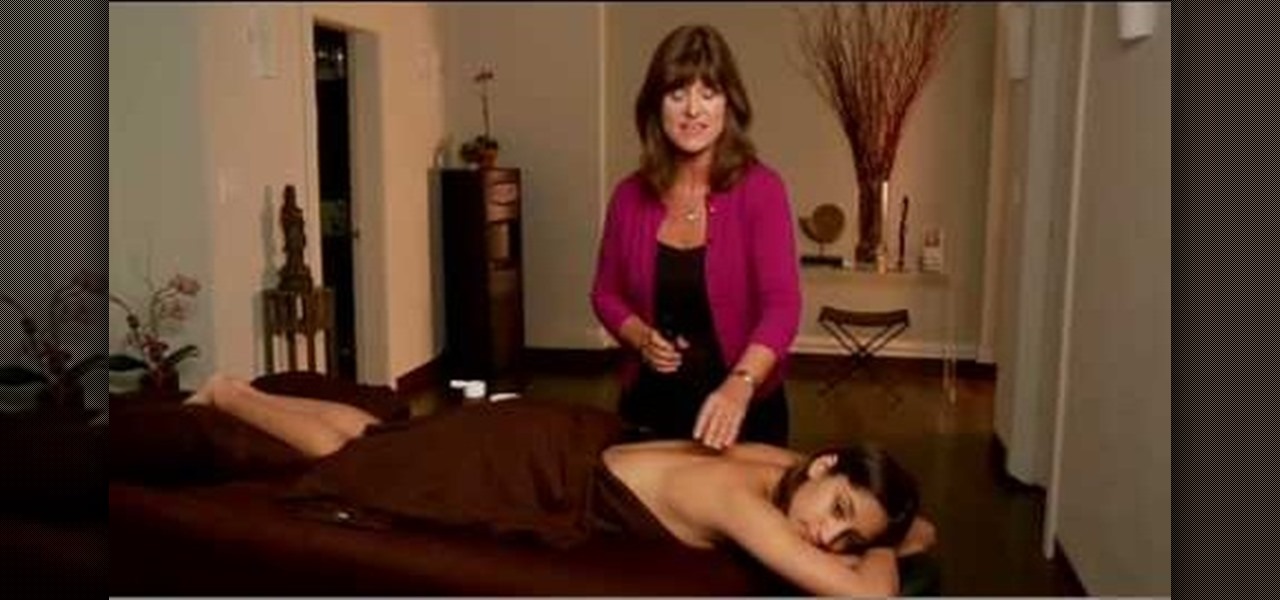
In this tutorial, we learn how to do a Chinese cupping back massage. Cupping is an old technique that is still practiced in China and eastern Europe. First, set fire to some cotton balls. Now, place them into the cup and pull the air out of the cup. Quickly place the cup on the body and then push it around on the skin. This brings the muscle up to the top of the skin, leaving marks on the body temporarily. As you move them around, it's like you are getting a reverse massage that will make you...

In this tutorial, we learn how to make your own summer dress. First, take a tank to and measure it out on your chest. Then, mark the shirt and cut it. Then, take another color tank top and cut off the opposite area that you just cut on the other tank. Take another piece of fabric now and measure it out to fit your body. Then, attach this to the bottom of the dress and sew all of the pieces together with a sewing machine. Try it on when you are done and then enjoy wearing your new homemade sum...

This is a video tutorial in the Electronics category where you are going to learn how to install a three way dimmer switch. Mark Donovan of Home Addition Plus demonstrates how to replace a faulty 3-way dimmer switch in this video. Make sure you buy the right dimmer switch for your configuration and make sure you disconnect the power source before you start the work. Remove the top panel and then remove the screws that hold the whole dimmer switch and pull it out. There are three sets of wires...

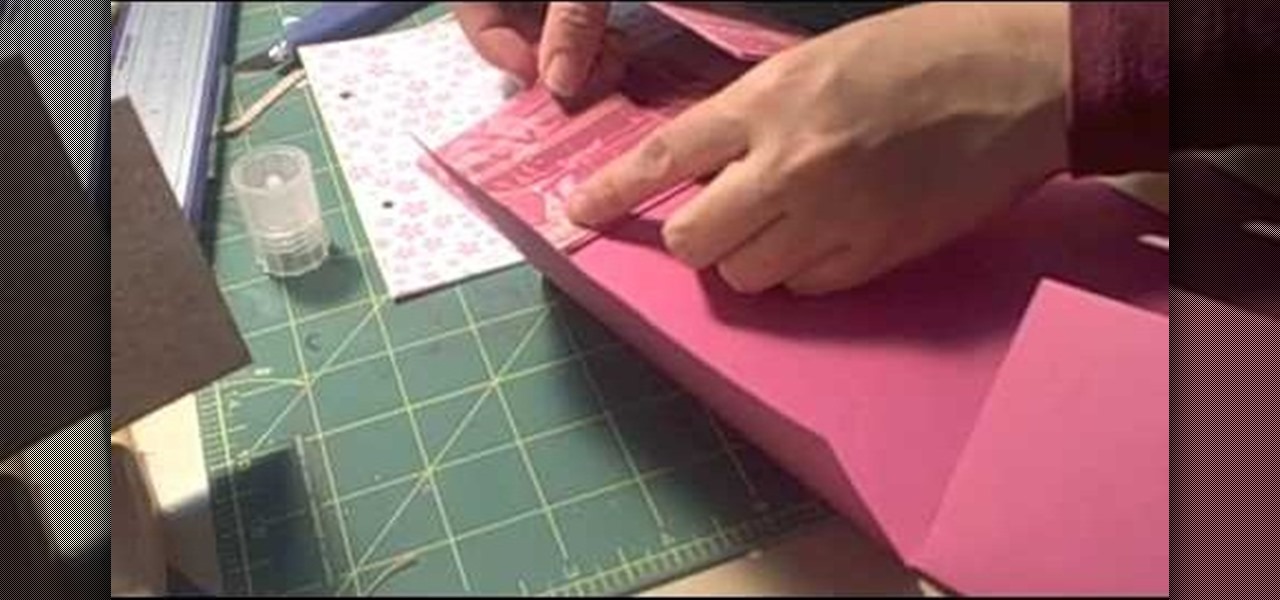
This video tutorial is in the Arts & Crafts category which will show you how to make a flip square album. Take a 12 x 12 inches square cardstock and make a score line at 3 inches on all 4 sides of the paper. Now cut along the score line at the top and bottom of the paper up to the 3 inch line. Next you fold along all the score lines inwards and you have all the flaps ready. Then mark along the edge of the center part of the sheet and punch two holes for tying the album as shown in the video. ...

In this tutorial, we learn how to make a paper snowflake from scratch. First, take a CD and trace around it on a piece of paper so you have a perfect circle shape. After this, take your scissors and cut out the circle. Next, take the circle and fold it in half, then fold it from the right to the left in half again. Then, take it and flip it so the "v" is pointing towards you, then take it from the right to the left and fold it again. After this, face the point away from you, then use your pen...

In this tutorial, we learn how to use quotes in an essay. When using a colon, you will set up the quote, then present it as proof of what you have just said. Note that the phrase before the quote could stand on its own as a sentence. For partial quotes, remember when summarizing to embed the author's words in your own sentence. If you take away the quotation marks the sentence should flow like you wrote it. When using commas with quotes, you can introduce the quote with an introductory phrase...

In this video, we learn how to use personal pronouns in an IELTS essay. Pronouns are: we, I, me, you, and us. These are words we use to describe ourselves and should generally be avoided in an essay. There are times when it's difficult to avoid personal pronouns in essay, but only use these when you're being asked to or are supporting an argument. An example of how to avoid using personal pronouns is: "I believe that" could be changed to "it is believed that". Once you learn how to replace pe...

This is a video tutorial in the Arts & Crafts category where you are going to learn how to make mini album pockets. Take a 6 x 6 piece of card stock and cut it at 3 1/2. Now score it at the halfway mark and fold it backwards. Next score it at 1/2 from both longitudinal edges. Then you cut out along the 1/2 score line on one half of the card. Take a 2 1/2 " circle punch and punch a circle out of scrap paper. With this draw a semi-circle on the wider half of the card and watch the video for fur...

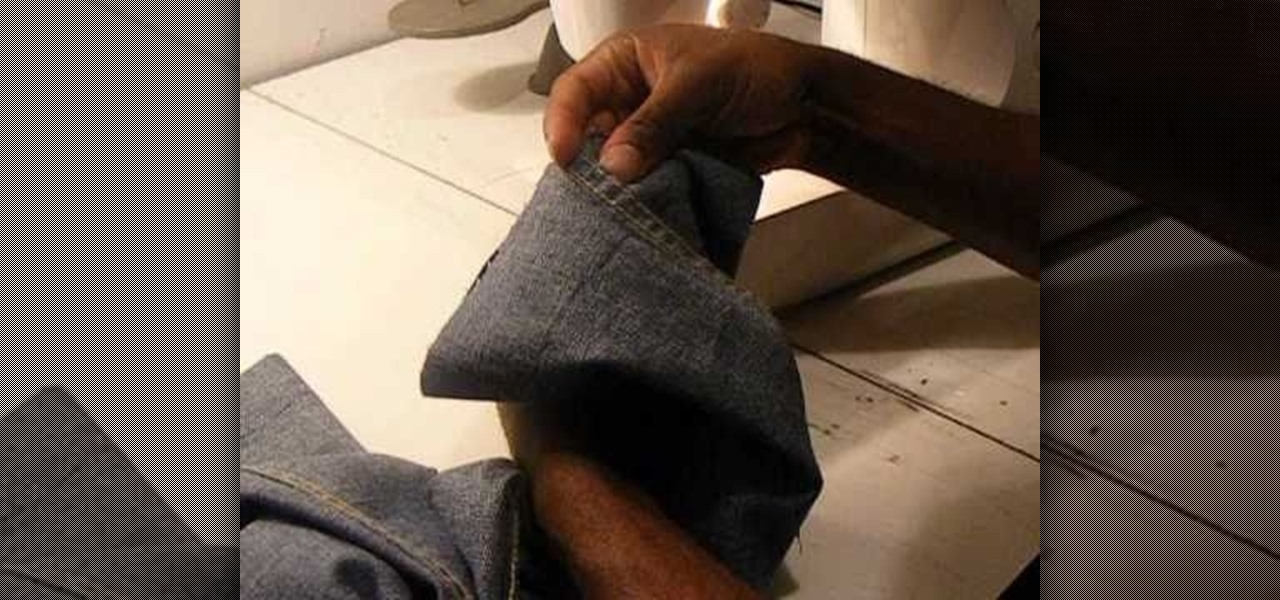
Are your jeans to long? How about your khakis? Corduroys? No matter what kind of pants you have, if they're too long, you can easily shorten the length with a few snips, a few marks and a basic sewing machine. The Brother LX-3125 compact sewing machine is used in this video, but any will do. See how to take a pair of jeans, cut and resew them like new again!

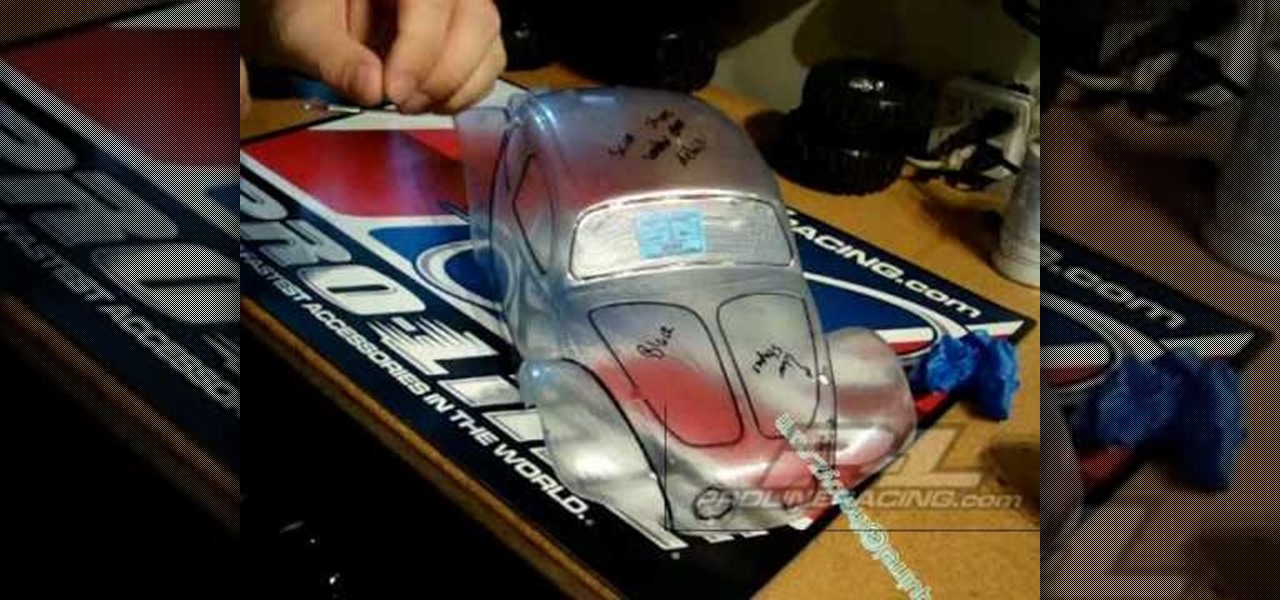
In this video, we learn how to apply stripes and add lines to RV cars. You can do curved lines or straight lines, depending on the look you want. For straight lines, you will take tape and mark from the hood to where you want the tape to end. Use different sizes to create the look you want to achieve. To get the lines straight, place the tape on a straight surface as a guide with the clear top that goes over the vehicle. Once you do this, you can paint around this to form opposite colors. The...

Giant Steps is quite popular for being an incredibly difficult song to play seeing as it's a string of II, V, I chord changes in three different keys, among other changes that are inherent in the song. Thanks for making our lives more difficult Coltrane! If you're having trouble making your way around the neck and improvising this video can help! He talks about similar tonalities out of each chord change and scale connection between different keys. Just be careful because the audio goes out o...

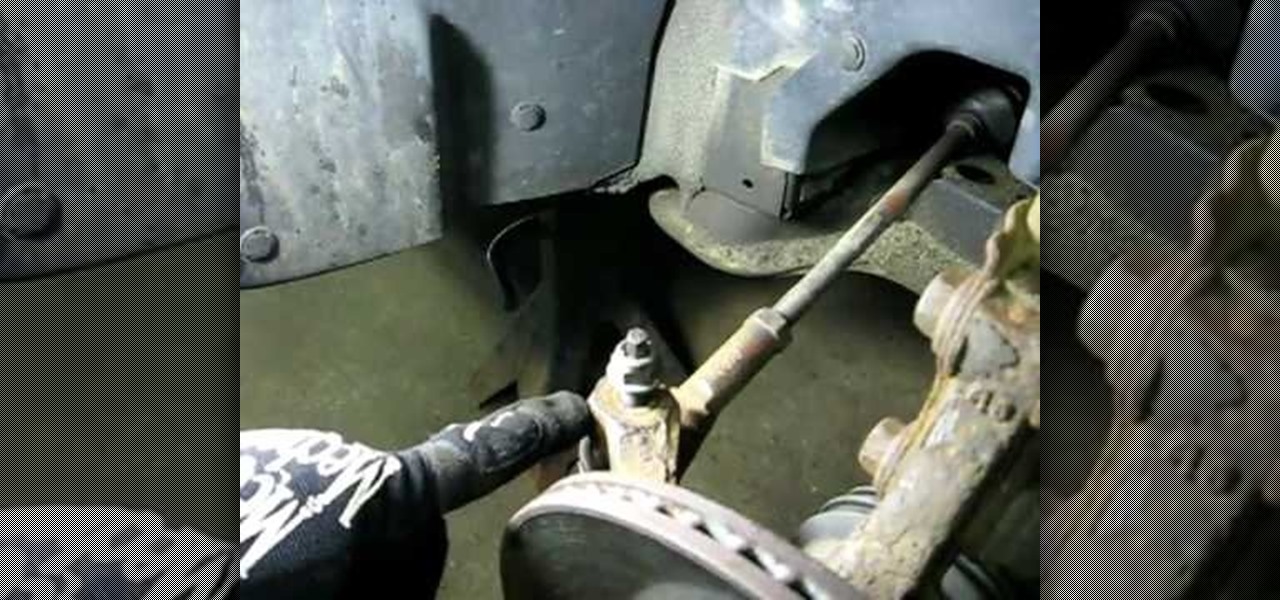
In this video, Rich Pin teaches us how to replace an outer tie rod end on a vehicle. First, get the vehicle in the air supported on jack stands, and remove the tire wheel assembly. Next, put a mark on the top of the tie rod shaft so you know where to line it up when you replace it. Next, loosen the jam nut from the rod, remove that and the nut. Remove the tie rod end after this by shocking it with a hammer. When it is removed, replace it with a new part and then attach all the bolts and nuts ...

In this video, we learn how to replace a windshield washer nozzle. First, use tape to mark where the wipers were at so you know where to replace them. After this, remove the wipers from the vehicle by using a wrench. Now, pop the hood of the car and remove the screws that are on the front of the car surrounding the nozzles. Once you get the top area removed, you will find the nozzle and hose underneath it. After this, replace the old nozzle with the new one and then put it back. When finished...

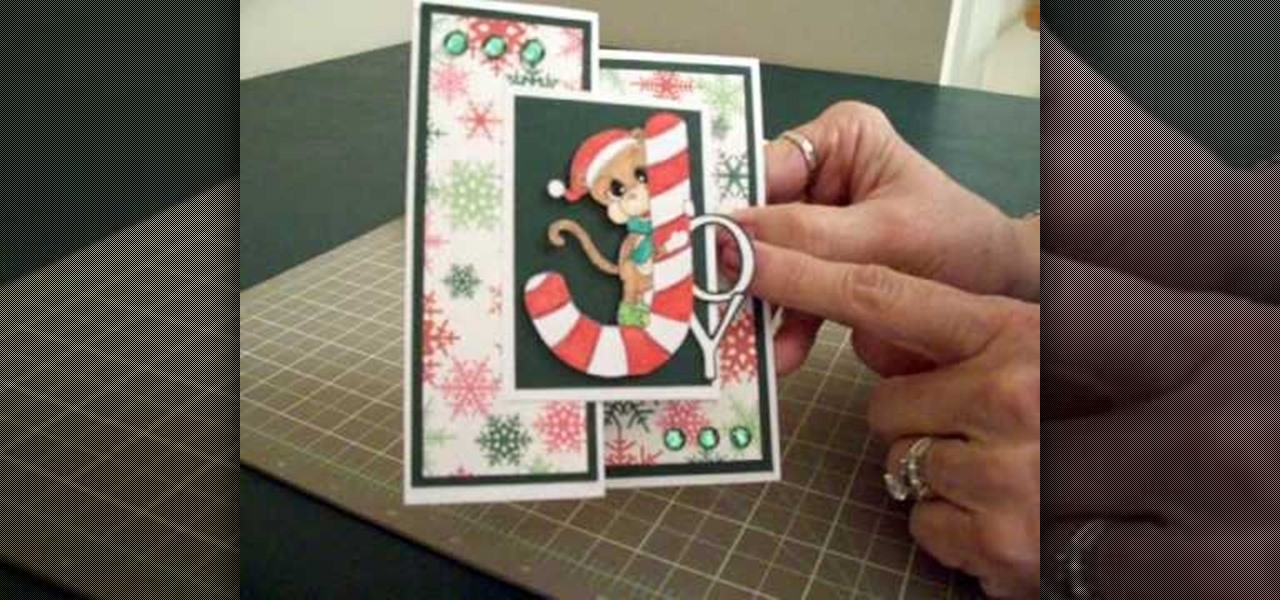
In this video, we learn how to make a Joy S-fold Christmas card using Cricut George. First, fold the card and mark it so it's in the S shape, then stamp the background of the card with colored snowflakes in different sizes and shapes. After this, use a black outline along the sides of the papers, then add in a black piece of paper to the middle of the top fold. Apply a monkey with a Santa hat to the front and wrap him around a J shaped candy cane. Add in the letters "o" and "y", then add in a...

In this video, we learn how to transform into a witch doctor for Halloween. Start by using a white foundation all over the face, avoiding the eye and eyebrow areas. After this, apply bronzer to the cheekbones. Next, apply a black or dark brown color on the entire eyes, smudging it on the edges. Next, apply brown lipstick on the lips and mark lines with black paint on it. When done with this, start to draw a tribal design on the chi, then underneath the nose. Define the cheekbones further with...

Simply learning words in Mandarin Chinese is not enough for being able to speak the language fluently. The Mandarin Chinese language, like many Asian languages, is tonal. This means that a word can have various meanings depending on the tone used to pronounce it. There are four tones in Mandarin Chinese which are represented by the four tone marks over the vowels in pinyin. This video covers these tones and will hopefully help you better understand their uses.

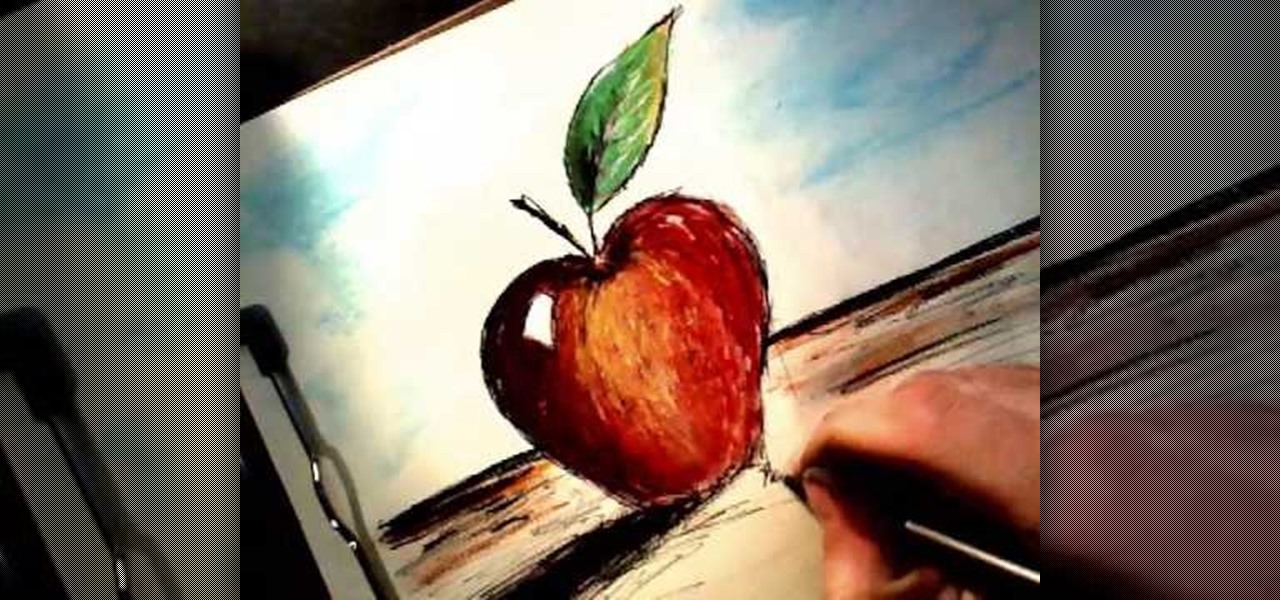
In this tutorial, we learn how to draw an apple. Start by drawing the outline shape of the apple. It looks like a slight heart shape in the middle of the apple where the stem is. After this, start to fill in the apple with lines to make it look more realistic, then draw the stem and a leaf coming out of the top middle of it. Color in the leaf with browns, blacks, and green. Then, draw lines on the bottom of the paper to make it look like the surface. Finish by coloring the apple red, making d...

In this video, we learn how to lighten dark underarms and legs naturally at home. You will need: cucumber juice, turmeric powder, and lemon juice. First, peel your cucumber and cut them into pieces, then blend them. Next, add in 1 tsp of lemon juice and mix together. After this, add in a pinch of turmeric powder and mix well together. Apply this paste on your underarms and legs, or wherever you have blackness. Leave this on for twenty minutes and then wash off with warm water. Do this daily u...

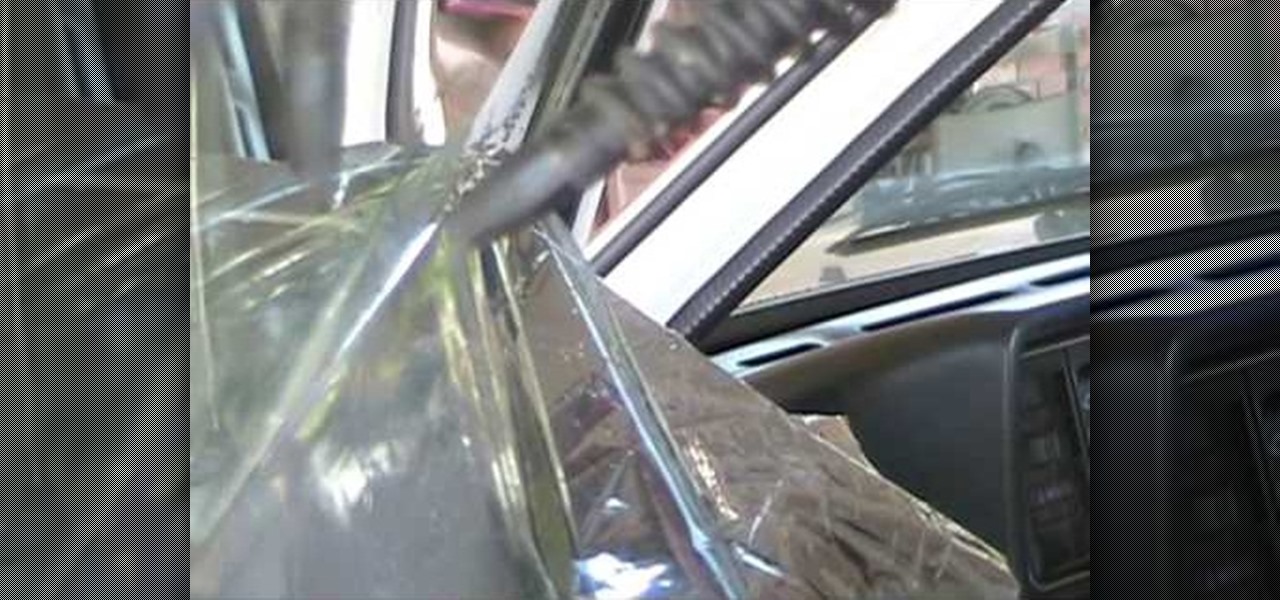
In this video tutorial, viewers learn how to remove old window tint. This task is very easy, simple and fast to do. Users will need a steam cleaner. Begin by peeling off the top part of the tint on the window. As you are peeling down the tint, spray the steam cleaner behind the tint. This will prevent any marks from being left behind. Continue doing this until you have completely removed the tint. This video provides a demonstration for viewers to understand and follow along. This video will ...

In this tutorial, we learn how to draw the anime character Tobi. Start off by using light pencil markings to outline the face and the head. After this, use a marker to draw in the eyes and pupils. Next, draw in the eyebrows over the eyes, then make a small mark for the nose. Draw in a line for the mouth, then make one of the eyes a diagonal line, like the character is winking. Start to outline the chin, then draw in the ears and start making the hair. The hair should be spiked and going down ...

In this tutorial, we learn how to draw Shadow the Hedgehog. Start off by drawing the head and then add in the spiked hair. After this, draw in the details of the eyes and continue down to the arms and the rest of the body. Draw in the feet and a gun in the character's hand. Now, use a pen to start drawing the outline over the pencil marks that you just made. Continue on to draw in details on the picture that make it look more realistic. After this, color in the picture with colored pens and u...

In this video, we learn how to use different brush types and colors in water coloring. While you are creating a painting, you will notice that you need to use different types of brushes to create different effects on your canvas. There is nothing wrong with this! You can use many different strokes and brush sizes to achieve what you want on your painting. Pay attention to what stage of the painting you are in, as this will help you decide what types of brushes to use, depending on the style y...

In this tutorial, we learn how to sew and measure elastic. First, place the elastic over your waist and think about what you are making. Decide if you want it to be comfortable or if you want it to be tighter if you are wearing it out during the day. Also take into account what type of fabric you are going to be using so you know how much elastic is needed. Fold the elastic and mark the inside and outside of the fold, now do the same thing with your fabric. Now you will know if you need to ea...

In this tutorial, we learn how to draw an 18 wheeler semi truck. Start out using a pencil to draw the outline of the truck, using lines on a vertical point to make sure everything is even. After this, use your pencil to smudge darker marks throughout the truck. Next, use the pencil to make darker lines for the outline of the truck and add in more details to it. Make sure to draw in the tires, as well as the windshield and the headlights. Turn the paper around to get the best angles while draw...

In this video, we learn how to draw a manga chibi eye. Start off by drawing an outline of the eye with the round middle and the lines on top and on the bottom. After this, start to add in the small details of the eye, like the pupil and shine marks on it. Next, start to shade in the eye and make the lines thicker. Continue to draw in black until the back of the eye is covered black and another portion of the eye is white. Switch back and forth between different pencils to help you color in di...

In this tutorial, we learn how to hem your favorite jeans with Laura. First, place your jeans on your body, then cuff them where you want to hem them. Next, take your jeans off and pin the cuffs where you wan to hem them to keep them in place. Next, measure out the length of the hem and mark it with a piece of chalk, then you can take out the pins. Next, you will cut the pants, then pin them back where you want to hem them at. After this, you will take them to the sewing machine. After this, ...


