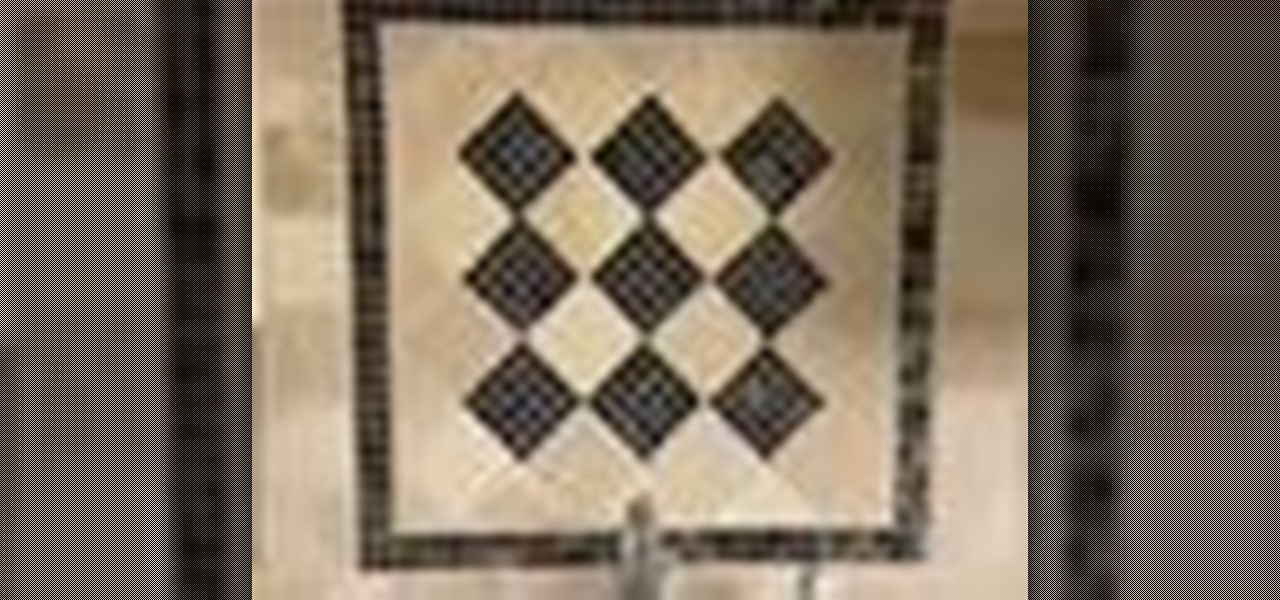
This video tutorial is in the Home & Garden category where you will learn how to install a kitchen backsplash with glass tile accents. A tile can be attached to walls with the help of mastic. It doesn't require mixing and it is stronger than mortar. Before applying mastic, sand the wall surface lightly. Don't sand away the paint. Clean the surface with damp cloth. Layout the tile pattern below the space and measure the dimensions. Do the marking on the wall of the centerline. Apply a thin lay...

In this tutorial, we learn how to pierce your cartilage. To do this, you will need: gold/silver earring, alcohol, and paper towels. To start, you want to mark the spot that you want to pierce, then clean your needle and the area with rubbing alcohol. Now, pierce the needle through the area you want it to be. Keep pushing the needle through until you get to the other side, then replace the area with the jewelry as you go. You will pass several different layers of skin and cartilage, so be prep...

In this tutorial, we learn how to draw transparent objects. Start out using light pencil markings, and draw the basic shape of the bowl. After you have the round top and have make it three dimensional, add shading to the bottom circle in the bowl so that you can see the bottom of the inside. After this, add shading to the side of the bowl to give it a realistic feel like it's sitting on a table. Next, use your eraser to remove some of the shading, then fill in darker pencil marks onto these s...

This video tutorial belongs to the Arts & Crafts how category which is going to show you how to do back stitch when embroidering. This is really simple and easy to do and takes no time to learn. For starting, mark five dots on the cloth. Then you stitch from point 1 towards 5. First you pass the needle from under the cloth through point #1, pull up the thread and pass it down through point #2. Now pull the thread up through point #3 and pass it back down through point #2. Then you pull the th...
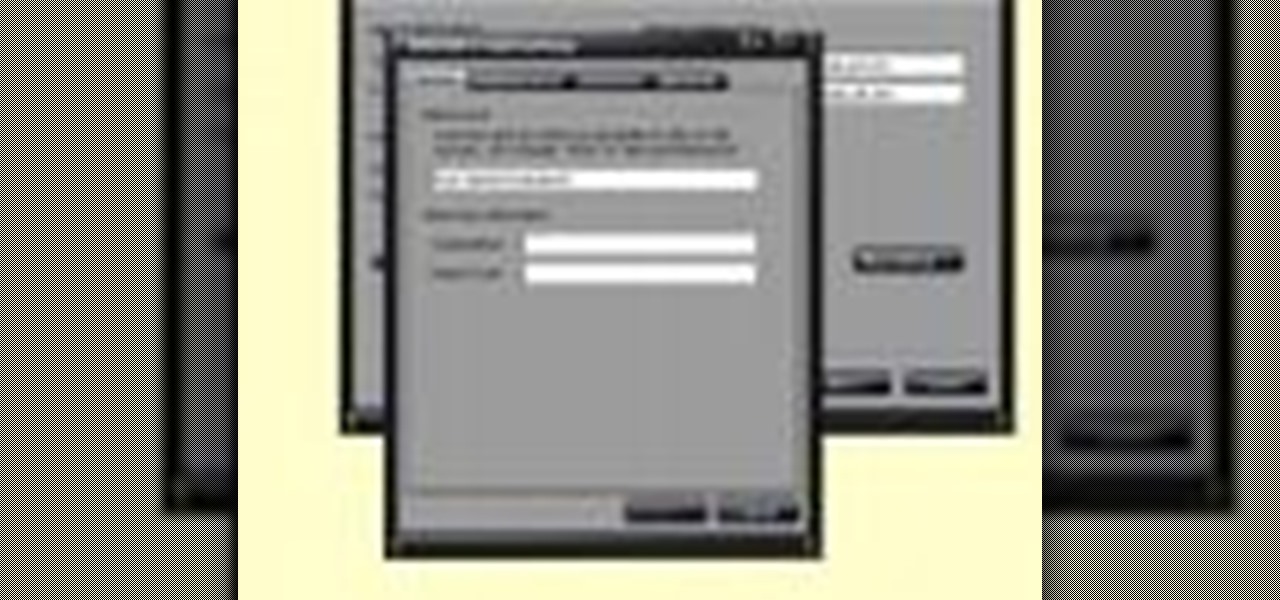
In this tutorial, we learn how to set up your AIM/AOL e-mail accounts in Outlook. First, go to Outlook and open up e-mail accounts through the tools menu. Now, add a IMAP serve, then add in your user information. After this, enter in your server information, and click the settings button. Change the name of your folder if you are using multiple accounts, so you don't confuse them. In the next tab, check the outgoing server mark, then on the advanced tab, change the last number to 587. Press o...

In this tutorial, we learn how to throw an upside down double walled pottery vase. Start off by using water every few seconds to craft your vase. Use your fingers to press down in the middle, to make the round shape and have the vase rise up into the air. Make this into a bowl shape, which will be into the air. Next, shape the middle using your hands into a triangle shape. Raise the side bowl around it, and keep using water to increase the size of the bowl. Collar the bowl in, then start to m...

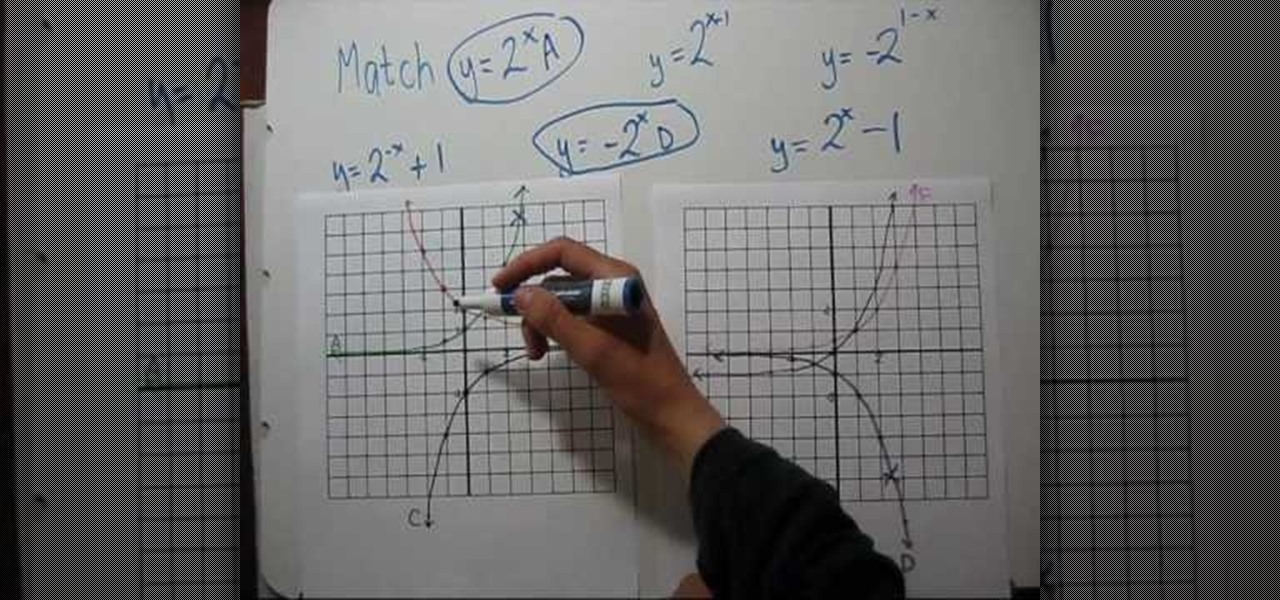
This video tutorial belongs to the Education category which is going to show you how to match exponential graphs. The video shows two graph sheets with three graphs marked A to F on each sheet and six equations. It starts off with matching the basic function, y = 2 to the power x. If you plug in zero for x, you get '2 to the power 0' which is 1. Hence, the equation becomes; y = 1. So, the graph that passes through y = 1 is the matching one. In the video it is graph A. You can watch the video ...

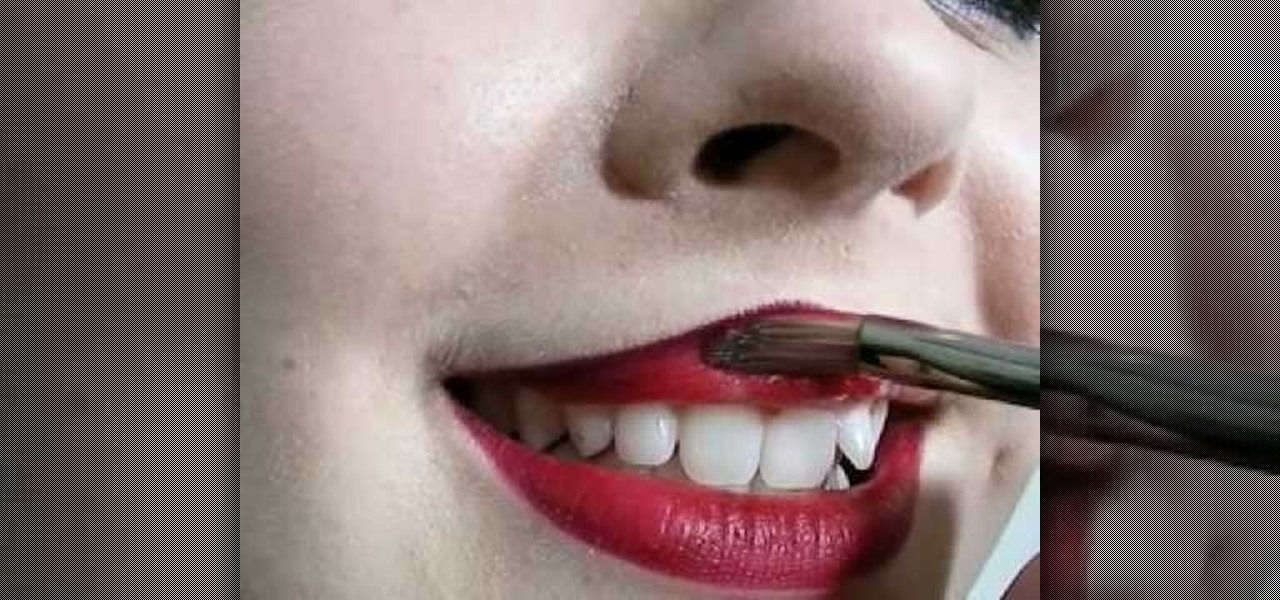
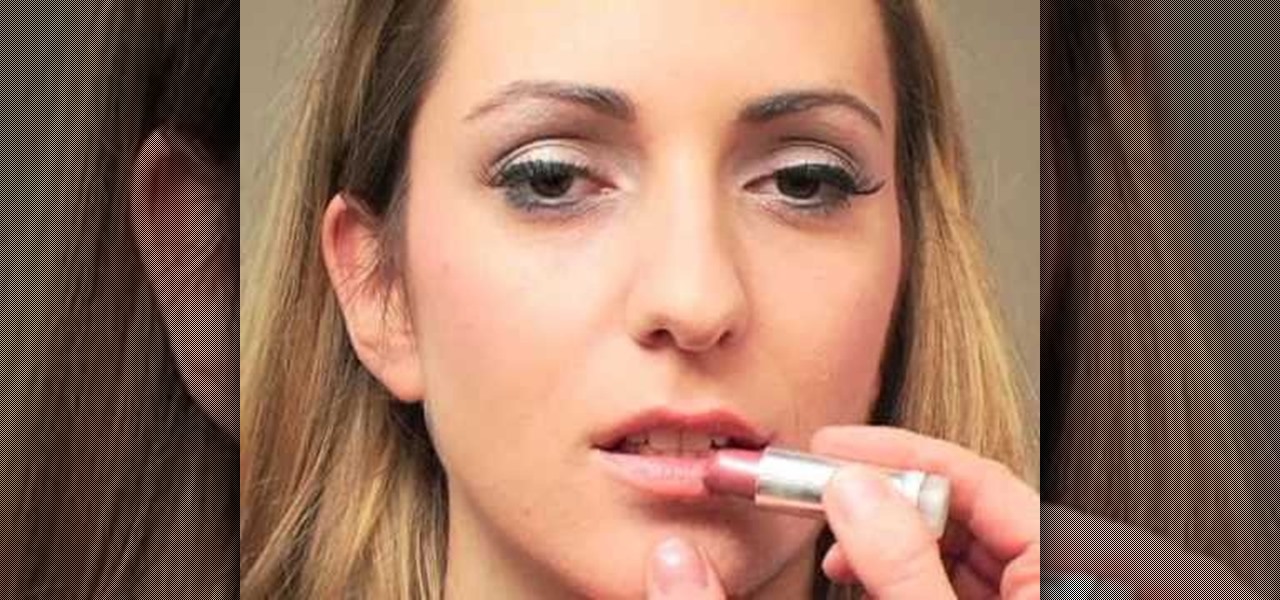
In this tutorial, we learn how to apply sexy red lipstick. Start by applying dark red lip liner to the top lip, using an exact line where your lip goes. Next, draw the line on the bottom of your lip line up to where the crease of your lips meet. After this, smile while you paint on red lipstick with a makeup brush. Apply several coats and move the brush slowly so you don't mark your face. Apply the lipstick to both of your lips and make sure it blends in well with the lip liner you applied ea...

In this video tutorial, viewers learn how to make a pinhole lens for a digital camera. The materials required for this project are: a camera body cap, X-acto knife, black tape, small drill bit, sewing needle and sand paper. Begin by marking the center of the body cap . Then drill a hole in the center and punch a tiny hole in the center of the sheet metal. Now cut around the sheet metal and sand it flat. tape the metal piece inside the cap and darken it with ink. This video will benefit those ...

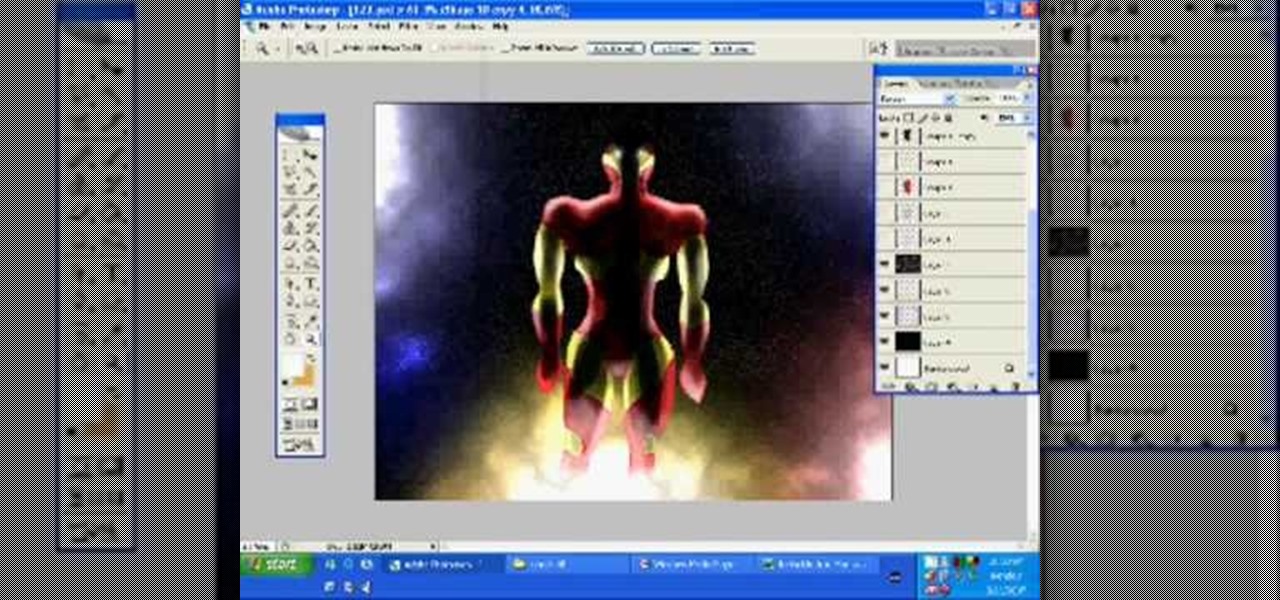
In this tutorial, we learn how to draw Iron Man from scratch in Photoshop. Begin by drawing an outline of the entire Iron Man with a light gray pencil in this program. After you have done this, use a black paintbrush and draw over the lines to make cleaner marks. Next, start to fill in details on the body, such as the metal parts, bolts, and facial features. After this, use red and yellow paint brushes to paint the different colors onto the suit. Next, use a black spray paint brush to color b...

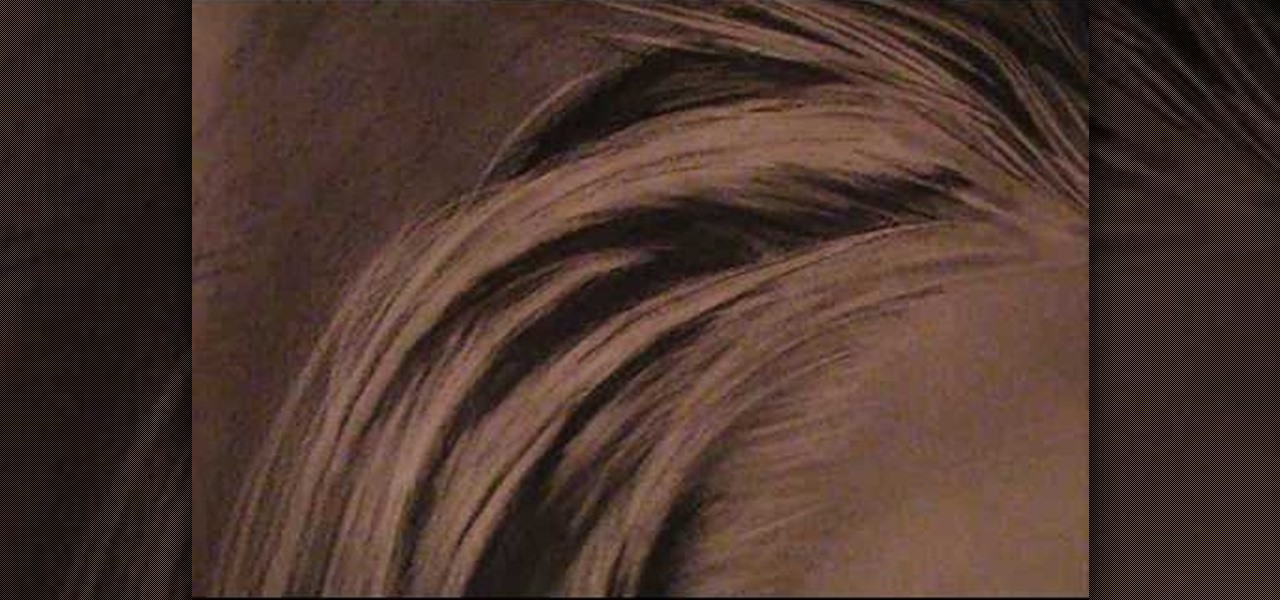
In this tutorial, we learn how to draw realistic hair. Start out with a rough outline and look where the hair is clustered together. Draw the clustered area first. Then, cross hatch over the entire surface of the area and blend in. Add hair to the forehead area, then use a darker pencil to form the shape of the hair. After you do the clusters, start to draw the hair that is separated from the rest. Keep looking at the picture you are drawing, then use an eraser to change the drawing to match ...

In this tutorial, we learn how to make a window valance. If you have a drop down shade, a valance will help cover up the hardware that is located underneath it. Start out with your choice of fabric, then add in 1 inch to the top, bottom and sides. Next, line the fabric and place Velcro on the top. Now, use a wrap around and mark where you want to fold the fabric in at. After this, sew the valance and then use the Velcro to stick it onto the metal part of the drapes. When finished, enjoy your ...

In this tutorial, we learn how to apply MAC 34 fake eyelashes. First, lift your eyelashes out of the case they come in and lay them on your lash line. If they are too long, cut the ends to fit your eyes. Next, grab your eyelash adhesive and apply it to the strip on the base of the lashes. Let the glue dry for several seconds until it becomes tacky. After this, push the lashes onto the base of the lashes, and use tweezers or your finger to push the lashes on until they are stuck. After this, a...

In this tutorial, we learn how to draw a husky puppy. Start off by drawing the head, don't use a straight line at the top, make it look like it has hair. After this, continue and draw teeth and a tongue hanging out of the dog if you want it to look happy. Next, add ears to the top of the head and eyes to the face. Give the dog markings and pupils on the eyes. Then, add the nose on with a button shape at the top. Draw out the collar and chest of the dog, then add on the two front feet, the bel...

If you've ever applied mascara, you know how deceptively easy the wand is to use: while it's generally easy to give your lashes a good coating of inky mascara goodness, it also becomes far too easy to get the mascara on your upper lids (and onto that eyeshadow you so painstakingly applid!).

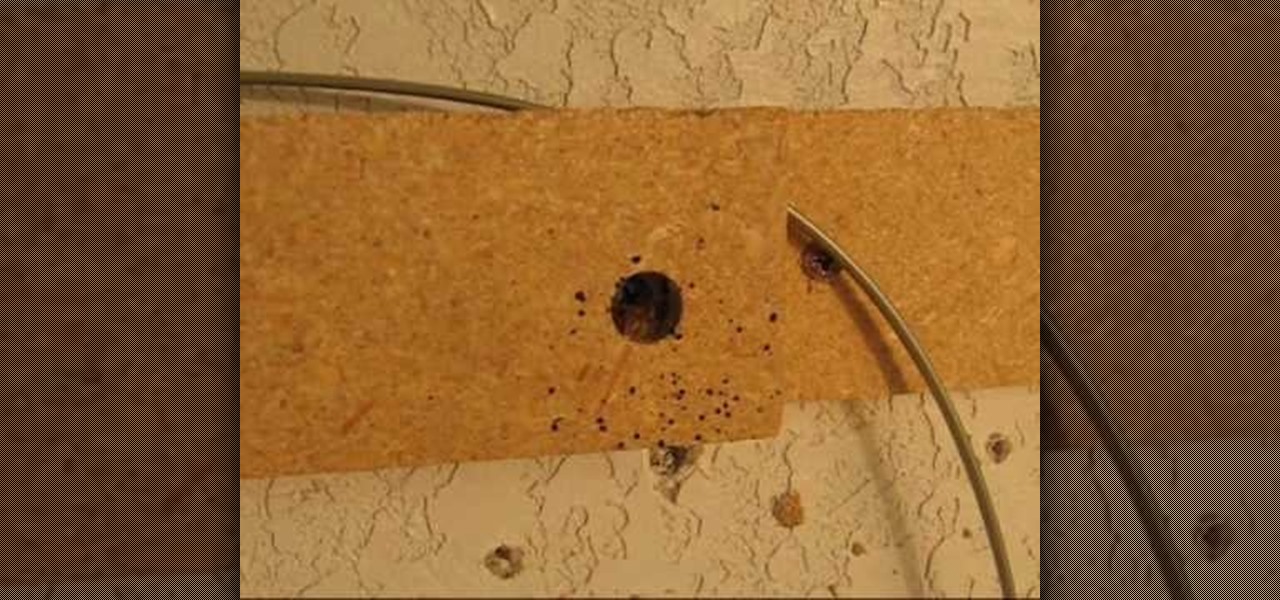
In this tutorial, we learn how to spot bed bugs in your hotel room. Take the headboard off of the bed to see if you can spot the bedbugs and black flecks, which are blood specks from the bugs. You should also be able to see the bugs walking around, although they will be very small. Also, look around other spots and wood around the bed to see where there are marks from other bed bugs around the area. You will also be able to see eggs from the bugs around the inside of screws and bolts. Seeing ...

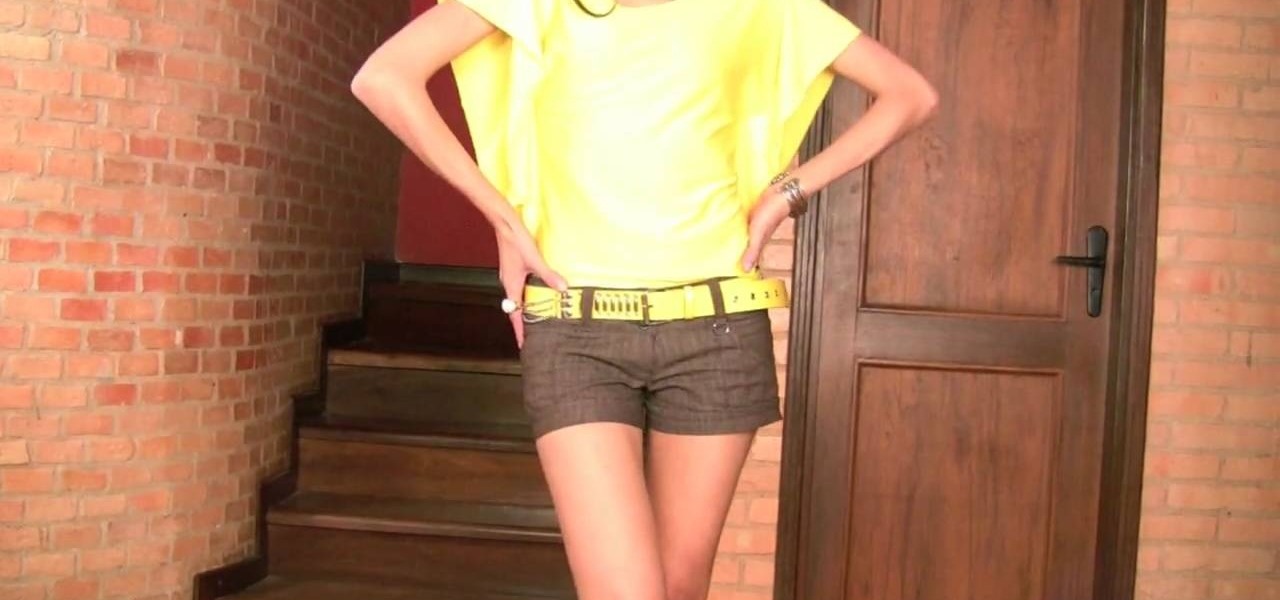
In this tutorial, we learn how to make a stylish bat sleeve. First, take a large piece of fabric and measure it from your shoulder to the armpit on the other arm. Now, fold the fabric up and mark pins where you want the cuts to be. Now, sew the seams where you placed the pins. Do this for both sides and when you are done you will have bat sleeves on a blouse in just a few short minutes. You can do this on any color of fabric and use different types of fabrics as well. Just make sure to measur...

In this tutorial, we learn how to make a paper football for 1 dollar. First, grab your paper and fold it in half length wise. Next, make sure the crease is nice and clean, then fold it length wise once more. Now, fold one of the corners up into a triangle shape, marking the crease exact. Fold this up again and keep doing this until you get to the end. Once you reach the end, fold the other end in twice into the pocket you see. Crease this, then stand it upright and flick it with your other fi...

This video tutorial is in the Arts & Crafts category which will show you how to fold a circular teabag paper. This is a simple process and doesn't take much time to do. First fold the circular paper in half to get a semi-circle and then fold it in half again in to a quarter. Unfold the last fold and fold one quarter back to the halfway mark. Then turn the paper over and fold the bigger side of the paper along the fold line exactly matching the edge as shown in the video. Now you get a little ...

In this tutorial, we learn how to increase your Wi-Fi signal with a coffee can. Materials you will need are : a knife, a coffee can, tape, USB Wi-Fi adapter, and marker. First, measure 1 inch from the bottom of the coffee can then trace your USB around that mark. Now, cut a hole in that shape in the can. Next, cover the hole with your tape. Next, hook your USB up to your cable adapter, and then place it in the coffee can. Now, plug your USB into your computer and you should have more signals ...

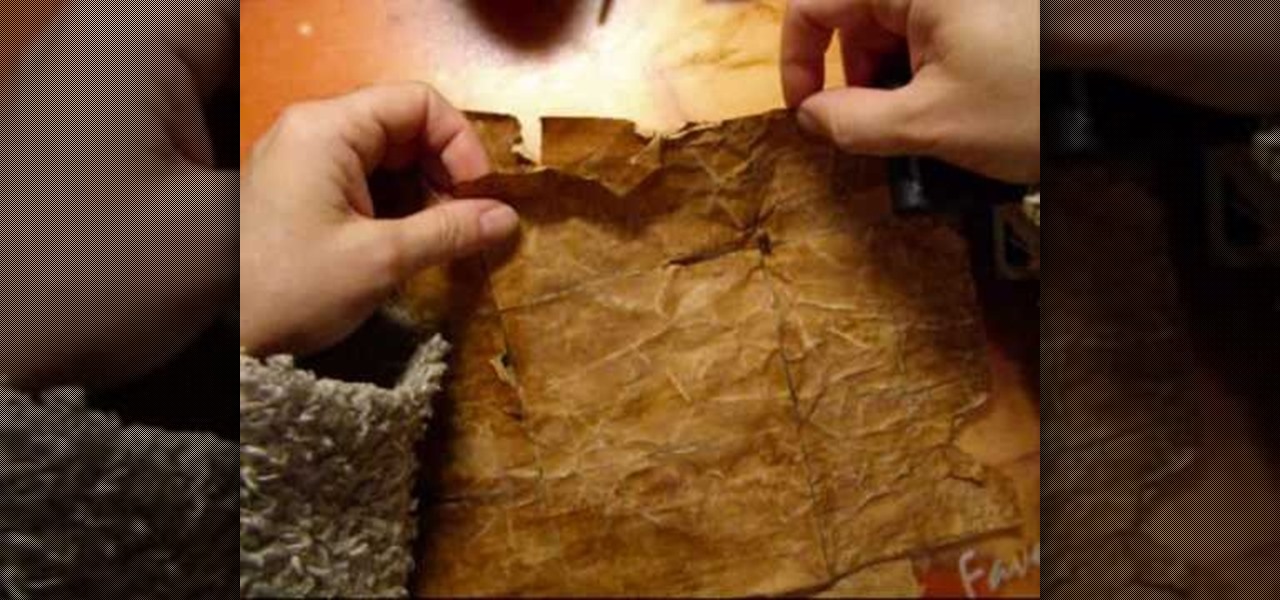
In this tutorial, we learn how to make paper look like it's 200 years old using coffee. First, take a regular piece of copy paper and then use a paint brush to paint a cup of coffee over the entire piece of paper. Use a blow dryer to dry the paper, then brush several more coats onto the paper until the brown looks like it' realistic. To finish, use distressed marks over the paper, then use a blow dry to dry off the entire thing. To finish, apply a couple more coats of coffee to the paper, the...

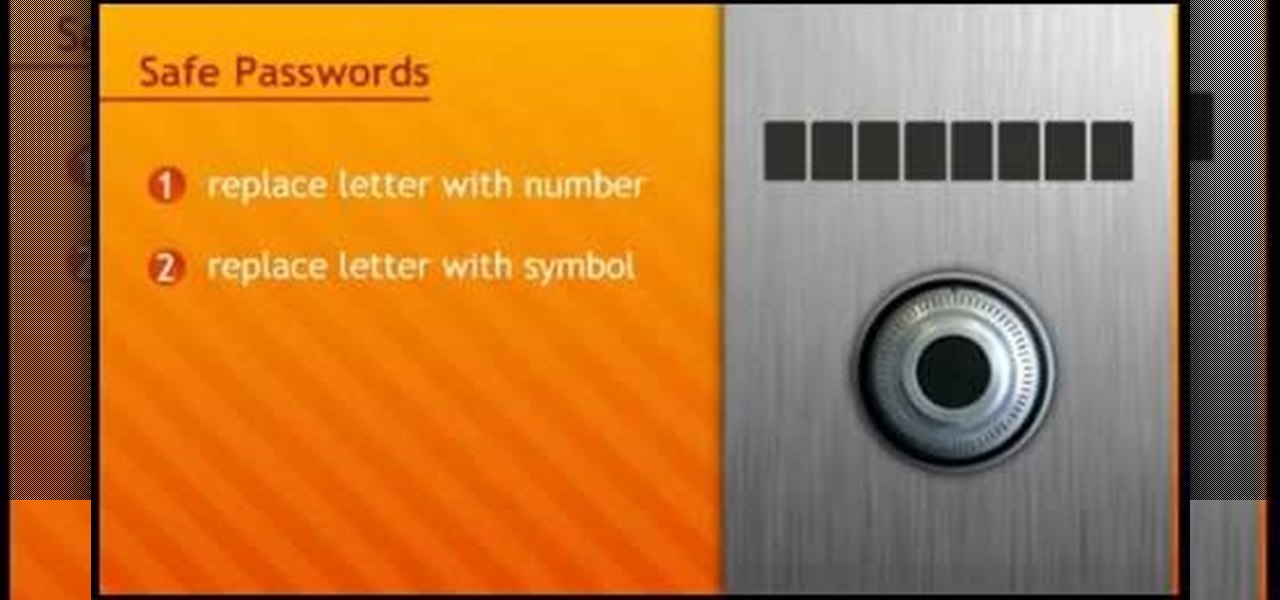
In this tutorial, we learn how to make a safe password. Passwords are essential, and need to be safe for when browsing around the internet. Other people aren't meant to be able to nose around your information, so protect your information with an indecipherable password. Don't choose a password that is easy to crack, never use personal information. A random number in the phone book isn't a good idea either, software used by hackers can crack these. Make sure your password is 8 characters long ...

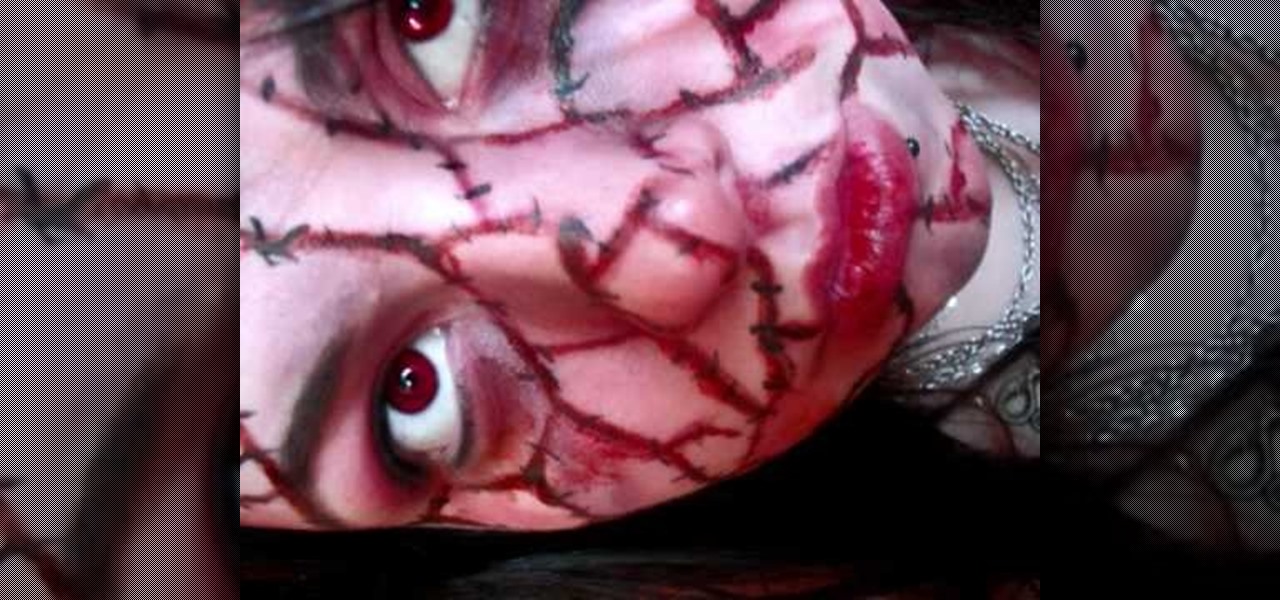
In order to do a bloody makeup look for Halloween, you will need the following: deep red blush, deep shadow Mac paints, eyeshadow, contour shadows, theatre blood, and eyeliner.

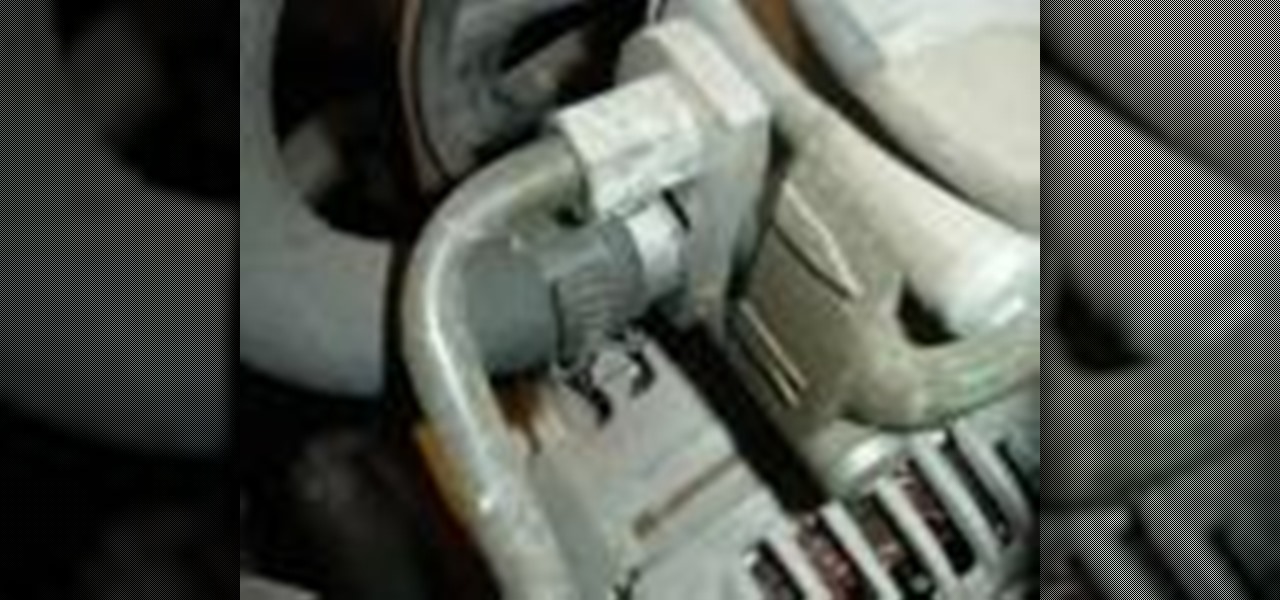
In this video tutorial, viewers learn how to solve power steering moans. Users will need a vacuum pump. Begin by filling reservoir about half way full. Then draw a vacuum of approximately 20"/Hg and let the vacuum sit for 5 minutes. Now recheck the fluid level in the reservoir. Continue this process until the fluid level remains stable. Then top off the fluid level to the "cold" mark of the reservoir. Start the car to check if there are bubbles. Apply for vacuum if there are bubbles. If there...

In this video, we learn how to apply false eyelashes. First, take your eyelashes and pull them down off the container, then wiggle the spine and make sure they will fit your eyes. Next, put some eyelash glue onto the back of your hand and then apply the glue to an eyeliner brush. Once the glue becomes tacky, add on your fake eyelashes. Use tweezers to push the eyelashes onto your eyelids and push them in until they have stuck to your eye. Let the lashes dry for several minutes, then cover up ...

In this video tutorial, viewers learn how to build a green screen. The materials required for this project are: two 10 ft long PVC pipes, measuring tape, saw, duct tape and pipe elbows and couplings. Begin by marking the two PVC pipes with 6 ft on one side and 4ft on the other. Then cut the PVC pipes in half. Now connect the frame together with the pipe elbows and couplings. Build support to the fame by adding some duct tape. Finish by attaching the green cloth on the frame and tape it at the...

In this video tutorial, viewers learn how to draw curves like an architect. The first way is to use circle and oval shaped templates. When using the template, push down on it firmly and carefully picking the template back up to not smear the pencil marks. If the template does not come with a raised backing, use some built-up tape for leverage. Never use permanent markers with the template, work with dirty hands or cut with the template. Users can also use French curve templates and compasses....

In this tutorial, we learn how to build a backyard patio. First, determine the location keeping in mind other buildings and landscape features. There should be a retaining wall around the patio so measure out all the different dimensions. Position a cap block at the highest center location. Then, use a level to transfer the patio height over the proposed location. You will then have to figure out how many blocks you need. When you calculate your digging depth, take into account your foundatio...

In this video, we learn how to do makeup like Lady Gaga from the "Bad Romance" music video. To begin, apply ivory foundation all over the face with a foundation brush. Now, blend the makeup out with a sponge then apply a finishing powder. Next, apply a pink and white eyeshadows that are both pale on the entire eyelid up until the brow bone. Once you get to the lid, put on a brown color to the upper eyelid above the white eyeshadow. Now, apply the white eyeshadow to the bottom of the eye and a...

Mark Duncan teaches us how to make mustard crusted pork tenderloin dinner in this tutorial. You will need: 1 cup scallions, thyme, 1/2 cup chicken broth, 4 cloves garlic, salt, pepper, horse radish flavored Dijon mustard, 10 oz pork tenderloin. First, put all your ingredients except the chicken stock and pork into a food processor to make a sauce. Now, place your tenderloin in a baking dish and put the chicken stock and sauce on top of it. Now, place into the oven for 35-40 minutes and when f...

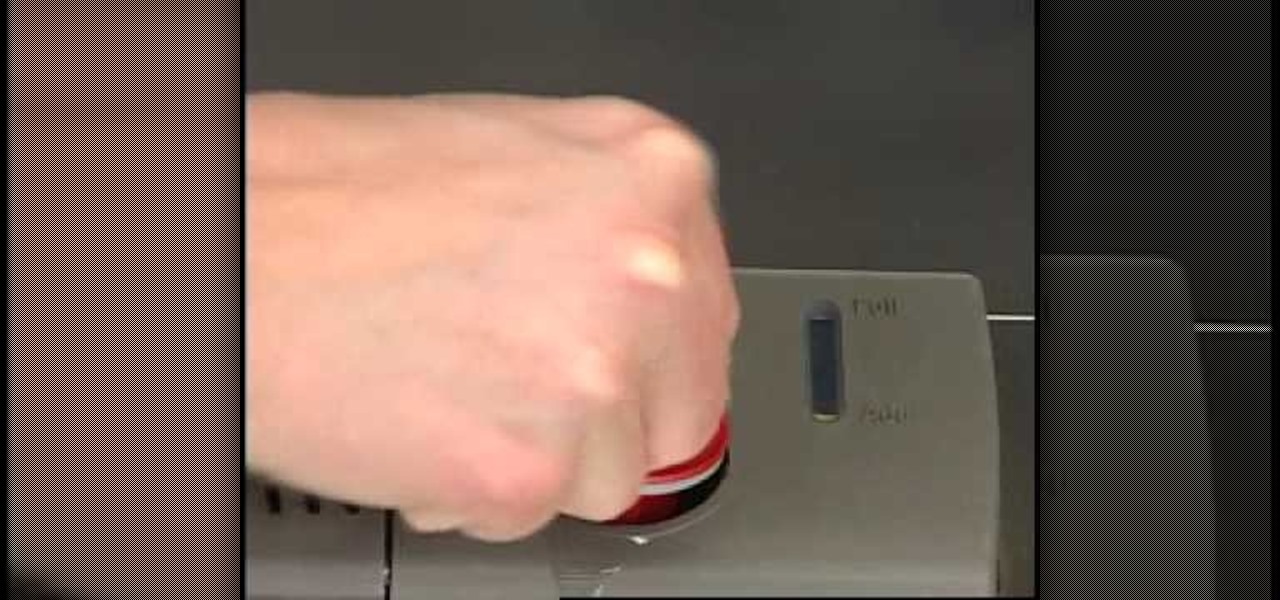
If you've never used a dishwasher before, you're about to fall in love with a machine that makes washing dishes easy. One of the main features of owning a dishwasher is it's ability to rinse the dishes to make them nice, shiny, and clean. A rinse aid dispenser is used to store a cleaning product that can prevent streaks or marks from appearing on your dishware.

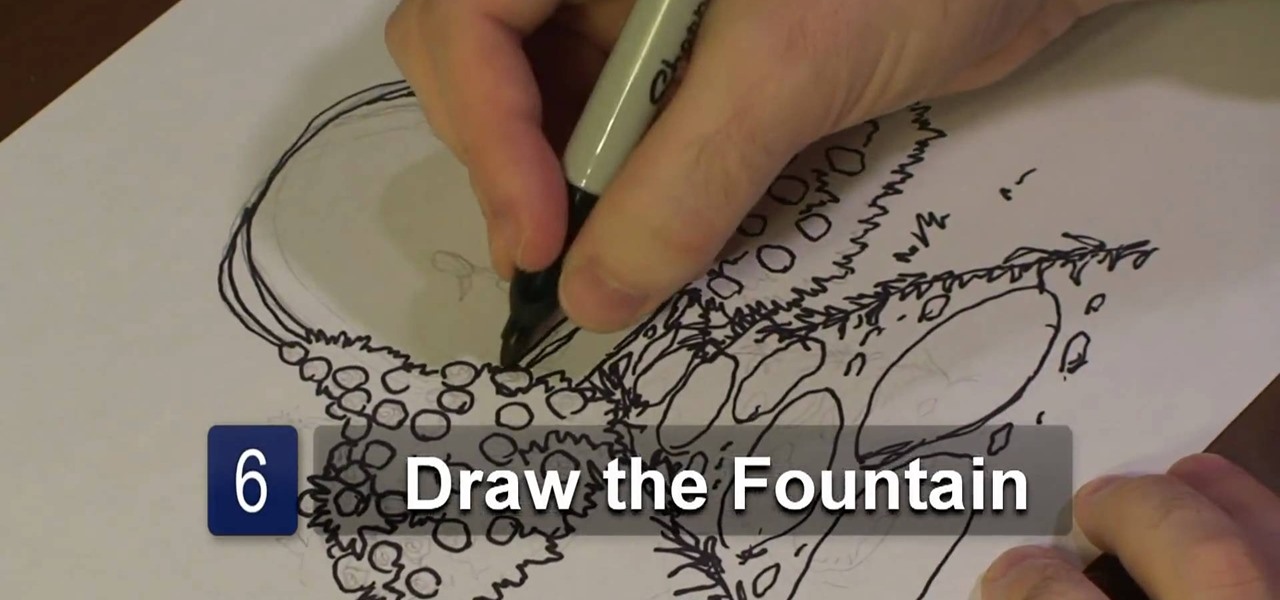
In this video tutorial, viewers learn how to draw a rose garden. Begin by marking the locations of the objects, such as the pathway and the arch. Then draw the rosebushes surrounding the path and arch. The bushes only need to be drawn with cross hatching or quick lines. They don't need too much detail. Then add some circular boxes into the bushes as the roses. Now draw some grass around the pathway and stones in the pathway. In the center of the arch, add the center fountain piece. Finish by ...

In this tutorial, we learn how to clear an internet cache with Don Schechter. First, you need to click on the start menu, then find the "run" link. Type in "Msconfig", then click "ok". Now, click on the "general" tab, then click on the button next to "selective startup". Now, unclick the check marks next to "process systyem.ini, process win.ini, and load startup items". Click "ok", then restart your computer. Now, go to the "system tools" program in your Control Panel and select the file you ...

If you plan on remodeling your bathroom area, th videos in this tutorial, should be able to help. Replacing an old sink that has developed stains or other marks is a great way to help spruce up your bathroom area. This tutorial will help show you how to install an undermount sink in your bathroom easily. Now, this may not apply to all sink so make sure you have the right tools and equipment needed. Good luck and enjoy!

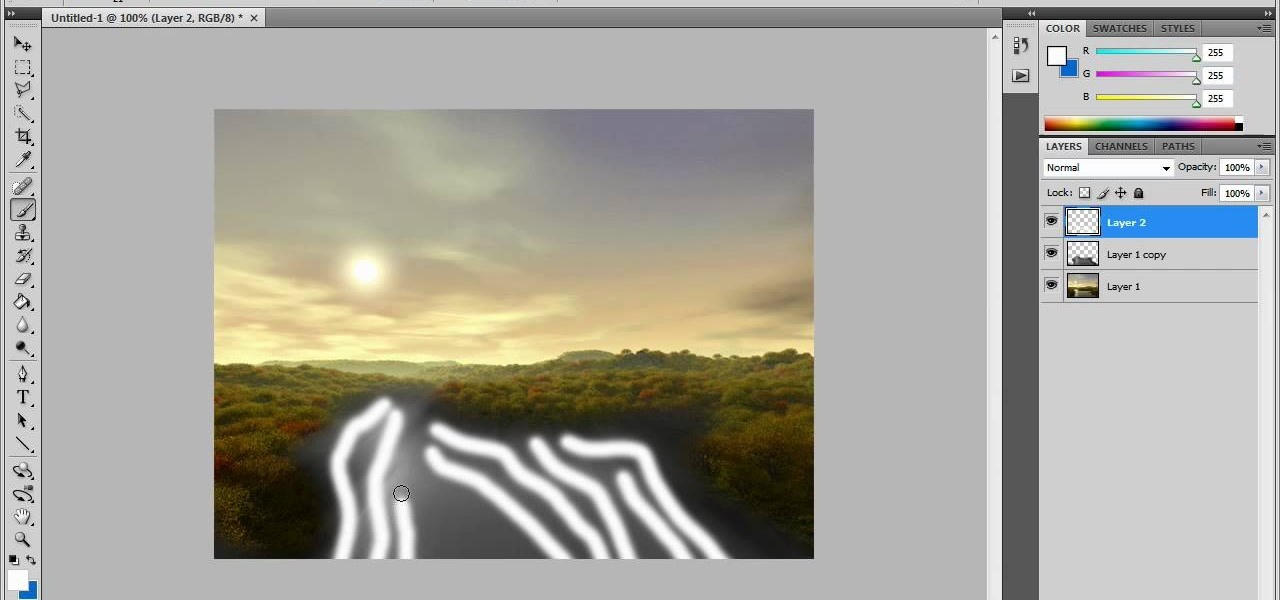
In this video tutorial, viewers learn how to create fog using Adobe Photoshop. Begin by importing the image into the program and duplicate the image. Now go to Filter, select Blur and select Radial Blur. Set the amount to 100, Blur Method to Zoom and Quality to Best. Now select the rectangular marking tool and select the sky. Then open the Hue/Saturation menu and set the Saturation to -100. Use the eraser tool to remove the gray from the edges. Now use the paint tool and paint white streaks o...

In this how-to video, you will learn how to draw a human skull. First, start off with the main outline of the skull. From here, add the eye and nose sockets. Next, redo the outline of the skull to give it more texture. You can do the same for the holes. From here, add the teeth and the jaw lines of the skull. You can start adding in details such as the shading of the sockets and the jaw. Erase the old outlines to fine tune the skull. You can also add details such as cracks and texture marks. ...

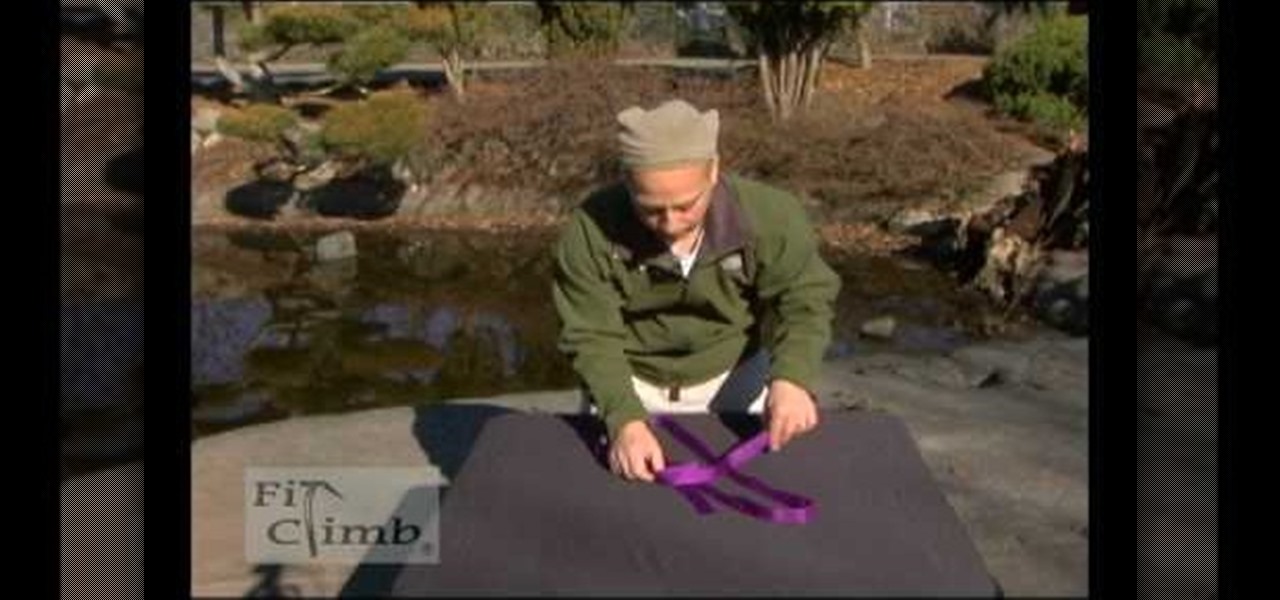
Webbing is not only used in sports like rock climbing and caving, but it also comes in handy in camping and hiking. This video shows you how to tie two webbing ends together to make a loop that will not come off. A square knot does not work for webbing as it will slip through, therefore a water knot is used. Take 4 inches (10 cm) from one marked end and tie an overhand loop. Ensure that the webbing is not twisted. Slip the other end in the knot and trace the second end around the overhand kno...

Curly hair is notoriously difficult to style and cut. Sure, when you wear the hair curly, it is very easy to hide an uneven hairdo, but what if you want to straighten it out? If you would like to cut a cute layered look that you can wear when your hair is straight, you will need to follow these tips for cutting curls.

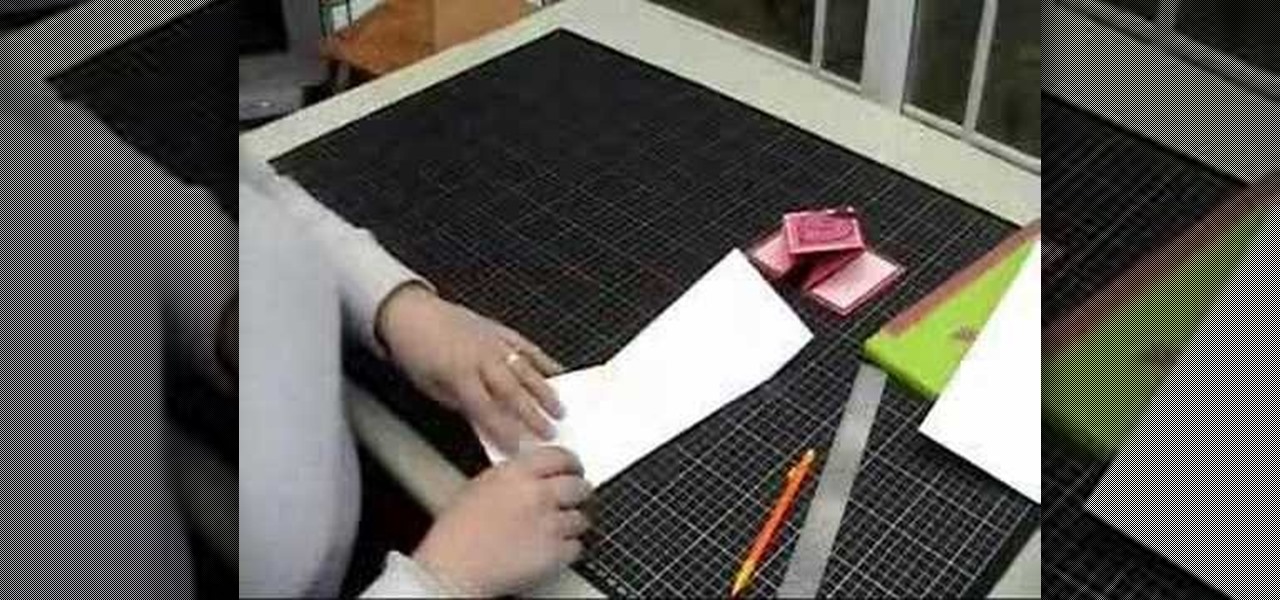
In this Arts & Crafts video tutorial you will learn how to make a diamond folded card. Get a sheet of paper 4x12 inches. Draw a pencil line at the half way mark, that is, at 6inches. Fold one of the lengths to the center pencil line. Do the same to other half of the paper. Open up the sheet and do the same fold in the opposite direction. Open up the paper and flip it over and you will see the diamond fold in the center. Now you fold from each side up to the cross where the diamond begins. Fli...

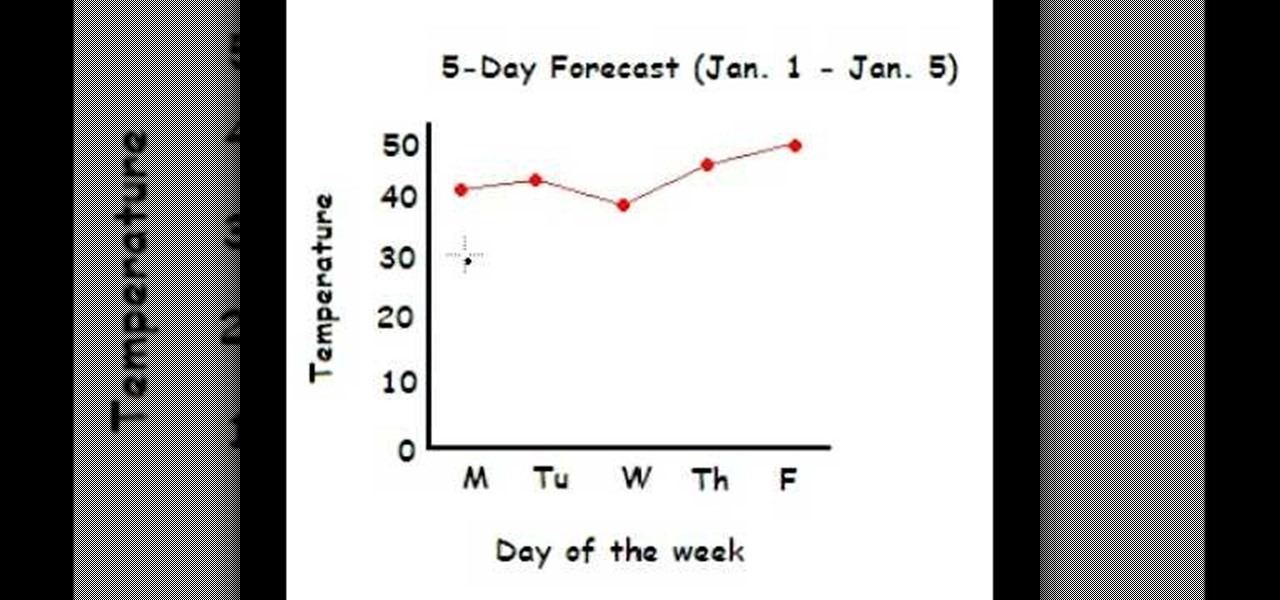
This video shows the method to make a line graph. First step involves drawing a horizontal and vertical line joined at one end. We have to plot the maximum and minimum temperatures during 5 days. Label the vertical with the temperatures(10, 20, 30...50) and the horizontal line with the days of the week(Monday....Friday). Label the vertical line as 'Temperature' and the horizontal line with 'Day of the week'. Plot the temperatures selecting the day from the horizontal line and marking at the c...


