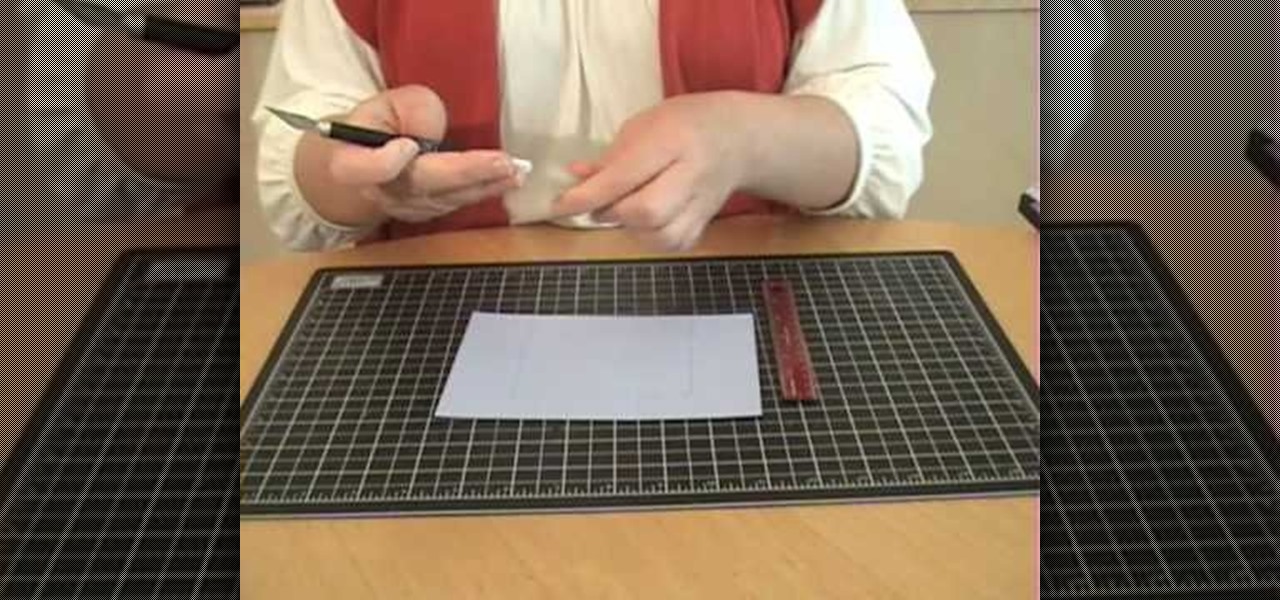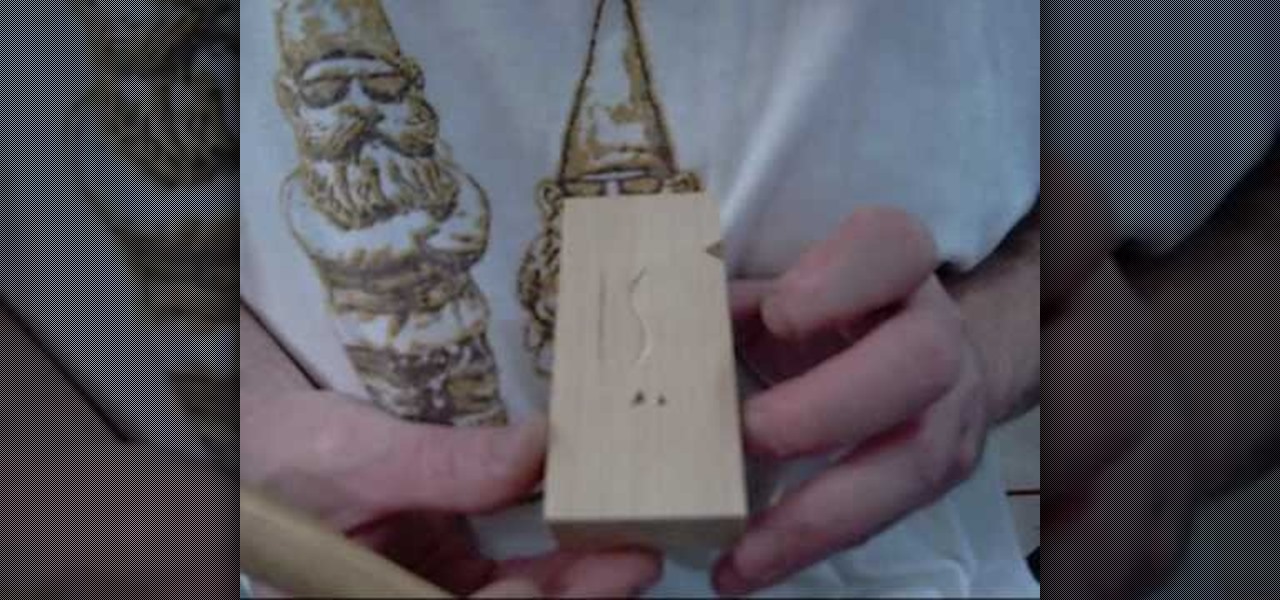
In this tutorial, we learn how to begin using a woodcarving knife. Before you go into the detail, you will want to make sure you have it carved right. The carving all starts in the block of the wood. There will be a couple initial cuts that you will do with a knife after marking the wood with a pencil. Do repetitive cuts to get the right shapes. Also do an 's' curve and hit the lines right. If you want to make this look like a v-tool then you just need to make it with your knife. Have fun and...
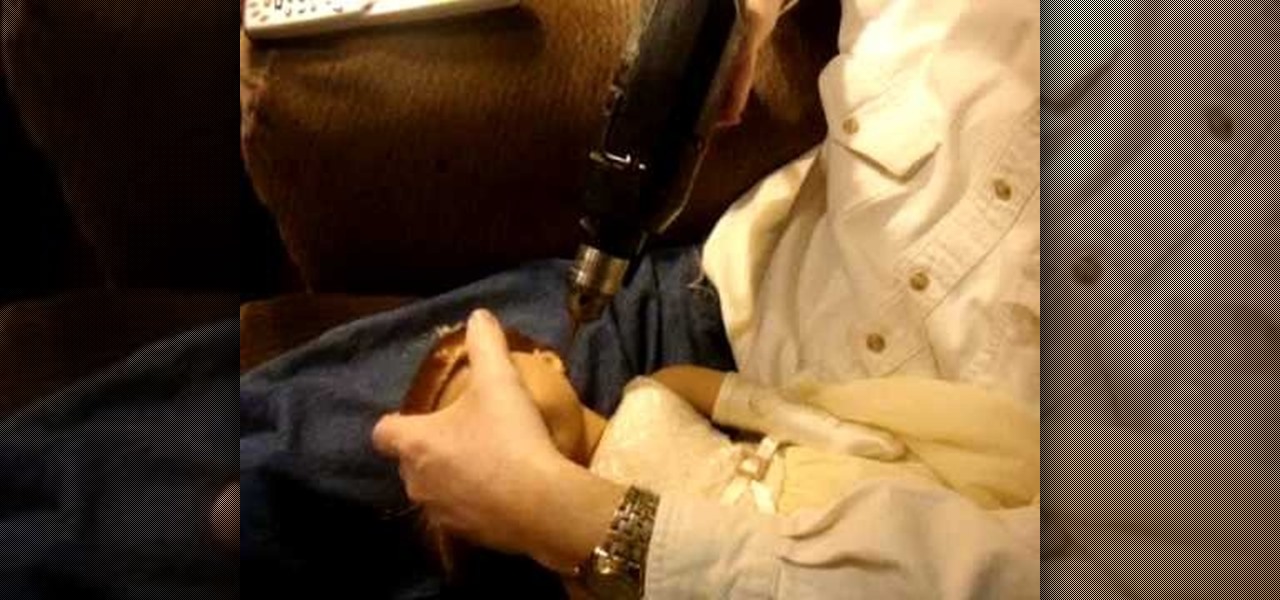
In this video, we learn how to pierce your American Girl dolls' ears! Start out by taking a pencil and marking the ear where you want to pierce it at. Then, take a thumb tack and poke it through the ear where you marked it with the pencil. Then, pull it out and do the same process to the other ear. To help, pull the hair up in a ponytail so the hair is out of the way while you're doing this. Next, give the doll to an adult and grab a #42 drill bit. Put the drill into the same hole and then ge...

In this tutorial, we learn how to draw bat/demon wings. Start out using a light pencil marking to make the outline of the wings. You will want to draw wispy lines and make them light to create a light effect on the ends. Once you have the outline finished, use a hard pencil mark to draw over it. Create large wings with hard edges and mark in lines along the middle and the edges of the wings. After you have done this, make sure there is another wing on the side of the wings and then shade to f...
This video tutorial is in the Home & Garden category where you will learn how to install a kitchen backsplash with glass tile accents. A tile can be attached to walls with the help of mastic. It doesn't require mixing and it is stronger than mortar. Before applying mastic, sand the wall surface lightly. Don't sand away the paint. Clean the surface with damp cloth. Layout the tile pattern below the space and measure the dimensions. Do the marking on the wall of the centerline. Apply a thin lay...

In this video tutorial, viewers learn how to make a pinhole lens for a digital camera. The materials required for this project are: a camera body cap, X-acto knife, black tape, small drill bit, sewing needle and sand paper. Begin by marking the center of the body cap . Then drill a hole in the center and punch a tiny hole in the center of the sheet metal. Now cut around the sheet metal and sand it flat. tape the metal piece inside the cap and darken it with ink. This video will benefit those ...
In this tutorial, we learn how to make a paper football for 1 dollar. First, grab your paper and fold it in half length wise. Next, make sure the crease is nice and clean, then fold it length wise once more. Now, fold one of the corners up into a triangle shape, marking the crease exact. Fold this up again and keep doing this until you get to the end. Once you reach the end, fold the other end in twice into the pocket you see. Crease this, then stand it upright and flick it with your other fi...

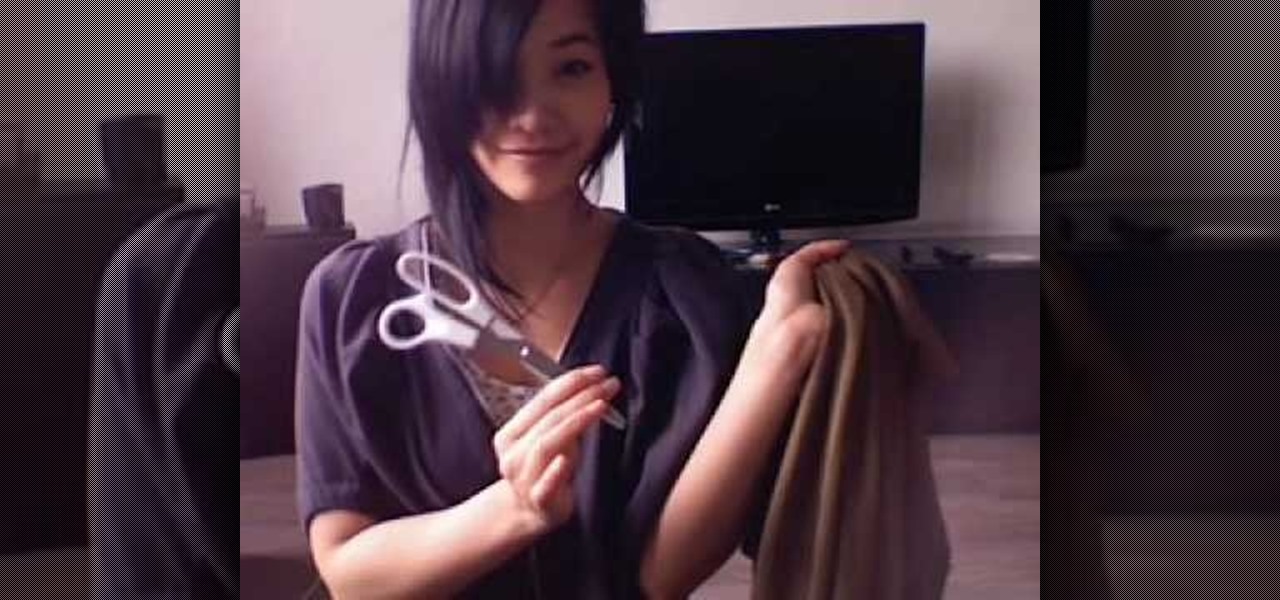
This video shows us how to make a DIY long vest out of a scarf in no time! You will need: a wide scarf, matching thread, other colored thread, safety pins, needles, and scissors. First, measure yourself shoulder to shoulder and add 15cm to that number. Next, measure 30cm on each side from the very middle of the scarf. Now, mark that spot with a safety pin and measure out another 30 cm on both sides, marking those spots as well. Now, bind the last two safety pins and sew from the bottom up to ...

In this video tutorial, viewers learn how to build a green screen. The materials required for this project are: two 10 ft long PVC pipes, measuring tape, saw, duct tape and pipe elbows and couplings. Begin by marking the two PVC pipes with 6 ft on one side and 4ft on the other. Then cut the PVC pipes in half. Now connect the frame together with the pipe elbows and couplings. Build support to the fame by adding some duct tape. Finish by attaching the green cloth on the frame and tape it at the...

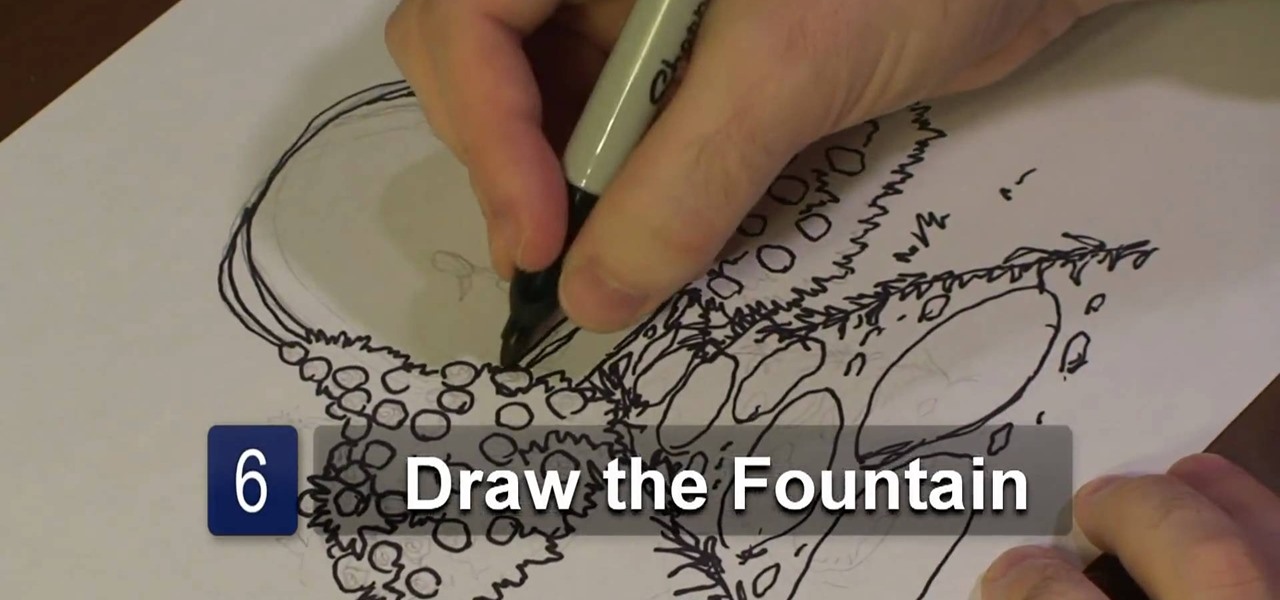
In this video tutorial, viewers learn how to draw a rose garden. Begin by marking the locations of the objects, such as the pathway and the arch. Then draw the rosebushes surrounding the path and arch. The bushes only need to be drawn with cross hatching or quick lines. They don't need too much detail. Then add some circular boxes into the bushes as the roses. Now draw some grass around the pathway and stones in the pathway. In the center of the arch, add the center fountain piece. Finish by ...

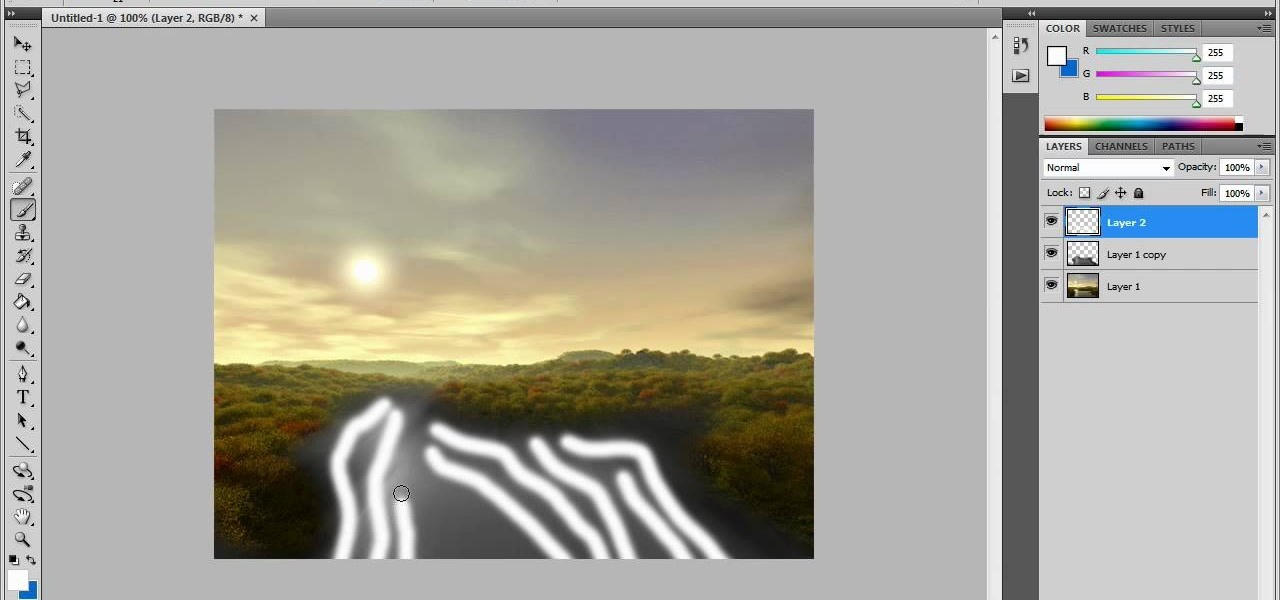
In this video tutorial, viewers learn how to create fog using Adobe Photoshop. Begin by importing the image into the program and duplicate the image. Now go to Filter, select Blur and select Radial Blur. Set the amount to 100, Blur Method to Zoom and Quality to Best. Now select the rectangular marking tool and select the sky. Then open the Hue/Saturation menu and set the Saturation to -100. Use the eraser tool to remove the gray from the edges. Now use the paint tool and paint white streaks o...

This video shows the method to make a line graph. First step involves drawing a horizontal and vertical line joined at one end. We have to plot the maximum and minimum temperatures during 5 days. Label the vertical with the temperatures(10, 20, 30...50) and the horizontal line with the days of the week(Monday....Friday). Label the vertical line as 'Temperature' and the horizontal line with 'Day of the week'. Plot the temperatures selecting the day from the horizontal line and marking at the c...

This is a video about how to make a greeting card in circle shape. First take the card and fold it into half. Next take the colluzle and place it on the card. Mark a circle using colluzle on the card. Cut the card on the marking and leave some space at the folding of card. Take the design paper to place on the card. Next cut the design paper in round shape. Make sure that the shape should smaller than the card you have already prepared. Next stick the design paper to card. Next take one ribbo...

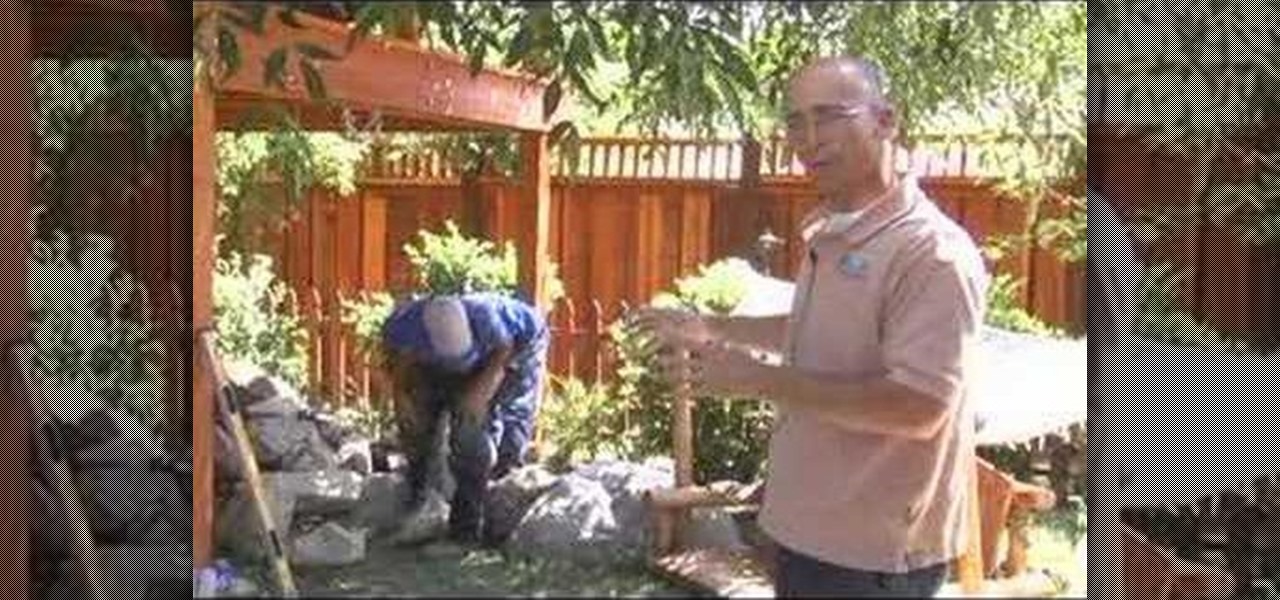
Chad from California Waterscapes takes you through the steps of installing a backyard pond. He begins by marking the location for the pond and stream using spray paint on the ground and by laying out the necessary equipment: the skimmer box and the waterfall unit. After digging out the pond Chad uses a laser level to determine the water level and place the skimmer box at this level. After all debris has been removed from the pond the underlayment and liner is placed in the pond followed by ro...

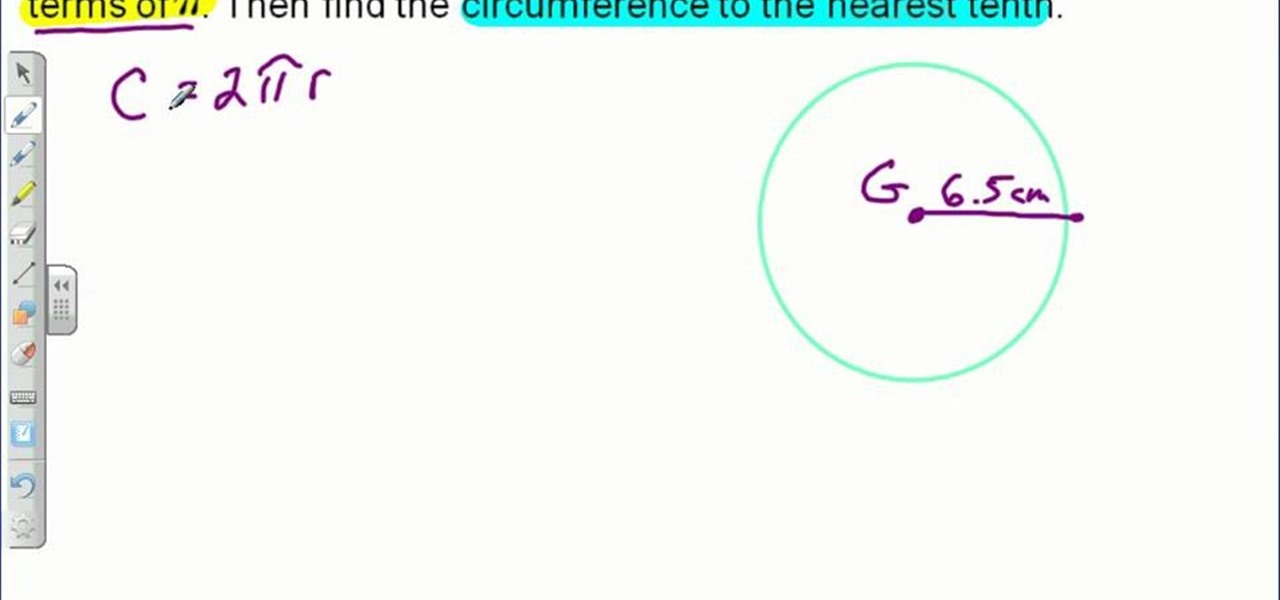
This video teaches us the method to find the circumference of a circle given its radius. The video tells us to find the answer in terms of pi and also to the decimals value. The formula to find the circumference is two times the product of pi and the radius. The first step involves the drawing the circle and marking the radius. The radius of the circle in the video is 6.5 cm. Now use the formula to find the circumference. Substitute the value of the radius in the formula of circumference. We ...

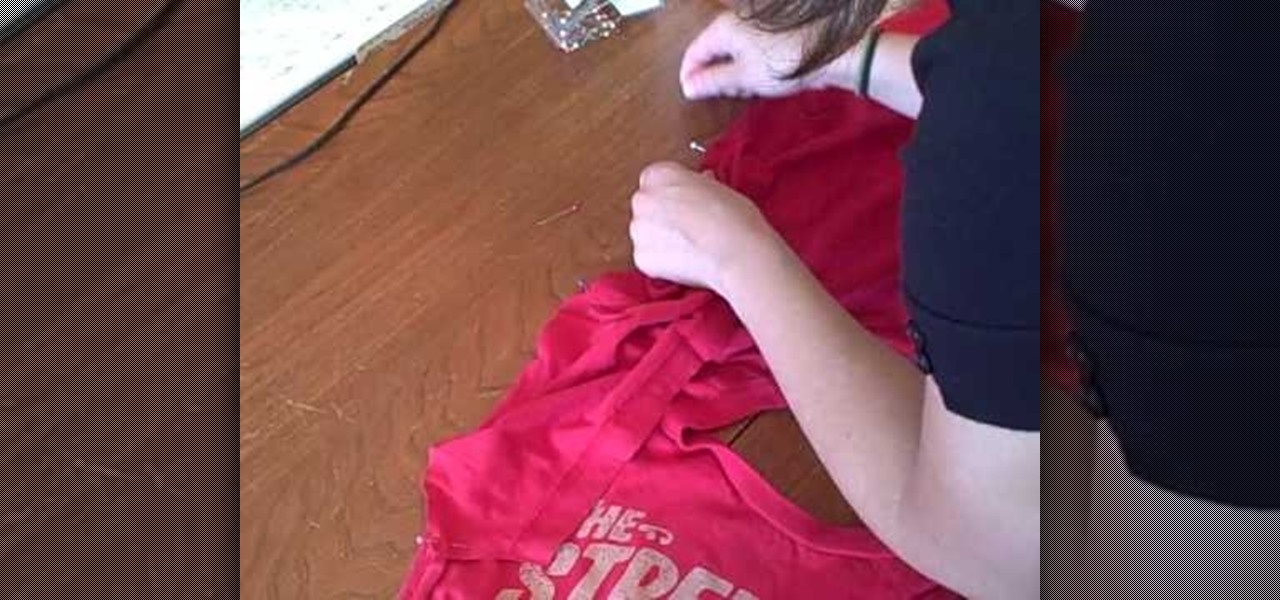
The young lady in this video describes to the viewers how to make "Puffed Sleeves". You can use shirts, jackets, men's' shirts, ladies shirts, just about any shirt to make these on! She starts out with 2 ladies shirts, one oversized and one fitted. She also gathers scissors, thread, straight pins, a marking pencil, paper to trace the pattern on and paste. She then demonstrates how to cut the pattern by tracing the outline of the sleeve onto the paper, how to pin the shirts using the straight ...

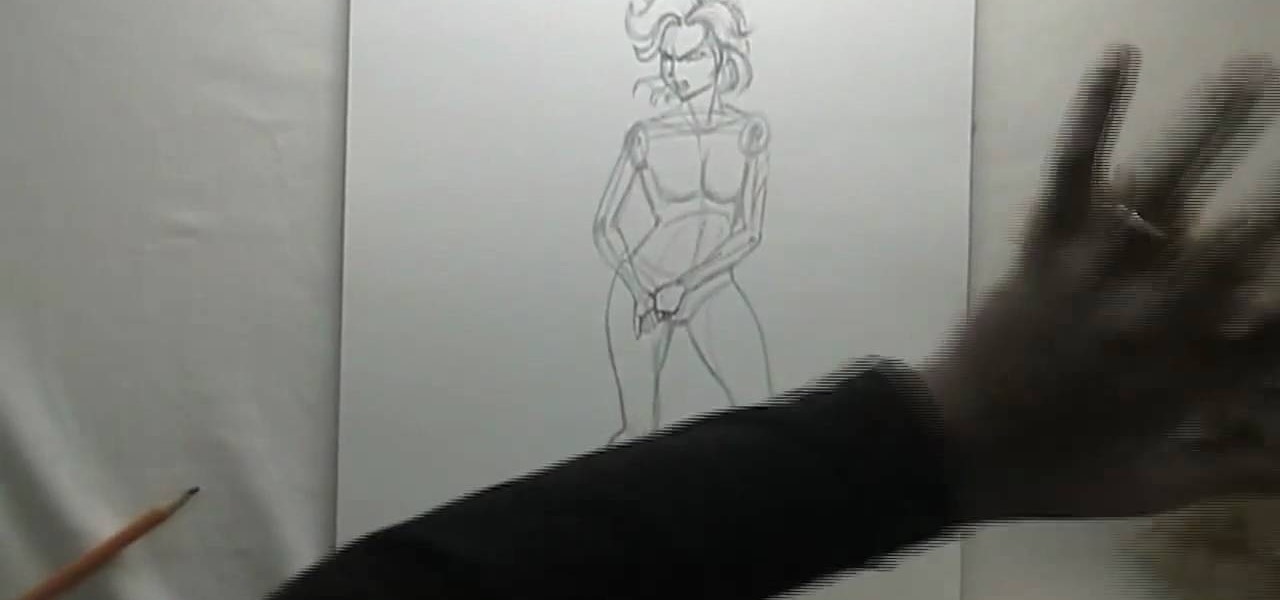
This video goes back to basics, using regular pencil, pen and colored pencils to create a manga female figure. He begins by drawing basic lines and shapes of the torso with pencil, then adding legs, arms and marking the joints. He adds detail to the body and fills in the shapes of the muscles. He then adds the head shape and fills in the facial details and hair before adding detail to the hands and fingers. He continues with the clothing, before going over all the lines with a black ink pen. ...

This video shows you how easy it is to cut and make holes in cement backer board. The first thing you want to have is safety glasses to protect your eyes. To make a punch out hole you have to draw an outline of the hole with a pencil or pen. Use a drill to make several holes inside your outline. A jigsaw will cut out your punch hole. Push the punch hole out. Make a straight cut by marking the front of the board with a pen and a straight edge and use the scoring knife along the straight edge t...

Melissa Watson from DIY Style shows a way to restructure and re-style something that you already have plenty of, a t-shirt, in this how-to video. Add ruffles and rouching to transform a plain tee into something a little more eye-catching. You will need thread, a ruler, elastic, shears, a marking tool, a tissue-knit fabric, straight pins, and a t-shirt. Watch this video design tutorial and learn how to fashion an old t-shirt into something more stylish.

In this tutorial, we learn how to make a long drawstring skirt. You will need: knit stretch fabric ( 1.5 yards), safety pin, scissors, marking tool, and measuring tape. First, measure your hips and decide if you want your skirt to be tight or loose. For a tight fit, you want 2 inches of ease and for a loose fit, you will want 3-4 inches of ease. You can now decide how long you want your skirt to be and add 2 inches to that. Now cut your fabric and fold it in half, then cut it straight down. A...

This video shows how to make a swing or flip card. These are called swing or flip cards because when you open them the middle swings out to show the message. To make the card, you need a piece of cardstock that measures five inches by seven inches. Stamp or emboss the card while it is still whole. Then make two score marks on the long side of your card at two and three fourth inches and four and one fourth inches. Next, measure one and one half inches from each side, toward the middle, markin...

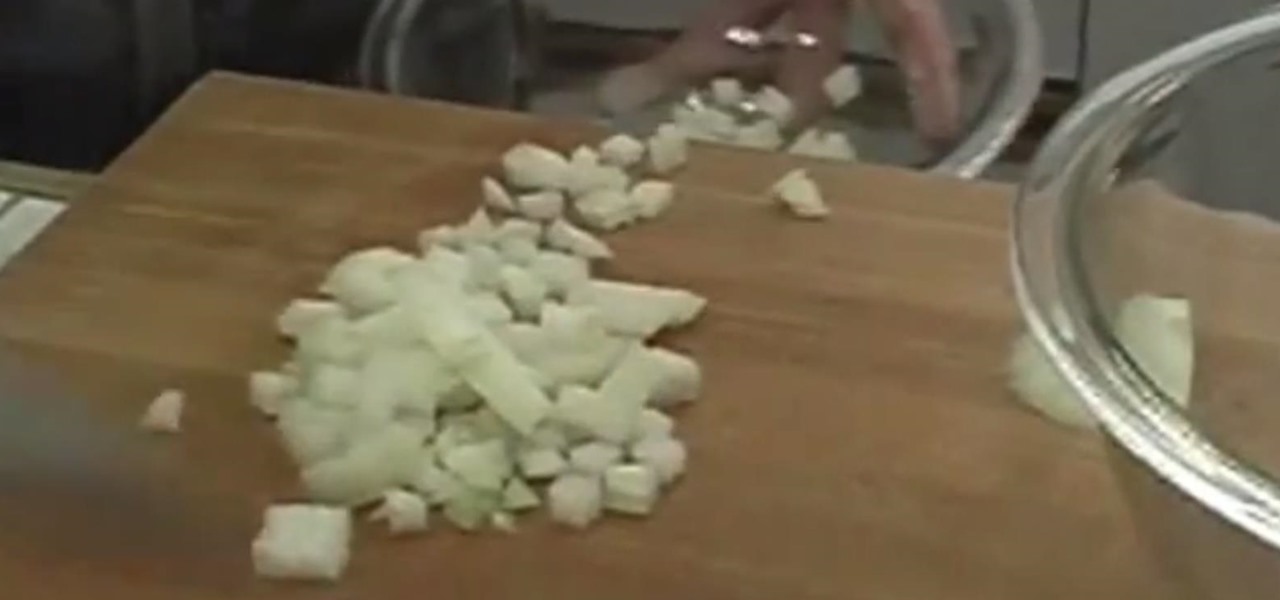
Michael Andrew, from Meals Americana, gives us some interesting tips on dicing an onion without tears.

Mark Nelson shows how to make a very simple ring using a squiggle technique in this video tutorial. You will need 6 inches of 16 gauge silver wire (or whatever type of wire you want to use). You will also need 6 inches of copper wire (16 gauge), which will act as the template. Take the ring sizer and bend the copper wire to make whatever size ring you need. Use clippers to create the template. Use pliers to straighten out this template. Place this template in the middle of your silver wire ma...

In this video from kandeejohnson we learn how to tweeze, shape, and groom eyebrows. Must have tools for this are tweezer, a curved pair of cuticle scissors, an eyebrow brush, and mini razors. First find the dimensions of your eyebrow. Take the eyebrow brush and using the stick part of it and place it on the side of your nose and go straight upwards. Right where it goes straight up is where your eyebrow should begin. So tweeze everything between there. To find the arch, go from side of the nos...

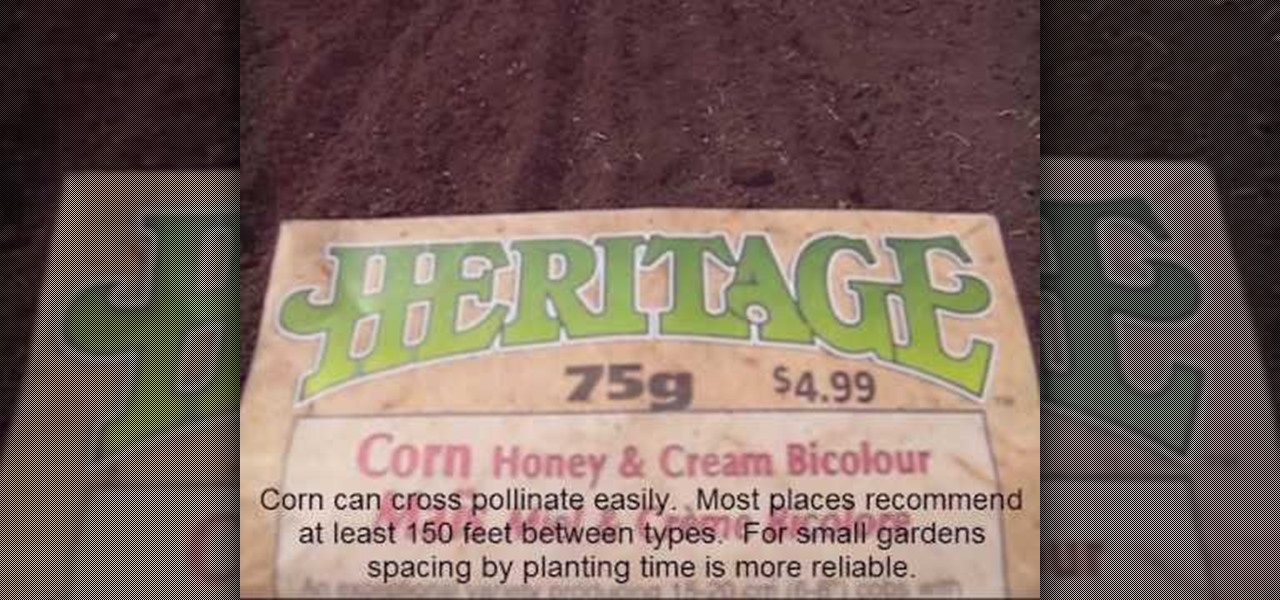
The video demonstrates the process of planting corn in a small soil-patch in your garden. The lady presenting you the video uses a 75g packet of Corn Honey & Cream Bicolor seeds from Heritage Gardens. Be aware that the corn cross pollinates very easily and hence you have to separate the different types of corn by planting time or by distance. The video says that 150 feet distance between different corn types is recommended but in smaller gardens, spacing can be achieved by different planting ...

To make a paper gift box is one of the simplest projects that you can create on your own. In order to do this you need some materials: a Square of Paper, a Pencil, a Ruler & a Folding Bone. Take any size square of paper and draw two lines diagonally from corner to corner. This will form a large X, marking the center of the square. In turn, fold each corner into the center of the square. Firmly crease the fold. Fold the first corner to the line of the first fold made on the opposite side. Repe...

Looking for a new DIY project? Follow the steps in this video to get a great view of big blooms and colorful posies with box planters hung beneath your windows.

Sudoku is a one-rule puzzle game that can be either satisfyingly simple or deceptively difficult. Step 1

This photoshop tutorial demonstrated by Howard from tutcast.com, teaches you how to do amazing glow effects for your work and projects. Everything you need to know from the background you choose to use to editing out the leftovers. You can use any image that you choose to. Start out with the pen tool located on the toolbar on the most left of the screen. Create the initial layer for the glow by clicking now on the new layer icon located on the bottom right. Next, define brush by pressing the ...

It’s time to celebrate! What better way than with a bubbly brunch? You Will Need

Kick up your look by adding dresses you make yourself to your wardrobe. It's simple to create a patter and sew a dress that will fit your exact measurements. You'll be amazed at the differene of having a drees you made yourself makes.

Make a cozy and protective sweater for your laptop. Start with a large sweater you don't want anymore, and assemble a yarn darner, all purpose thread, tailor's marking chalk and scissors. Then follow along and turn an old grandpa sweater into a cute laptop case!

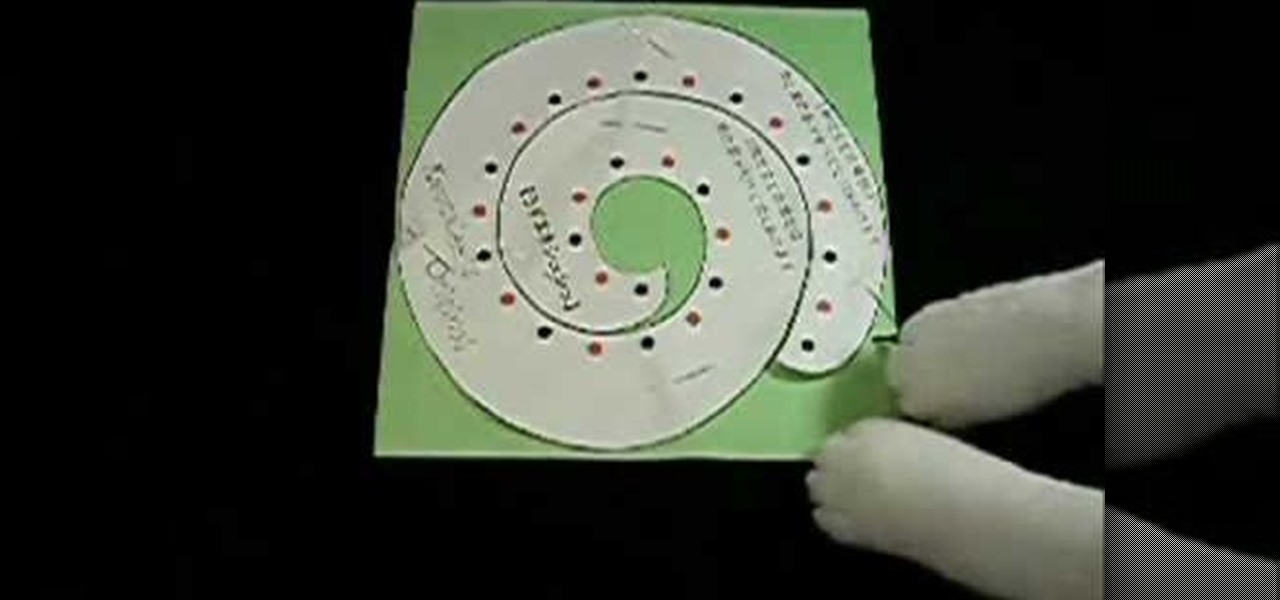
The hair scrunchie in this how-to video is so easy to make, even a cat can do it. You will need a felt fabric square of 20 by 20 cm, an elastic string of 30cm, a cutting punch, a hammer, marking pins, scissors, two big beads, and a cutting mat. Watch this video sewing tutorial and learn how to make a spiral shaped hair scrunchie.

While scrunchies might not be that common a hair accessory anymore, you can make one of your own by following the steps in this how-to video. You will need two satin fabric pieces of 50cm, a sewing machine, sewing thread, a pair of scissors, marking pins, as well as brown and black satin fabrics. It's so easy to make, even a cat can do it. Check out this video sewing tutorial and learn how to make a frilly hair scrunchie.

Staying on the move while managing email is a priority for many of us, from parents to students to business professionals. Seems that Apple had this in mind when improving the stock Mail application in iOS 8, which now includes swipe gestures that make marking messages as read/unread, as well as flagging and deleting, a whole lot quicker.

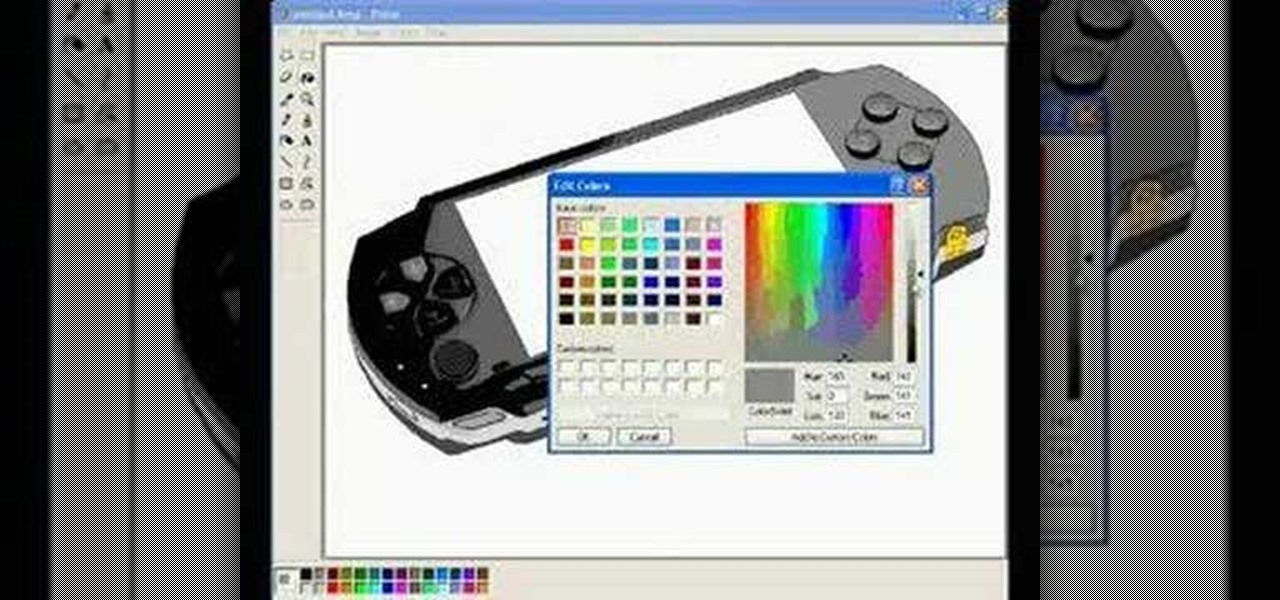
In this tutorial, we learn how to draw a PSP in Ms Paint. First, draw the outline of the PSP with a light pencil marking. After this, draw in the details to the controller. Use details to make the buttons and make them look 3D. After this, you will add in shading to the buttons and around the console. Then, add color to the front of the console in any colors that you would like. After you have added in all of the details you want, you are finished! Save this and then come back to it later if ...

To make a rubber band car you will need one sheet of card stock, four paper clips, two binder clips, one plastic straw, 8 inches of dowel that fits into the straw, two pencils and one rubber band. You will also need four CDs or round pies of cardboard, tape, a ruler and a marking pen. First, unfold the paper clips. Then fold the card stock and attach the paper clips. Cut squares out of the card stock. Then, cut the straw. Attach it to the card stock. Affix the pencils to the card stock with h...

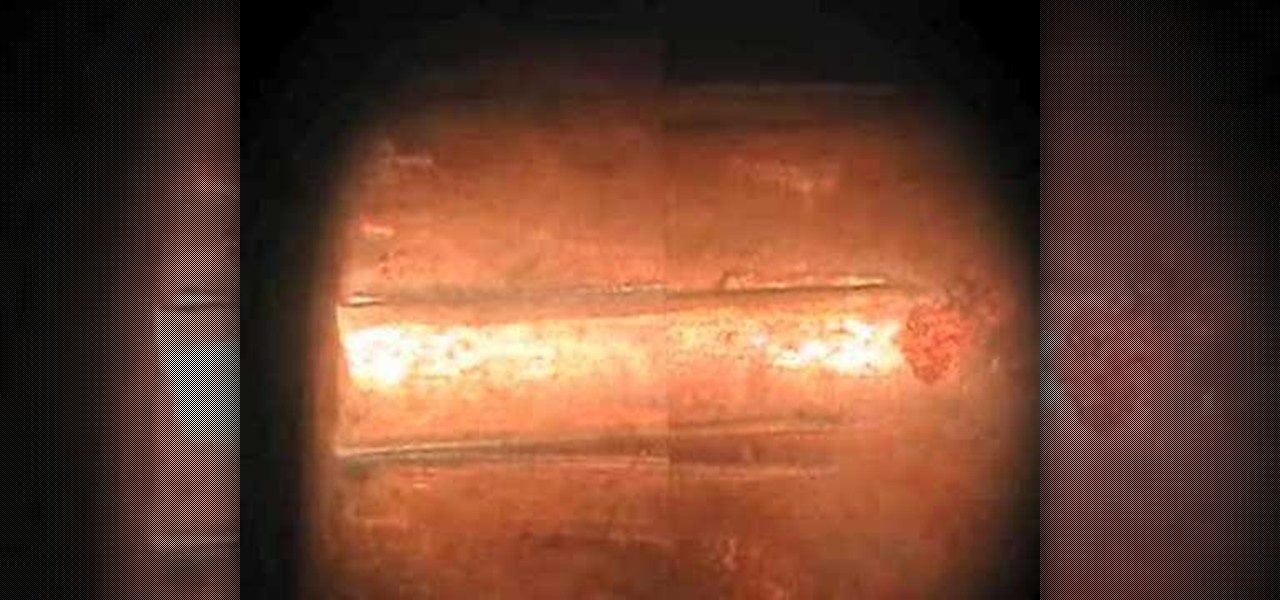
In this scientific video tutorial, undergraduate students in a forensic chemistry lab demonstrate how to use a comparison microscope for bullet and bullet casing comparisons, and color developments tests for impression marking enhancement (such as for filed-off serial numbers). Learn how to perform ballistics comparisons! Just like in CSI.

Home improvement expert Danny Lipford teaches how to cut drywall around outlets Just watch the video tutorial to see how to cut drywall around electrical outlets.

A huge chunk of my life revolves around my computer, and whenever I'm on my laptop and get a text message notification on my phone, I find it extremely distracting to stop whatever I'm doing to hunt it down. That's why I'm a big fan of text messaging via my computer.

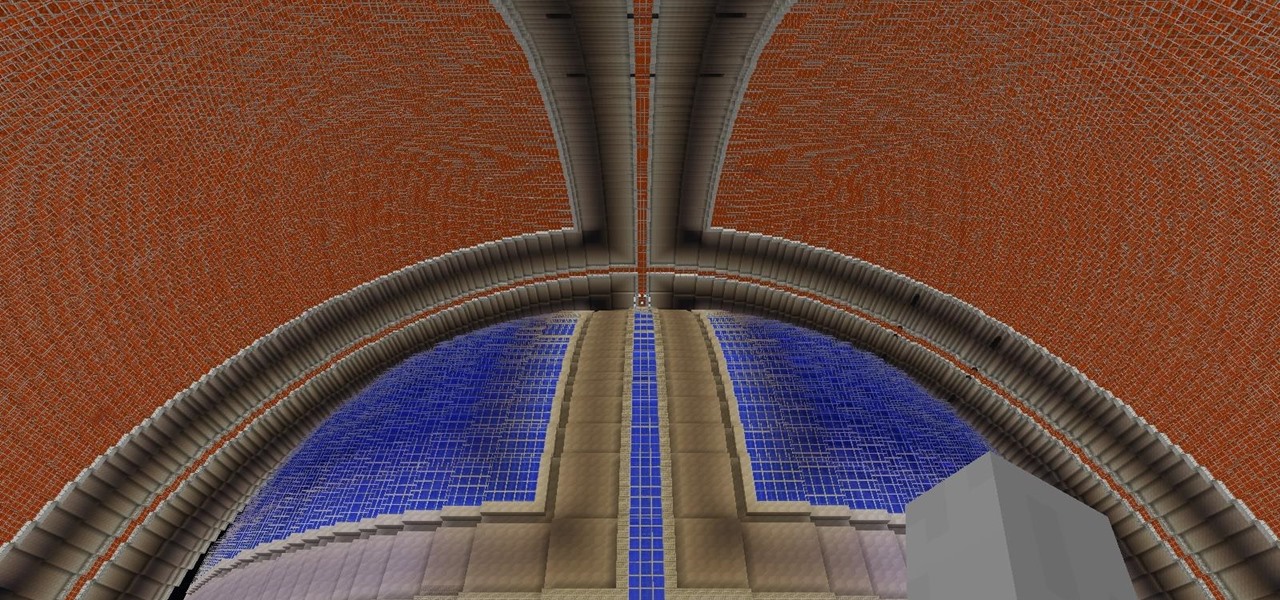
Still working on mega project builds. This one is going into my own PVP server which (will) contain 4 theme'd biomes inside of a 155m sphere - inside of a 255 meter containment sphere inside a 1000m+ void. The outer sphere acts as both artificial sunlight and a drop-death height of 50m. 4 more outer panels to go (water and lava) and it's ready for interior work and redstone - including command-block powered proximity traps that don't have any triggers marking them as well as hidden walls that...


