This image editing software tutorial shows you how to use Dr. Brown's Stack-A-Matic script for Photoshop CS3. Discover the creative wonders of Stack Modes with the Stack-A-Matic script. This script will only work with Photoshop CS3 Extended.
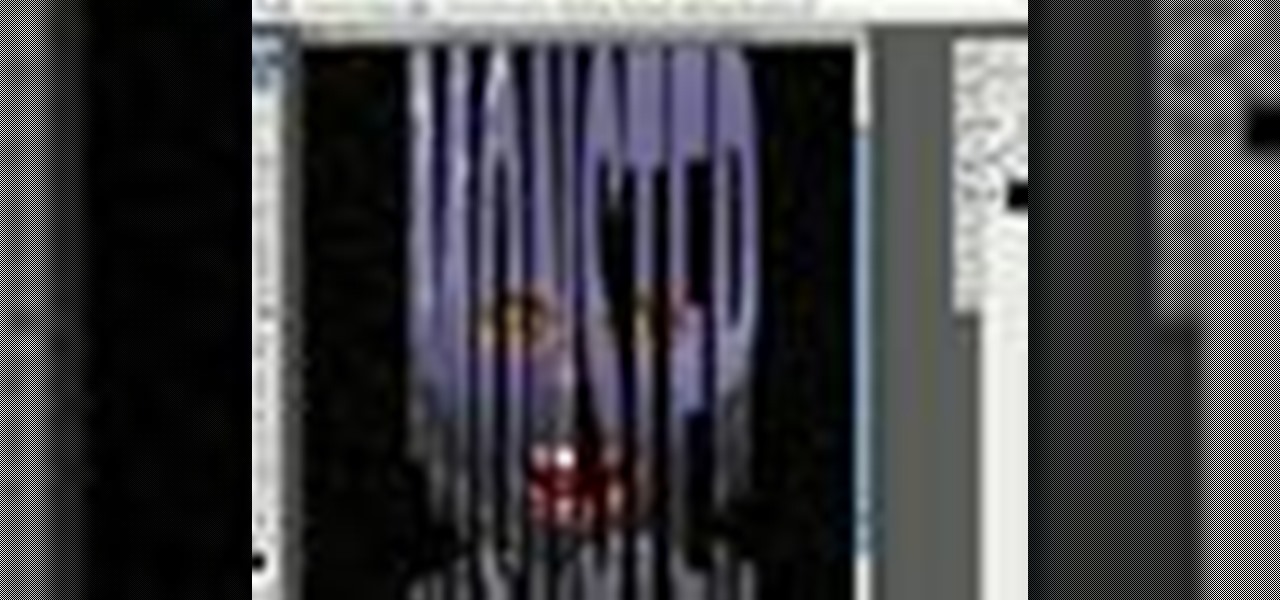
This image editing software tutorial shows you how to use clipping masks on monster images in Photoshop CS3. Discover the magic of clipping masks and how you can create complex masks with this simple technique. Russell Brown shows you how to create Halloween magic right in Photoshop CS3.
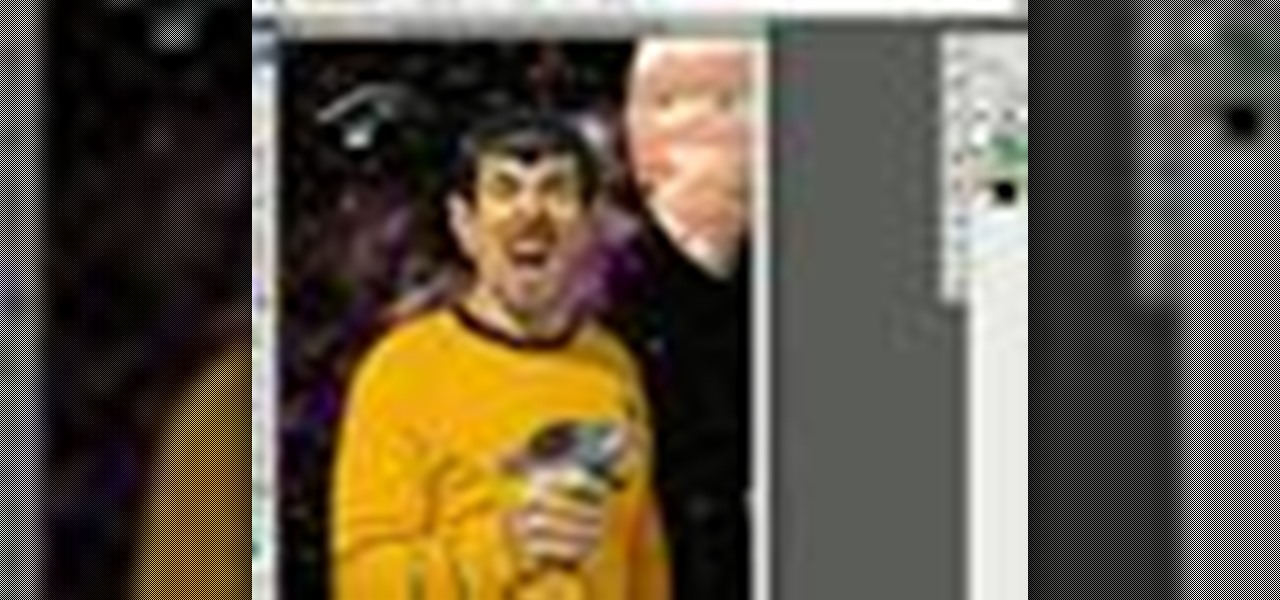
This image editing software tutorial shows you how to extract a green screen background from behind a spock-like monster in Photoshop CS3. Learn how to remove the green spill of light that appears around the edges of images, that are shot against a green screen backdrop. This is an important step in cleanly extracting a background professionally in Photoshop. Especially if you want your monster scenes to look great!
This image editing software tutorial shows you how to work with luminosity in Camera RAW. Delve into the powerful realm of Adobe Camera RAW and learn new techniques for enhancing images with the luminosity controls.
This image editing software tutorial will show you how to create a round, curled sticker in Photoshop CS3. The round, curled sticker is popular for web 2.0 site designs. Creating the growing popular round 'curled' stickers in Photoshop is as easy as watching this how-to.
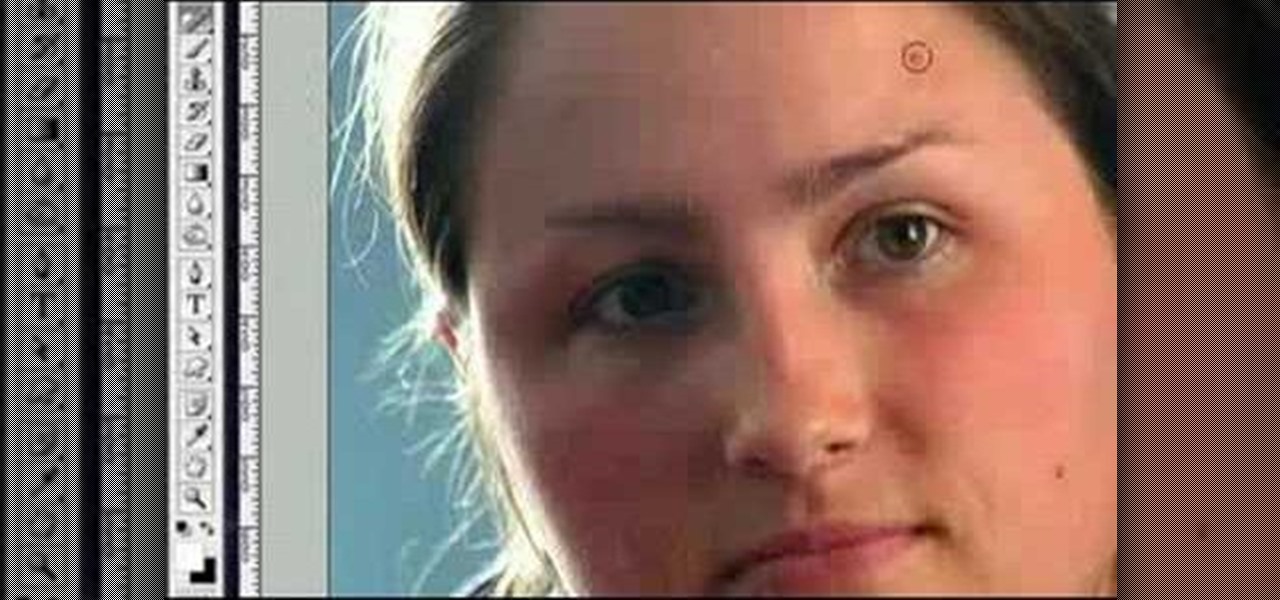
This image editing software tutorial shows you how to use the healing brush tools in Photoshop CS3. Think of them as first aid for your photos! Watch and learn how to use The Clone Stamp, Spot Healing Brush, Healing Brush, and Patch Tool to retouch photos in Photoshop CS3.

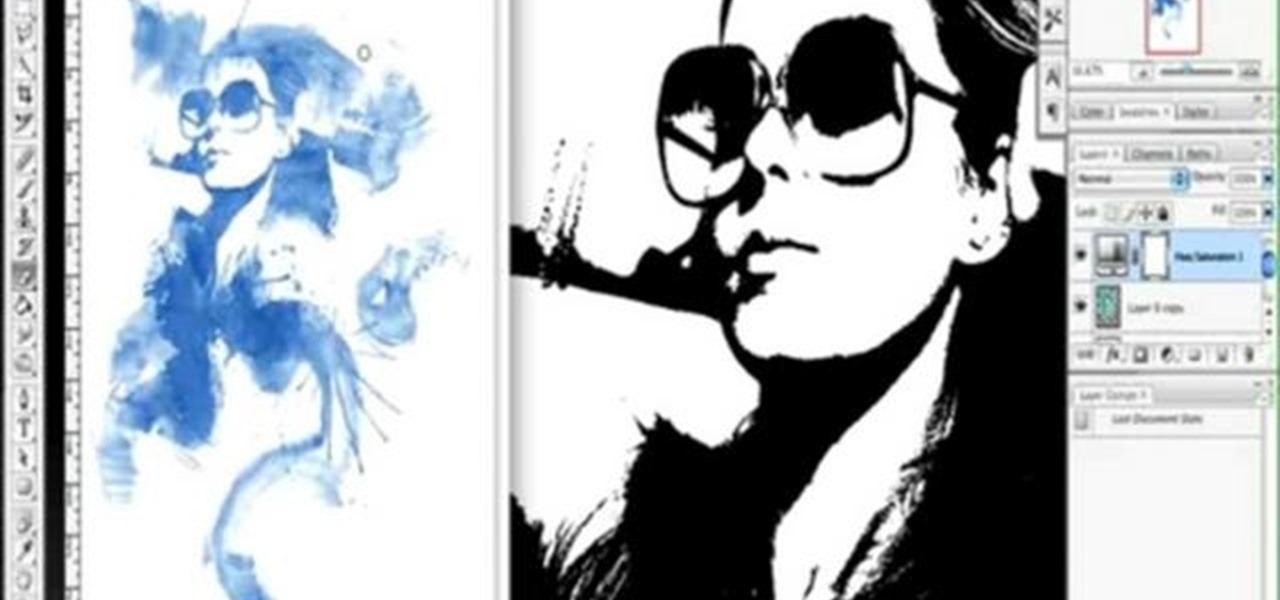
This image editing software tutorial shows you how to create a cool watercolor or ink blot effect on photos in Photoshop. This is a simple and cool effect to make your photos look like they have been painted or made out of an ink/watercolour mark. See how to get painterly in Photoshop.
If you know how to group tracks in Logic Pro, you're going to find it just as easy in Pro Tools. This audio editing software tutorial will show you how to group tracks in Pro Tools. Connor Smith also shows you how to turn them on and off etc. This is a great tutorial for Pro Tools users because grouping is a topic not often covered in books.
Sculpting UV's? Absolutely. You can pre-process a mesh with any modeling tools before you lay down UVs in modo 301. This is an incredible time saver and brings UV editing into the 3rd dimension! See how to UV sculpt in this modo 301 tutorial.
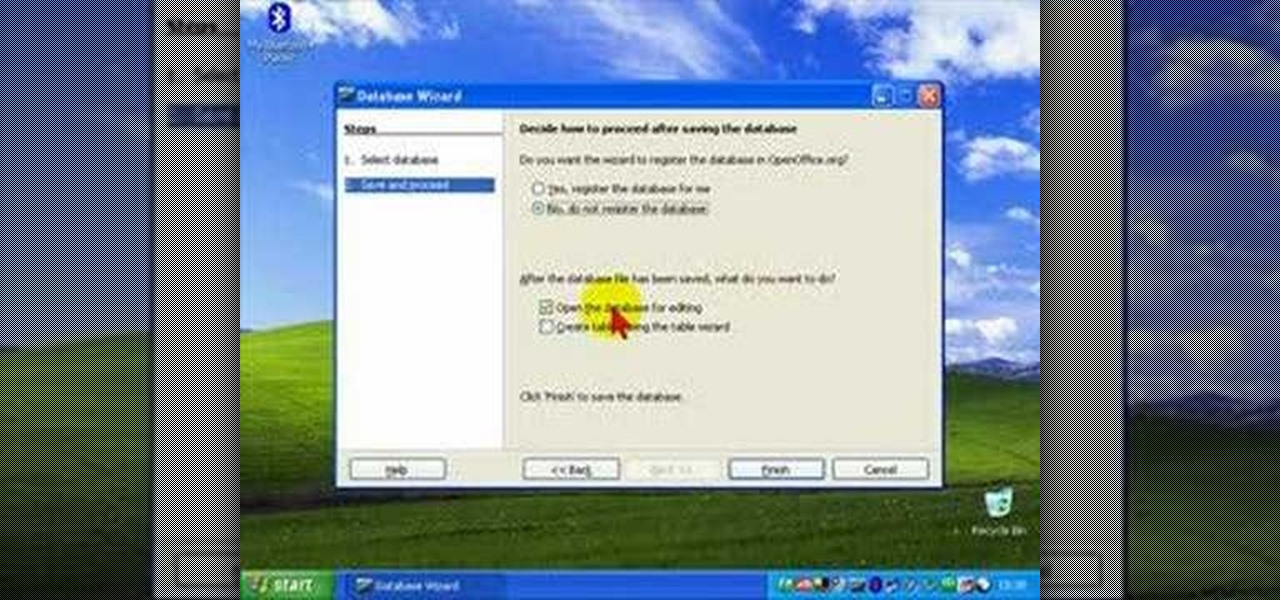
Databases allow you to store data in a systematic and organized format, making it easy for you to search, sort and edit.
By customizing your keyboard shortcuts, you can speed up your image editing work flow significantly.
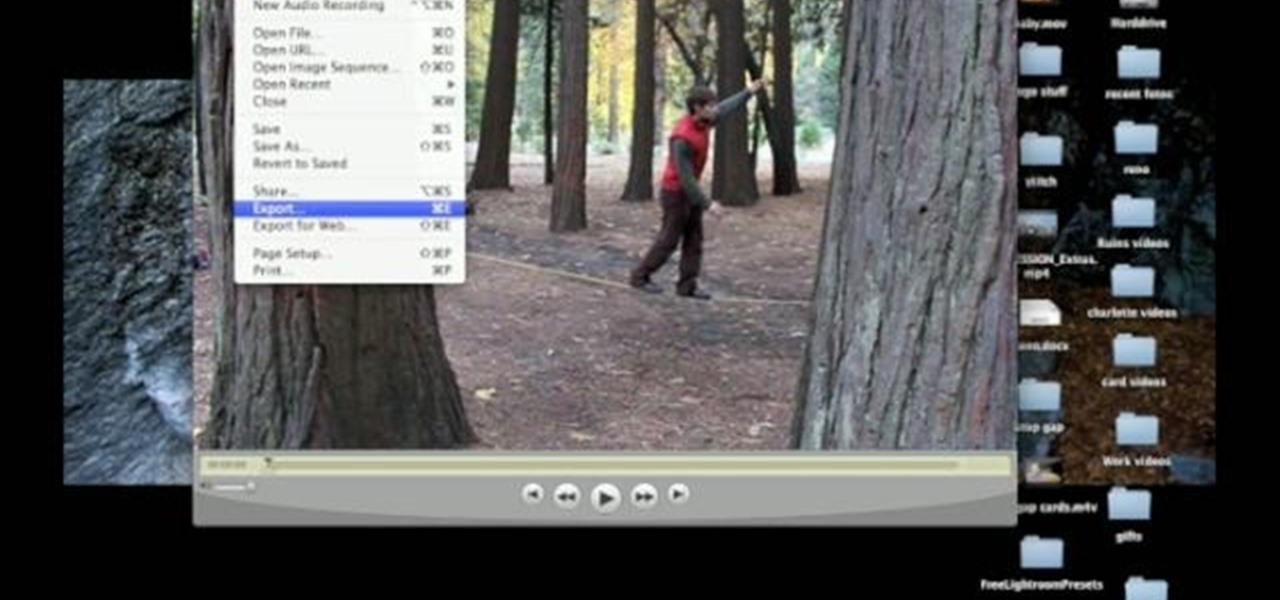
When you've finished editing your images, Aperture lets you export your photos in a number of formats.
With iPhoto, you can add effects to your picture quickly and easily.
One of the great things about recording your podcast episodes with Garageband is how easy it is to edit out your mistakes and add professional radio touches.
When you've finished recording and editing your podcast episode, you'll want to get it ready to publish as part of your podcast series. You can add episode information to your podcast in Garageband. When you've finished, you can export it to iWeb to put it on your website.
Final Cut Express has dozens of provided video and audio transitions, which you can use to smooth abrubt cuts between edit points in your sequence and make your movie more polished and interesting. Transitions are located under the effects tab.
When your edit is complete, or locked, the next step is to fine tune your audio. Adjust the audio levels of your clips to produce a balanced sound mix. In Final Cut Express, you can control audio levels in the timeline and the viewer. You can even add keyframes to make level changes over time.
Audio filters help you create a credible soundtrack. They can remove distracting noises, like the hum of an air conditioner, and add atmosphere, like an echo. Filters are accessed in the effects tab of the browser and organized into two categories: those provided by Apple and filters that come bundled with Final Cut Express. Drag a filter into the timeline and doubleclick it to edit it in the viewer.
LiveType ships with many sophisticated design elements so that you can add movement to your static text. You can access them in the media browser. Choosing, editing, applying, and previewing an effect is easy using the media browser and canvas. Live fonts are as easily manipulated as effects. Explore textures as well to make your titles professional and sophisticated.
When you've finished a LiveType project, you can import it directly into Final Cut Express. The LiveType projects looks and behaves like an ordinary clip, but it has a .ipr file extension. Edit it like a normal clip, and you can change its attributes after importing by right clicking and selecting "Open in Editor." Final Cut Express automatically updates the imported file.
See how to make a low budget web show, like Pop17, seem like a grand thing. This is low budget basics including lighting, microphone and an HDV camera. You should also edit it in Final Cut Pro, because that's what Pop17 does.
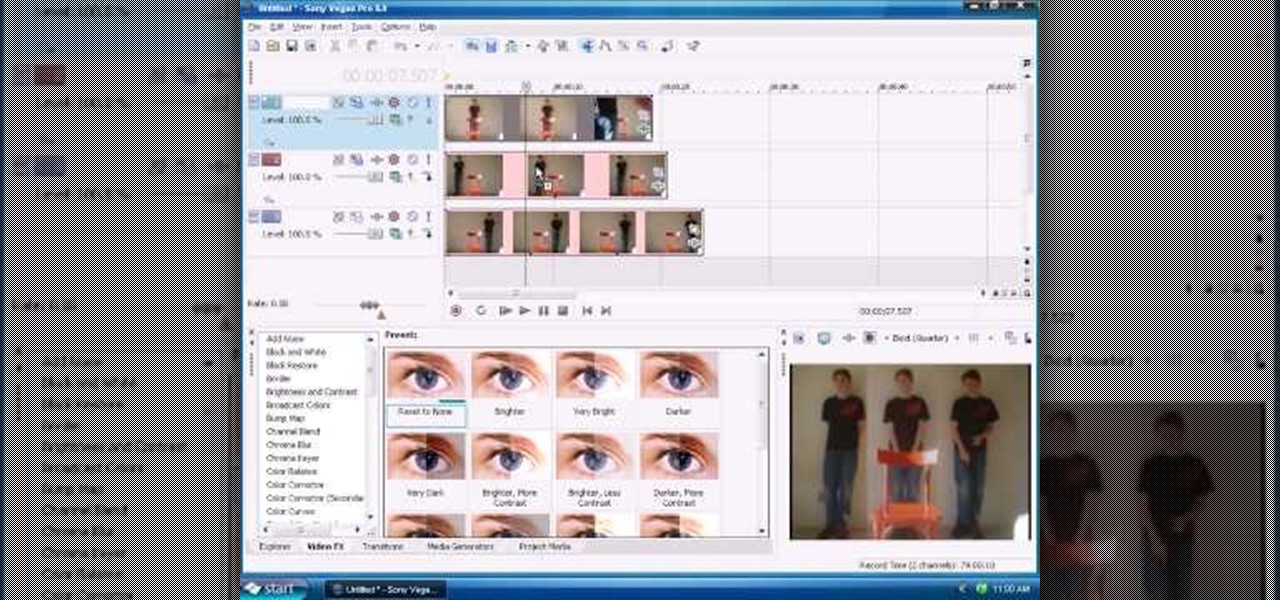
This tutorial for Sony Vegas editing software teaches you how to make clones (2-4) of yourself! Difficult: Easy - Moderate (depending on number of clones.)
In this video tutorial we are going to take a look at how we can change the color of an object that is in a photograph in two different ways using Photoshop. We will also convert a black and white photo and color it.
You've seen them at Disneyland's Fantasia. And in big budget movies like "Waterworld" and "Lord of the Rings." Spectacular, glowing fire effects that seem to ripple with the wind are a staple of action movies, and though it may seem like you need a super good video editing team to create such light shows, all you really need is some household chemicals.
Whenever you right click a file in Windows it opens up the context menu, which gives you options of what to do with the file. Learn how you can add your own custom options to the context menu by editing the Windows registry.
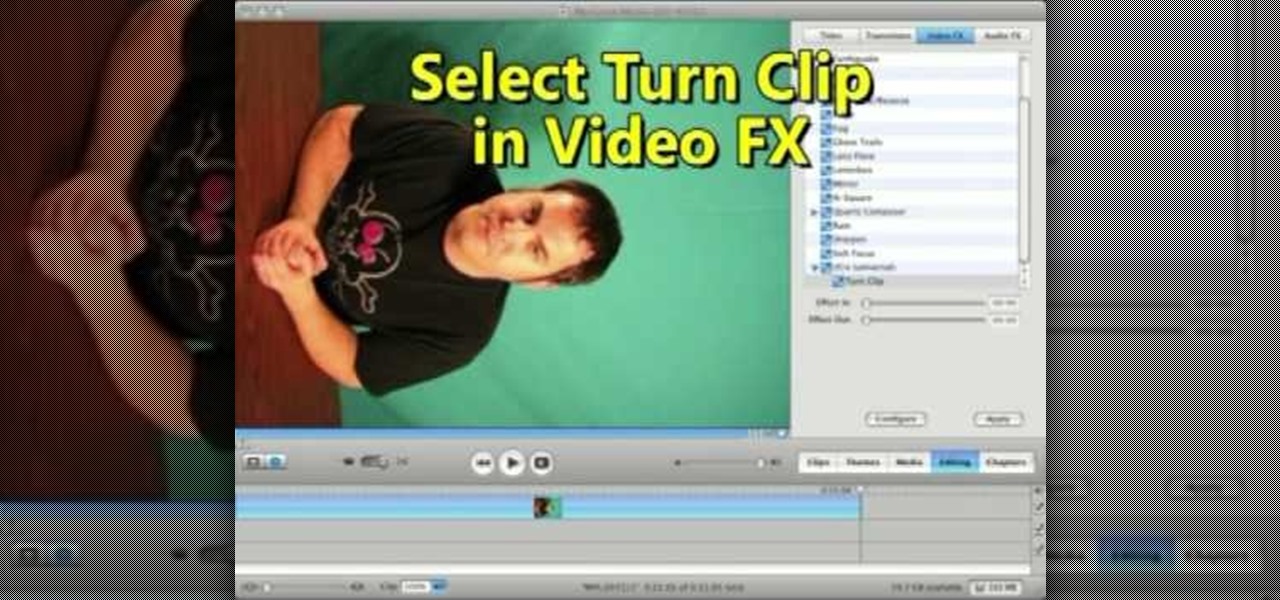
This video shows us the method to rotate a video clip using iMovie HD. Go to iMoviePlugins and download Turn Clip from it. Also make sure you have iMovie HD installed. Now add the video clip to the timeline. Go to the editing tab and choose Video FX and CFX enhancements. Choose Turn Clip from the resulting window. Now set the rotation angle. This can be configured to 90 degrees or 180 degrees. Click on 'Apply' and the software will render the rotation on the timeline. When everything is done,...
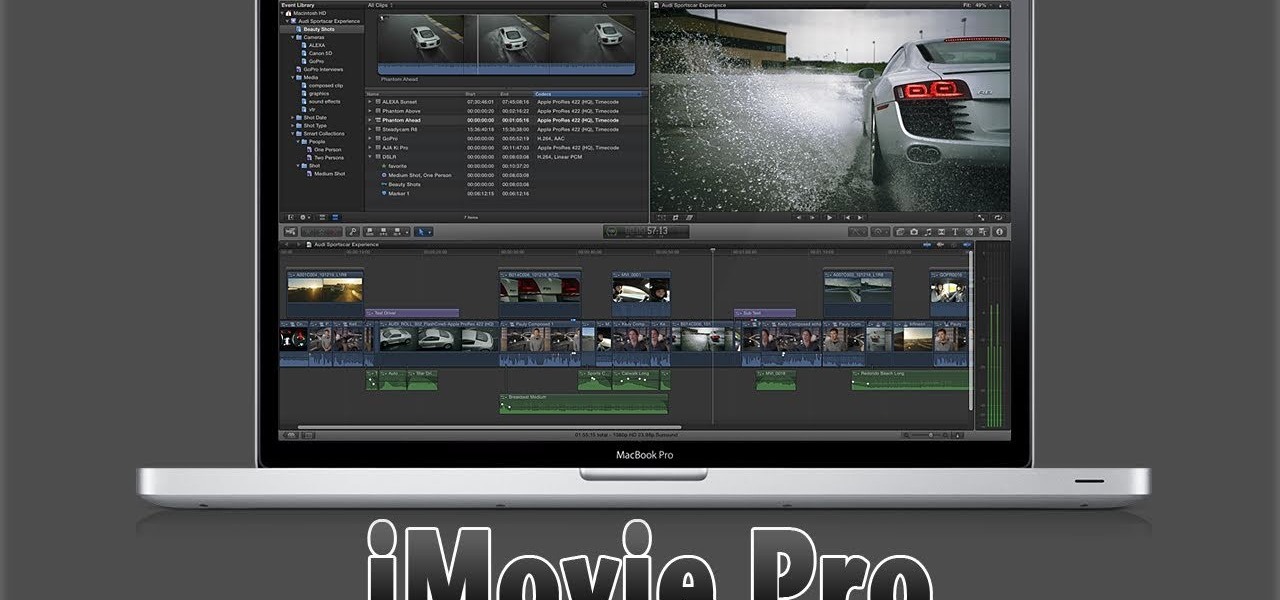
Do you aspire to one day edit video on your Apple computer with Final Cut Pro X? Until then, while all you've got is iMovie, make the most of it! Watch this video to learn how to make iMovie look like FCP X.
Final Cut Pro X has all new effects and transitions that no other video editing software has. This is your video guide to all of the things you can with FCP X on your Apple computer. Learn about the adding Boca effects, aged paper effects, and more.
Feeling limited by the export options in Final Cut Pro X? Watch this video to learn how to use Compressor 4 to export custom settings and reduce your file sizes in FCP X. Make the most of your Apple video editing software.
Watch this video to learn how you can use Screenflow to record and edit videos in 1080p HD on your Mac. If you are making software tutorial videos, video game walkthroughs or let's plays, Screenflow has everything you need.
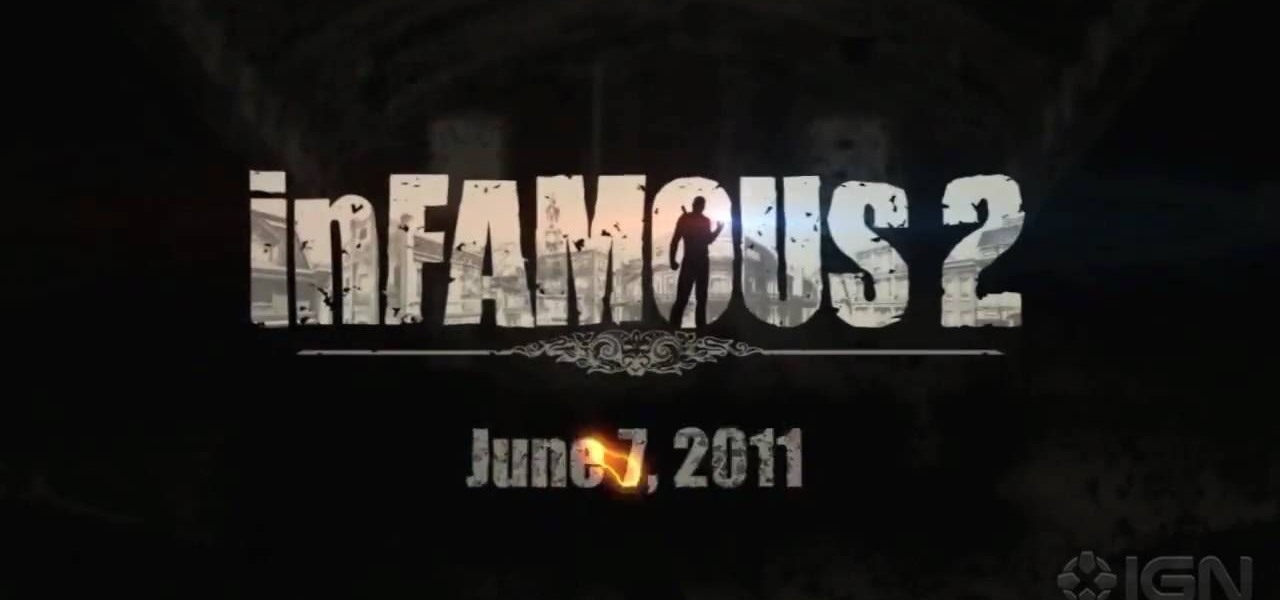
One of the coolest features of Infamous 2 for the PlayStation 3 is the ability to create your own missions. Set your preferred objectives and obstacles when designing missions, then play through them. You can also edit other people's missions online.
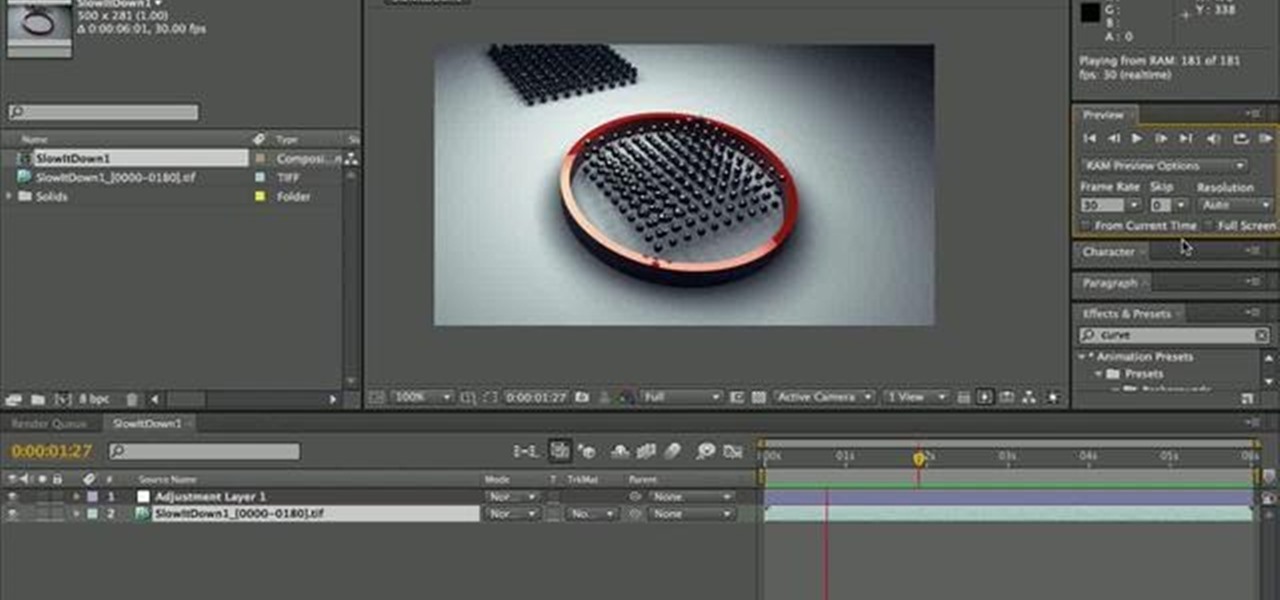
This tutorial demonstrates how Twixtor Pro can be used to create slow motion special effects when editing video in After Effects. Learn beginner to intermediate VFX, specifically slowing down footage shot at a very high shutter speed. Twixtor allows the user to manage blur and warping when creating a slow motion effect.
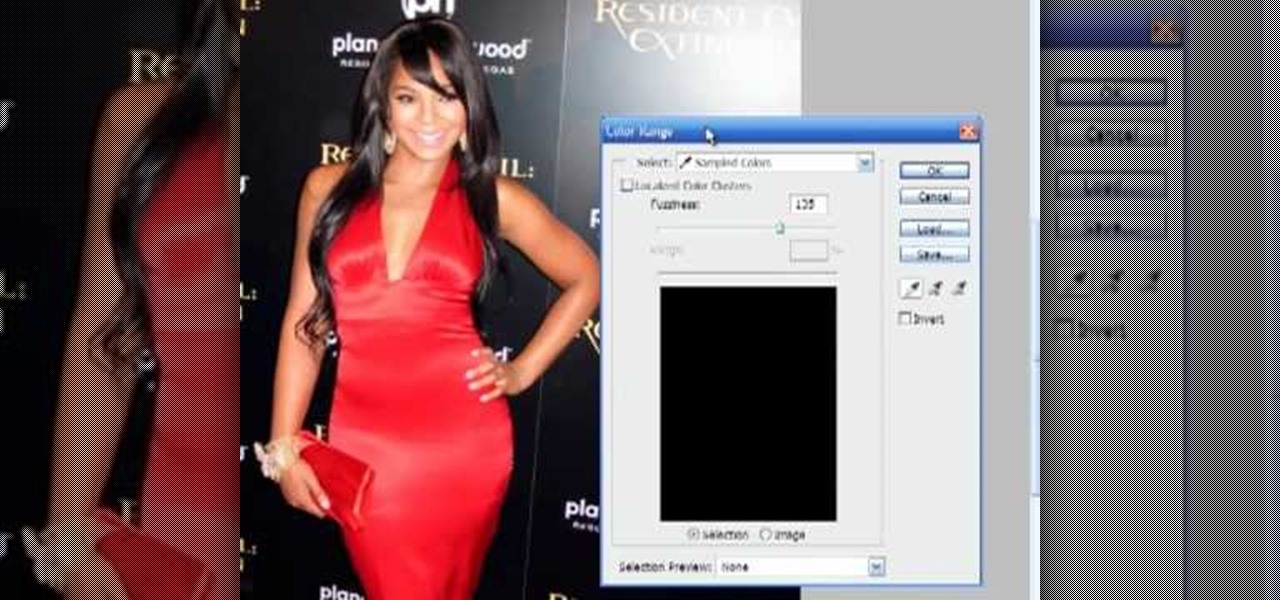
If you're using Adobe's Photoshop CS5 and want to change the color of someone's dress in a photo, this tutorial will show you how to do it. This how to is detailed, and shows a step by step guide for going from red to green, blue to yellow, basically any change you want to make! Photoshop is a powerful photo editing tool and with this trick you can choose the color of people's clothing instead of being stuck with what they were actually wearing.
Pro Tools is THE software choice for digital audio recording and editing. You've got some serious power at your disposal and you'll want to know how to handle it all. This video shows how to take your finished Mix from Pro Tools SE, and burn it to a CD that will play in any CD Player.
There are three different ways to either speed up or slow down the rate of your animations in Cinema 4D. This tutorial shows you how to use keyframes, time scales or the remapping feature in After Effects to change your speed of render.
This tutorial covers the basics of manipulating audio in Final Cut Pro by using keyframes. Add fade outs, fade ins, adjust the volume up or down, and even edit out the sounds of breathing or other small flaws in sound.
Color correction is important, because it gives your finished film a professinal touch. This tutorial is a quick explanation on how you can do color correction on your digital movie projects by using the editing tools available in Adobe Lightroom.
There are many music programs beyond Audacity which you can download for free, and which will allow you to mix and edit your own music. This tutorial shows you where to get these programs, like ROC, Myna, FreeSound and FlashKit, and how to use them for your own projects.
So you've just installed iMovie on your Mac... but now what? This tutorial walks a budding director through all the basic functions and features available in iMovie, and shows you how you use them to best effect when creating your own film projects.
A fan of Drake's music, Thank Me Later or just like the way the album art was done? This tutorial shows you how to go step by step to create the same kind of effect using the free photo editing software GIMP.