During the holiday season most of us have a Christmas tree up in our living rooms, filled to the brim with sparkly ornaments and twinkly lights. But the Christmas spirit tends to be a bit damper at work, where the most jolly it gets is making a makeshift post-it note Christmas tree on our cubicle wall.

What's Christmas without a tree topper? To make your own unique tree topper, try this paper plate angel tree topper. Decorate however you like with glitter and markers, and you'll soon have a special tree topper that no one else hads. This is a great project to do with your kids.

Queen Marie Antoinette was both loved and despised by her people, but there was one thing that was undisputed: Her exquisite (though often over-the-top style). Big poufy gowns with lots of underwire, towering white wigs, and frilly lace and ruffles made her look like a sparkly birthday cake.
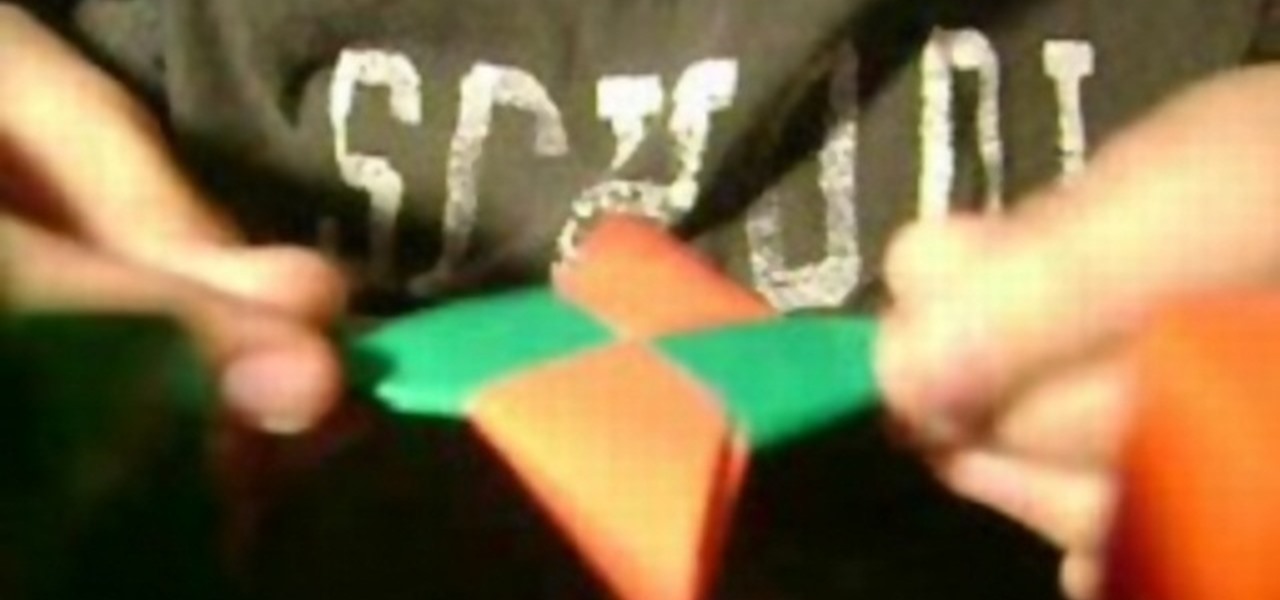
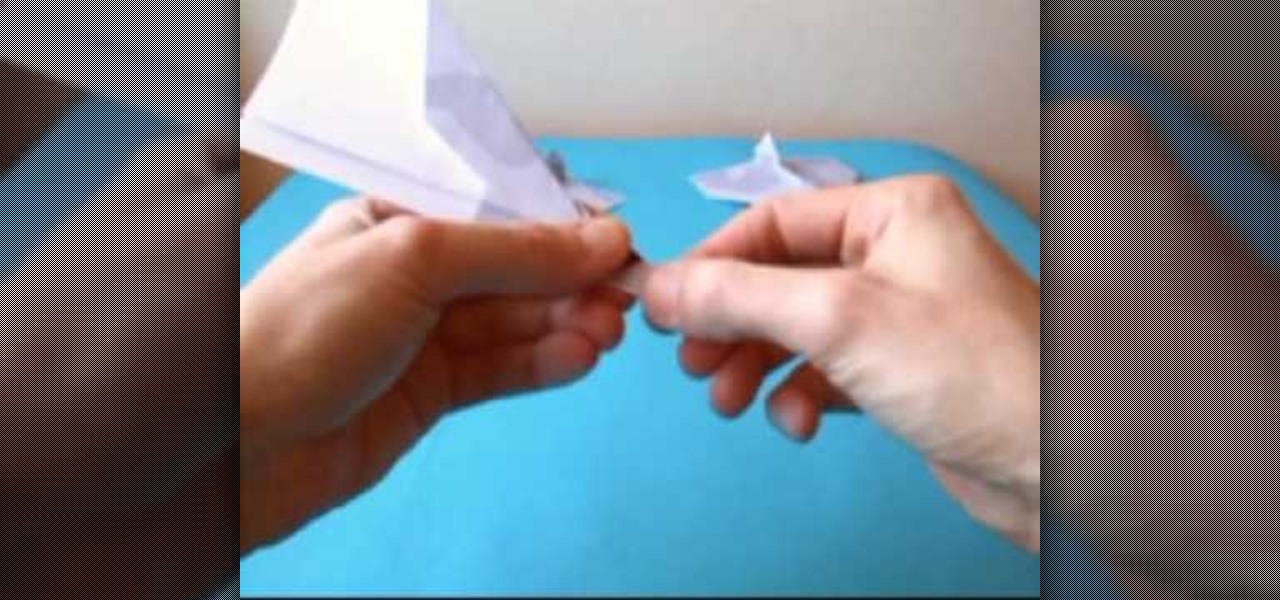
This video shows how to make a spinner out of a piece of paper. Fist take out a normal sheet of paper. Then fold it in half. Cut at the crease for it to make two equal pieces. Fold both pieces in half. Then fold the two edges of the paper to make a triangle. Then do the same to the other piece. Now put one piece on top of the other. Fold in the flaps one by one but leave the final flap alone. Instead of folding the final flap tuck it under the black pocket. Fold the paper in to a triangle and...
A short informative video showing how to make paper mache. A great arts and crafts project for some simple fun or your child's school science project. Easy to make with just flour, water, salt, and some old newspaper. Apply the mixture to a wire frame or a box like in the video to make a paper mache cave. It's very easy to make and you can create a range of things from masks, volcanoes, and most obviously caves!
Glossy cardstock and an acetate sheet protector are great material to use for doing a fossilized stone technique on paper. This effect makes an unusual finish you'll find yourself using over and over in greeting cards. Watch this video card making tutorial and learn how to create a fossilized stone technique on glossy cardstock, and how to make an all occasion greeting card using the stone finish paper.

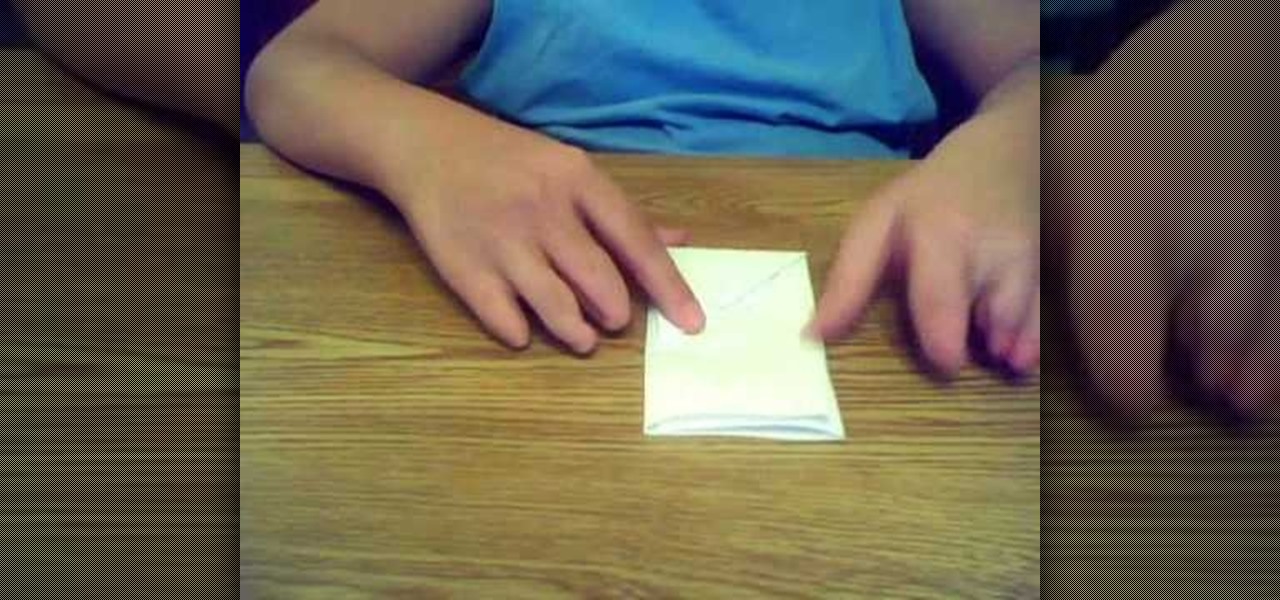
This video will show you how to make your very own envelope. This envelope is great for holding cards or other treats. It's also a great idea for any occasion. Your friends and family will be raving about your skills with paper when you give them this super cute card envelope!
This is a video tutorial on how to make a Christmas card ornament with paper. Learn how to make this seasonal Christmas greeting card that also doubles as holiday tree ornament.
This video tutorial shows how to make a purse out of paper. Learn how to craft and decorate a handbag out of designer paper.
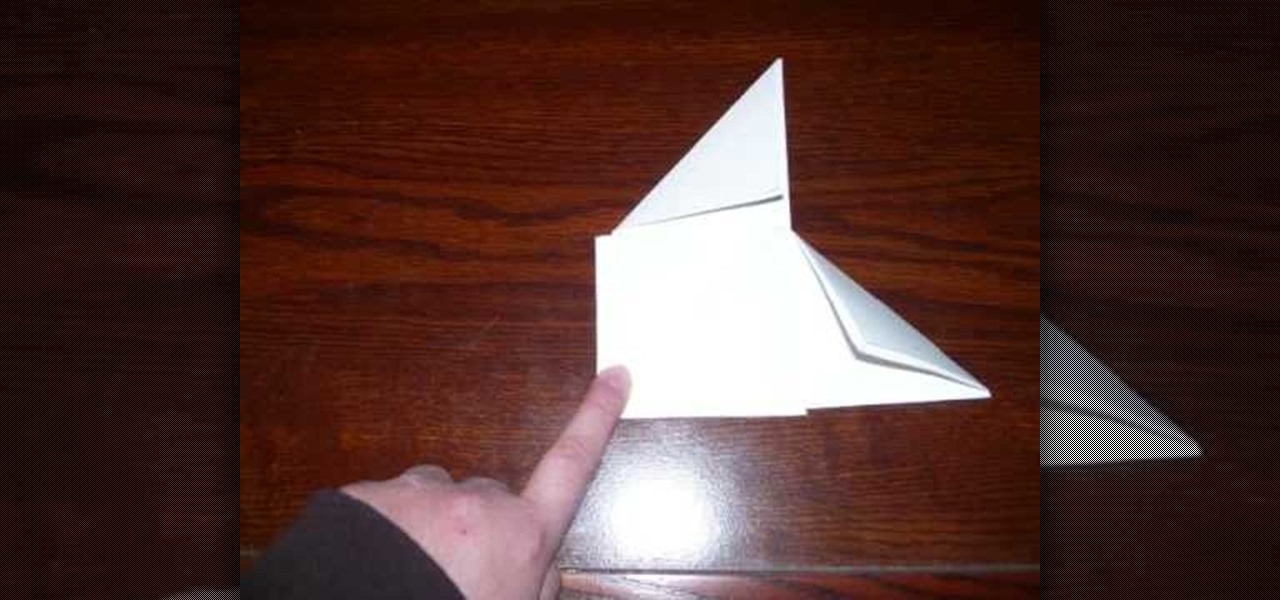
Check out this video to learn how to do the amazing paper throwing star trick. First, just fold along the diagonal.
This is an 4 pointed ninja star or shuriken. You need a regular sheet of paper or a origami square sheet of paper, also scissors are optional for constructing this 4 pointed ninja star.
Watch to learn how to change the color of handmade paper with a Glimmer Mist spray.
An alternative to origami, here’s a very easy paper design strp icosahedron by Heinz Strobl. Here's a very easy icosahedron to origami. For the strips, use an A4 format paper and cut it in the middle lengthwise. Do so to get 8 strips and then fold strips of 6 squares. It requires 20 strips of 6 squares for the triangles and 30 strips to knot them together (strips of 5 squares also work). Only the knotting strips will stand out, but it is still better to use two colors. You can make a bigger m...
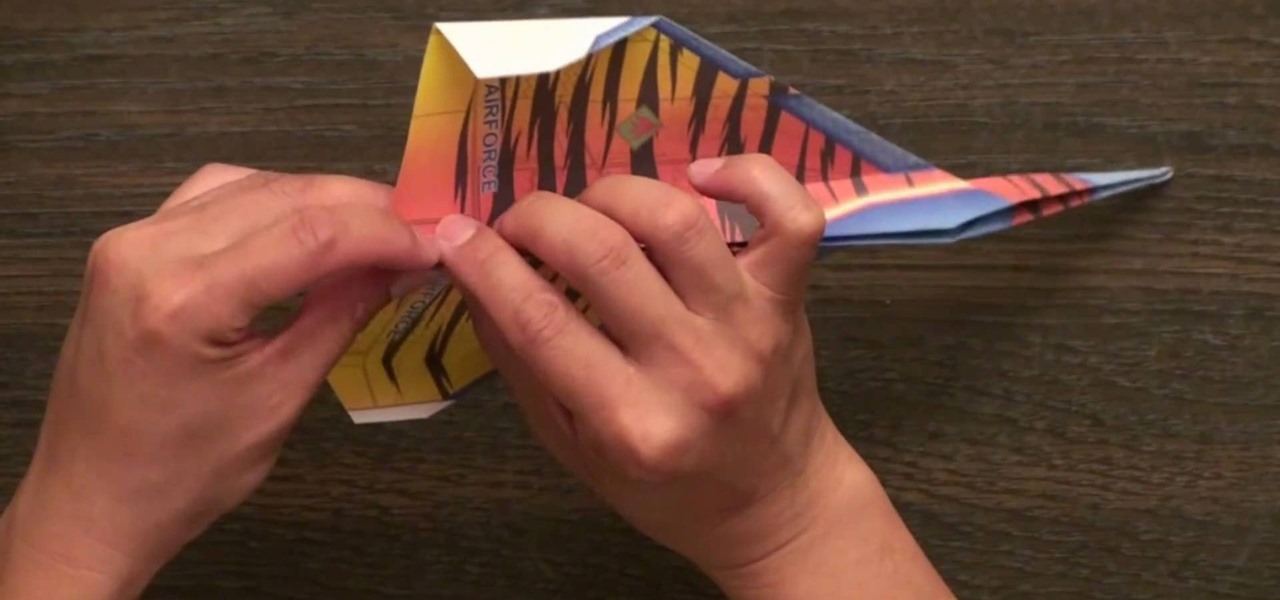
Yes, this paper airplane does kind of look like a sabertooth cat's teeth.
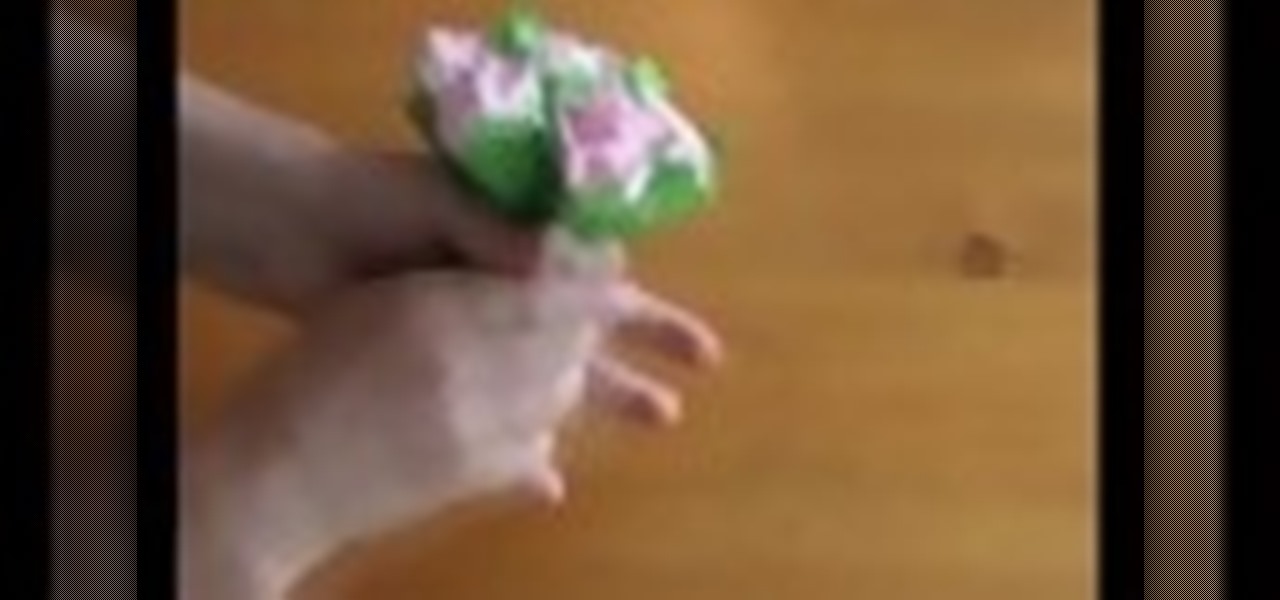
Learn how to make this wonderful gift that is easy for everybody to create. Watch to construct amazing roses from paper. This video is made for origami lovers.
Corinne Bradd shows Kristy Clark how to create fab two-toned rose embellishments using clever quilling techniques and vibrant papers.
Forgot to bring flowers to dinner for your date? This video will guide you through napkin selection and the folding necessary to make a paper rose!
A demonstration on how to make a lucky star from folded paper with origami is shown in this video. For this you need to get a strip of paper. Attractive papers are available at the stores for this. First to start up take an end of the strip of paper and tie a knot, flatten it and bring it as close together as you can. Then with the small free end fold it in, flip it over fold the long free end in such a way as it gets a pentagon shape. Next flip the free end over the edges. Continue to turn i...
Paper plane designed by Joost Langeveld. This one is not very difficult to fold and flies like a rocket. Just a little glue needed.
Take to the skies with this incredible realistic paper jet. With just a sheet of paper you can create an awesome flying machine. Fly it indoors or out, and enjoy an aerodynamic wonder after you've learned how to fold the most realistic paper jet ever.
This tutorial has been inspired by the character Piglet, from the Winnie the Pooh books. You'll need to have mastered the basic triangle folding techniques for 3-D origami, and, of course, have lots of pink paper to make this project!
This makes a great gift box for your father or brother. You don't have to spend extra money on expensive wrapping paper - a few sheets of construction paper are all you need to craft this creative yellow car box.
Keep your Christmas green! Don't resort to environmentally unfriendly wrapping paper. You can put your gifts in cloth bags or use catalog and magazine pages as your wrapping paper. Or, just use plain brown paper bags and decorate them as your wrapping paper!
The first step to create a boomerang paper airplane is to take a square piece of paper and measure to make sure it is a perfect square. You must then fold all of the corners of the cut of paper into the middle and then fold in half. The wings must then be folded down on the two chosen side. The final step is to fold the wings up to give the crease and cut of paper it's boomerang like shape. The video ends with examples of the type of flight that can be expected from a boomerang shaped paper a...
In this tutorial, we learn how to make a colorful paper turkey. For this, you will need: colored paper in red, orange, yellow, white, black, purple, and brown, a bag, scissors, and glue. Now, take the orange, purple, and yellow papers and cut out two teardrop shapes of each. Then glue them to the top of a brown paper bag. Then, cut out eyes using the black and white papers. Glue these onto the top of the bag to make the eyes, then use the brown to cut out the sides of the turkey, and glue on....
In this video, we learn how to perform "the coin fold" trick. First, borrow a quarter and grab a piece of paper. Take the quarter and fold it up inside of the paper. This will prevent you from doing any slide of hand or trickery. Make sure they can see the coin inside of the paper. Next, you will need to take out your magic wand, which is in your back pocket. Wave it over the paper, and the coin should no longer be inside the paper. To do this, you will need to make sure the coin is inside of...
In this video, we learn how to make a paper flower with a simple piece of paper. First, fold the paper in a triangle shape from each side. Then, fold the paper in the middle and then fold it into a square on all the sides. Next, you will fold the outer tabs into the square to make a triangle. After this, you will flip it over and to the same thing on the outside. This will complete your flower and make it look fantastic! Have fun making this and if you do mess it up just try again with anothe...
In this video we learn how to fold a very simple paper football. First, take a piece of paper and cut out a strip from it or fold it into a strip. After this, fold a triangle in the strip of paper. Once you have this, fold up to create another triangle and keep folding up until you reach the top of the strip. There will be one small piece of excess paper left on the strip. You can either cut this off or tuck it into the pocket that you made while folding the triangles. Use this to pass the ti...
In this video we learn how to make a decorative paper rose. First, take a piece of paper and cut several heart shapes out of it, making them different sizes. Once these are cut out, curl the edge over with a toothpick, pencil, or by hand. Set these aside, then use a grab a green sheet of paper. Roll the edge of the paper up and then cut the rest of the paper from it. Create a leaf in this and then tape it all around. Now, twist this tightly and place the curled ends of the heart shapes away f...
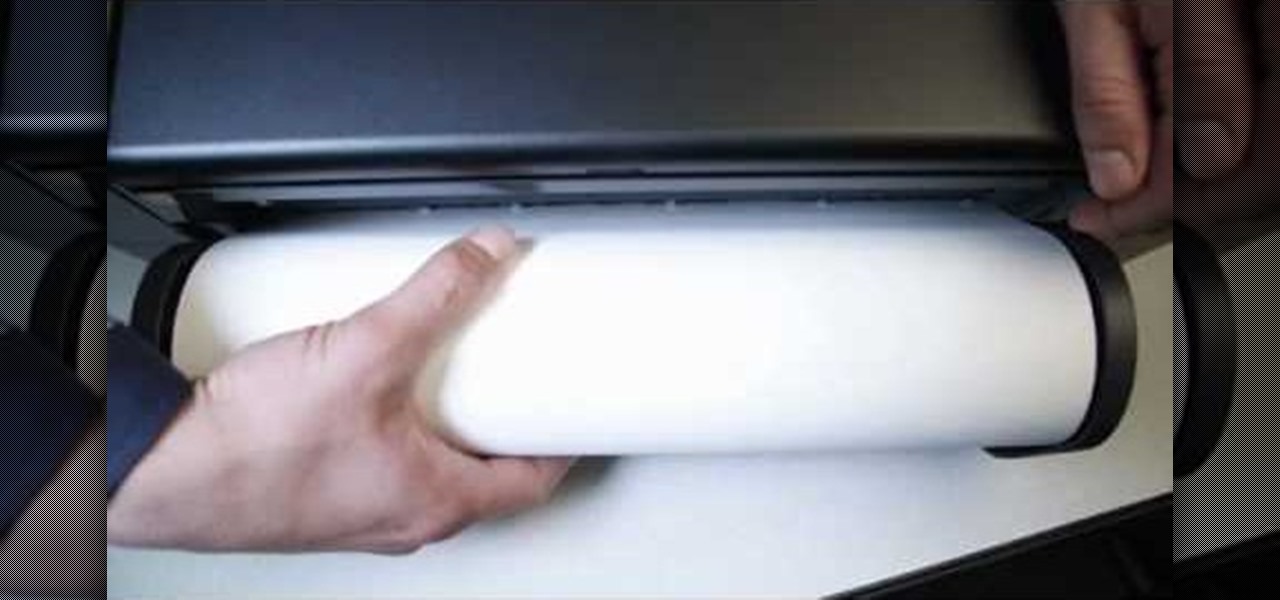
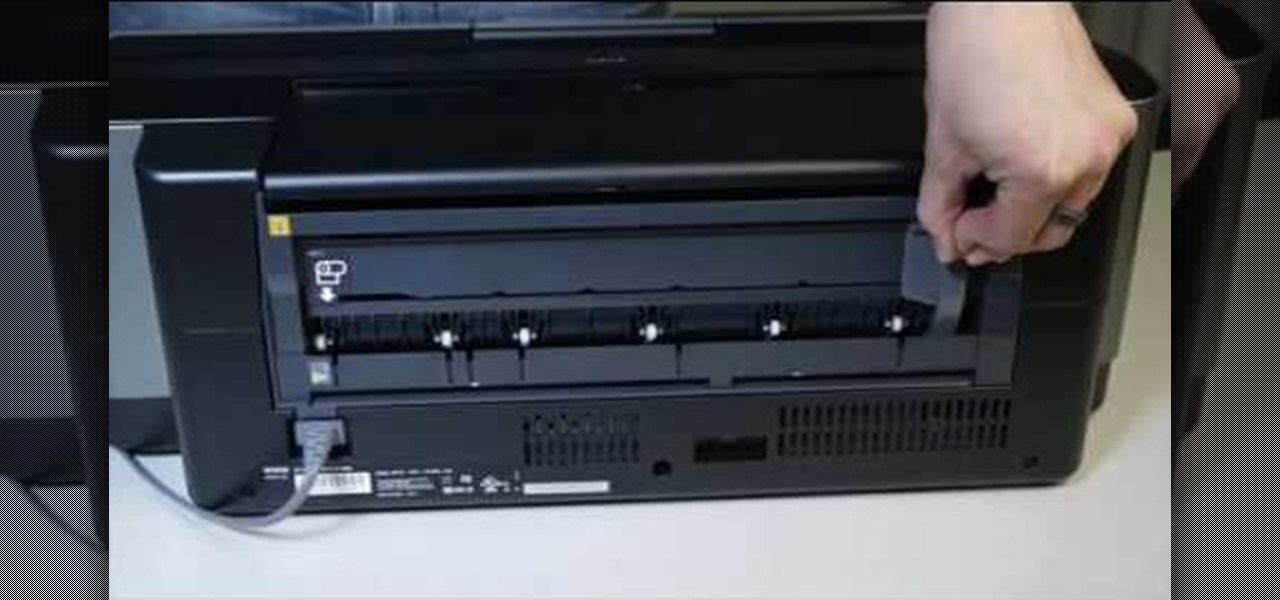
For someone used to working in reams or sheaves, a roll of printer paper can be confusing. However, replacing the paper in your printer which calls for rolls is not that hard. This tutorial shows you a very easy to follow process for loading paper into your printer. While this focuses on the Epson Stylus R2880 model, it will still work for other models.
While this video uses only a particular model of printer and only one style of paper, this tutorial will work for several different varieties of paper and printer. Just follow along with the tutorial to make sure you've loaded the paper properly for highest quality printing.
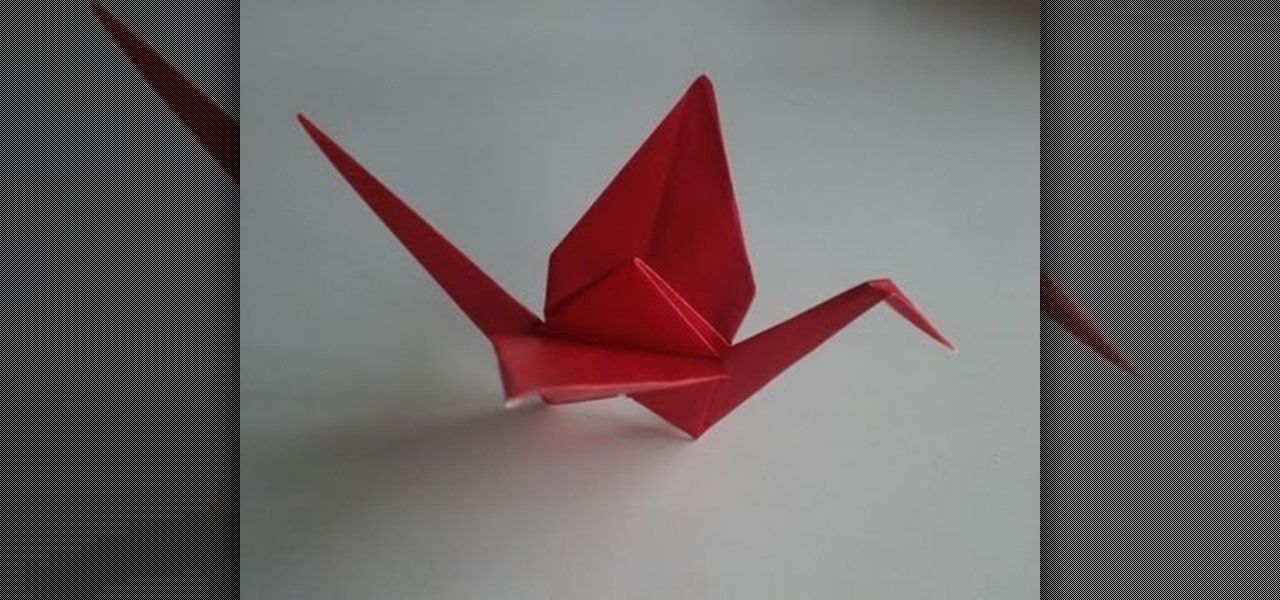
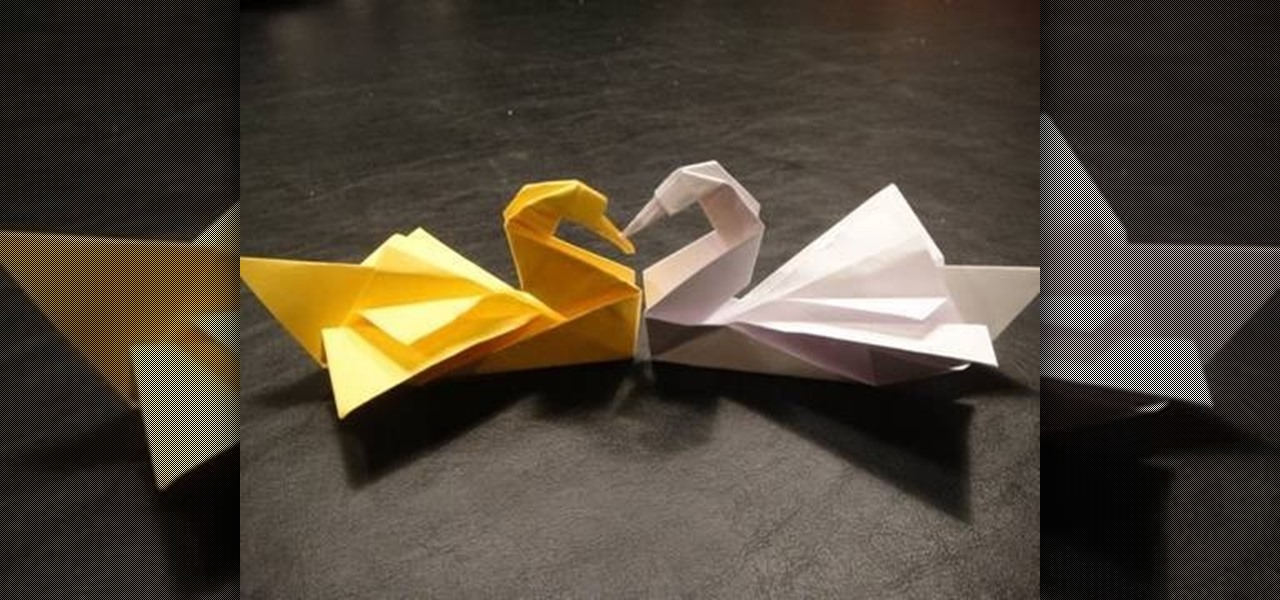
The crane is one of the best known and most popular origami figures. Now, you can learn by following this detailed tutorial, how you can fold your own elegant paper crane using traditional origami paper folding techniques. This is for experienced origami artists!
Freezer paper isn't just for the freezer. In fact, with a little ingenuity garnered from this crafting video you'll learn how to transform blah and boring freezer paper into a stencil that you can use to decorate t-shirts, jeans, tote bags, or whatever you want!
In this video, we learn how to choose topics and write outlines for research papers. First, you need to choose your topic, which will determine what direction your paper will go into. There are two types of papers, single viewpoint and multiple viewpoint. The different between these is taking one side or looking at different views of the debate at hand. Once you choose, you need to brainstorm a list of topics. Write down the pros and cons of the debate that you are taking, then make sure you ...
The origami version of a box and lid may seem like one of the simplest origami projects out there, but you should consider this origami box and lid the hard mode version of an otherwise beginner origami craft. Rather than use two sheets of paper total - one for the box and the other for the lid - this origami project only involves one piece of origami tissue paper.
Origami is a lot of fun (okay, and also a lot of frustration), but what often turns beginners off from the Japanese art form is simply that it requires special origami tissue paper. While it's true that thin paper made exclusively for origami is preferable for any origami project, you can substitute plain old printer paper instead if you're low on money or just out of origami tissue paper.
In this video, we learn how to distress old wallpaper. First, cover your chip board and then take the piece of paper and tear the edges. Tear all the way around, or how you prefer it to look. Next, rub quick dry adhesive onto the back of the paper, then brush it to the ends of the paper. Now, push the paper onto the chip board and start to roll and crinkle it up. Distress the paper first if you want to, then continue pushing the paper until it looks how you like it. Make sure you work quickly...
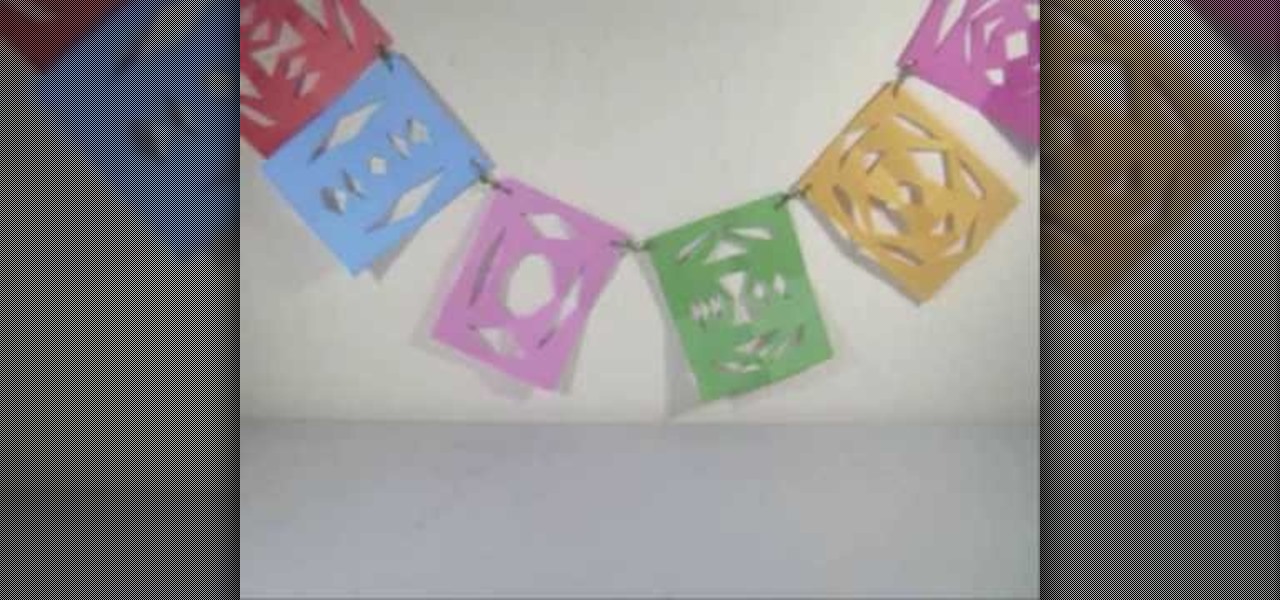
In this video tutorial, viewers learn how to make a colorful paper banner. This task is very easy, fast and simple to do. The materials required for this project are: construction paper, yarn, scissors and a hole puncher. Begin by folding the construction in half. Then fold it in half on again. Now cut pattern on the side edge of the paper and repeat this process for additional paper. Open the paper to reveal the symmetrical cut out pattern. This video will benefit those viewers who are inter...
In this tutorial, we learn how to make a paper football for distance. First, take a piece of copy paper and fold it in half on both sides, then fold in half again, making a crease. Next, fold the bottom of the paper down into a triangle shape. Continue to fold this down, making a right and then left triangle until you reach the bottom of the paper. When finished, you will have a small strip of paper left on the bottom. Tuck this piece into the pocket that you created with the triangle pouches...
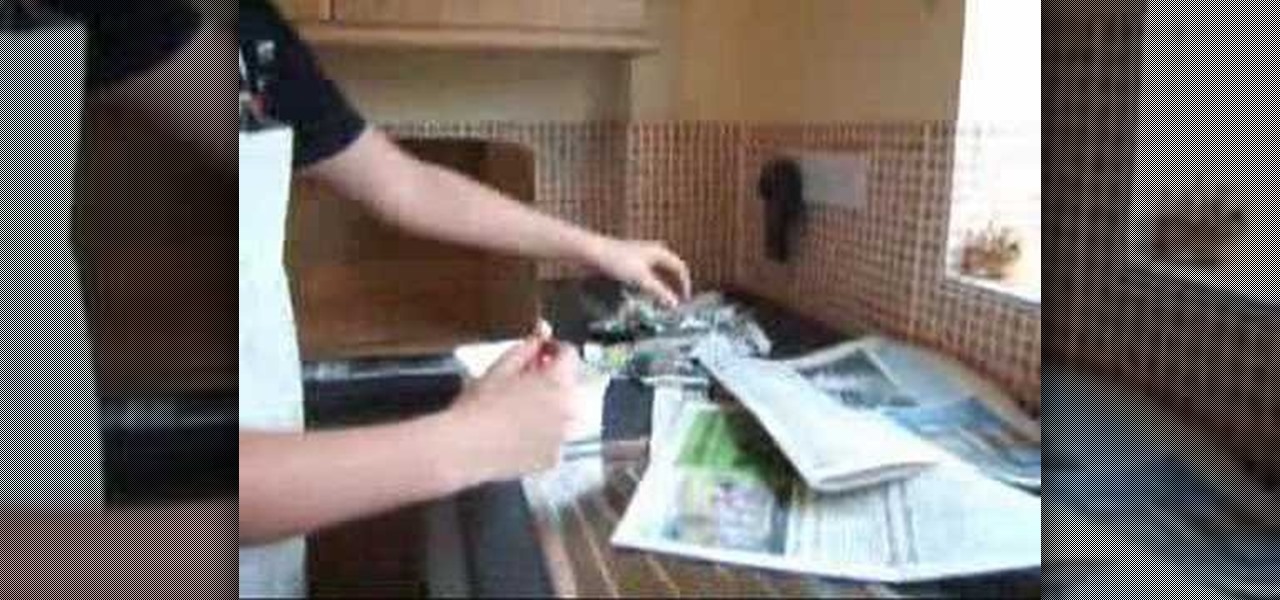
In order to make a paper bag out of a newspaper, you will need the following: 2 sheets of newspaper, a ballpoint pen, cardstock with 2 holes, organic glue, and 2 pieces of rope.