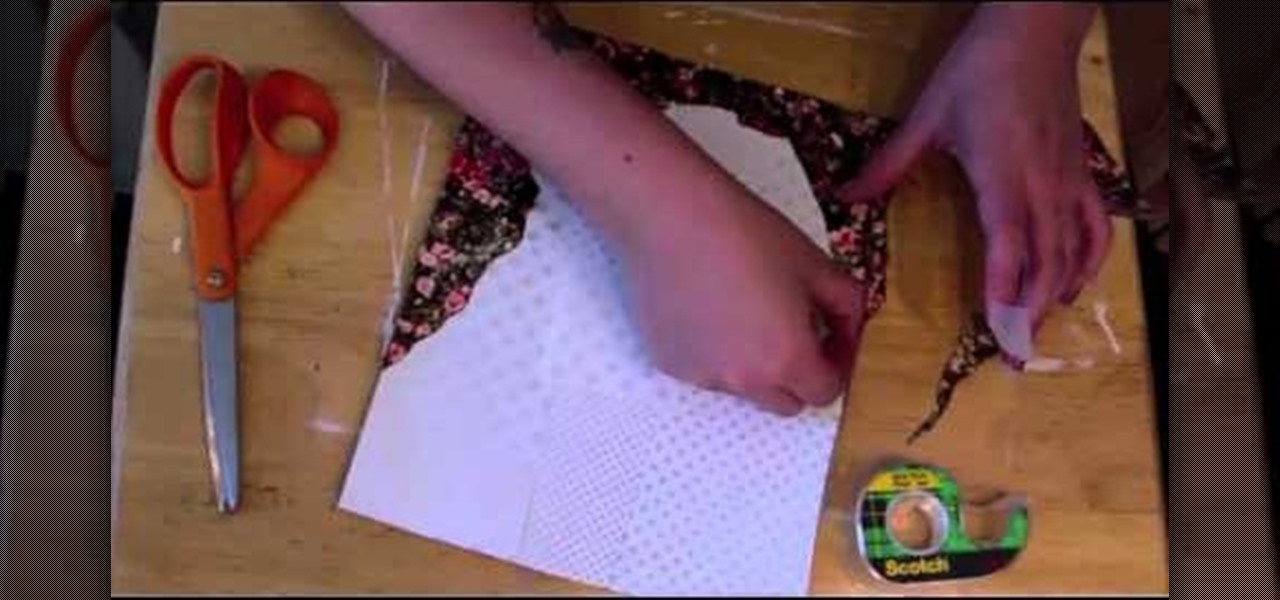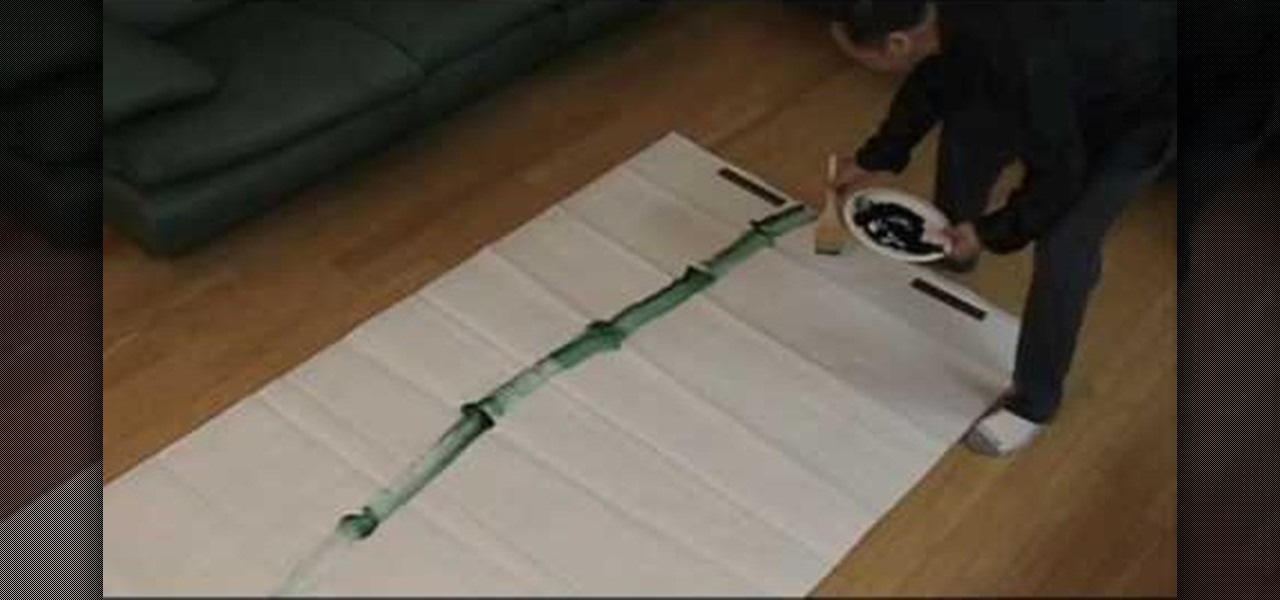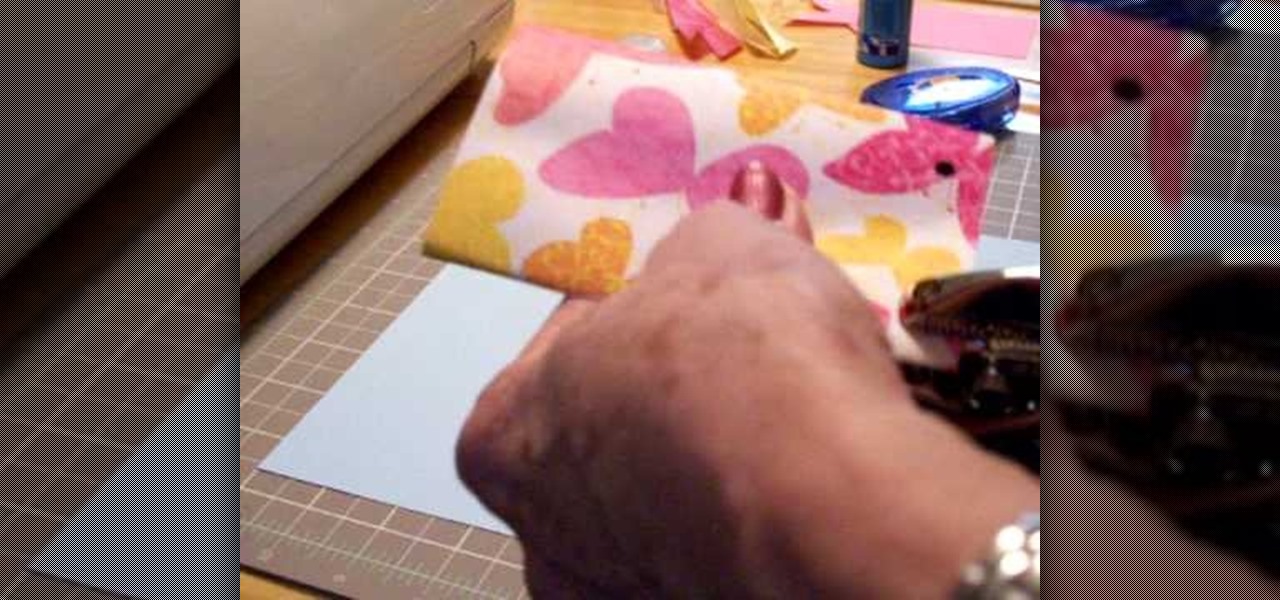
This week, Etsy How-Tuesday presents Kari aka ikyoto and Stella aka lookcloselypress of The {NewNew} York Team. Today we're going to learn how to screenprint our own snowflake gift wrap for the holidays. Kari and Stella remind us that recycling paper bags is a great source for materials for this kind of project.
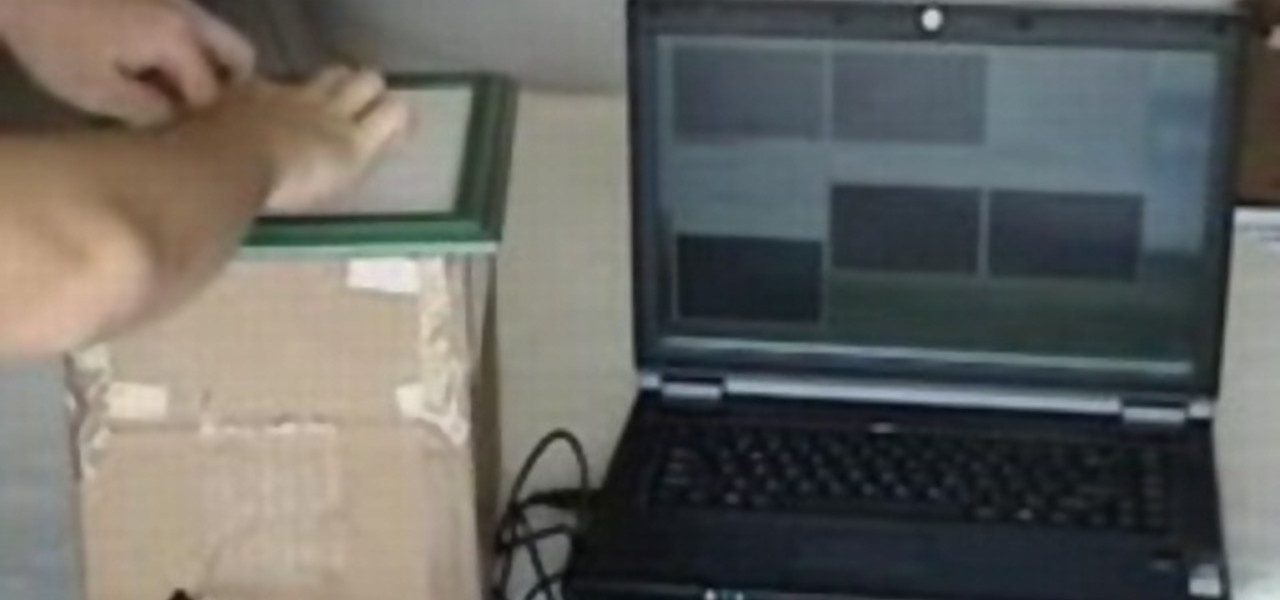
Check out this video tutorial on how to make a cheap multi-touch pad like in the MacBook Air. Yes, that's right... you can make your very own multitouch, finger-sensitive touch pad for your computer. This is definitely the cheap way to go to make a Multitouch Mini (MTmini), with a maximum of fifty bucks down the drain. This multitouch touchpad (or trackpad) is easy!

This is a great little rainy day project you can make for almost no money, or a fun party trick you can use at the next office Christmas party! You will need two disposable drinking cups (stiff plastic or paper will work best), a fairly thick straw, a sturdy paper clip, a thick rubber band, a cocktail stick, a bead and a plastic ring you can get from the neck of a soda bottle. Assemble as shown, and then let it go!
The biggest determent to doing origami, other than time and complexity when you get to harder pieces, is quite simply the origami paper. It doesn't cost much, but like any type of crafting it does require some monetary devotion.
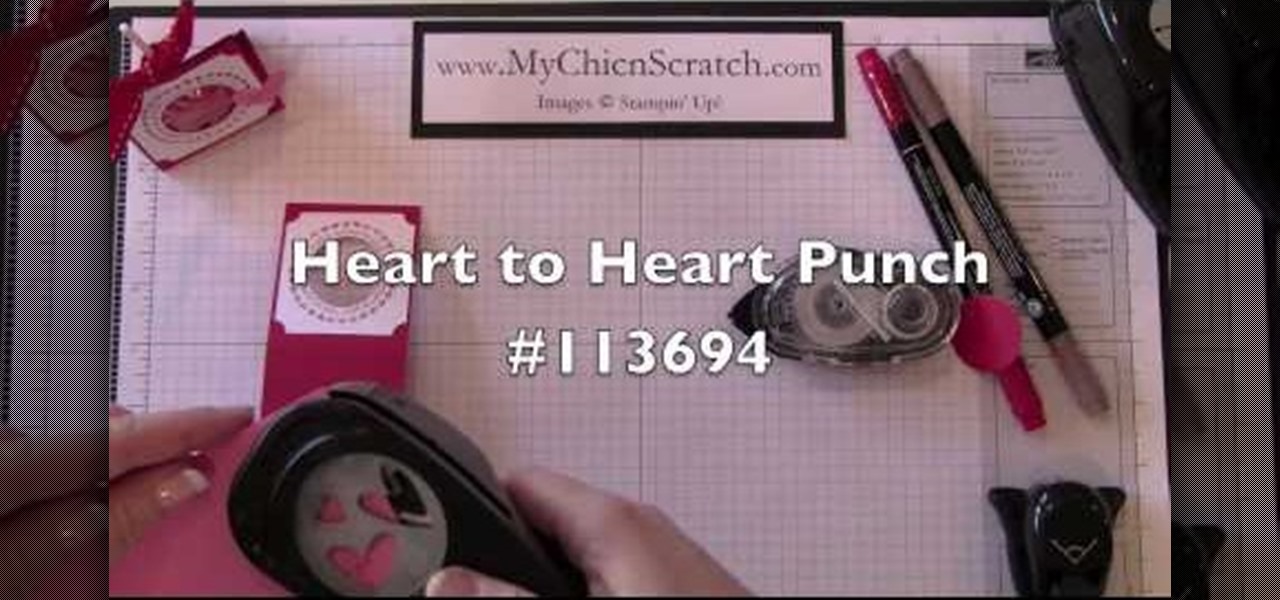
At its core, Valentine's Day is about giving and getting sweet treats. While one could argue that the same idea applies for both Halloween and Christmas, on Valentine's Day these sweets are packaged in the most adoring, lovey dovey ribbons and wrappings.
One way to get your kids to read more books is not by forcing them to do so, but by making the reading experience fun by giving them these cute handcrafted bookmarks.

These are great, personal gifts that you can hand out to friends this holiday season. Find a picture and a quote you like, then dress them up in a picture frame! All you really need is the frame, some paint, a few old magazines and some paper!
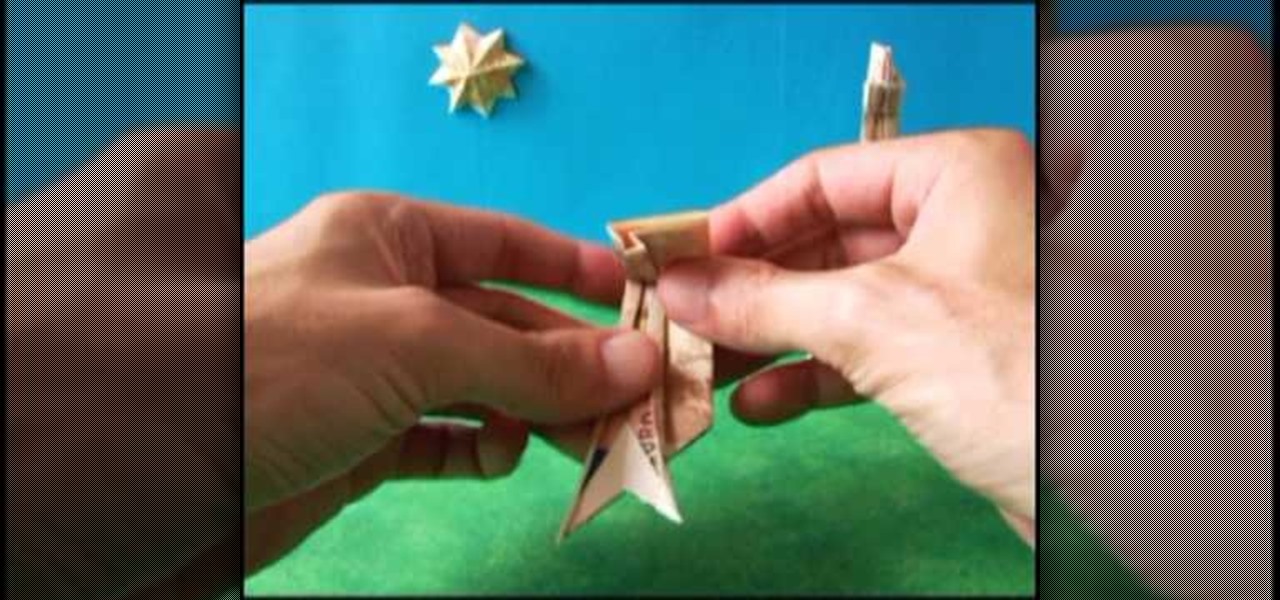
Your New Year's party guests will swear these are the real thing and perhaps even pick one up to pour some Chardonnay in if you're not careful! This origami tutorial shows you how to fold realistic - and damn cute - martini glasses.
Fold your own eight pointed transforming ninja star! This is a modular origami model, where you will join eight identical modular pieces together to form the star. You can even make this out of Post-It notes, or any square paper!
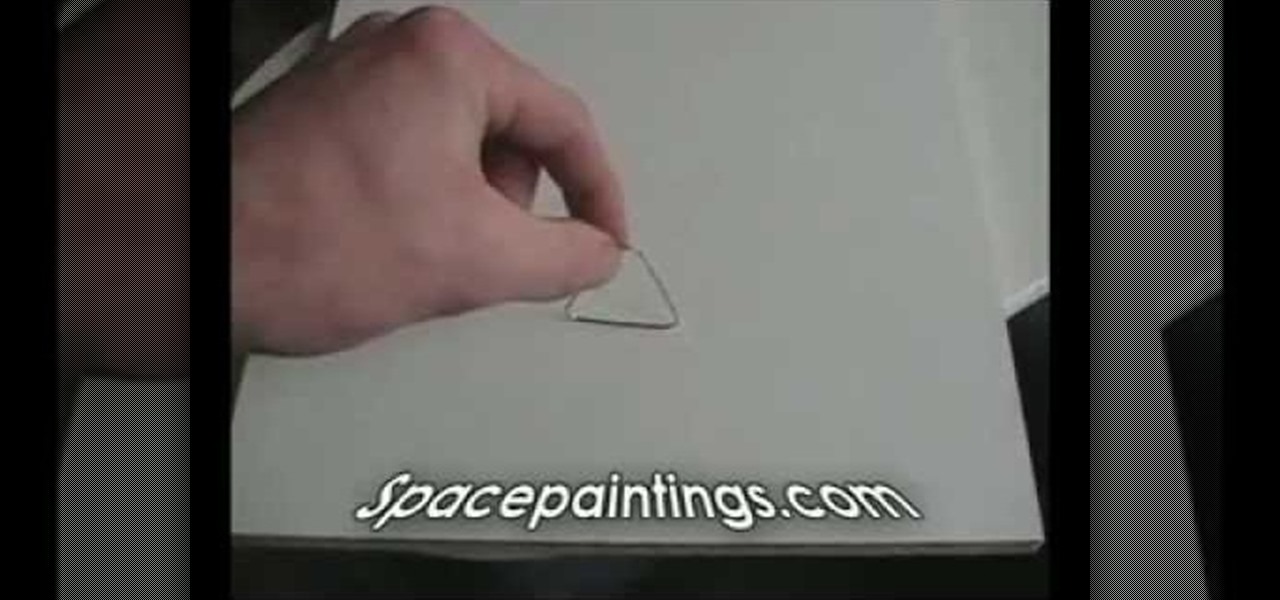
Forget school boredom again… a mere paper clip will keep you entertained in study hall, all the time! This video will show you how to make a cool little jumping toy with a paperclip of any size. It's shaped like a triangle and jumps pretty far!
This video tutorial is in the Arts & Crafts category which will show you how to make crumpled flowers for scrapbooking. Cut out three circles of 2", 1 1/2" and 1" diameter out of a sheet of paper. Then wet the pieces of paper lightly with water or colored ink and crumple them one by one as shown in the video. Then place the three pieces together and pin them up with a split pin. Now crumple the edges of the paper further to give them the look of a flower. Allow it to dry and your flower is re...
In this tutorial, we learn how to make hand warmers. You can make this out of pockets off of an old sweater. First, grab a piece of copy paper and measure over two inches, then fold it in half. After this, measure down 1.5" and then draw a line where this mark was. After this, cut the piece out and lay the paper on the sweater, then draw a line on the paper for the thumb holed. After you do this, you will cut out the area on the sweater, then sew it around on the sides. When you are done, you...
In this tutorial, we learn how to make a pig out of punches. First, you will need to have white paper, pink paper, and black paper. You will also need punches that are in star shapes, different circle sizes, oblong shapes, and a flower shape. TO put this together, first glue a small heart shape to the bottom of the oblong shape and set to dry. Next, take a large pink circle and place two white dots and black dots on top to make the face. Next, draw two black circles onto a smaller pink circle...
The blowgun may not be the most en-vogue weapon in the 21st century, but they are still very cool and surprising effective for shooting things with darts at long range. One of their problems is that good dart are hard to come by and expensive when you do find them. This video will show you a way to get around that problem: making your own darts out of paper! All you need is paper (and maybe a little superglue would help) and you can make your very own darts that will pierce object almost as w...
Cereal boxes make great craft materials during the winter holidays, standing in for the much harder to bake and make gingerbread for faux gingerbread houses and making excellent durable ornaments.
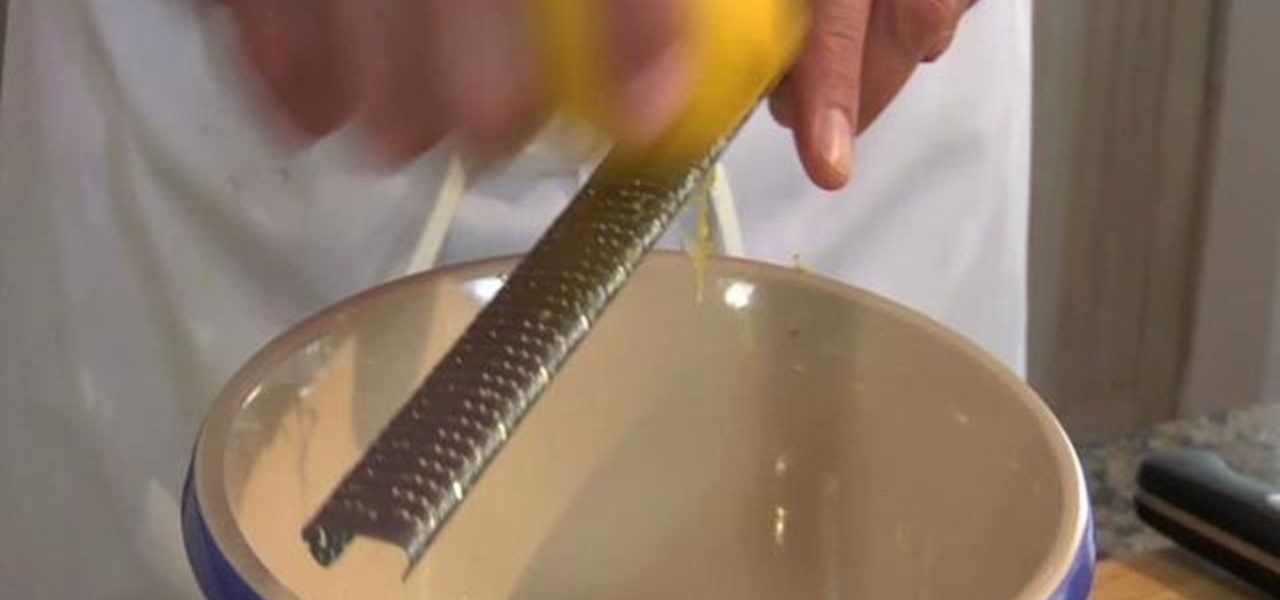
In order to prepare Compound Butters, you will need the following: butter, blackberries, lemon, fresh dill, potato masher, 2 bowls, a fork, and waxed paper.
Yoshi has evolved from a simple Mario sidekick into one of the most beloved figures in all of gaming. This video will teach you how to translate your love of this perpetually-famished dinosaur into another medium: Legos. Learn how to make a model of Paper Yoshi, from the Paper Mario series, out of Lego blocks by watching this video. The artist here uses a computer program for his demonstration, but you can use real blocks obviously if you have enough of them!
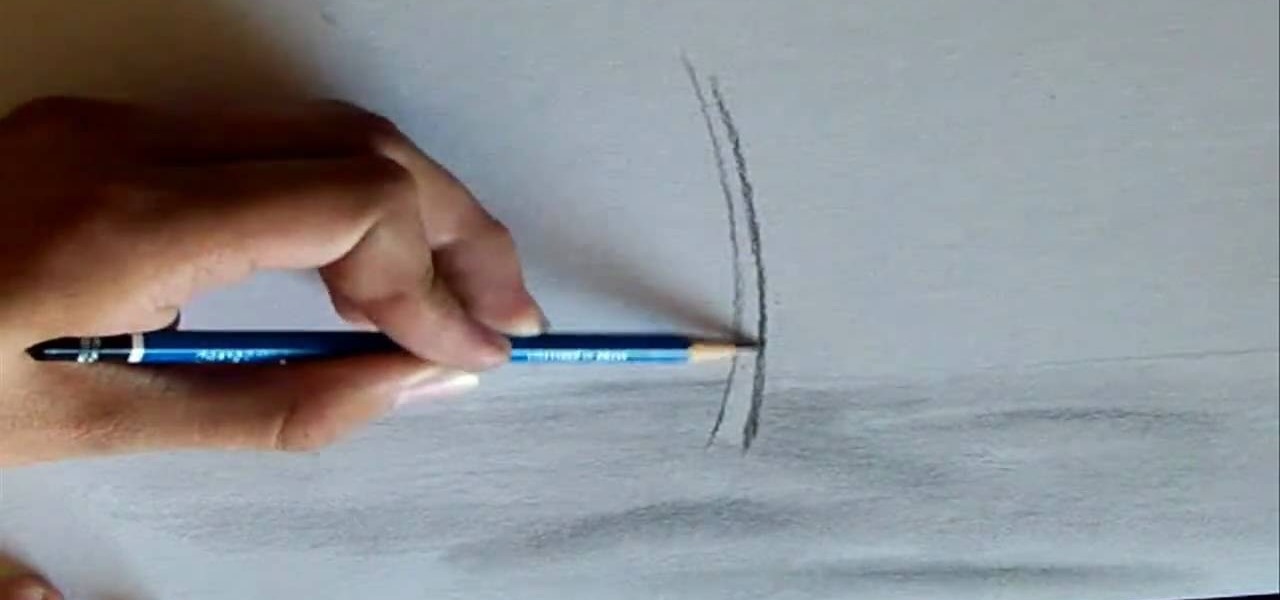
In this video, learn how to complete a beach landscape by drawing sand. This tutorial will show you exactly what you need to know in order to complete your summer landscape. You will learn which paper and pencils are best and how and where you can buy them, and then learn how to put it all together and create a beach.
In this video, Elizabeth Gleeson shows you how to make a super cheap and easy wall decal using contact paper from your local supermarket or WalMart. This is a great way to save money and get creative while adding style and substance to your home.
Want to digitally preserve an old photograph without also preserving the imperfections of the physical photo paper? With Adobe Photoshpo, it's easy. Whether you're new to Adobe's popular image editing software or simply looking to pick up a few new tips and tricks, you're sure to benefit from this free video tutorial from the folks at Britec Computer Systems. This video offers a step-by-step guide on how to remove unwanted physical textures from your digital images.
Looking to add a rare and exotic specimen to your paper garden? Perhaps something English? You're in luck. This free origami video lesson presents complete instructions on how to make your own decorative roses from folded paper. For more information, and to get started making paper flowers yourself, take a look!
Looking for an easy craft project? With this guide, you'll learn how to fold a tiny paper star using origami, the traditional Japanese folk art of paper folding. For more information, including a step-by-step overview of the folding process, as well as to get started making your own tiny stars (which work wonderfully in garlands or as party decorations), watch this free origami lesson.
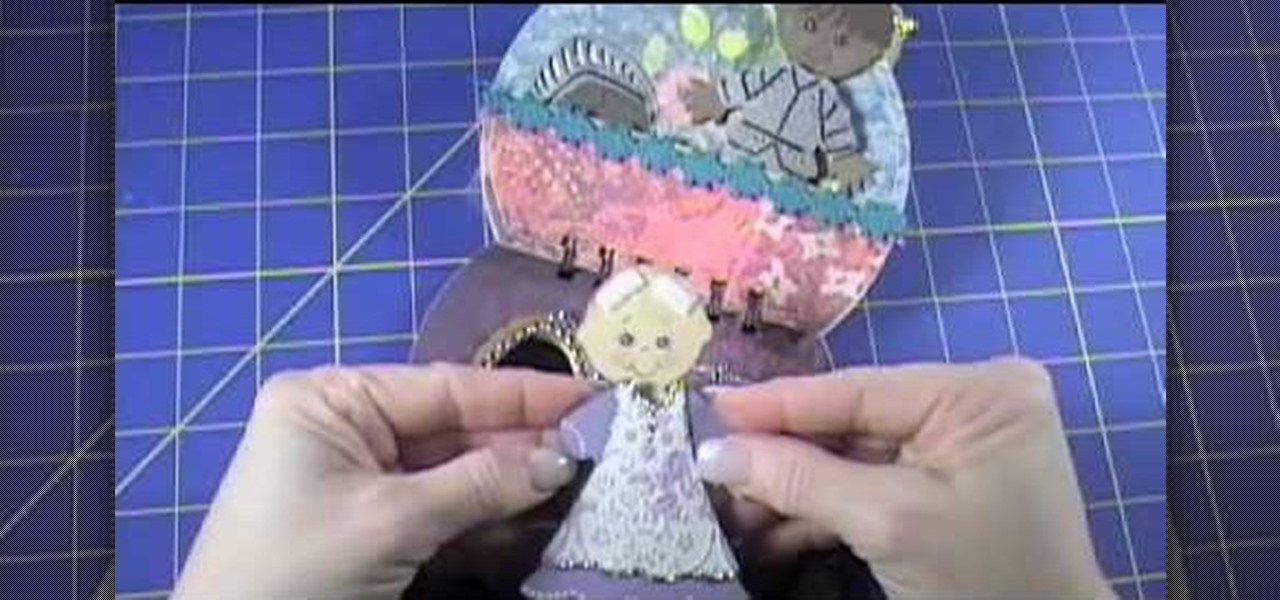
The video describes the making of Paper doll dress up and a Tin Purse to put the dolls inside. You can use the cartridge paper but regular paper should do. She was sticking to the princess themes in this tutorial. The tin comes from provocraft but creative imaginations also offers one. Instead of purchasing a tin you can find a old tin purse maybe once for a over sized set of playing cards. There is a tab feature you can use on the dolls but which children the might come off. She suggests usi...
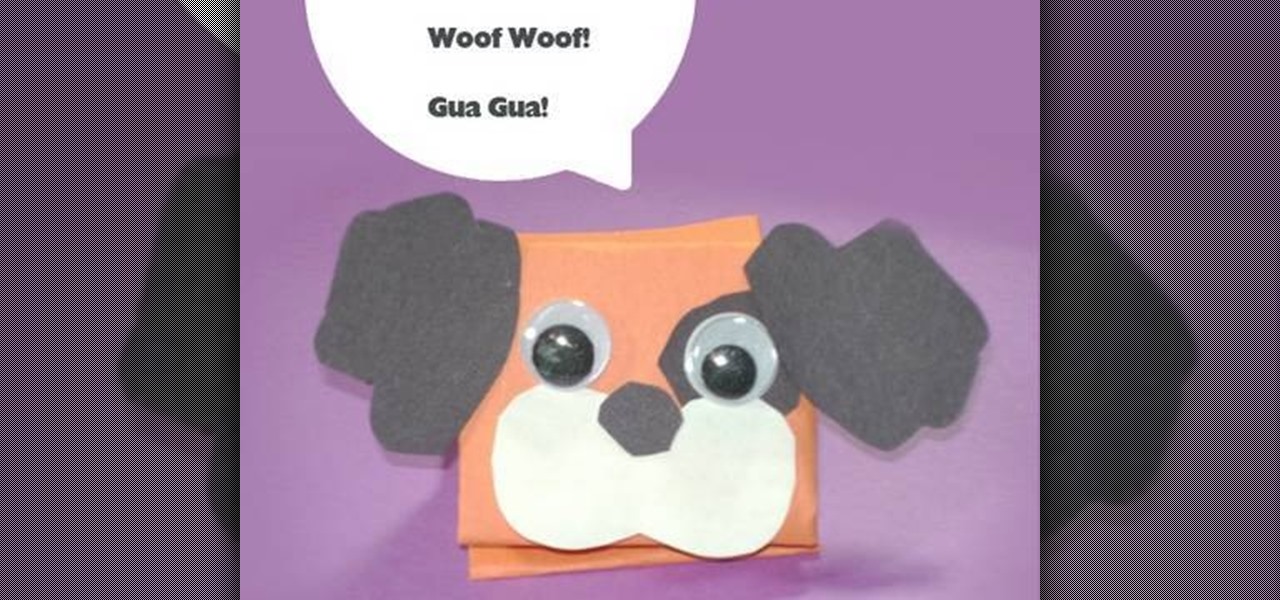
Puppies are one of the most cutest animals out there and the most popular with humans. So why not make a cute puppy made from paper to enjoy for days. This tutorial will show you teachers or parents, how to make a cute puppy dog out of different colored paper. Enjoy!
With this artsy, craftsy how-to, you'll learn how to make flowers with paper napkins and a pair of scissors. Pretty. And pretty cool! For a detailed, step-by-step look at the process, watch this free video tutorial!
This video shows the way to make a paper balloon. A square paper is taken. Two perpendicular folds are made down the diagonals of the square. Then an isosceles triangle is made by folding one side of the square towards its opposite side and the other two sides are tucked in. Now there are four isosceles-right triangular flaps. The flaps are folded along its middle to resemble isosceles triangular flaps. The edge of the flaps is folded towards the center. The free end of the flap is tucked int...
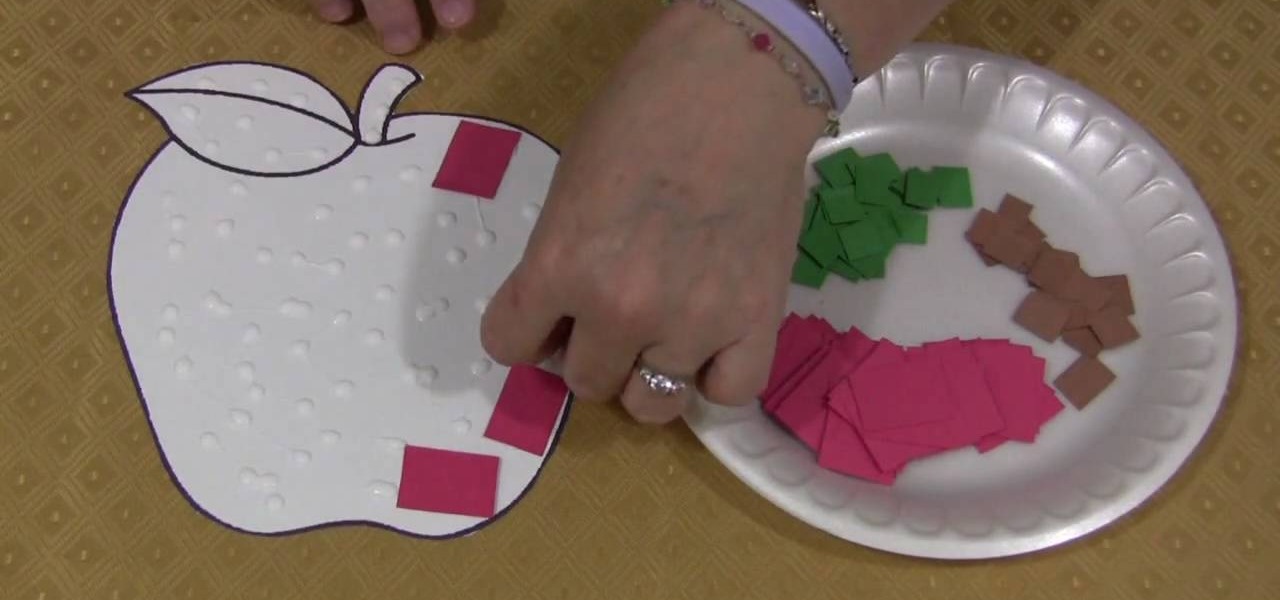
Shelley Lovett of Childcareland shows us how to make a mosaic apple using colored construction paper. This is a fun to do project, which enhances a child's motor skills. The basic outline of the apple is available on the website. It can be printed out and then cut out. Shelley has used red, green and brown colored construction paper, the traditional colors for apple. But she also stresses that we should let children use whatever colors they prefer. It will make the project so much more fun. S...
This video demonstrates how to make your own Greeting Cards at home. You will need the following: water color paint in bottles with sponge tip applicators and spray, ruler, adhesive, solid color paper stocks, patterned paper, a rubber stamp, stamp cleaning products, a bone folder, and a trimmer.
In this video artist Henry Li demonstrates exactly how to paint beautiful Chinese bamboo on xuan paper. Make sure to grab your ink and brushes to see the magic happen and this wonderful artist paints this wonderful piece. Perfect to practice your skills or paint a excellent piece for everyone to enjoy on your wall.
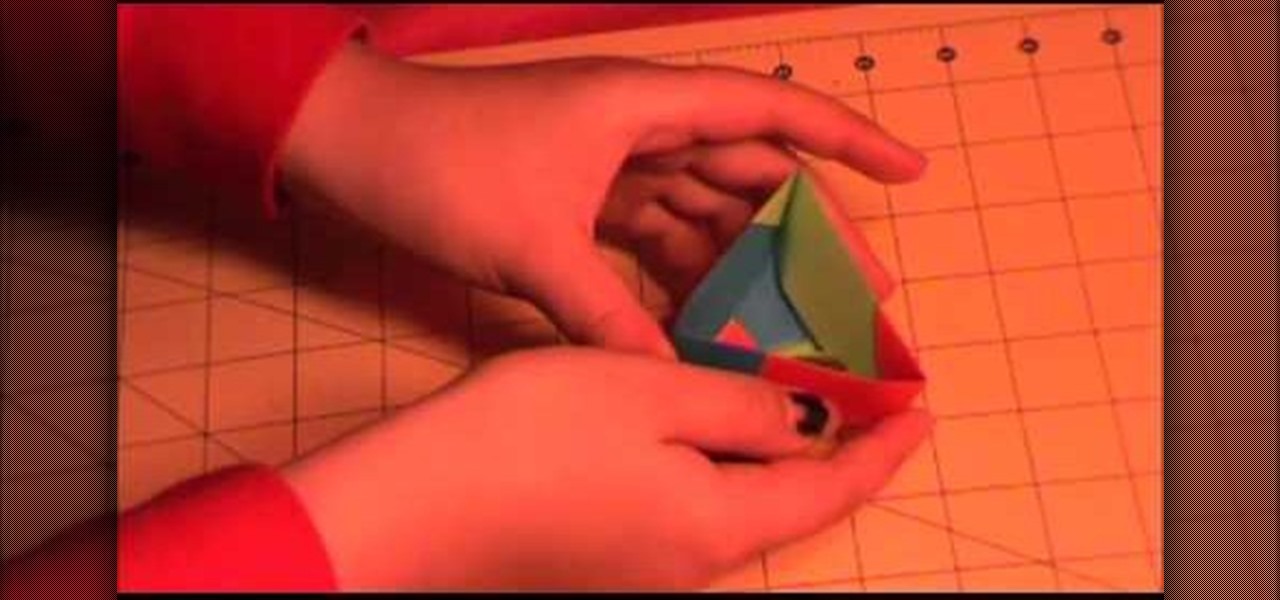
The Amazing Origami channel takes you through step by step instructions of how to build a triangle origami box in this video. Six pieces of origami paper, three different colors, are all the supplies you will need to make your very own box! First, separate the origami paper into two groups of three, all three colors should be in both groups. These groups will make the top and bottom of your box. The three pieces of paper used for the bottom will all use the same folding technique, this is als...
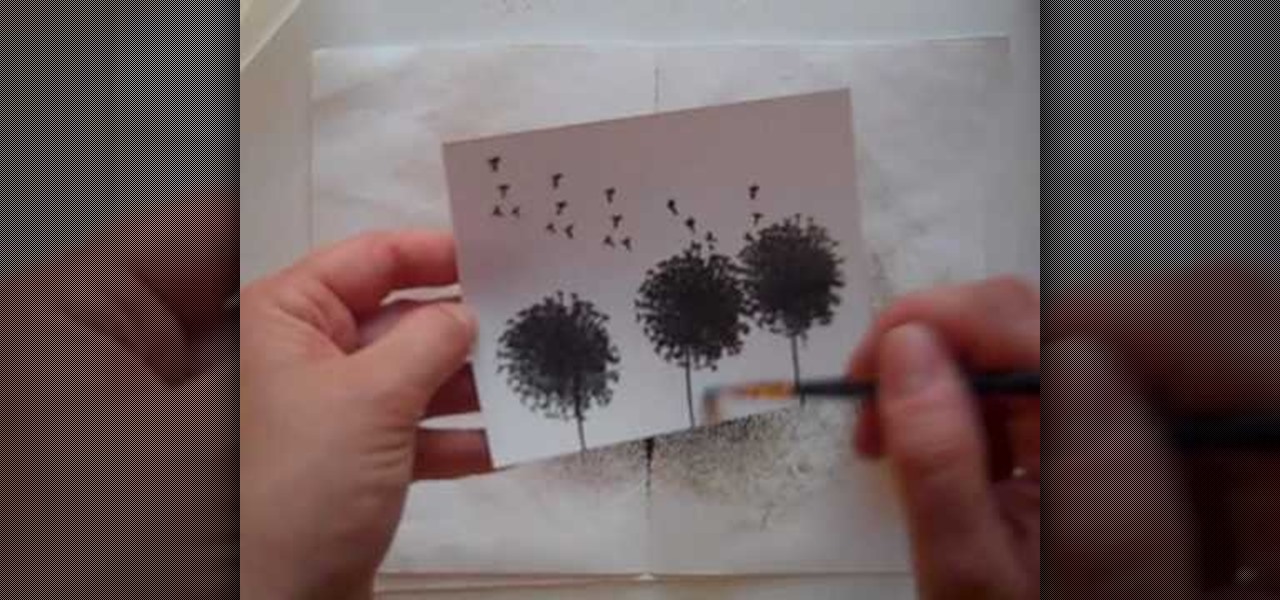
Anyone interested in scrapbooking can learn how to do the Brayer technique with ink refills for cards with this video tutorial. You will need a piece of glossy cardstock as well as stamps. Make sure to keep your fingers off the paper to avoid smudging. You will need the dandelion stamp to stamp the cardstock. Add a stem stamp to your flowers followed by the dandelion fluff along the top of your paper. Then, emboss your stamps with black embossing powder making sure to use a separate piece of ...
Predicting the future is always cool.. what if you could do it with just a piece of paper? With this tutorial, learn how to fold an origami fortune teller and at least pretend you can predict what will happen! All you need is a single sheet of paper and some pens or markers to record your fortunes and you are on your way. This is a great little thing to make anytime you are bored with friends - work, school, on the bus, anywhere!
If you want to master your skills on origami, you should watch this video. How to make an origami paper box: Find a piece of square paper. Crease the paper in half lengthwise and then again in the other direction. Unfold the paper which should be divided into four sections. Take a corner and fold it up to the center of the paper. Repeat for all four corners. Ensure that the tips all meet in the center for a smaller square. Fold one side of the square up to the center of the box. Unfold and re...
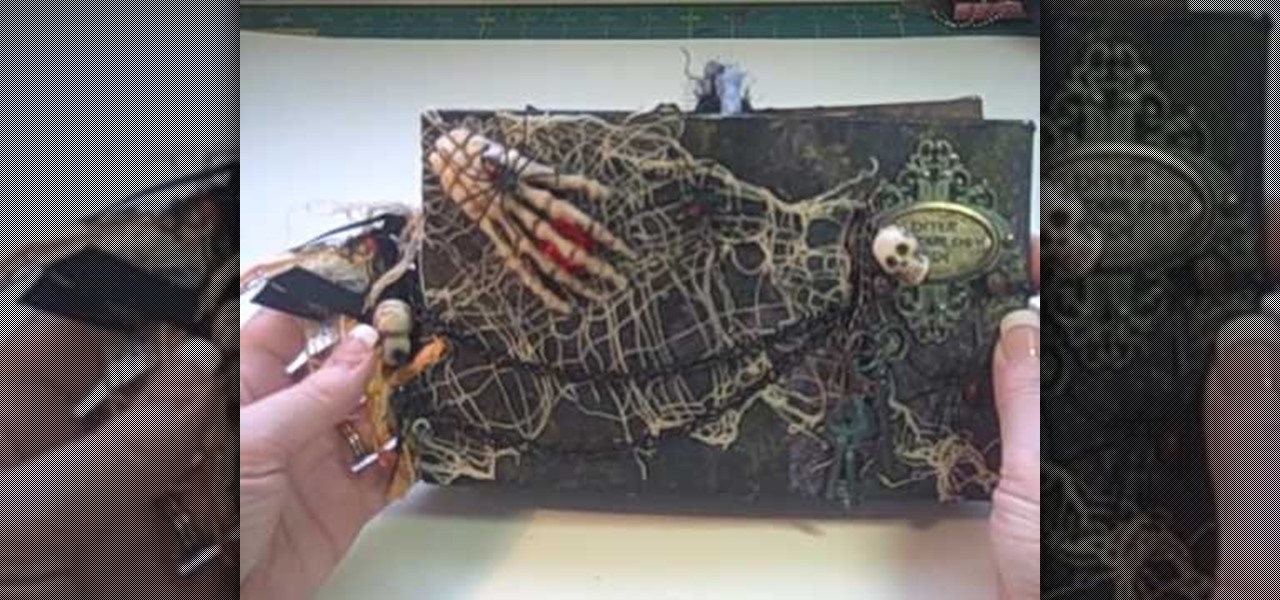
Halloween is just around the corner and this spooky paper bag album you can really create a masterpiece. If you love scrap booking this project would be a blast for you. All items were bought for less than a dollar at the local dollar store and the detailing is quite manageable from intermediate to advanced scrap booking. So if you have time and patience to make this then get ready to create an album ready for any Halloween adventure. In this video you will learn how to make a spooky Hallowee...
If you aren't familiar with Illustrator software it is very similar to the photo-editing software Photo Shop. This video is a guide on how you can make a paper scroll by using Illustrator. You can follow along with the video and make the basic shapes and then re-size the pieces to look almost exactly like an ancient paper scroll. This would be something really neat to make if you needed a background for an old-timey looking photo or if you needed to make up invitations for a church function.
In this video tutorial, viewers learn how to make an origami fortune teller. Fold a sheet of blank paper in half--vertically and horizontally. Fold the four corners of the paper into the middle. Flip the paper over and fold the corners into the middle. Fold it on the horizontals and diagonals. From then on, users can decorate the fortune teller. This video will benefit those viewers who enjoy origami and art.
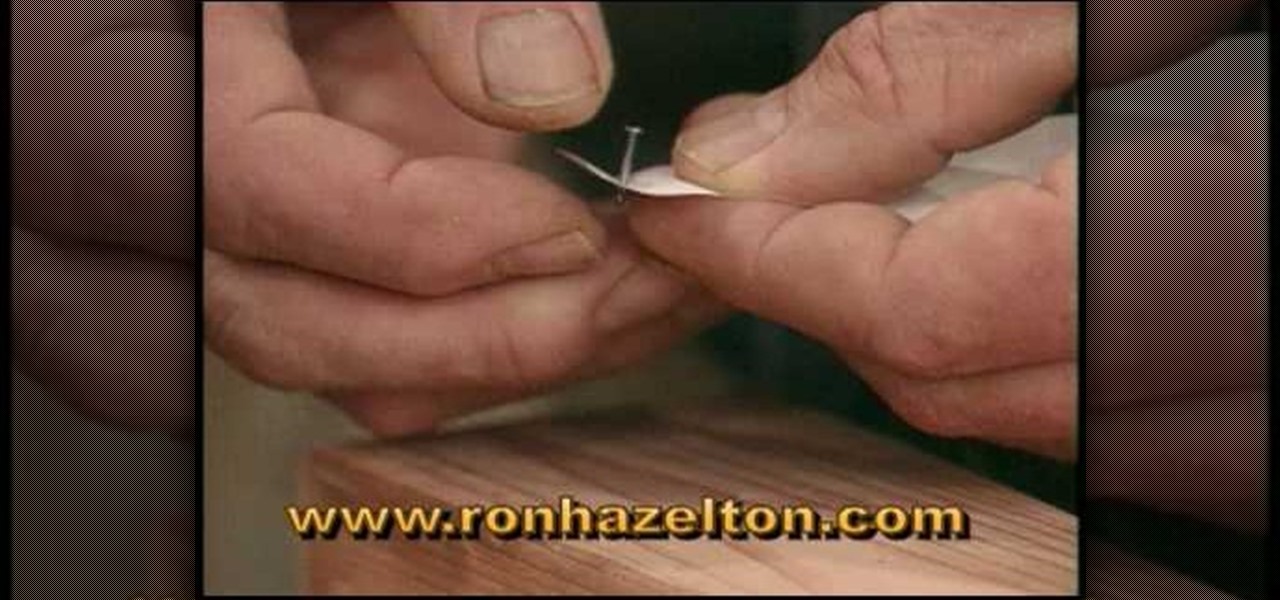
This video shows you how to hold small nails without hitting you fingers with a hammer. Get a piece of paper and push the nail through the paper. Position the nail where you want it and begin hammering it in. Before the nail is totally in, remove the paper and continuing the hammering. You can cut a little slit into a piece of cardboard putting the small nail into the slit before hammering. You can also put the small nail between the teeth in a comb before hammering.
Instead of buying a pre-made album at a crafts store, crafter Mary shows how to create custom miniature albums that make excellent gifts. You just need
Spread several sheets of wax paper on cookie trays, side-by-side. Using a butter knife, spread a teaspoon of peanut butter on each Ritz cracker. Set aside.
It is very simple to cook. First you take one paper bag and bacon and eggs. Then keep the bacon in the bag and keep eggs in a normal water bottle to freeze it. After that you can keep both the bacon and eggs in the paper bag. Then put the bag onto a stick. The bag should stay over the heat with the help of the stick. This process should continue for 7-8 minutes. Then you are ready to eat bacon and eggs.