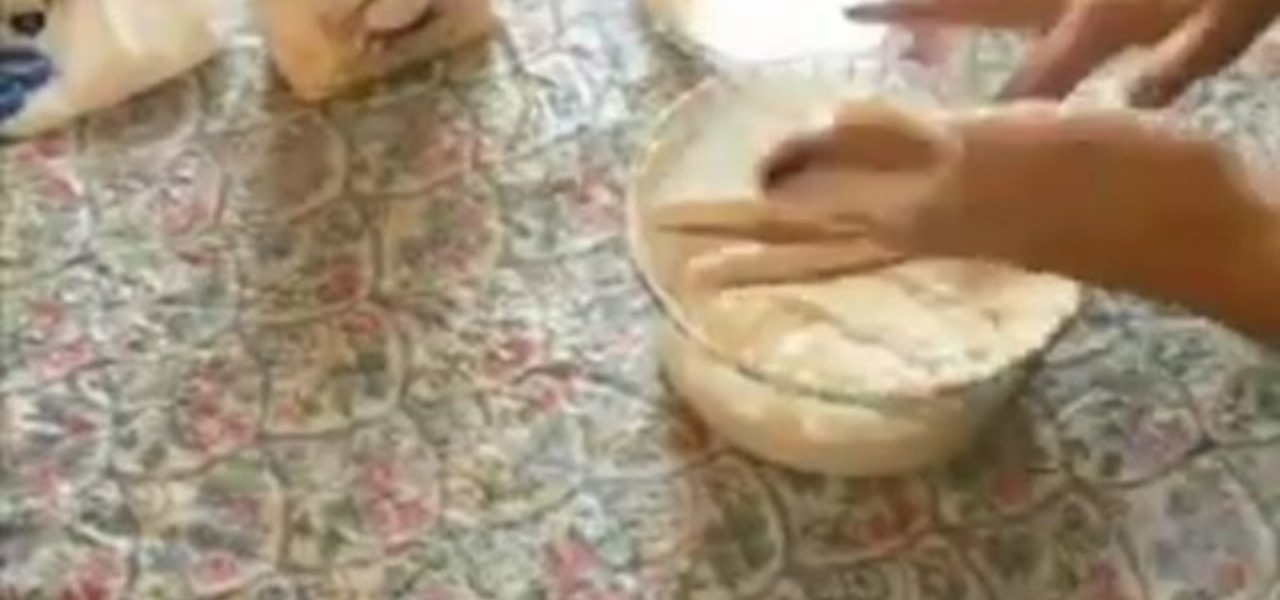
Papier mache is a very unique form of crafting that involves turning paper into sturdy, usable projects. In this video, learn how to make decorative bowls using this French method to display around your home or give as thoughtful gifts.
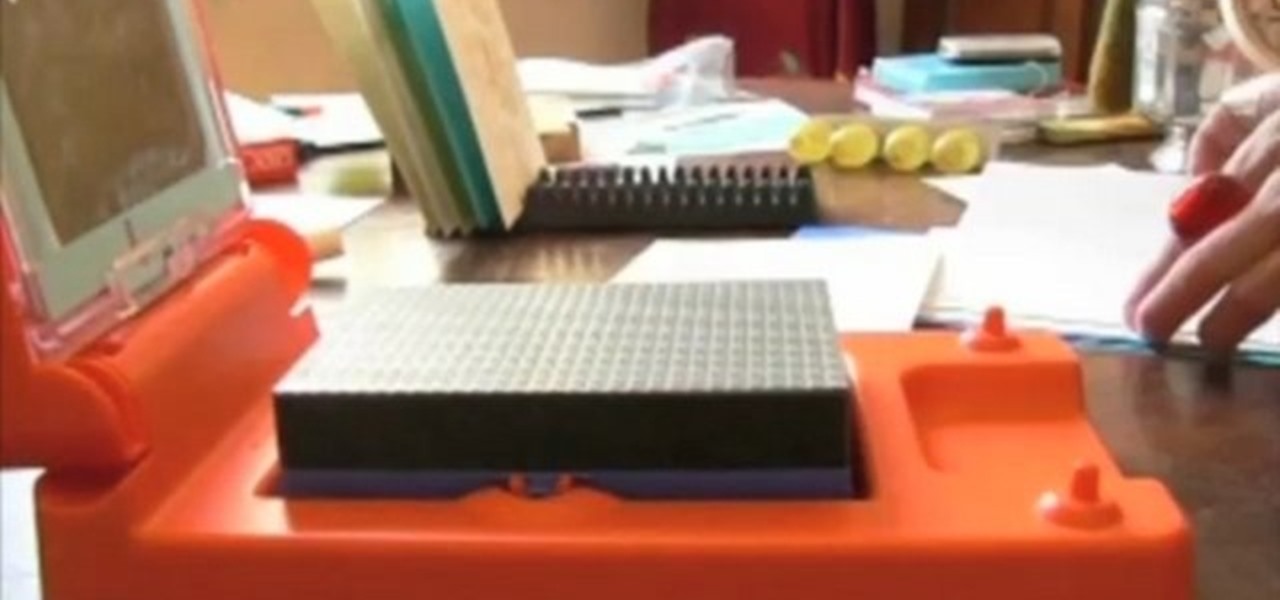
In this tutorial, learn how to use a Japanese paper printer called a Print Gocco. This device is used to print beautiful, uniform projects so that you can make many designs, quickly. This is great to use for wedding invitations or programs. This video will show you exactly what to do once you receive this fun printing press in the mail - all the way from Japan!
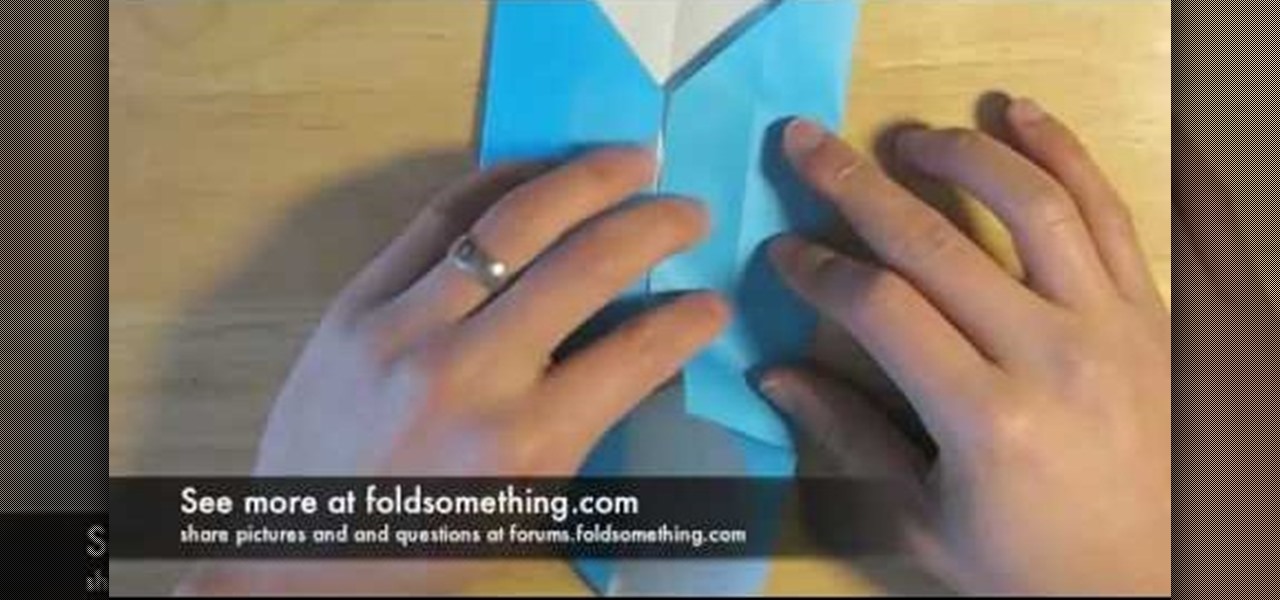
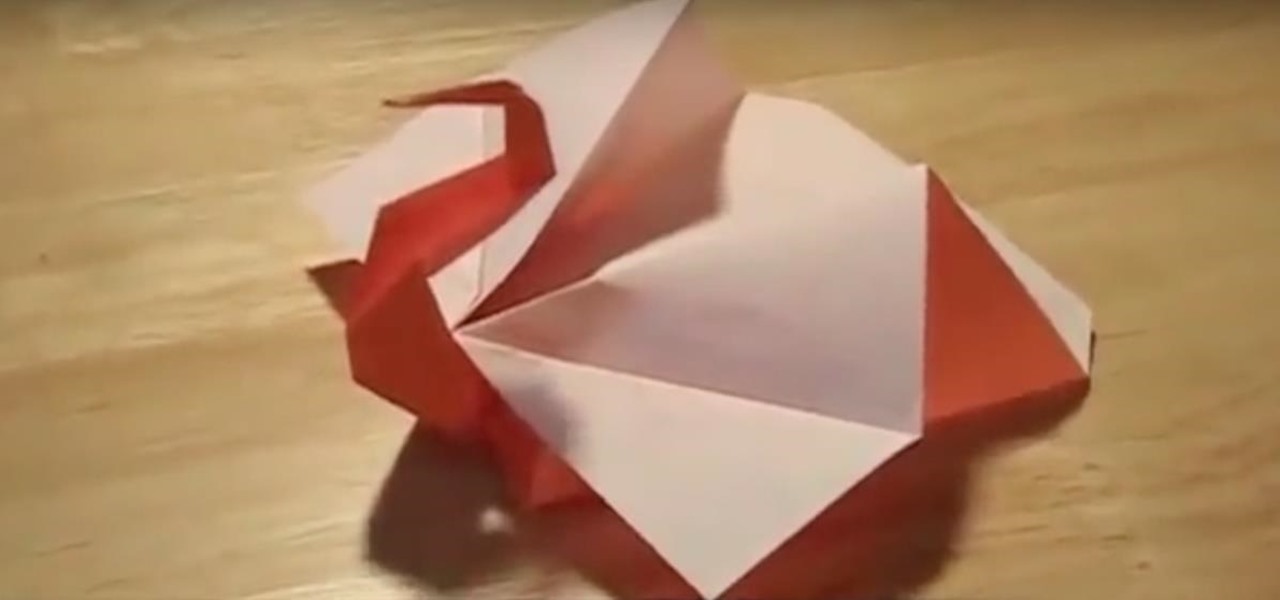
Links of Love is showing you how to make origami heart shaped cuff-links. Start with a 20.5 cm square of paper. If you want to make a cuff link you can wear you should use a square the size of 4 to 5 cm. Fold a good crease and then unfold. Fold two corners in toward the middle and then unfold. Fold one side in toward the middle crease. Only crease up to the crease of the corner fold. Unfold and fold the side into the new crease just made. The creases are guidelines that will be used later on ...

This tutorial greeting card video will teach you how to create your very own suspension card that's great for holidays and other occasions. Everyone will marvel at your cardmaking skills when they see this beautiful paper piece of art.
Got an empty bathroom tissue roll? Then you've got a gorgeous ornament for only a few pennies.

Learn how to make a cool little heart shaped cup out of two pieces of paper and some folding and cutting. Similar to origami, the Japanese art of kirigami requires the use of scissors.

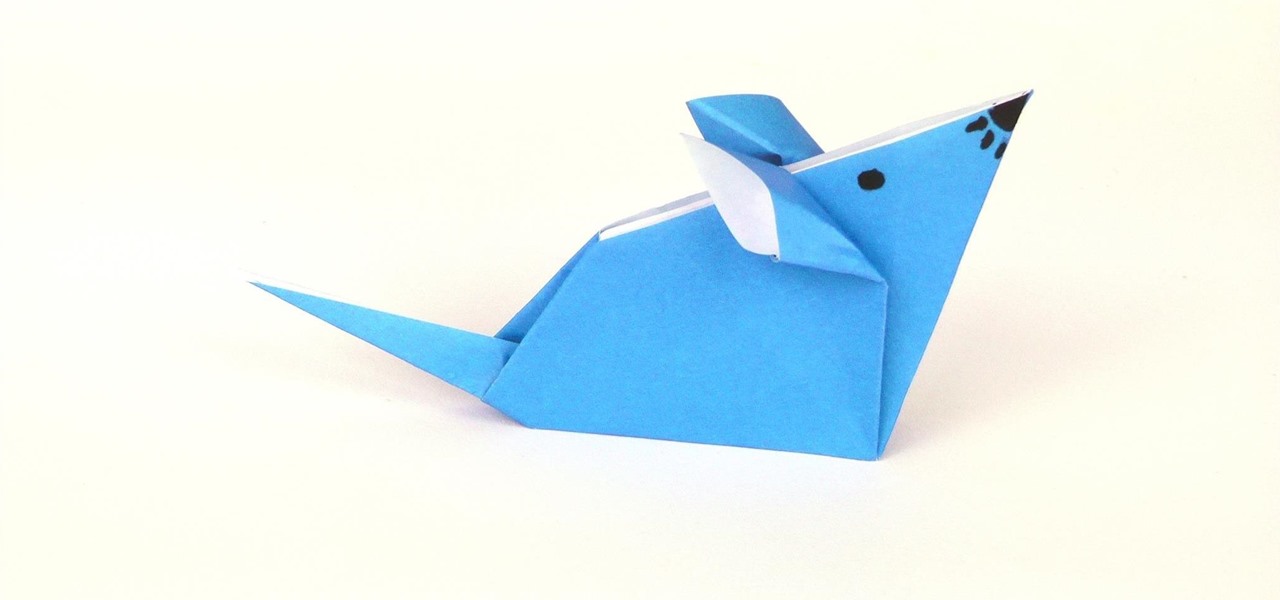
This tutorial teaches you how to fold an origami mouse with an ordinary sheet of paper. This model is suitable for beginners and children. Origami is great for small kids as the only material needed is paper, no scissors or glue that could do harm!
Home chemistry is great, but what happens when you forget to label your chemicals? How do you know if you turned a clear glass of ammonia into a clear glass of unobtainium? Chemists have a tool for just that.
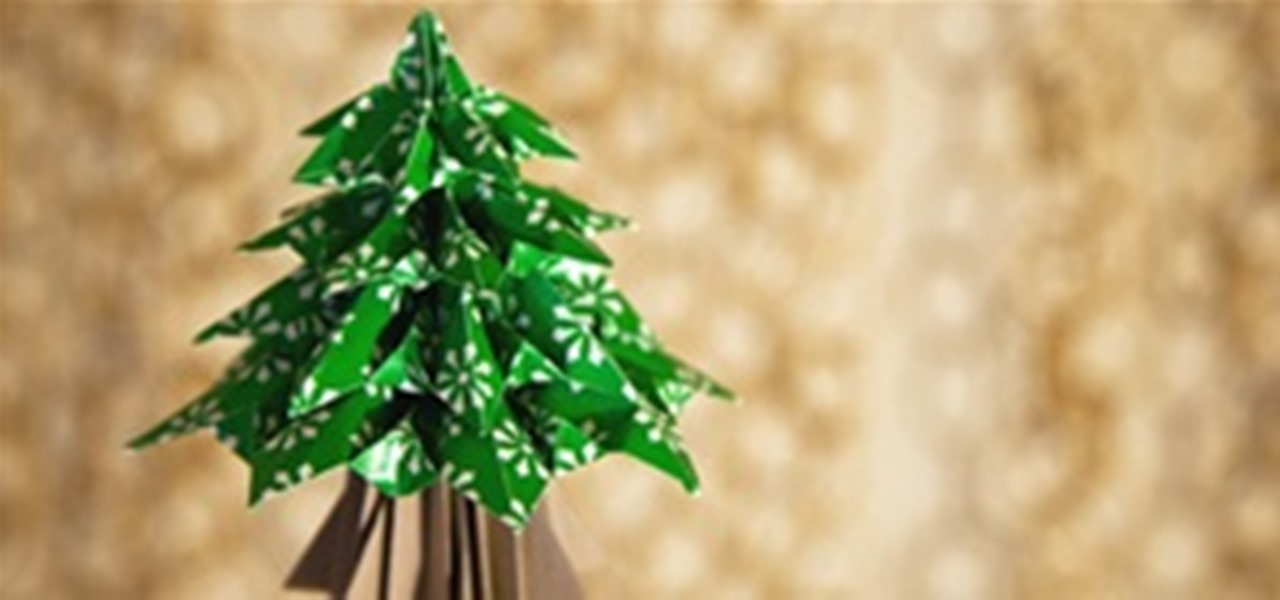
This is how my version of an origami Christmas tree turned out based on the instructions I posted awhile back. Cory also made a version from white glossy paper, which looks great. I opted for the green and brown look, but it wasn't easy.
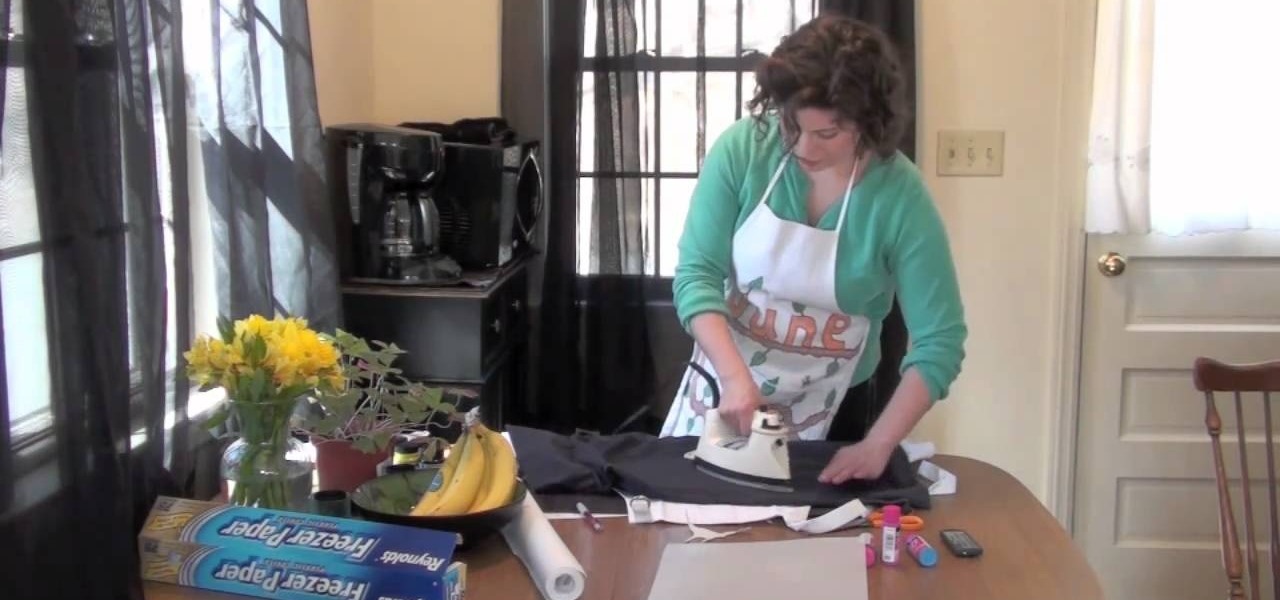
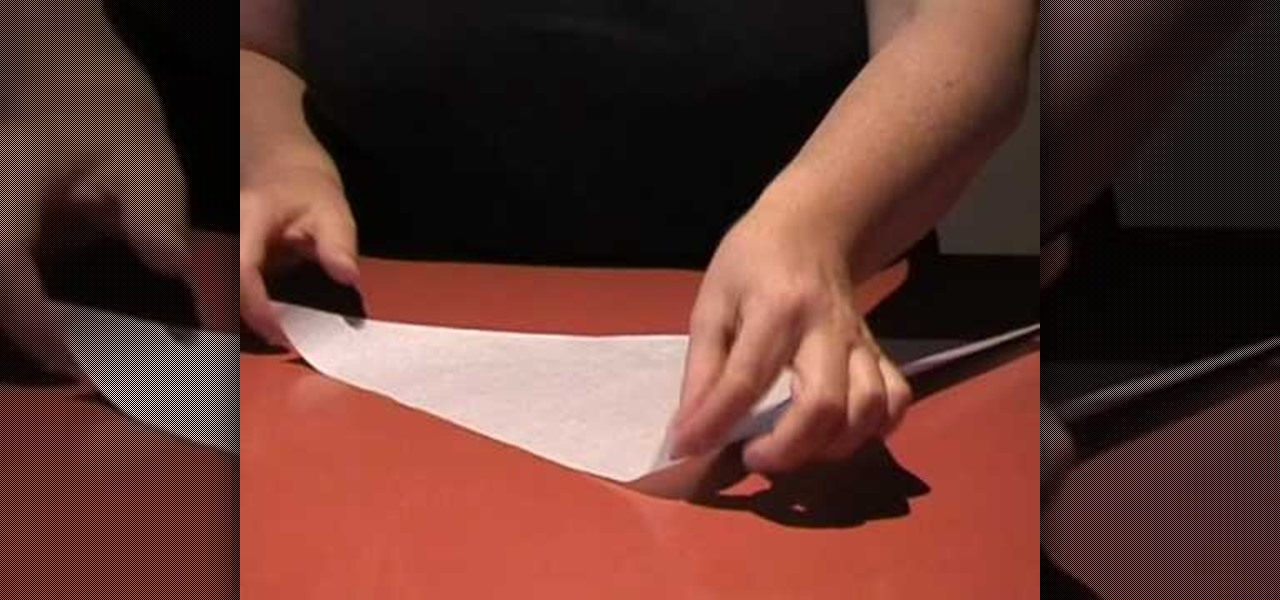
Learn a fun and easy way to decorate your clothes with these iron-on freezer paper stencils. This video will show you how to create stencils perfect for personalizing aprons, tote bags, or t-shirts. With these stencils you can make thoughtful gifts for all of your loved ones.
Because who wants to mess with all those wires, programming and power sources? You can make your own origami robot out of paper or cardboard! Though it probably won't do as much as a real robot would, it's nevertheless a fun project to do! All you need are a few sheets of paper (you can also used cardstock or a thin cardboard, depending on how sturdy you want your robot to be). Then just follow the steps in this tutorial!
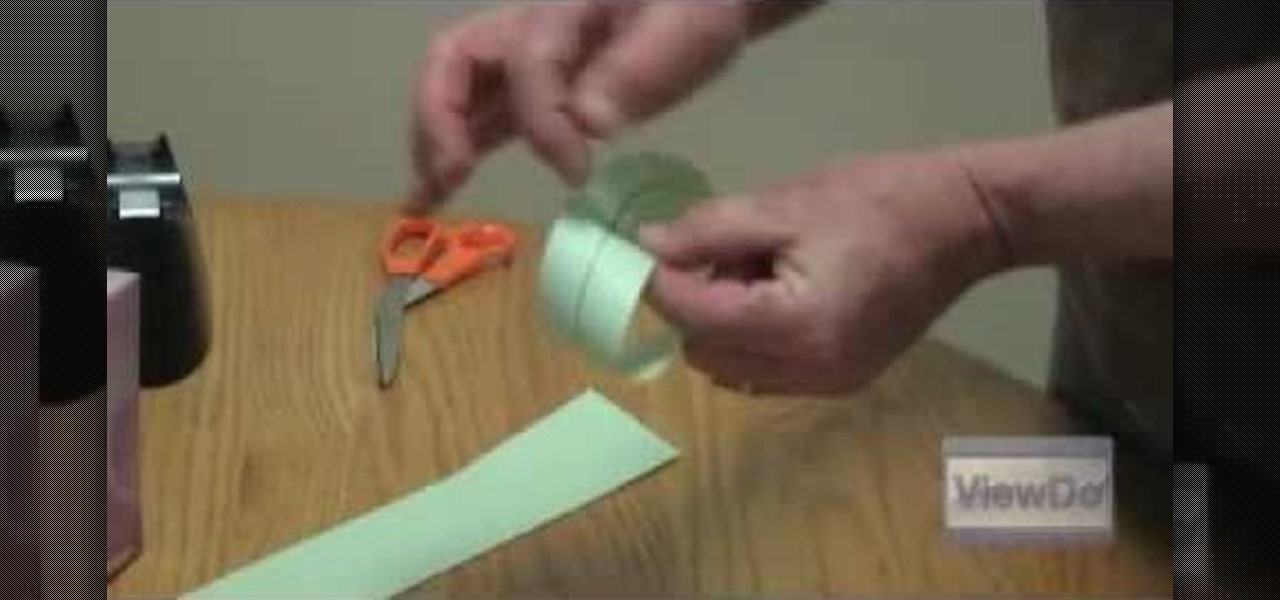
Want to impress your friends or maybe that special someone by pulling out foot after amazing foot of paper out of your hand? Of course you do! Now, with this sweet little video you can learn how to use a prop called a mouth coil to do it.
Cake decorating requires A LOT of materials. But that doesn't mean you have to purchase everything you use. In fact, you can make many of the things you need, including your icing bag.
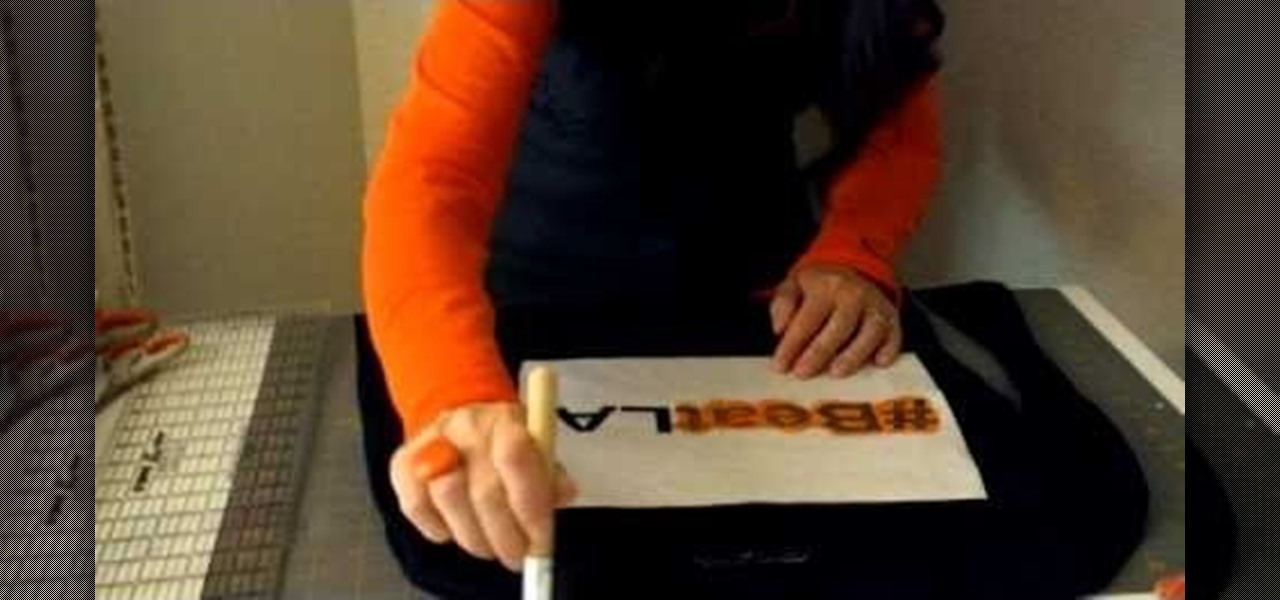
Proclaim your love for hash tag #Bestof2010 by literally wearing it on your chest! Show off your Twitter addiction in the most fashionable way possible by making this awesome hash tag design t-shirt.
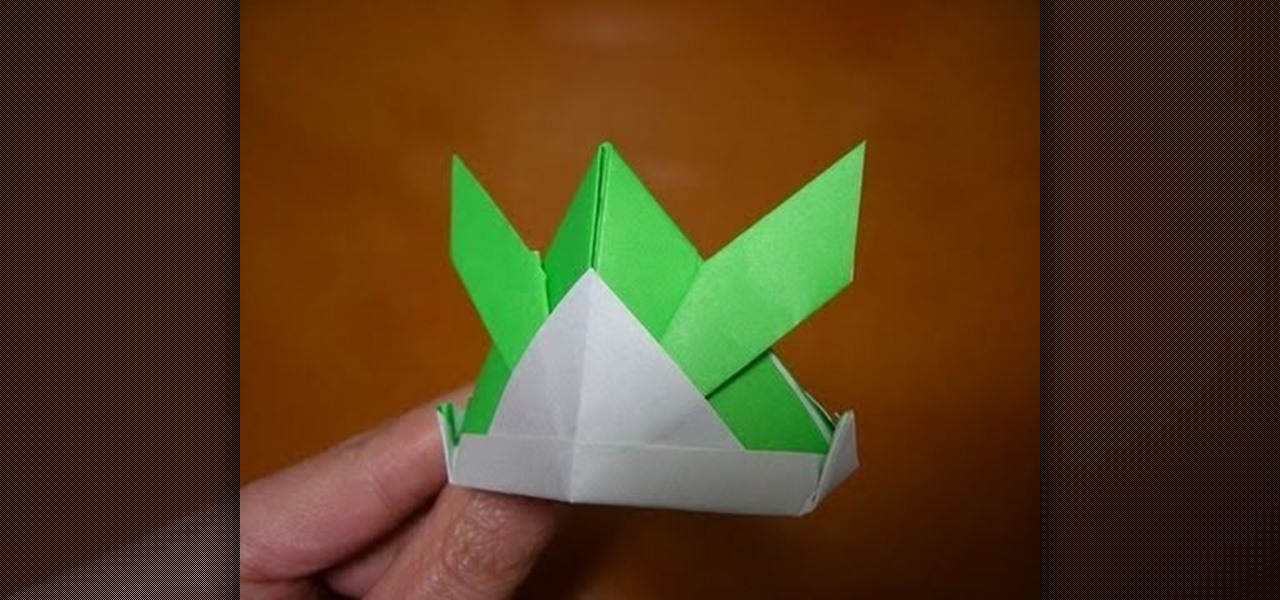
This is a very easy tutorial showing you how to fold your own tsuno kabuto, or samurai helmet, out of origami paper. This makes a great decoration or gift for a samurai lover, and can be folded with any size square paper.
Make a wish! I wish... I knew how to fold a falling star out of origami. Well, now your wish is granted! This is an easy and fun tutorial that shows you how to fold a five pointed shooting star from origami paper!
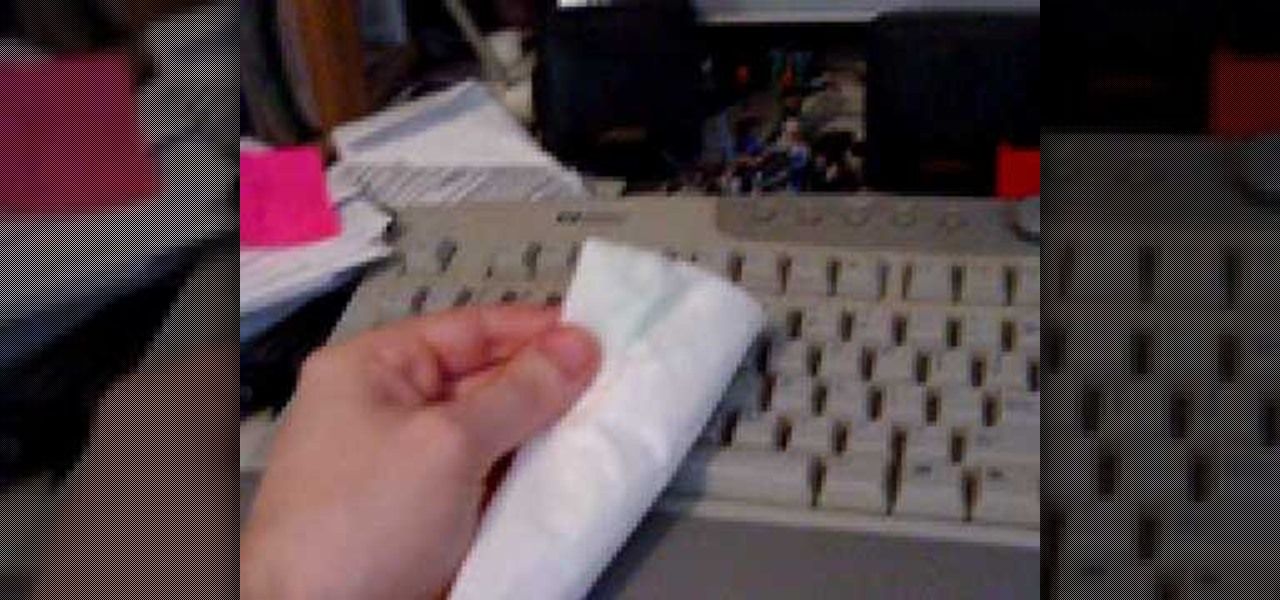
In this video from Defcon Computers we learn how to clean your computer keyboard. You can use cans of air, or take off your keys. But in this video we learn how to actually clean the keys themselves. With the computer off, put Windex on a paper towel, and rub the key. Put more Windex on your paper towel and continue to rub the keys. Rub them individually and also clean the spaces in between the keys with the paper towel. Again, make sure your computer is off or else you'll get all sorts of er...
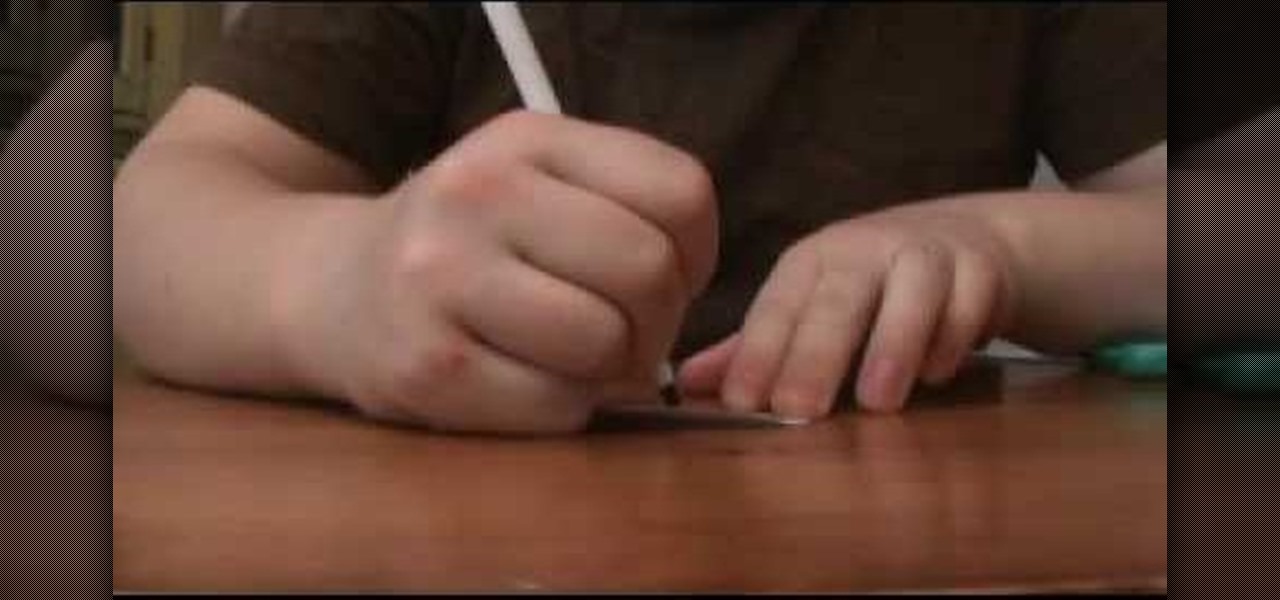
In this video, we learn how to make note cards for your research paper. Note cards will help keep your data organized and easy to organize. Take a pen and write out the title of the card on the top, then write out the pages you got the information from next to that. From here, start to write down information on the card, covering one topic per card. Use any notes that will help you out and have the most amount of information on them. After this, use a highlighter to highlight the different wo...
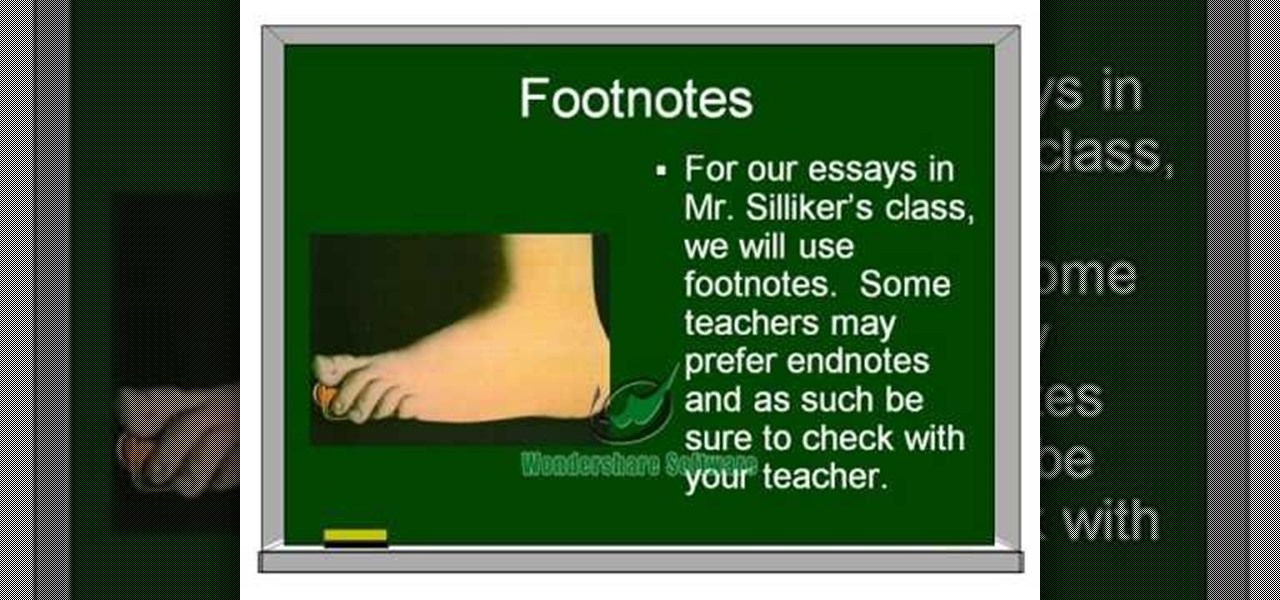
In this tutorial, we learn how to add a footnote to a research paper. To do this, you will need to have all the sources written down where you got the information for the topics that you're writing about. Make sure you give credit to all the places that you go the information, or else you stole it and it's plagiarized. You will need to write down the author's name, title of the source, publication company, city of publication, copy date, and page number. To add the footnote, you will simply w...
If you fold this out of some blue, green or violet paper, it's a peacock! But if you decide to make it from brown, orange or yellow paper, it's a turkey! Make a dozen of them to use as Thanksgiving decorations!
You can create some lovely and cute cloth pumpkins to decorate your house for Thanksgiving! All you need is some scrap material in fall or pumpkin colors, and a few rolls of toilet paper. Wrap the fabric around the toilet paper, tuck and secure!
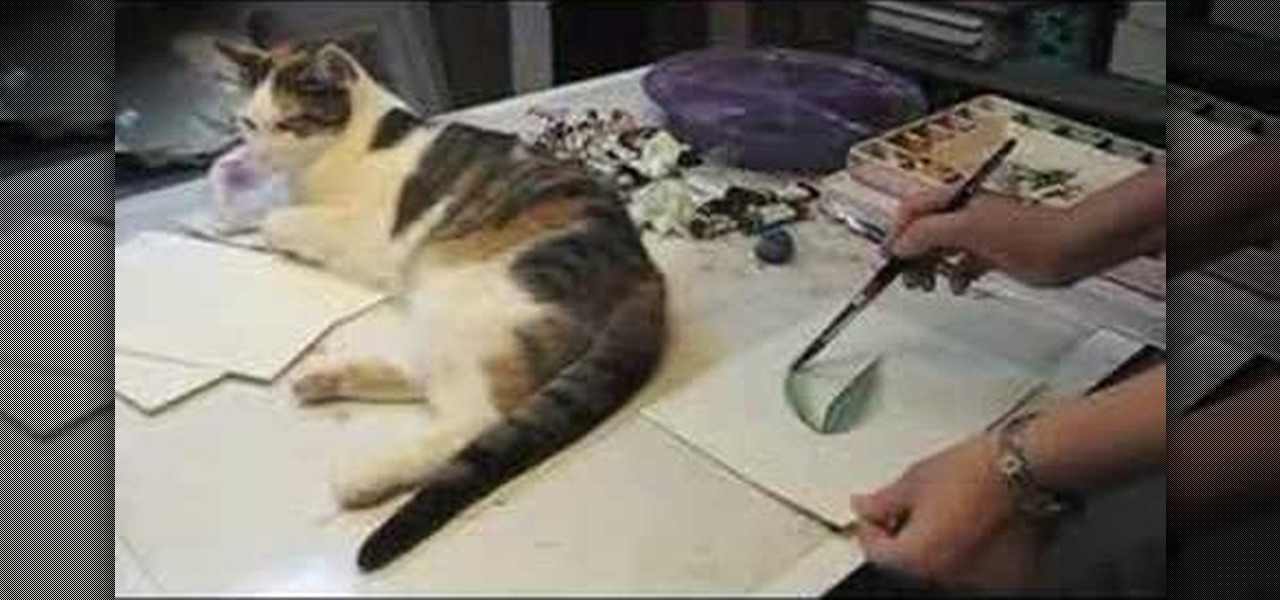
In this tutorial, we learn how to use the cold pressed watercolor paper technique. Start out with one leaf, then use your brush to apply more color above it. Continue to apply the paint and try to blend it. It will be difficult to blend and get a smooth effect, but it will look great. You can also add your paint to the dry paper by brushing on more paint and creating different layers with your brush. Once you apply enough, you will get the smooth look with the paint and it will look great. Ei...
In this tutorial, we learn how to cheat on a test in a short sleeve shirt. First, take a piece of paper and cut out a circle from it. Make sure it's small so it can fit in the palm of your hand. After this, write down all the answers or information that you need onto this piece of paper. Once you're finished, take the paper and stick it into the palm of your hand. Make sure the writing is facing out towards you. Then, when you need the information you can simply open up your hand, then close ...
Desperately want to see what's inside an envelope without anyone knowing you've snooped? There's an easy trick you can use to make paper turn invisible - just long enough to read through it without leaving any trace behind! You just need to get your hands on some hexanes.
This tutorial shows you how to take a paper bird cage and add some embellishments and extra decorations. Use this as a hanging ornament, turn it into a home decoration, incorporate it into your next scrapbook project, add it to a colage or anything else you feel inspired to do!
Whether you're looking for something extra to hand out to your trick or treaters, or party favors for a Halloween party, this tutorial shows you how to make a cute treat bag. You can make this bag using just some mini paper lunch sacks at the grocery store, plus a few extra paper crafting supplies.
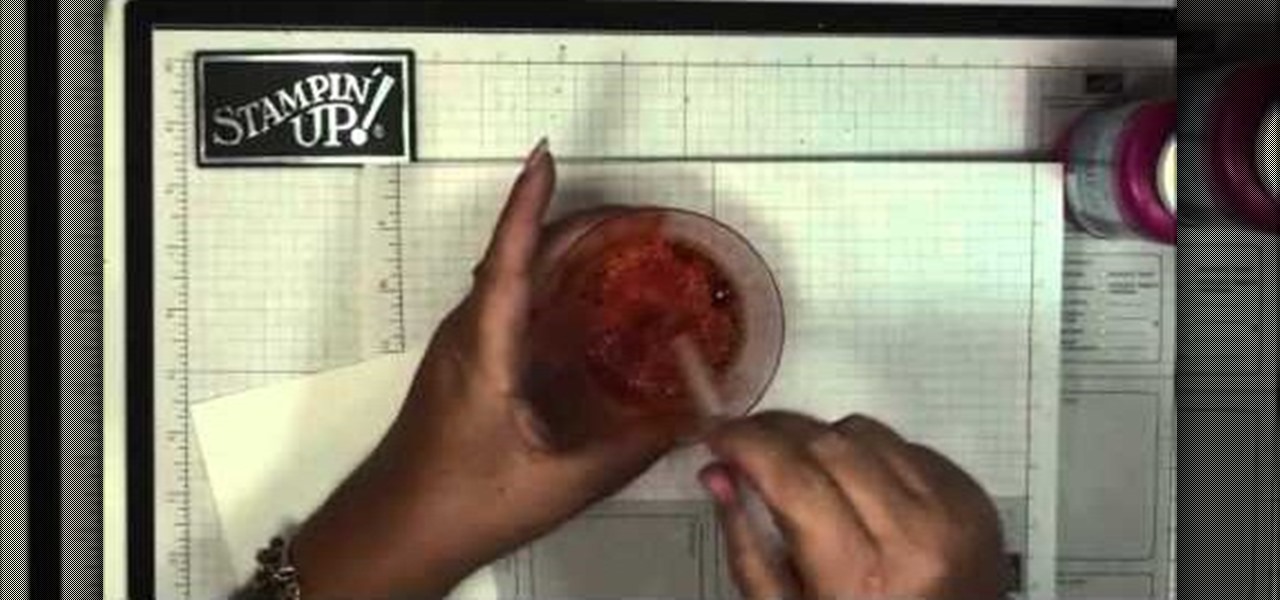
Here's a fun technique you can use to create a unique background for your next greeting card, scrap book or other paper crafting project. All you need is some bubble solution and a few drops of re-inker in your favorite color.
This is a simple craft you can make with a child who loves to play dress-up. You'll need cardboard or posterboard, aluminum foil or reflective paper, glitter pencils, a circular trace, a paper puncher, markers or colored pencils, glue and safety scissors.
Teach your child how to tie shoelaces, and have fun at the same time! You can make a pair of paper shoes with laces by using recycled cardboard, foam leaves, a glue gun, a hole punch, scissors and, of course, a pair of shoelaces!
Here's an easy craft you can do with your children to make a patriotic Fourth of July paper hanger. All you need is some construction paper in red, white and blue, a pipe cleaner to serve as the hanger, a stapler or hot glue gun, and some scissors.
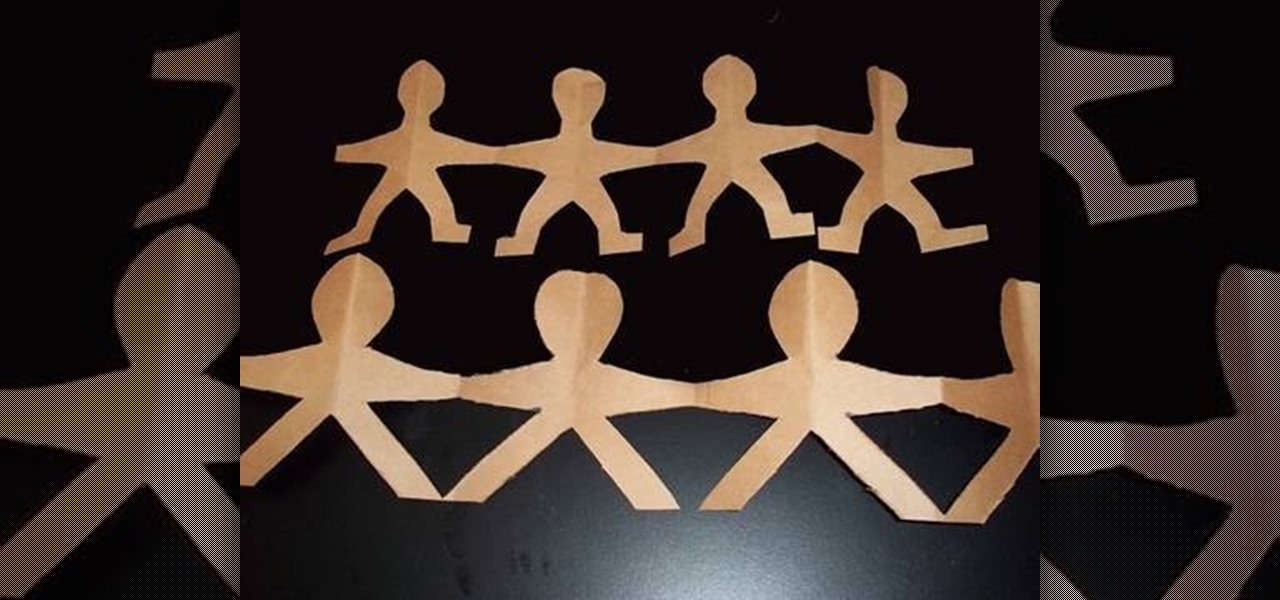
This is a very basic and very easy tutorial on how to make a chain of people holding hands. All you'll need is a large piece of paper, a pen to trace out your silhouette, and a pair of scissors.
In this tutorial, we learn how to fold a paper rose. First, you will grab a napkin and unfold it. From here, roll the napkin around two fingers. Then, take it off and go two inches down from the top. Roll around this quickly, stopping half way. Grab the corner of the napkin and bring it up. Then, pull the rest down and continue to twist. Take your flower and make a leaf, then twist around the stem tightly. Put your fingers in the middle of the rose and use your finger to swirl it around. This...
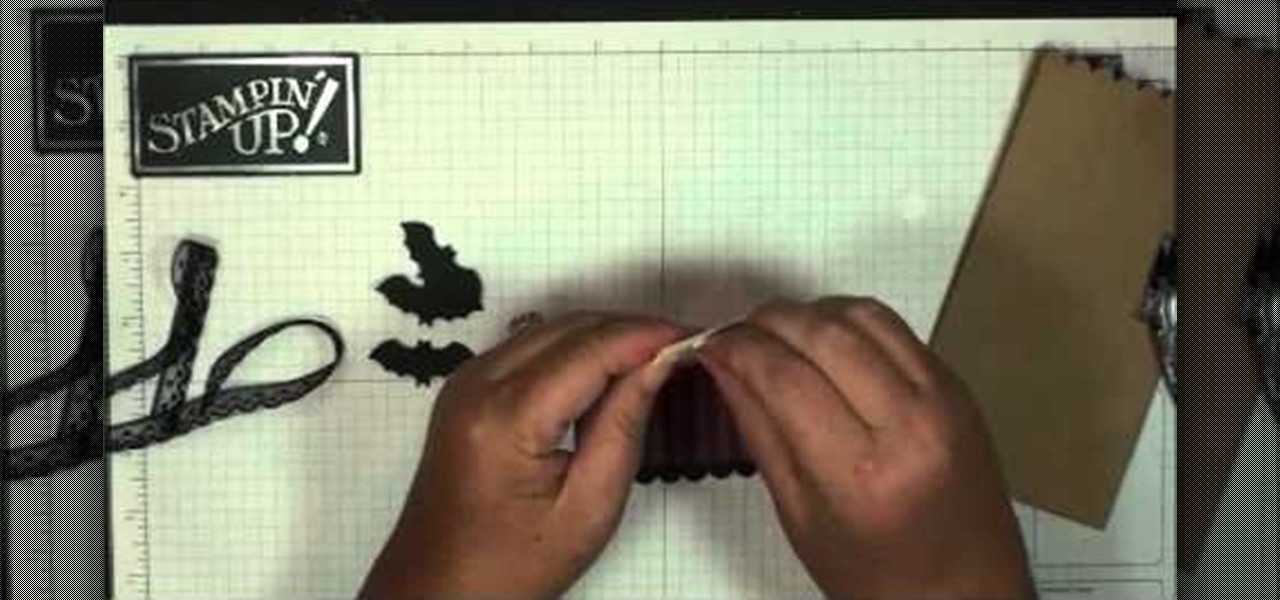
In this video we learn how to make a paper bag mini. Start out with your paper consistent throughout the entire bag and then distress the pieces that you place on it. When you open it up it will have several pages inside of it. Use different types of stamps, distressing, and tags to make this unique. Use a lot of tags to put notes and sentiments on and then add in designs that are all your own! Add in as many pages as you would like to and create something interesting. Leave it plain or add i...
A great craft for a rainy day! This project is very simple and only requires some construction paper in various colors (brown, pink, red, orange, purple, yellow and blue), glue, scissors and brown marker. You can add glitter or stickers to the 'frosting' if you want.
Start with a clear glass locket, and then follow these instructions to make a few cute paper inserts to put inside your locket. Add a few personal touches, and you have a versatile and creativity-inspiring accessory that lets you dress up your wardrobe in a unique and clever way.
In this video, we learn how to write an essay for school. This is important because it will help you get into college! The main parts of an essay are: the title page, outline, body, introduction, conclusion, and footnotes. Make sure your title page has the title of the paper, the student's name, teacher of the class, and due date for the paper. For the rest of the pages, make sure you follow the guidelines that have been set by your teacher to properly write. Add in a lot of details and make ...
Want to create a neat looking decorative item using just paper? Origami is the answer. The Origami Cherry Blossom paper ball created in this video by Tomoko Fuse requires papers, dexterity and a toothpick if the presenter is to be believed. The first steps consist of creating precreases on the paper. This step makes the subsequent folds easier to make as the fold lines also double up as markers. The second step consists of creating a complex shape. The same design is then repeated 30 times. F...
This video will show you how to make a 2 dimensional object in a 3D world. A well-known example of this is a mobius strip, which can be made with a strip of paper, scissors, and some tape. After cutting out a long strip of paper, you should take the strip of paper, give it a half twist and tape it together, making a loop. This loop, or mobius strip, exists in a three dimensional world, where by following the loop, you seem to always arrive at the same point. Furthermore, the loop can by cut d...
In this video, we learn how to quickly make an origami kusudama. This only requires six pieces of paper to make. First, fold one piece of paper into a triangle, then open it up and fold it in a triangle on the opposite side. Open this back up then flip over. Bend in the edges to make a new triangle, then press down the creases on the side. Bend the middle of the triangle up to the point on both sides. Bend these back down, then fold over the side and make a crease. Open up the bottoms where y...
In this video, we learn how to move from notes to a rough draft of a research paper. First, you need to place all your notes in order and create an outline for your paper. Find out what important information you need, and filter out all the information you don't. After this, you can begin to fill in your outline and add any additional information into your outline. After you have this completed, you can start to write your rough draft using the outline you just created. Keep your notes around...