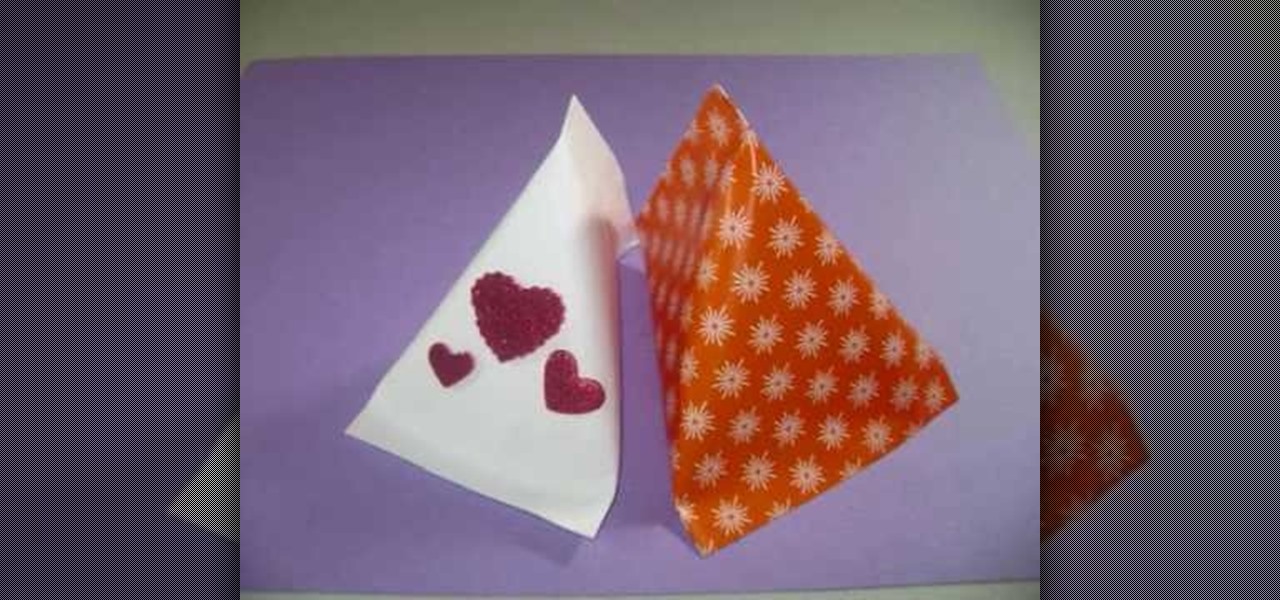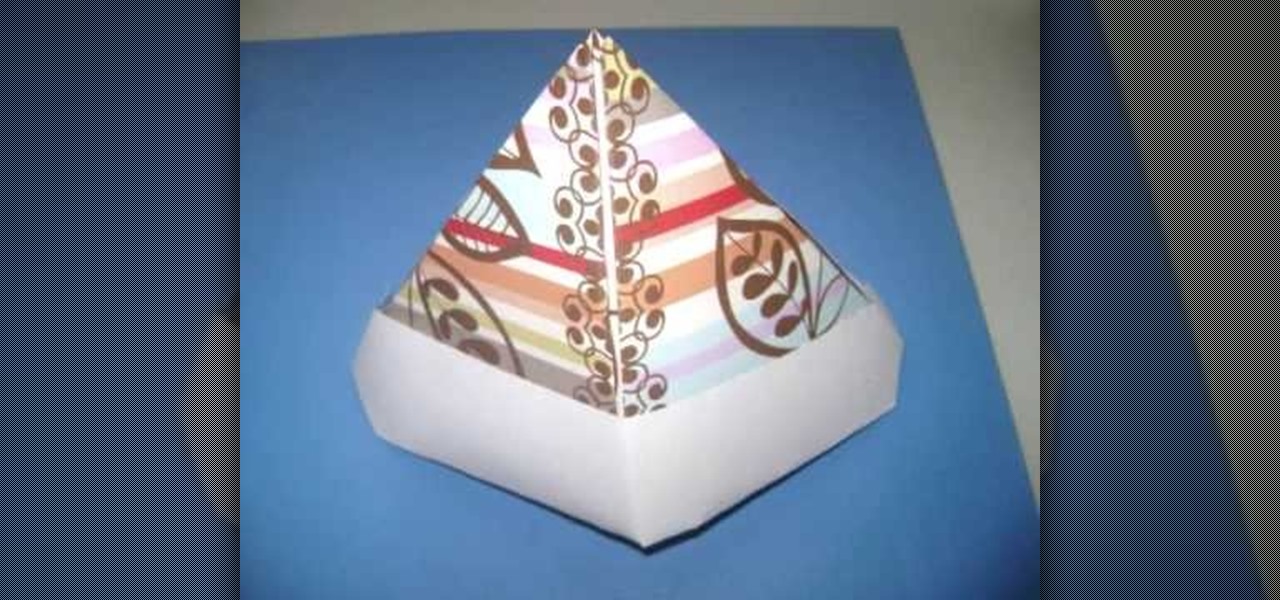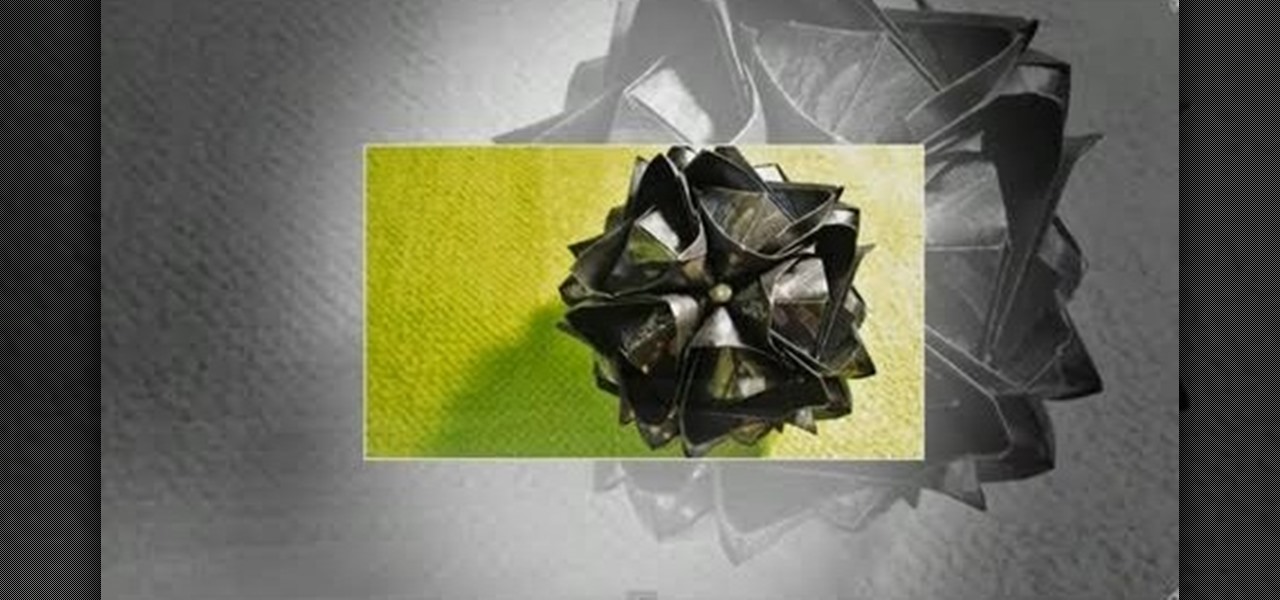
Sometimes, entertaining kids can be quite a hassle and a bit difficult to accomplish. There are so many different factors involved, especially when the kids are the deciding factor. But for those parents or teachers out there who have kids that enjoy arts and crafts, this video is for you. Find out how to make this cool geometric decorative paper tile from scratch. Sit back and enjoy!

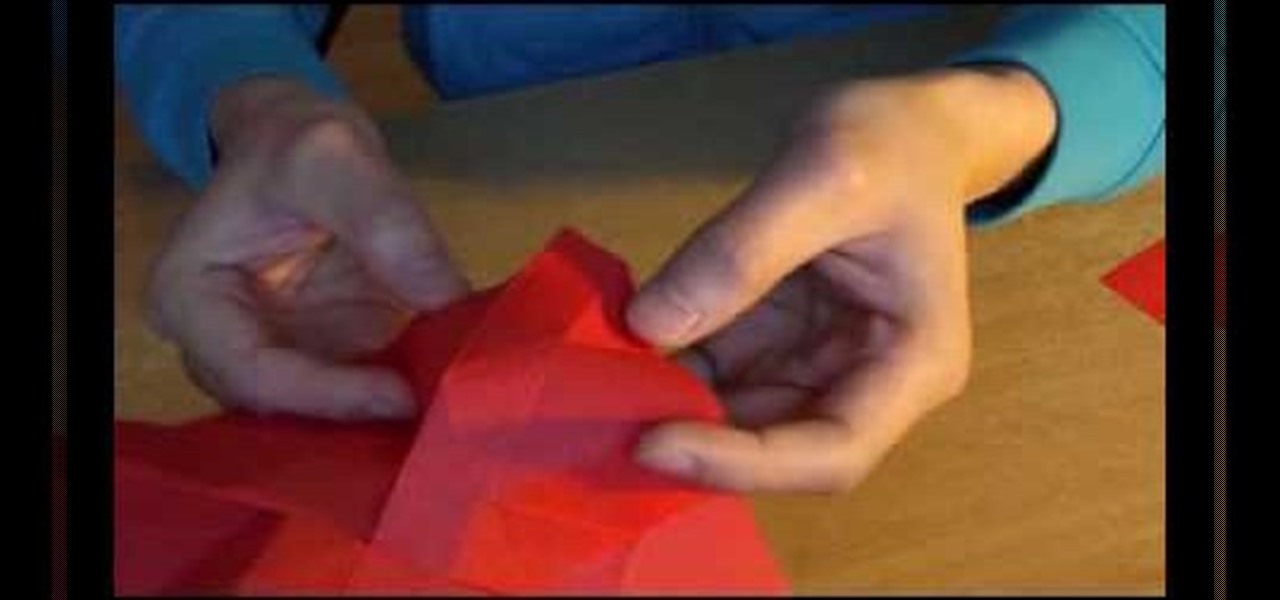
This tutorial guides you through the process of making a mennorade star with origami. It begins with a square of paper that is folded in half and then folded from the corners to make guides on the paper. The paper is then cut in half to make two rectangles. Each rectangle is then folded and trimmed to form a 'Z' shape. It is necessary to complete these steps for ten more pieces of paper. The next step is to take to of the 'Z' shapes, perhaps of complimentary colours, and link them together so...

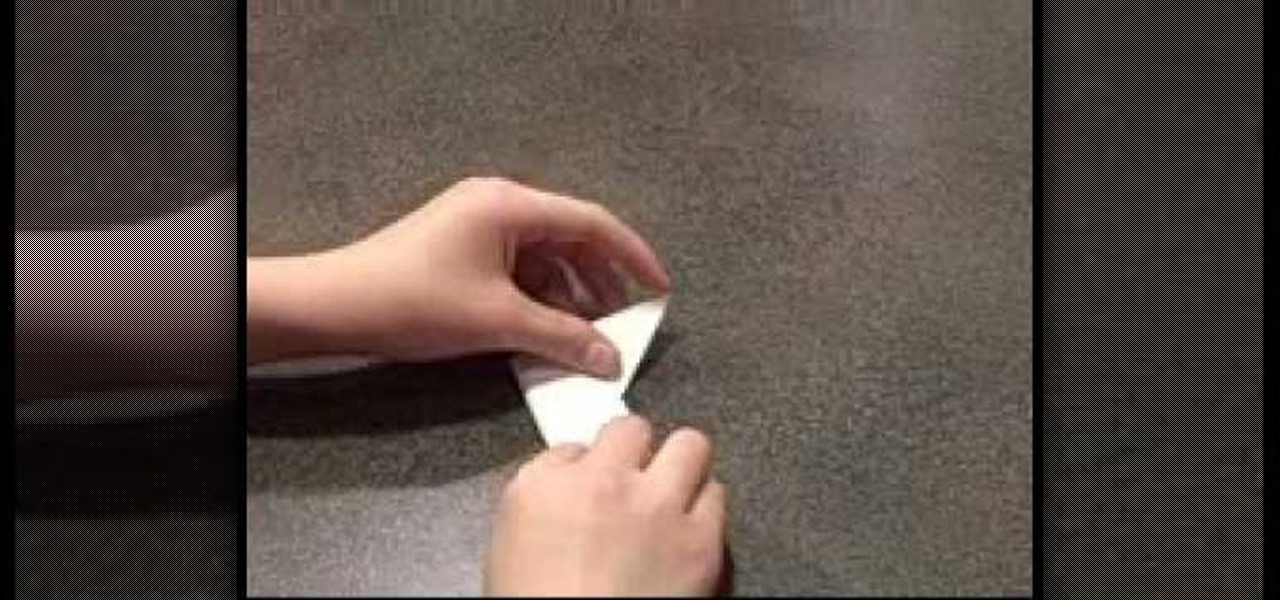
To make an 8 sided ninja star first you need to take a sheet of the paper you are using and fold this in half, the short way. Unfold this so you have a crease. Now, fold the corners into the center crease. Do this to the top corners. Now, flip this over and fold over the bottom of the paper to the back and crease this. Now, you will want to tear this bottom half creased part off. Fold this into a square and fold the square into halves on both sides and tear this off to create smaller squares....
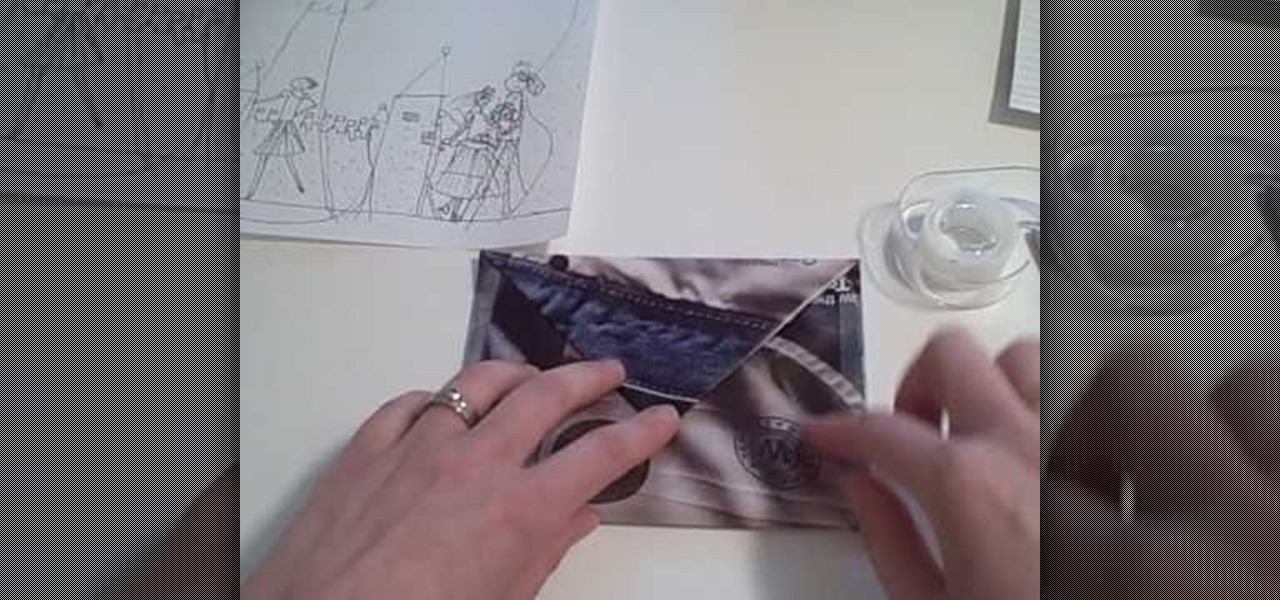
Everyone loves the personal touch of a homemade greeting card, so why send such a beautiful gift in a plain white envelope? To maintain the crafty beauty of your card, why not make a custom envelope to go with it?

Cathie and Steve from the DIY Network are here to show you how to make handmade hardware jewelry sure to wow passersby! In this segment, learn how to paper a washer and use it as a necklace pendant to create a unique piece of jewelry for cheap. Customize the washer with paper colors & prints that fit your own personal style... Impress others with your new jewelry piece, do it yourself spirit, and creativity!
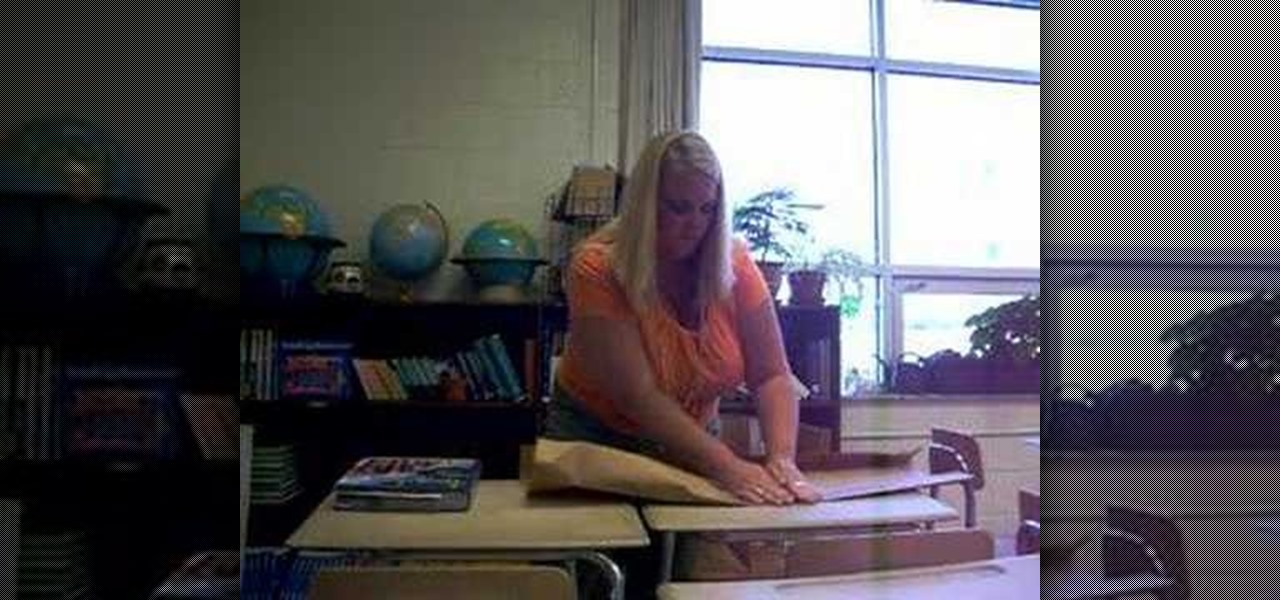
Need to protect your school books? This free video guide has got you covered. With its help, you will learn how to make perfect custom book covers using a brown paper grocery bag. For more information, including step-by-step instructions on how to cut and fold your own custom protective book coverings, watch this handy how-to.

This video describes the steps on how to make Origami claws. These paper claws are very sturdy and don't break easily.
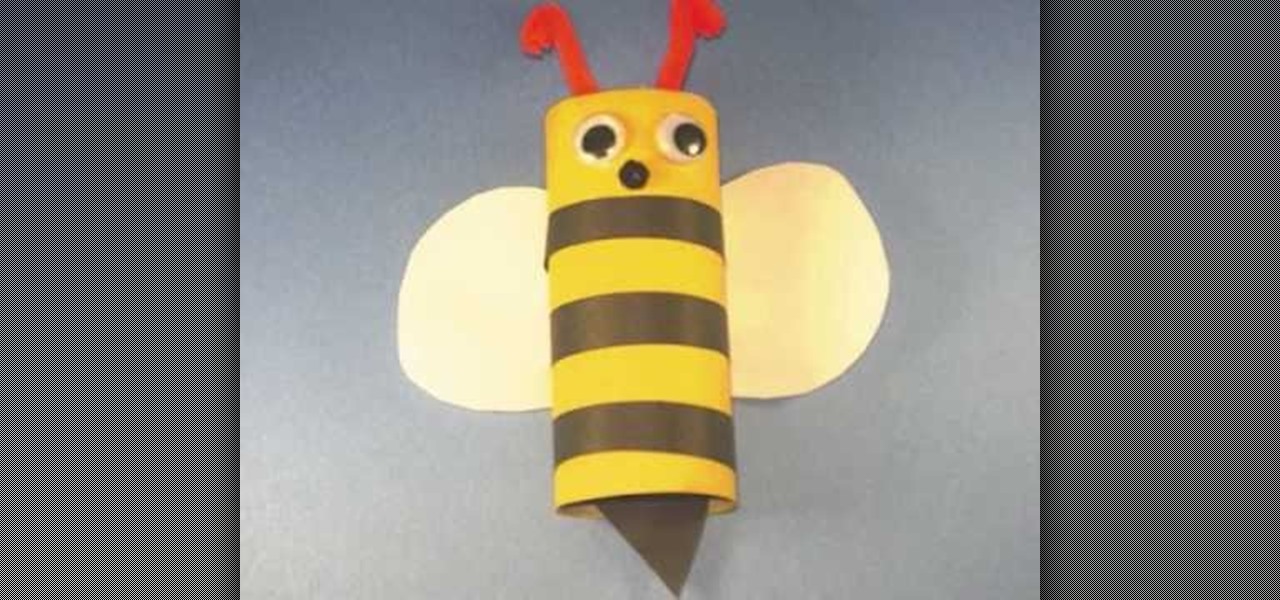
This is an arts and crafts project that is sure to be used in classrooms all over. It's easy to do and can be achieved by children as young as 5. This tutorial uses an old toilet paper roll to make a cool looking bumble bee.
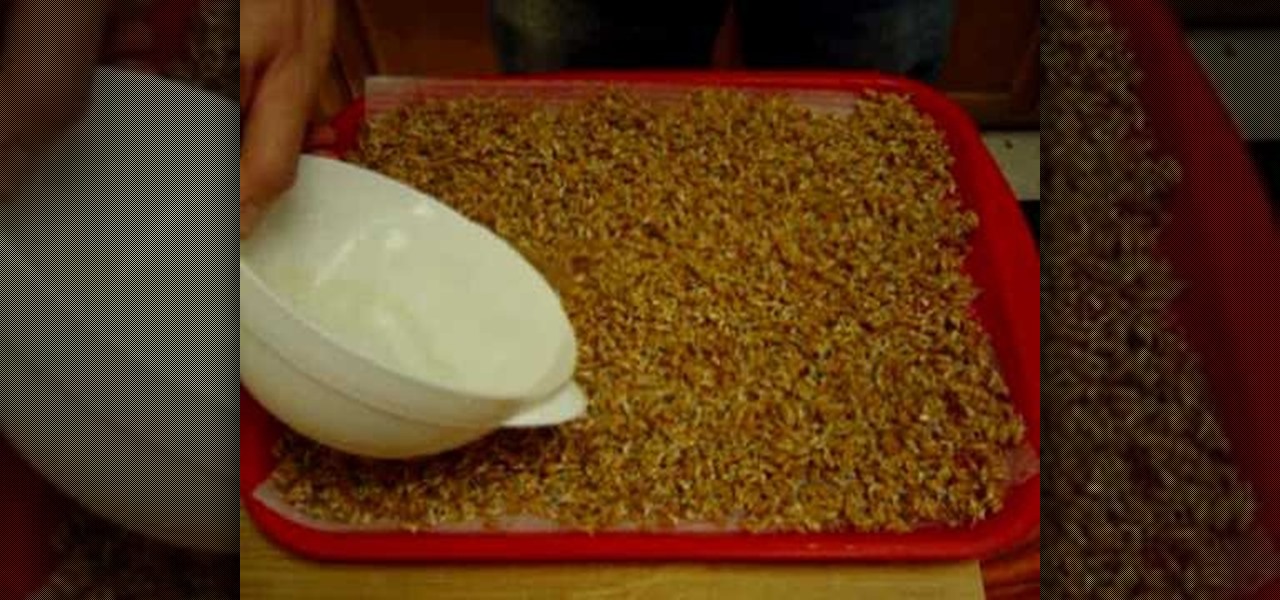
The video takes you through steps on how to grow wheatgrass without the hassle of using soil. Before using this method, prepare a batch of sprouted wheatgrass. It’s advised that you should let the seeds sprout in a jar for two to three days for best results. When the wheatgrass is ready, place two or three layers of paper napkins on a large, flat try. Moisten the paper towels but don’t over-flood it. Then take your jar of wheatgrass and evenly spread the seeds on top of the paper towels. ...
In this Family video tutorial you will learn how to make a spiral sun catcher. Take a contact paper and draw a spiral on it starting at the center and drawing out wards. Now remove the backing of the contact paper and lay it down sticky side up. With markers, color in the spiral. Then take the contact paper and lay it on top of the backing and smooth it out. Now cut along the line of the spiral with scissors. Tie a piece of ribbon to the inside end of the spiral and now you have a spiral sun ...
In this video hosted by Paper Cat Designs, learn how to make adorable miniature paper roses to add to your spring arts & crafts projects. Apply these little paper roses to your scrapbooks, mini albums, favor boxes, journal pages, or even as wine glass charms to add a small touch of beauty! Get creative this spring with help from this video demonstraton.
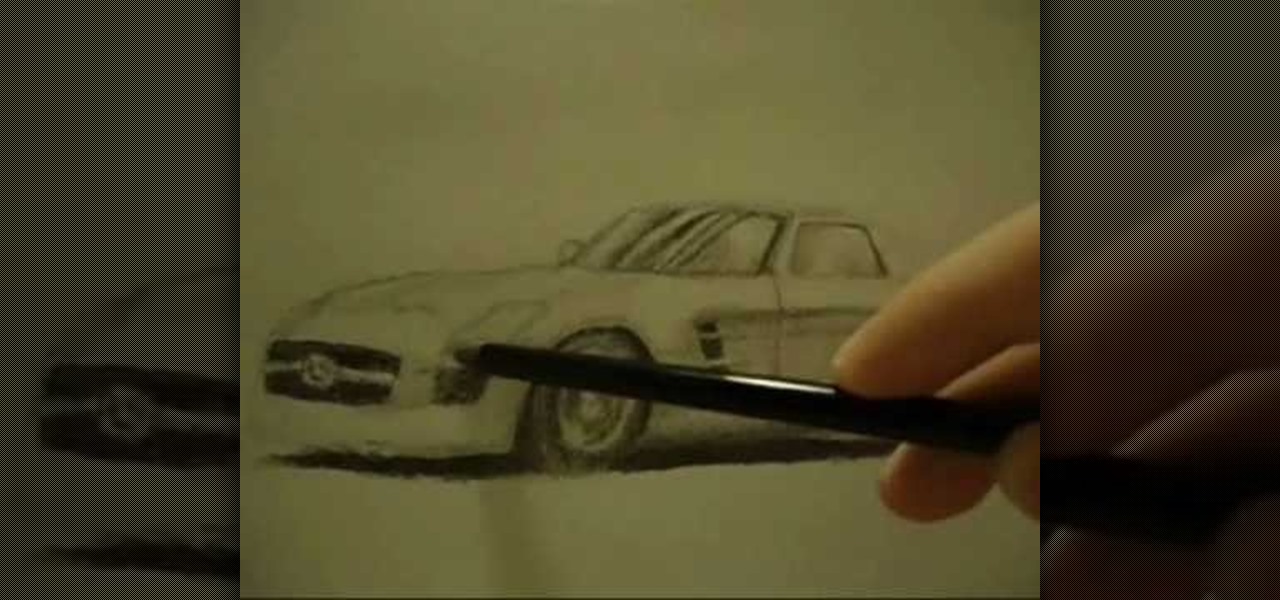
This video illustrate us how to draw a realistic car on paper. Here are the following steps: Step 1: First of all take a sheet of paper and pencil.
Try to use the same brand of spray paint throughout the project, read the instructions, follow them. Different brands may have different instructions, this is why we advise against mixing brands. Begin by lightly sanding your project with 600 grit sand paper, anything lower can potentially scratch your project. Use a sturdy tape to cover the parts you want to leave unpainted. Use a very light coating of primer, sand it with 600 grit sand paper (lightly). To add 'special effects' to the job, u...
In this how-to video, you will learn how use set up a studio table for watercolor. First, make a water blotter out of toilet paper and tissue folded in half. Fold the towel into the paper. The gator board and paper should be in front of you, with the sketch at the left side. If you are right handed, everything should be on the right side. This allows for ease of painting. The kleenex and trash can should be on the right as well. If you are left handed, everything should be on the left. This p...
In this tutorial, learn how to make cute little paper boxes for candy or other small gifts. These boxes make great holders for holiday gifts or little lunchbox surprises. In this video, learn how to design and fold origami candy boxes with your kids that can be used for almost any occasion.
Looking for a fun activity for your kids birthday party? In this tutorial, learn how to origami a paper hat with your kids. The benefit of using these hats is two fold! Not only do they make great party favors, they also provide an arts and crafts project to keep the kids entertained for a while.
In the words of Gertrude Stein, a rose is a rose is a brightly-colored cellulose fiber sculpture. And with this free video guide, you'll learn how to make your own small paper roses from folded paper using the Japanese art of origami. For more information, including a step-by-step overview of the folding process, watch this free origami lesson.
Equal parts fun and what-are-you-an-idiot dangerous, paper darts are a perfect way to pass ten or so minutes on a slow, rainy day. Just make sure you have protective eyewear. This video guide will walk you through the entire assembly process.
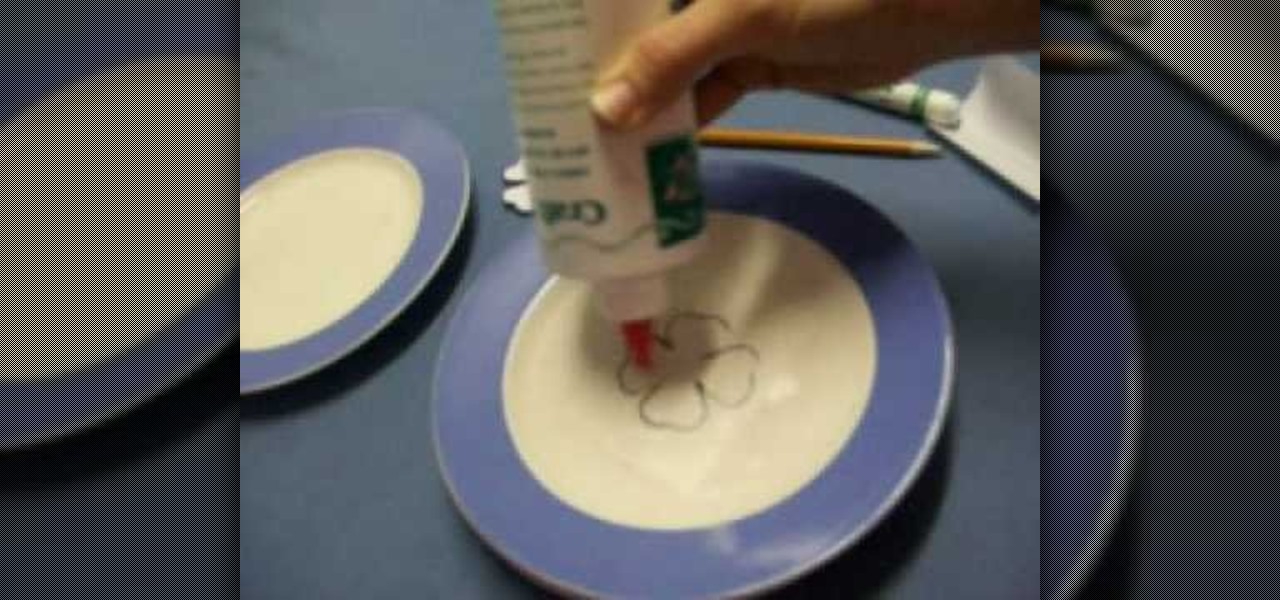
In this how-to video, you will learn how to make a four leaf clover pendant. Start off with contact paper and place it on a smooth flat surface, such as a large plate. Trace a four leaf clover shape onto the paper using a pencil or pen. Fill the entire shape in with glue. Once it dries, you can color the pendant with a green marker. Finally, you can peel off the contact paper. The four leaf clover shape will come right off with it. Viewing this video will show you the fastest and easiest way ...
This video demonstrates how to make a notebook with ribbon binding. Take a stalk of plain white paper and it would be 5 1/2" long and 8" wide. Fold it in half. Trim off the excess with a ruler. Then align the edges of the white paper. Put this in a cardstock which is 8 1/2" wide and 5 1/2" long. Cover rapid around the white paper stalk to make sure that it the spine is bounded. Take the grid ruler and center it and mark the center and also 1" from the center at each side to the left and right...
This video is a science experiment for kids, which demonstrates how to make Invisible Ink at home. For this experiment, you will need the following: a knife, a spoon, a lemon, a cotton swab, a cup of water, paper, and a saucer.
This video illustrates how to make paper ninja stars. This process includes the following steps.Step 1Take a sheet of printer paper and scissor.Step 2Fold it and cut it into two halves.Step 3:Fold one half of the rectangular piece again into half.Step 4:Fold the right end diagonally.Step 5:Now fold the left end diagonally.Step 6Fold both the ends in half.Step 7Fold the other rectangular piece again into half.Step 8Fold the right end diagonally.Step 9Now fold the left end diagonally.Step 10Fol...
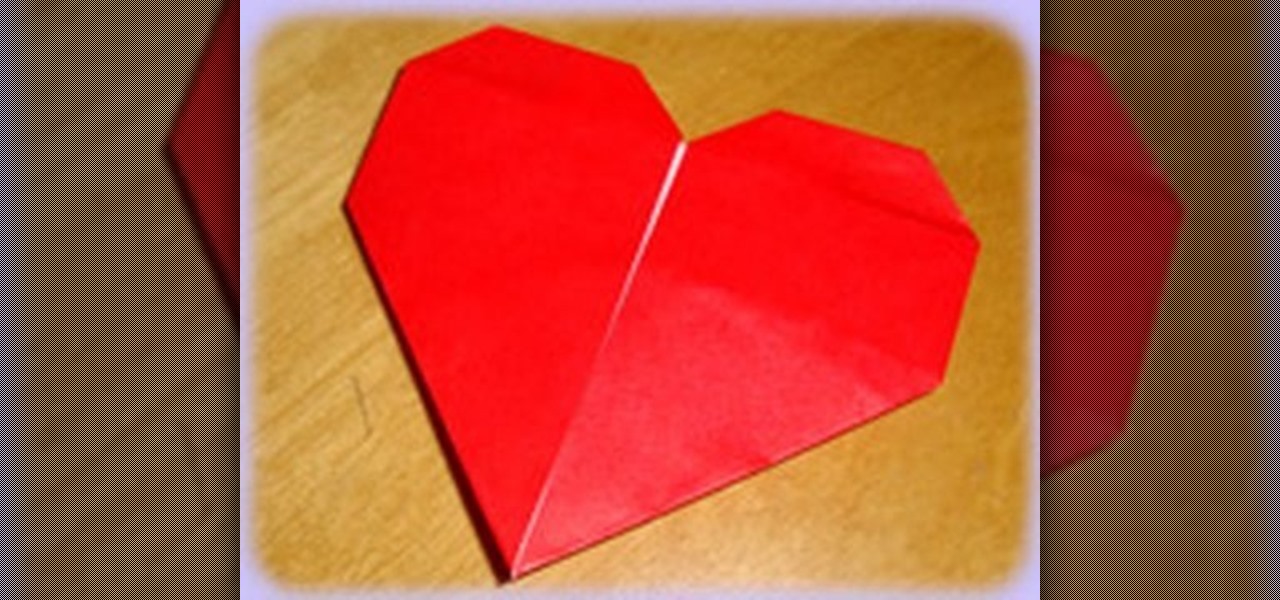
This video shows us how to fold a simple origami heart. Firstly a piece of paper is taken and is cut in the form of a square and then it is folded into half to form a rectangle. Then it is properly creased and then using a knife it is cut into two halves. Then one of the pieces which are in the form of a square is taken and is folded vertically to form a thinner rectangle. It is creased and then unfolded and then the paper is folded horizontally to form a square and it is creased and then unf...
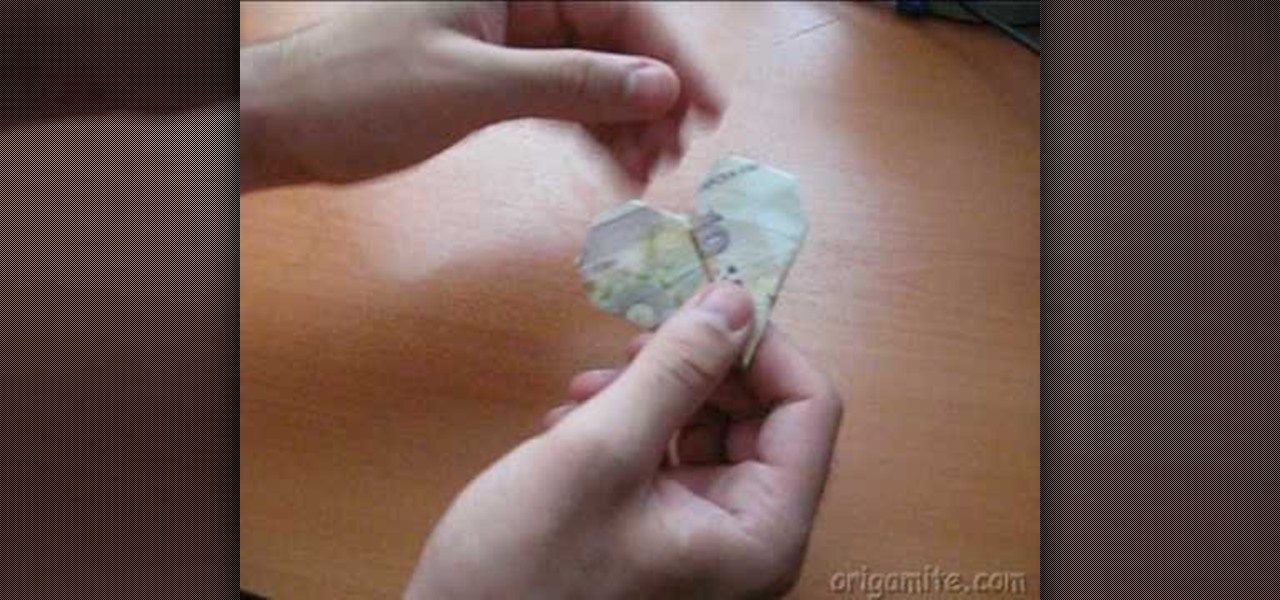
We learn an easy and fun way to make an origami heart out of a dollar bill. No supplies needed. Just the dollar bill and two capable hands. First fold up the bottom of the bill. Then fold it in half. Fold both sides into triangles bringing them to the middle. Turn over in. Fold in inside corners. Then the outside corners, rounding into a heart. Make sure the creases on the sides are well done. Flatten the paper out with palm to make it completely flat. And there in your hands you have a paper...
This video demonstrates how to create an origami ninja star. Prepare a square shaped piece of paper. Lay it down on a table or on a flat surface. Fold the paper right across the middle in a vertical orientation. Fold it once more in the same manner as the first fold, now creating a more slender vertically standing rectangle. Fold the upper portion of the origami diagonally forming a small triangle on top of the rectangle. Do the same on the bottom portion of the origami. Fold the upper portio...
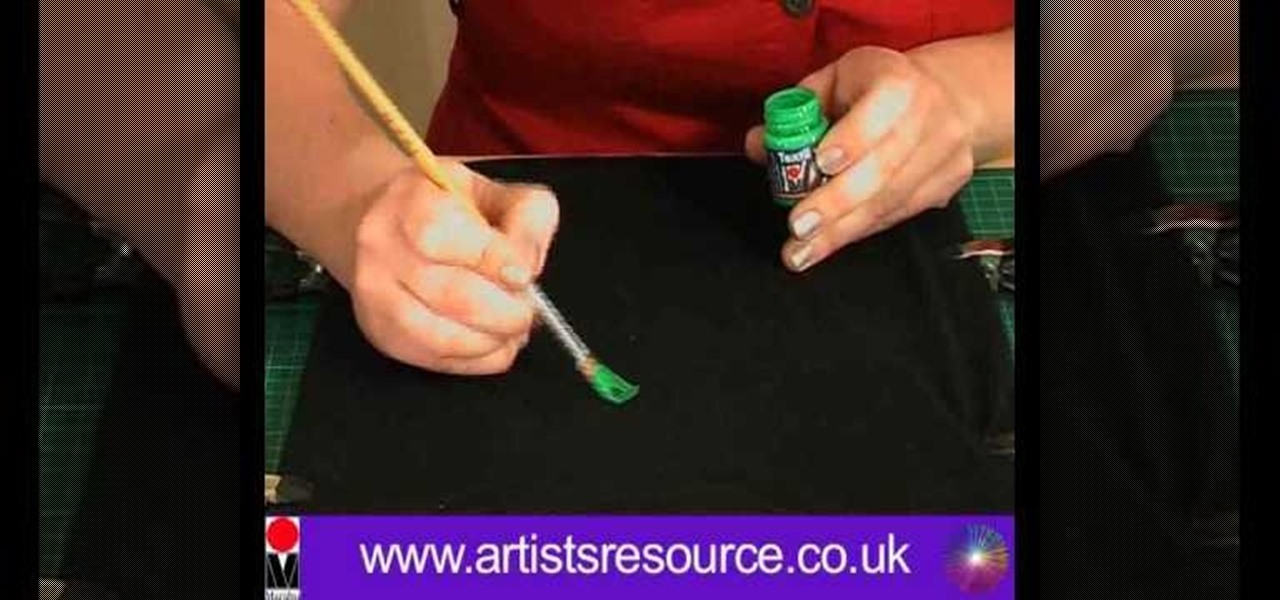
Learn how to ‘Paint onto your T-Shirt’ by watching this video. Materials required for this include the following:•Marabu Textil Plus Start Kit – 6 colors included with paint brush•Marabu Metallic Outliner Paints•Crocodile clips•Masking tape•Pencil•Design printed from the computer•Tracing paper•A large cardboard wrapped in cling film•A dark colored T- ShirtBegin by placing a tracing paper over the design and secure it to the table using masking tape. Next, use a pencil to trace the design on t...
This video shows you how to dry-mount a painting done on rice paper with silicone release paper. This method is to transfer the silicon adhesive film to the backing material first, then take the release paper off and mount the painting on. Artist, Henry Li gives you everything you need to know to properly mount your beautiful painting on the silicone to transfer as you please.
Here's a great craft project you can do with kids or in a classroom. You can use an apple half to stamp apple shapes onto everything from lunch bags to tote bags. This is an easy and cute project to do for the fall.
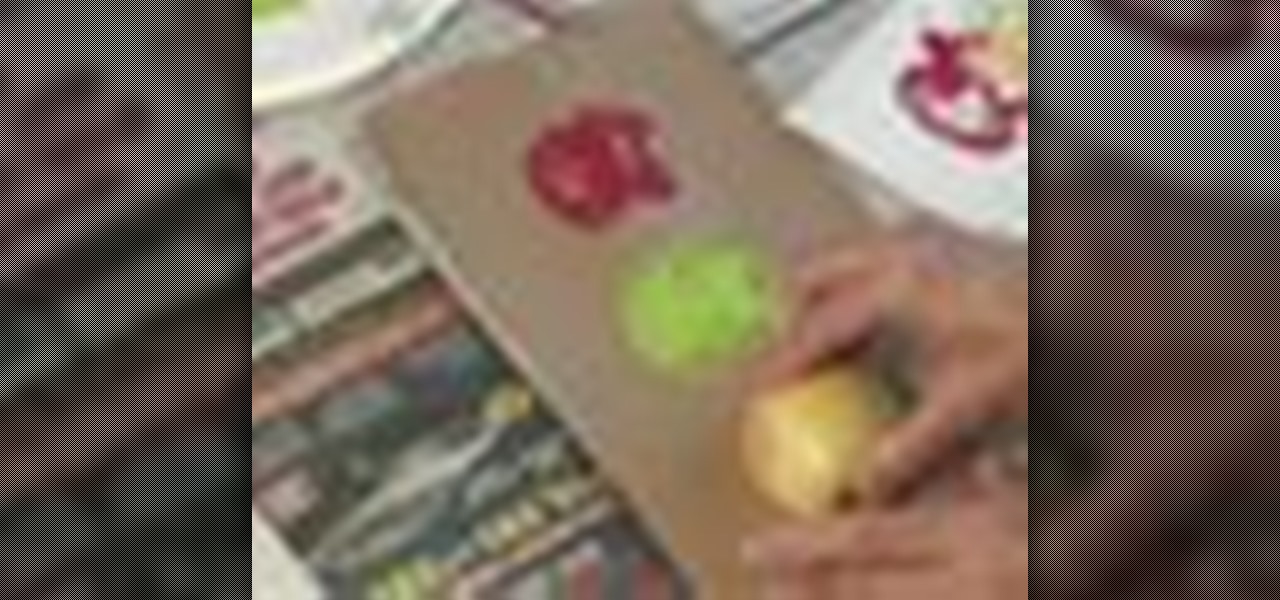
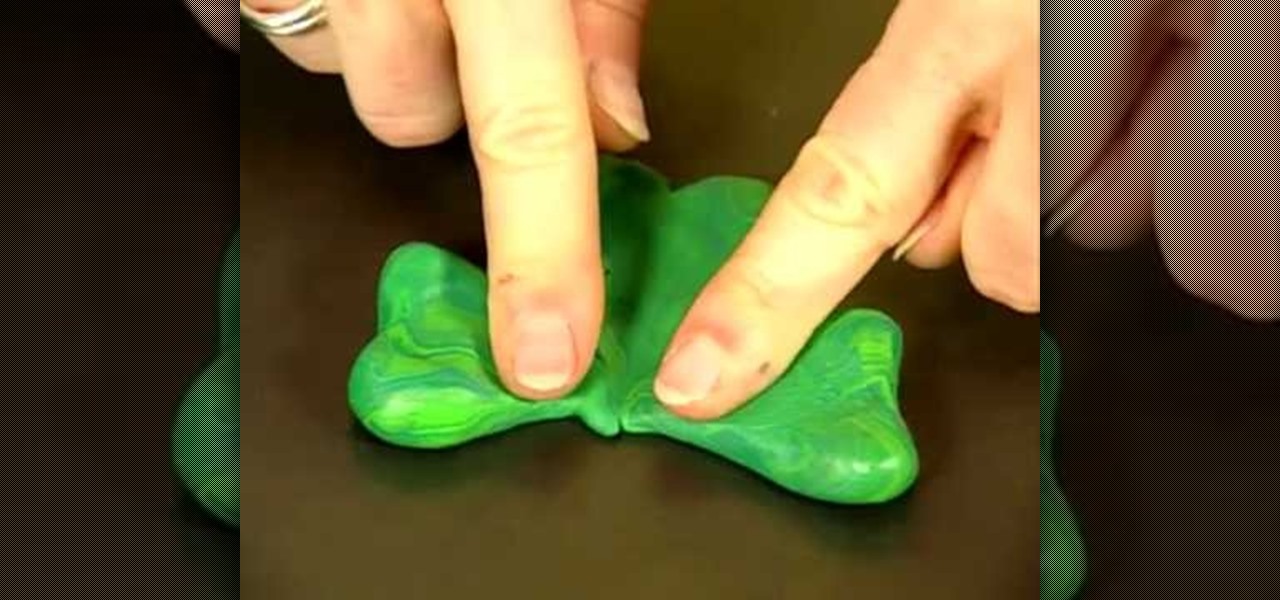
In this how-to video, you will learn how to create a lucky charm. It is a symbol of good luck among the Irish. You will need a baking sheet, green polymer clay, a paper clip, pencil, and a key ring. Roll three one inch balls from the clay. Shape them into the clover leaves. Next, put them on a baking sheet and stick the pointed ends together. Set a paper clip in the center and flatten a piece of clay to seal the paper clip in. Draw lines in the center of the leaves with the pencil. Bake it ac...
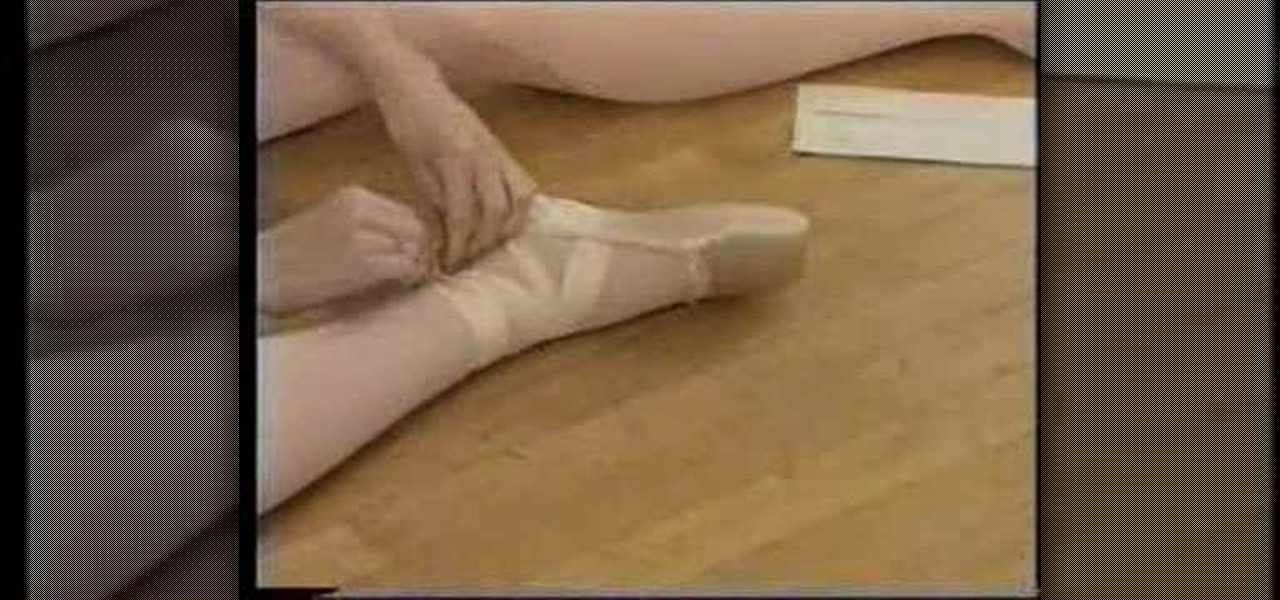
This video demonstrates how to properly tie ballet shoes before doing ballet. First, in addition to the ballet shoes, some paper towels will be needed for padding. Fold about three paper towels together until they form a rectangle approximately 3" by 4". This will be used to pad the toes. Now, pulling the show onto the foot, pull the strap over the top of the foot and place the folded paper towels around the toes and top of foot to pad. Pull the shoe snugly onto the foot. The side straps shou...
This video tutorial demonstrates how to fold a Bluten Kusudama. For this we have start with an eight by eight cm piece of paper. Fold it into half. Fold the half into another half so as to make the paper into four equal parts. Now fold this into half creating a cube. Now open the paper we can see that there are eight equal parts. Again fold the paper from one corner to the first vertical fold. The first vertical fold will meet the center fold, creating an oblique. Now fold in the same way in ...
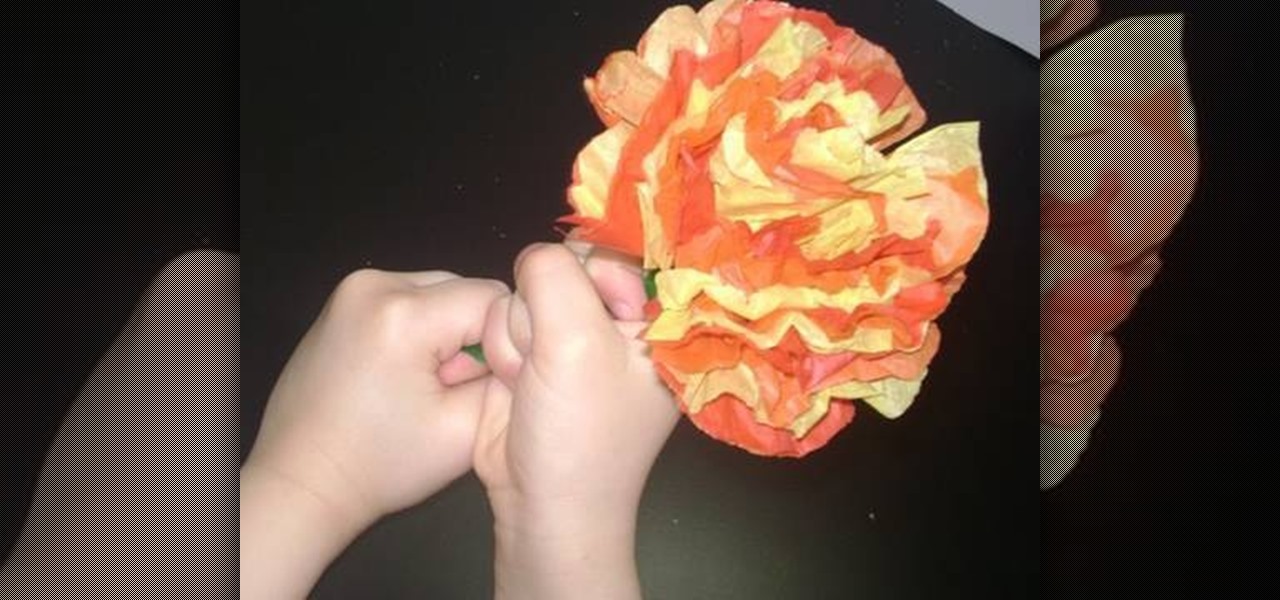
In this video you will learn how to make a tissue paper flower. The video begins with a little introduction to their website simplekidscrafts.com where you can learn more easy crafts that you can do with your children. The materials you will need to begin your project are colorful tissue paper, pipe cleaner, and scissors. This is a very easy to follow guide and only takes around two to three minutes to do. The host shows all of the steps to making her flower by filming an above view over her ...
StampinMama1 demonstrates how to add ink texture effects to your scrapbook projects. When creating backgrounds for your scrapbook pages, you can use ink to both create texture and create interesting effects on the layout. Press the ink on the paper to use a direct to paper ink application technique. You can create cool effects like waves using this technique. Don't swipe the pad around or smudge it onto the paper. Instead, drag the ink pad in a motion of waves across the page. Start at one ed...
The Simple Chef is going to show you a very easy guide to making onion skinned Easter eggs. All you need is: eggs, onion skins, paper towels, and some twine or string. To begin, you want to take an egg and wrap it in onion skins until it's completely covered and then wrap the egg in a paper towel. Next, you want to wrap your twine around the paper towel and tie it so it holds. Next, you want to place the eggs into a boiling pot of water and cook for about 10 minutes so you have a nice hard bo...
Make an origami rose for your love on Valentine's Day. This easy to follow video shows you how with romantic piano music to calm you while doing it! Start with a piece of red paper then make the initial guide line folds. You then start by folding in the corners then making more guide folds. Then the edges get folded in as you slowly start to see the flower develop. Then, you make a fold in the center and start to work your way around as the flower takes shape. A twist starts at the center the...
This video in the Education category will show you how to make any school paper look longer. Open the normal word document. Go to ‘edit’ and select ‘find’ and then to ‘replace’ tab. In the find what box type in ‘.’ (a full stop). Then, in ‘replace with’ box type in ‘.’. Now go to ‘format’ and click on ‘font’. In the box for font size select size 16 or 18 and click ‘replace all’. There you go, you have just made your paper longer without adding any text. In the video, a one and a half pages lo...
Hacker Daily teaches you to how to make a rocket "outta trash". They take a bunch of everyday materials (paper towel roll, body spray cap, paper cup glue gun, scrap cardboard and a model rocket engine) and create a rocket, by first cutting cross hairs in the bottom of the cup and gluing the rocket engine inside. The video than tells you to insert the paper towel roll trough the bottom of the cup. Than they tell us to glue the body spray cup on top of the "rocket". After adding fins the rocket...
This video, for simplekidscrafts.com, tells us how to make an origami necktie. This is a very easy crafts project, suitable for kids and adults alike. It doesn't require a long list of materials, only a sheet of origami paper is needed. The sheet of paper is then folded ten times to transform it from just a square of paper into a decorative origami necktie. The video has no audio instruction, but encourages you to follow the folding technique exhibited by the child in the video. The camera is...
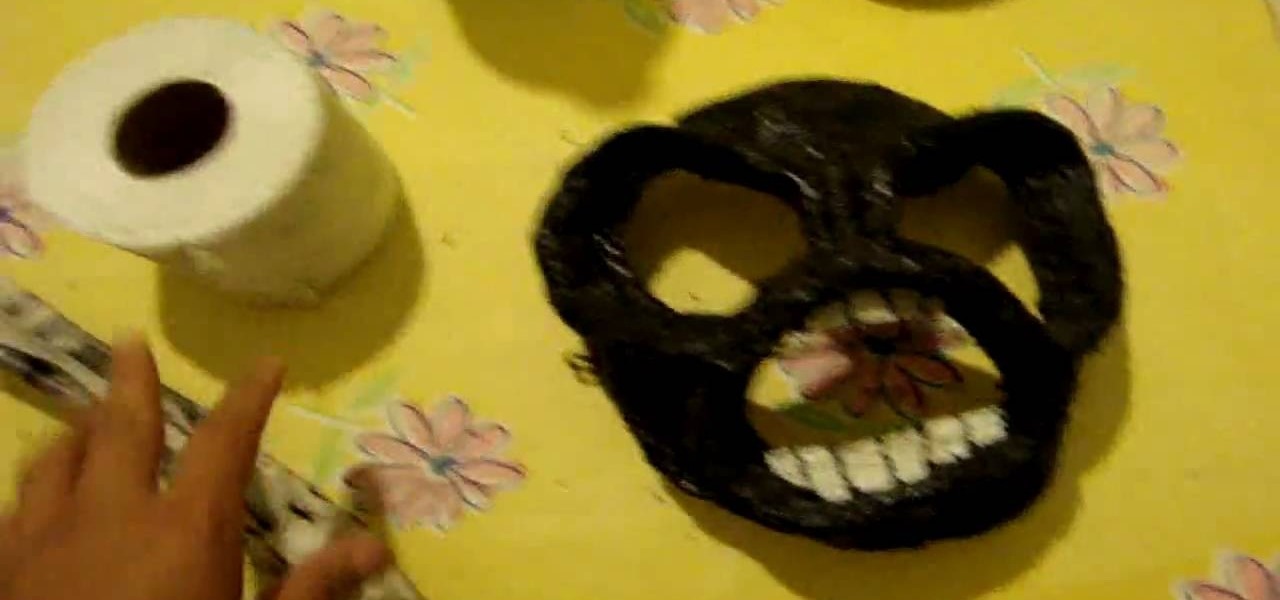
In this video, user mudvayne200 teaches you how to make a Sid Wilson from Slipknot mask. You will need a roll of toilet paper, a newspaper, water, a balloon and scissors. You will want to fill up the balloon and then cut strips of newspaper. Put water on the strips of paper and place them on top of the balloon. Do this a few times to have a few layers. Once it's dry, you can cut it in half and cut holes for the eyes and mouth. You can also add a layer of toilet paper and let it dry. Color it ...
In this video Danny Lip ford is showing how you can convert an old sponge mop into an inexpensive pole sander for your household purposes. For this, take an old sponge mop and remove the sponge from it by loosening the screws. Then cover the rectangular sponge fully with the sheet of sand paper. Now screw back the sponge with sand paper to the head of the mop. You can do your sanding in the wall very easily now. If you were to use just a sheet of sandpaper and sand the wall, it would take a l...