
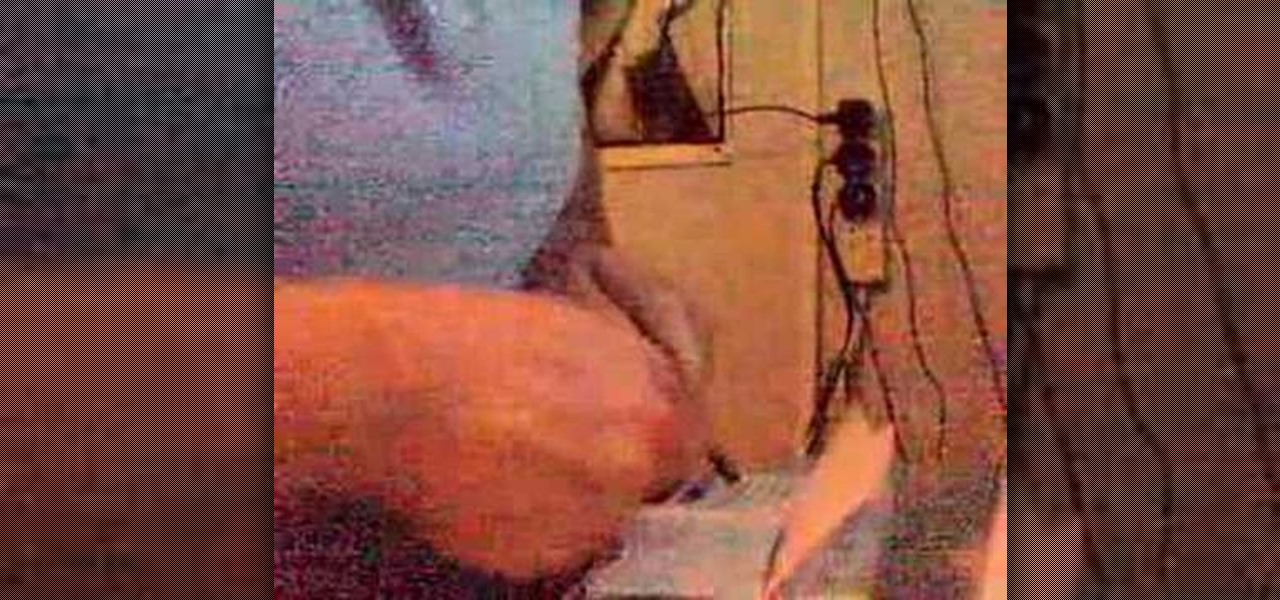
How To: Make a pinhole camera
In the age of digital cameras and instant gratification, make the simplest camera ever invented using just a light proof box, a hole, and paper. Check out this Howcast video tutorial on how to make a pinhole camera.

In the age of digital cameras and instant gratification, make the simplest camera ever invented using just a light proof box, a hole, and paper. Check out this Howcast video tutorial on how to make a pinhole camera.
Make sure your winter wardrobe survives the summer by putting it away properly. Learn how to store your winter clothes.
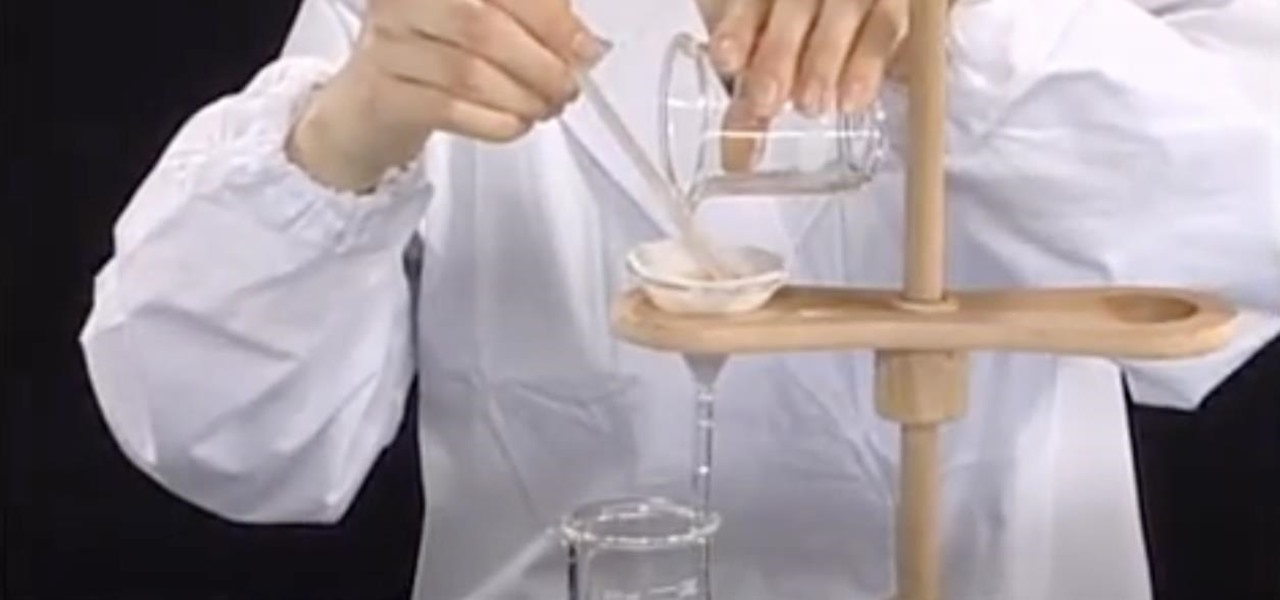
Find out how everything in a chemistry lab works, from pipettes to burners to recrystallization to storage. You'll get precise instructions on how to work and perform certain scientific duties in the chem lab, whether it's chemical or just ordinary high school science.

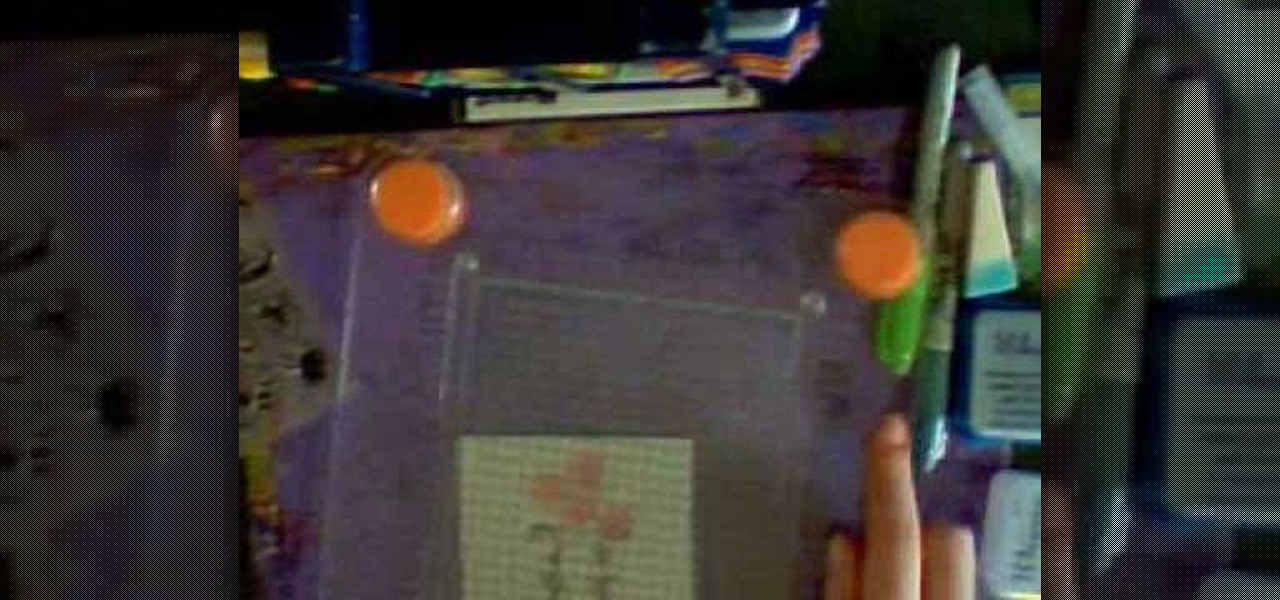
This Arts & Crafts How-to video gives a demonstration and product review of the Fiskars Portable Paper Trimmer, used in scrapbooking, card making and other paper craft projects. Learn how to use the Fiskars paper trimmer to make any paper crafting project easier.
If you find yourself running out of boxes with piles of clothes still left to wrap, have no fear. Just watch this tutorial and follow along as you're shown how to gift wrap t-shirts with pretty wrapping paper and ornaments. You'll amaze with your pretty wrapping paper skills.
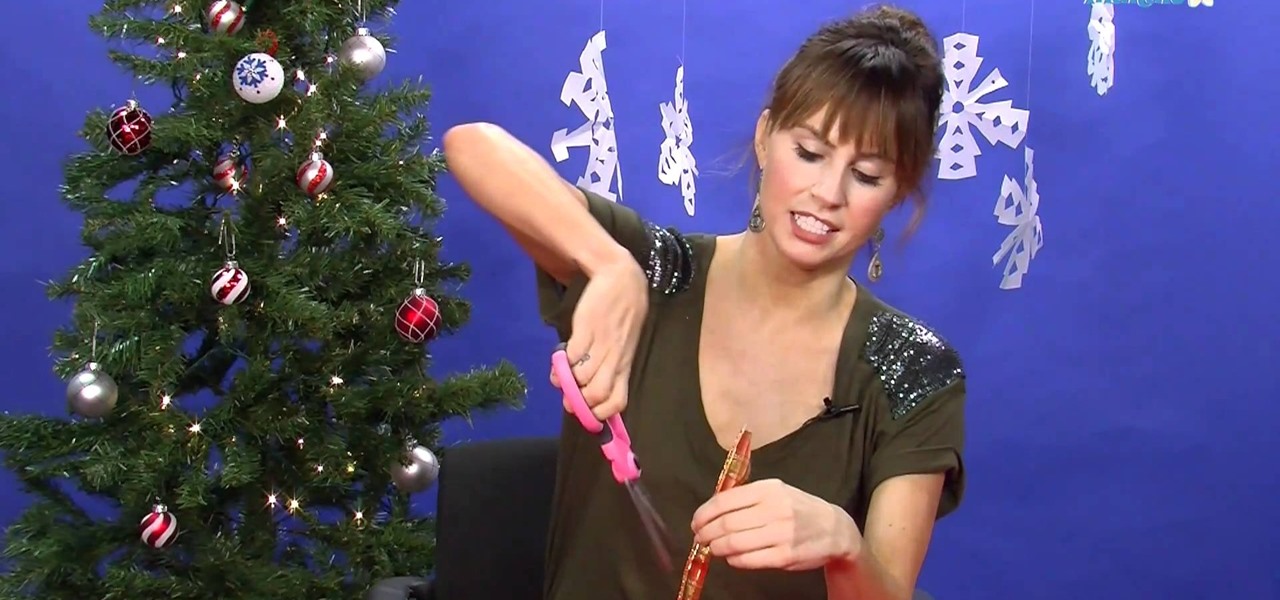
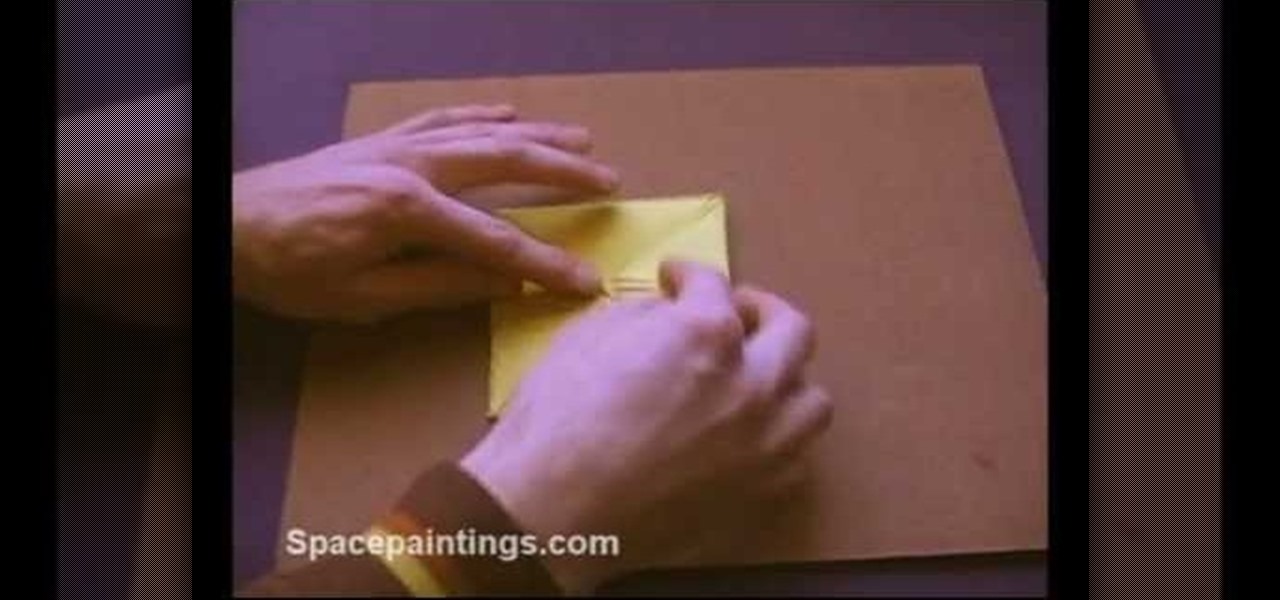
Want to make your Christmas just a little bit more personal? Try making Christmas cards this year instead of buying them. You'll save on money, and your friends and family will get the benefits of your creativity. All you need is paper and scissors to start.
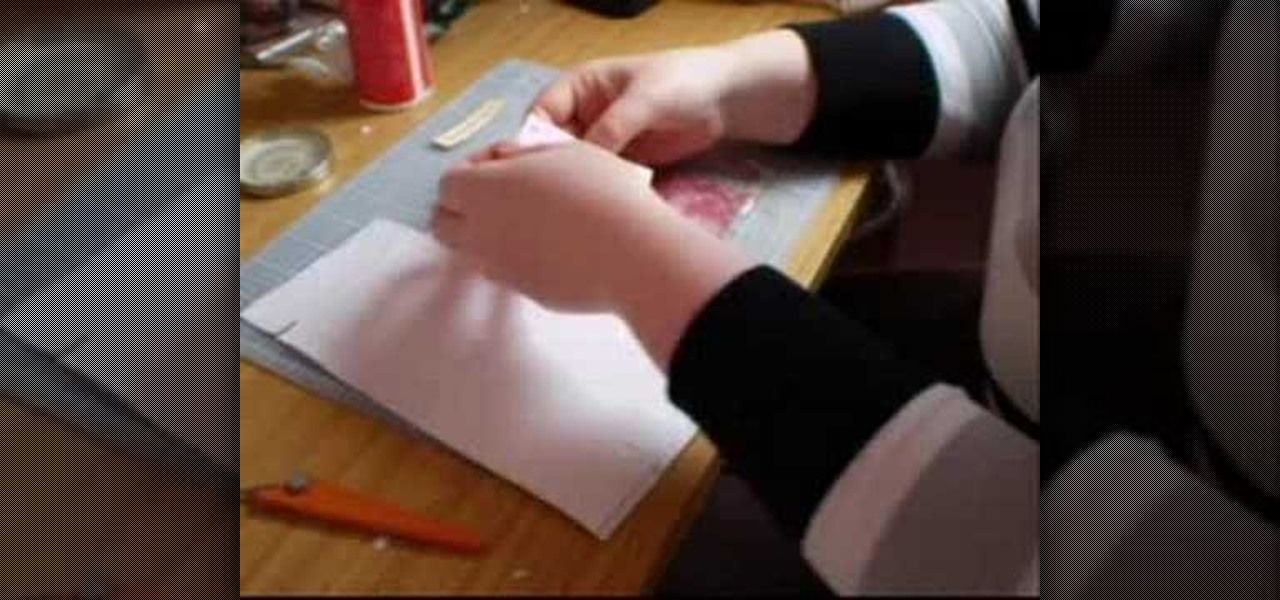
As the procedure is lengthy and a bit complicated, this is the first in the two part series that explains the method of creating a paper rose cube.
In this tutorial, we learn how to make a cheat sheet for a test. You will first need to take your shoe and place it on a white sheet of paper. From here, use a pen to trace the shape of the bottom of the shoe. After this, cut the shape out of the paper and then use it to write on! Write all of the information you need for your test on this paper. When finished, you will stick this to the bottom of your shoe with some tape. Then, when you're taking a test you can simply look at the bottom of y...
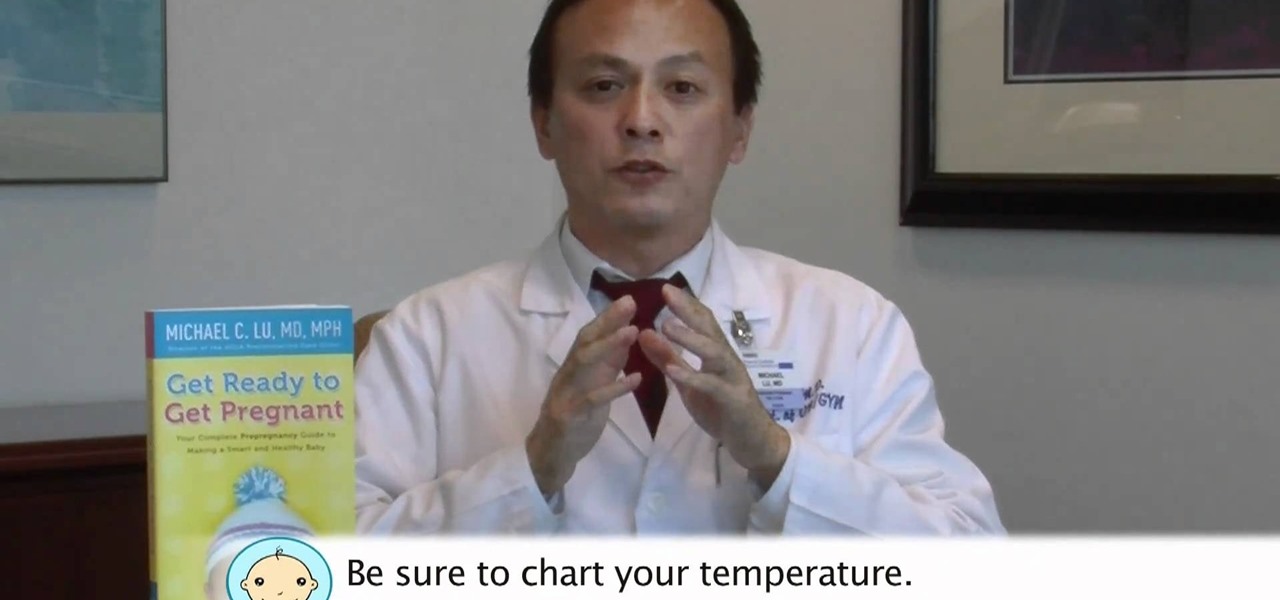
If you're looking to get pregnant, there's a lot of information you should know, especially if you're having a hard time conceiving. One of the things you should know is what your basal body temperature is. This can help you and your doctor figure out about your ovulation. Michael C. Lu shows you what to do to chart your basal body temperature with pen, paper and thermometer, along with a free chart from Fertility Friend.

In this video we learn how to make a rose out of paper. First, draw on a piece of paper four squares with a diamond in the middle. Fold it in half then flip it over and fold it again. After this, you will fold it again, folding it in half several times. you should have small lines all over. Then, take the line and make a diamond shape out of it. Fold this down in the middle, then take the creases and start folding around this. Twist the bottom into a stem, then you will have the rose and can ...
The ultimate in repurposing fashion. Start with an empty, clean paper coffee cup. Then cut off the rim, make your own brim and then paint and add your favorite decorations and accessories. You'll end up with a lovely neo-Victorian or steampunk tiny top hat!

First, take a perfectly even and square piece of paper, Then follow the steps outlined in this video, and you'll end with your own beautiful origami butterfly! Use it for decoration, incorporate it as an accessory, or add them to an origami garden!
We all remember these neat little devices from elementary school. It has many names, the paper fortune teller, the scrunchie, chancer, chatterbox, but the most notorious is the cootie catcher. It's easy to fold, but funner to play with it. Watch and learn this origami masterpiece! Remember your youth!
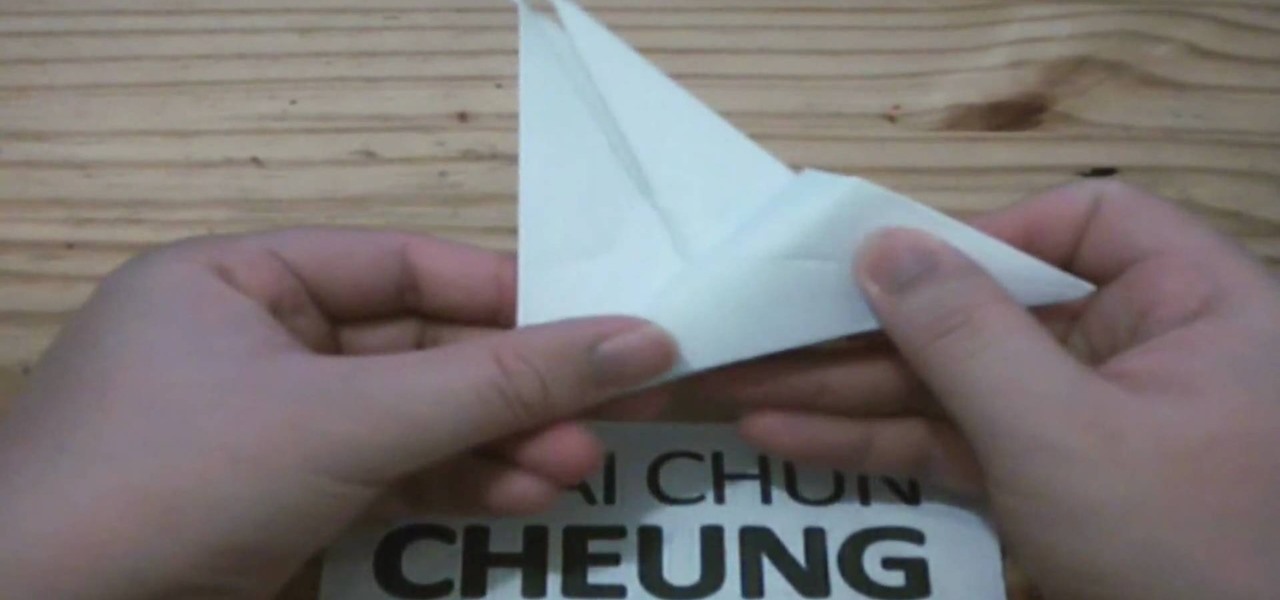
Everybody has place card holders that can be bought from various stores. However, this video by Ngai Chen Cheung shows how you can make your own place card holder using only a square piece of paper and a bit of origami skills.

Do you need some ideas for nature-inspired decoration? All you need for this craft are some balloons, paper and a little painting skill to make a fun, crafty balloon apple. Add this project to your next hobby day!

In this clip, you'll learn how to use the iPad Papers application to annotate any PDF file. Whether you're the proud owner of an Apple iPad or perhaps just considering picking one up, you're sure to benefit from this free video tutorial. For more information, including a detailed overview, watch this iPad user's guide.

In order to make a paper airplane, you will need the following: 8 x 11 sheet of paper and a scissors. Lay the paper out on a flat surface. Pick up the right side bottom corner. Bring it over to meet the left edge of the paper, at the point at which the left hand corner is perfectly bisected. Crease it. Open it. Repeat the fold on the other side. Open it. Now, make an accordion fold. Fold the 2 small corners down. Then fold the 2 diamond shapes upward. Next, fold both sides in. Tuck the points...
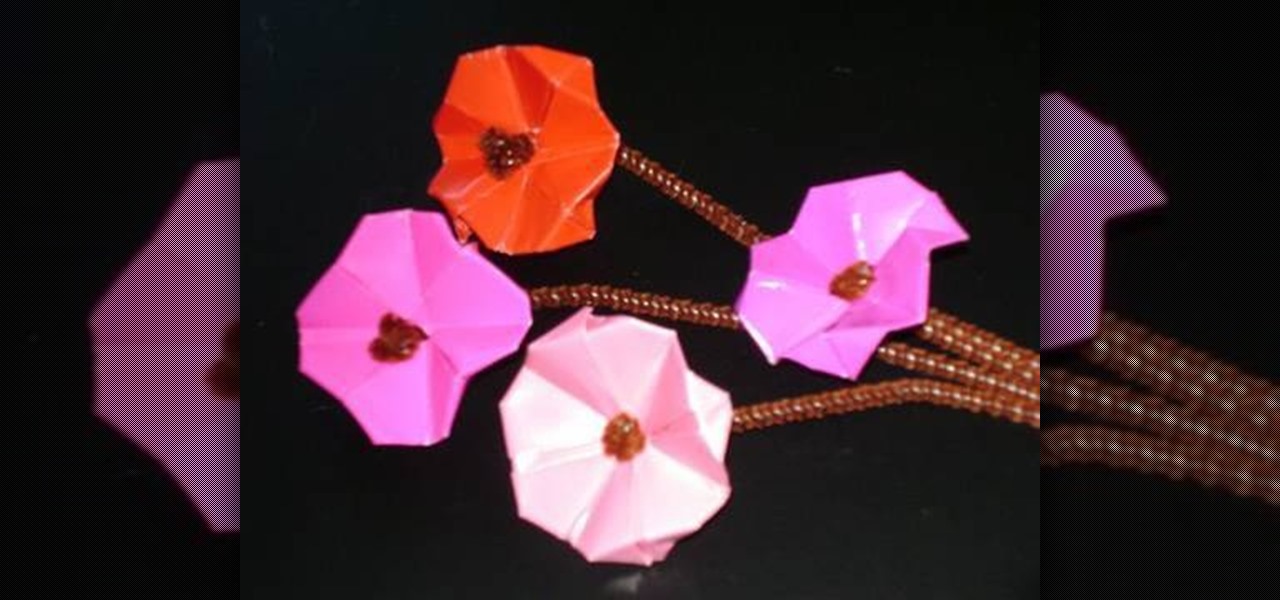
Sakura. What is it? If you don't know, your kids probably don't know, but they will after you teach them the meaning behind the word while sitting down to an afternoon of craft making. the Sakura is the Japanese flowering cherry, and you can teach your young ones all about it as you help them make these cool paper cherry blossoms. Art can be both fun and educational! You'll need:
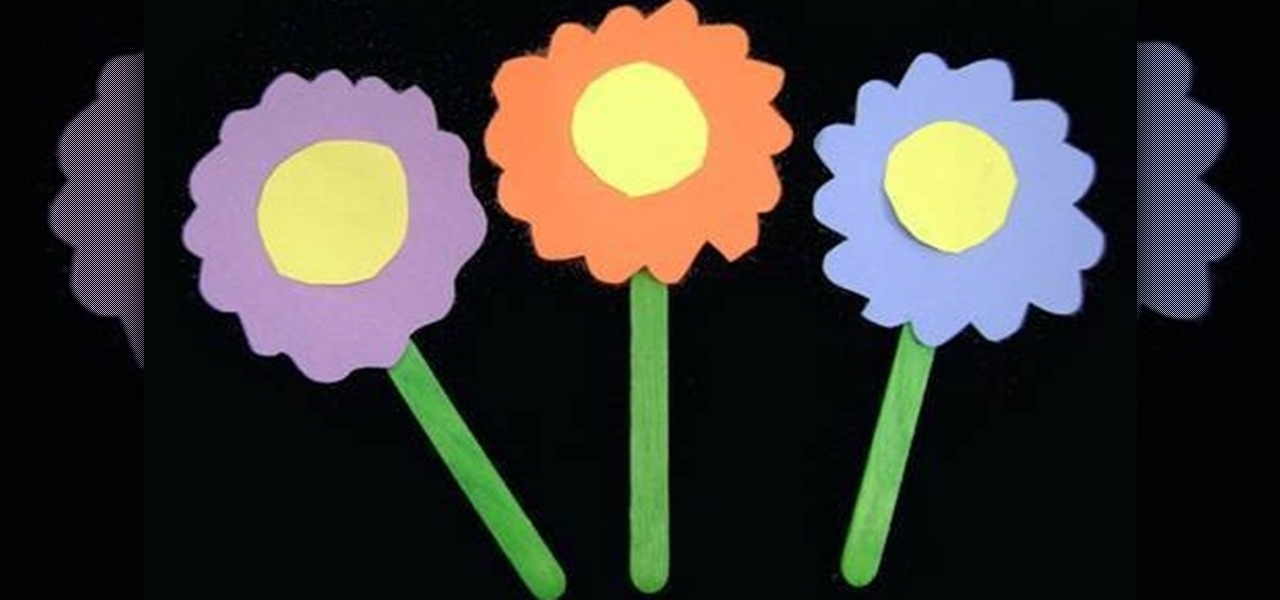
If the foam calla lily is too advanced for your kids, and the foam violets are too much purple for the eyes, then try out these simple flowers. Make a whole bouquet of them with your kids! They are really simple to make, and only require these materials:
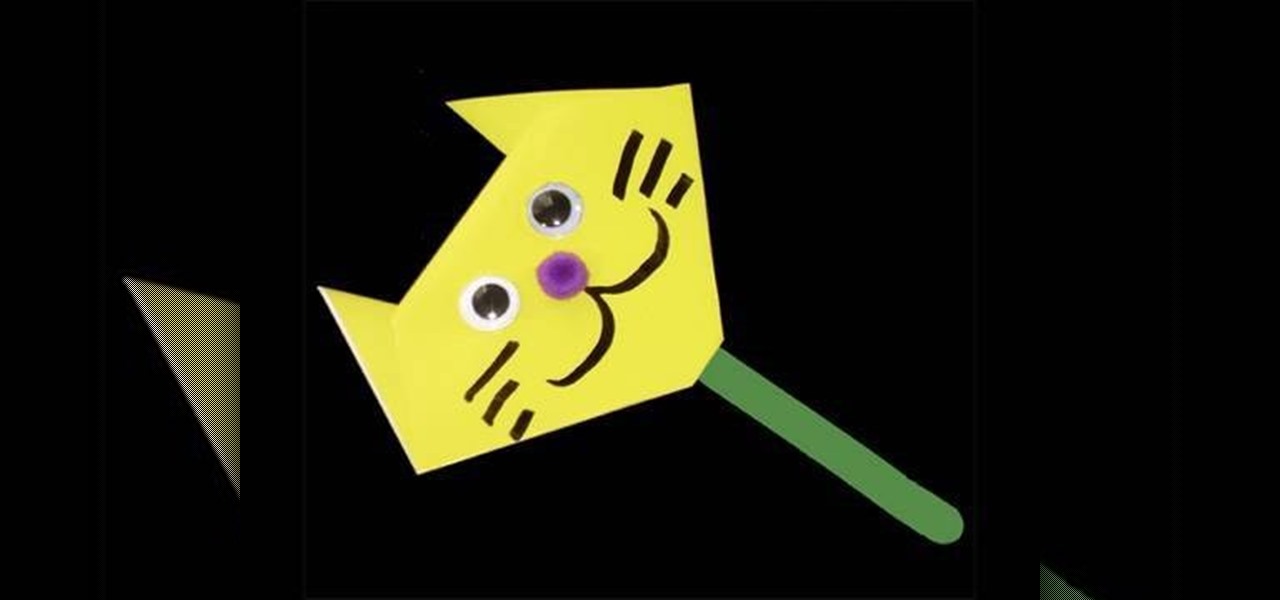
Everyone loves cats, for the most part. It would be more accurate to say that everyone loves kittens. No one can resist the cuteness of brand new baby kitty, especially children, which is why kittens and cats make the perfect craft project for kids. In this video, you'll learn how you and your kids can create a googly-eyed paper cat upper on a popsicle stick. It's great for any young child. You'll need:
Are you stumped about the perfect gift to bring your mom? How about a beautiful paper purse? Moms love artwork from their kids, and they especially love practical items like purses. If you can't afford a real purse (if you're a kid), the next best thing is to make her a real one!

In this tutorial, we learn how to make a book without glue. First, you will need two thick pieces of cardboard paper, the paper for the book, scissors, duct tape, tape, and a pen. First, punch holes in all the papers and cardboard. Now, assemble the book and tape the duct tape around the holes in the book. Roll the tape around and tie it together, do this to all the holes. Now, place the tape around the edge of the book and tape the edge together like the binding of a normal book. Now, write ...
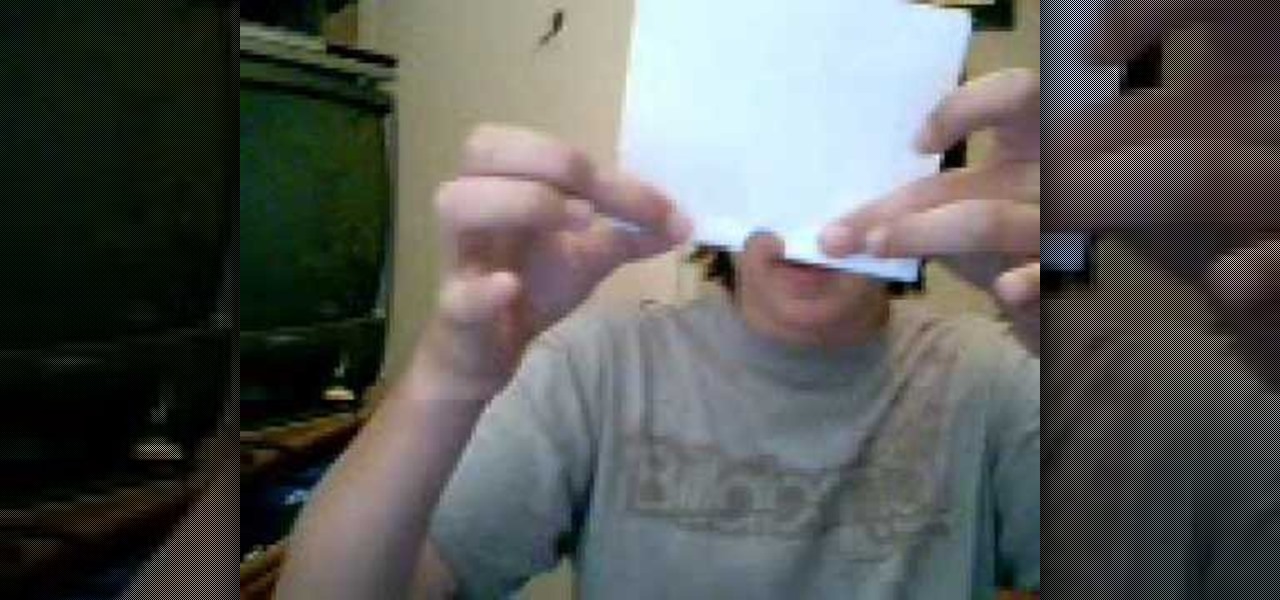
In this tutorial, learn how to trick your friends with this cool con. Bet your buddy that you can pass a large object through a tiny one inch piece of paper. They won't believe you but you can prove them wrong easily.

Looking for an easy craft project? With this guide, you'll learn how to fold a puppy paper star using origami, the traditional Japanese folk art of paper folding. For more information, including a step-by-step overview of the folding process, as well as to get started making your own puffy stars, watch this free origami lesson.
Brush up on your survival skills with help from this video. In this outdoor training tutorial, learn how to correctly start a fire using a flint and steel using paper and tissue. In the wild, without paper and tissue, a leaf and dry grass would most likely be used. Get your fire started with no problem with the skills taught in this video.
This video illustrate us how to make a vase out of three stamps. Here are the following steps: Step 1; First of all take all the requirements that is paper, stamps, stamp pad, color pencil extra.
Do you have a penchant for all things vintage? Why not save some money the next time a birthday or special occassion arises and make your own vintage-looking greeting card? In this video, Niki Jackson shows you step-by-step how to create this adorable greeting card using background papers, printed materials and distress inks.
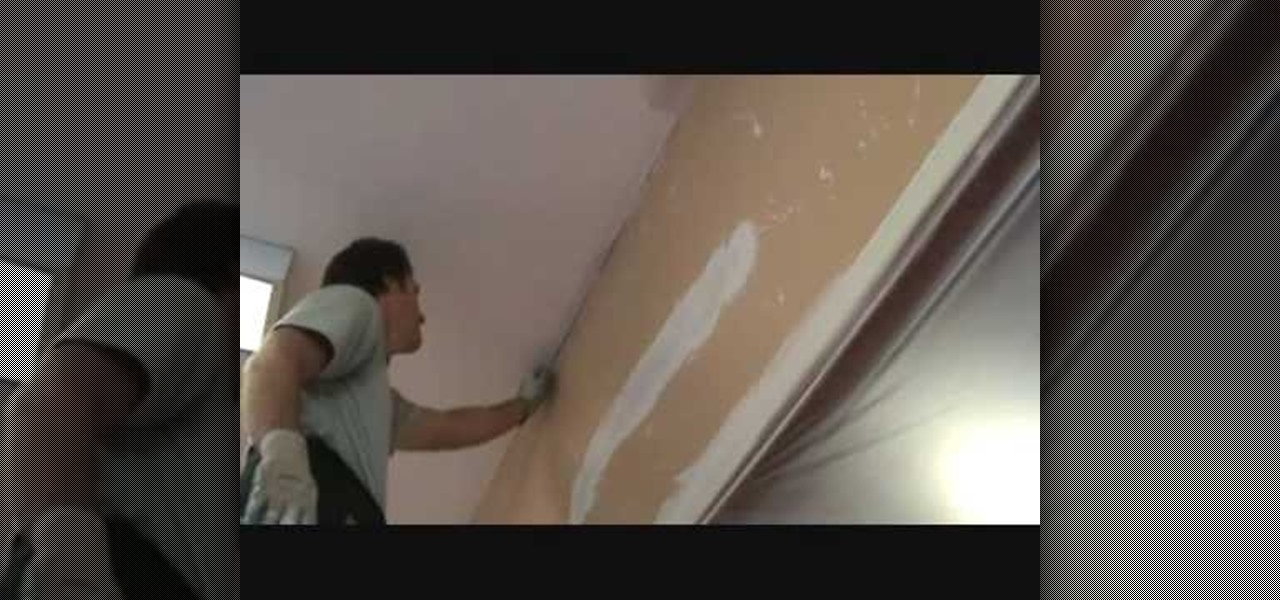
Video Joe Knows demonstrates how to install an inside corner ceiling patch when installing drywall. First, give the paper tape a definitive crease. Then, wipe quick set on the ceiling and the wall. Make sure you get enough material behind the paper tape. Have more quick set on than you need because you can wipe off the excess. Build it up on the edges using a three or four inch knife. Next, apply the tape by pushing it into the corners of the desired area. Finally, wipe off the excess quick s...
In this Home & Garden video tutorial you will learn how to make an accurate boomerang. Material required are 4-6mm thick ply wood or hard board or paper-mache, saw and some spray paint. Search for and download boomerang plans from the internet. The boomerang has three protrusions or handles equally spaced with each protrusion being 14cm long and the diameter of the circle at their ends being 4.5cm. Trace the plan on the plywood and cut it out with a ‘U’ shaped saw. Next draw out the line for ...
To make a rubber band car you will need one sheet of card stock, four paper clips, two binder clips, one plastic straw, 8 inches of dowel that fits into the straw, two pencils and one rubber band. You will also need four CDs or round pies of cardboard, tape, a ruler and a marking pen. First, unfold the paper clips. Then fold the card stock and attach the paper clips. Cut squares out of the card stock. Then, cut the straw. Attach it to the card stock. Affix the pencils to the card stock with h...
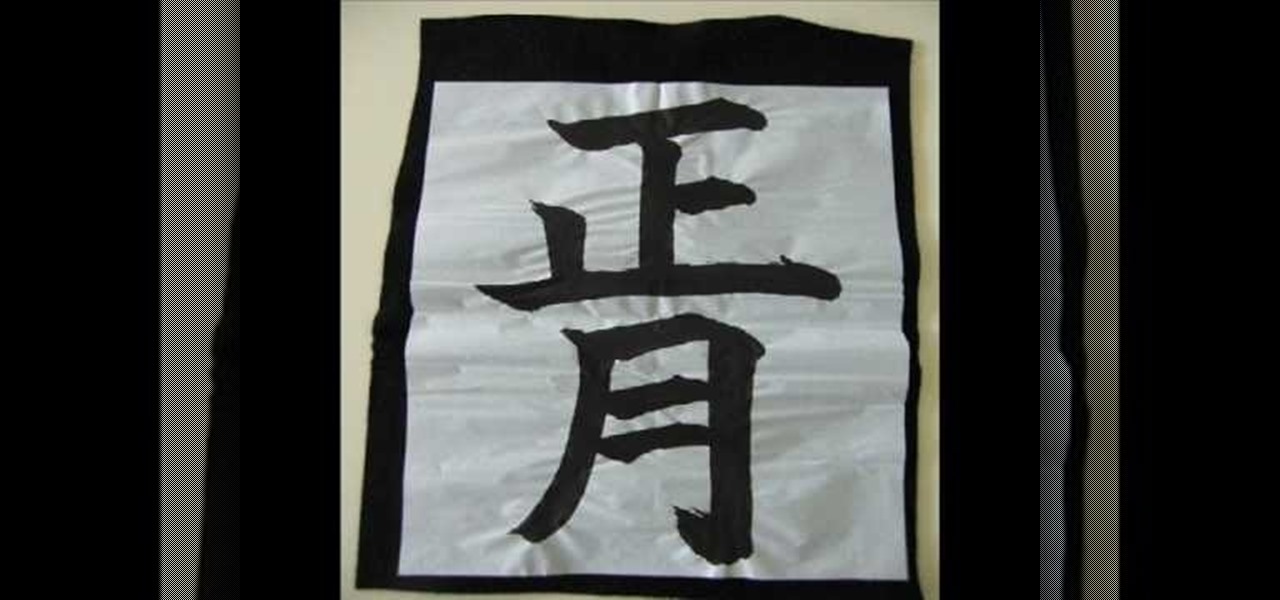
Maki and Miho demonstrate how to write with a Japanese calligraphy brush. To write with a Japanese calligraphy brush, first position the paper to the left side of the brush with the ink on the right side of the paper. Rub the ink stick in the ink well with a little water. Then, soak the brush in the ink. To write Japanese characters, be sure to make the strokes in the correct order. Also, write slowly or your characters will not come out well. Use a long, flat paperweight to hold the paper in...

A thesis is the basis of any paper or essay. The thesis statement sets the tone and subject of your paper and starts you off on the right foot. In this tutorial, learn how to write an impressive thesis statement and get an A on your next paper!

An unknown individual demonstrates in this video how he makes a comic book. He shows the materials that are needed, which are plain white paper and tape. You then fold the paper very neatly in half length wise one sheet at a time. Then you put all the papers together as neatly as possible. Next, you take a piece of clear tape, tear it in half and place one piece on the inside bottom fold then fold it over to the front. You do the same thing with the second piece of tape at the top fold. Final...

You will need white glue, a paint brush, a ruler, scissors, medicinal gauze, self-adhesive foil, a utility knife and paper. First, using a paint brush, apply the white glue to the edge of a stack of paper that you would like to bind. Press the stack of paper down with a ruler. Let the glue dry. Unfold the gauze to fit the book and cut enough to cover the spine. Coat the spine with glue and paste the gauze to it, overlapping the sides of the book. Coat the gauze with glue and let it dry. Make ...

The art of origami is all about making a flat 2 dimensional piece of paper into something 3D that comes alive.. so why not go all the way and make a balloon? This tutorial will show you how to make a big, round realistic looking balloon out of nothing but paper! Impress your friends with this very cool origami trick.

Making a tutu can be hard, but making a non-sew tutu is nothing but easy. Watch this video tutorial to learn the ins and outs of the non-sew tutu for young children. You can change it up all you want once you get the basics down, but for starting off, use the following supplies:

This video is a free drawing lesson on how to draw landscape scenery. • Draw a baseline or a horizontal line in the middle of the paper.
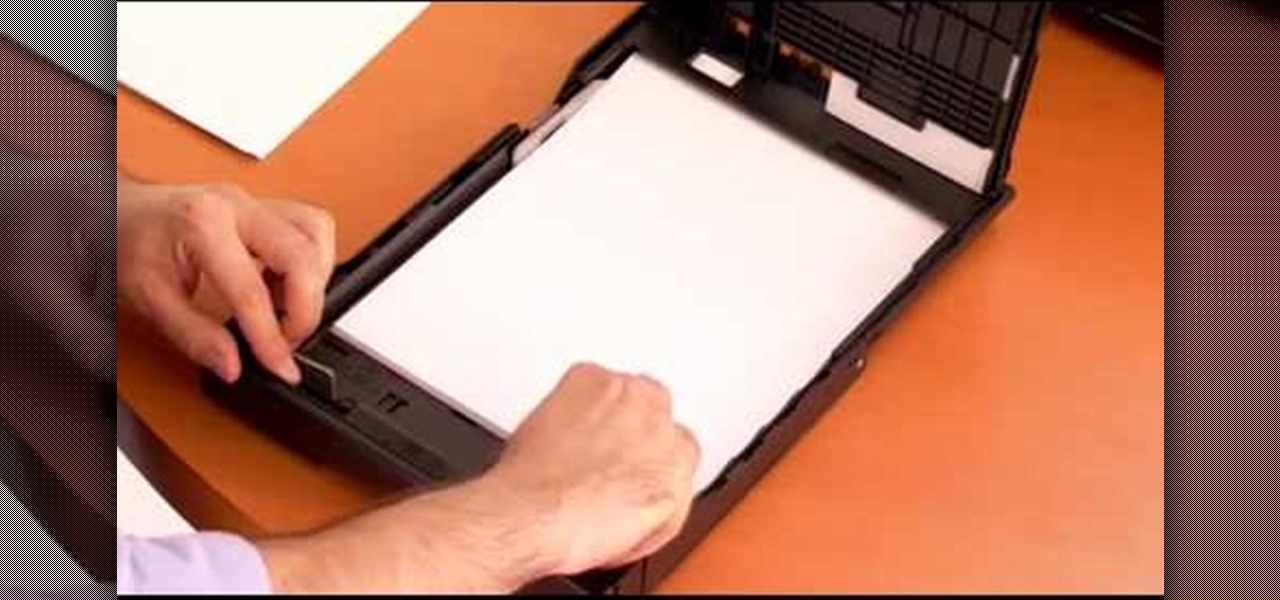
Epson sells many different digital imaging products, including ink jet printers and all-in-ones, digital photo printers, multimedia projectors for business, education, and home entertainment, scanners, digital photo viewers, professional imaging/wide format printers, and more. Check out this video to learn how useful and versatile your new Epson Artisan 810 all-in-one printer can be.
Learn some free magic tricks with Cameron. You can learn some of the worlds best magic tricks from Cameron Oelsen, an amateur magician who loves to share the tricks behind his tricks.
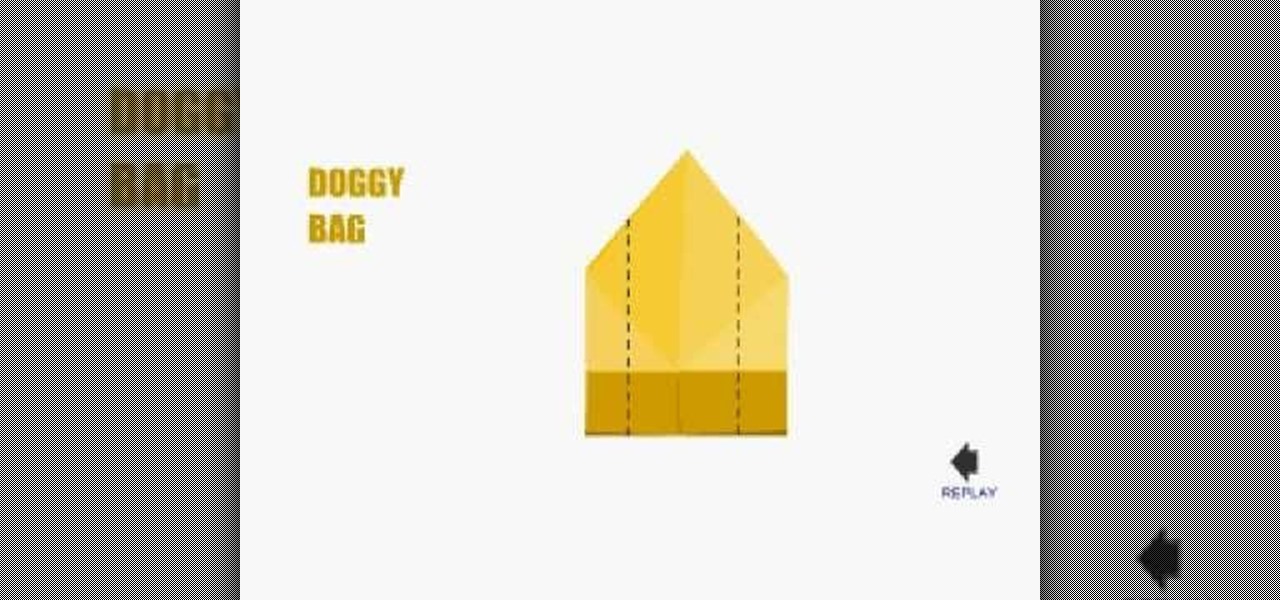
Learn how to make an origami paper doggy bag. This origami animation is brief and to the point. If you are looking for a no frills origami tutorial, this video is for you!