What's so genius about this project? yeah, it may just seem like a plain white piece of paper that you fold a bit to stand up, but you're actually getting two beginning origami projects for the price of one. That is to say that if you learn how to make the origami tent in this video, you'll also be learning how to make a pyramid.

If your photo albums are older than you can remember and have yellowing, ripped pages and photos askew, then we can bet that your photos aren't in good condition. So save your prized memories and keep them looking great for future generations by organizing them neatly into a photo album.
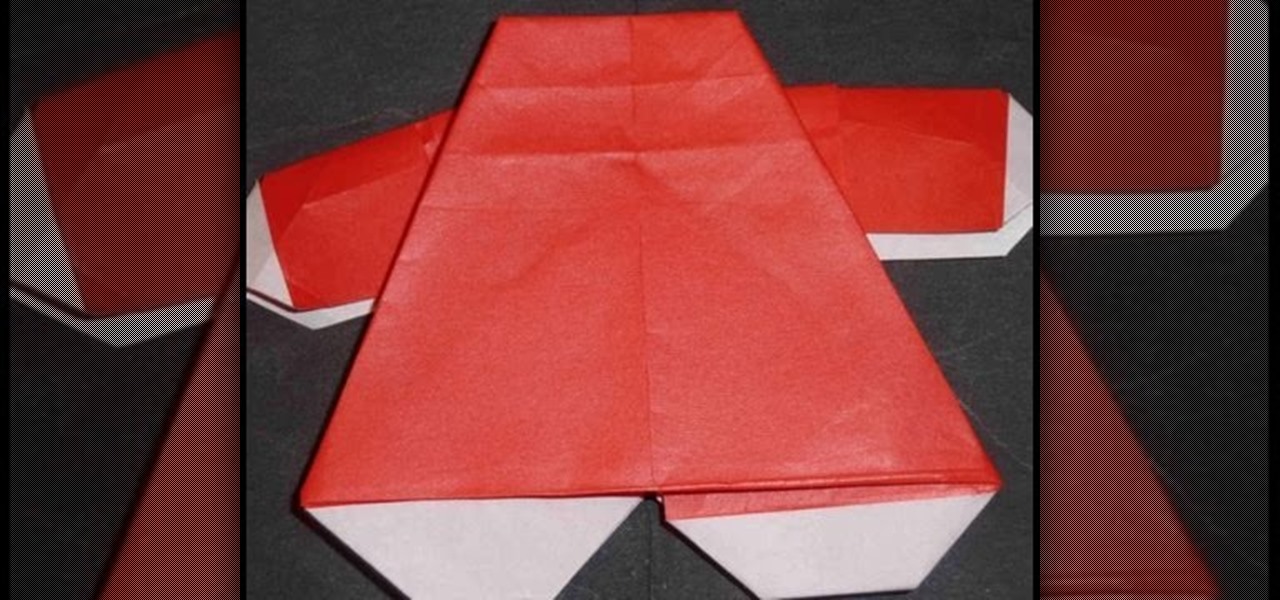
Are you an origami fan who's just starting out in this paper folding and molding line of work? Are you tired of folding nothing but paper lucky stars and tired cranes? Well, look no further than this origami video, which immediately throws you off the deep end (just kidding) and teaches you how to make the body of a person.
If high school students spent as much time on studying as they tend to spend on looking for new ways to cheat, everyone in America would have straight A's. But, cheating is so much more fun than studying, isn't it?

Your mother has put up with your crap all these years, so why not repay her with a long-lasting Mother's Day gift? Learn how to make a twisted origami flower that can be turned into a pin or even a hair decoration by watching this video.
Fold your own gift boxes with this tutorial on how to origami a collapsible box. Traditionally known as a water dish or orisue, this box is a cute way to box up small presents like earrings and necklaces.

Ninja stars are pretty cool. They are easy to throw and make fun toys as well as decorations. In this tutorial, learn how to fold your own star using Japanese origami techniques. This star turns out very polished looking but is actually pretty easy to fold. So, grab some paper, flip on this tutorial and start from the beginning. It may take you a few tries to master, but you will have this fun design down in no time.
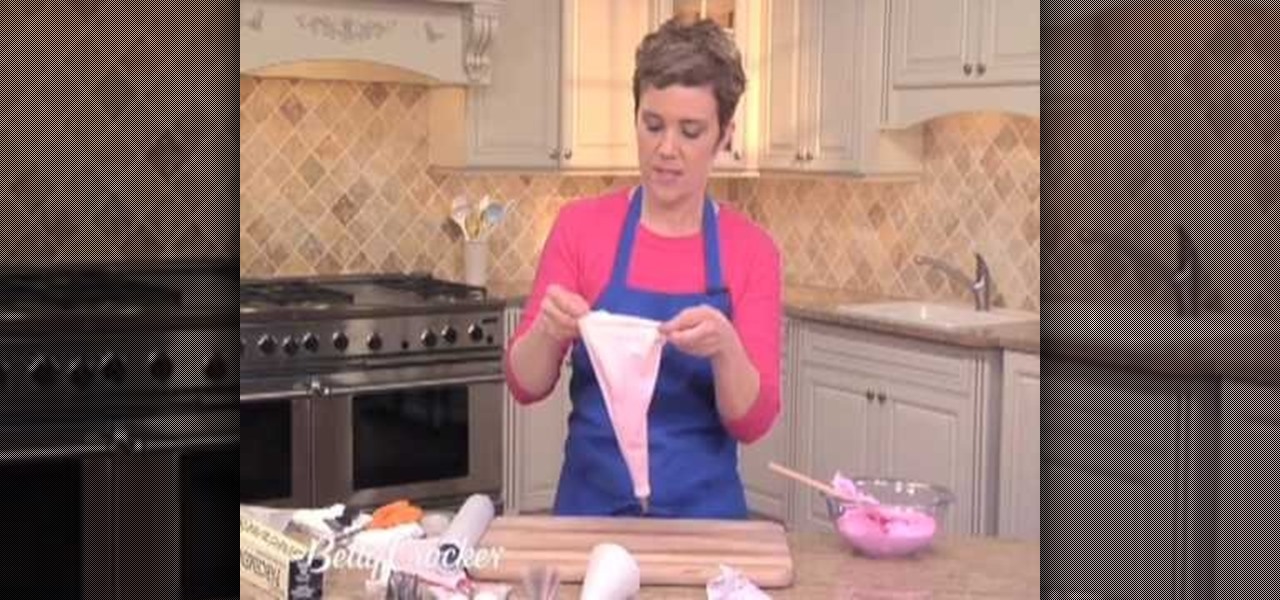
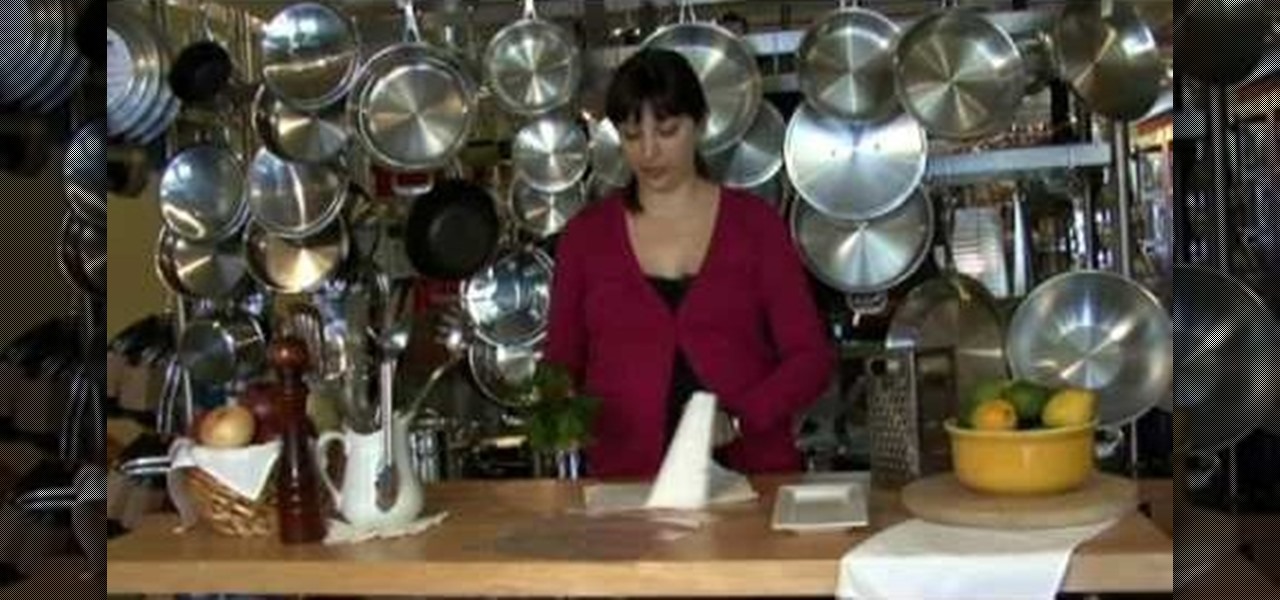
In this video, we learn easy cake decorating tips and ideas. To make a pastry cone, you just need parchment paper! First grab a square of parchment paper then fold into a large triangle. Now, open the square up and cut where the line is in the middle. Grab one of the triangles you just cut and wrap it into a cone shape, taping the tip so it will keep shape. You can now add icing and will be able to pipe and write words with ease. Cut a small hole depending on what type of piping you want to d...
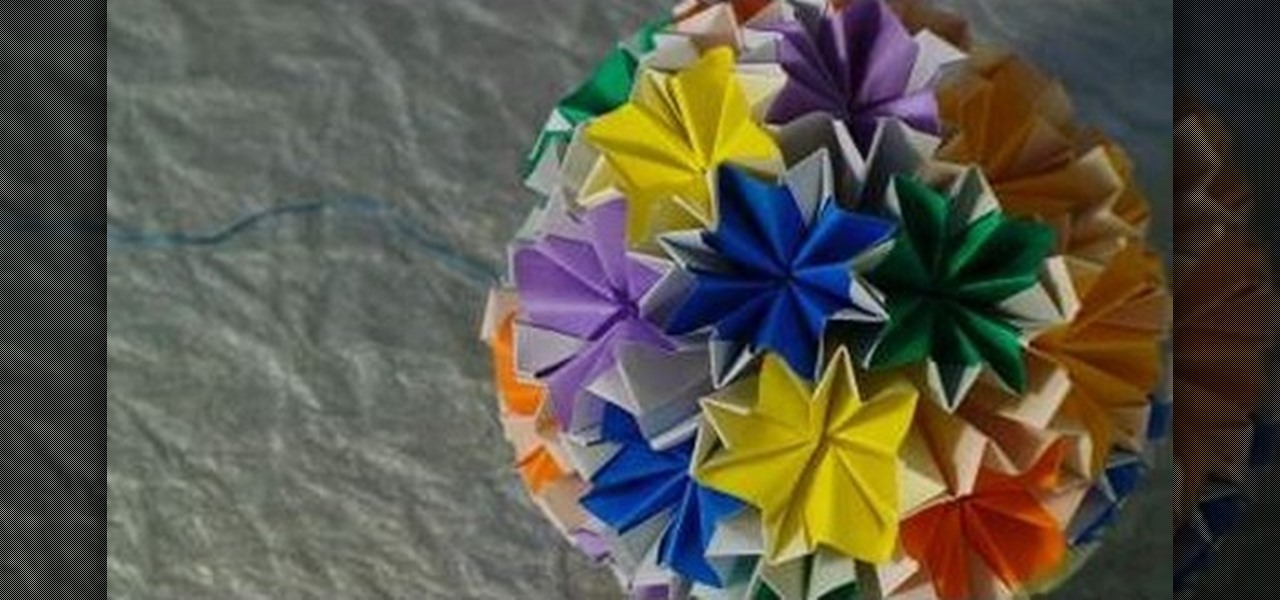
In this Arts & Crafts video tutorial you will learn how to make an origami Kusudama Venus. For this project, you need square sheets of paper of different colors. First you fold a sheet diagonally across to form a triangle. Then fold it again to form a smaller triangle. Open up one triangle and fold it in to a square. Repeat this step with the other triangle also. Now the paper folded in to a square; ¼ the original size. Holding one square flat on the table, lift up the other and squeeze it d...
In this video, we learn how to pick a door lock with a paper clip. First, make sure you have a door lock that has a pinhole on the outside. Now take your paperclip and open it up so it's straight and flat. Once you've done this, stick your paperclip into the pinhole and wait until you feel a small hole on the inside of the lock and twist the paperclip. Keep twisting the paperclip until the door becomes unlocked, you will hear and feel the lock opening. If the paperclip slips, just stick it ba...
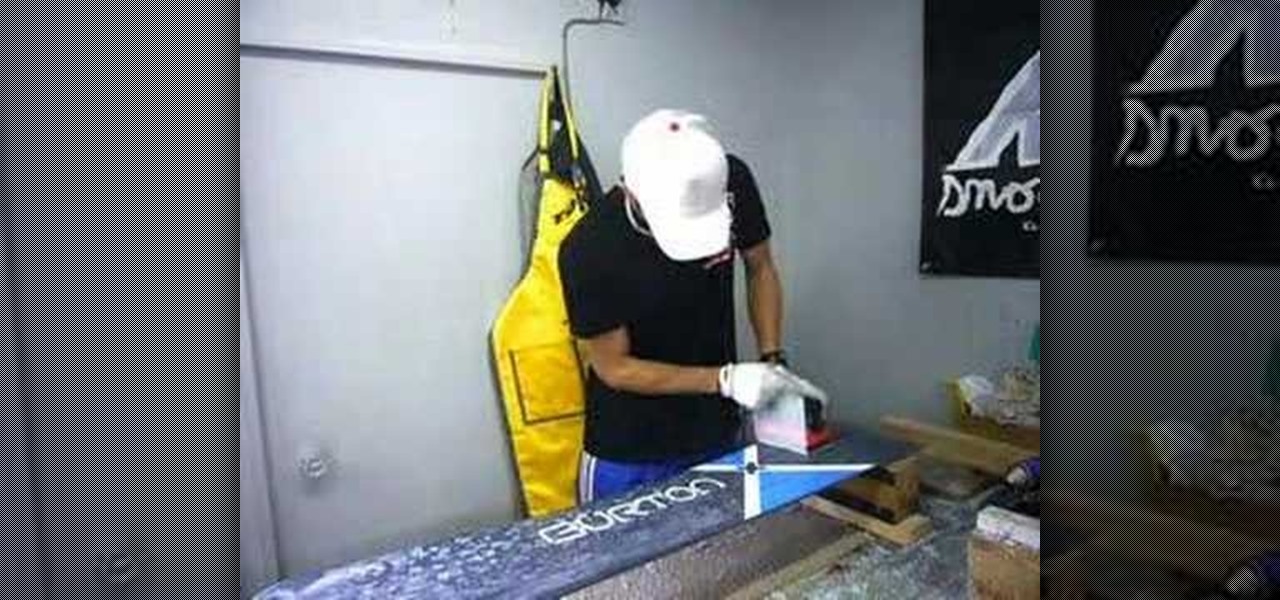
In this video tutorial, viewers learn how to wax a snowboard. The materials required for waxing are: wax (cold, medium or warm temperature), scraper, brush, iron, wax paper, cloth and gloves. Begin by wiping the board with the cloth. Now rub the wax on the board. Then hold the wax against the iron to melt it, and then rub it on the board. The press the iron on some wax paper and spread it across the board. Leave it too cool for about 20-30 minutes. Then use the scrape to remove the wax layer....
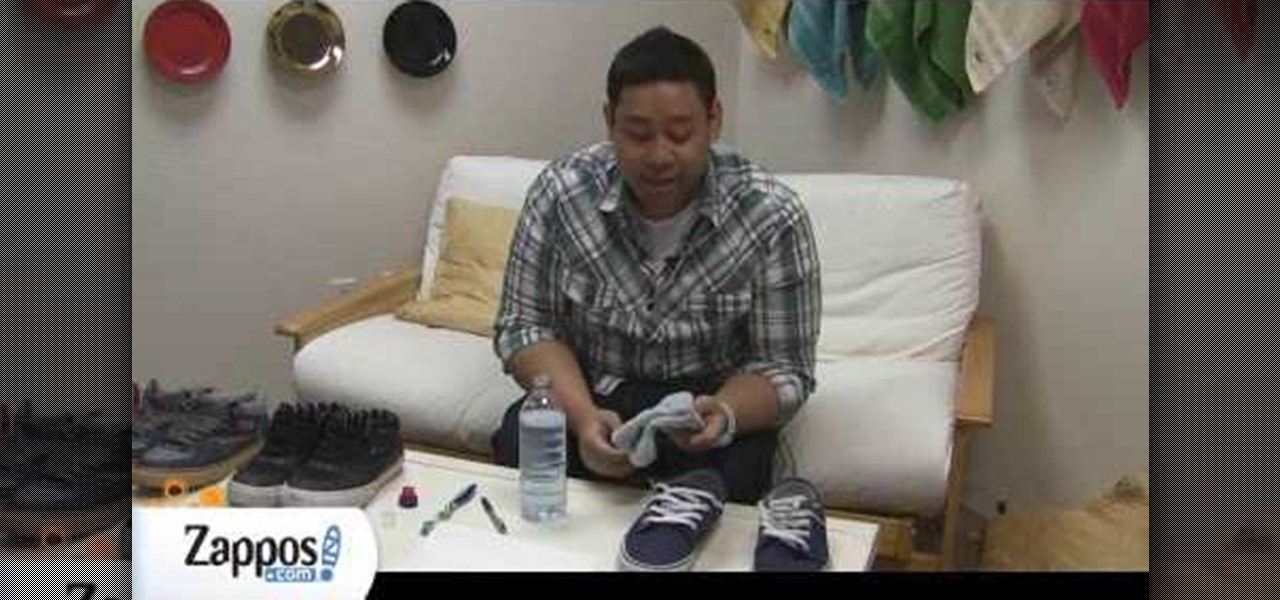
In this video, Jeff shows how to frugally clean your vulcanized shoes. You need a water bottle with a tablespoon of non-bleach detergent, a pencil with a clean eraser, an old toothbrush, a cloth and some paper towels. First, wipe the shoes clean by pouring the detergent solution onto a wash cloth and then scrubbing down the shoes. Soak up any excess water with a paper towel right away. Then, use the eraser of the pencil to help clean the dirt off of the soles of the shoes. If your shoe has te...
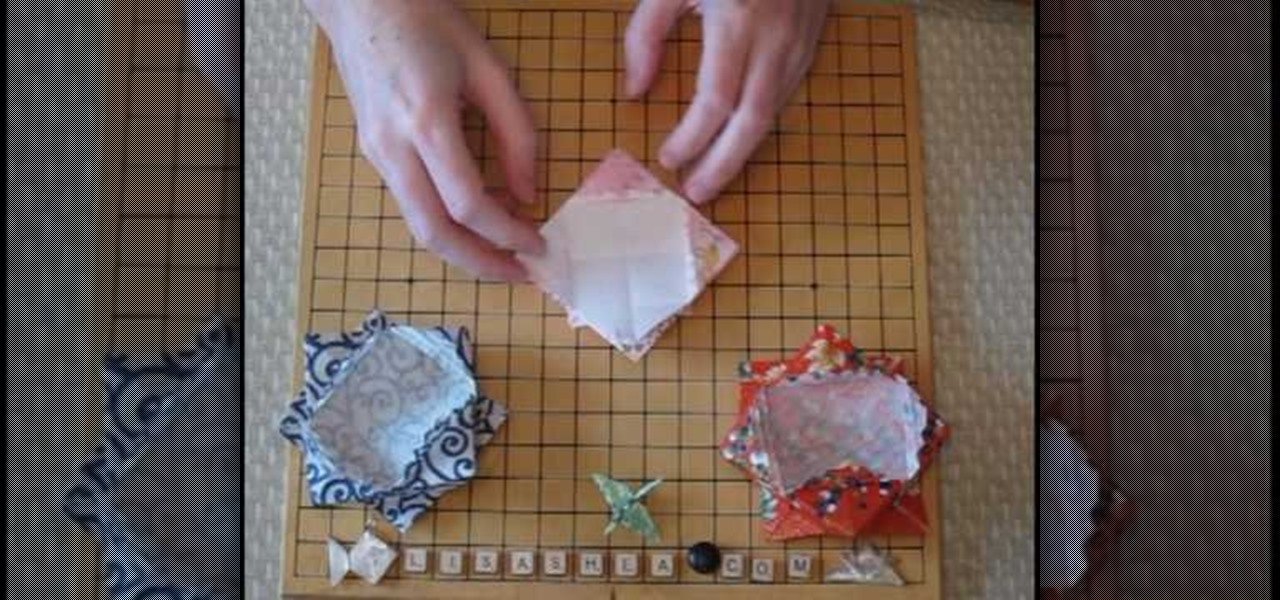
The video shows how to make an origami candy dish. Fold your origami paper in half diagonally. Put the four points into the center area. Turn over and fold all four points into the center. Move the tip out to the edge for the feet. Turn the paper over and fold the flaps out to the edge of the square. Fold the flap again and leave a bit of overlap. Do it on all the flaps. Put fingers into the corners to fluff it out.
Having a nice supply of fresh herbs from your own herb garden or from the grocery store is a great way to enhance and add flavor to virtually any meal. But, what do you do when you have a surplus of fresh herbs? This video from Food Network offers an easy way to store all those fresh herbs, so you will have them fresh and ready when you need them in the kitchen. First, dry them with a paper towel, wrap them in a paper towel, store in a Ziploc bag and place them in the fridge until you are rea...
Tom Skowronski teaches the secrets of using an outdoor green screen. An excellent summary is given below. First check the advantages of using green screen outdoor like a lot of space, sufficient light. In the same way check some disadvantages like noises from birds, children. For the screen materials you can use paper which is cheaper but it cannot be controlled if wind blow. You can also use a board or even paint a wall green which will be better. Now to set up the screen use the screen rods...
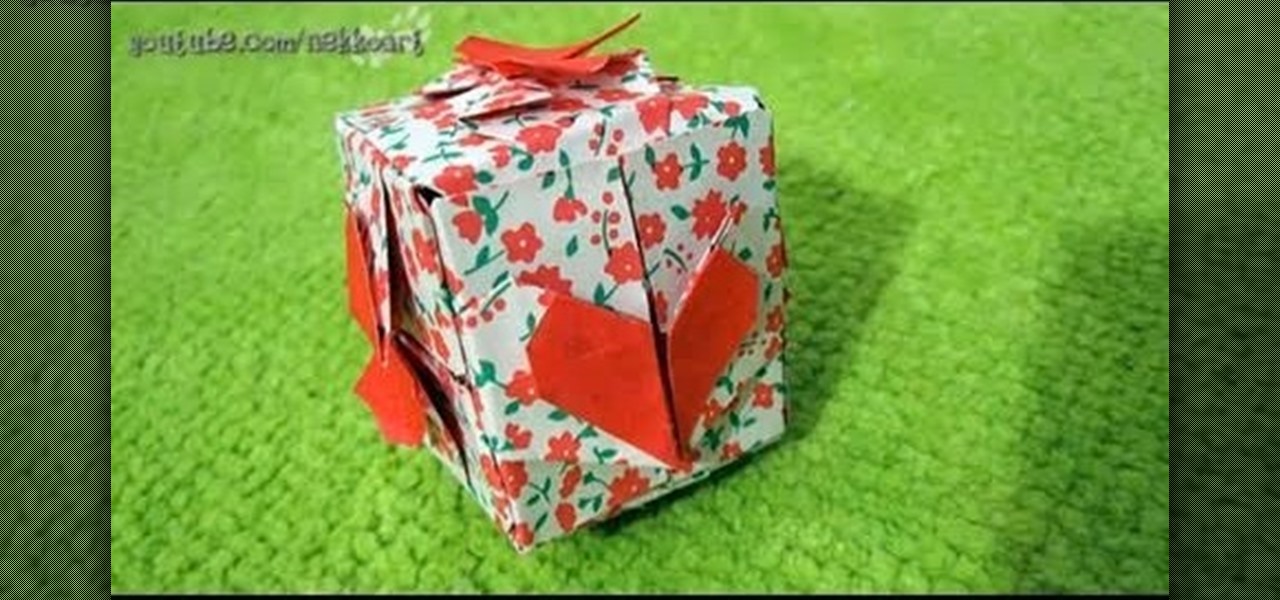
Origami's an art, and when you get into 3D origami, it definitely gets harder. It involves more than just one piece of paper and a few folds. It requires plenty of paper, plenty of folds, and plenty of patience. This six-piece modular heart cube can look great, but you need patience, and probably some practice to get it right. So, check out this two-part video tutorial to see exactly how to fold the six-piece origami heart cube.
This video shows you how to fold origami boxes. You will only need a single square piece of paper. The process requires simple folds. This project can be done by people of all ages. The video has both audio and video instructions and is very clear about what needs to be done. The final product is a box with an open top. In order to create the lid, you repeat the process. It is suggested that you use a different color or patterned paper for the second box. The second box just gets tucked over ...
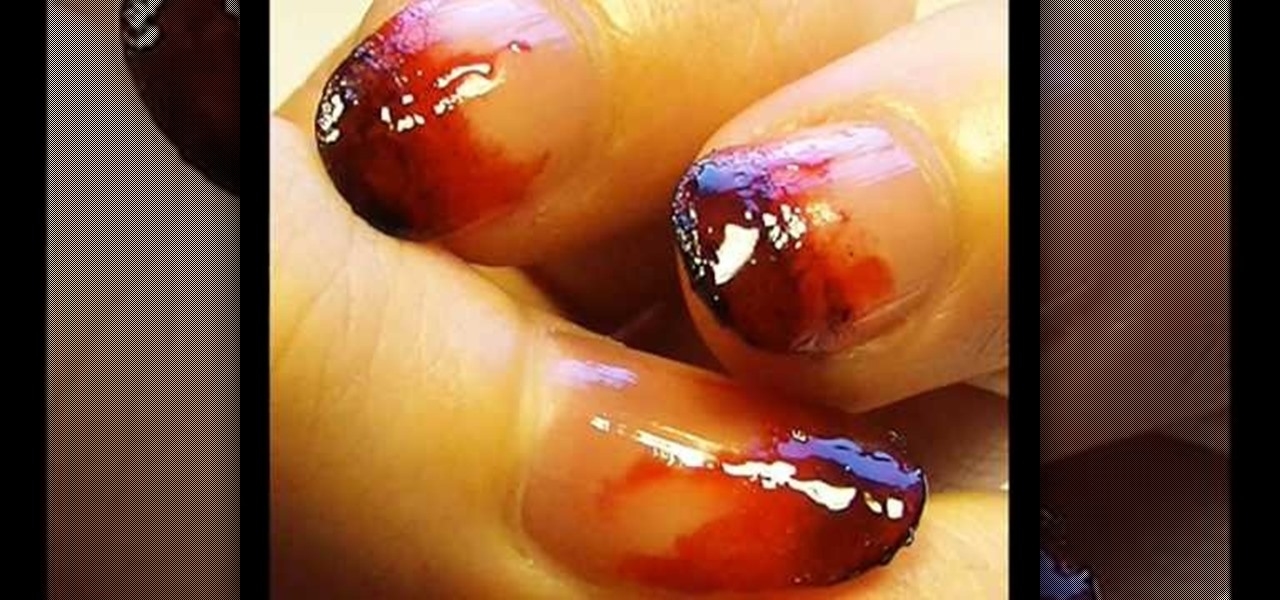
This video shows the viewer how to paint their nails to give them a blood stained look for Halloween. This is done by first putting a small amount of dark red nail varnish onto a sheet of paper. Then apply this in many coats to the nail using a foundation brush to give a layered effect. Then place a small amount of black nail varnish on the paper and using the same section of the foundation brush apply some of the black nail varnish to the ends of the nails. Then apply some of the red varnish...
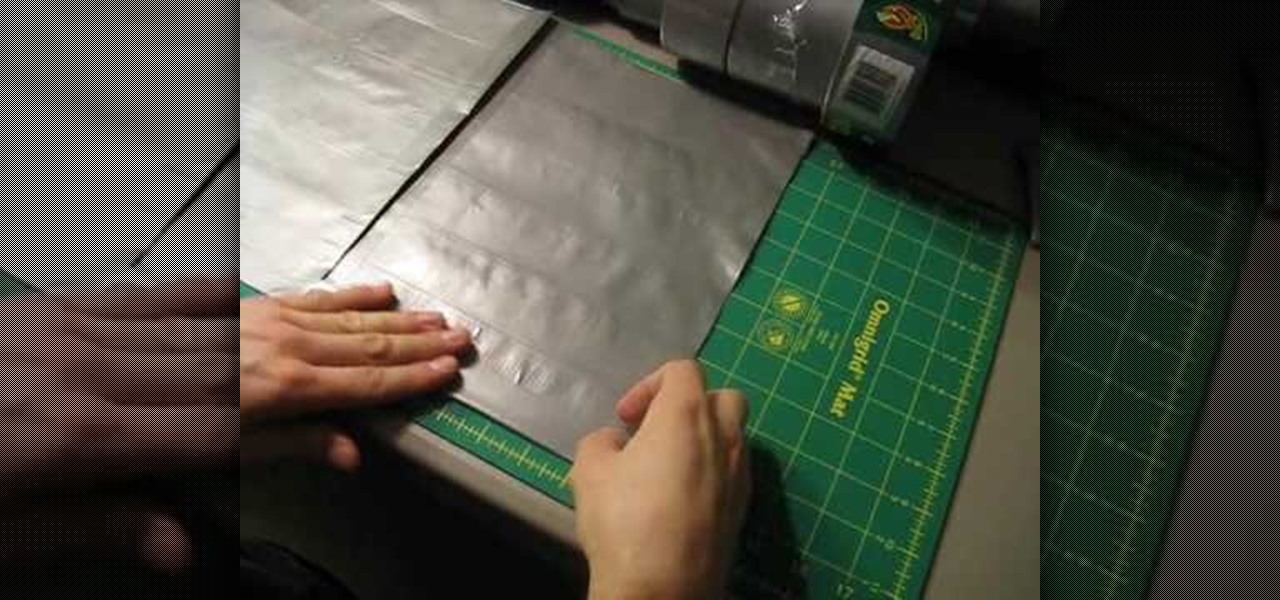
Spend an afternoon creating a new way to carry your papers at school by following this fun tutorial on how to make a folder out of duct tape using only a ruler, some scissors and of course, duct tape. With your new duct tape folder, you can carry your papers and show your creative skills off at school or college. Don't forget to personalize the front with other duct tape creations to make it your own!
Making homemade fortune cookies is a snap, and your loved ones will get a kick out of their personalized predictions. Learn how to make fortune cookies with personalized messages. You will need:
Okay, this is one of the coolest eco-friendly projects we've ever seen. If weaving plastic bags into a reusable tote bag is not your thing, then maybe this is. Check out the video to learn how to build a paper turntable made entirely out of reused materials.
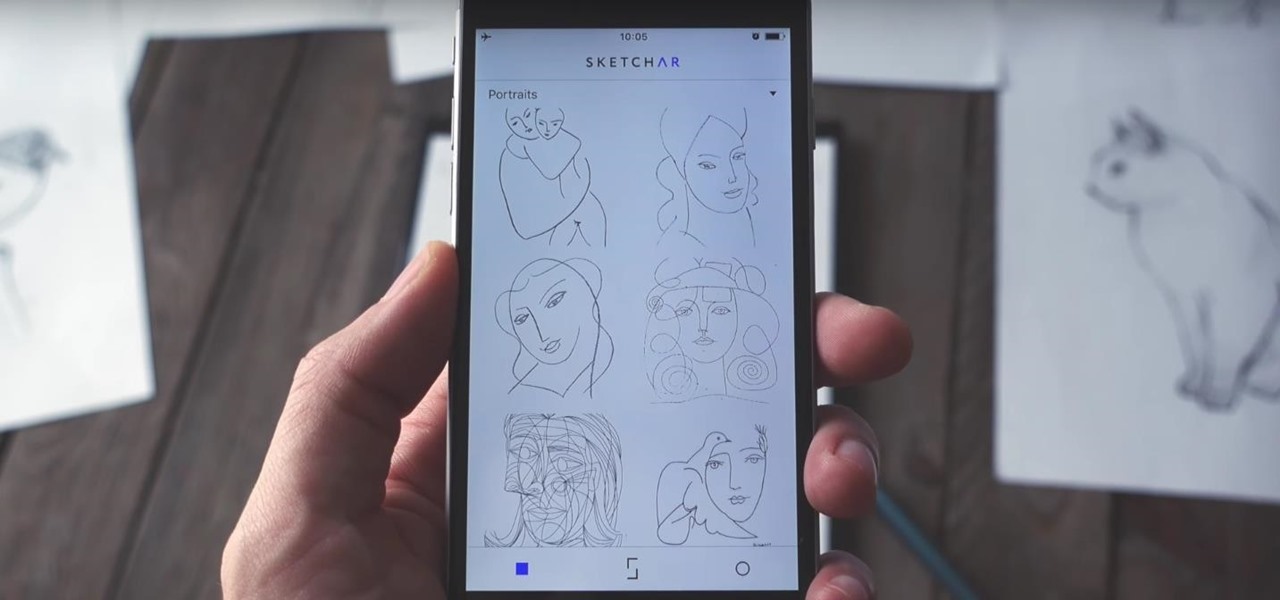
Get ready to draw like Leonardo da Vinci, or, at least, trace like him. A new augmented reality app, SketchAR, is the first mobile app that uses AR to allow users trace an image on real paper. The Lithuania-based company describes their product as "an application through which the user sees a virtual image on the surface of which they are planning to trace a sketch."
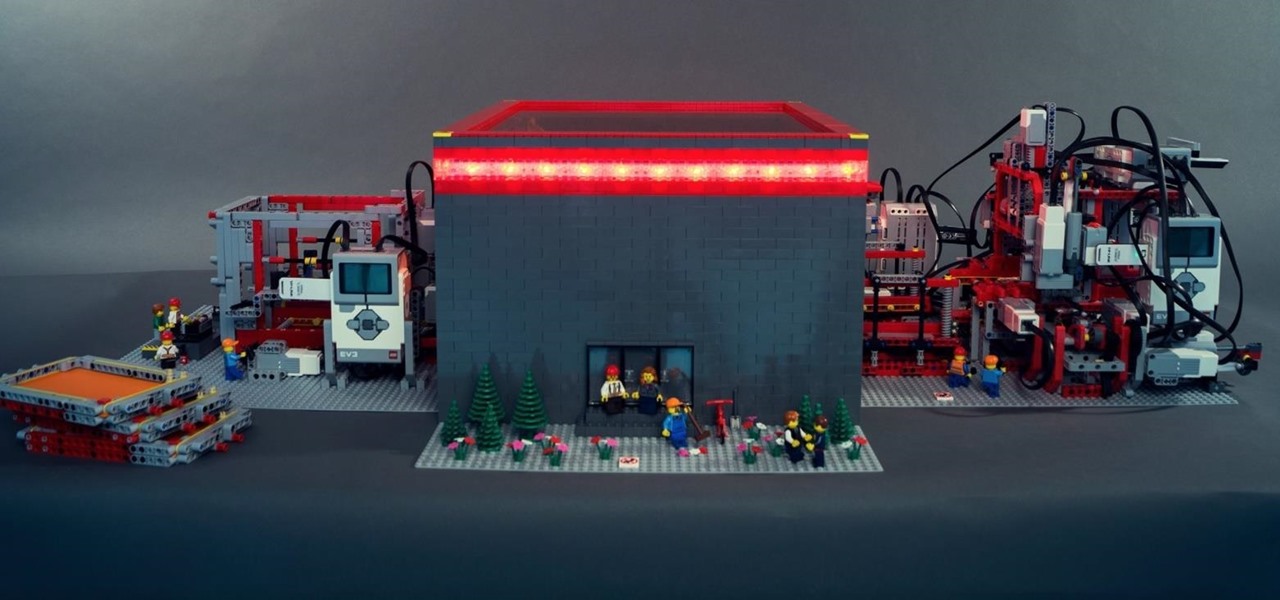
Robots are always really cool, if you ask me. Sometimes they're made out of Legos, and that's even cooler.
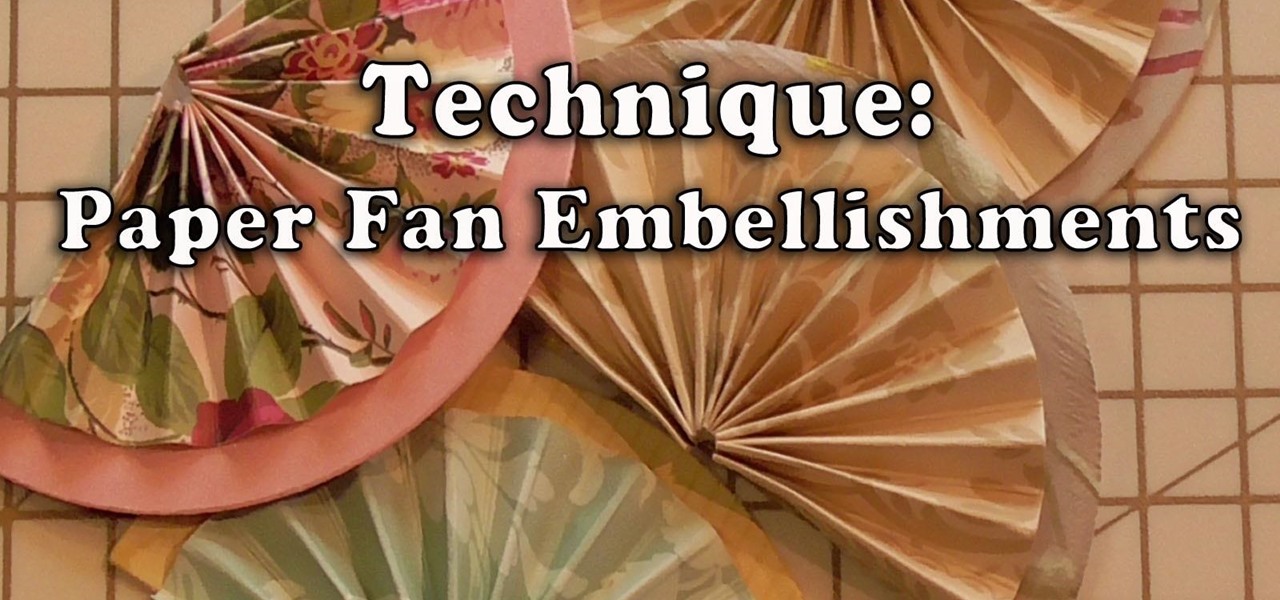
This fabulous technique creates half fans for your cards, scrapbooking and projects using the Anna Griffin Paper Tricks 2 Step 1: Now Watch the Tutorial
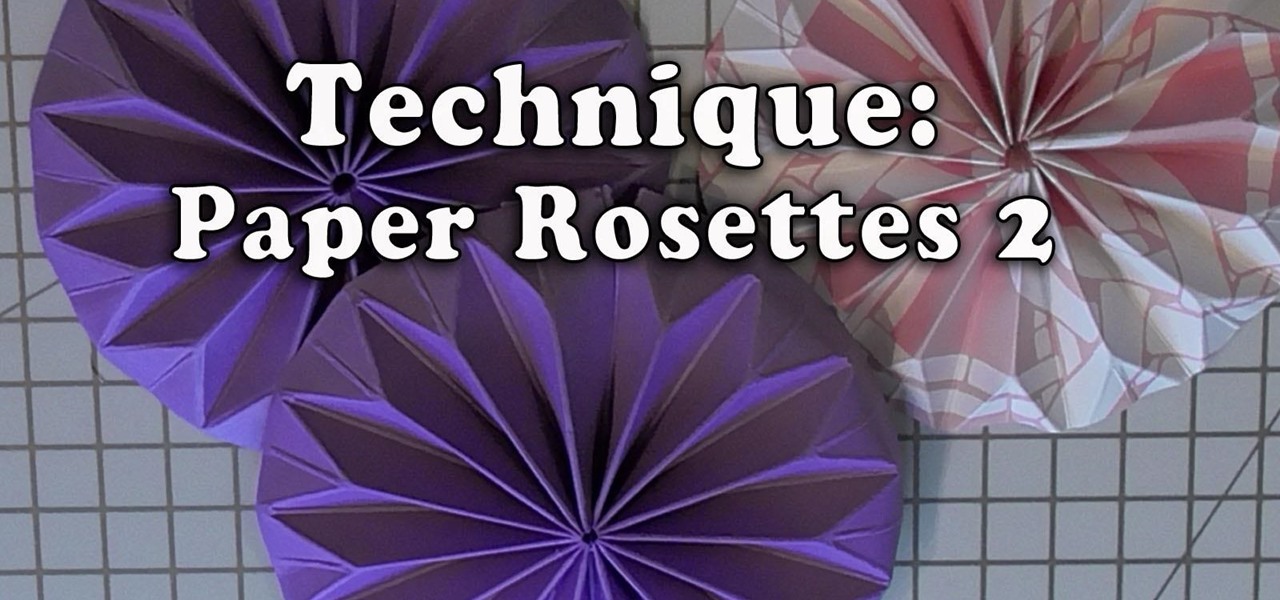
This technique shows how to make the paper shaped rosettes that are so easy and quick to make, they add depth to your projects and alot of interest. Step 1: Now Watch the Tutorial
This technique shows you how I have made these gorgeous little paper flowers that match project Nos161
This project is all about paperfolding and making a 3D card using gorgeous papers, this project is not the quickest to make however it is one of the most effective. I show you how to paper fold and make the background as well as the card.
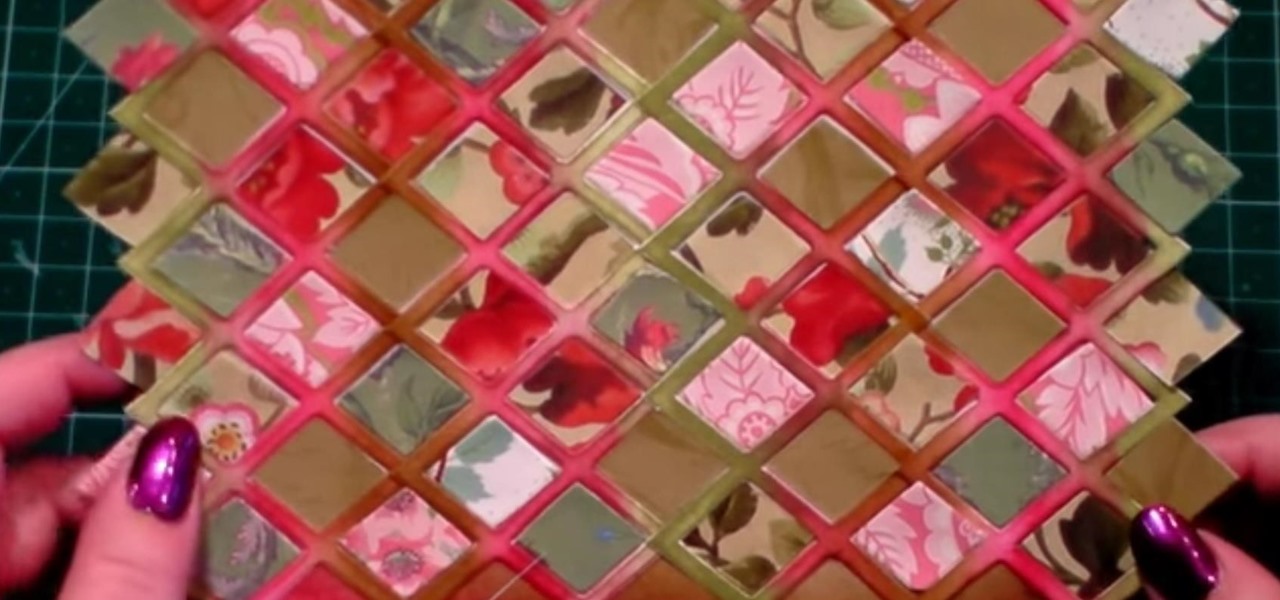
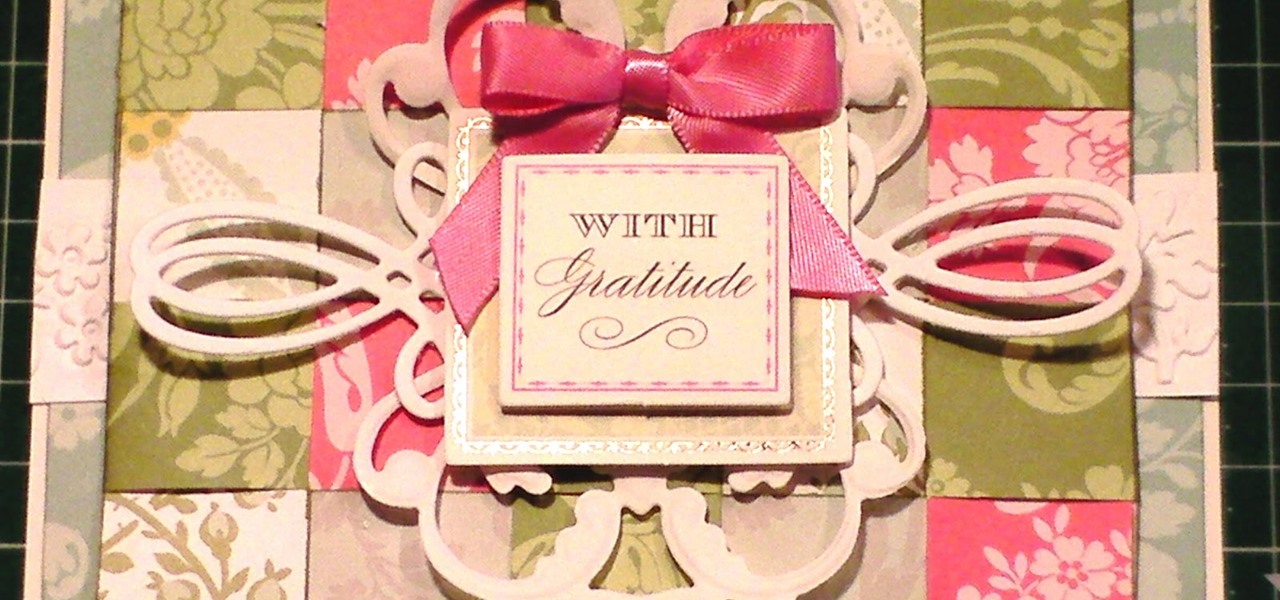
In this project I have use a die from the Tim Holtz range of Frameworks dies, in the standard lattice style and I show you how I use the Lattice and the throwaway pieces to make a great background for your cardmaking, scrapbooking and paper projects. Step 1: Now Watch the Tutorial
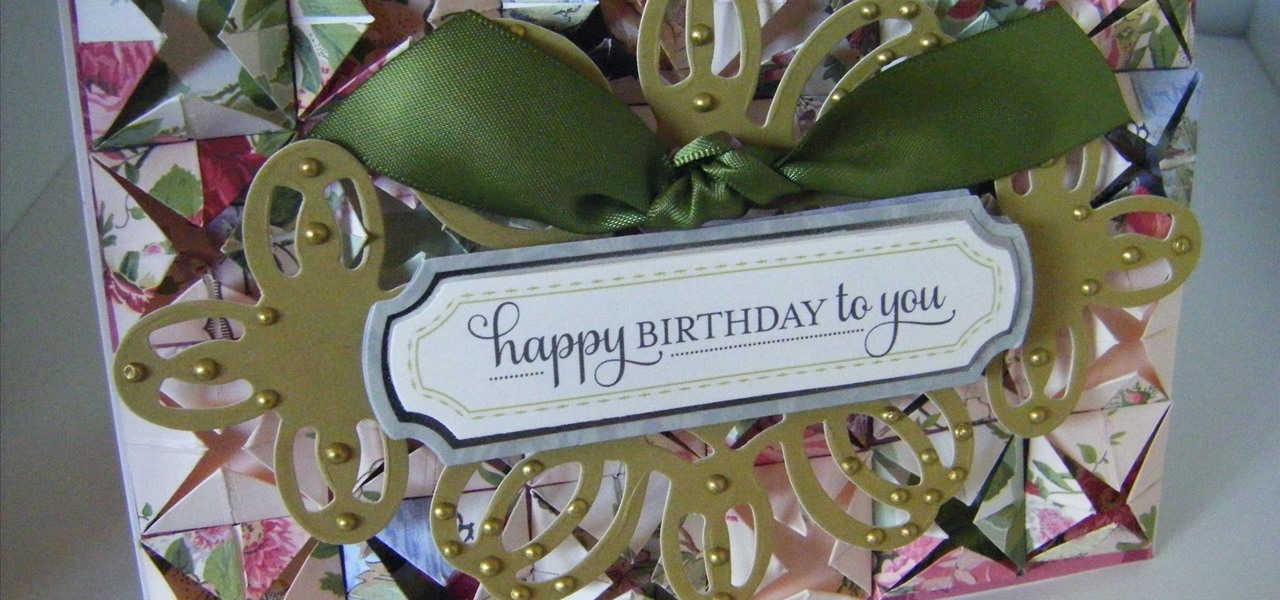
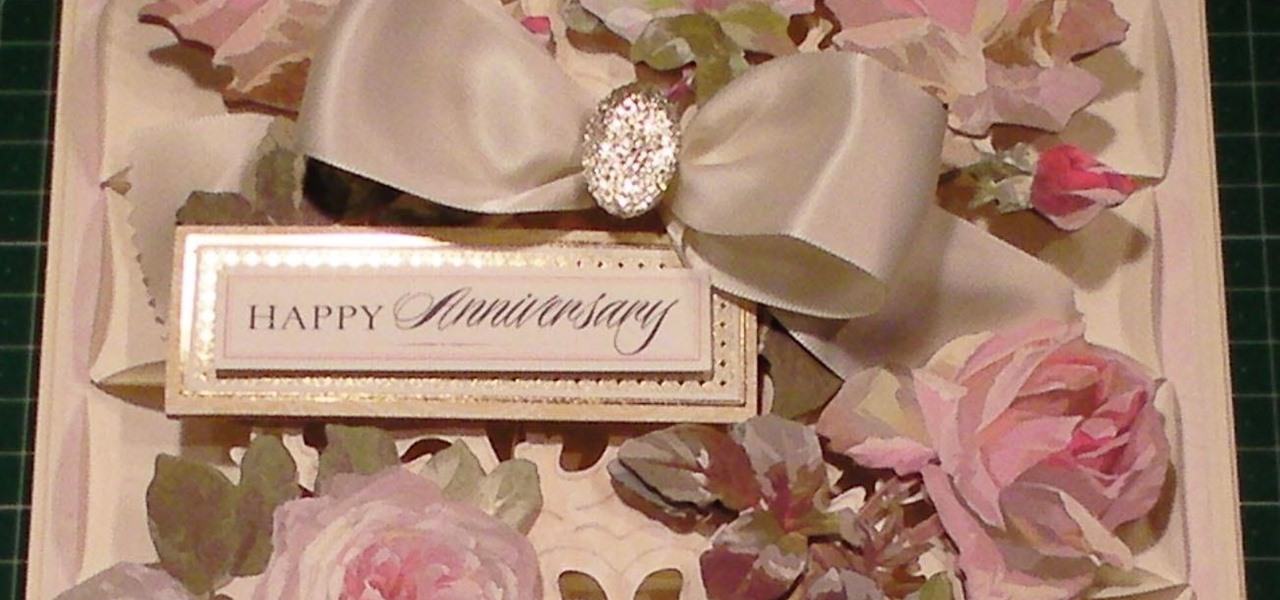
This card is totally gorgeous, it has a bit of everything and I can't say it is going to be a quick card but I can say it is a 'Humdinger!' and anyone who receives it will keep it forever.. The card has a paper folded quilt style background made from the Anna Griffin Paper Tricks2 kit and this creates something stunning for the 3D flowers and sentiment to sit on, as well as the glitzy bow & embellishment.. perfect for something large and if you ever wanted a card to make a statement, then thi...
This technique goes with a project that I have already made - This shows how to make a paper weaved background for your cards, scrapbook books etc as shown in the picture below.
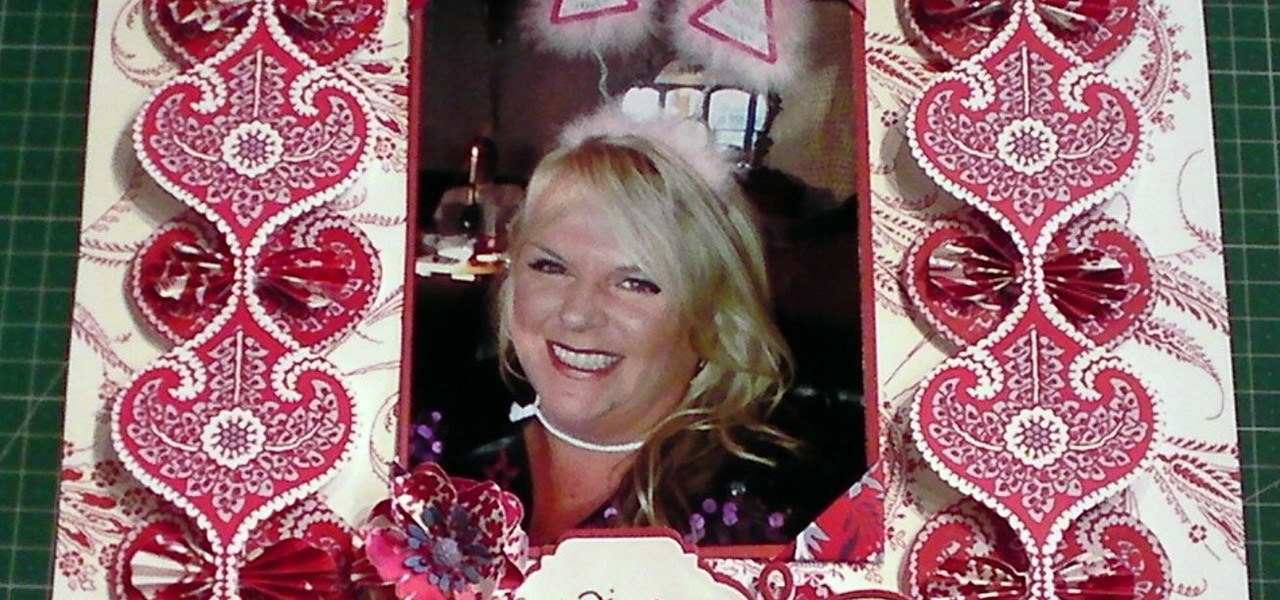
In this demonstration I show you how I have created a really pretty scrapbooking page using papers from the Madison Collection from Anna Griffin and a great photo of me from my Hen Night.
In this card tutorial project I create a mega mix of lots of layers and different textures and papers to make a great card.
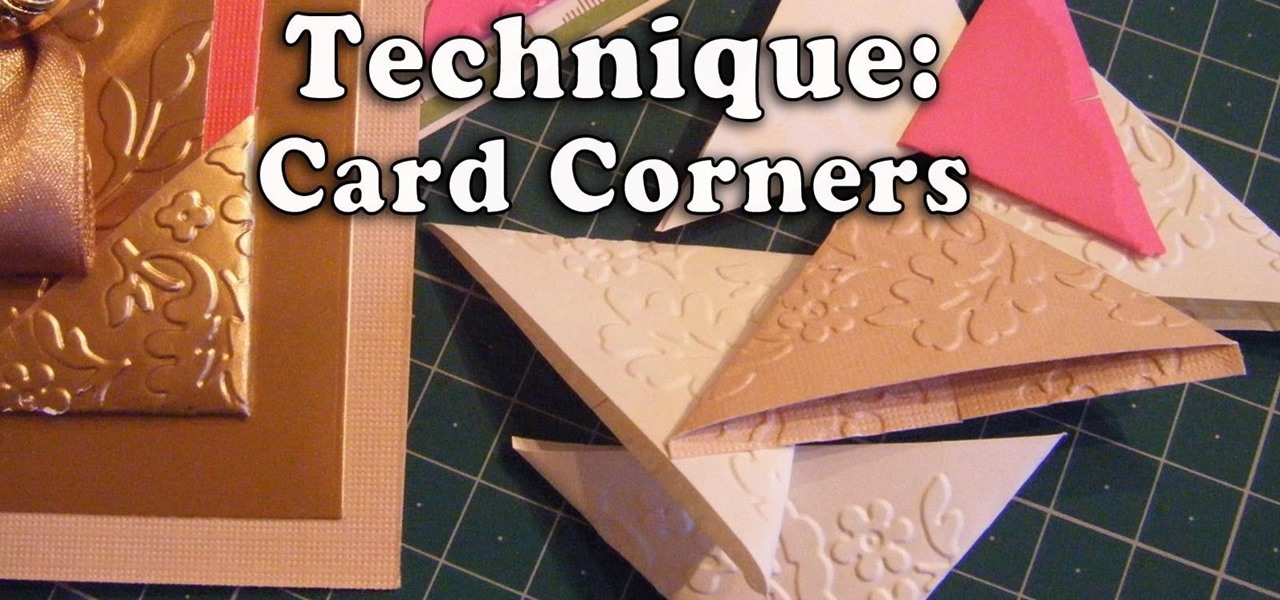
In this Technique Demonstration I show you how I make card corners in both plain and embossed card for all your card, scrapbooking and paper projects. Easy and quick to make, and once you make them, you will be wanting to add them to everything.
In this cardmaking demonstration I make a really pretty card using a range of pretty papers. The card is a 6x4in card and I go through the layers building up a beautiful card that could be made using any range of papers and any stamps for a multitude of occasions. Step 1: Items Used
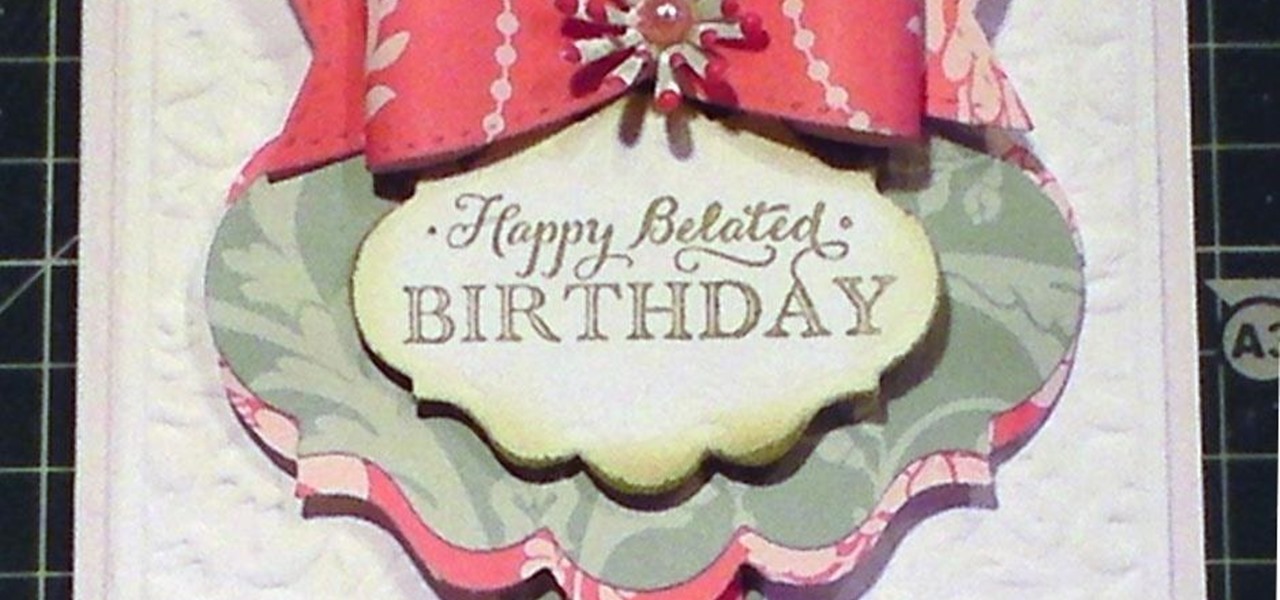
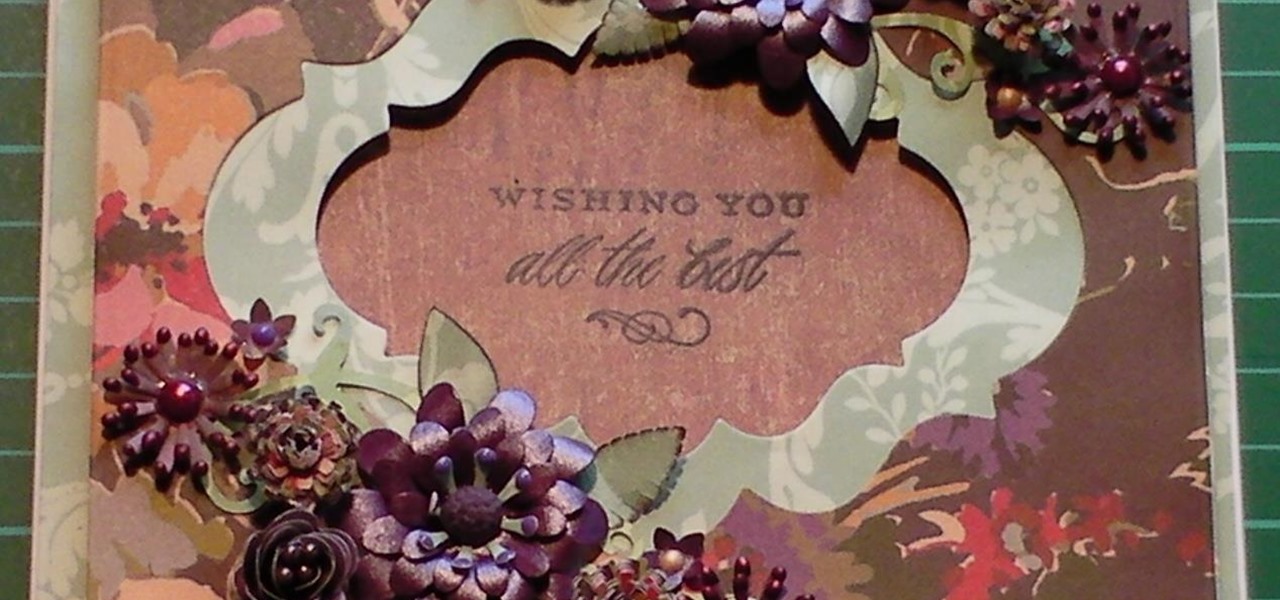
This cardmaking tutorial shows you how I have made and built up this card using papers and flowers, with swirls and a stamped sentiment, all to create a fabulous card. Step 1: Items Used
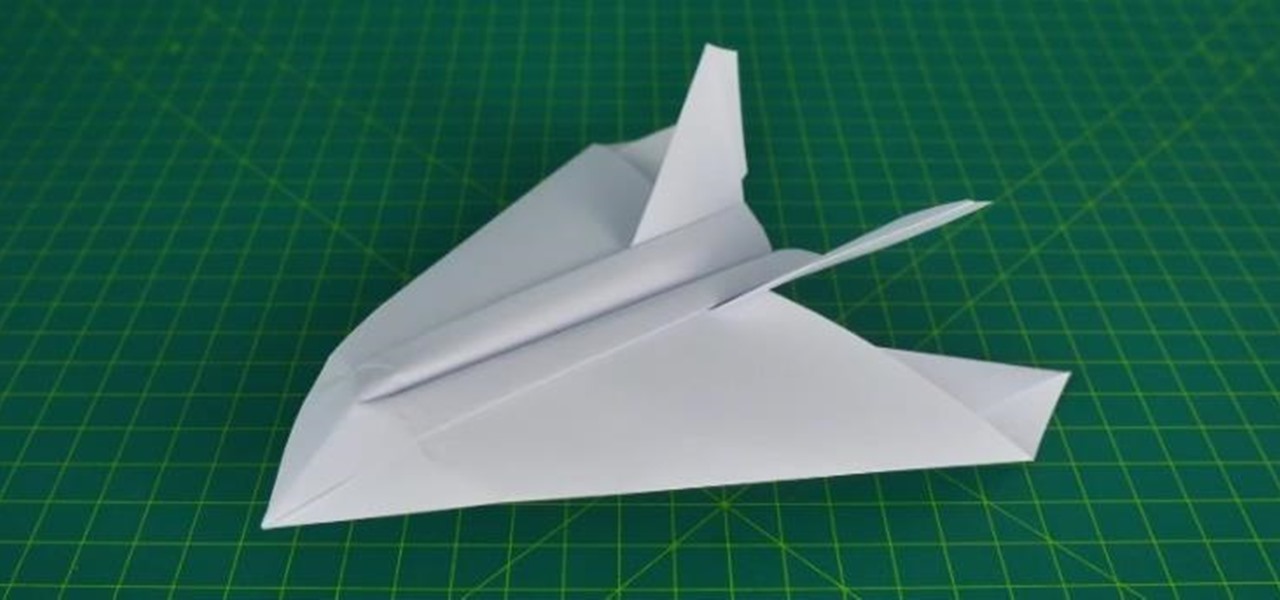
In this video, you will learn how to make origami stealth fighter. This origami model simulates a stealth aircraft.
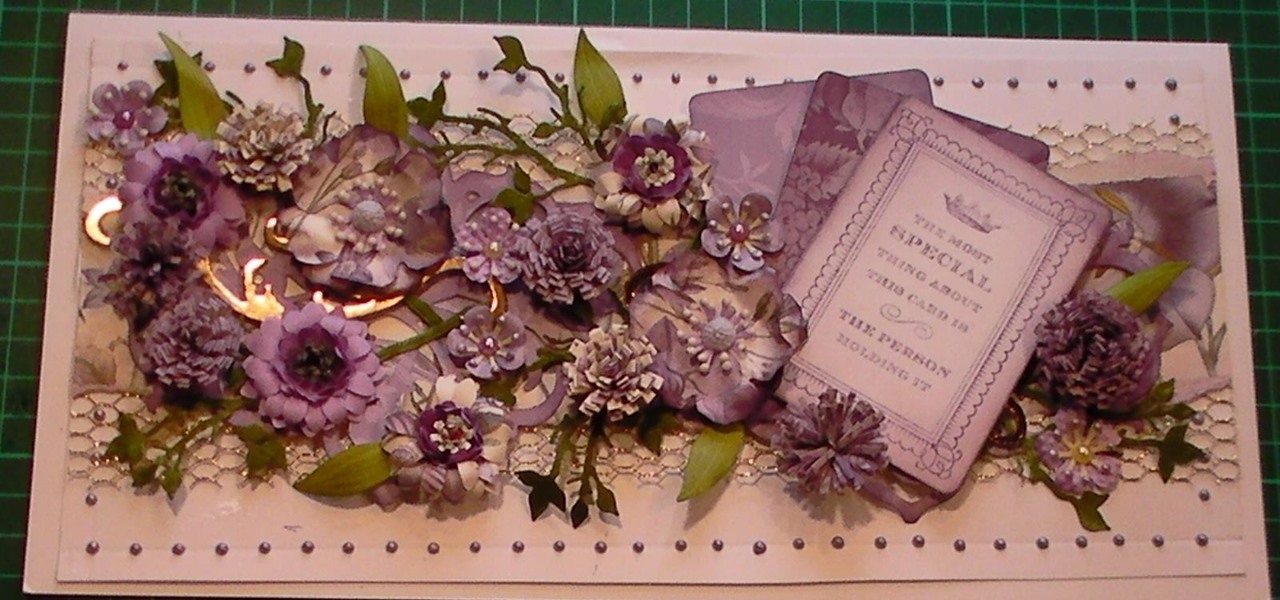
In this cardmaking tutorial, I share my love of paper flowers to make a double aperture card, using Anna Griffin papers and handmade flowers. I show you how I add the flowers symmetrically. This idea for a card looks stunning and the double aperture idea could be used with other nesting dies. Step 1: Items Used
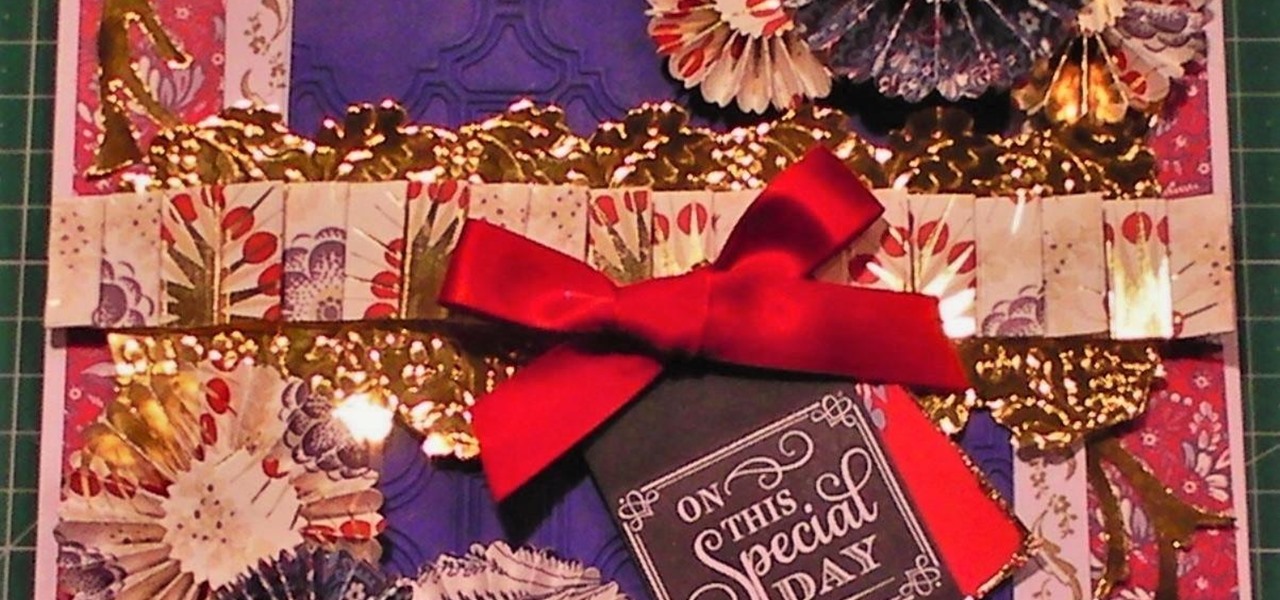
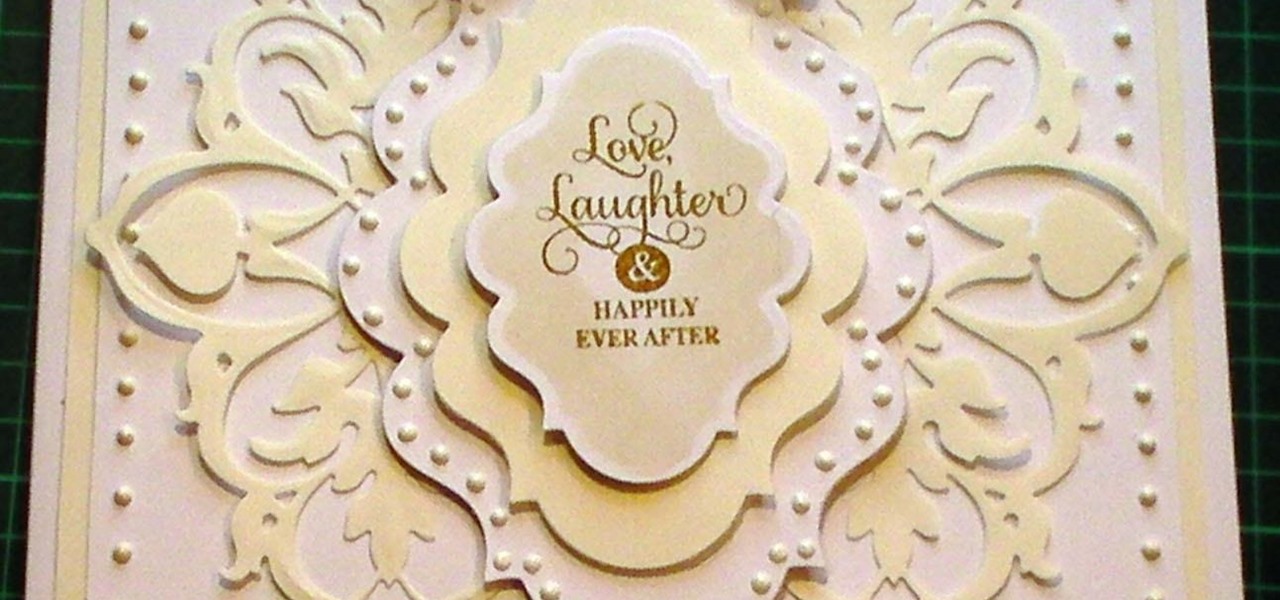
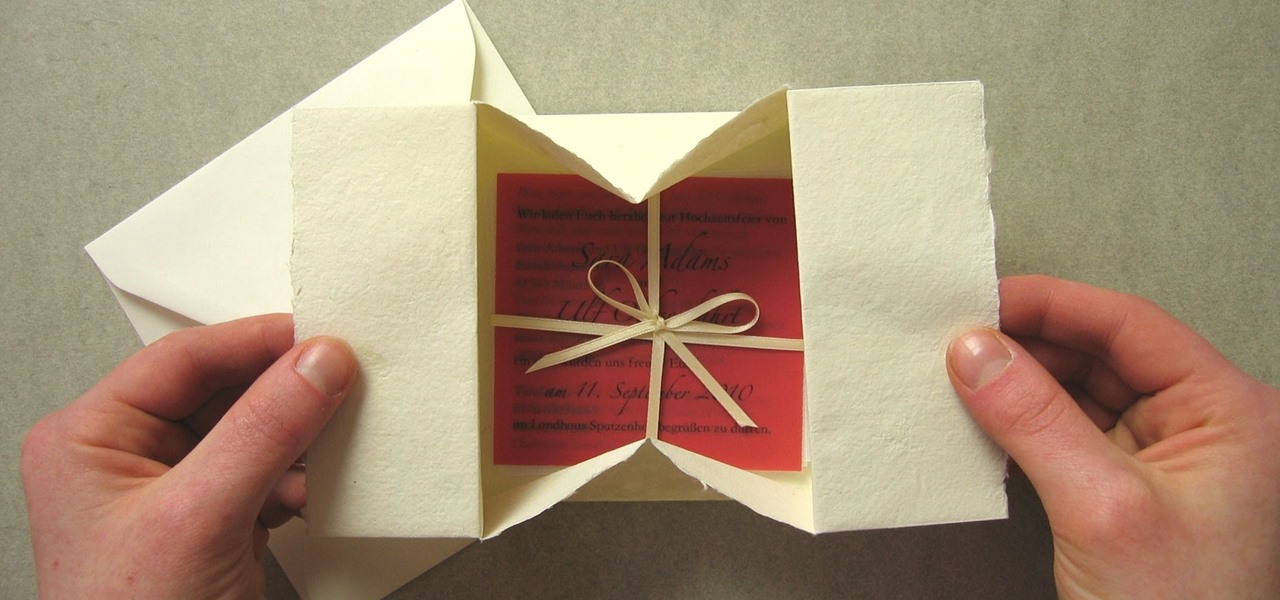
This card is ideal for anyone that is getting married or has to make a card for the Big Day, easy to make but yet it looks so complicated. Step 1: Items Need to Make the Card
This video will show you how to make a super dart paper airplane. If you fold correctly, it can perform really well.
In this video, I will show you top 5 easiest paper planes that can travel over long distances. Check it out, mate!