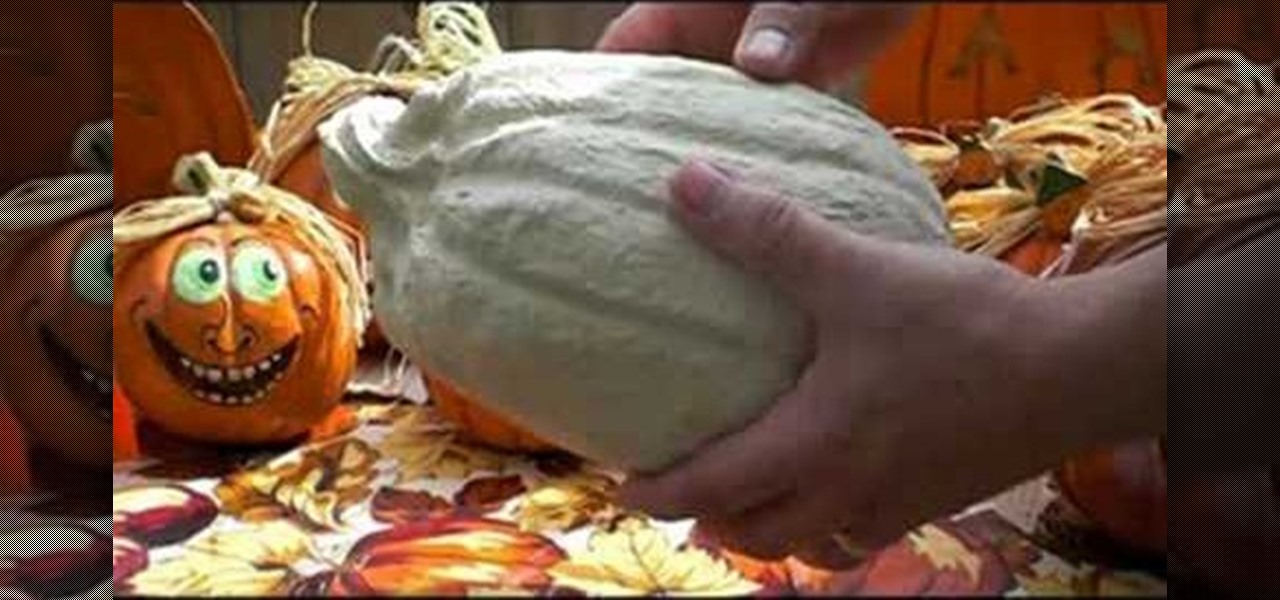
In this tutorial, we learn how to make paper mache Halloween pumpkins. You can purchase the pumpkin already made in the correct shape. When you are read to paint it, use orange pain and then a darker color in the creases to make it look realistic. You may need to smooth the pumpkin out before you paint, to make it easier to paint. Let the paint dry when finished, then add a gloss on. You can also paint on faces and different designs if you want to spice things up. You don't have to paint them...

This video tutorial is in the Arts & Crafts which will show you how to make a dangling picture frame. You will need pictures that you want to frame, old CD cases, a drill with a very thin drill bit and fishing line. Remove all paper from inside the CD cases, cut the pictures to the size of the CD case and place two pictures inside one case back to back. Next you drill a small hole at the top and the bottom of the case in the center. String one CD case with another with the fishing line. You c...

The Amaryllis flower, also known as the Belladonna lily, is, as its second name suggests, an extremely beautiful and lithe plant native to the Southwest region of South Africa. Recreate the delicate beauty of this flower by watching this tutorial.
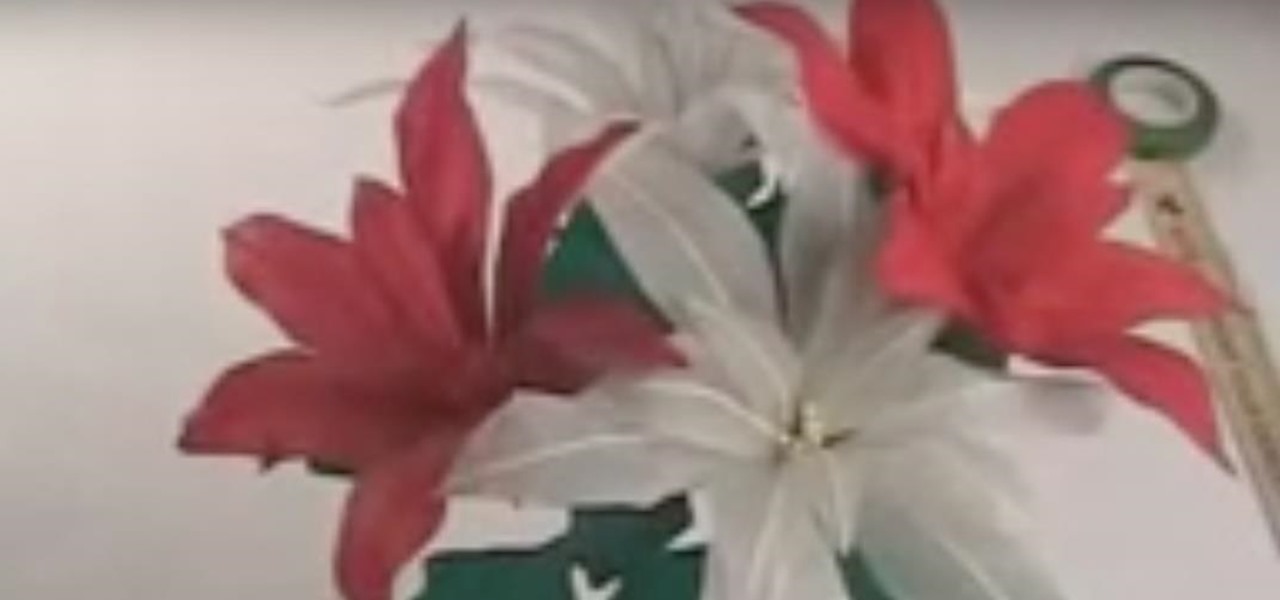
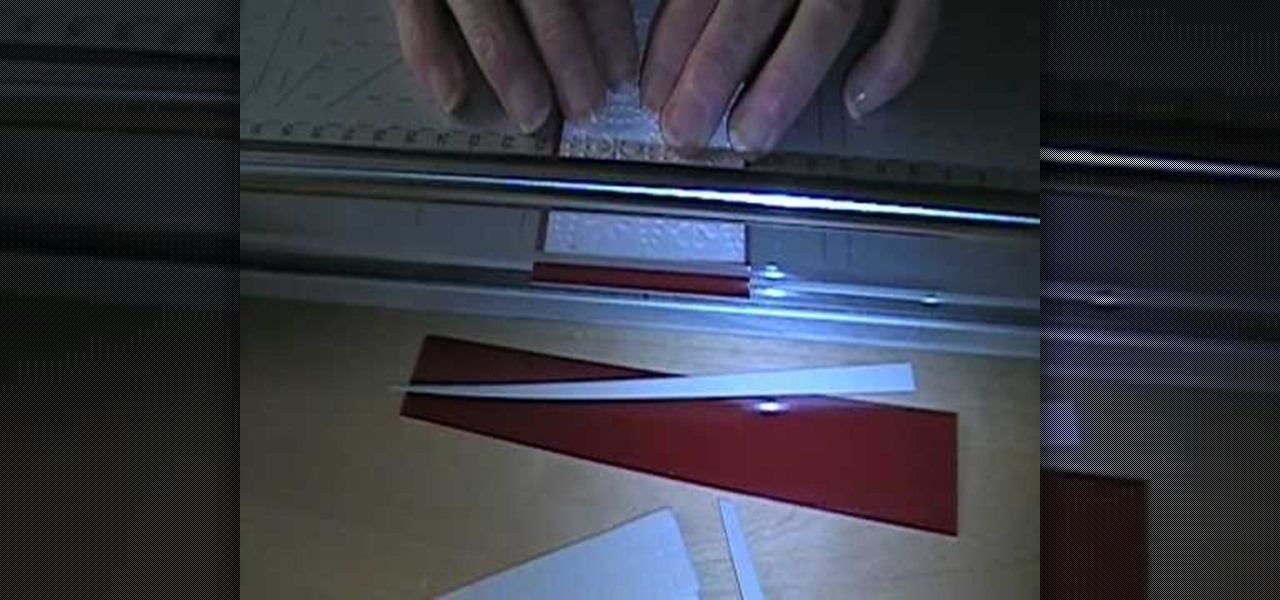
First, cut out pattern pieces. You will need 8 leaf patterns in total. Now, put two leaf patterns together and attach to a leaf with glue. Add a wire in the middle of the wire and glue it closed. Now, stretch your petals to give fullness, you should have 13 petals in total. With your finger, smooth glue onto the petal, then clip wire off of the petals.
In order to make cuttlebug cards, you will need the following: cuttlebugs, ribbons, two sided tape, a trimmer, and cardstock.
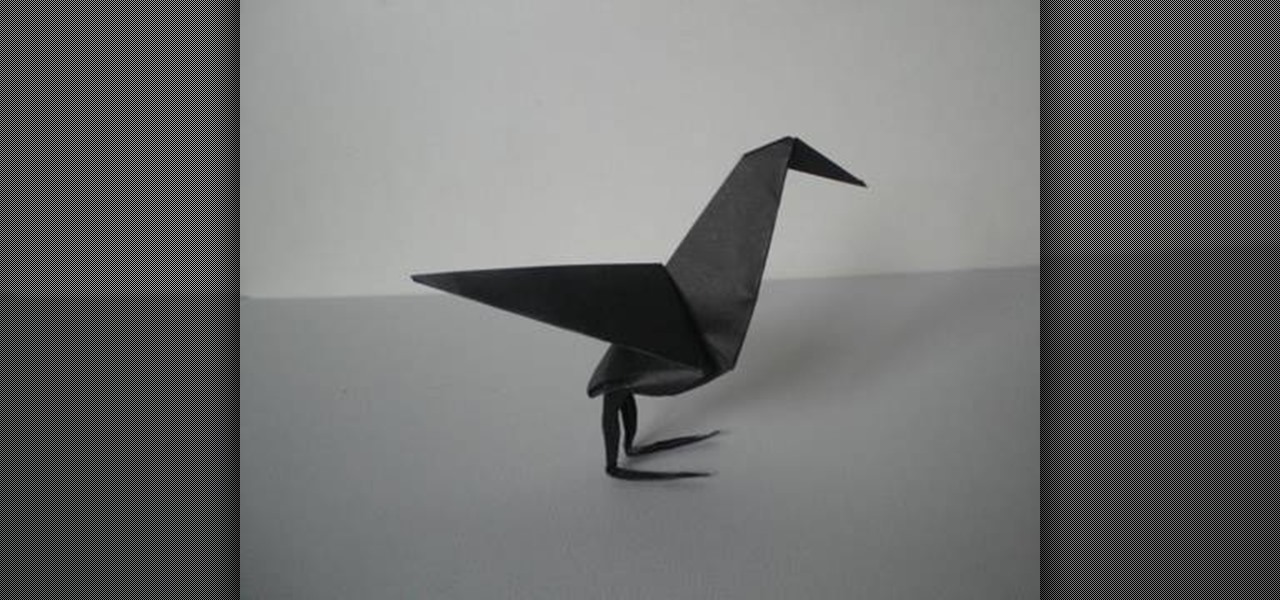
Okay, so a raven isn't the most auspicious thing to origami, but this delicate origami raven would be a wonderful and spooky craft to make for Halloween. You can place it on top of pumpkins or looking down jeeringly from windowsills.

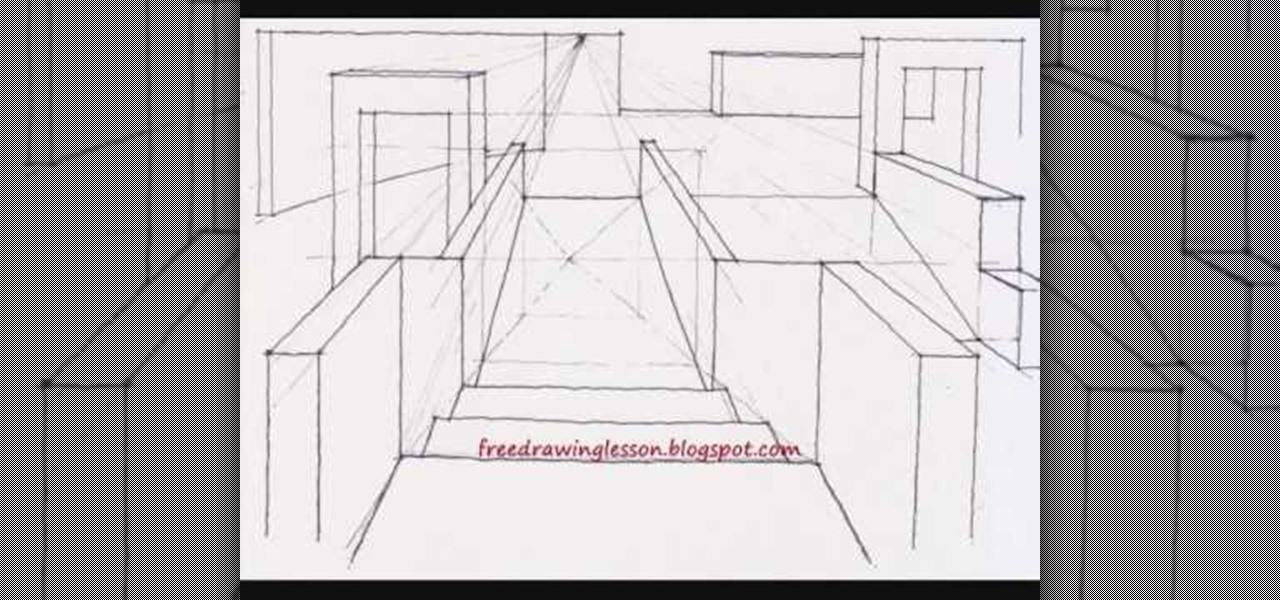
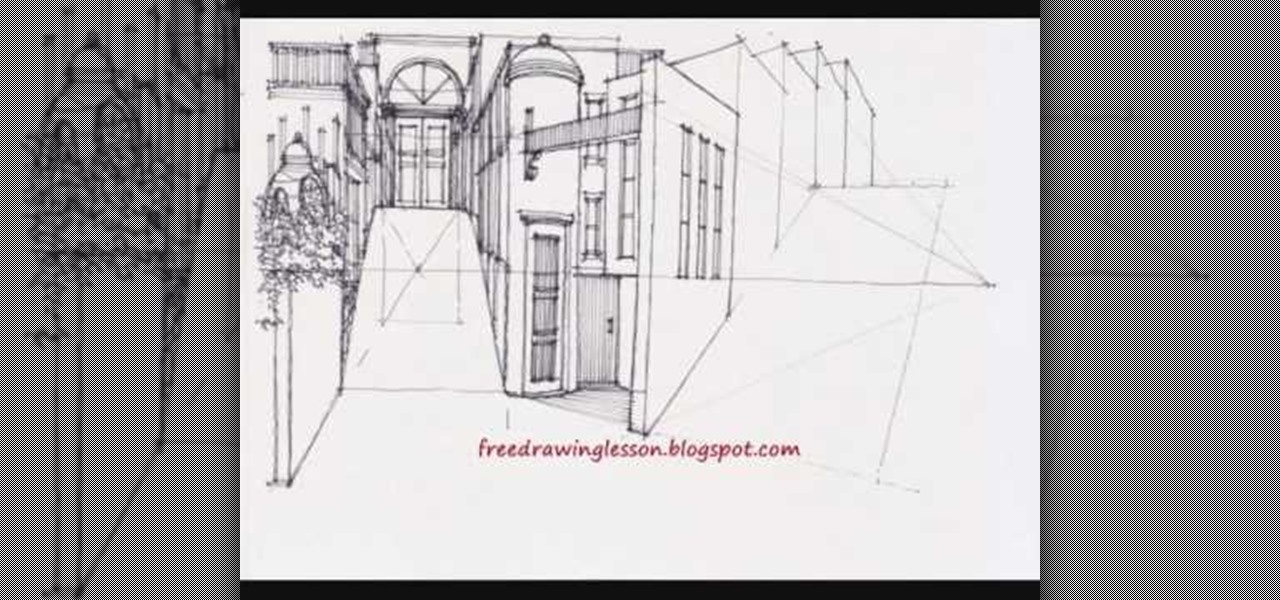
If you can successfully and convincingly draw complex levels on a sheet of paper, then you can draw just about anything. Despite having been around for thousands of years, representative art only approaches reality and reflects it, rather than depicts a believable replica of it.
Ever wanted to be the sultan of your own city? Well, unfortunately you won't get quite that by watching this tutorial, but you will get to rule your own city on paper.
Blogs are a great way to both jot down your thoughts and share them with the rest of the world to build a community based on common interests, but we yearn for the days of good old journal writing on real, actual paper.
In this video tutorial, viewers learn how to make their own rub-on. This allows users to transfer any designs onto card stock. Users will need to first print the design onto a sheet of acetate. Simply place the acetate paper over the card stock. Then use any kind of tool and simply rub it over the design on the acetate. The transferred design will be lighter in color than the original. Make sure that you if you want to use letters or numbers, print it backwards. This video will benefit those ...
Looking for your next home décor project? In this clip, Meg of ThreadBanger offers instructions on how to make spring time inspired kirigami flower art. Though the end result appears quite ornate, the process itself is relatively simple. So simple, in fact, that this video guide can present a complete overview of the process in just over three and a half minutes. Take a look.
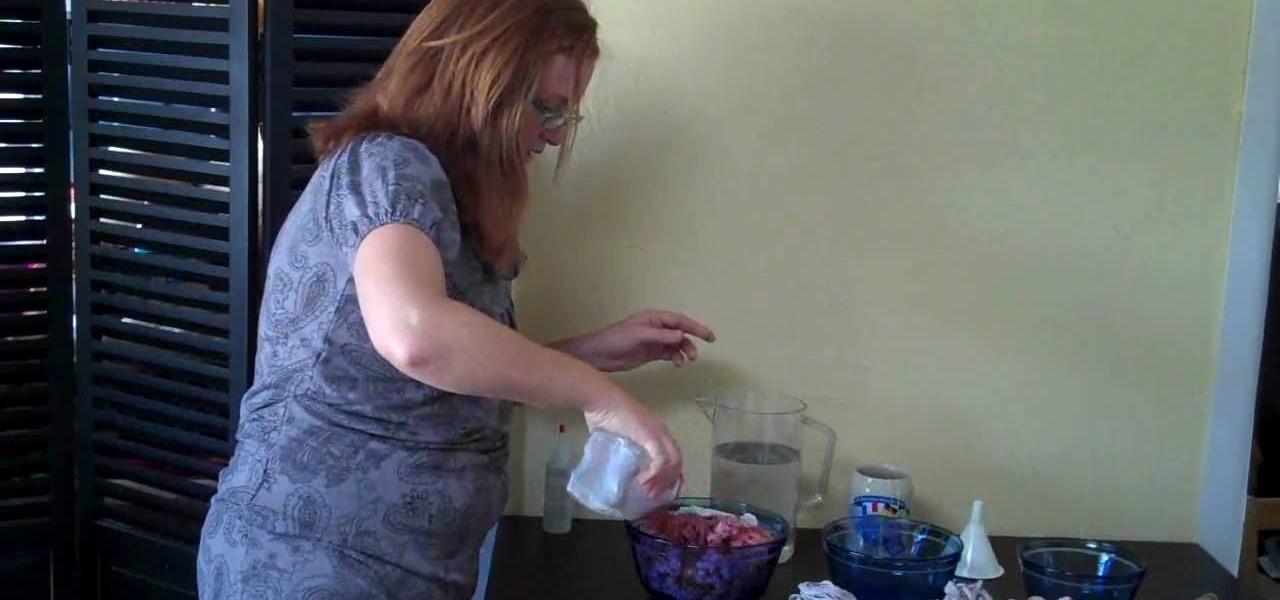
We've all heard of dying paper with tea dye for an aged, vintage effect. But did you know you could use tea (and coffee) to dye other things as well, including T-shirts and yarn?
This plump goldfish requires even less maintenance than the real things, and will look adorable as a conversation piece on your desk or a countertop. Composed of orange origami tissue paper, this fish stands up all on its own despite its rotund belly.
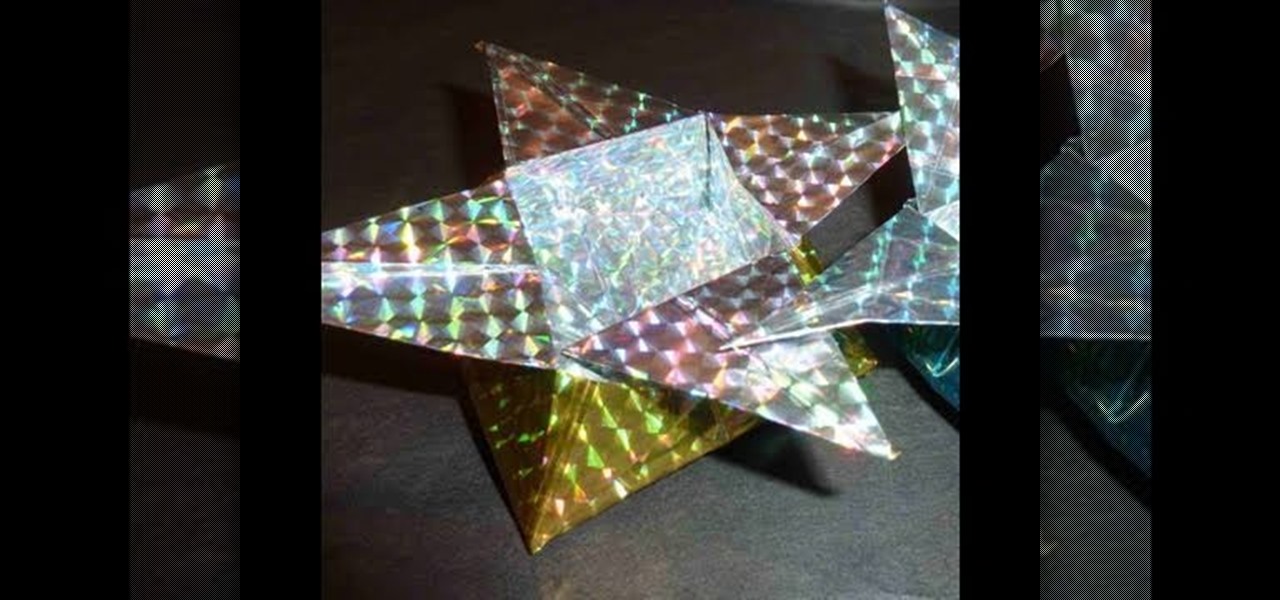
These origami ninja stars have been modified to include a small box for storing everything from candy for a celebration to your keys. Made out of a square piece of foil origami tissue paper, these storage boxes are perfect for summer celebrations or birthday parties.
In this tutorial, learn how to make fun kid's crafts by recycling items that you would normally throw out. You will learn how to save things like cardboard, paper, old books, dirt and even an old shoe! Turn these items into something fun and educational for your little ones with guidance from beloved actor, John Lithgow.
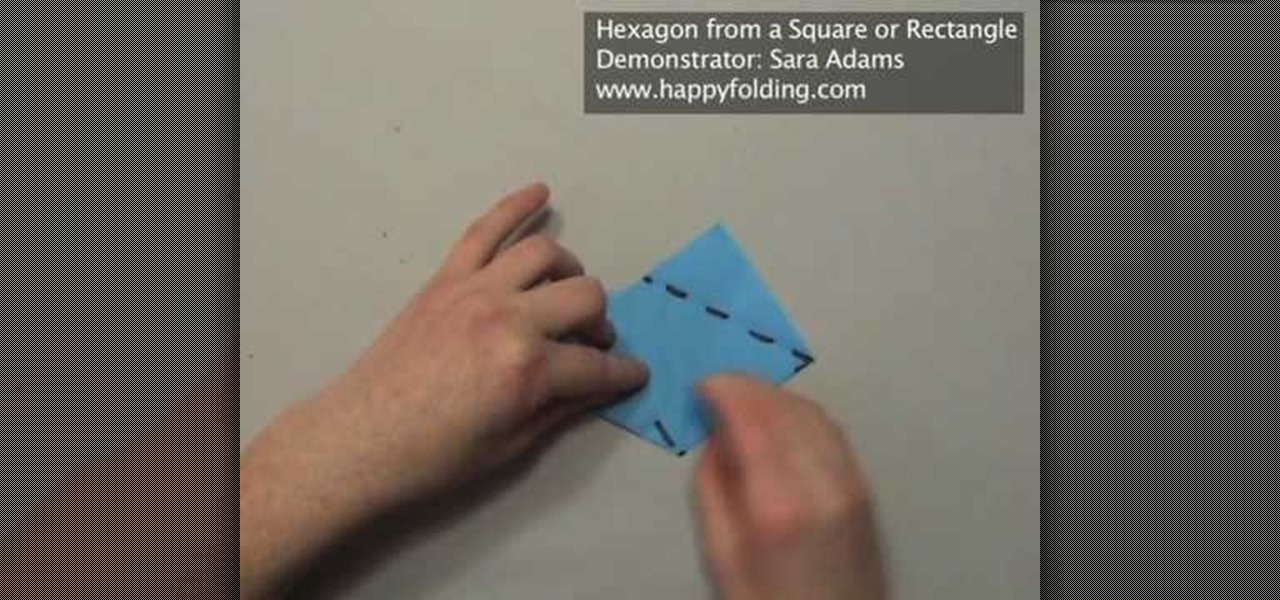
This video will surely perplex math teachers everywhere who have always made it an unbreakable rule that all rectangles are squares and that not all squares are rectangles, but neither squares nor rectangles are hexagons.
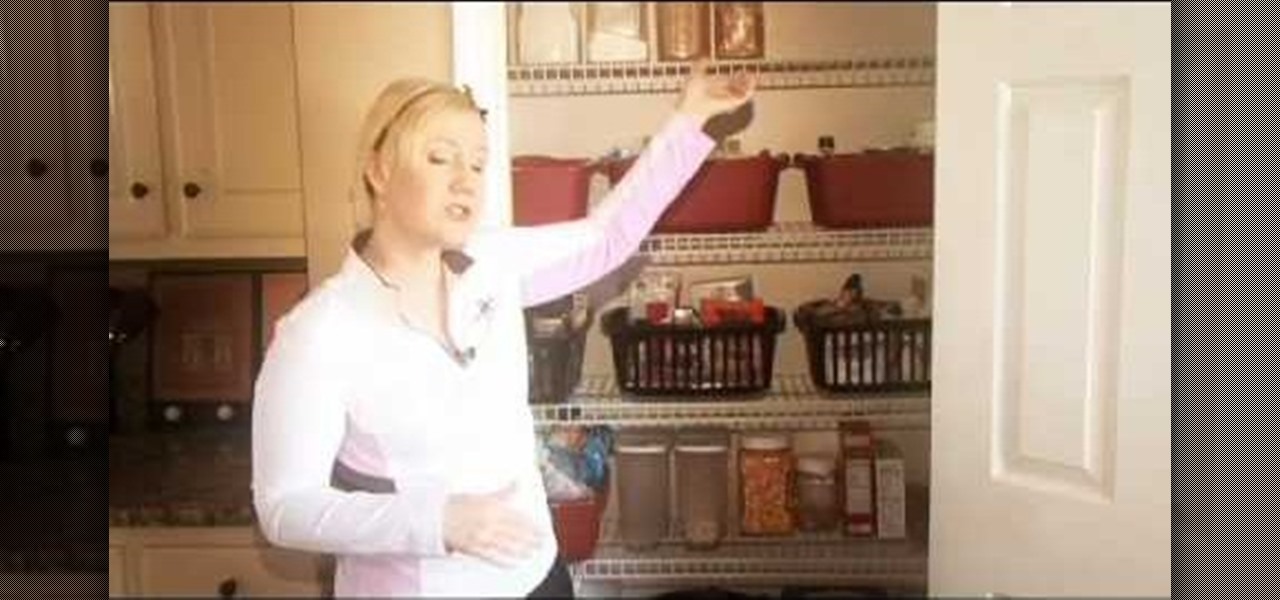
Is your kitchen out of control cluttered? Do you have paper work, utensils, and junk mail scattered in the one room in your house that should act as your sustenance sanctuary? In this episode of Real Women Scrap, the hub of every household is attacked as well as other ways to unclutter your kitchen.
This video guide will help you to fold your own hanging origami crane ornaments to hang on a Christmas tree or in your windows. Perfect for beginners. For more information, including a step-by-step overview of the folding process, as well as to get started making your own folded-paper crane ornaments, watch this free origami lesson.
Is your love of money and butterflies only surpassed by your love of craft projects? Boy, are you in luck. With this guide, you'll learn how to make a dollar-bill butterfly using origami, the traditional art of Japanese paper folding. For more information, including a step-by-step overview of the folding process, as well as to get started making your own money butterflies, watch this free origami lesson.
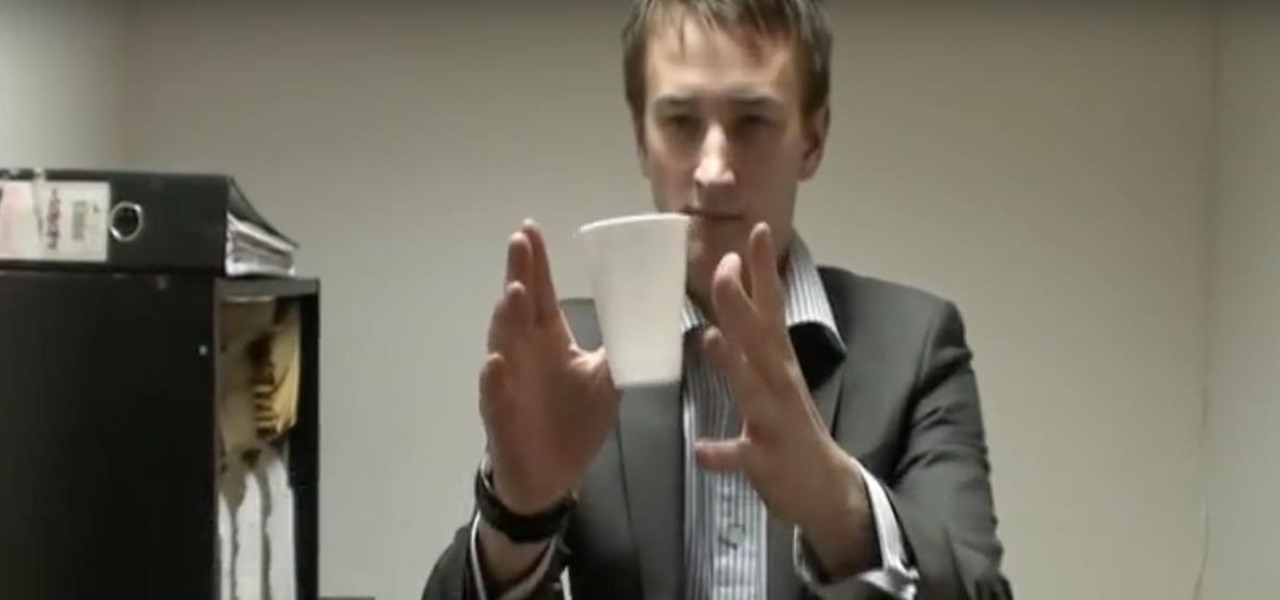
In this tutorial, learn how to trick your audience into thinking you can control things with your mind!
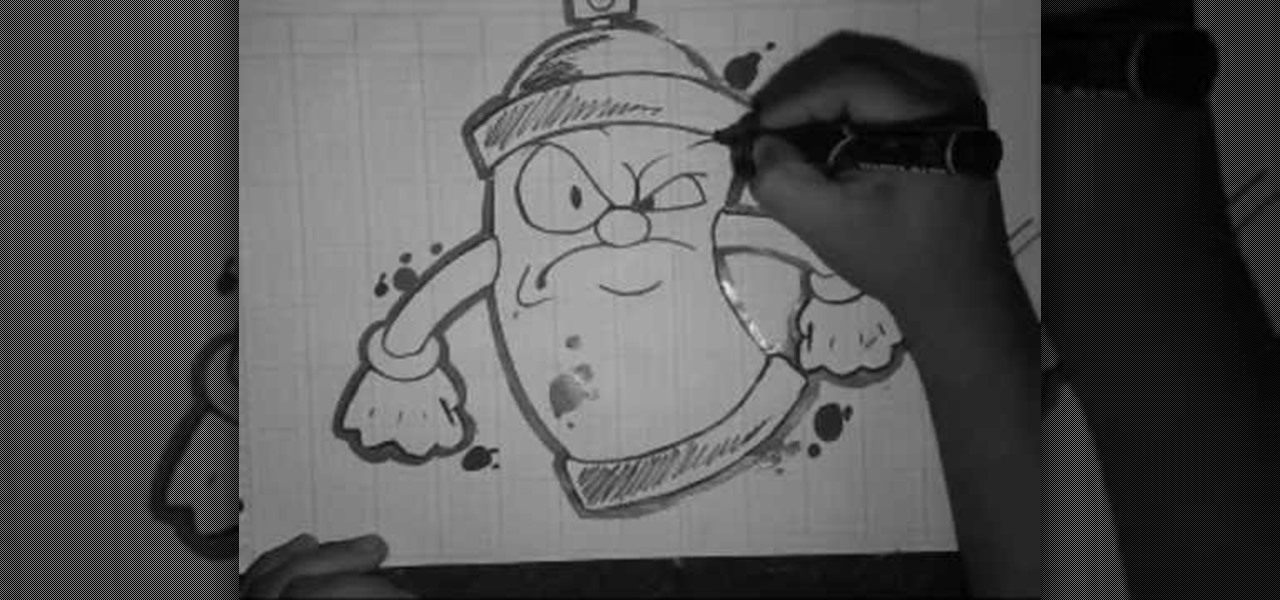
Wizard quite simply refuses to stop being online video's premier pen-and-paper graffiti artist. His prolific video output manifests itself here in a thick-pen drawing of the grandaddy of the the graffiti artist's toolkit: the noble spraycan. This particular can looks even meaner than most! Even his splatter highlights are remarkably precise, and as always the quality of his work inspiring and unimpeachable.
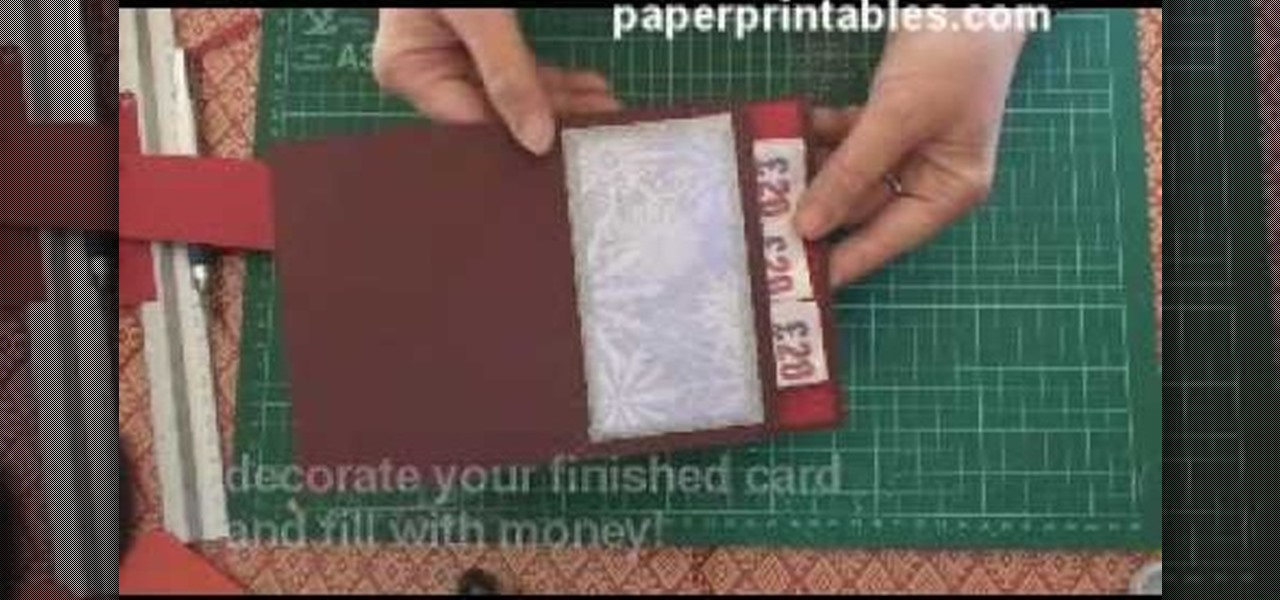
To make this pop-up card, you just need two sheets of card stock. This pocket pop-up card is made specifically to hold money, which works great for birthdays and holidays, especially Christmas. This super simple pop up pocket card is easy to make, and it doesn't just have to hold money… it can hold gift vouchers or plastic cards, also. Super base for decorating either with stamps or designer papers.
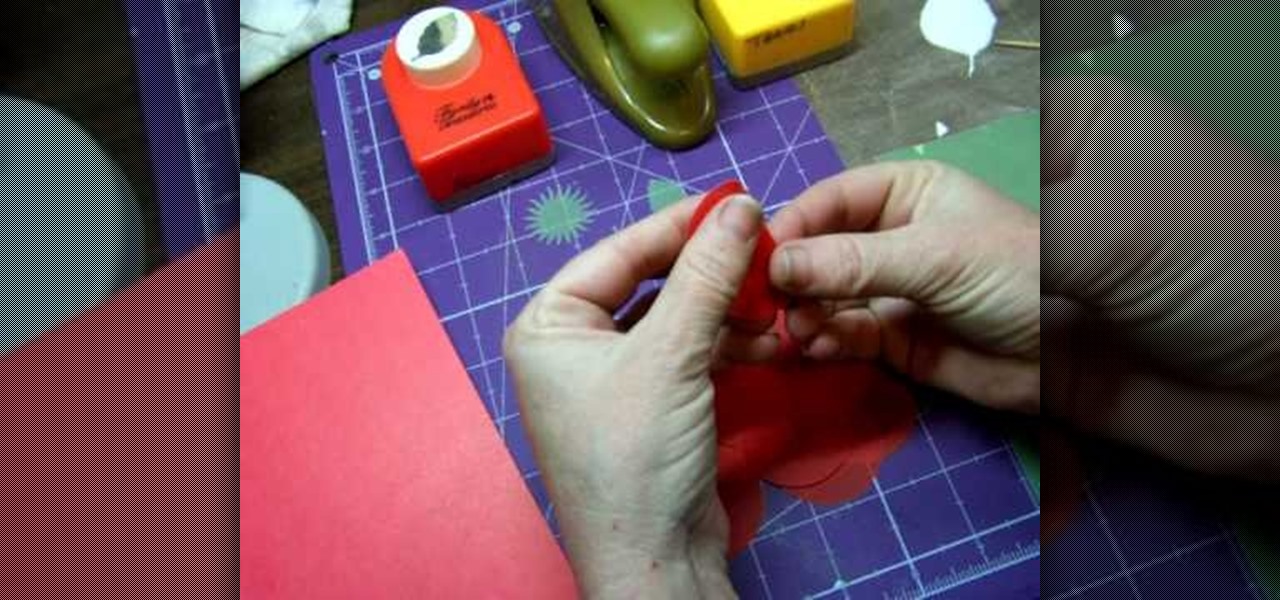
Stampin' UP! punches make just as fun designs as their line of stamps. In this tutorial, learn how to fashion basic flowers out of punches. These flowers make great additions to your scrapbooking or greeting card crafts.
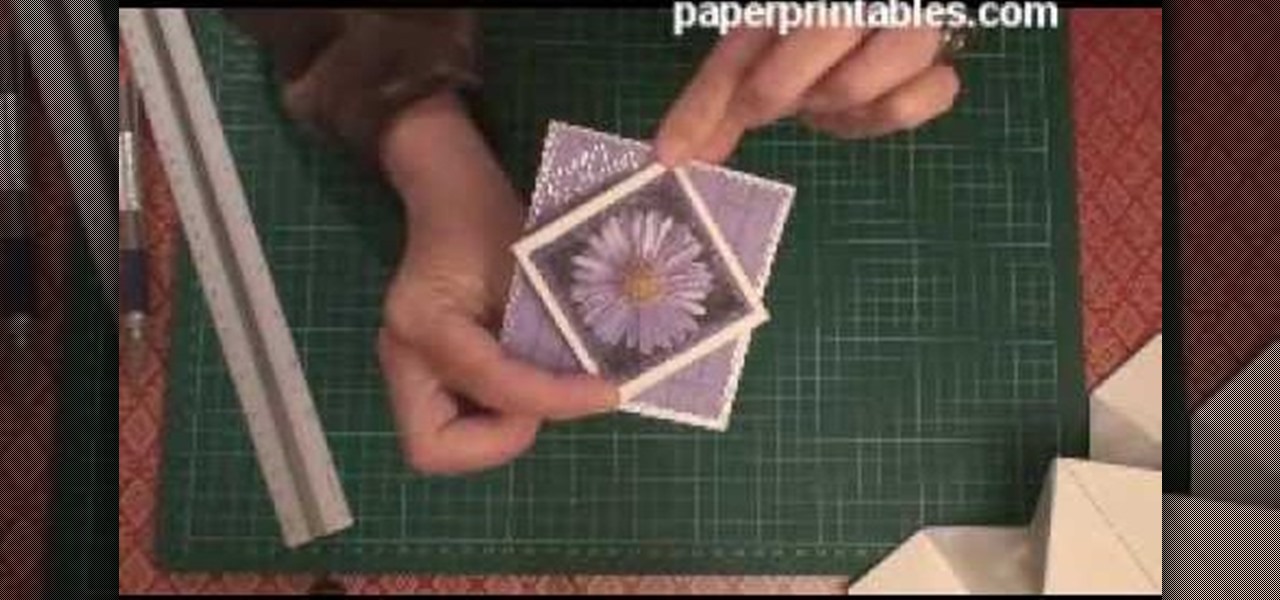
You only need one single sheet of paper for this card fold, so grab it an watch this tutorial to learn how to make a diamond pop-up cracker card. Don't know what a cracker card is? Watch thee video and find out what this 3D homemade card is all about. You only need a single strip of card stock (10cm x 29.7cm). So quick, so simple — so make one! This is a great little crd that's easy to send through the post office.
Jenniesbarn has created a video tutorial about how to make hand-dyed crinkle seam binding. She says that crinkle seam binding is popular because it has a vintage look. To begin, she uses a mister to spray water on a ribbon strip in order to allow the strip to crinkle easily and allow color to absorb more evenly when dyed. Afterwards, spray the dye and tossle the ribbon at the same time. It is possible to blend different colors by spraying a different colored dye afterwards. Once the desired c...
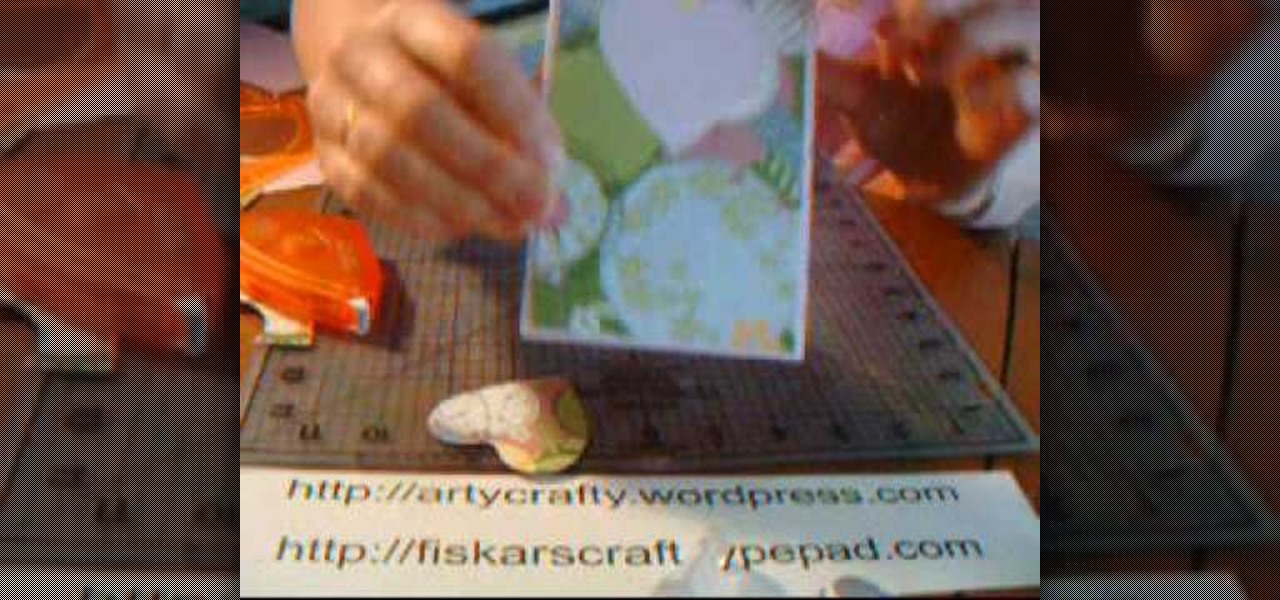
In this Arts & Crafts video tutorial you will learn how to make a vertical Easter greeting card. Take a 6x6 yellow card and fold it in half. Using the Valentrio Fiskars corner punch, you can punch one corner. Cut a 2 1/2” wide metallic cardstock, a 1” wide paper strip, stamp a picture or a design and punch it with Fiskars punch. Punch the 1” wide strip with the Fiskars border punch and glue both the pieces above and below the metallic card stock. Glue the metallic card stock and the pic...
In this Arts & Crafts video tutorial you will learn how to create a box to hold a mini album or small cards. Take a shiny card stock 10.5 x 6 inches. On the 6" side, score at .5" and 1" on both sides. On the longer side, score at 3, 3.5, 7.5 and 8 inches. Cut out the corners on the flap side of the card as shown in the video. Do a step cut on the other side of the card as in the video. Round the four corners with a corner rounder. You can do some stamping now if you want or you can also glue ...
In this how to video, you will learn how to make bag tags. You will need a tape runner, embellishments, elastic, a plastic bag, letters, cloud 9 rain dot eyelets, a trimmer, bits of card stock, and hole punches. First, cut the card stock and make it a square shape. Next, decorate the card stock with embellishments and the name of the child it is for. You can use the adhesive to stick these on. Next, cut more card stock and wrap it the piece around the decorated card stock. From here, place th...
In this Arts & Crafts video tutorial you will learn how to make window cards. Supplies needed are trimmer with scoring blade, Fiskars templates, Fiskars ultra shape xpress, glitter, cardstock and embellishments. Take a 81/2 x 6 inch cardstock , score the center at 3‚Äù mark and fold it. Take a colored paper about ¬O‚Äù smaller than the card, cut out a 2.5 heart with the help of the template and glue it on the card. Then open the card and cut out a 1.5 heart from the center of the 2.5 heart. N...
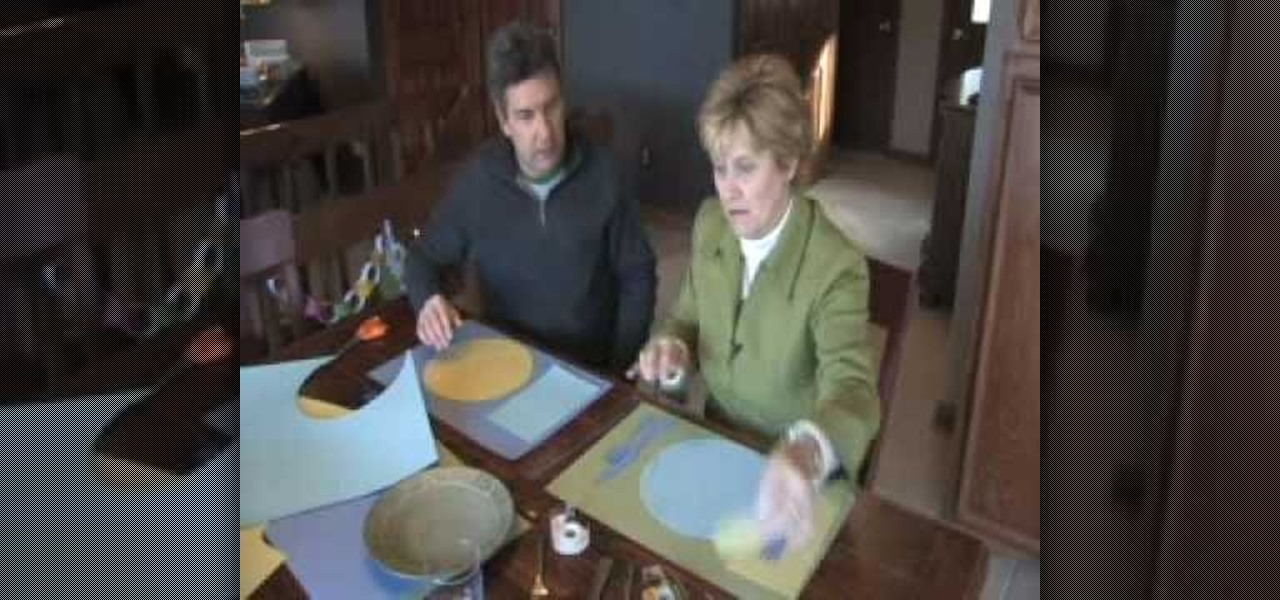
Now when it comes to setting the table you just need three things: fork, plate, and a napkin. But for some, things are more complicated than that. Sometimes they feature the soup spoon , salad fork, and so on and so forth. Although this video doesn't cover every single utensil, it does cover some of the basics. Find out how to make placemats for kids as well as teach them how to set the table. Enjoy!
This video will show you how to make an envelop without using any scissors. You’ll just have to fold the paper into a diamond and fold in all of the points to the intersection line. At about the halfway point fold the bottom half up and the top flap half way down. You’ll have to estimate that manuver to get the envelope look. The great thing about folding your own envelop is you can make it out of whatever you’d like including colorful magazine pages.
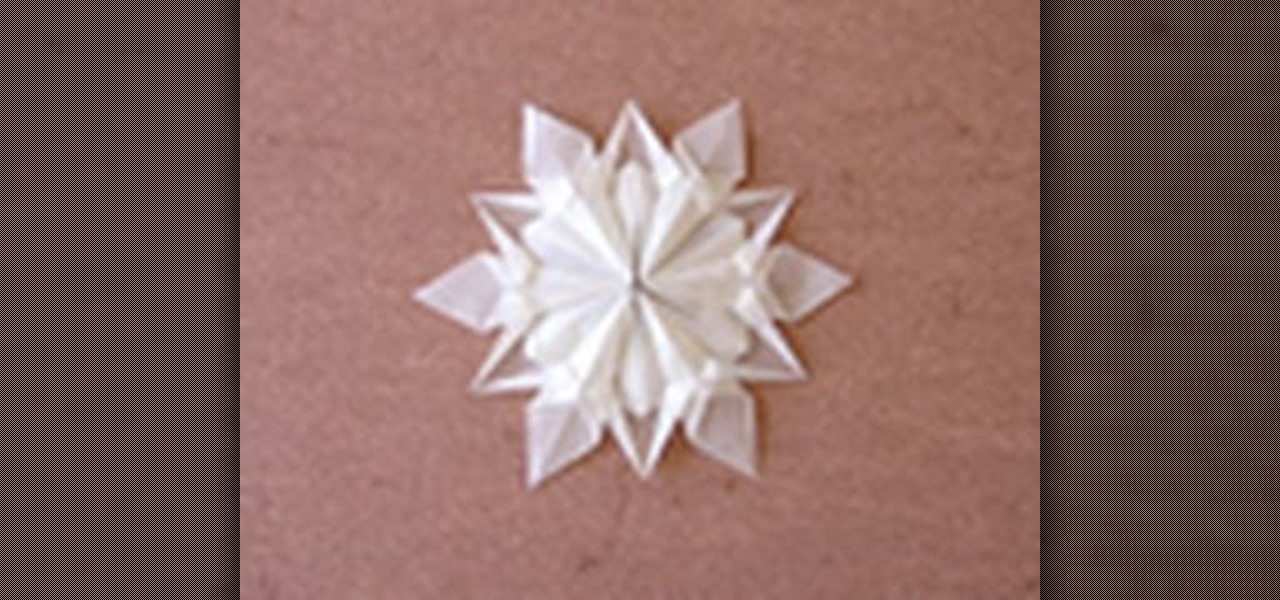
For all you origami fanatics out there... Why not try this project on for size? In this two-part video tutorial, learn how to origami a pretty impressive snowflake designed by [www.origamidennis.co.uk/ Dennis Walker]. For this project, the recommended paper size is a hexagon with a side length of 10cm (approx. 4in).
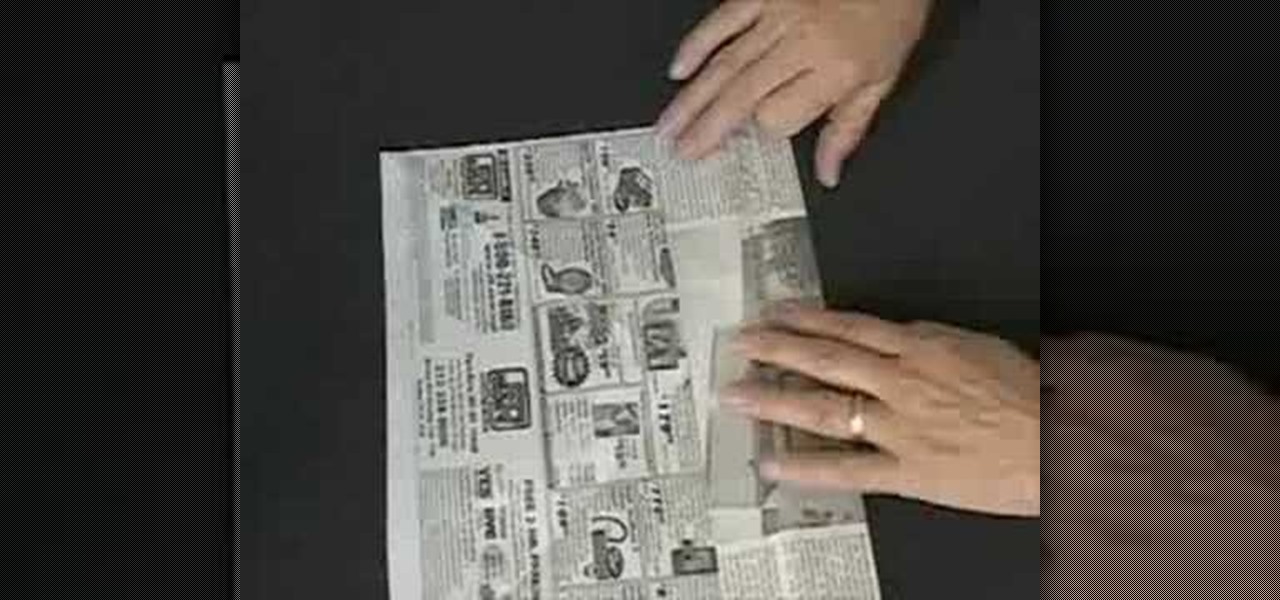
Have you ever thought about creating small boxes out of newspaper? Tomoko Lipp shows you a simple folding and cutting method to do this. Making these can be another way to recycle and be environmentally conscious. You might also consider using them for a unique gift box idea or for storing small items. All you'll need is some newspaper, a pair of scissors, and a pen to mark a few measurements.
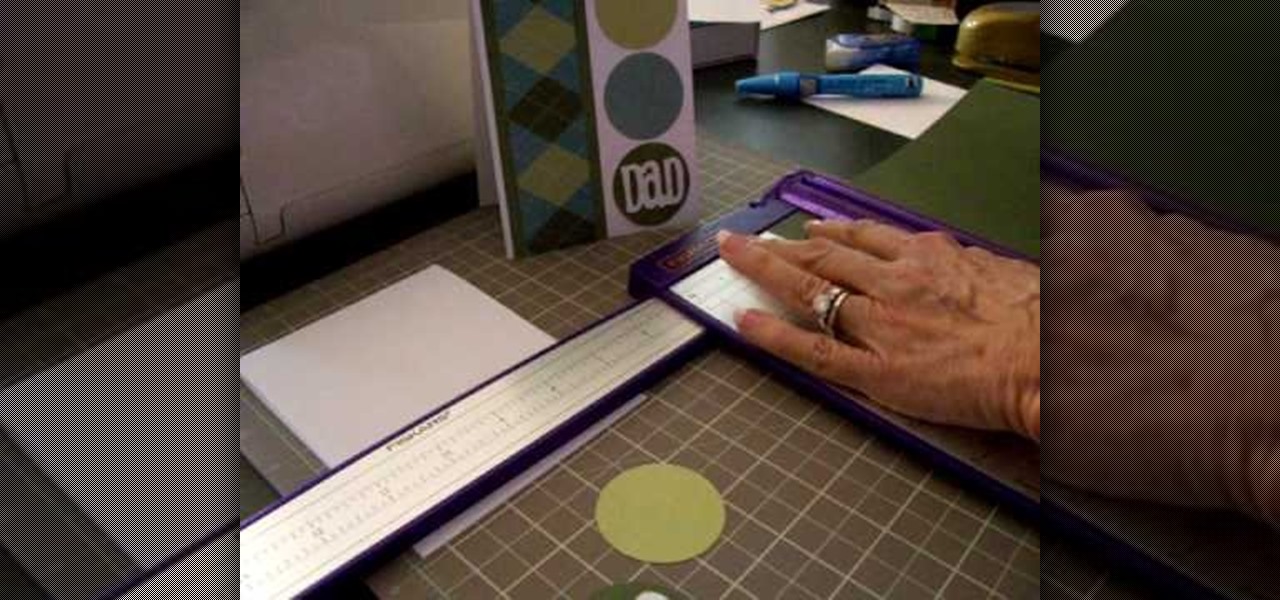
Use your Cricut machine and the cartridge "Beyond Birthdays" to create Dad an original Father's Day card or Birthday card. Making cards on the Cricut machine is great because you can use scrap paper and different shapes and really make it your own while spending almost nothing. And it takes less time to make a professional looking card on the Cricut machine than it does to sit down and draw a homemade card. Dad will love the card and you will love saving money and having the satisfaction of m...
Thread and clothing designer, Kenneth D. King, give quick instruction to us on the importance of our cutting tools, more especially the serrated scissors. Here we learn what makes this particular style of scissors so efficient and necessary to our sewing work, as well as what types of materials they ought to be used on. He also gives warning that we should never use our fabric scissors on paper. Great tips for the beginning designer in us all.
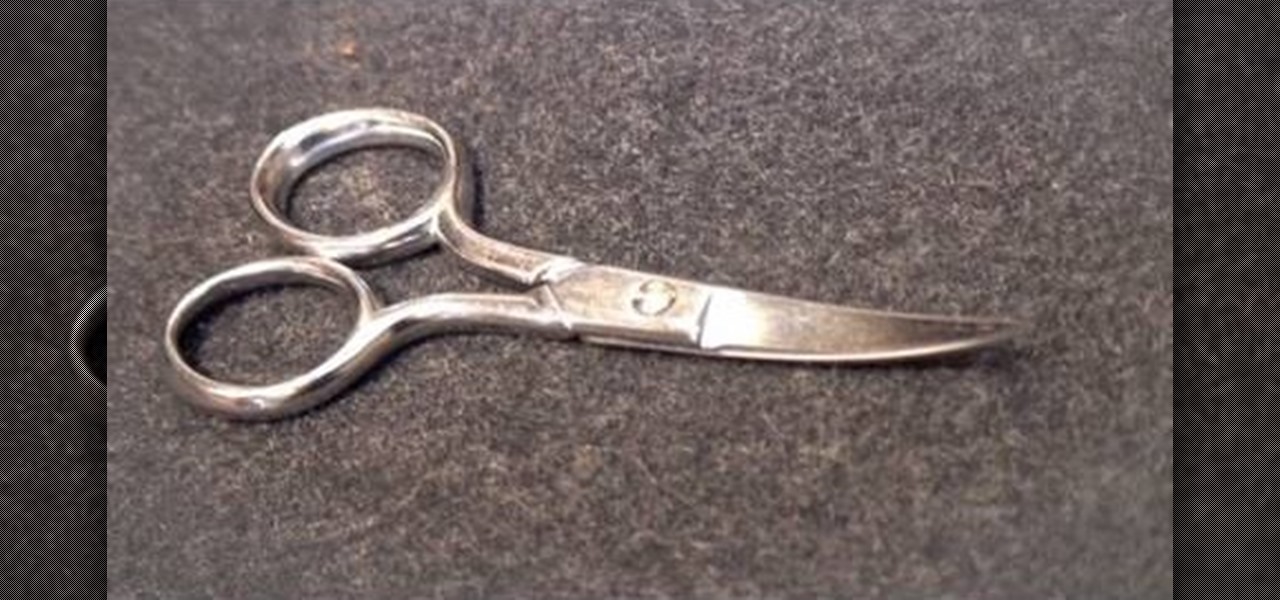
Kenneth D. King of ThreadBanger demonstrates one way to use a scissor known as an embroidery scissor, which is a very tiny scissor with a slightly curved blade. The curved blade prevents the points of the scissors from poking through the fabric, which is very important when you need to trim something close to the fabric. This comes in handy for uses other than embroidery.
This video shows you how to make a coupon caddy. It's a convenient and handy way to keep your coupons. You can make the coupon caddies with just a few items from the store. The coupon caddy is a great idea for someone that loves coupons because you can store them in your purse or anywhere without worrying about ripping or tearing them. You can also use this handy holder for receipts or coupons. It's very easy to make and affordable.
The video creator teaches us how to make a three dimensional snowflake. He plays some rather Christmas-y music in the background and goes right into explaining the process. He briefly explains what he will do but as the video continues, he focuses on showing rather than explaining. This is difficult to follow for those not used to arts and crafts. He fluently and rapidly makes the snowflake and lets the music do all the talking. There is again, no explanation as to how to make the snowflake, ...
This video from Cricut Christmas shows how to make a Christmas card. The narrator demonstrates the procedure explaining each step along the way. Using simple materials like paper, gum, ribbon, etc., you can create a simple yet stylish looking Christmas card. The "Stretch your Imagination" booklet by Cricut is the tool of choice. It can help create professional looking card designs easily. Watch the video to learn how to make the card.
Cardcrazy09 presents a video on how to easily make a get-well pedestal card that's perfect for cheering up an ailing friend or relative. She guides us through the process step by step, detailing the proper measurements and techniques she used to make the perfect card. In order to make the card exactly like she has, you'll need a Cricut, a machine that is used for making stylish cards. By following the instructions in the video, you can make a beautiful card yourself without having to go out a...