

How To: Make a 3D paper christmas star
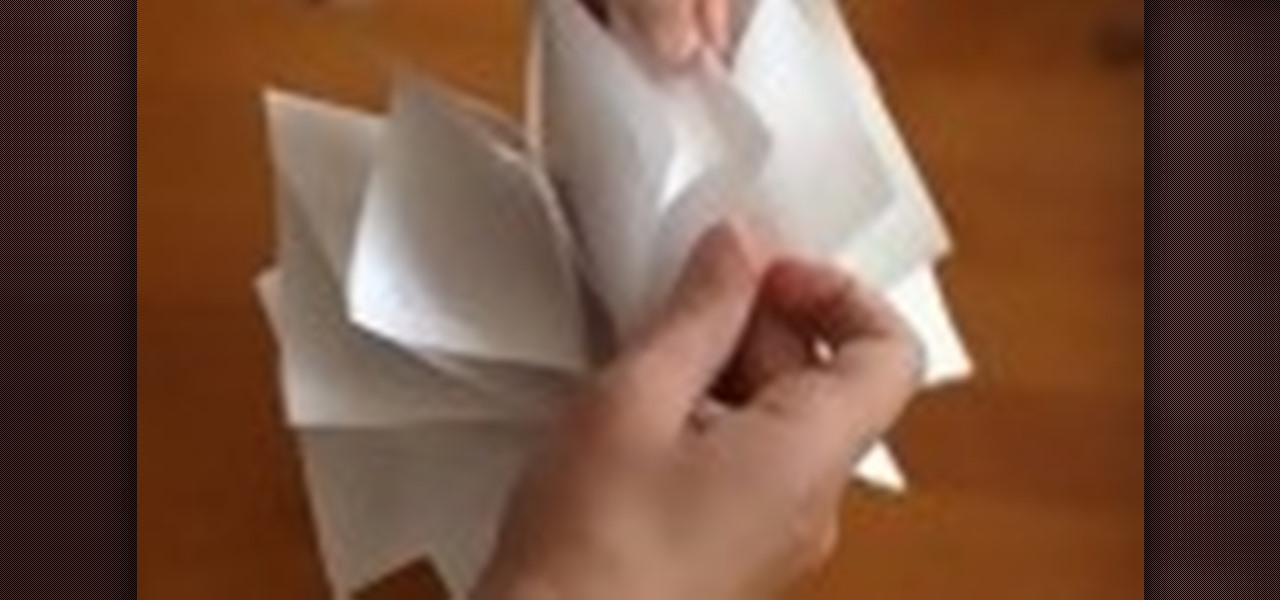
If you love origami you'll love this project. Watch this video and see how simple and quick it is to make a 3D paper star.

If you love origami you'll love this project. Watch this video and see how simple and quick it is to make a 3D paper star.
For origami lovers, learn how easy it is to make this twisting and jumping paper toy.

For origami lovers, watch this video an learn how to make an unbelievable hexagon paper toy.
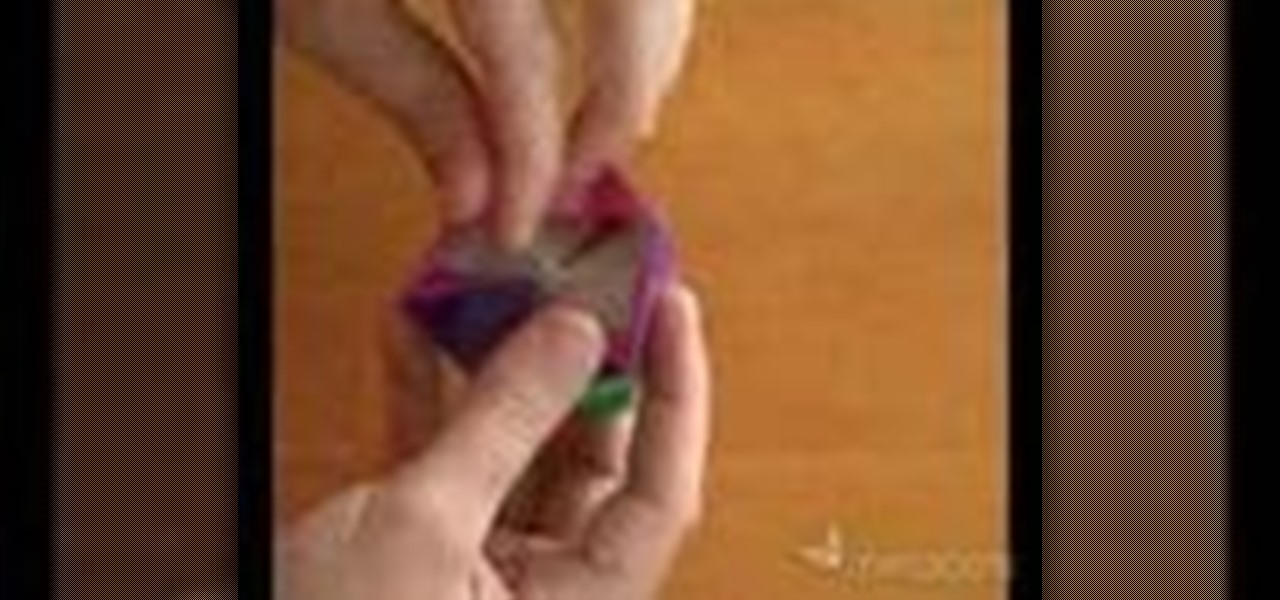
Watch this video and see how easy it is to make this paper toy. It looks like an origami flower, but it is a tad more complex. Have fun playing with it.
In this video, you'll be shown how to make Christmas crackers for the holidays. It's a cheap, easy and fun art project you can make with the kids. All you need is wrapping paper, some toilet paper tubes and glue and you're good to go!
Called a "crazy paper thing" by the owner, the description is perhaps a little too vague to describe the sheer genius of this transforming paper module of cubes.
This how to video is by a young girl Rida Sharief and teaches you how to construct a hat from simple construction paper. First step, you fold the paper in half and crease the paper with your fingers. Next step, you fold it again in half and crease with your fingers. Next open back up so that the paper is only folded in half. Then, fold triangles inward almost all the way down, but leave space for flaps. Finally, fold the flaps up and you have your own self-constructed paper hat. To wear it si...

Learn to make this easy mini paper Uzi gun for gaming with your friends! Supplies: Scissors, Scotch tape (Note: DO NOT USE MASKING TAPE OR DUCT TAPE; IT WILL NOT TURN OUT WELL), lots of paper. 1. Take one piece of paper and roll it up from top to bottom to make a short tube. Tape it. 2. Take another sheet of paper and do the exact same thing that you did to the first one and tape it as well. 3. Take a sheet of paper and roll it up from side to side (long ways). Make the hole in the middle abo...
This video tutorial will show you how to build a paper gun that can shoot. The idea behind this is to build a paper gun that can shoot paper pieces and other items, with power from your mouth. This video should help you in the making of your paper gun, which is more like a blowgun.

Paper embossing stamps a design into the paper, but doesn't allot for any color. Ink and chalk can both be applied to an embossed design for color and to bring out the shape of the embossing. Ink can add vibrant color, while chalk adds a soft finish to the embossed design. Watch this video tutorial and learn how to use ink and chalk on embossed paper.

This handy tutorial video will teach you how to make a wallet out of paper using: (1 sheet if cardstock, 2 sheets if printer paper), scissors, tape, and something to write with.

This how-to video tutorial demonstrates how to weave paper strips together to create a braid like shape. Learn how to fold a paper braid for craft, paper, and even scrapbooking projects.

Watch this how to video to learn to make polyhedra using hanger tape paper and zip ties. This step by step tutorial will teach you to make a cuboctahedron.

This video demonstrates the fun and easy way to make a paper tortoise. Best of all, it is made with any normal piece of paper, so you don't need origami paper!
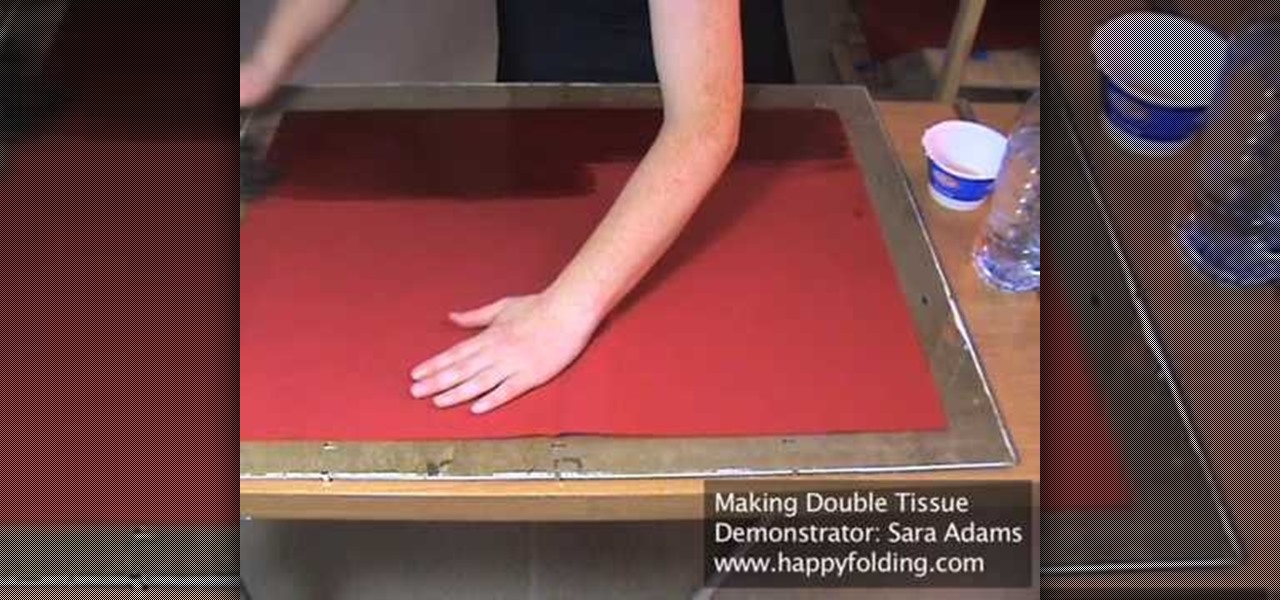
Why shell out your entire paycheck for some measly pieces of paper? Become your own paper craftsman - and save a few bucks - by watching this video on how to make your own origami double tissue paper.

Love roses and complicated craft projects? Make a beautiful decorative paper rose using origami, the traditional Japanese folk art of paper folding. This 26-minute free origami video lesson presents complete instructions on how to make your own roses from folded paper. For more information, and to get started making paper flowers yourself, take a look!
Fold a paper bat! With this guide, you'll learn how to make a simple paper bat using origami, the traditional art of Japanese paper folding. For more information, including a step-by-step overview of the folding process, as well as to get started making your own paper bats, watch this free origami lesson.
Want to add an avian specimen to your paper menagerie? Have extra paper and time to match? This video tutorial presents a complete, step-by-step overview of how to make a crane using origami, the traditional Japanese folk art of paper folding. For more information, and to get started making your own paper birds, watch this arts-and-crafts guide.
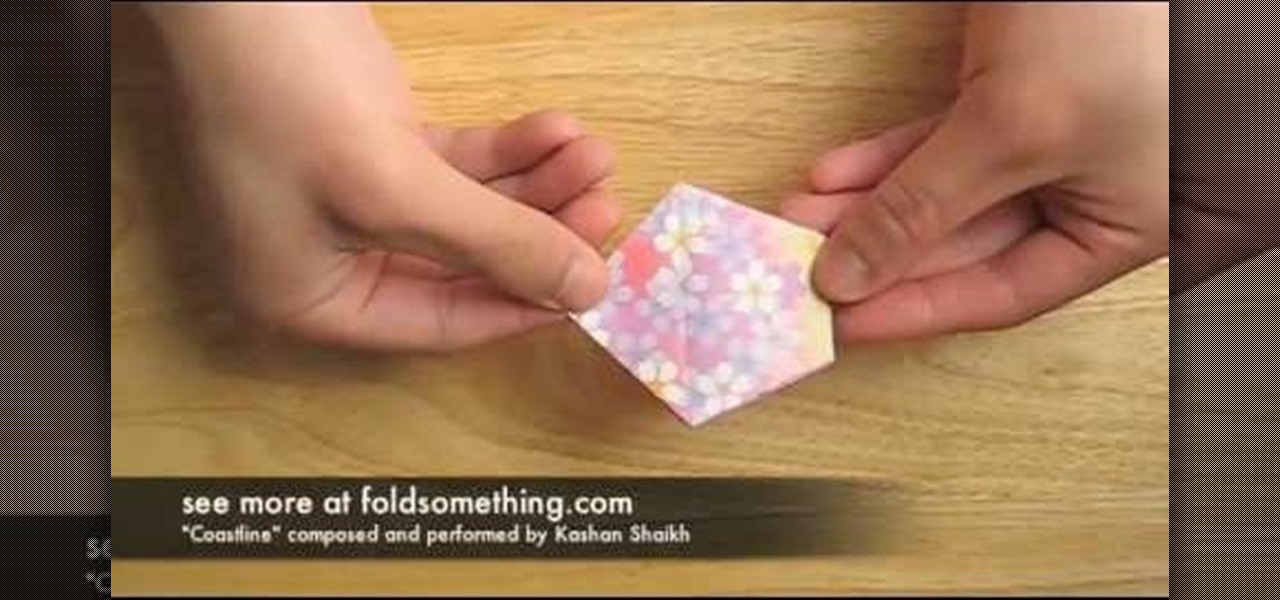
Looking to add a rare and exotic specimen to your paper garden? Make a paper cherry blossom (or sakura) using origami, the traditional Japanese folk art of paper folding. This free origami video lesson presents complete instructions on how to make your own cherry blossoms from folded paper. For more information, and to get started making paper flowers yourself, take a look!
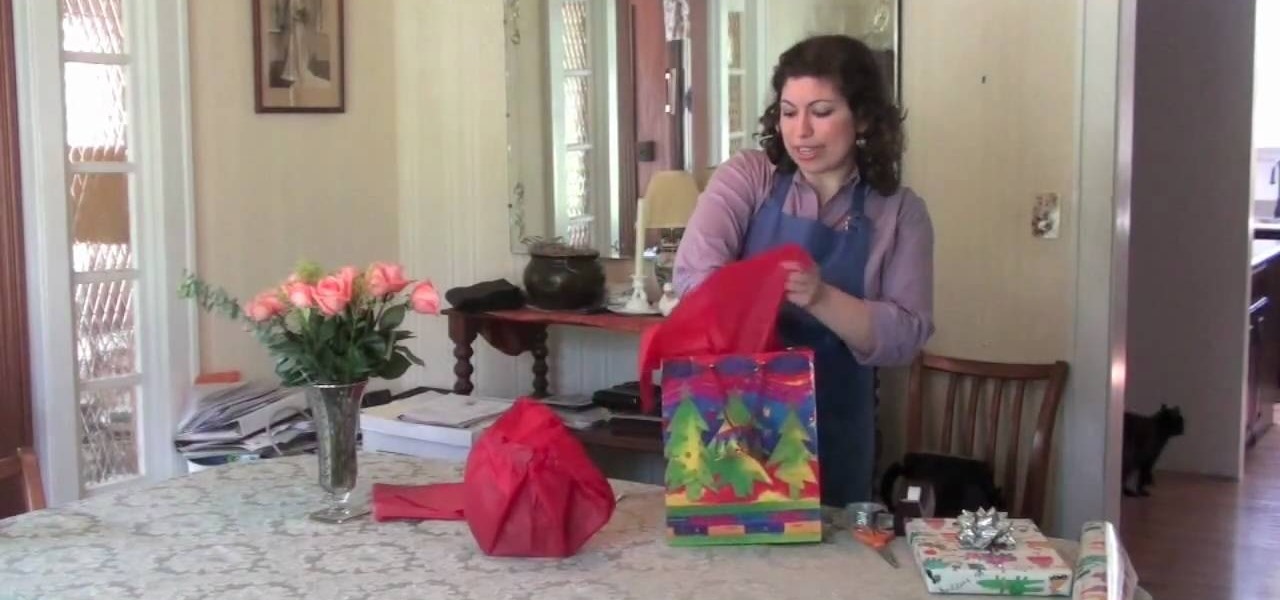
This video goes over traditional wrapping - using tissue paper, wrapping paper, ribbons and bows. But if you just can't get the fiddly bits right, or your gift is oddly shaped, then this video will also show you how to use a gift bag!
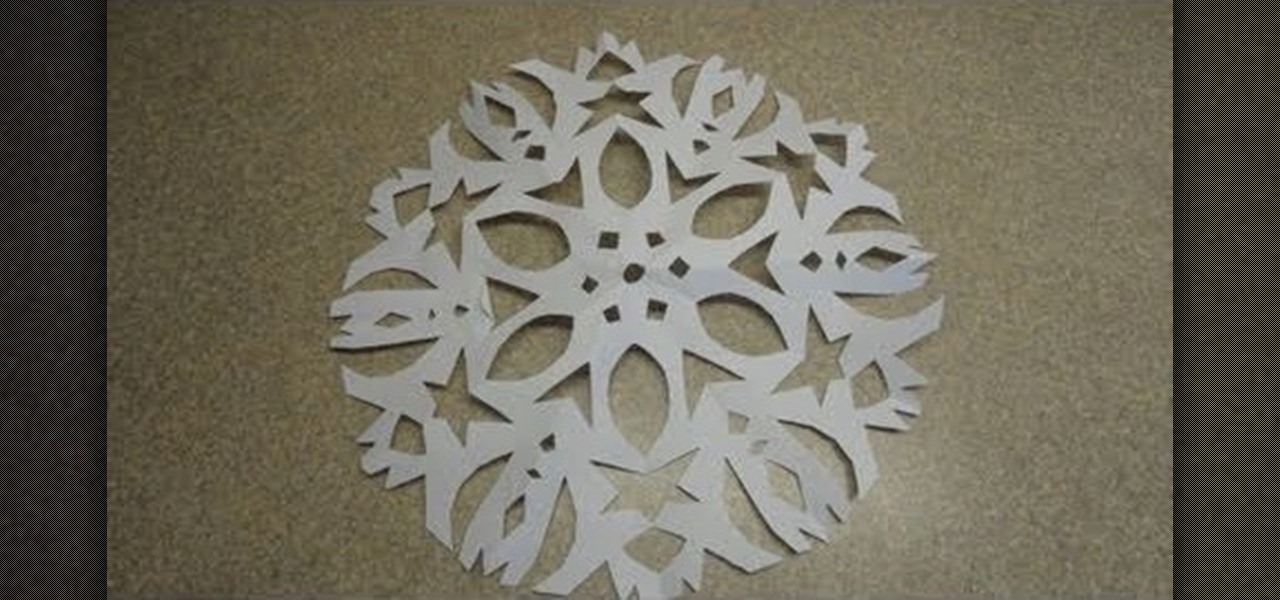
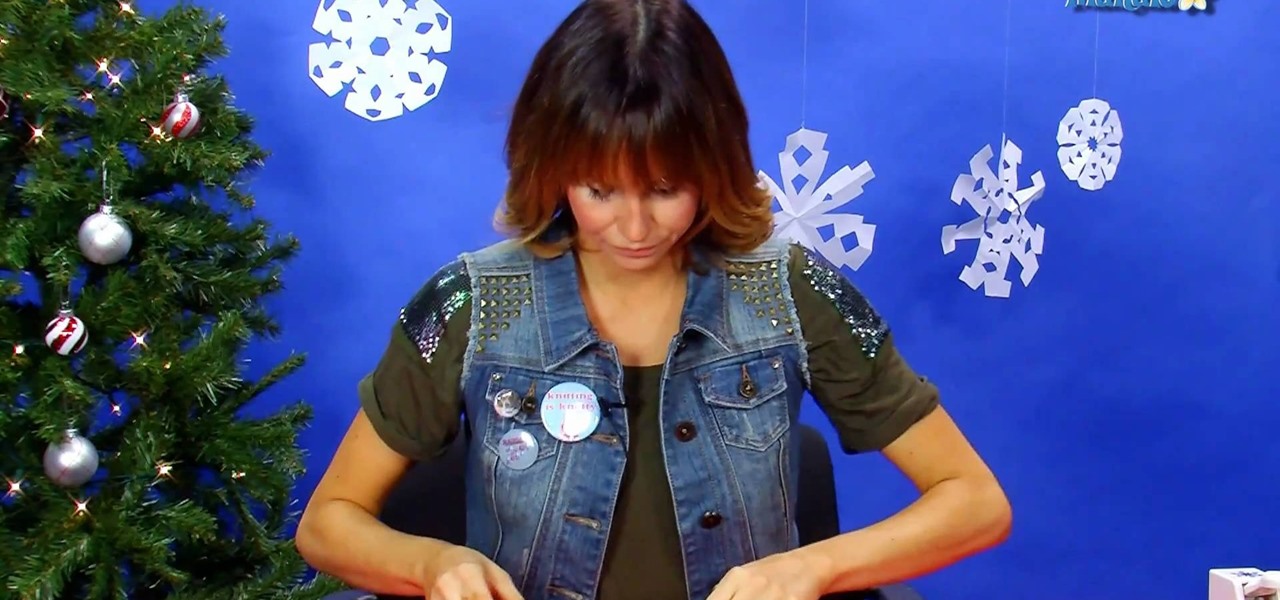
Remember when you were just a wee little kid and there was nothing better to do on a snowy winter afternoon than cutting out paper snowflakes and unfolding them to see what beautiful shapes and designs would appear?
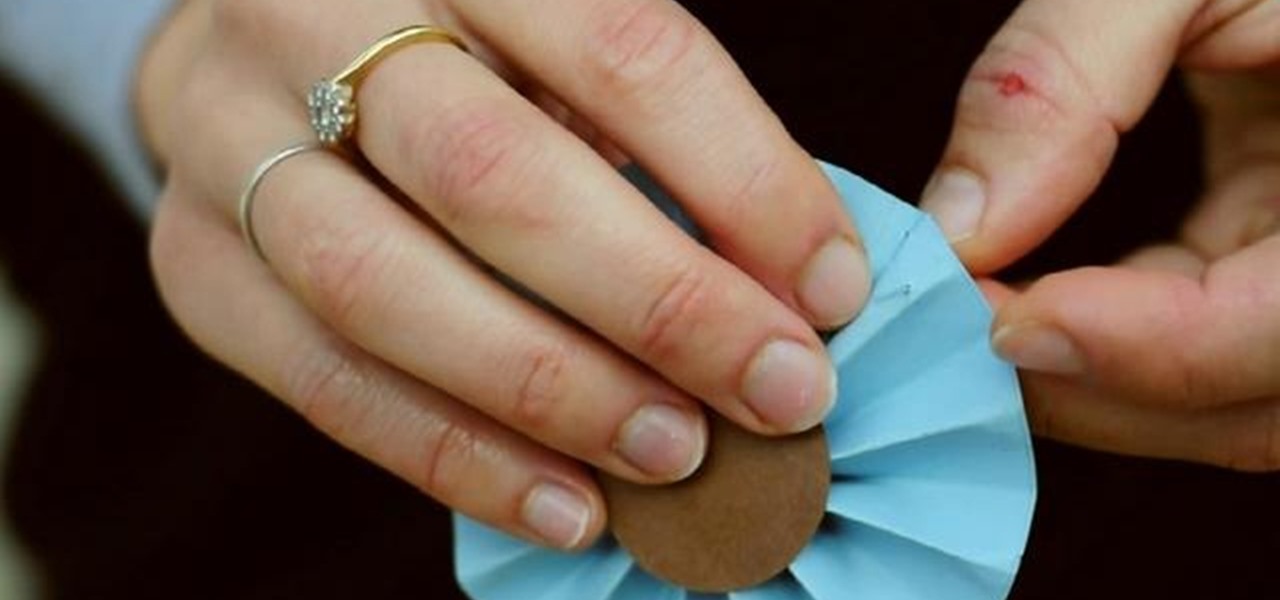
Rosettes can be used to add a little extra touch to nearly any craft project. You don't need to spend a lot of money to buy them - you can take a stack of scrap paper and recycle it into lovely, colorful paper rosettes!
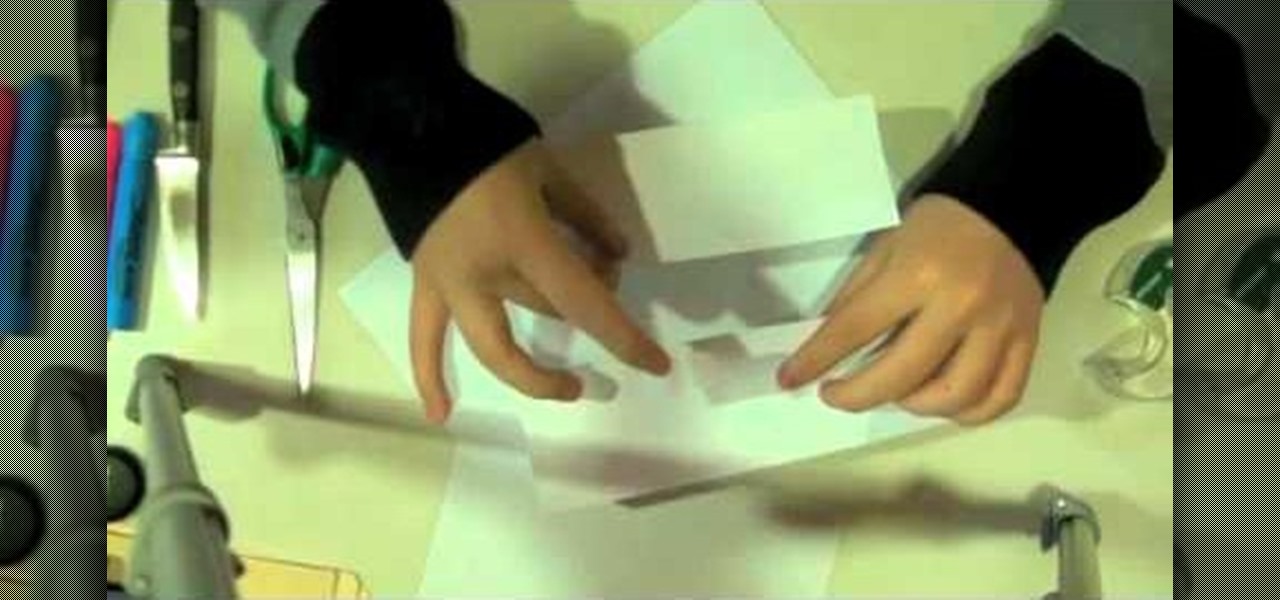
You can also use this as a method to make some easy gift boxes! All you need are three sheets of plain paper, some scotch tape, a pair of scissors, a knife and some markers (or your favorite paper decorations).
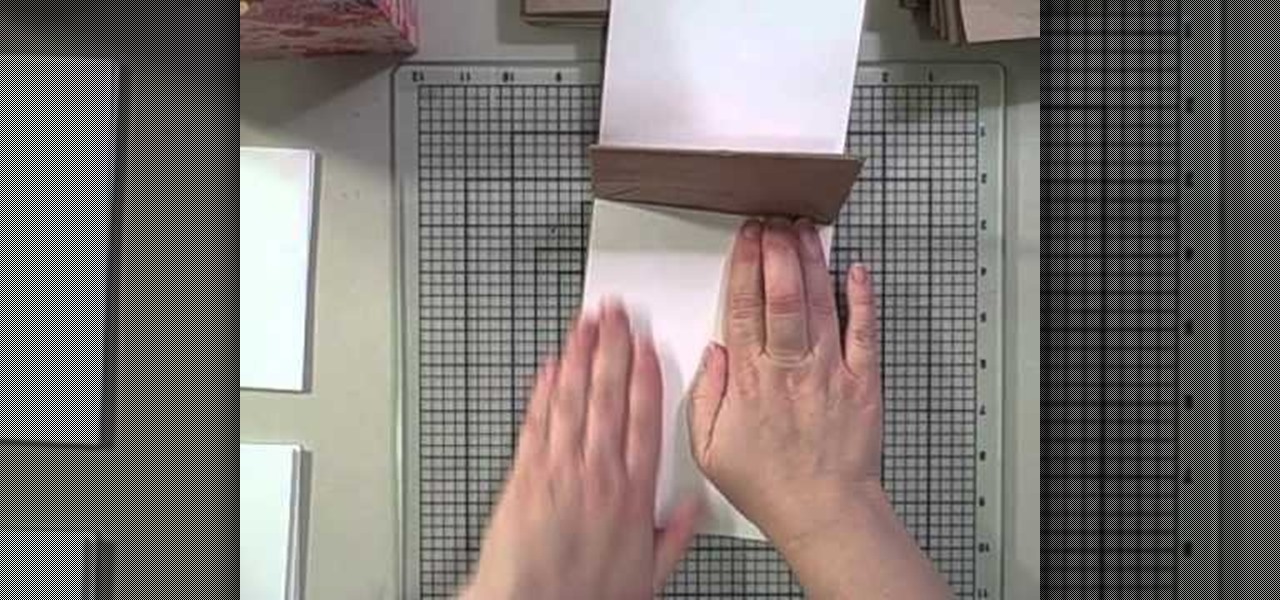
You don't have to be a scrapbooking wizard to make this! All you need are 32 brown paper lunch bags, and a small collection of paper crafting supplies. Make your own seasonal Christmas album, and record every day of the month!
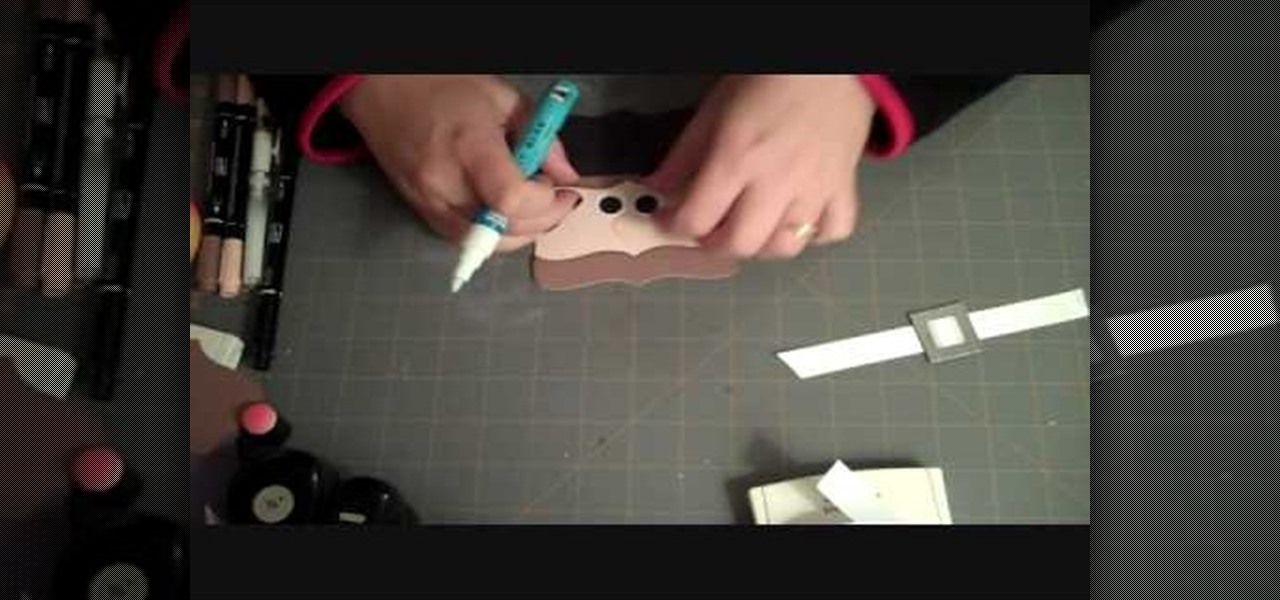
You can use this little paper pilgrim to decorate scrapbooks, as place cards or to include with thank-you notes. You will need a Top Note die cutter, card stock in black, white, beige and brown and a few paper craft supplies as well.
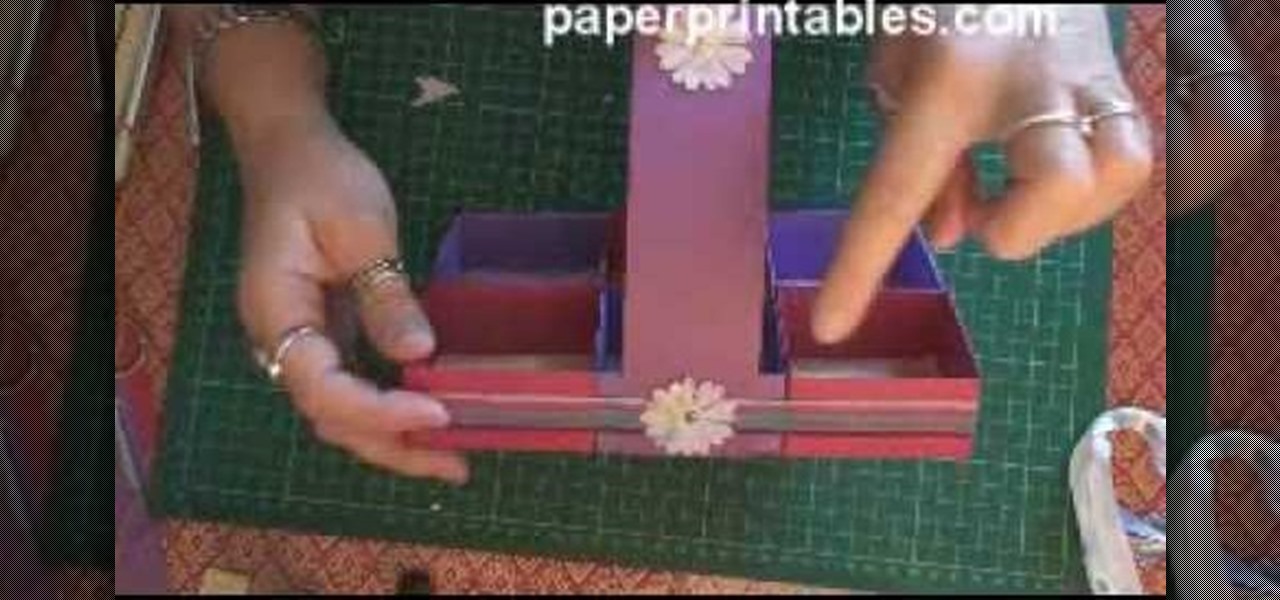
In this tutorial, we learn how to make a paper cup cake/muffin basket. First, take a piece of paper and fold it in half. After this, curl the edges up from each of the corners until you end up with a small square in the middle of the paper. Use scissors to create slits where you will make the tabs to construct the box. After all the tabs are cut, push them together so you have a small basket with a neat line. To finish this up, add a handle to the top and push into the sides. Then, draw on an...
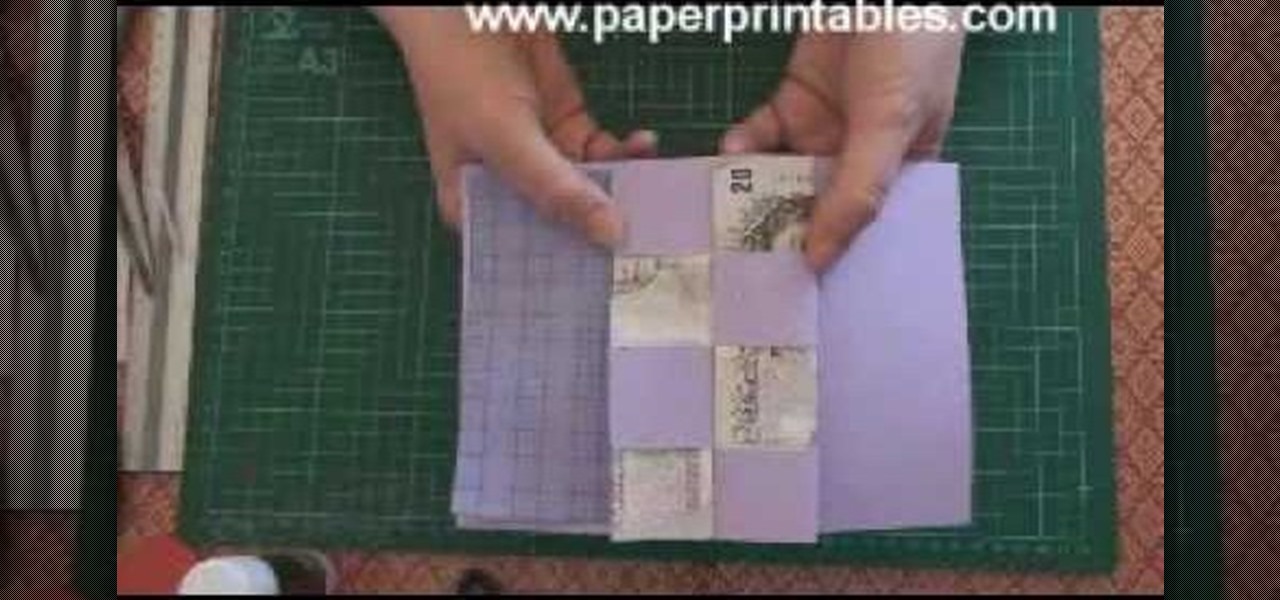
In this video, we learn how to make a pop-up concertina money card. To start, you will first need to take a piece of paper and measure your money on the inside of the paper. Then, cut this out in a strip and cold your money in half lengthwise. After this, measure the depth out from the center using a ruler. Then, fold the paper in half and on the sides where you marked. Then, you will cut three holes in the middle of the paper and these will hold the money in. Stick the bill in the middle of ...
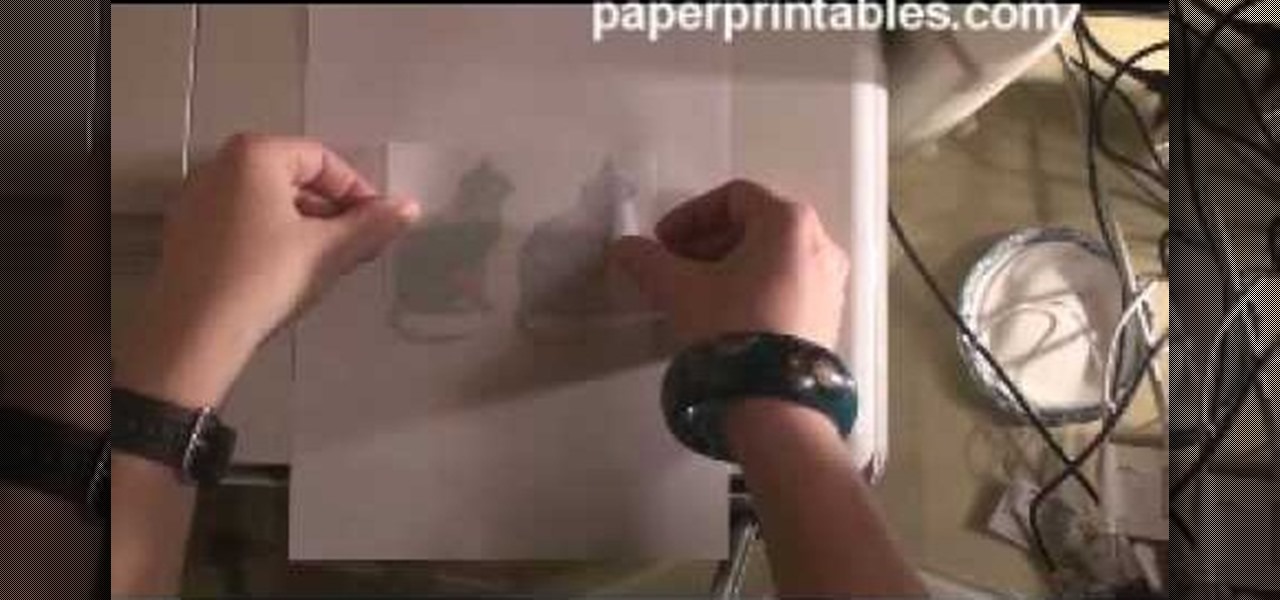
IN this video, we learn how to use your inkjet to print on a shrinkle. To start, you will grab the paper for the shrinkle. Then, you will print the outline out on a normal piece of paper. From here, stick the shrinkle over, frosted side up, on the paper. Then, feel the piece of paper back through the printer and print exactly the same image over again. Don't print anything too dark, or it will bleed out on the back. From here, you can peel off the shrinkle and then cut it out. This will finis...

Have some old documents or paper that seem to be all wrinkled and crimped up? Looking for a way to make them look mostly like new again? Well you're in luck, in this video you will get some basic tips for taking that wrinkly piece of paper and making it look like new again. The paper used in this video is a $20 bill.

This is an easy tutorial as to how to make a Halloween banner using just a few cupcake papers, scrapbook paper, some knitting yarn and paper cutout letters. Then glue it all together and string it on a cord for your own Halloween decoration!
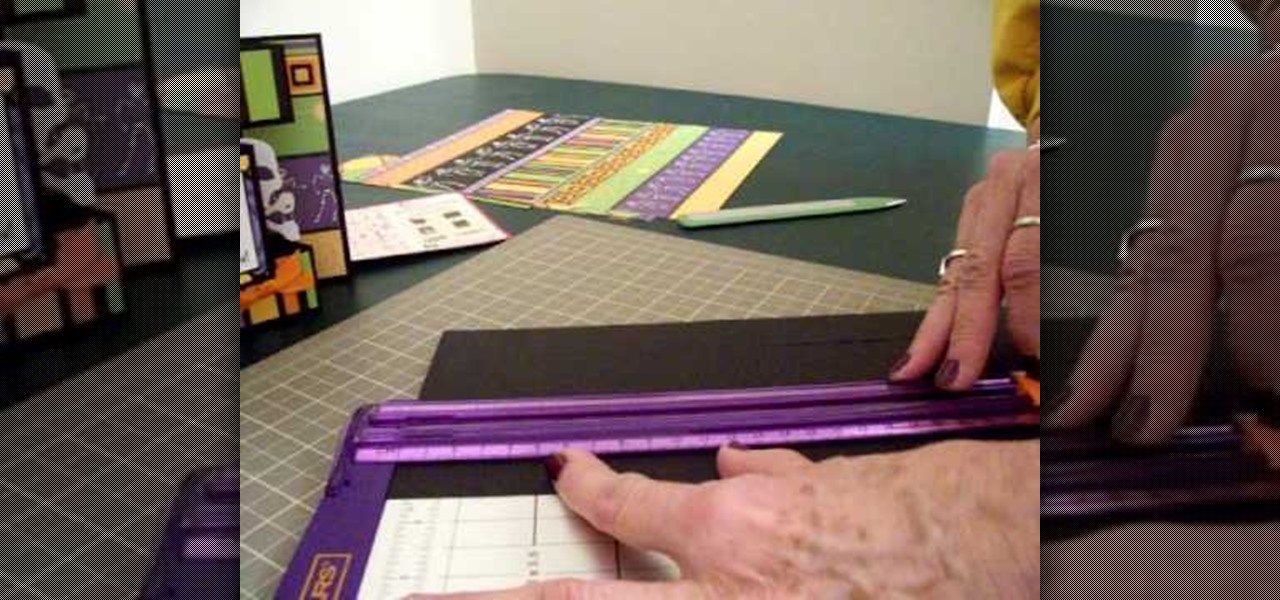
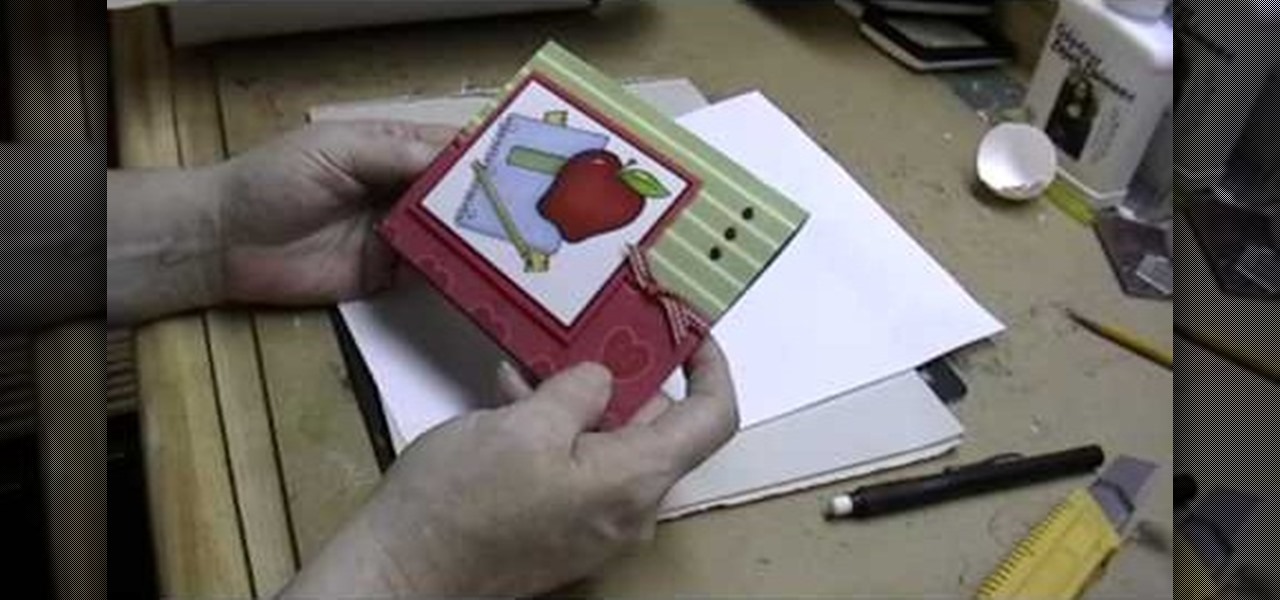
In order to make a Tri-Shutter Halloween Card, you will need the following: card stock, fishing line, ribbon, paper trimmer, printed/decorated paper, and adhesive.

In this video, we learn how to make a mouse hat with construction paper. You will need: 2 small pompoms, 1 large pompom, poster board in blue, black, white, and yellow, lace, scissors, and glue to make this. First, cut the blue piece of construction paper on once side, then twist into a cone shape and tape it together. After this, take the rest of the blue paper and cut it into half circle shapes for the ears. Now, take the yellow paper and cut it into a smaller half circle and place inside t...

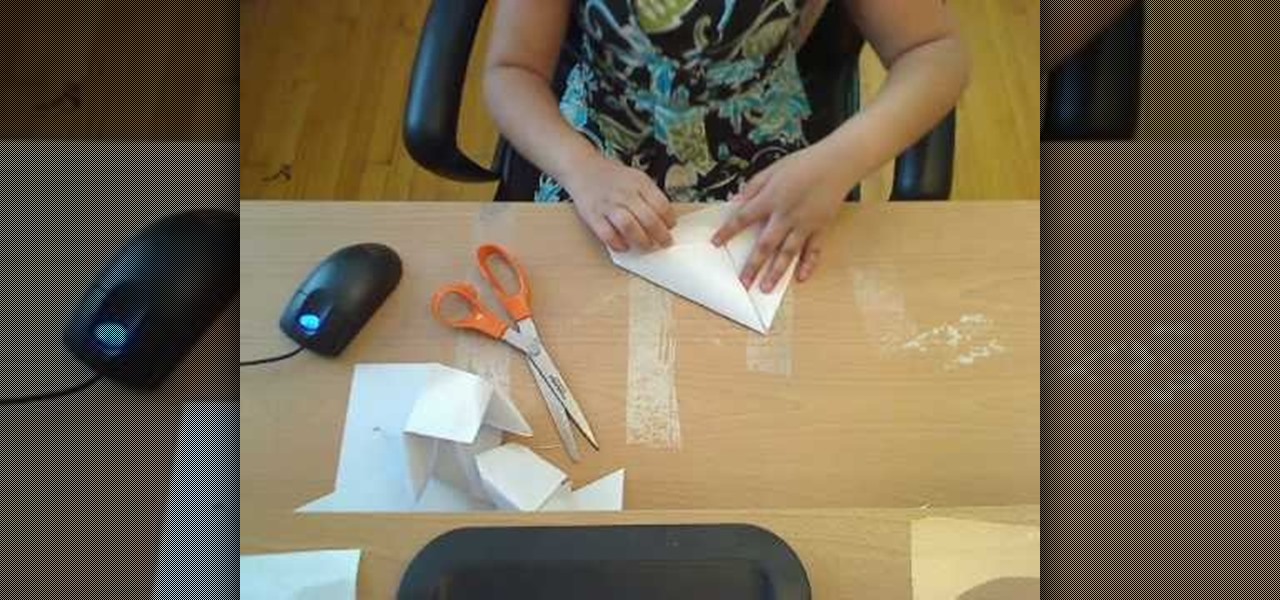
In this video, we learn how to make a box. First, fold the piece of paper into a triangle, then another triangle. Now, unfold the paper and fold all the sides into each other, making a square. After this, fold in the sides once more, making sharp creases on the edges. Now, open up the paper and do this again on the other sides, opening up again when finished. Now, fold the sides of the paper and turn it upside down. Follow the creases that you just made to fold the box up into a secure box. M...

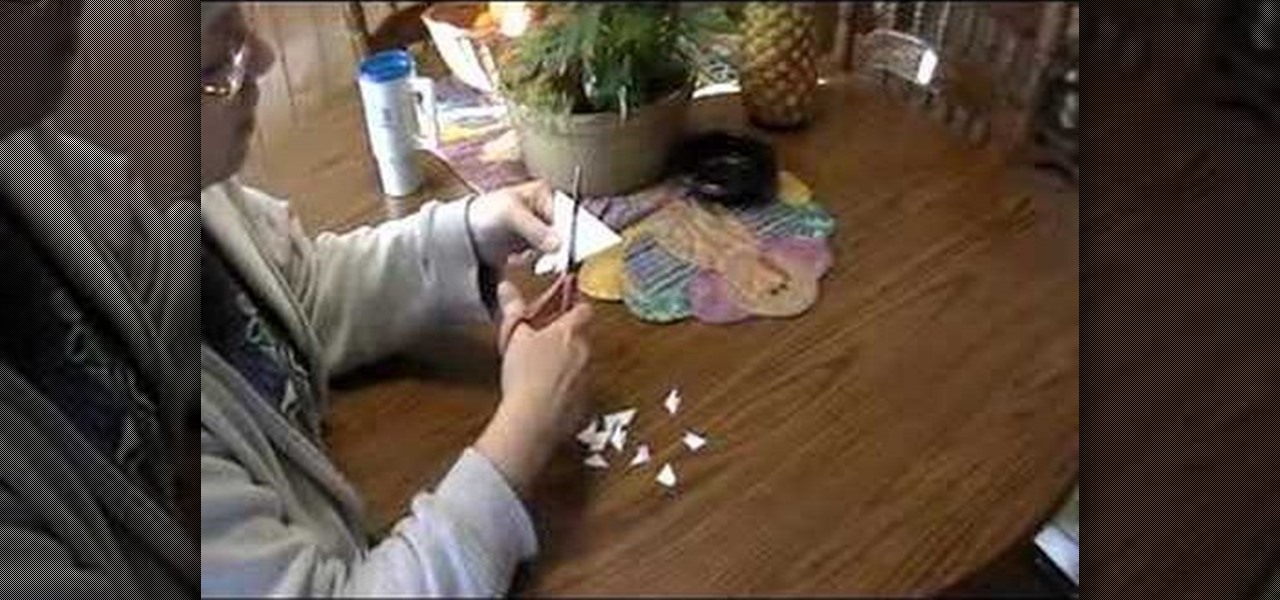
In this tutorial, we learn how to make a paper turkey. You will need: a pen, tape, scissors, and papers. First, outline your hand on all the pieces of paper, then cut them out. After this, stack them together and then tape them. Next, cut out and apply the wattle of the turkey. Next, draw in eyes and feather details on to the turkey. When you are finished, you will have a cut turkey made in just a few minutes. This is a great project to do with children and only takes a few short minutes. Whe...
In this tutorial, we learn how to fold a Christmas tree. First, start with a square paper and fold it in half, then open it and fold it corner to corner. Open the paper again, the turn it over and fold it side to side. Open it once more and fold again side to side. The paper will not automatically fall into the shaped creases and you will have four flaps. Take your finger inside and flatten all the flaps. You should have four flaps on each side and then you can cut the bottom to form a trunk ...

In this video tutorial, viewers learn how to make a stencil. The materials needed for this project are: contact paper, scissors and a pencil. Begin by drawing the design, shape letter or number on the contact paper. Make sure to draw the stencil on the back of the paper and make it reversed. When finished drawing, carefully cut out the design. To use it, simply peel off the invisible paper and place it onto the surface of the artwork. Then trace over it. This video will benefit those viewers ...
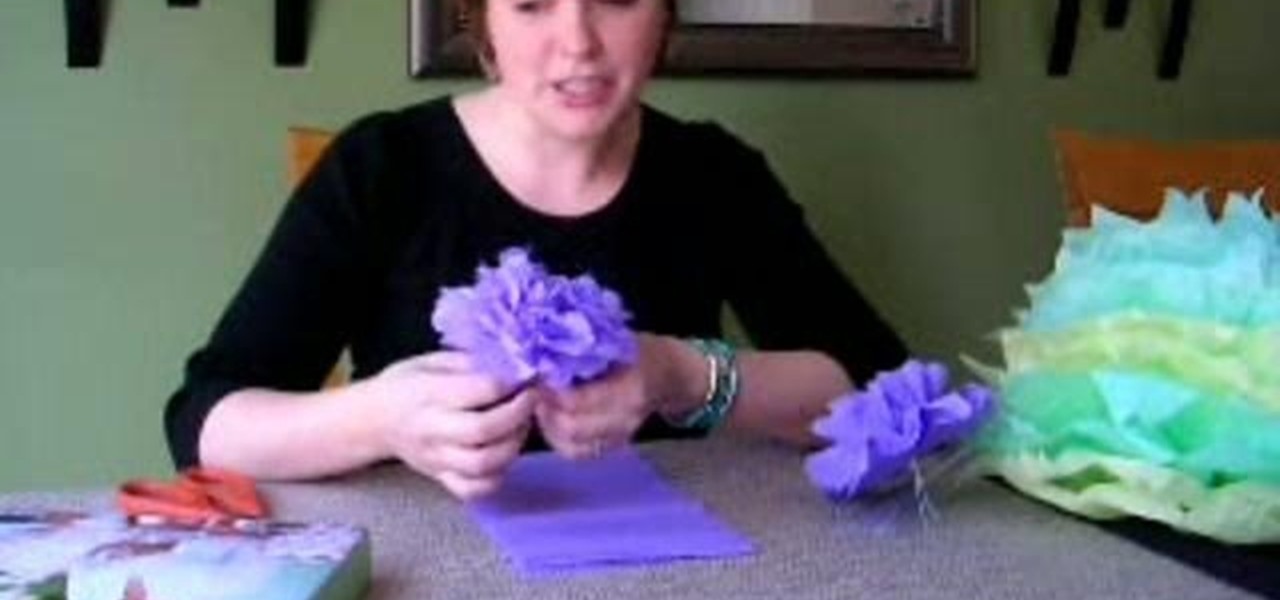
This clip offers instructions no how to make tissue paper flowers that are perfect for embellishing gifts. What's more, they're easy to make. So easy, in fact, that this home décor how-to can present a complete overview of how to make them in just over three and a half minutes' time. For more information, and to get started making your own tissue-paper flowers, take a look.
With this guide, you'll learn how to make a paper gift or party favor box using origami, the traditional art of Japanese paper folding. For more information, including a step-by-step overview of the folding process, as well as to get started making your own folded-paper gift boxes, watch this free origami lesson.

To make your own journal with household items you need a hole punch, scissors, yarn needle with string, some beads, a piece of construction paper, and at least 4 pieces of printer paper. Take your piece of construction paper, fold it in half and then unfold it. Do two hole punches in the crease of the fold at the top and bottom of the paper. Then do a half hole punch in the middle of the paper. Do the same fold, unfold and punches to the printer paper. Be sure to match up the holes in the pri...
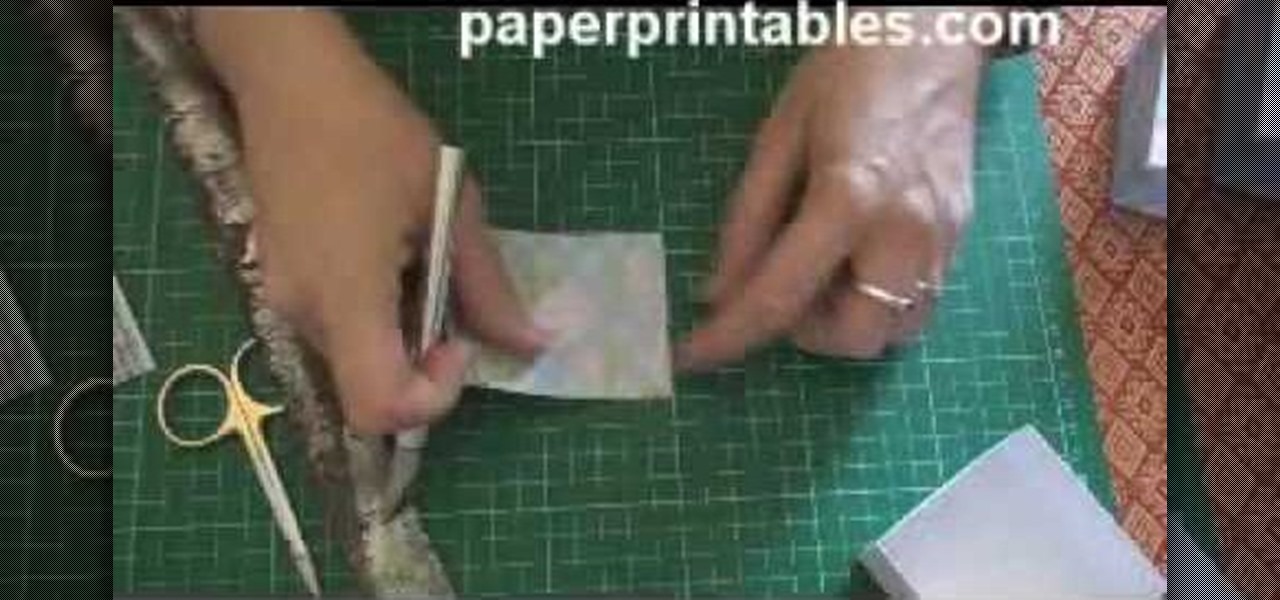
This tutorial is helpful for those who enjoy the old fashioned way of sending mail. The video focuses on making your own envelopes using a variety of different papers including wallpaper, regular paper, and even designer paper. You'll also find out how to make pre-made envelopes to fit card. Enjoy!