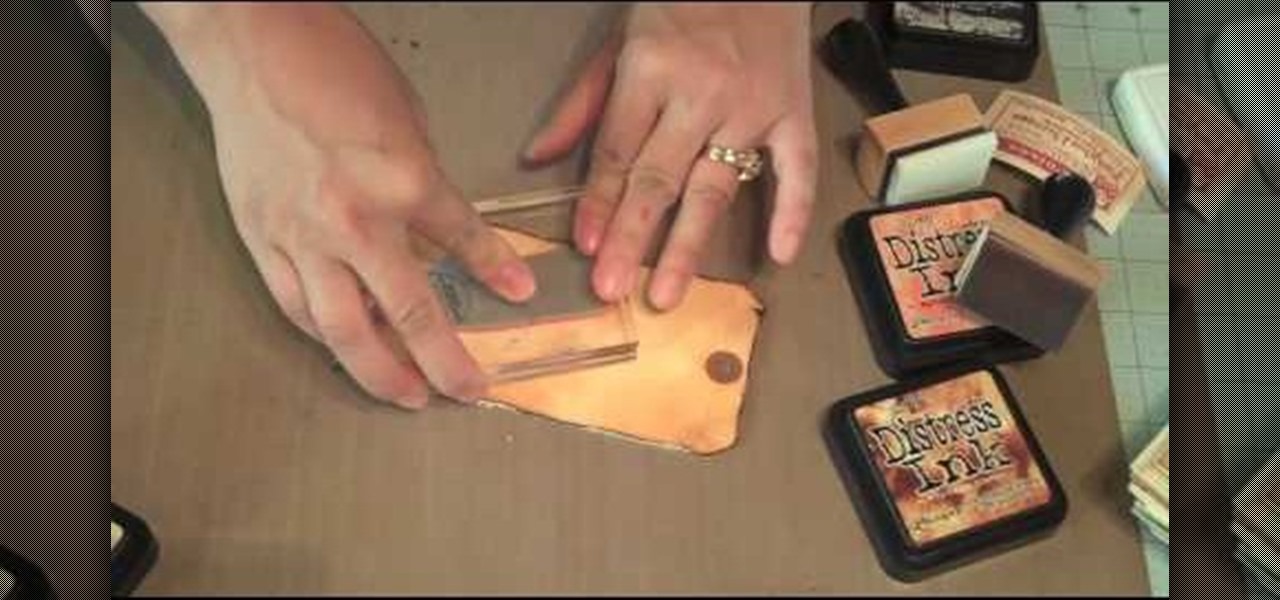
This video describes how to use distress ink. First we have to take a paper that we want to work on. Next take the distress ink colors. Spread the lighter colors first on the paper. Take the first color and spread it on throughout the paper. Next take the vintage photo and work on the edges with it. Next take the spiced marmalade ink and spread it on the edges again. Next take the paper and apply the paper edges directly to black soot ink pad. Next wait for sometime until it dry. Next take th...
In the words of Gertrude Stein, a rose is a rose is a brightly-colored cellulose fiber sculpture. With this free video guide, you'll learn how to liven up your home's décor with your own small, custom decorative paper roses. For more information, including a step-by-step overview of the process, and to get started crafting your own paper flowers, watch this free video tutorial.
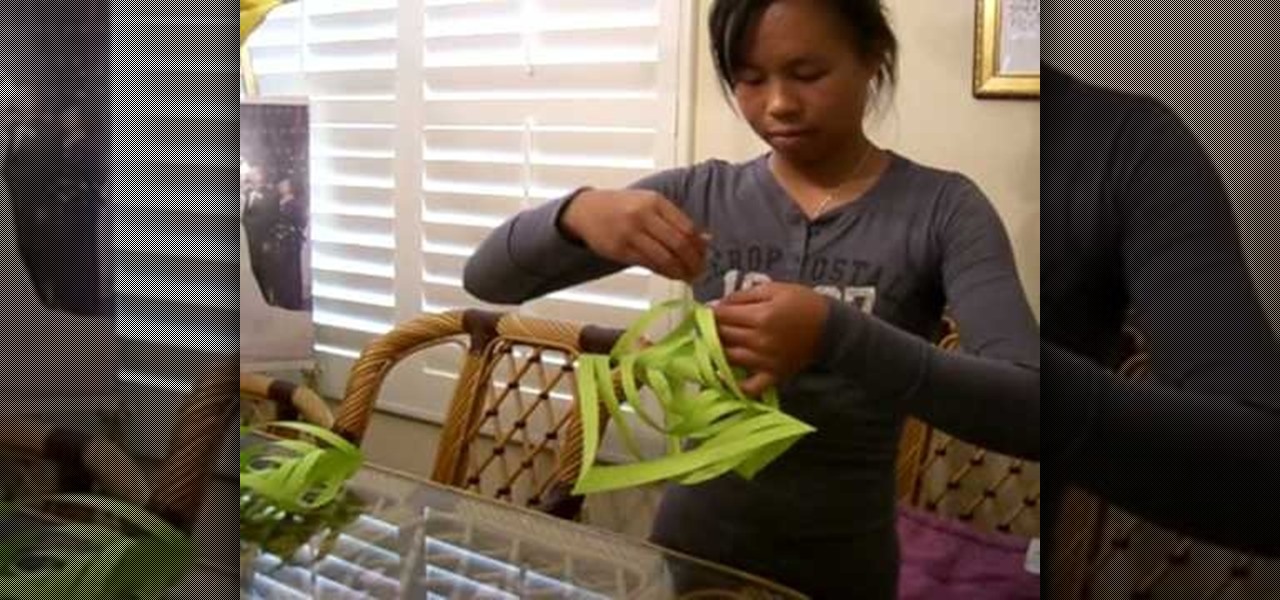
Here is an easy way to make a beautiful parol. All that you need is colorful papers, scissors, tape, stapler pin. Now take five sheets. Cross fold it and tear the extra paper, so that a perfect square is formed. Do it for all the five sheets. Now fold it cross wise, and again fold it in the same manner, so a triangle shaped paper is formed. Cut the papers cross wise and not on the edges. Care should be taken that it is not fully cut. Then open the paper, several sheets are formed now. Join op...
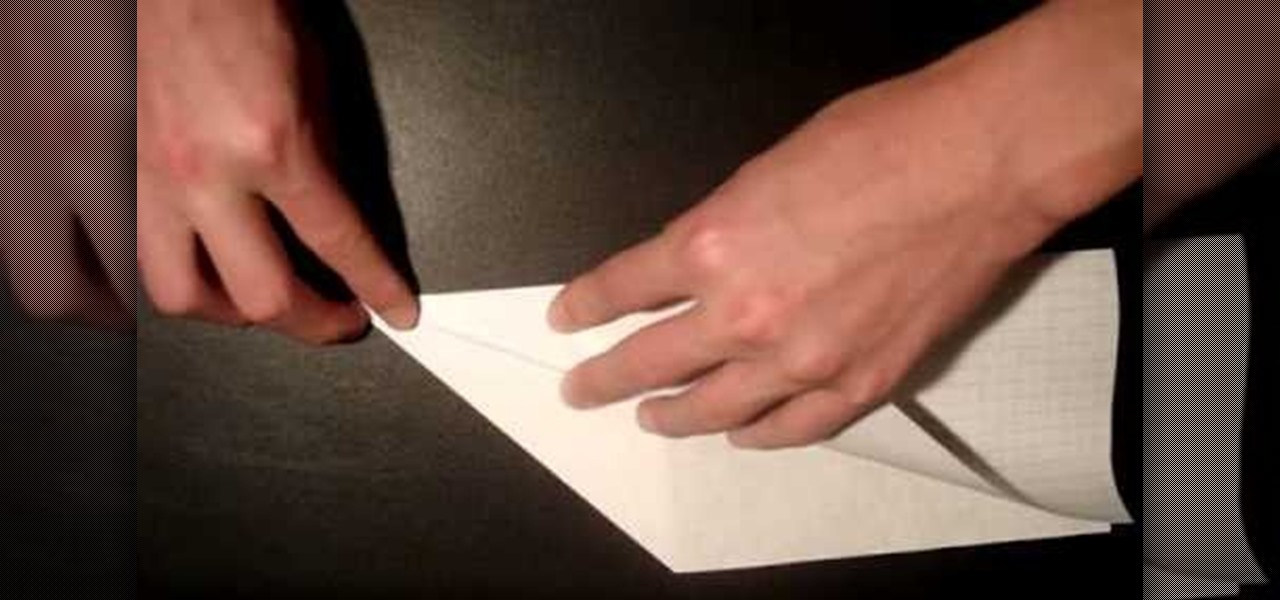
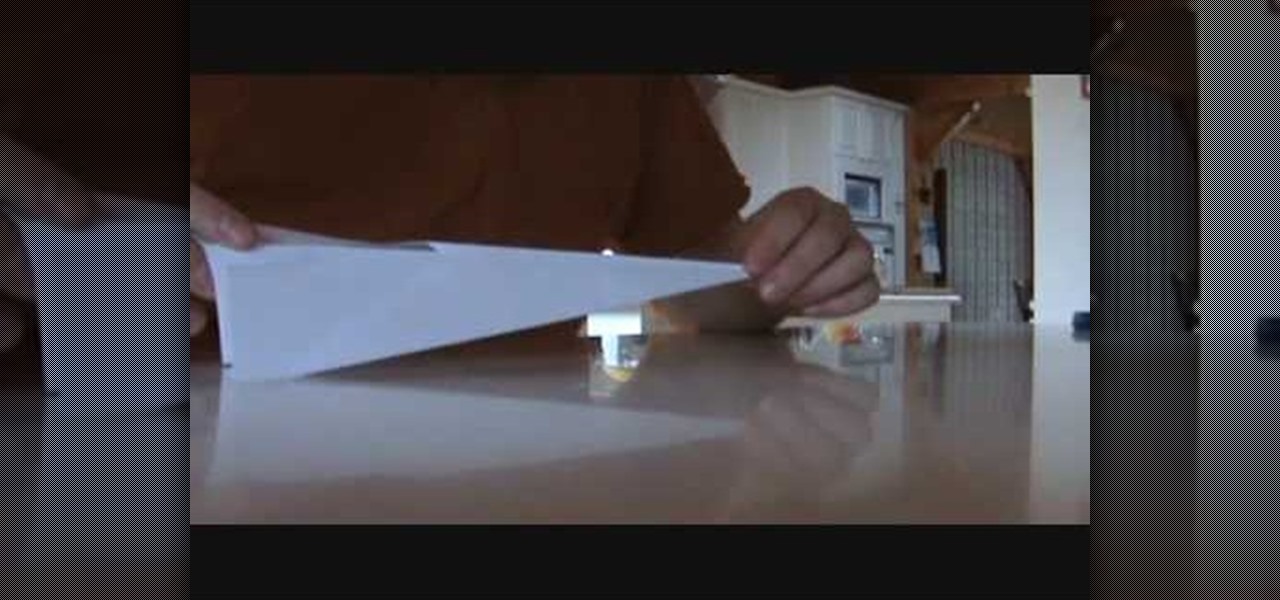
That Paper Guy shows you how to make a simple paper airplane. First, get a piece of paper 8 1/2" x 11" and fold it in half lengthwise. Then fold on one side a triangle. Flip to the other side and fold a triangle as well. Fold the corners down in the same direction on both sides, making sure the edges meet the center fold. Fold the corners down one more time on both sides, again in the same direction. Open up the finished airplane so that you're able to grab the center with your thumb and inde...

In this how-to video, you will learn how to create an X Hunter paper airplane. First, fold your paper in half vertically. Unfold the paper and fold the two sides to the fold in the middle. Fold the top into a triangle. Unfold it and do the same for the other side. Unfold the paper and flip the paper. Fold the top down. Flip the paper and make two wings on both sides. Fold the top into a triangle. Push the sides to make the top part come up. Fold the tip into a diamond shape. Fold the sides of...
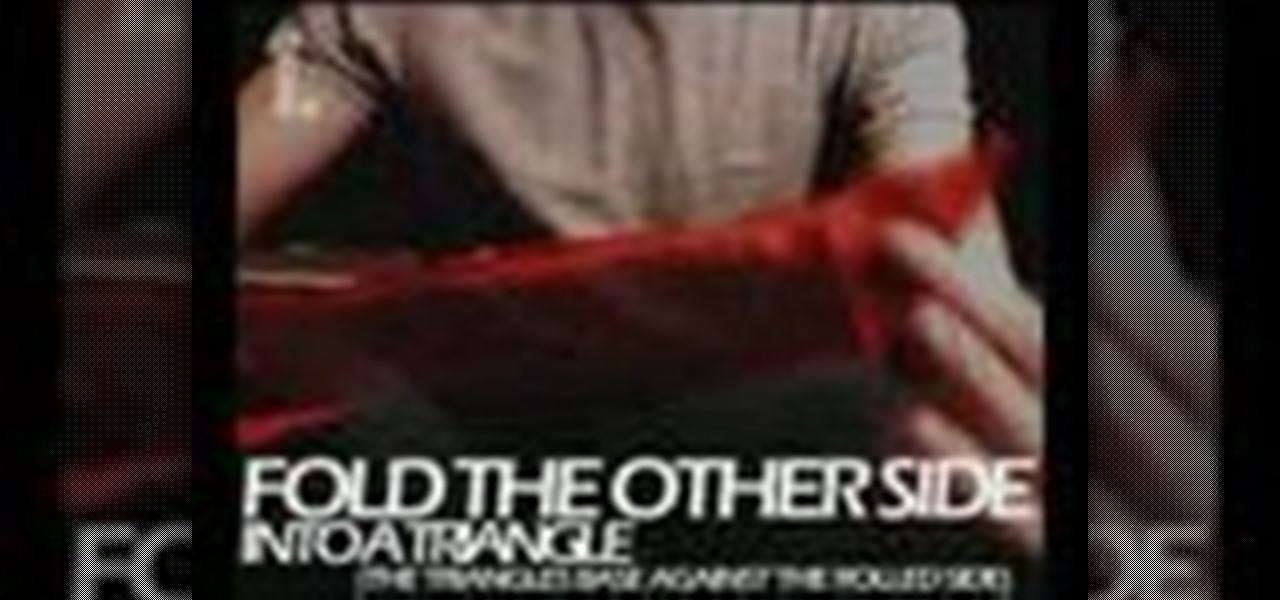
This is an instructive guide to making a trigger operated paper gun. You will need an A4 sheet of paper. Start by rolling the sheet of paper horizontally (breadthways) and as tightly as possible, . Once the roll is completed, attach 3 lengths of sticky tape at each end and the middle, so it doesn't unravel. Then proceed to wrap another sheet of A4 paper around your existing roll, making sure that is as tight as can be so it is strong and sturdy. Again, attach sticky tape at each end and the m...

For anyone looking to dress up a card, learn how to make a paper pumpkin using punches in this video tutorial. Take a white piece of paper and distress it with Memory Mist (with the pale ale color). Use a box to distress the paper, while avoiding getting the mist all over your work space. To actually make the pumpkin use a store-bought punch (either round or oval). Make the punches with orange cardstock. For each pumpkin, you will need either three ovals or circles. Using a chalk ink to distr...
This video will show those who are interested how to make paper mache and how to use it in artwork as well. A quick and simple way to make paper mache starts with nothing but common newspaper. After soaking your newspaper in water for a while, place the newspaper in a blender with some more warm water and blend it into a fine paste. After this, you should strain out the excess water and then mix this solution with some whiting powder, or chalk, in order to get your finished paper mache, which...
Learn to make a beautiful spiral rose of paper, by watching this video. Things you will need to make this rose are: Red colored paper (or any color of your choice for the rose), a toothpick or small stick, glue, scissors. Begin by drawing a spiral on a square piece of red colored paper. With the help of scissors, cut along the lines of the spiral till the centre. Next, begin winding the spiral strip onto one end of a toothpick, from the outer end. Keep winding till you reach the other end of ...
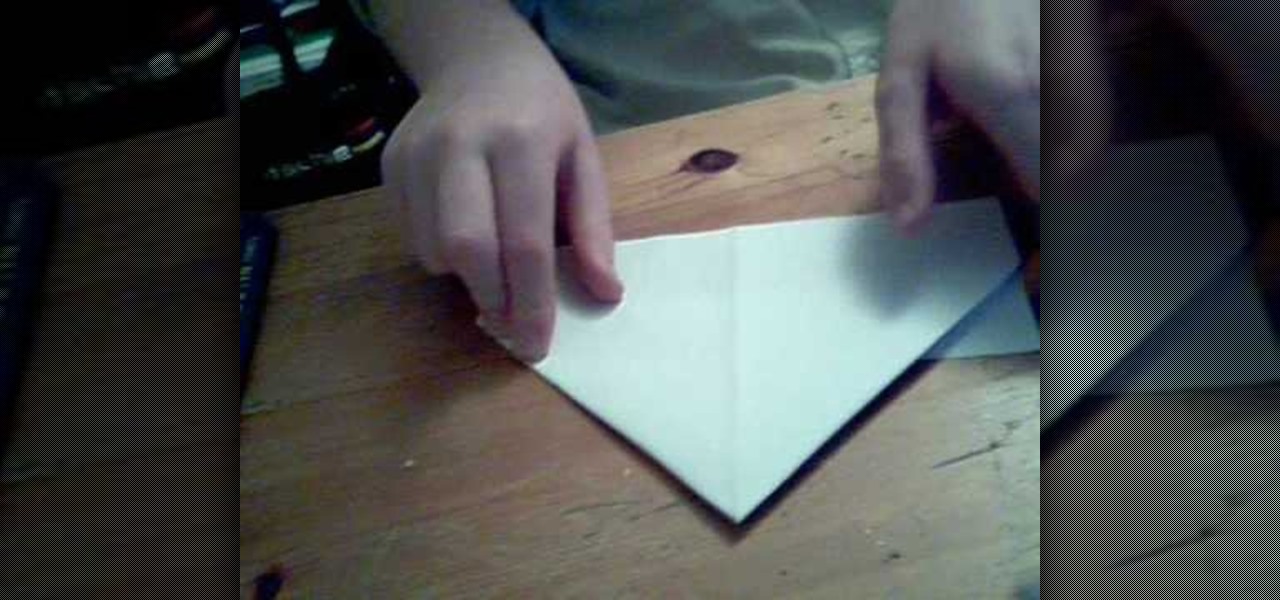
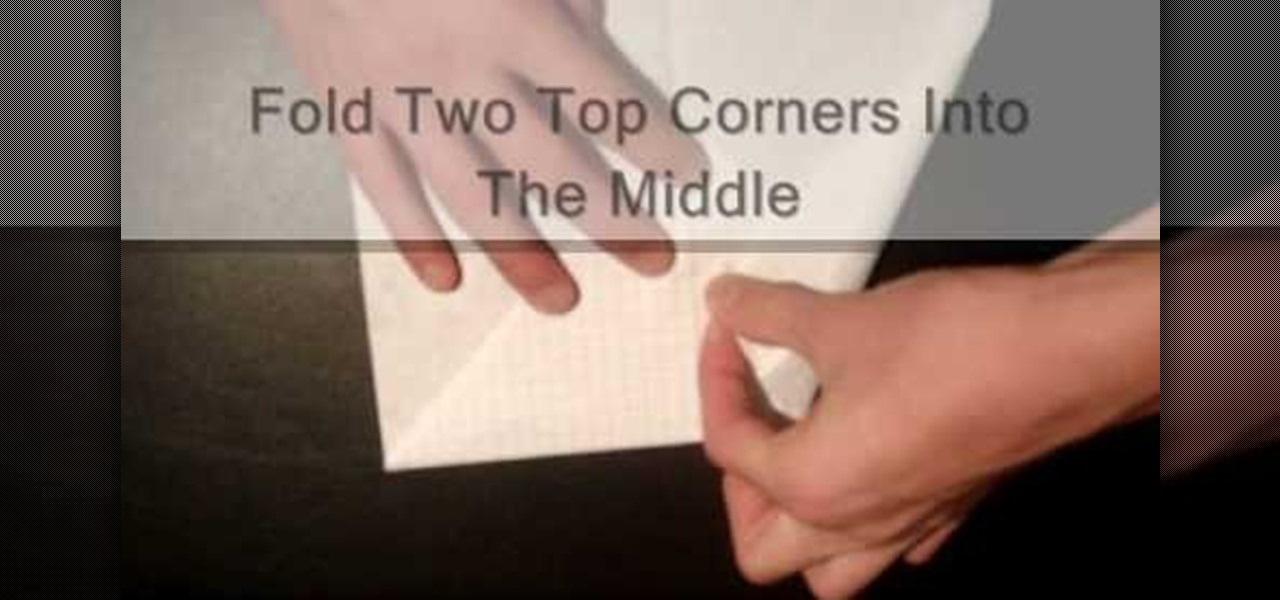
Take one large newspaper sheet that consists of two pages on each side. Fold in half lengthwise (the way it comes in the newspaper). Fold in half again (bringing the top of the paper to the bottom). Fold corners (on folded side) to middle. This will make a pointed top to paper. Fold one piece of bottom of paper up to the bottom of the pointed fold. Fold bottom again until it overlaps a little of the pointed part. Turn hat over. Fold sides in about 1 1/2 to 2 inches (it will look like a house)...
1) Create a rectangular sheet of paper by folding the left side in, like a book, about 1-inch and remove this excess paper. 2) Fold the rectangle in half, bottom to top like a newspaper, and then unfold and lay flat. Now take the bottom edge and fold it up (again like a newspaper) to meet the center crease that you made with your first fold. Unfold again. You will now have two creases in the bottom half of your paper. 3) Lift the bottom fold (bottom forth of the rectangle) up and line it up w...
This video is about how to make a paper floating boat by using only a single paper. These boats are really liked by the children in rainy season and they play with them where water gets collected or some kind of lakes or ponds. It can be made by just folding the paper in three folds and opening it to make a boat. This boat is easy to make and can be used as toys ,decoration material etc. boats are just childhood memories.
Need some affordable Christmas decorations? This is an instructional video that gives step by step instructions on how to make a paper snowflake. Viewers will learn how to make easy to make decorations for the holidays. You will need scissors, plain white paper, a stapler and tape to complete this projects. These are three dimensional paper snow flakes, not the typical two dimensional ones you probably made when you were in elementary school. Directions are easy to follow, and the video is cl...
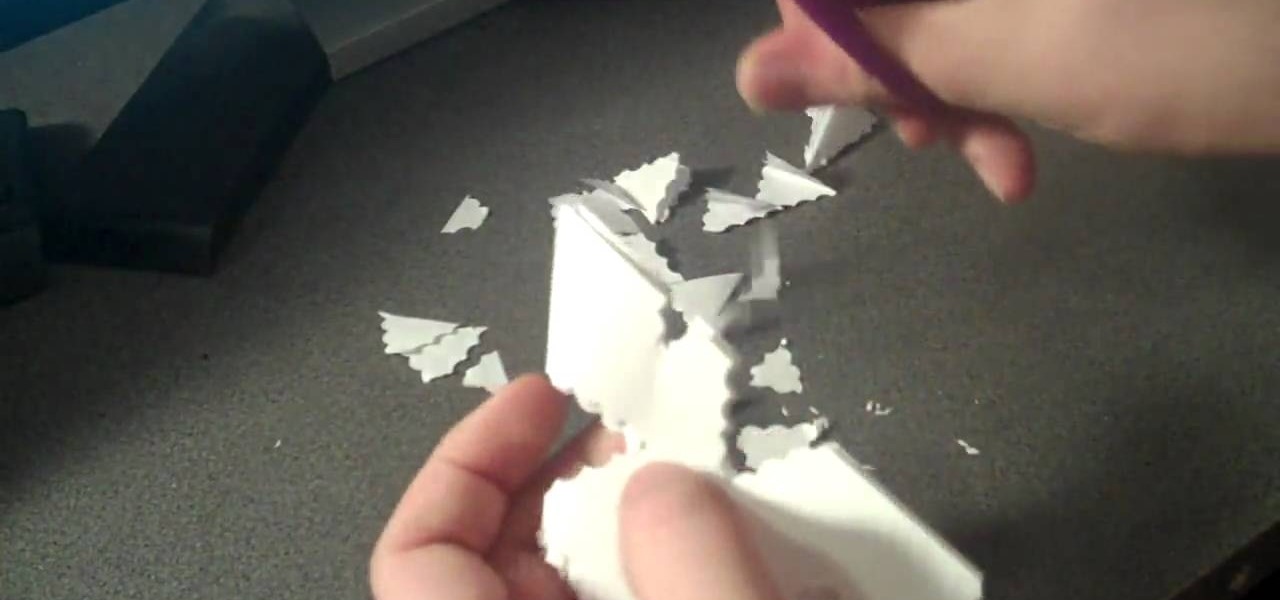
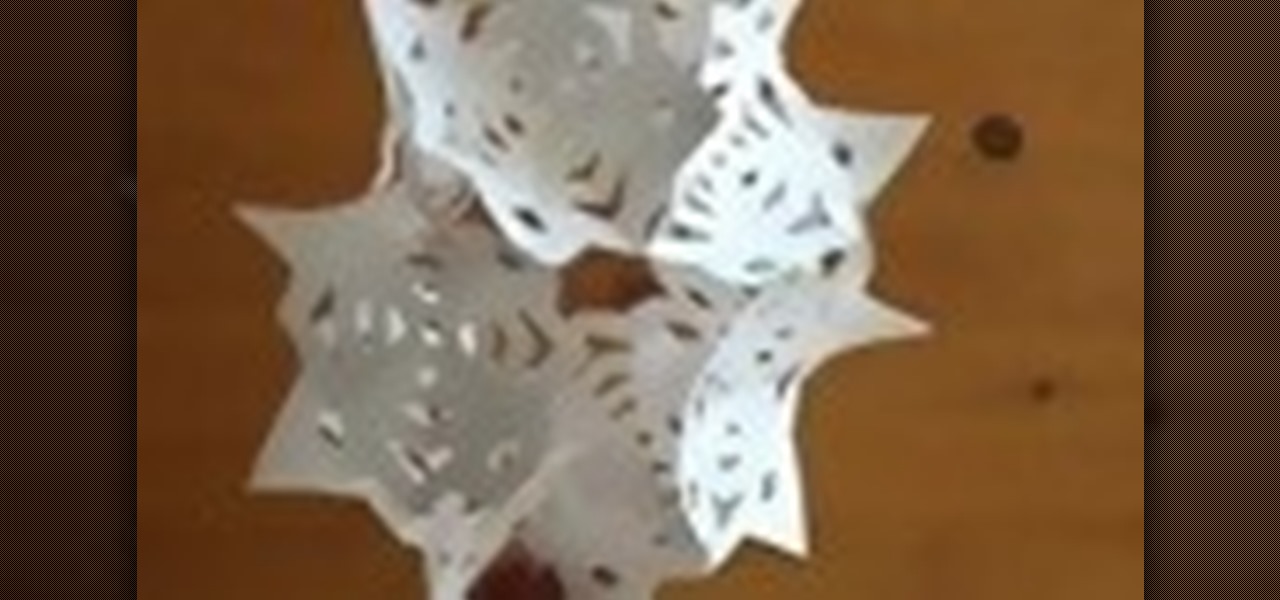
A detailed and easy-to-follow video on how to create snowflakes from any square sheet of paper, quickly and inexpensively. Using the technique shown in the video, you will be transforming any plain square sheet of paper into a finished snowflake, with a custom and unique design using just scissors. You can make hundreds of different designs with this technique; just like in real life, no two snowflakes you create will be the same! Get into the holiday spirit yourself, or spread some holiday c...
In this video, you are shown how to create a paper airplane and most importantly, how to make it fly farther. You will need a paper airplane, a stapler, and some tape and scissors. You staple the paper airplane all the way to the back without hitting either wing. You create three rows of these staples. This will make the airplane "closed" so it will glide farther. To get even balanced weight which will make it glide further, first tape along the entire top ridge, then you use scissors and mak...
Looking to make some affordable winter decoration? Need a winter's day craft for the kiddies? Learn how to make a paper snowflake. In this video our hosts Lauryn and Cameron show you step be step how to make the perfect paper snowflake. With just a piece of paper and a pair of scissors they will instruct you on how to correctly fold and cut to make original and creative paper flakes. They will give you tips on how to make different shapes and more complicated types of flakes.
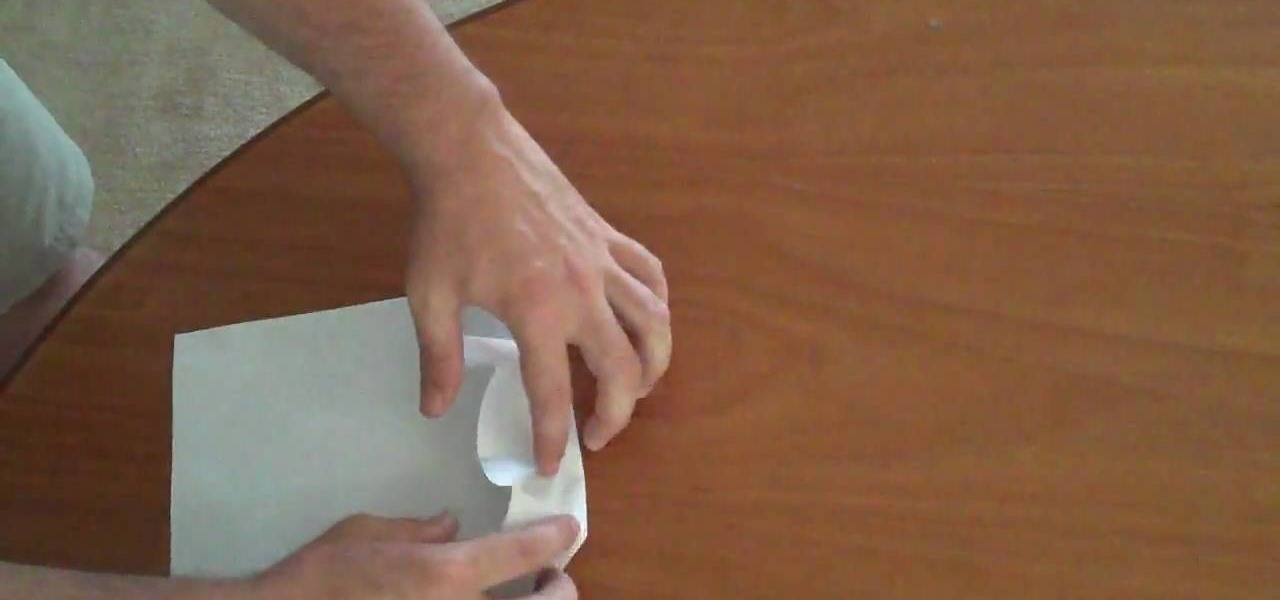
This video is about how to make a snowflake using only scissors and paper. For this you have to go through a few simple steps: (1) Take two plain sheets of paper. (2)Fold them into the shape of triangle. (3) Fold them again up to three triangles. After making a small fold of triangle (4) cut the triangle using scissors. Make any shape of your choice and cut carefully and neatly. Now just open the shape and the snowflake is ready. You can use colorful paper also.
Don't waste a bunch of money on new wrapping paper and bows. Recycle your old wrapping paper and use it to make decorative bows for your presents following these steps.
Need a way to keep the kids busy on a rainy day? Making a pop-up card is quick, easy, and will entertain them for hours! Watch this video to learn how to make a pop-up card.
For the crafting project in this how-to video, you will need a three inch wide strip of tissue paper. Follow along with the step-by-step instructions and fold a pretty paper flower, that will last longer than the real thing. Watch this video tutorial and learn how to make a tissue rose.
From the creators of the Diet Coke and Mentos experiment, EeepyBird show us how to have fun with sticky notes. Create a cool blue post it waterfall effect. Stack several post it pads. Tape together in sections. Let the paper water flow! Cool paper design trick.
Join Emma & Grace as they show you how to recycle old cereal boxes, coffee carriers, artwork and junk mail into beautiful works of art. Watch this instructional video to shred pieces of paper garbage, blend it into a pulp and press your own recycled paper.
Sue at Paper Source demonstrates blind embossing, a technique that raises an image without color. Think braille. It adds finish to an envelope or personalizes stationary. Watch this video crafting tutorial and learn how to use a desk paper embosser.
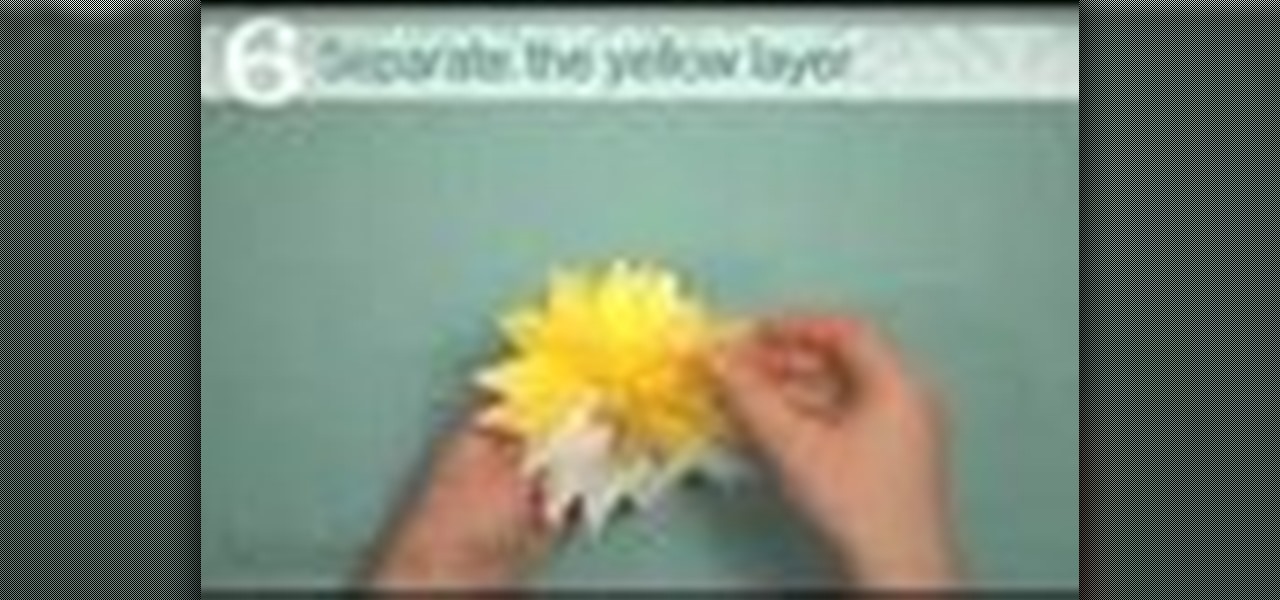
Good Housekeeping shows how to fold paper flowers to use as clever napkin rings at an Easter or spring party. These colorful daffodils add a little bit of cheer to the decor. Learn how to fold these tissue paper daffodil napkin holders by watching this home crafting video.
This video will show you how to make your very own paper clip topper for a jumbo paper clip. This is an extremely cute arts and crafts project for work or home.
This paper basket is great for any occasion, and it would look especially great on Easter filled with M&Ms or other candy. Your family and friends will definitely love it when you make them this adorable paper basket.
This video tutorial shows step by step how to make roses from paper, with no stamping at all. Watch and learn how to follow this quick and easy method to create a pretty paper rose.
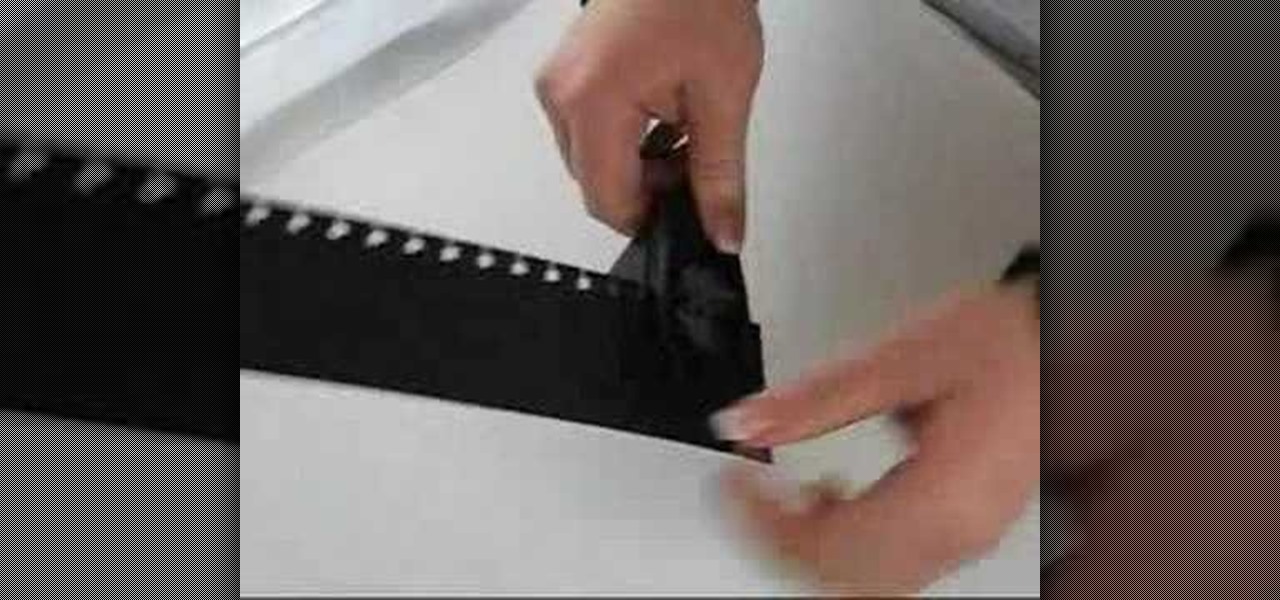
Using just paper and a paper punch, this how-to video shows how to a make a card in the design of a piece of film strip. This card is especially appropriate for movie lovers, and is really simple to make.
Learn how to make a cut-paper portrait by taping an image to a paper, cutting out the silhouette, cutting out the details, checking your progress, cutting off the tape, making some final touch-ups, and placing and gluing the image.
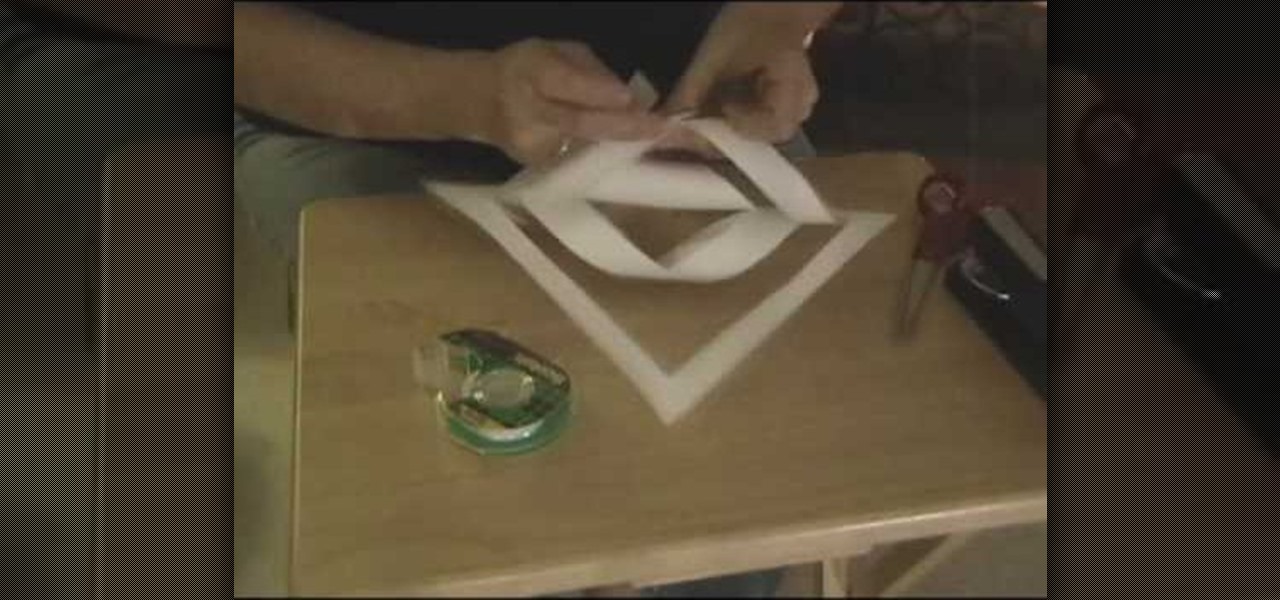
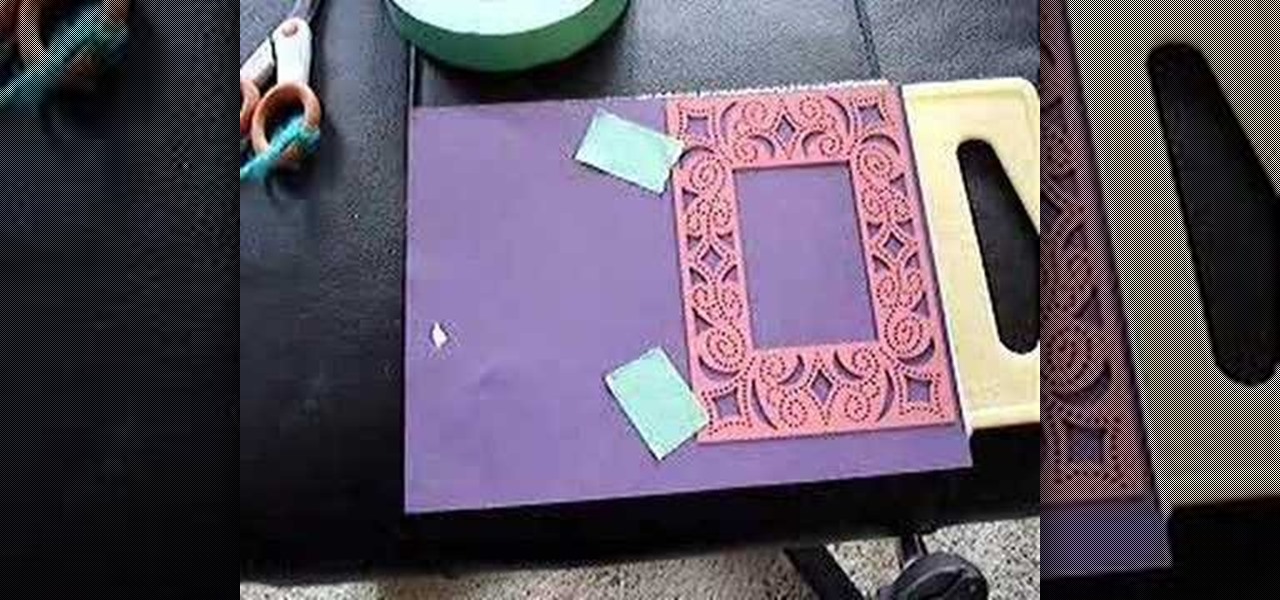
This video demonstrates making a paper piercing and cutting project using a template or stencil. The demonstration produces a frame with decorative piercings and cuttings. The frame shown is suitable for scrapbooking, card making or other paper crafts.
Watch to learn how to make a paper slinky by folding paper into certain components.
Check out this video to learn how to make a paper ninja star by folding paper and licking it.
With just some paper, scissors, and staples you can make this cool ball of paper roses. It will make a great centerpiece.
Make a 3D paper snowflake using origami techniques and a stapler. You need ten 4x4 squares of paper.
In this how-to video, you will learn how to make Cobra-style paper airplane. All you need is a regular piece of paper. This style is useful for hitting targets or flying straight. Fold the paper in half vertically and unfold. Take the top corner of the paper and fold it to the edge of the middle crease. Repeat with the other corner. Take the tip of the center and fold it to the horizontal line created by the folded corners. Make sure you make tight folds. Open it up and make a fold horizontal...
In this video tutorial, viewers learn how to make a 3D flower pop up card. The materials required for this are 5 pieces of paper, scissors and glue. Begin by folding the paper in half 3 times and then fold down the sides to a triangle. Now fold a bit of the triangle flap up to make a slimmer triangle. Then cut around the top with a half circle shape. When opened, it will be a flower shape. Cut one of the pedals off and decorate it. Make 7 more flowers and glue the points together. Now take a ...
This video shows a step-by-step demonstration on how to fold a moth style paper airplane. First fold the paper in half the long way. Unfold the paper, and fold the two top corners into triangles toward the middle crease. Fold the triangle down. Fold two top corners into the middle and fold the triangle up. Fold the plane in half and fold the wings up. Flip the plane and fold the wings again. Open the plane and you're done. This demonstration is easy to follow, with words on screen, so you'll ...
Learn how to make a pop-up snake in minutes and surprise your children. 1) Get two pieces of paper of the colors you want. Also get a CD or something similar. 2) Get a paper and fold it in half. 3) Draw a circle on the paper using the CD and a marker or pen. 4) With the help of scissors start cutting the circle in a spiral fashion. 5) Fold the other paper in half. 6) Glue the tail of the snake on one side of the paper and glue the head of the snake on the other side. 7) You can use the other ...
Learn how to create and design your own paper handbag.
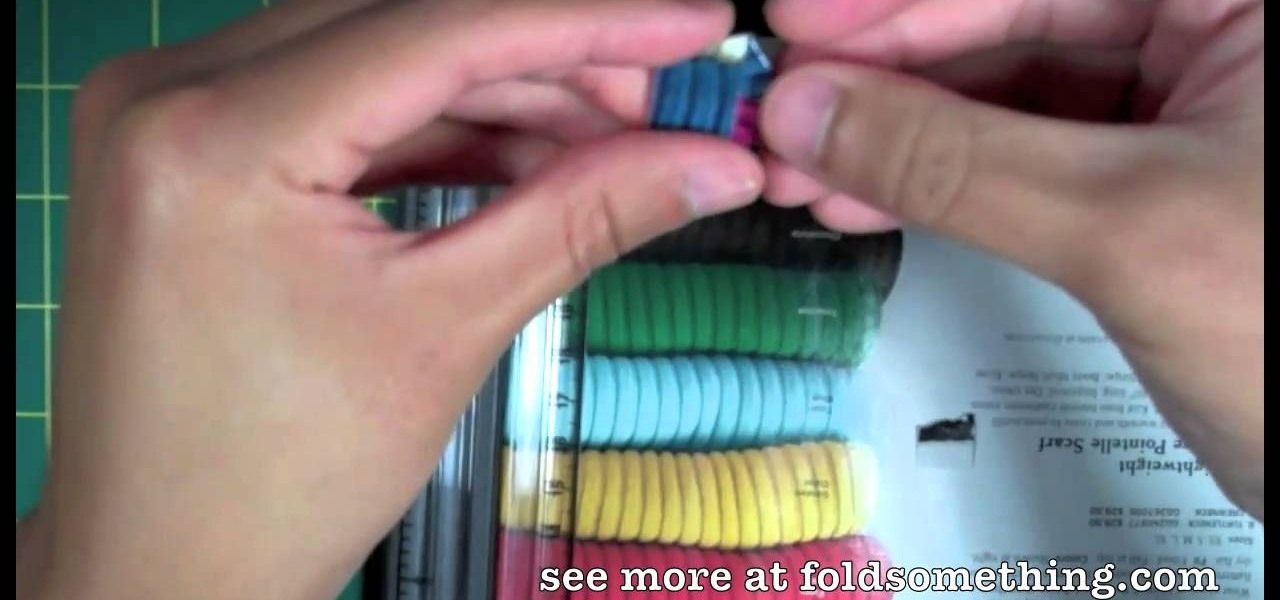
The smaller your origami gets, the harder it is to fold, but not in the case of the lucky stars. The miniature 3D stars are easy to fold, and you just need a long strip of paper. You could buy pre-made strips of paper, or cut your own with scissors, box cutter or paper cutter. On you fold these mini stars, you'll have to fluff it out for that 3D look and feel.