Hate going to Chinese and Japanese restaurants (and every other Asian restaurant) because you're absolutely frightened of those chopsticks, and you're too embarrassed to ask for silverware? Overcome your fears and finally learn how to use those chopsticks. This video will show you how to use them properly.
In this video you will see how to transfer a photograph onto a piece of flannel fabric. You will have to treat the flannel with Bubble jet Set 2000 to help the photo stay on the fabric longer. Use an inkjet printer to make sure the ink soaks into the fiber. Tape the treated flannel onto the printed picture and run the paper through the printer again. The printer should print directly onto the fabric without trouble!

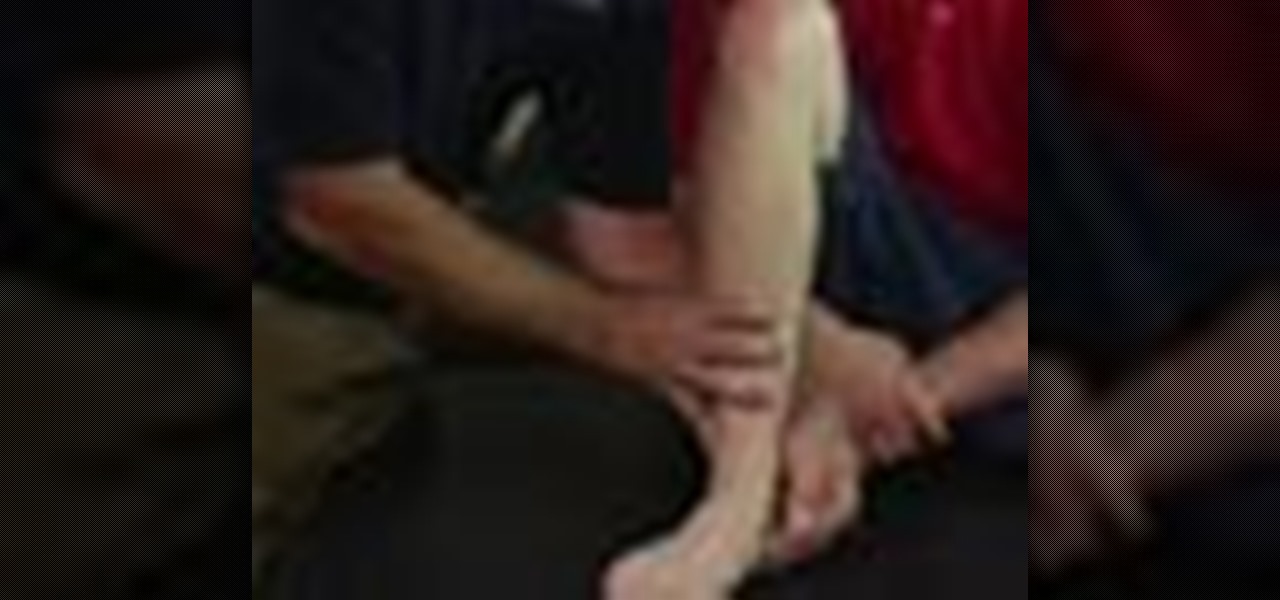
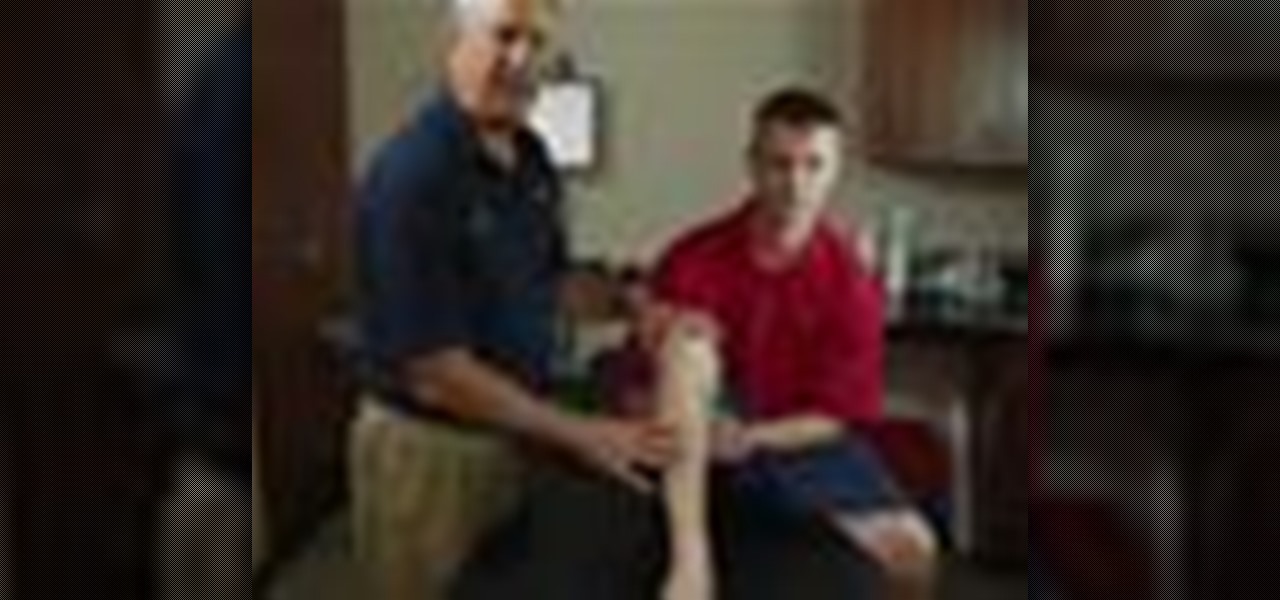
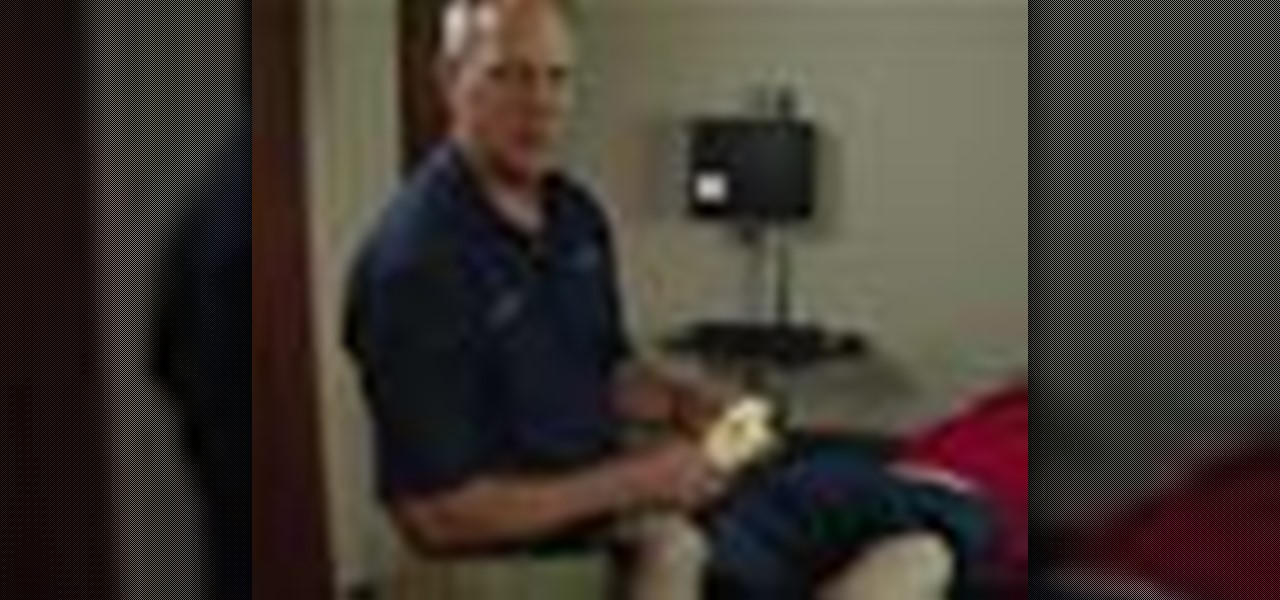
Triceps tendon ruptures are not very common, but they are a debilitating injury. A triceps tendon rupture may require surgery. Learn how to treat sports injuries in this how-to video on health and rehab.
LCL stand for lateral collateral ligament, and it is a ligament of the knee. Rehabbing a torn LCL after surgery can be an involved process. Learn how to treat sports injuries in this how-to video on health and rehab.
Heel spurs are a very painful condition of the foot and occurs over time. Heel spurs often feel like you are walking on a pebble. Deal with the nagging heel spur injury with stretching, foot care and other methods. Learn how to treat sports injuries in this video on health and rehab.
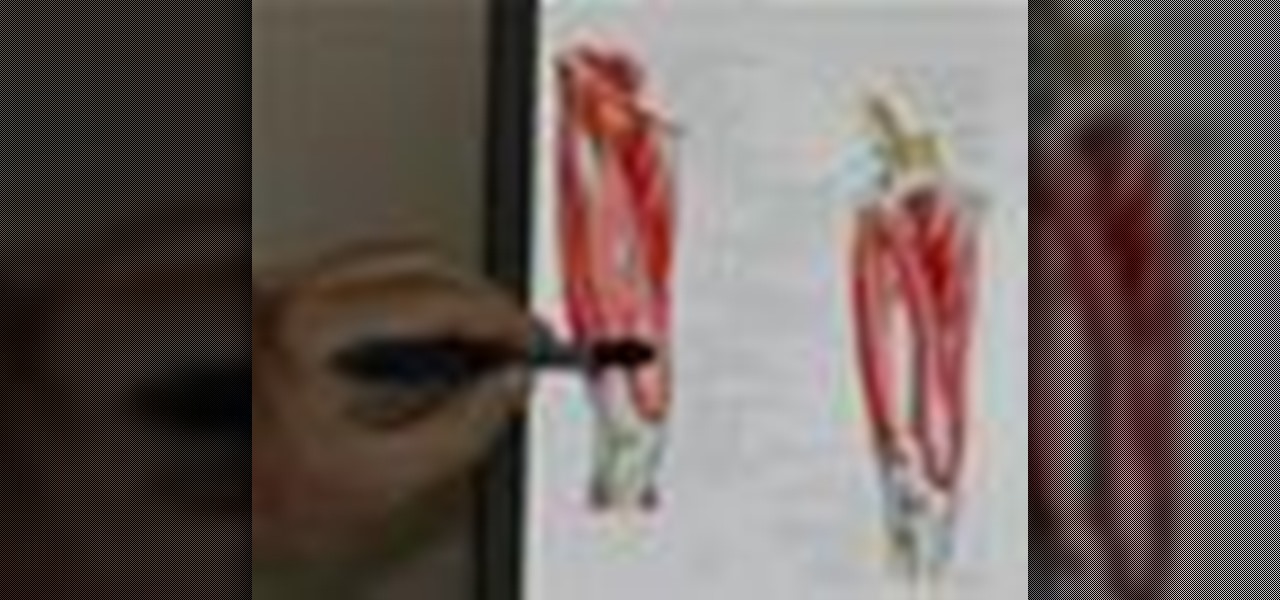
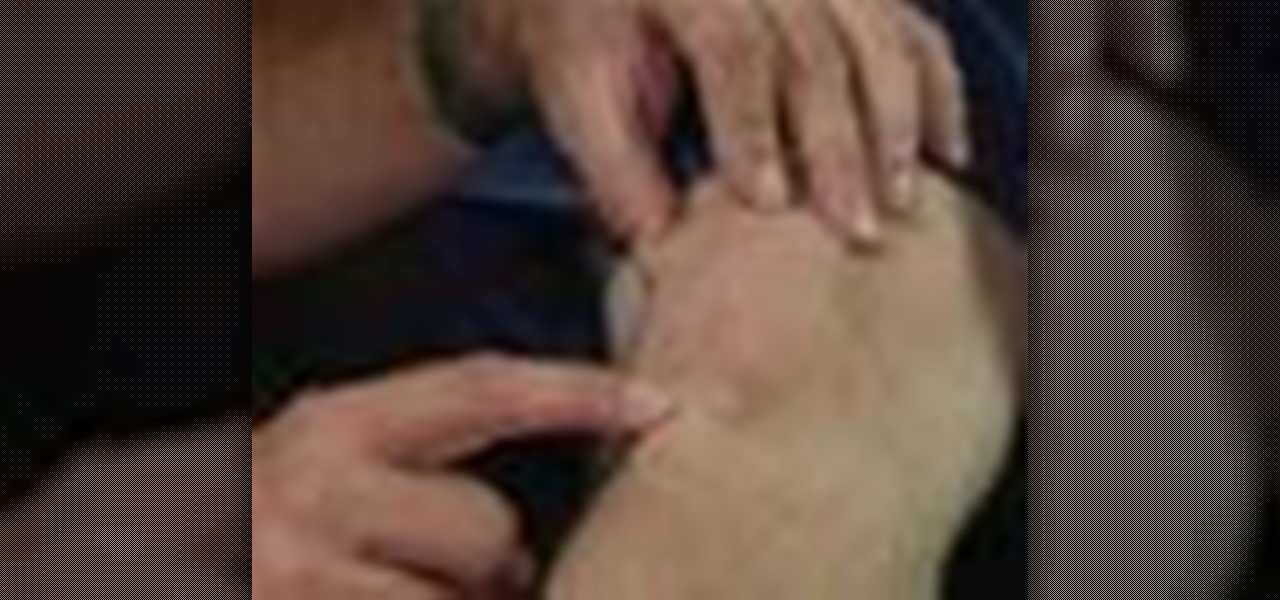
A quadriceps muscle injury is an injury to the muscles on top of your thigh. Treat and strengthen a pulled quad muscle using a few simple steps. Learn how to treat sports injuries in this how-to video on health and rehab.

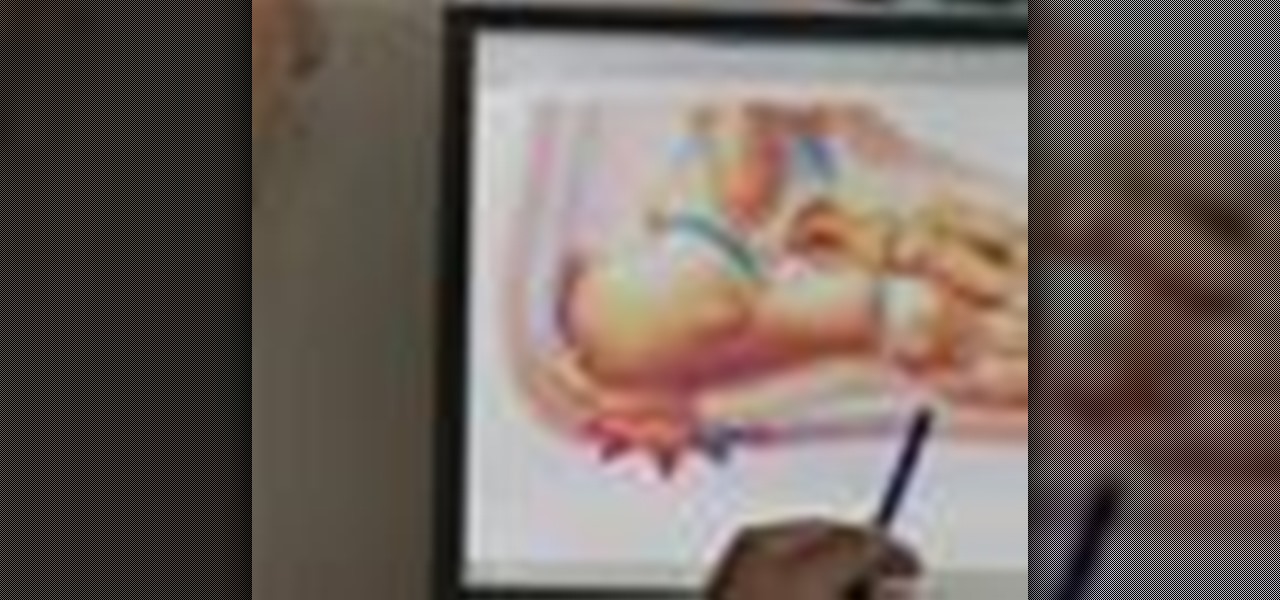
Turf toe may not sound serious, but it can end an athlete's career. Turf toe involves rupturing the capsule underneath the big toe. Learn how to treat sports toe injuries in this how-to video on health and rehab.
The meniscus is one of the most frequently injured parts of the knee. Rehabbing a torn meniscus must be done with care and proper direction. Receive tips for treatment of a torn meniscus in this how-to video on health and rehab.
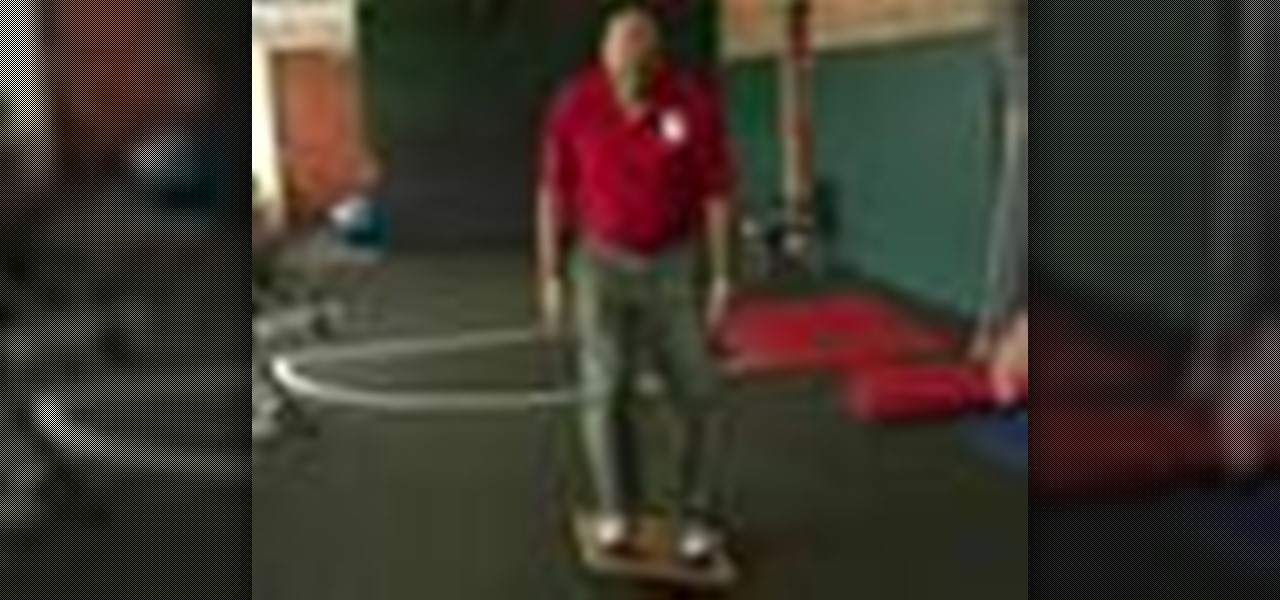
Treatment and rehab training with a wobble board can be especially helpful for increasing balance. A wobble board is especially great for ankle, knee or hip injuries. Learn how to treat sports injuries in this video on health and rehab.
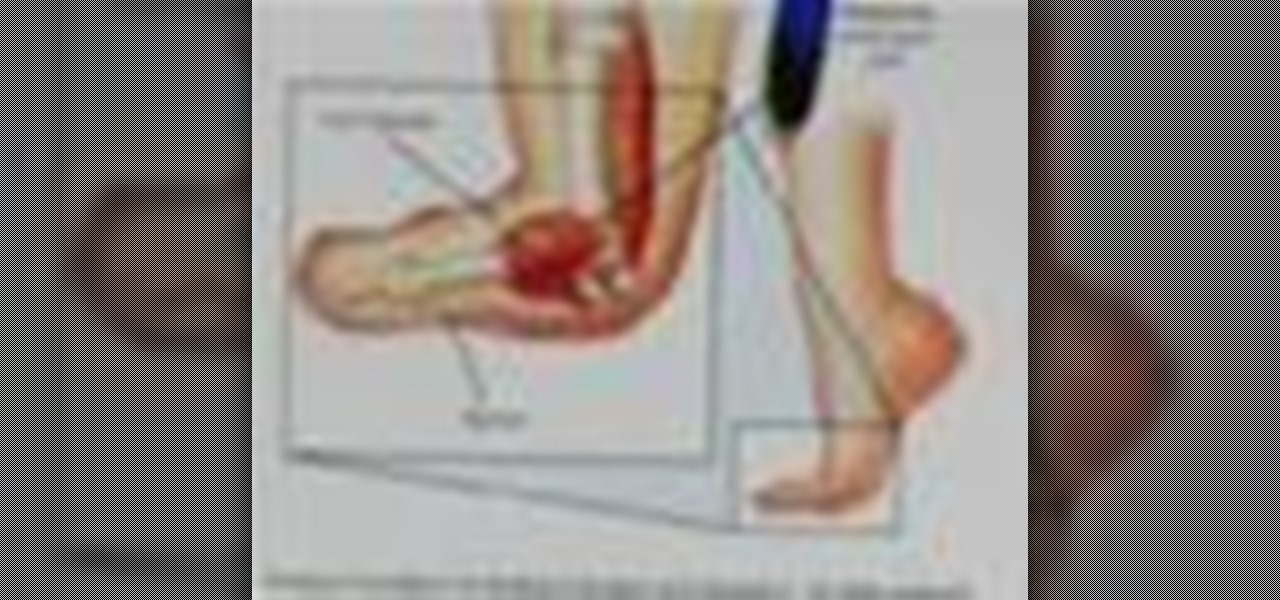
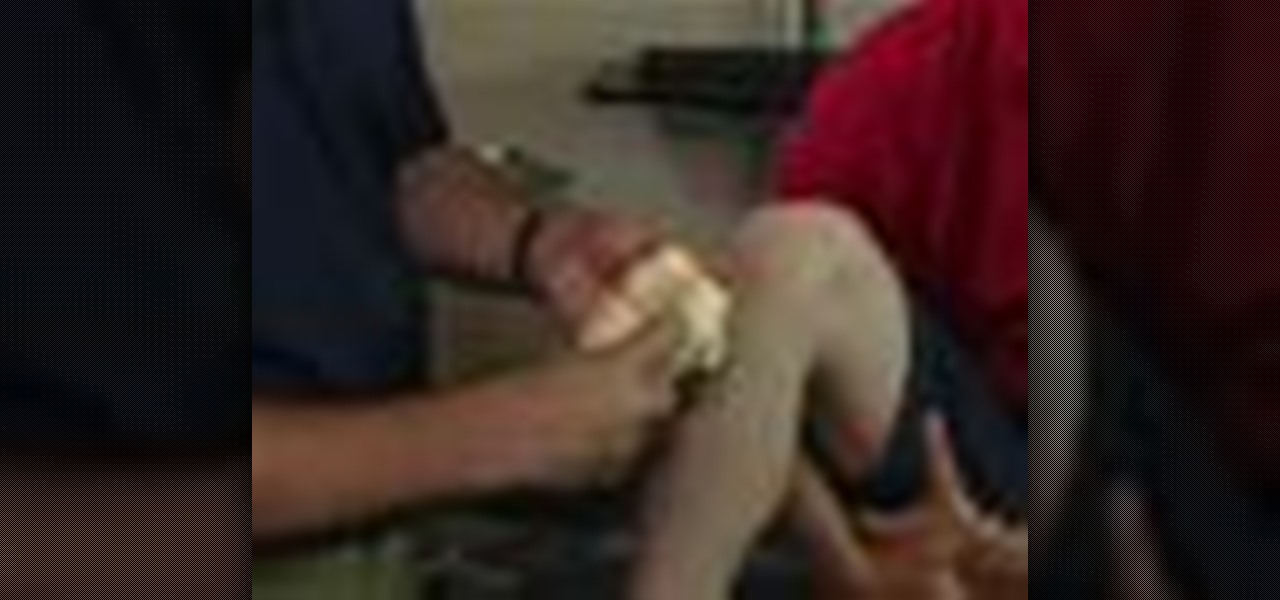
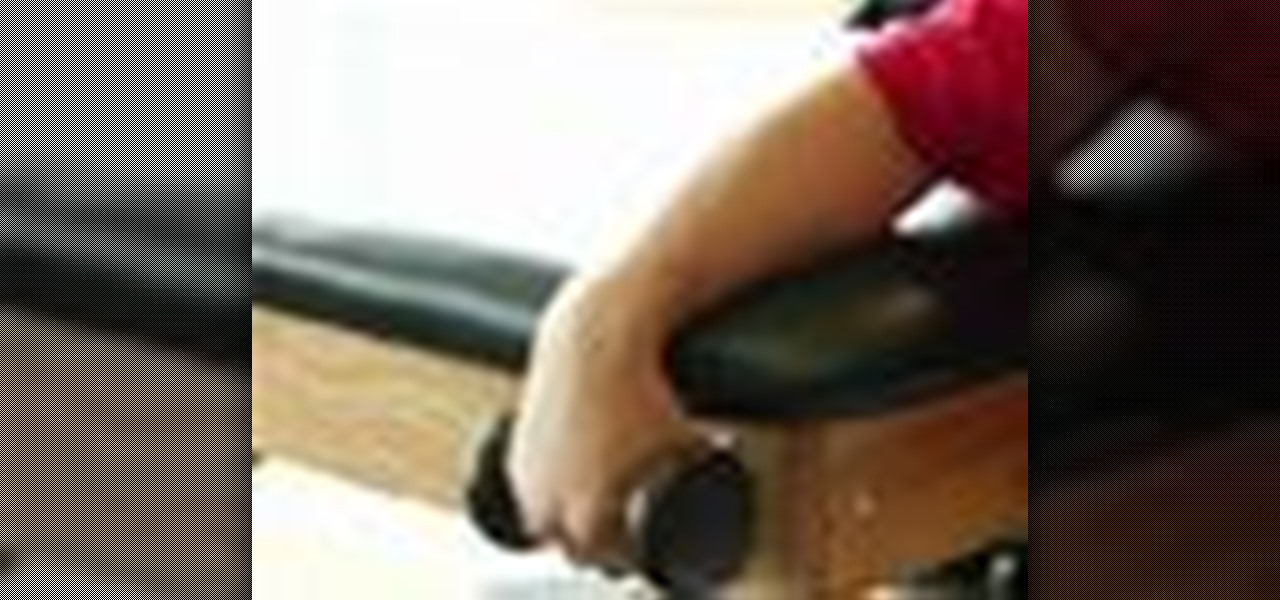
Golfer's elbow can be an aggravation that negatively impacts one's swing. However it doesn't only affect golfers, it golfers elbow can affect anyone. Golfer's elbow is also more commonly known as tendinitis of the medial side of the elbow. Learn how to treat sports injuries in this how-to video on health and rehab.
Runners tend to suffer from painful shin splints. Treatment techniques for dealing with shin splints can provide tremendous relief to runners and others who suffer. Learn how to treat sports injuries in this how-to video on health and rehab.
Tibial stress fractures are a very painful condition that have to be treated the right way. Tibial stress fracture treatments and healing methods include rest, stretching and wearing certain equipment. Learn how to treat sports injuries in this how to video on health and rehab.
Patellar tendinitis is pain just below the knee cap. Patellar tendinitis treatment tips and techniques can supplement the direct care one receives from a doctor, trainer or physical therapist. Learn how to treat sports injuries in this how-to video on health and rehab.
Tennis elbow is also known as lateral epicondylitis. Tennis elbow injuries can be one long frustration for the tennis player. Learn how to treat sports injuries in this how-to video on health and rehab.
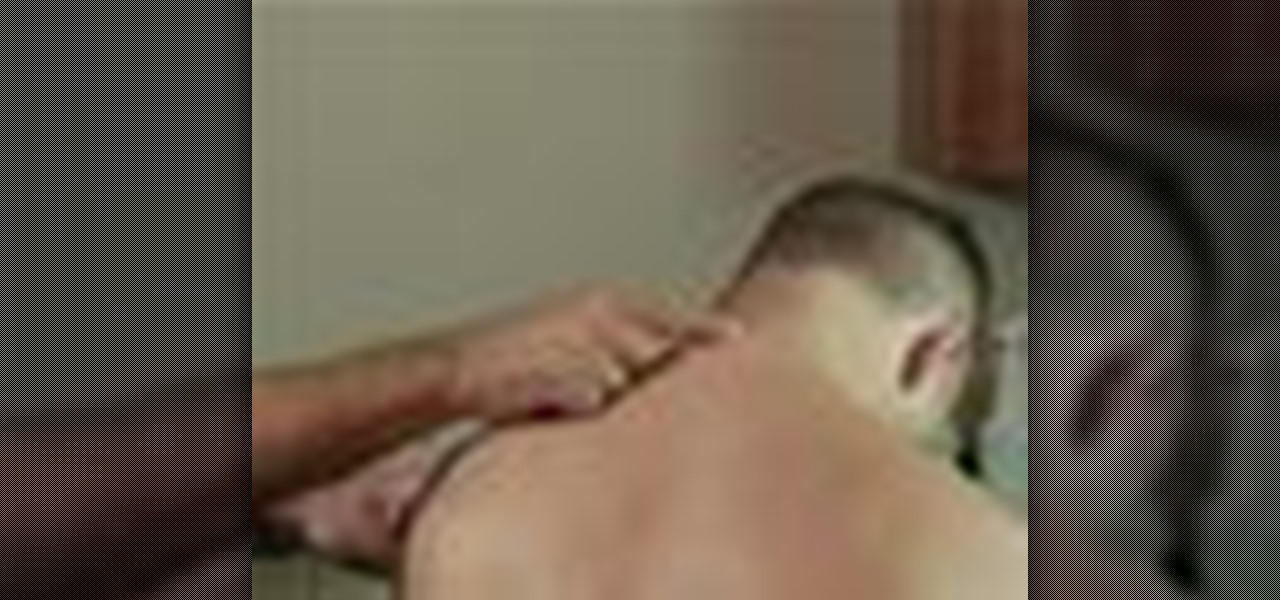
Pinched nerves usually occur in the neck, but can lead to pain and muscle spasms throughout the upper back and arm. And despite all the rumors, neck nerves are not pinched by muscles, but rather by disks in your back. Learn how to treat a pinched nerve in the neck and stay fit in this sports medicine how-to video.
There are two calf muscles in each leg, both of which can be injured. Healing and treating a calf strain can take time and patience. Learn how to treat sports injuries in this how-to video on health and rehab.
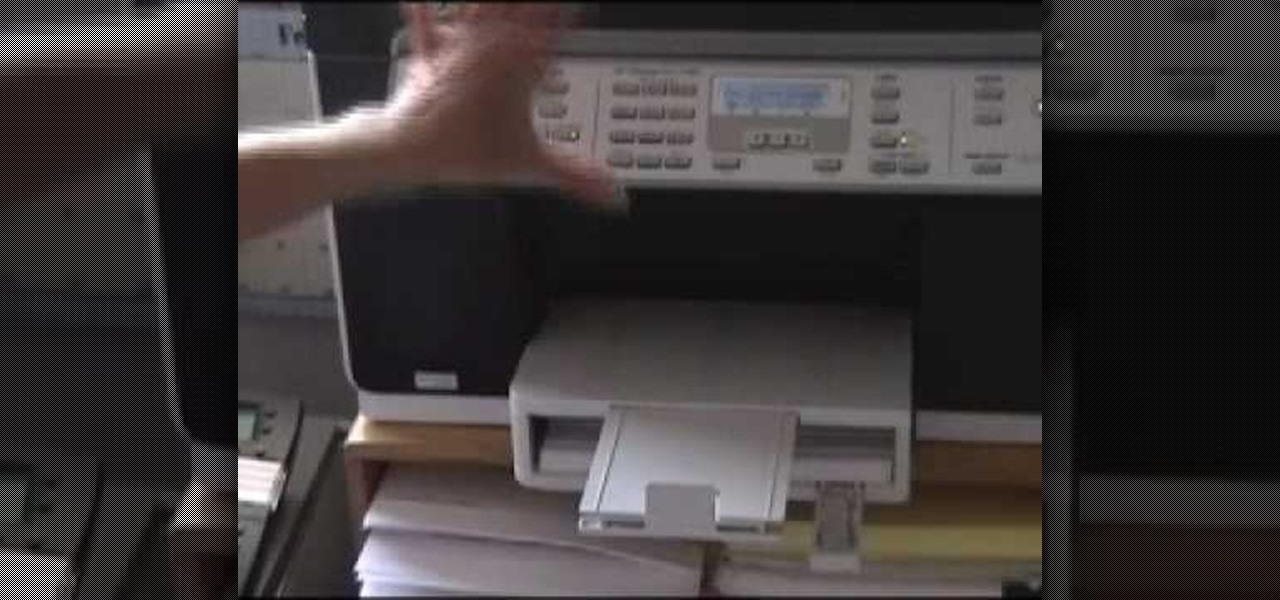
Let's say you're about to give a presentation and you want to print slides for your audience. Well, you probably want to customize your lay out so you don't waste ink, toner or paper. With Keynote, that's really easy to do. With your presentation open, go to File, the Print, and with the third dropdown menu, select Keynote. Here, you can customize your layout easily. For more, as well as step-by-step instructions for customizing print settings in Keynote, watch this video tutorial.
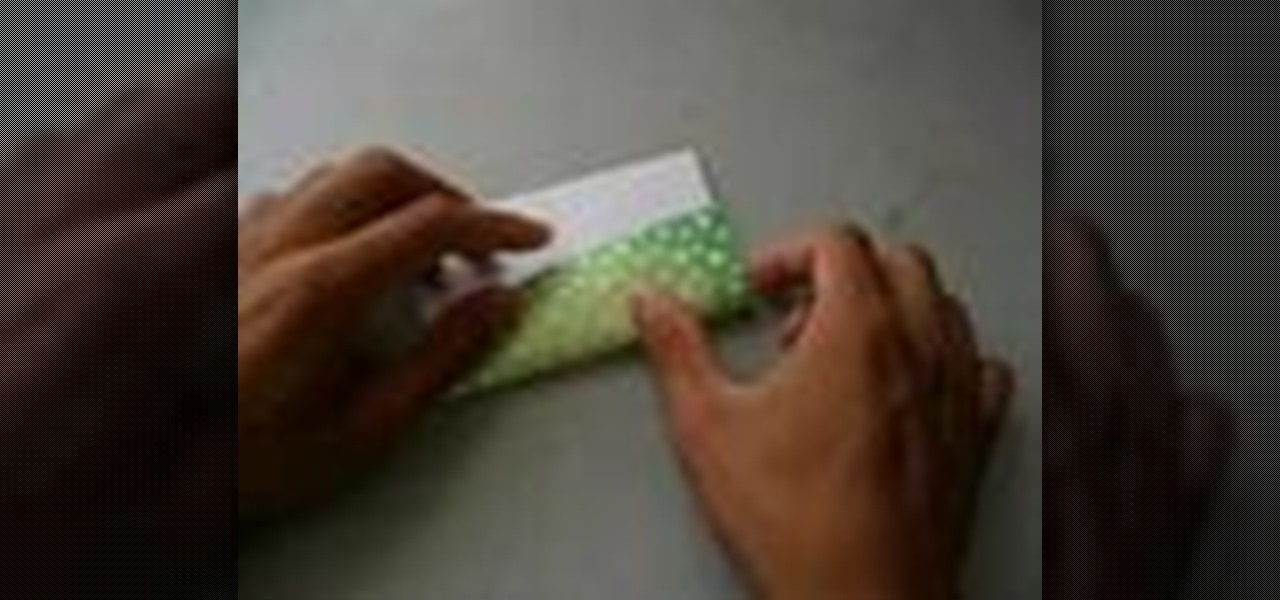
Watch this two part instructional scrapbooking video to make a heart shaped card that folds into an envelope. This is an affectionate love letter can be personalized to really charm your special someone. You can use store bought cut outs or use recycled scraps of paper and ribbon. This unique card is also good for Vanetine's Day, teen birthdays and get well soon cards.
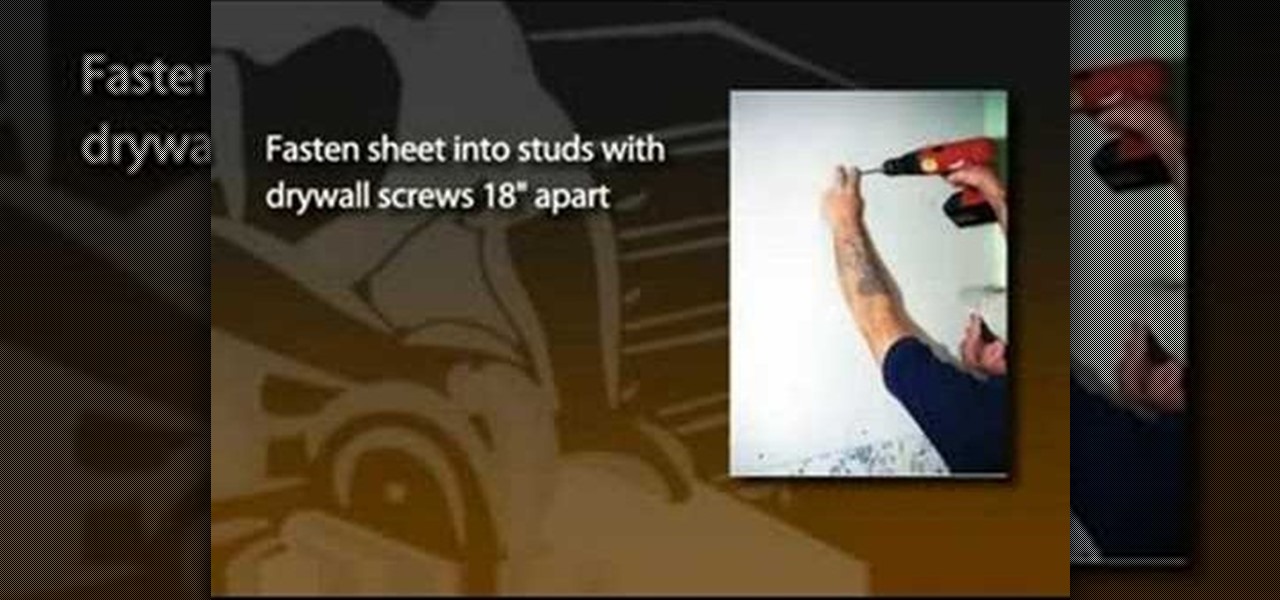
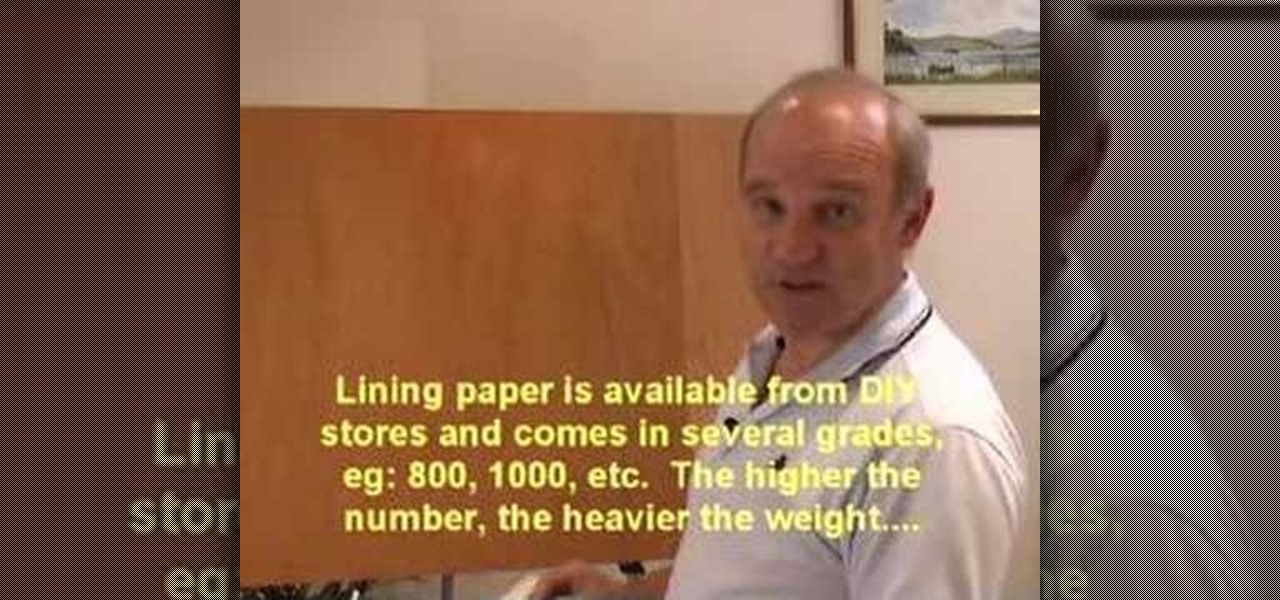
When faced with old, damaged plaster walls, one technique to dress up the room is to install drywall over the existing plaster. A drywall overlay gives the walls a smooth, fresh surface that's ready for new paint, paper or trim. This is a common technique used among professional contractors hired to renovate houses bought under foreclosure. For example, real estate companies that invest in foreclosures often deal with houses that are more than 50 years old and exhibit serious signs of aging. ...
Stencils allow you make an image for easy duplication. The stencil can be used for tagging, fabric painting, t-shirts, or whatever else you want. Follow along with the steps in this video from Piece of Craft. You will need an X-acto knife or a wood burning tool (for advanced stencil makers), stencil plastic, tracing paper, a cutting board, and the image to be stenciled. Watch this video crafting tutorial and learn how to make a stencil.
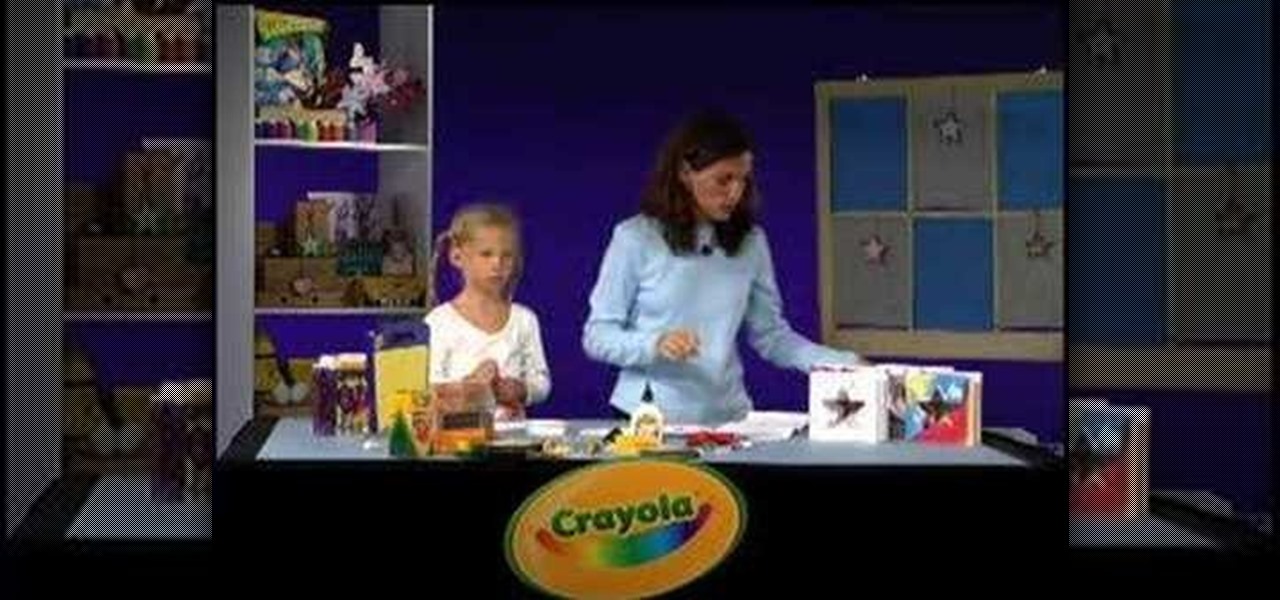
Learn how to make a window holiday card with this tutorial. This is a fun arts and crafts project to do with your children. You will need to use the Crayola Cutter to create peek-through windows in your card. The materials needed for this project are 2 large pieces of white paper, cookie cutters, Crayola erasable colored pencils, glue, glitter glue, markers, crayons, colored pencils, and the Crayola Cutter. With this how to video you and your kids can make these fun window cards for any holiday.
This four part origami series demonstrates how to fold one of the most difficult origami forms, the rose. Make sure to press clean creases as you move through the steps because you will need to employ every fold later on in the paper folding process. The verbal instructions are a helpful addition to the visual origami guidelines. It takes about fifteen minutes to fold this impressive origami rose.
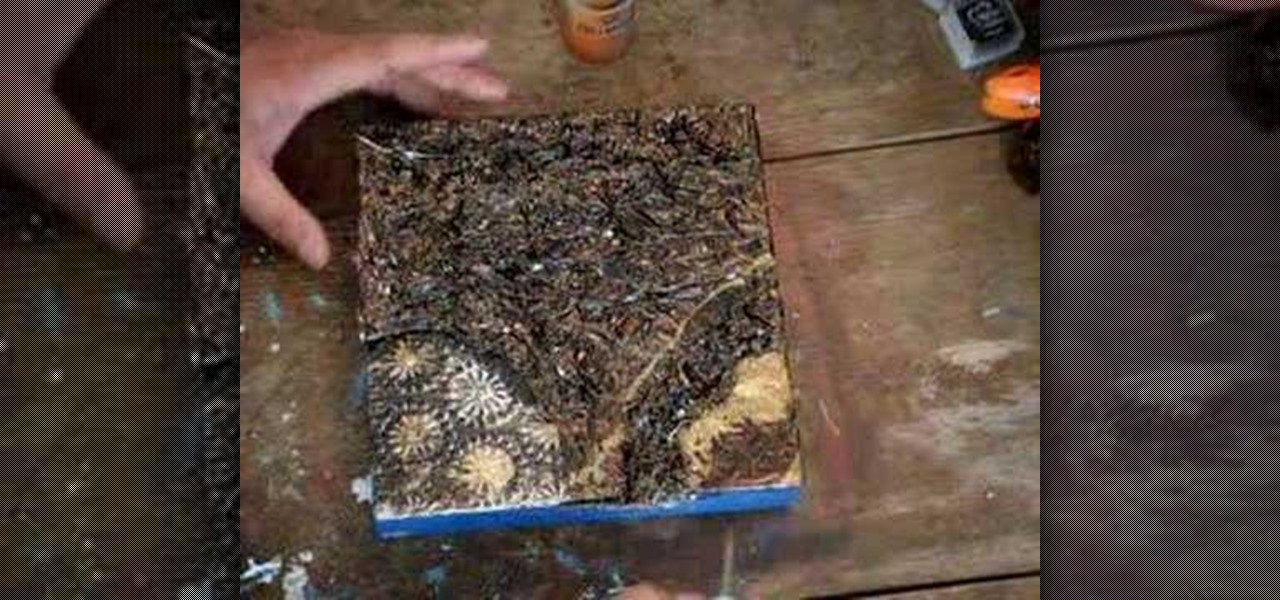
This video demonstrates how to create an artwork using ordinary aluminum foil from your kitchen. This technique is good for those people who have no inspiration of what to paint but want to be creative. This collage technique is a fun way for beginners to experiment with textures, composition and color. Materials used in this video are aluminum foil, a glue stick, Bitumen (a material used as primer for painting on metal without rusting), collage or textured paper, spray paint, acrylic paint, ...
Jason Voorhees might be one of the scariest horror villains, and that's why he would make for a great Halloween costume. For this project, you will need a hockey mask, white spray paint, black spray paint, clear spray paint, an artist's brush, red, black, and brown acrylic paint, sand paper, an X-acto or utility knife, a drill bit, and a black barker. Watch this video special effects tutorial and learn how to make a Jason Voorhees hockey mask for a Halloween costume or movie spoof.
Not sure what to origami today? Watch these two how to videos to learn how to fold a crow out of origami paper. Give Japanese origami folding a try with this how to video tutorial on folding a crow stating with an origami bird as the base.
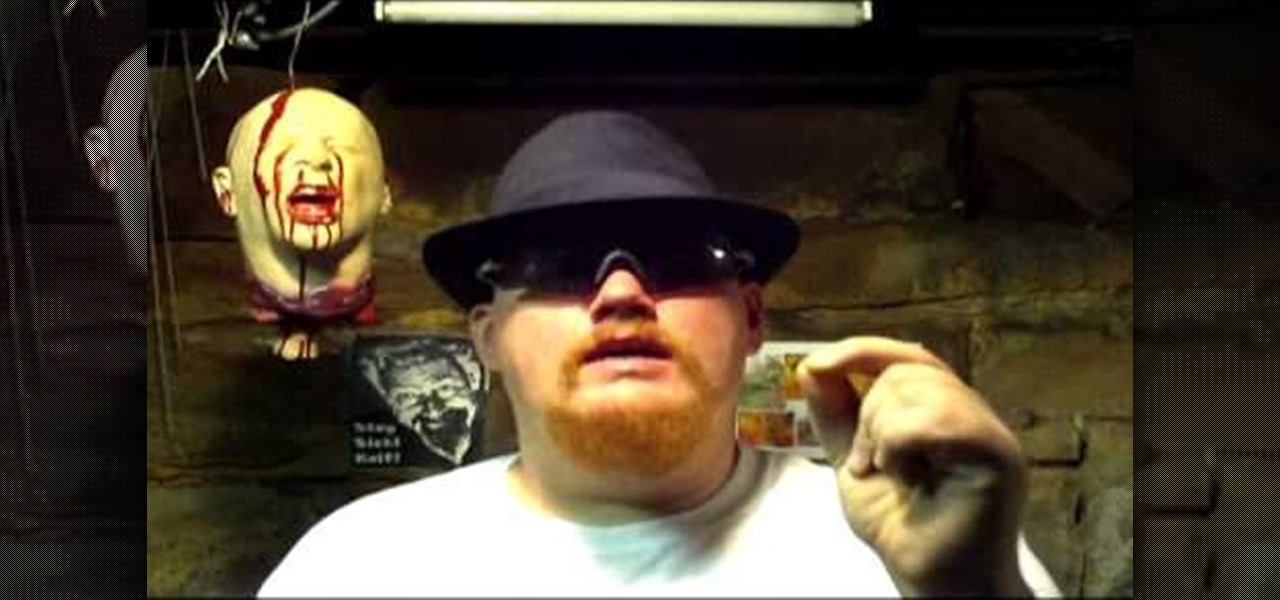
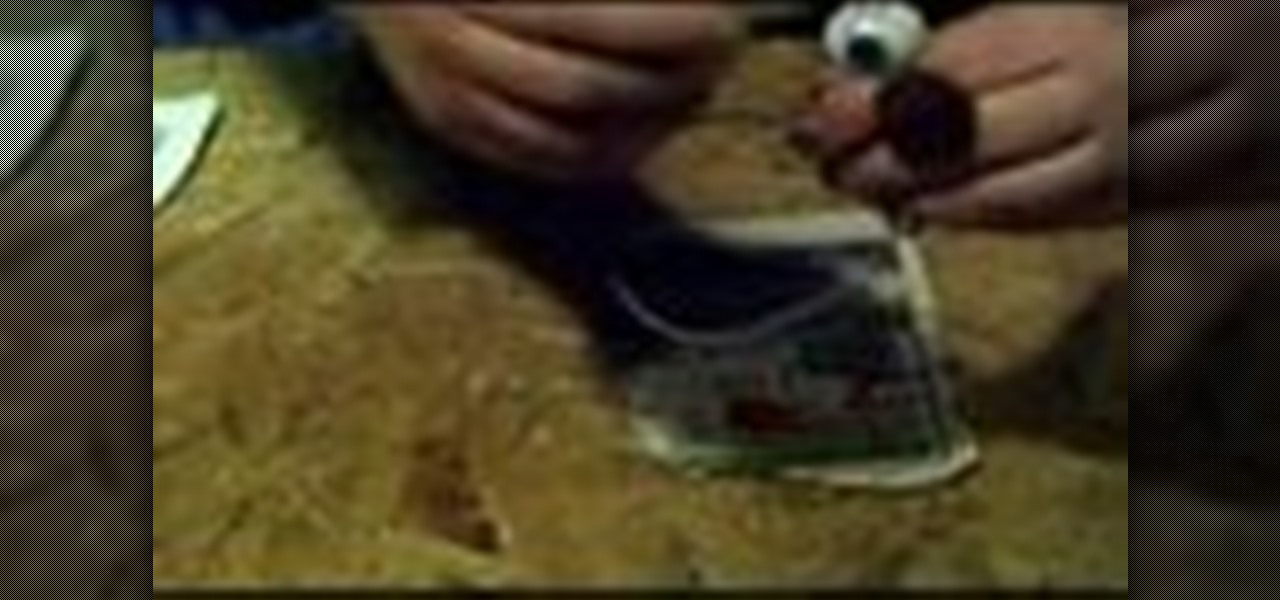
Super cheap eyeballs without breaking the bank! While grapes are the safe standard to spook out trick or treaters, they don't look very realistic. For this project, you will need clear spray paint, white spray paint, black spray paint, blue acrylic paint, black acrylic paint, red acrylic paint, coat hanger or wire, tweezers, an artist's brush, a foam ear plug, a rag, sanding block or sanding paper, and bouncy balls. Watch this video prop-making tutorial and learn how to make cheap prop eyebal...
This video demonstrates how to fold the origami model "Kaleidoscopic Twister" that Charles "Doc" Santee designed. You can use 30cm by 15 cm (12 in by 6in) size paper for this project. This is a complex origami project, but these instructions are both clear and thorough. With a little practice, you should be able to complete your origami "Kaleidoscopic Twister" without trouble.
Make a homemade kaleidoscope with paper and beads. Learn how to make a kaleidoscope from a craftsman in this free art video.
Learn how to weave with Travis Meinolf who's featured on the cover of CRAFT: 08, the Weaving issue. He explains how to make weaving loom out of 3 X 5" notecards, yarn and a pencil. After assembling the basic structure of the loom, create tension in the loom by attaching one end of the loom to the wall and the other end to one's waist. With a shuttle, it is possible to begin making creative woven fabrics in a matter of minutes.
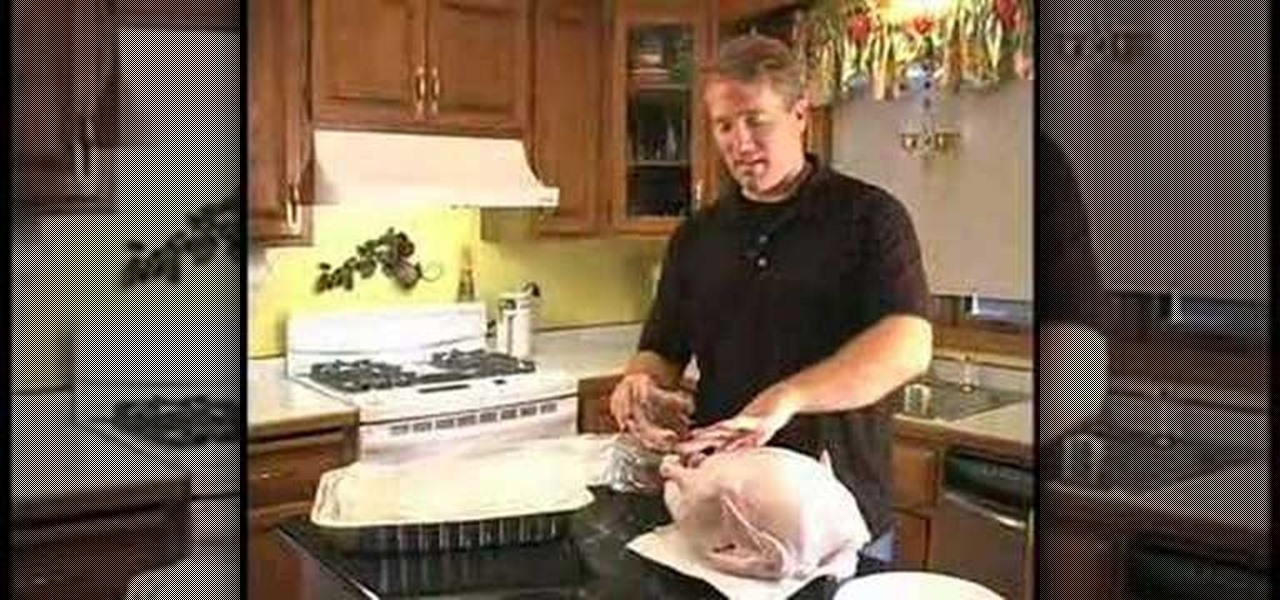
Cooking a turkey is really quite easy and a great way to help out on Thanksgiving day. This how-to video will show a method for cooking the juiciest turkey you've ever had in a bag. Oh and don't forget the great stuffing as well.
The Carmen Sprung Icosahedron is an example of a modular origami project that can be a little difficult putting together. Time, patience, and a lot of origami paper is everything needed to fold the icosahedron. Learn how to use the Japanese art of modular origami to make a Carmen Sprung Icosahedron. Start watching and start folding.
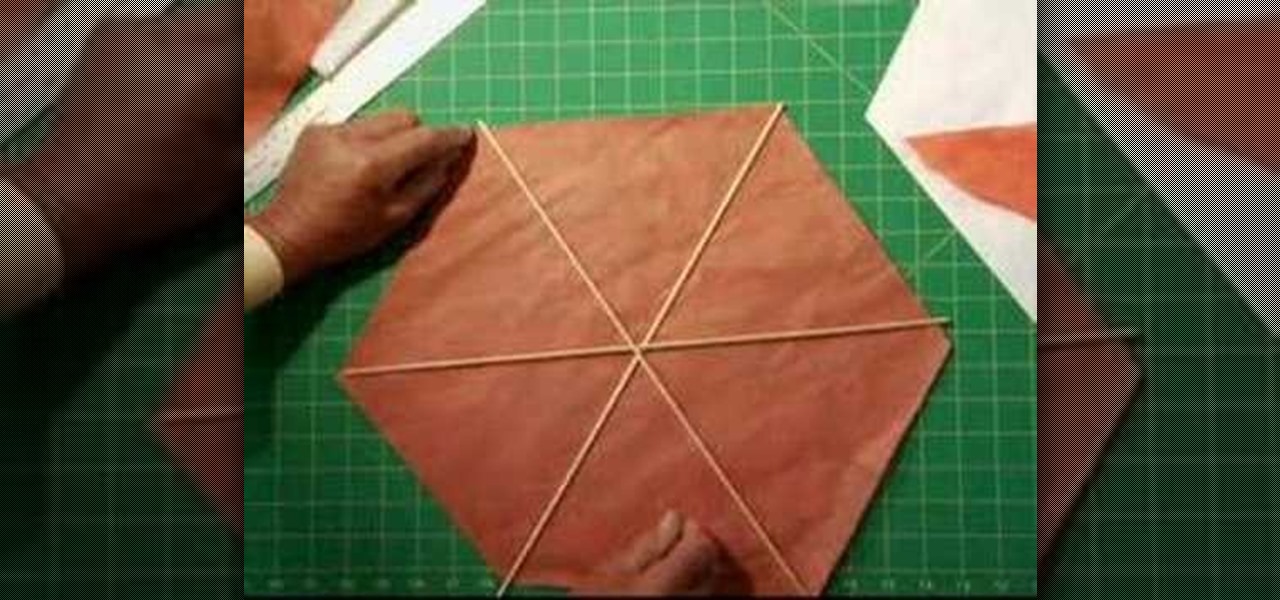
In Bermuda, people celebrate holidays and special occasions by creating and flying colorful kites! Now you can join in the fun and learn how to build this traditional kite.
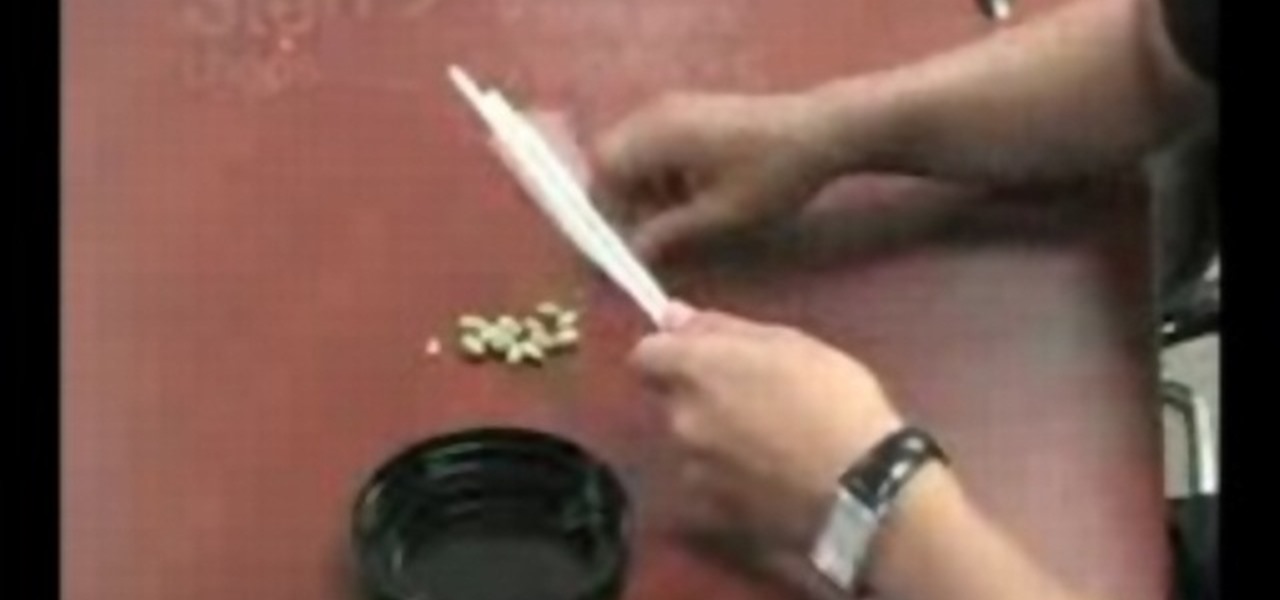
Check out this video tutorial to see how to construct an alarm system, that's based on the principle of motion detectors, which work by touch. It's very useful to catch unpleasant visitors red-handed. So make sure your chocolate bar never gets snagged again, catch the bandits with a motion detector alarm! Or just keep you kids away from the birthday present closet where peeping is not allowed.
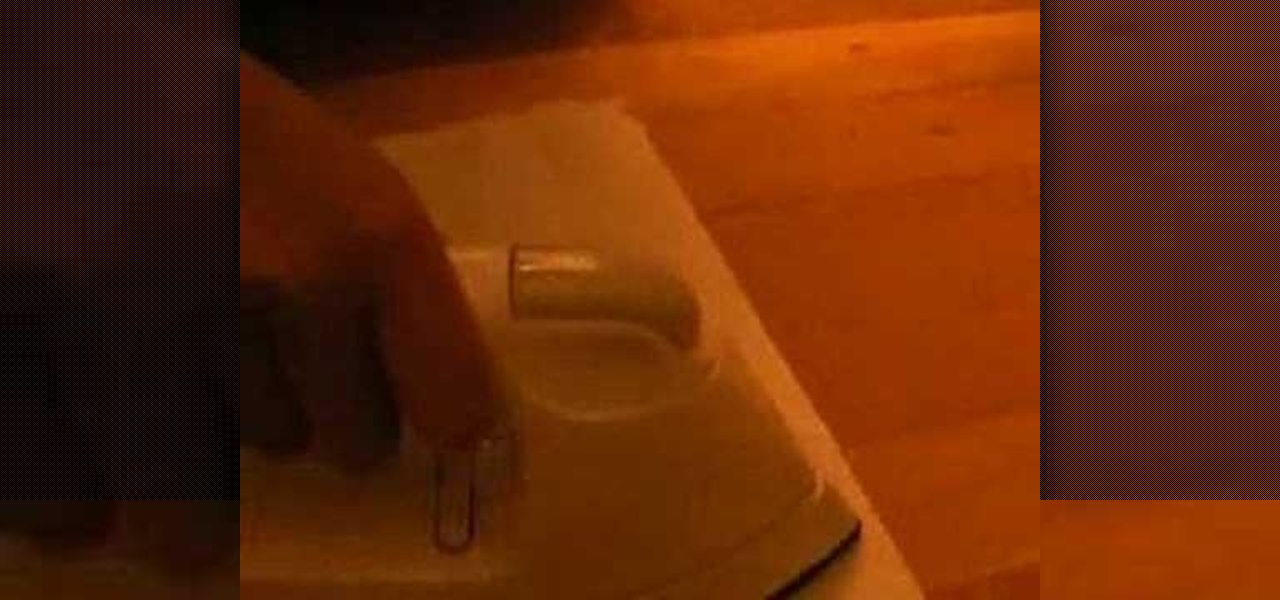
Lisa shows us how to clean up spilled candle wax using an iron and a paper towel, a trick from Japanese Urawaza.
Watch this how to video and learn how to make Indian spicy potatoes and cauliflower. Our host shows you how to make this popular dish that is more commonly known as aloo gobi. Its to for putting in sandwiches.
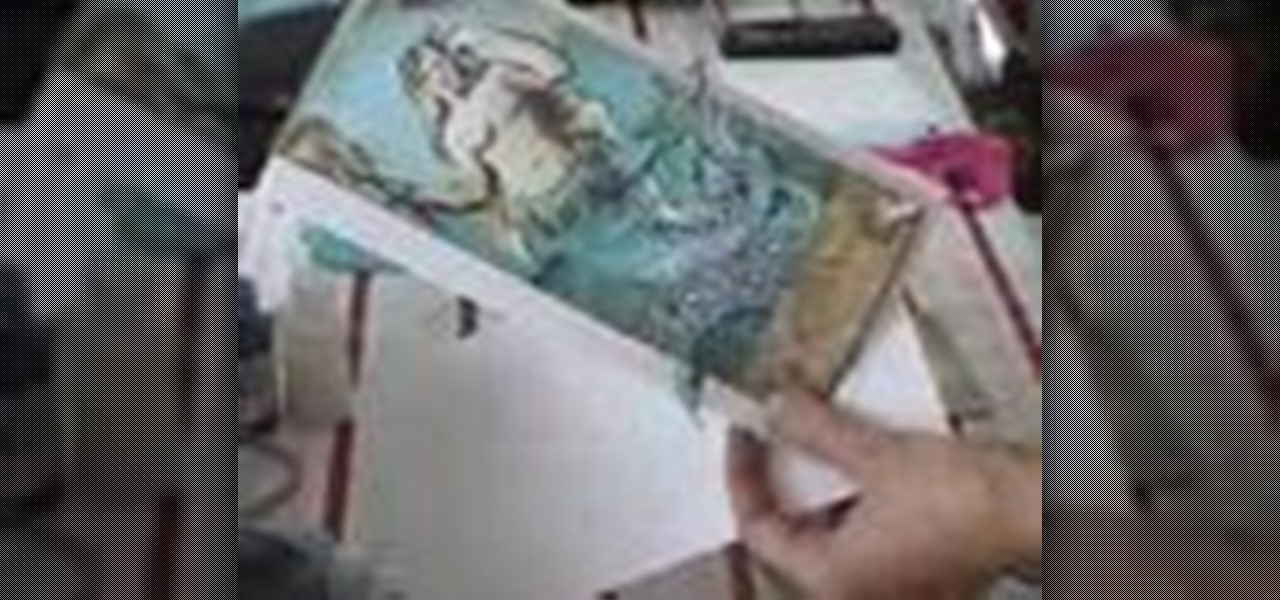
This comprehensive video series by Bob Davies serves as a basics drawing lessons that are excellent for beginners just starting off in addition to tips for intermediate artists. This series covers all the basics of drawing from choosing paper, drawing medium (graphite,charcoal,etc) and techniques in many of the different medium. These videos will cover pencil, felt pens, charcoal, pen and ink, watercolor pencils and erasing techniques.
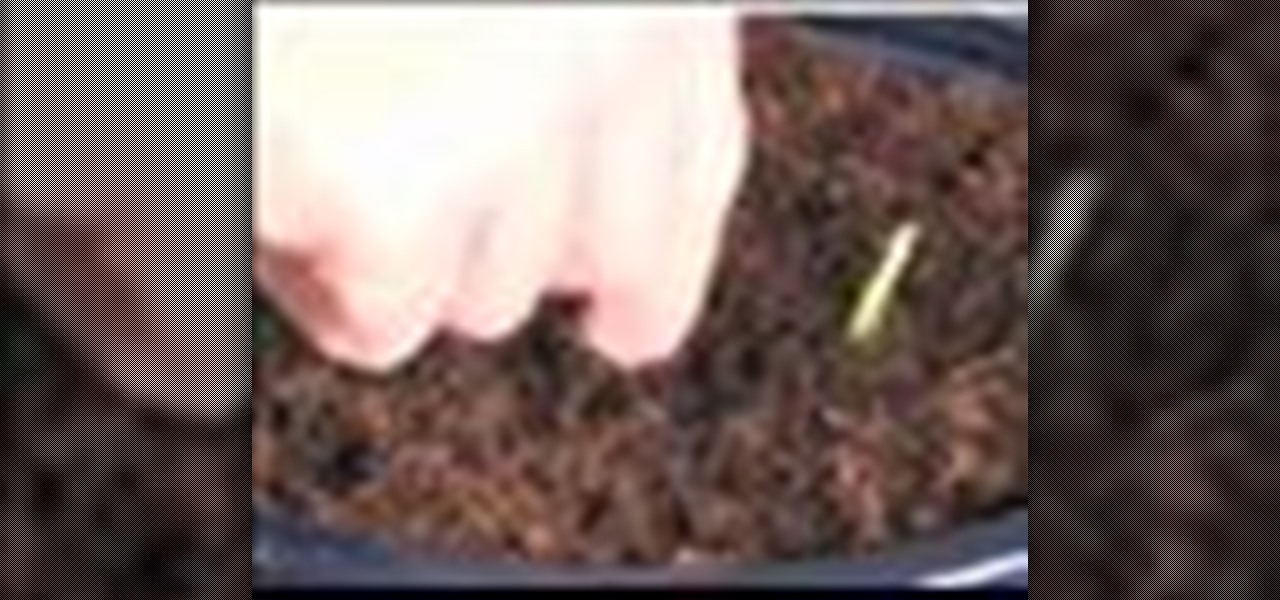
Bonsai trees have a great history to them. Although most people think a bonsai tree is a specific type of tree, in all reality, the word "bonsai" quite literally means "tree in a pot. To plant a bonsai tree from seeds, you will need: bonsai tree seeds, a peat pellet, paper towels, a sealable plastic bag, small pellet tray, a bonsai pot, bonsai soil, a larger tray and water. The seeds need to germinate before potting the seeds. This process generally takes nine days.
Roasted chiles make a deliciously zippy addition to soups, stews, eggs, enchiladas -- just about anything. They can be roasted outdoors on a grill, over a gas flame or under the broiler. Turn them until the skin is charred and blistered on all sides, making sure not to char the flesh. Drop the still-hot chiles into a brown paper or plastic bag to allow the collected steam to loosen the skins, about 15 minutes. Once cool enough to touch, peel off the skins and remove the stems and seeds.
This is the first of 4 scrapbooking How-To's of working on My Mermaid Birthday Party invitations. This is a very in-depth how to, scrap, stamp, use ribbon and yarn in scrapbooking, distress with fun inks, improvise, tear paper, and glitter.
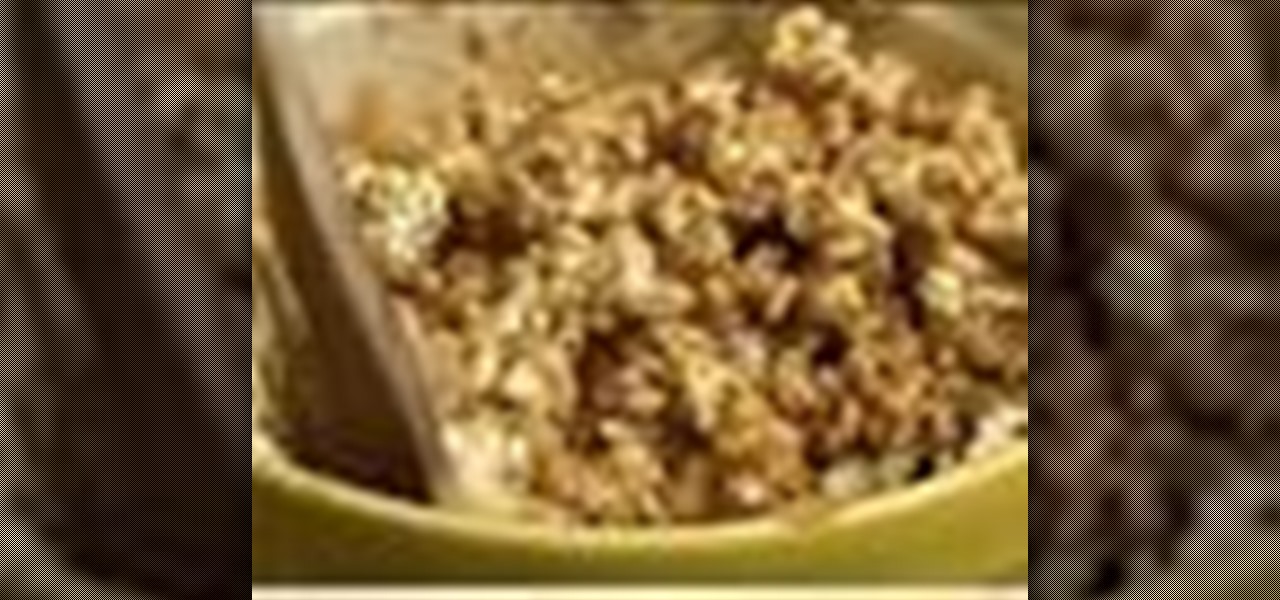
This recipe for sweet, buttery caramel corn will have your little ones asking for more. Serve it as a snack or as a treat at a child's party.