
How To: Apply a tiger mask with makeup for Halloween
In order to make a tiger mask with makeup for Halloween, you will need the following: moisturizer, white and black liner pencils, black liquid liner, eye shadows, blush, and lipstick.


In order to make a tiger mask with makeup for Halloween, you will need the following: moisturizer, white and black liner pencils, black liquid liner, eye shadows, blush, and lipstick.
Howard demonstrates how to control sharpening on your image in Photoshop. First, you want to copy your layer by dragging to down to the new layer icon at the bottom of the box. Next, go up to the menu bar at the top of the screen and click Filter, select Sharpen, and go to Unsharp Mask. A dialogue box will pop up so that you can adjust the how sharp your image is by using the sliders. Click OK when you are done. If you want adjust where you sharpen the picture go to the right side and click o...
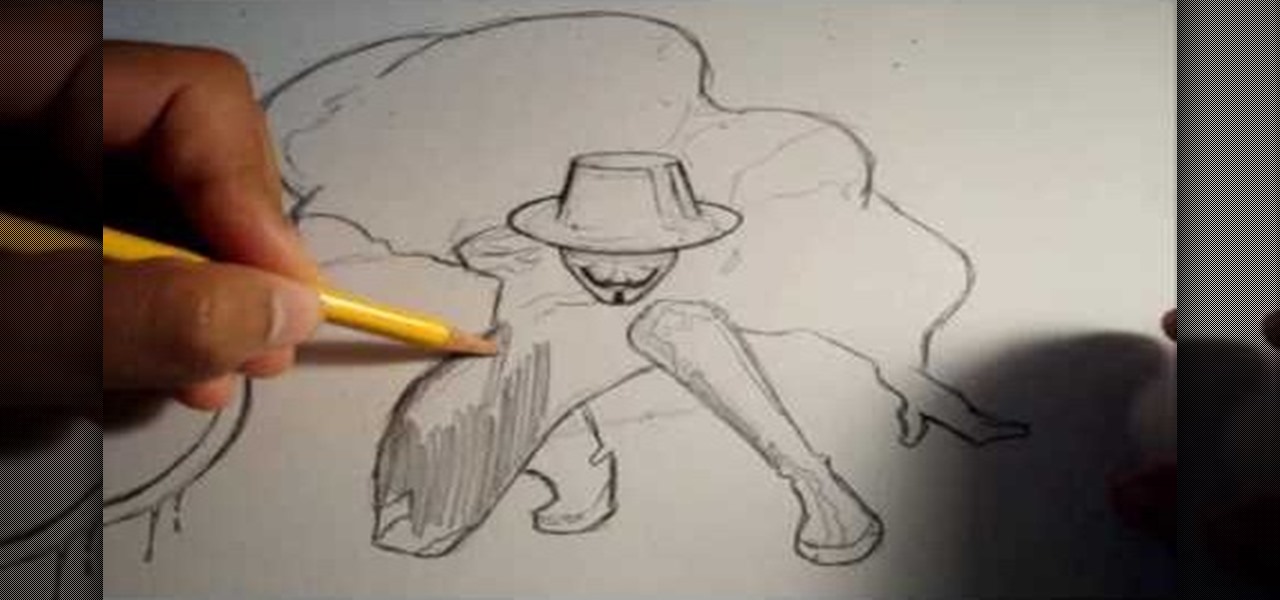
In this how to video, you will learn how to draw V for Vendetta. First, start out with the legs of the character. Draw the outline as if the character is squatting. Next, draw the outline of the cape and the hands. Next, draw the face of the character. Note that he wears a hat. You can also fill in his mask. Note that the mask has a mustache and a grin. Once the outline of the character is complete, add the basic details of his suit. This includes the areas of the highlights and shading. Make...

In this how to video, you will learn how to liquify an image using Photoshop. First, open the image in Photoshop. Next, go to filter and select liquify. Use the forward warp tool to press pieces of the photo. Use the reconstruct tool to bring the image back to the original state. The twirl clockwise tool can be used to twirl pieces in the photo. You can adjust the pressure to twirl more. The pucker tool can be used to push sections into the image. The bloat tool can be used to pinch sections ...
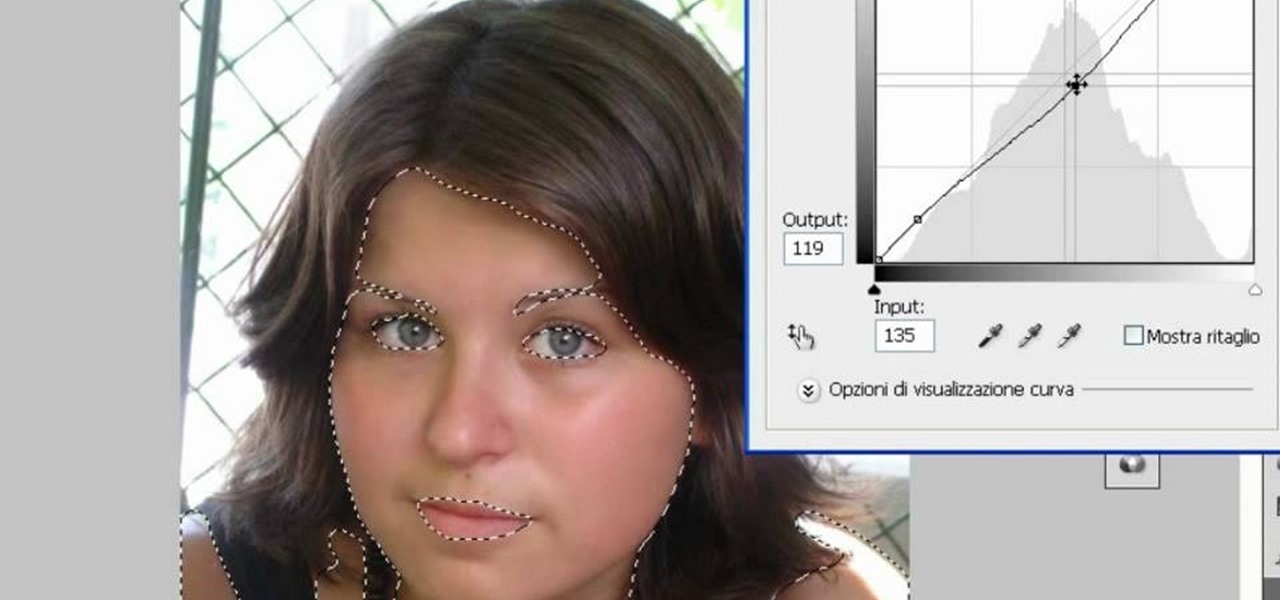
In this video tutorial, viewers learn how to make a digital sunburn using Adobe Photoshop. Begin by importing the image into the program. Then use the masking tool and select the areas of the skin that you want to sunburn. Now select a reddish color and use the brush tool to paint the select areas. Then click on the masking tool to create a selection use the marquee tool to invert the selection. Now right-click on the selection and select Inverse Selects. Then go to Image, click on Regulation...
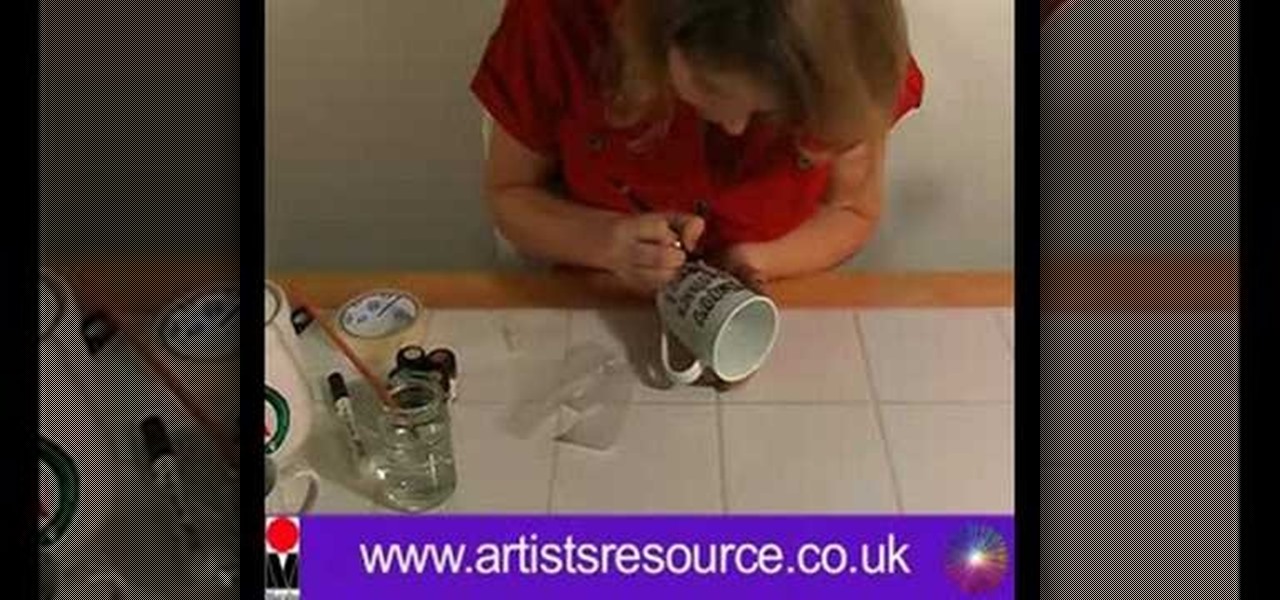
This video demonstrates how to paint Mother’s and Father’s Day mugs. This is a ceramic painting project. For this project, you will need the following supplies: 2 mugs, a Marabu ceramic kit, a paintbrush, a soft pencil, tissue, masking tape, a marabu porcelain paint pen, a jar of water, paper, scissors, tracing paper, and a sheet of paper with the lettering that you want to use on the cup. On your PC, use any decorative font that you like.
It seems like its hard to get as much sleep as we need, doesn't it? Sleep is important and effects how you function throughout the entire day. Follow these tips and you will be on your way to a good night's rest.
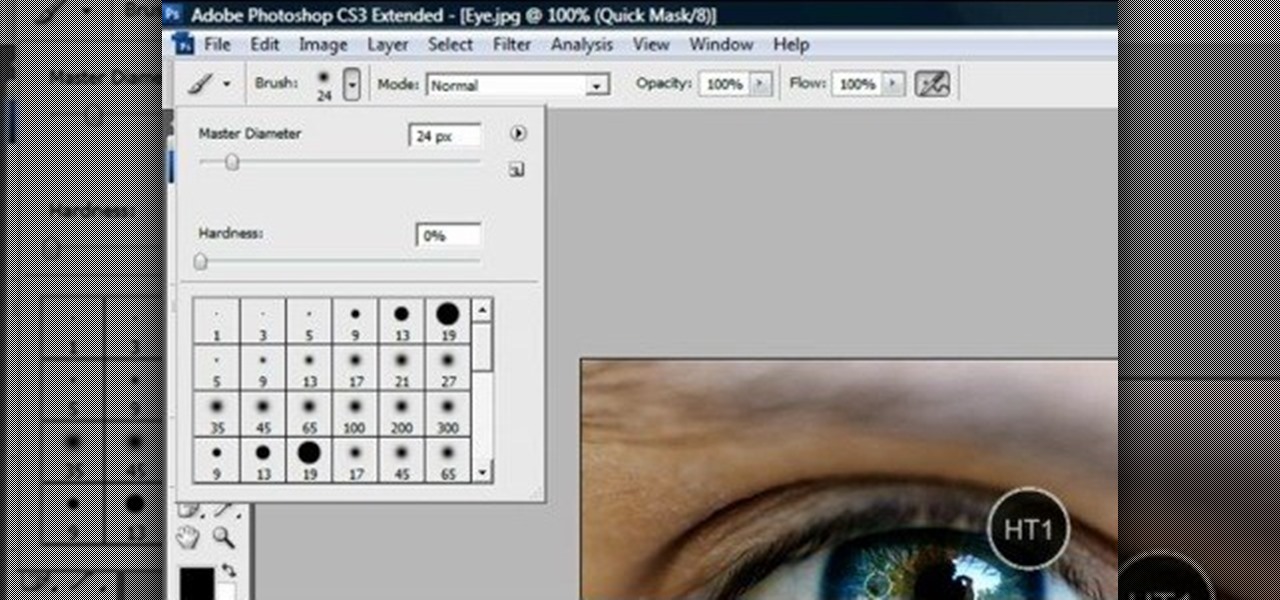
This video shows “How to change eye color in Photoshop CS3” First open the eye picture you want to change. Now select brush tool by

Follow along with this video to learn how home remedies for acne scars may help get rid of them naturally and safely.
This video will show you how to draw the Japanese anime character Kakashi. You don’t have to be an artist to do this but is perfect for beginners too. This will show you how to sketch and some information on how to get the best results.
Need a change? Brighten up your kitchen and give your cabinets a new look with a fresh coat of paint. In this tutorial, learn how to paint your kithcen cabinets a fast and efficient way.
Sanding is an important step when preparing wood for painting or staining. You Will Need
Getting a pro to replace a broken thermostat can be costly, but if you pay close attention, you can learn how to replace it yourself.

This video gives another iteration of a digital makeover, using Mama's Powder w/sharpen action. This series will highlight some advanced masking techniques; rubilith and quick mask modes, and adjust makeup colors using Levels Adjustments rather than Curves. Hopefully this will broaden your understanding of mixing color using a different type of adjustment, in Photoshop or Photoshop Elements.
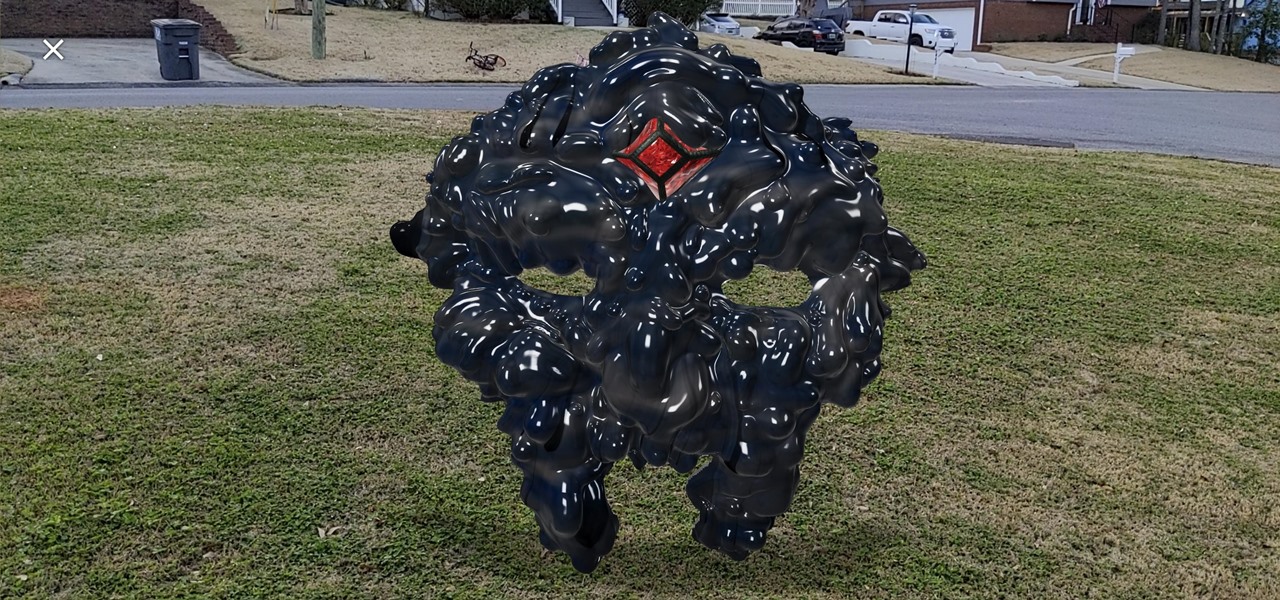
The hype surrounding non-fungible tokens (NFTs) has reached astronomical levels over the past few weeks, and now the technology has intersected with augmented reality's orbit in a fantastic way.

The longest-running children's television show in the United States, Sesame Street, hasn't survived 50 years without leveraging new technology along the way.
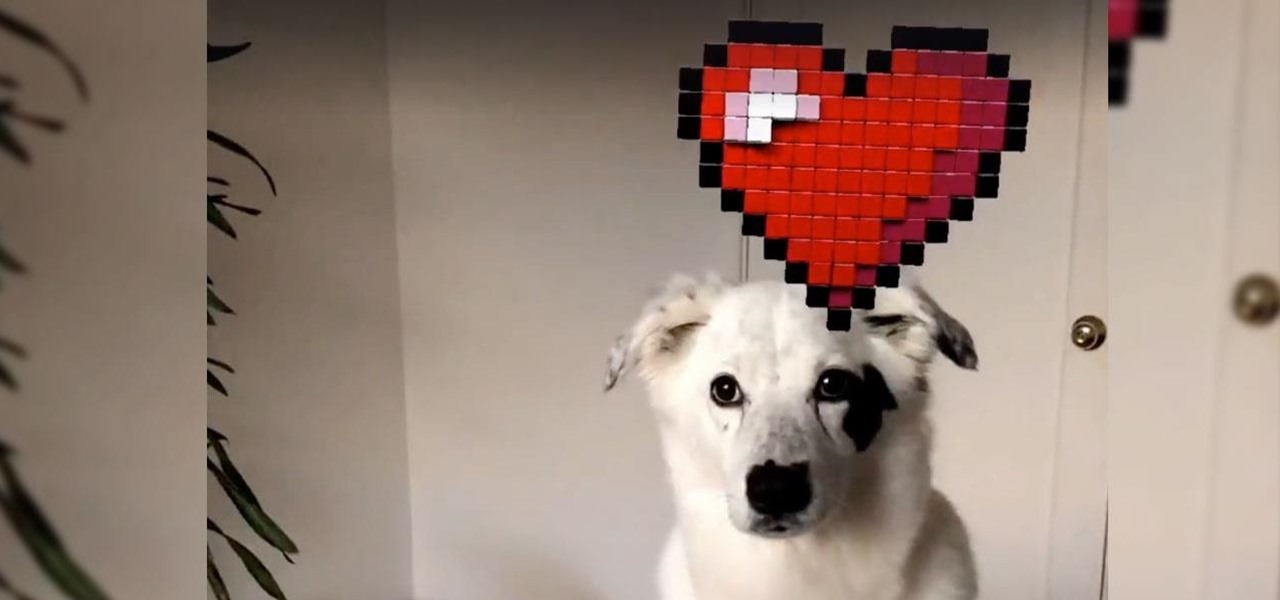
Continuing its unrelenting (and mostly successful) campaign against Snapchat, on Tuesday, Facebook announced the addition of "World Effects" to its Messenger app.

Opera's web browser for Android, Opera Mini, now comes with integrated ad-blocking technology for a less cluttered browsing experience. More importantly, it decreases the amount of data being loaded, which Opera claims increases webpage loading times by 40 percent. This is in addition to the 90 percent data reduction from Opera Mini's compression technology.

Privacy features have become quite the hot commodity, emerging from the aftermath of the NSA scandals that rocked the United States this past year. While the NSA has the means to gather information on all of us (regardless of any security software we implement), it doesn't mean that they're the only ones looking.
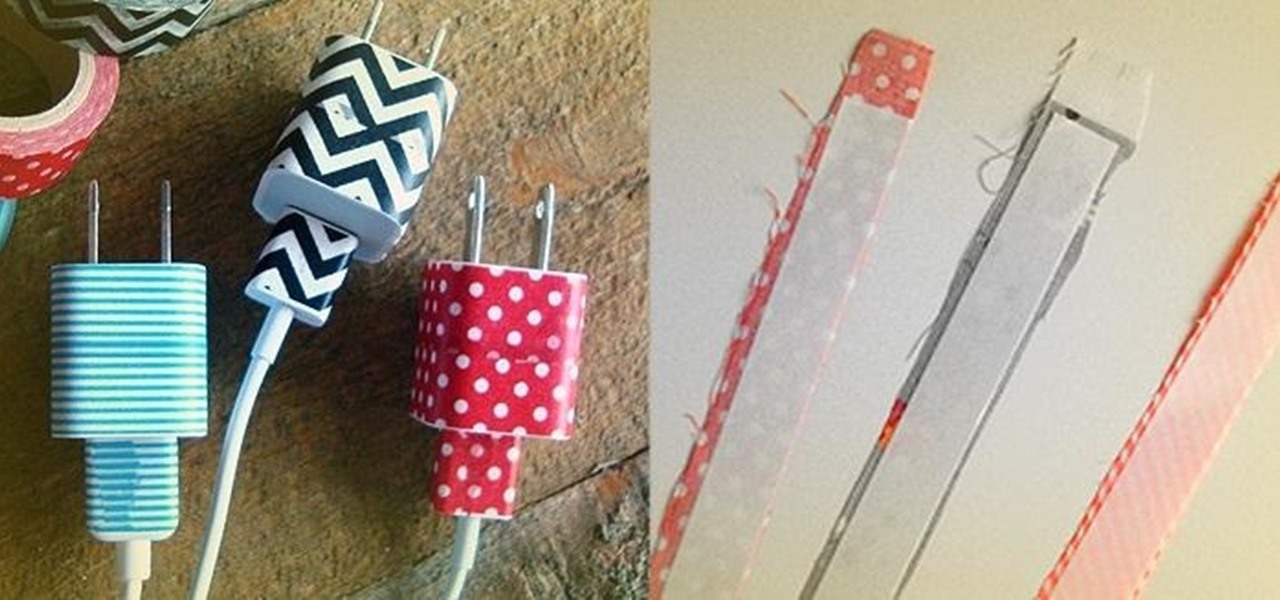
There are thousands of uses for tape, and plenty of different types of it, too. Masking tape is perfect for labeling, double-sided tape is great for crafts, and duct tape is good for...well, just about everything.
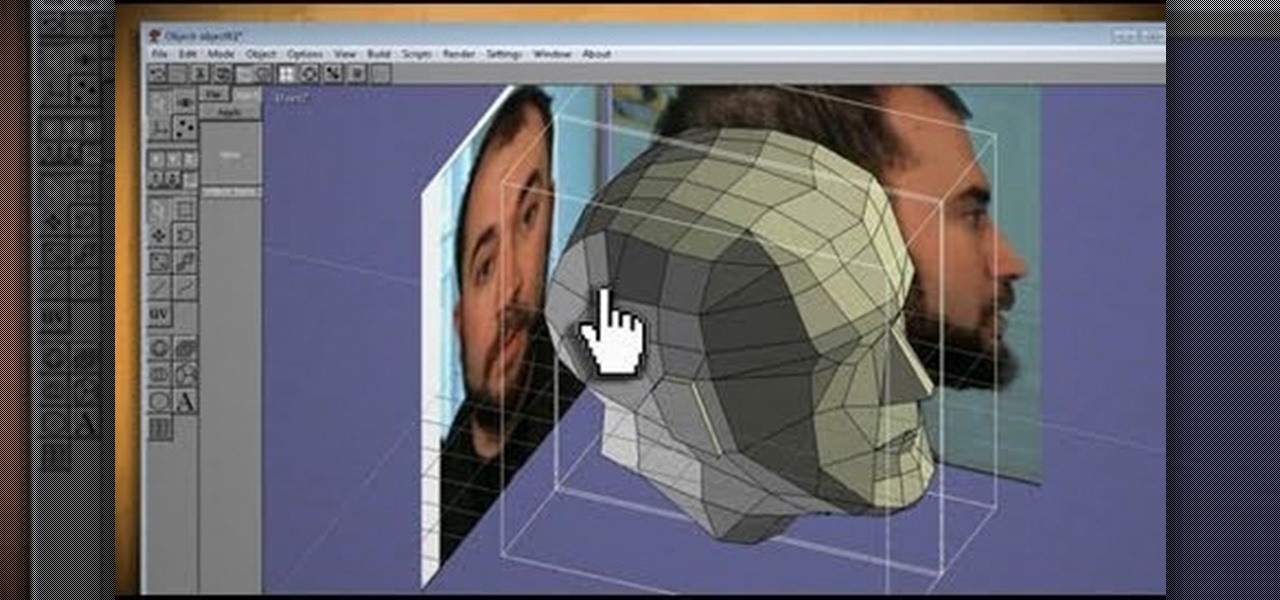
What could you do with two of you? Or, two cats, or two cars, or two of anything? Cloning, it's the way of the future and this tutorial shows you how to clone and print a 3D model of virtually anything. Using Anim8or and Pepakura Designer you can model your face and print it up to create a 3D mask. Two for the road I say! (Or would that be four?)
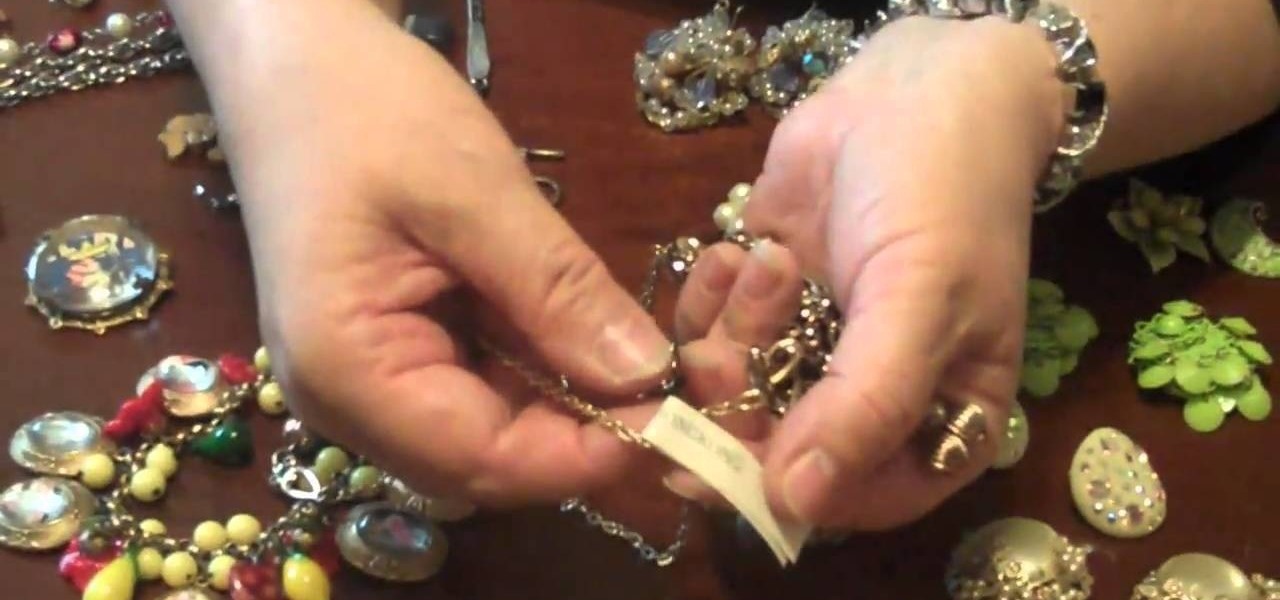
If you're a baby boomer or at least older than 40, then you probably remember the Five and Dime stores around your neighborhood street corner. Carrying kitchy knick knacks like masks and cheap candies that even little kids could afford, they were quite the sensation in their day.
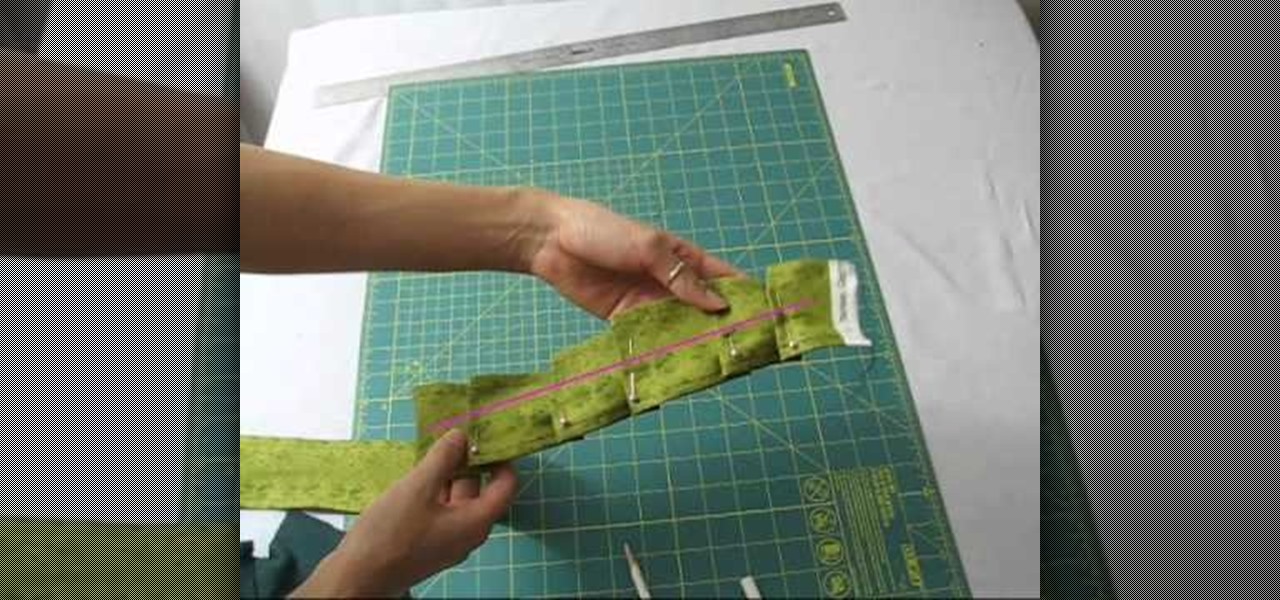
Before Christian Bale and Christopher Nolan there was the original "Batman" with with George Clooney as the masked hero and Uma Thurman as the villainous Poison Ivy. While the movie is ranked as one of the worst superhero flicks of all time, Uma Thurman's getup was probably one of the most fascinating and beautiful superhero costumes we've ever seen.
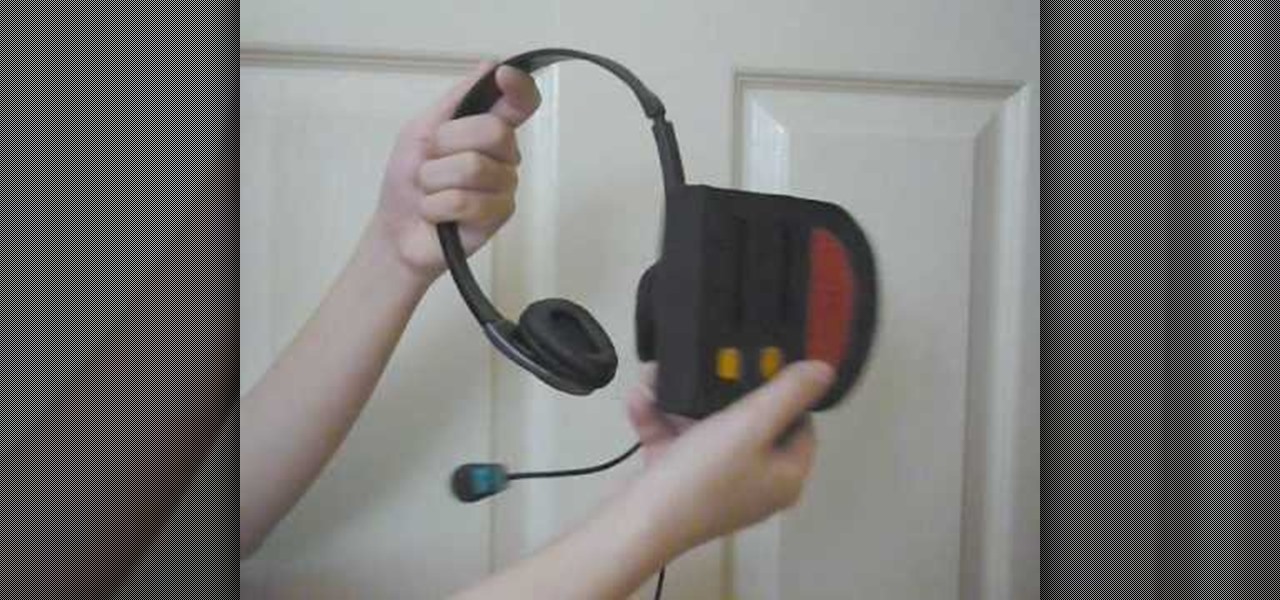
Vocaloids have to be one of the weirdest of the many weird things to ever emerge from Japan. They are basically synthesizer software programs that can sing any song a user creates in the voice of a character created for that Vocaloid. The queen of these Vocaloid characters is Hatsune Miku, who has become something of a cosplay darling since her software caught on. This video will show you how to make her cosplay replicas of her iconic headphones.
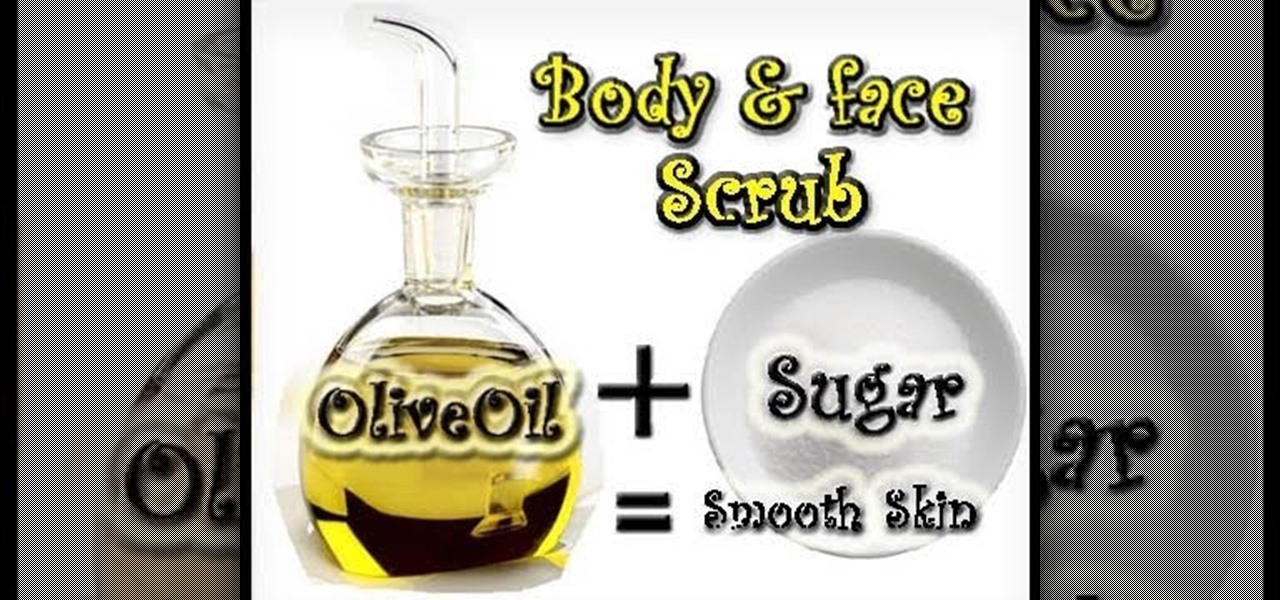
Forget Sephora and "Allure" - we subscribe to the old Italian grandmother school of beauty. Italian women like the gorgeous Sophia Loren are known to soak their faces in a vat of olive oil to help replenish moisture. And with skin so soft it feels like a baby's bottom, they've got the right idea in mind.

You know how mayo always makes everything taste better, and how the best, fattiest ones are also the creamiest? Well, mayo (in combination with avocado) has a similar effect on hair. Both mayo and avocados are rife with lipids which help to deep condition hair.
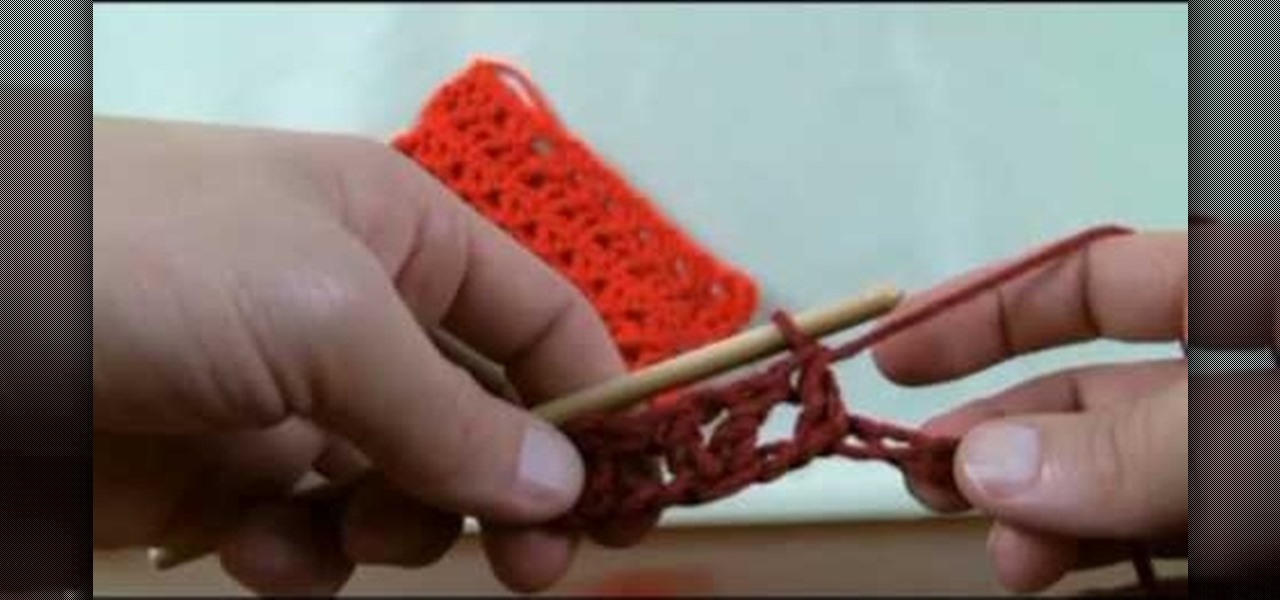
V, the masked and rather offbeat/tortured hero from the movie "V For Vendetta," had a strange obsession with a particular letter of the alphabet, embellishing all his clothing and gear with a great big letter "V."
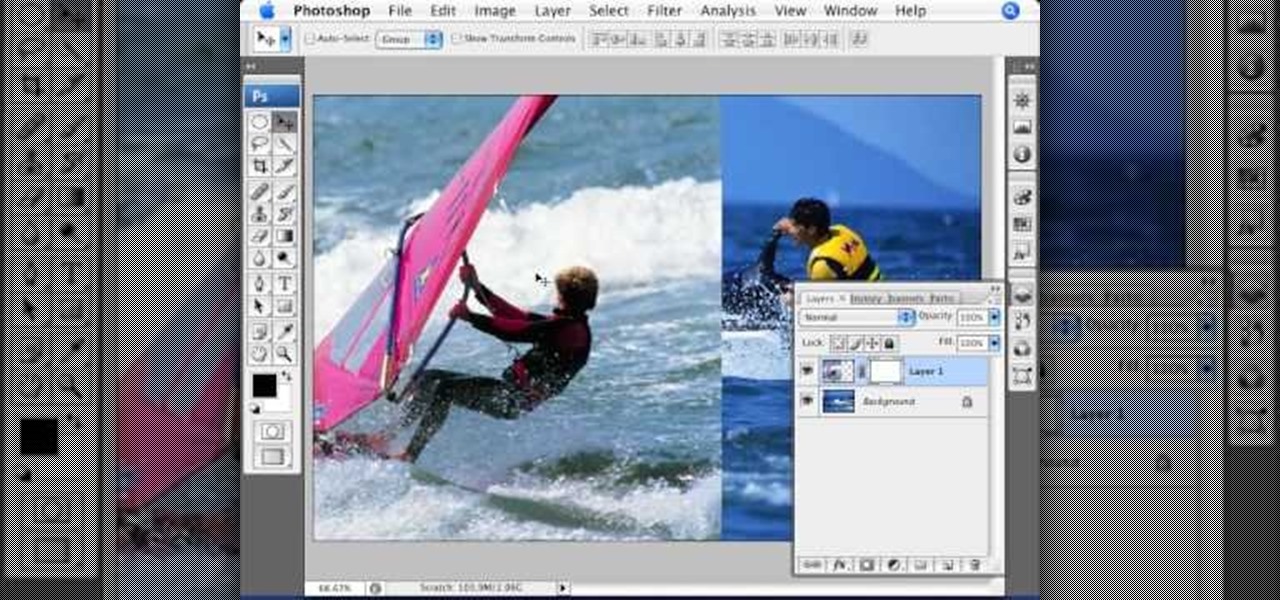
This video tutorial by photoshopuniverse teaches you how to blend two images seamlessly using Photoshop. For this you need two or more images that need to be blended together. Using the move tool in Photoshop move one image over to the other image. Open the layers window and make a layer mask as shown and select the gradient tool making sure the colors are white on black and connect the two images as shown. Using the brush and the opacity at 50% reveal the parts of the image that need to be c...
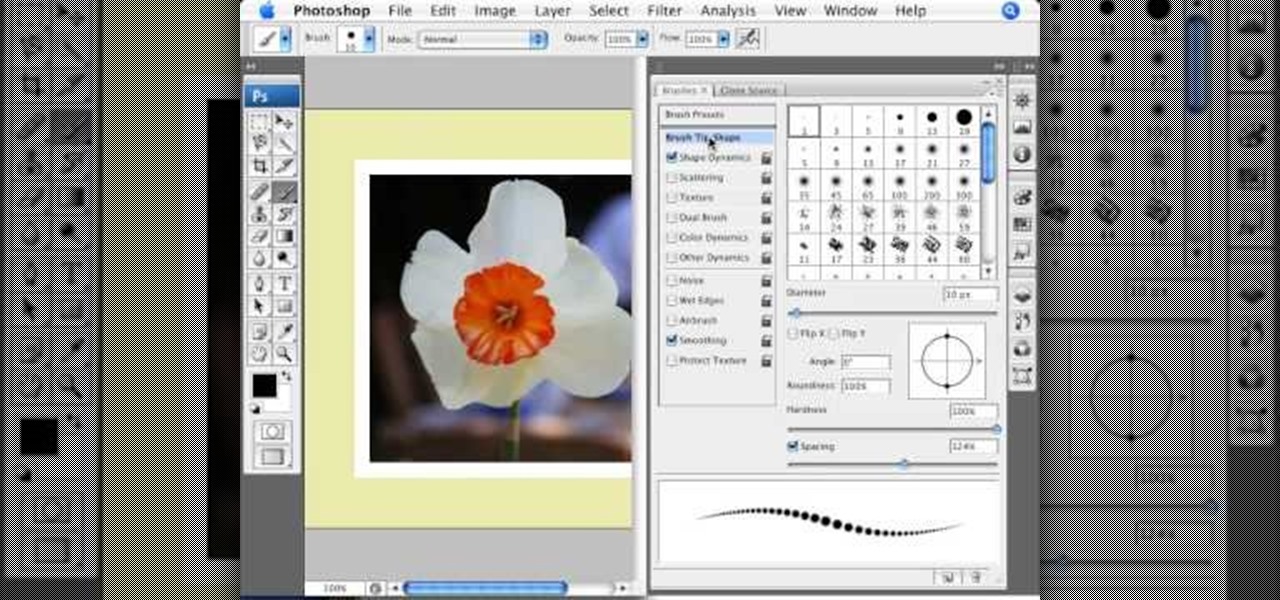
This video tutorial by photoshopuniverse shows you how to create a postage stamp in Photoshop. First take a suitable image and decide the shape of the stamp. Corp the image to suit the shape of the stamp by selecting the area and choosing corp and increase the canvas size as shown in order to create the perforated cutout. Transform the image into a regular layer and once again increase the canvas size to create a back ground with an appropriate color as shown. Add a layer mask, chose the brus...
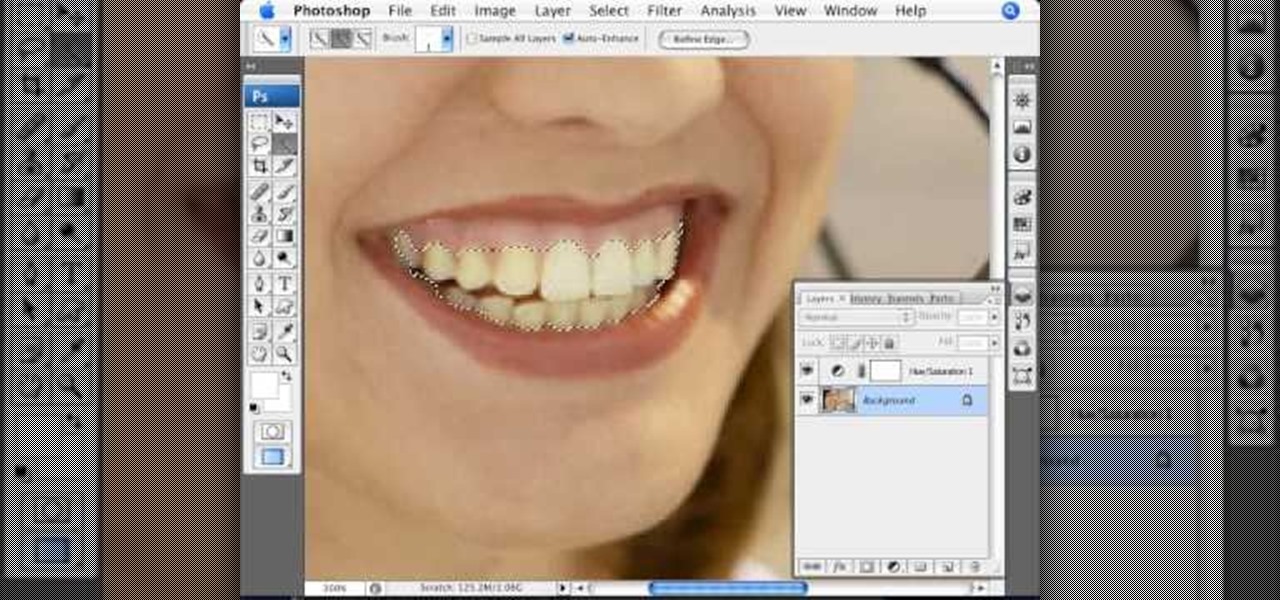
This is a terrific video on how to whiten yellow teeth in Photoshop, taught by Link. First, he zooms in on the teeth and uses the quick selection tool or magic wand. This is a pretty easy task. You just have to click and drag. If you put too much of the gums, you can hold down alt, then drag the areas you don't want. Make sure you use a small brush when using these modifications. All you have to do then, is go into the heat saturation and select shift-control-I, which inverts the selection. T...
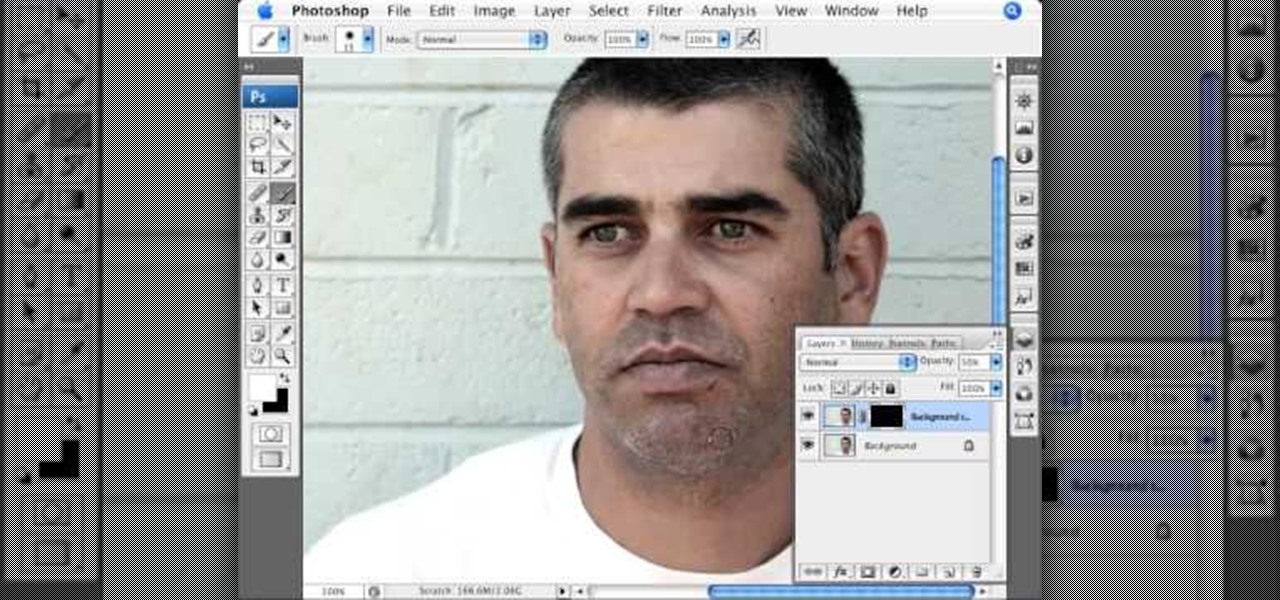
This video, produced by Photoshop Universe, teaches how to reduce beard stubble or 5 o'clock shadows from male pictures. We are shown how to use the dust and scratches filter, layer mask, as well as the advanced layer style command "blend if" on the underlying layer helps us to make this possible. The first step is to duplicate the layer and then select filter, noise, and dust and scratches. The second step is to apply some dust and scratches to the beard selection. Finally we blur the layer ...

Photoshopuniverse shows you how to quickly add rounded corners to photos using Photoshop. He talks about vector masks which he is going to use to give the photo in the video a rounded corner. He uses layers inside of Photoshop to complete this task and also use the Crop tool. He also adds a border around the image then makes it green. IF you watch this video, you will learn how to add rounded corners to photos and how to add boarders and color them.
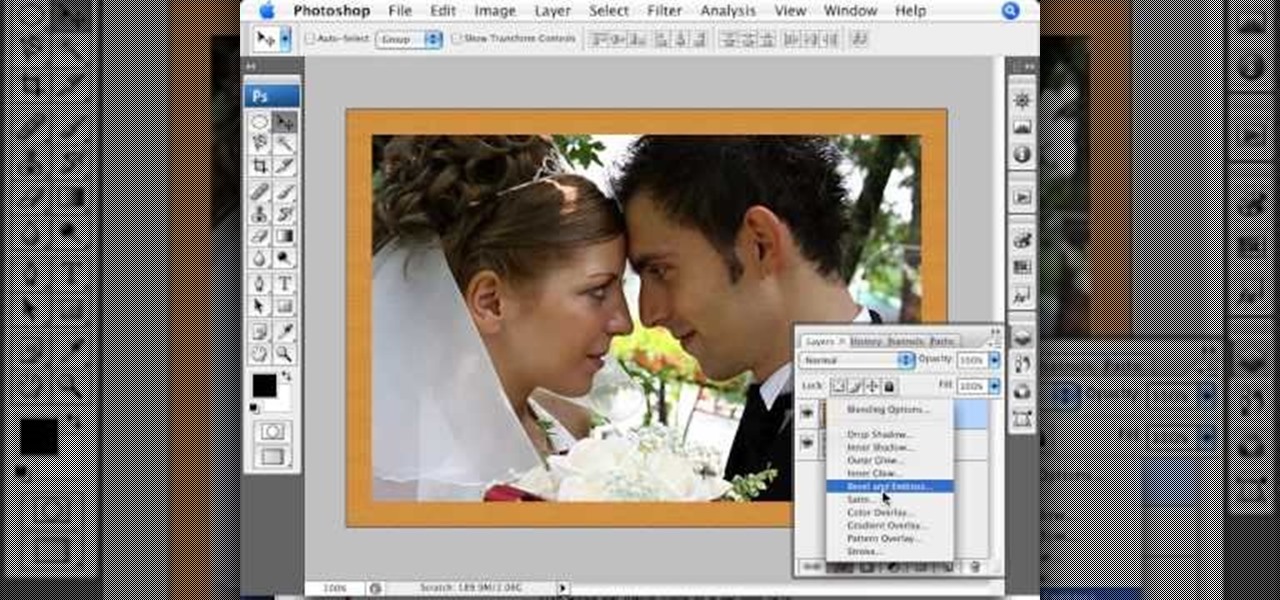
In this video tutorial by photoshopuniverse you learn how to create a wood photo frame in Photoshop for your photos. Take the photo that you want to add a frame to, open it in Photoshop. Open the layers palette and double click to convert to a regular layer and increase the canvas size of the image to the required thickness of the frame. Create a new layer and fill in with the wooden pattern. Apply a mask and reveal the photo as shown. Apply the desired effects bevel and emboss to get the woo...
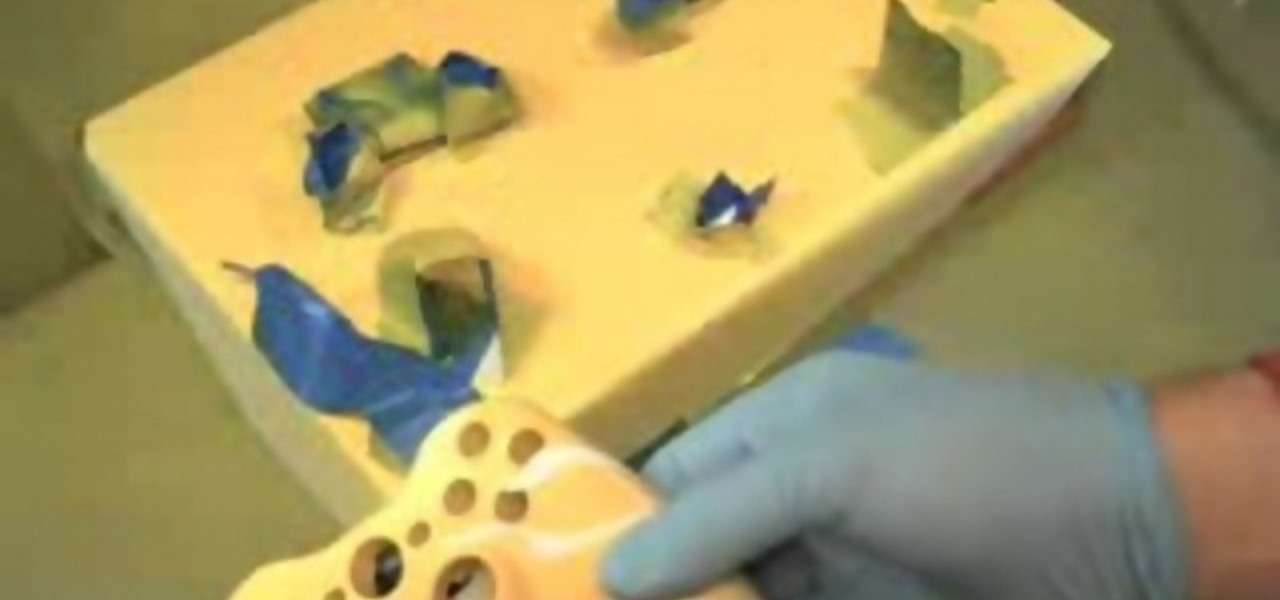
This is a 3 part Step by Step video that helps you learn how to paint a Tiger Stripe design Xbox 360 controller.
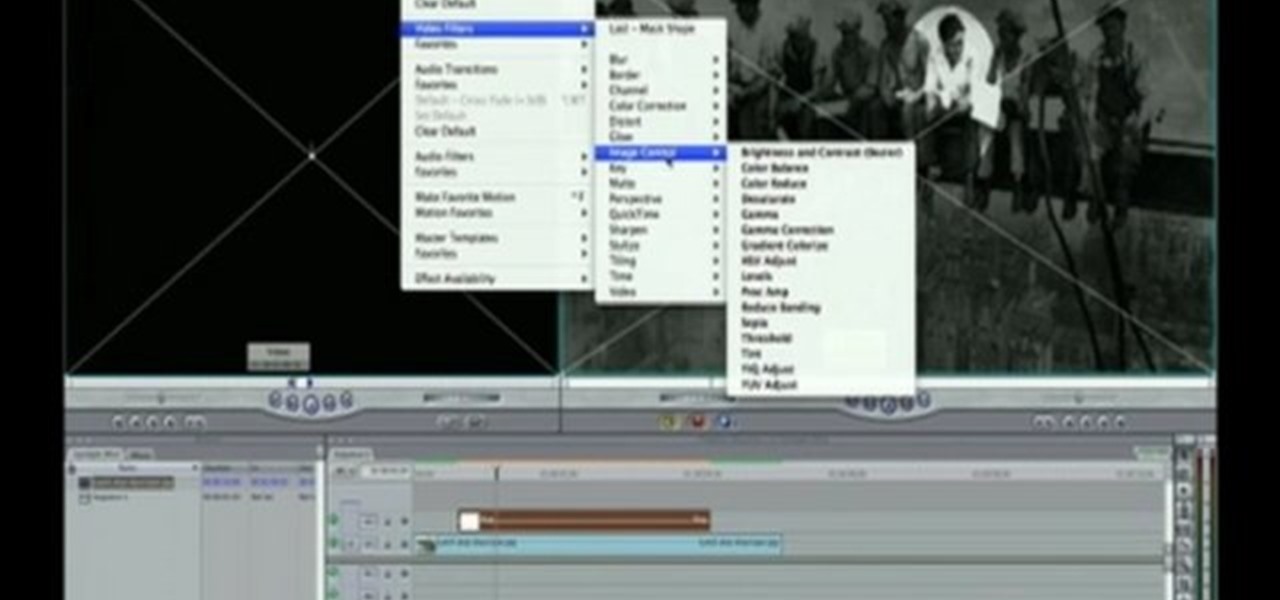
For this Final Cut Studio video tutorial, Zach King will teach you how to create a spotlight effect in Final Cut Pro. To create a spotlight effect, just drag your photo of choice into the timeline, set and in and out point, go to video generators, and use the slug. Then press the red overwrite button. Next, select the clip, go to the Effects tab, go to Video Filters, Matte, and then Mask Shape. Check out the rest of the process in Final Cut. Let the Final Cut King show you how!
To pick locks, one must either have an expensive lock-picking set or be skilled with whatever they have available to them. Bobby pins, soda cans, and even butter knives can get the job done, but each needs to be reworked into something more appropriate for the lock in question.

The Professor of Silliness returns with some paper. Watch this instructional video to make a tall tree out of newspaper. You need an old newspaper, masking tape, and scissors. Simply lay out the newspaper pages from end to end and tape them together. Then roll it up at a diagonal, starting from one corner, and pack i it into a compact tube. Use tape to keep the tub intact Use the scissors to cut vertical lines half way down the newspaper tube. Pull out the inner most layer and turn your recyc...

In this online video series, learn how to make a pottery clay mask from ceramics expert Susan Ting. Susan will show you how to cut clay from the block and how to use the slab roller to roll out the clay to make a clay mask. She will demonstrate ceramics techniques such as how to use molds to create a pottery mask, how to form facial features on a pottery mask, and how to glaze a ceramics mask.
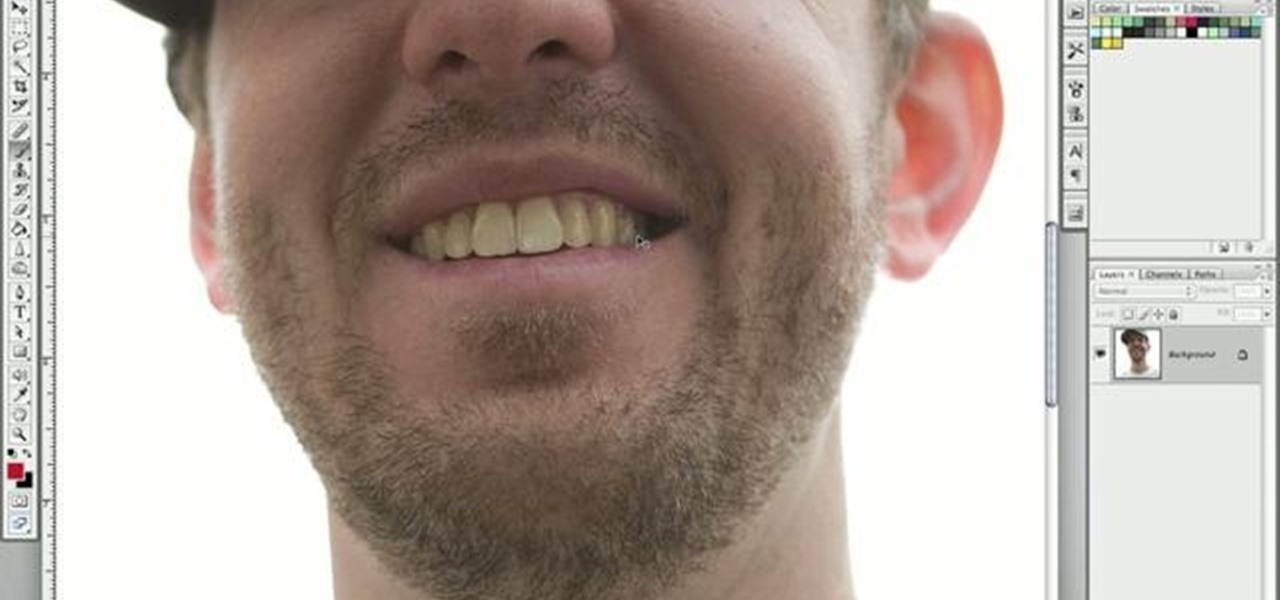
It's not brain surgery, but teeth whitening systems still hits the pocket books hard. However, there is a cheaper alternative to have the whitest teeth in the neighborhood, and it's called Photoshop. With Adobe Photoshop, you can have whiter teeth in seconds! Really. It's definitely the best tooth whitening remedy for those behind the camera lens. But remember… Photoshop is only a digital cure. You still might have to hide that smile in public… or consult a dentist.
In this video, we learn how to make a Necronomicon prop from the "Evil Dead" series. First, gather all of your materials together so you can make this prop. After this, cut up piece of cardboard into the desired shape, then tape them and make sure it's able to open and close. Next, you will use tape to make it look like creases in the skin and create the face by rolling it together. Use masking tape to connect these and make it look like it's all part of the same skin. Next, mix red, yellow, ...